IKEA · Cabinets & Wardrobes
How to assemble IKEA BLÅLIDEN Glass-Door Cabinet
Step-by-step IKEA BLÅLIDEN Glass-Door Cabinet assembly: 19 illustrated steps, an animated video, the hardware list and the tools you need — following the official instructions (AA-2344862-5).
- 19 illustrated steps
- 21 steps in the manual
- 2:53 video
- 35×32×151 cm cm
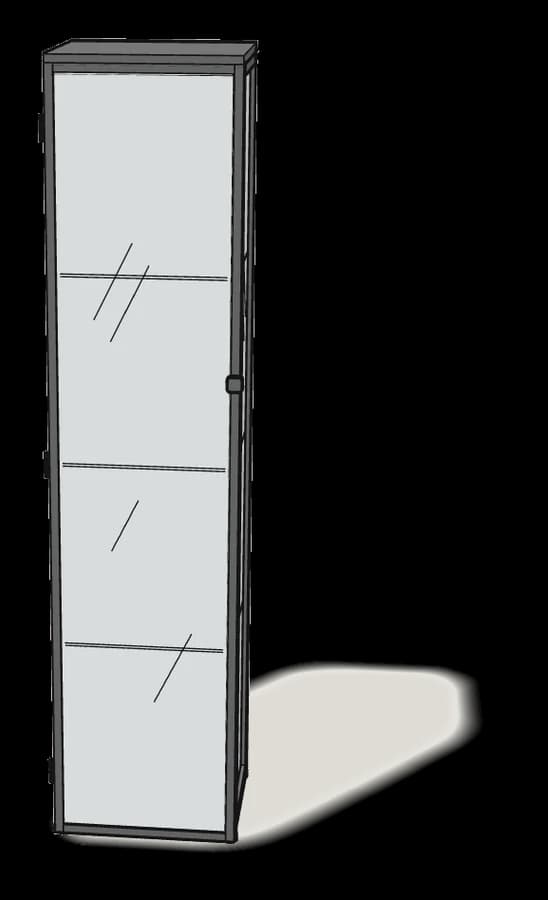
What you need
Tools
- Phillips screwdriver
- Allen key (included)
- Spirit level
You’ll need: a Phillips screwdriver, a spirit level and a pencil. Both Allen keys (100091 and 100092) are included.
Hardware in the box
| Part no. (as printed in the manual) | Qty |
|---|---|
| 10081001 | 4× |
| 195312 | 4× |
| 10094246 | 4× |
| 10087193 | 2× |
| 107967 | 1× |
| 107091 | 6× |
| 10082805 | 12× |
| 105021 | 17× |
| 10083273 | 1× |
| 10050150 | 1× |
| 10089525 | 2× |
| 10094344 | 3× |
Step-by-step assembly
Step 1
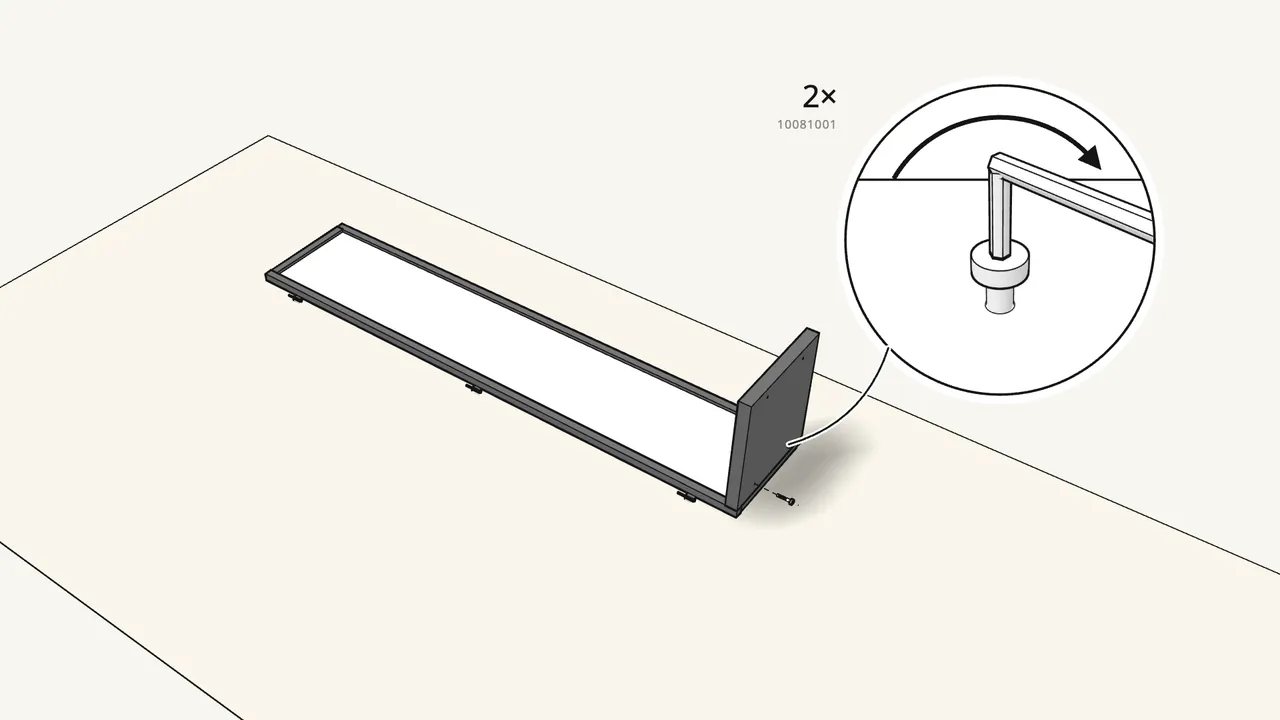
Lay the side panel with the hinge pins on the rug. Fit the bottom panel.
2 bolts (10081001) with the large Allen key 100091. Check which way round the bottom goes — see the manual.
Step 2
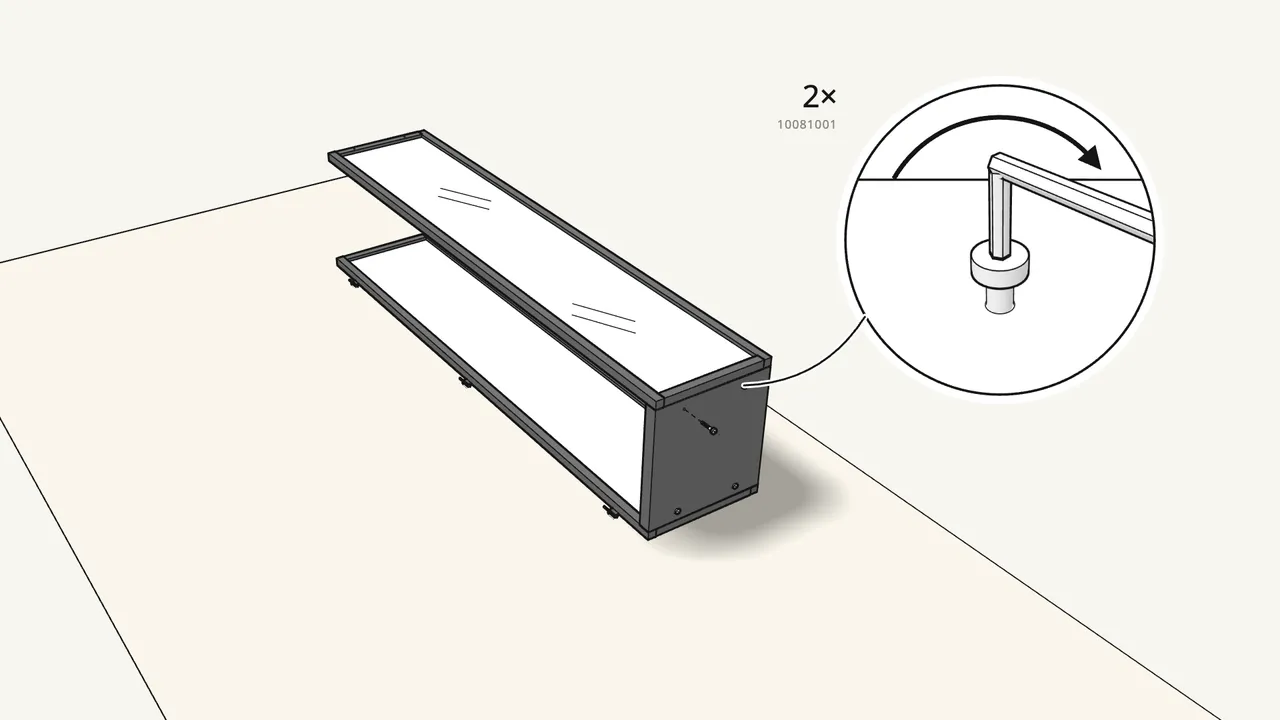
Put the second side panel on top. Fix it with 2 bolts (10081001).
Use the large Allen key 100091.
Step 3
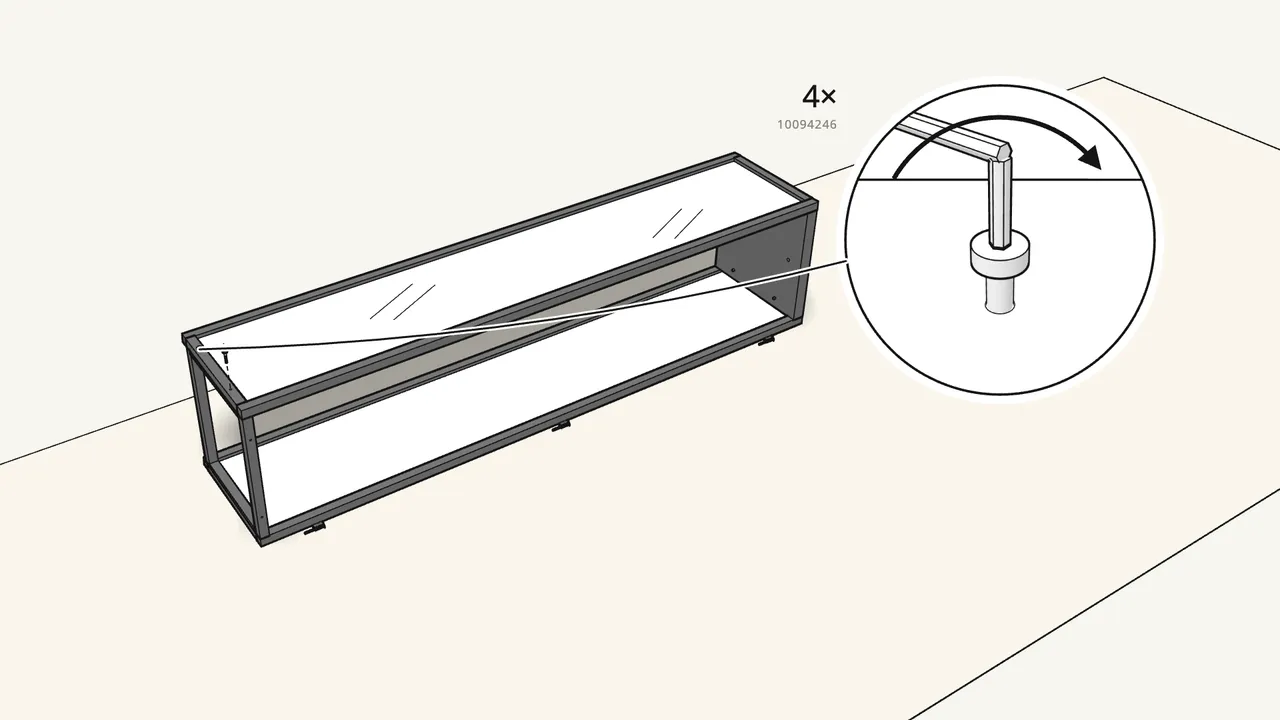
Slide the top frame in at the open end. Fix it with 4 screws.
Screws 10094246, 2 through each side panel — use the small Allen key 100092.
Step 4
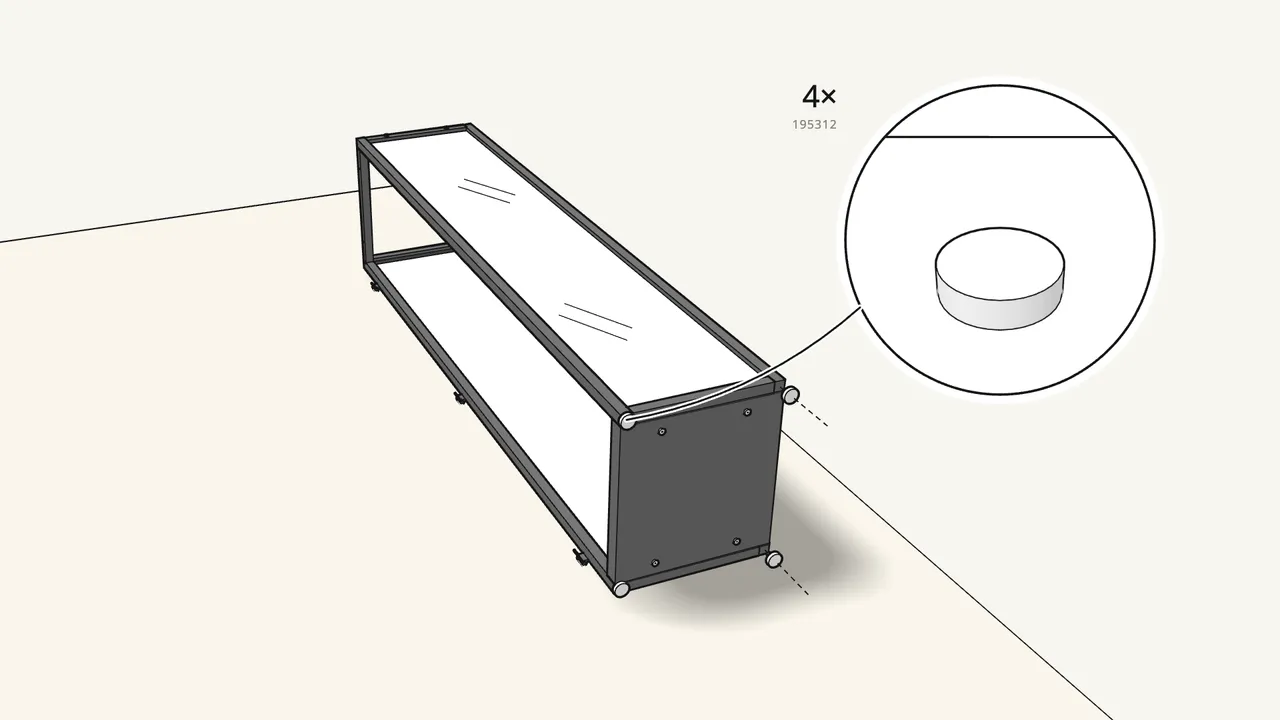
Screw an adjustable foot (195312) into each bottom corner.
Step 5
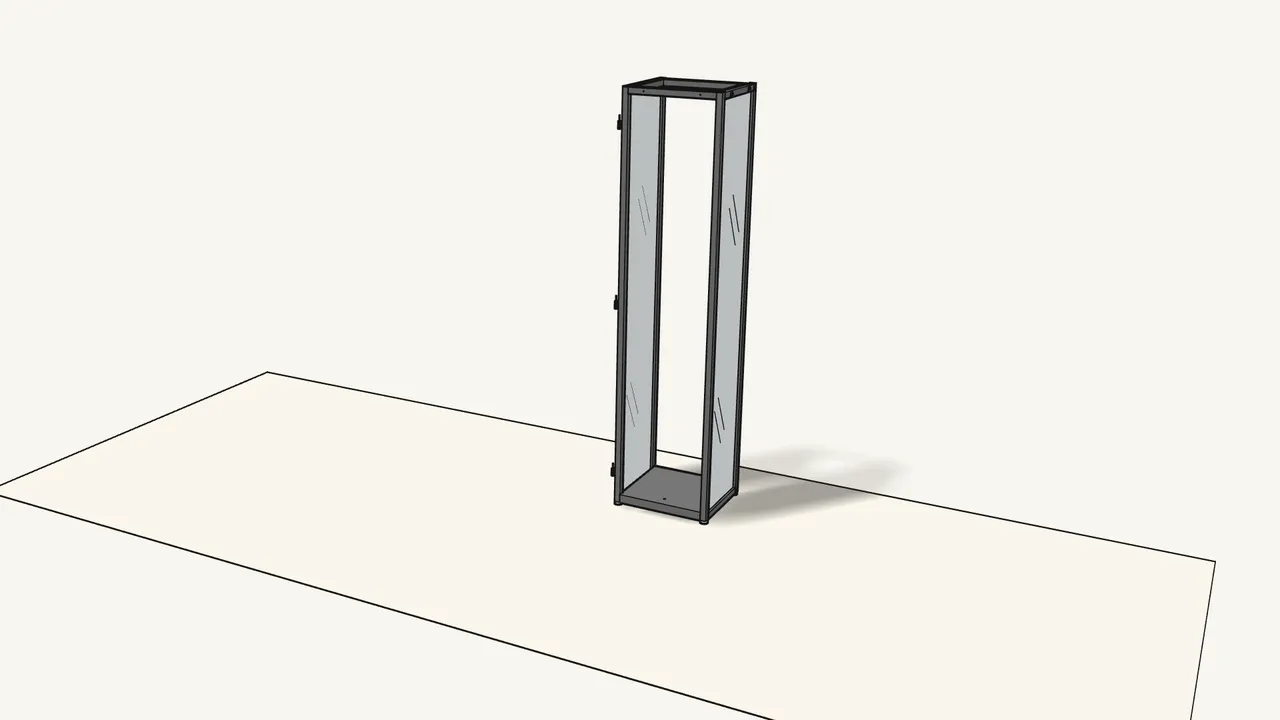
Stand the cabinet upright.
Step 6 · manual step 5
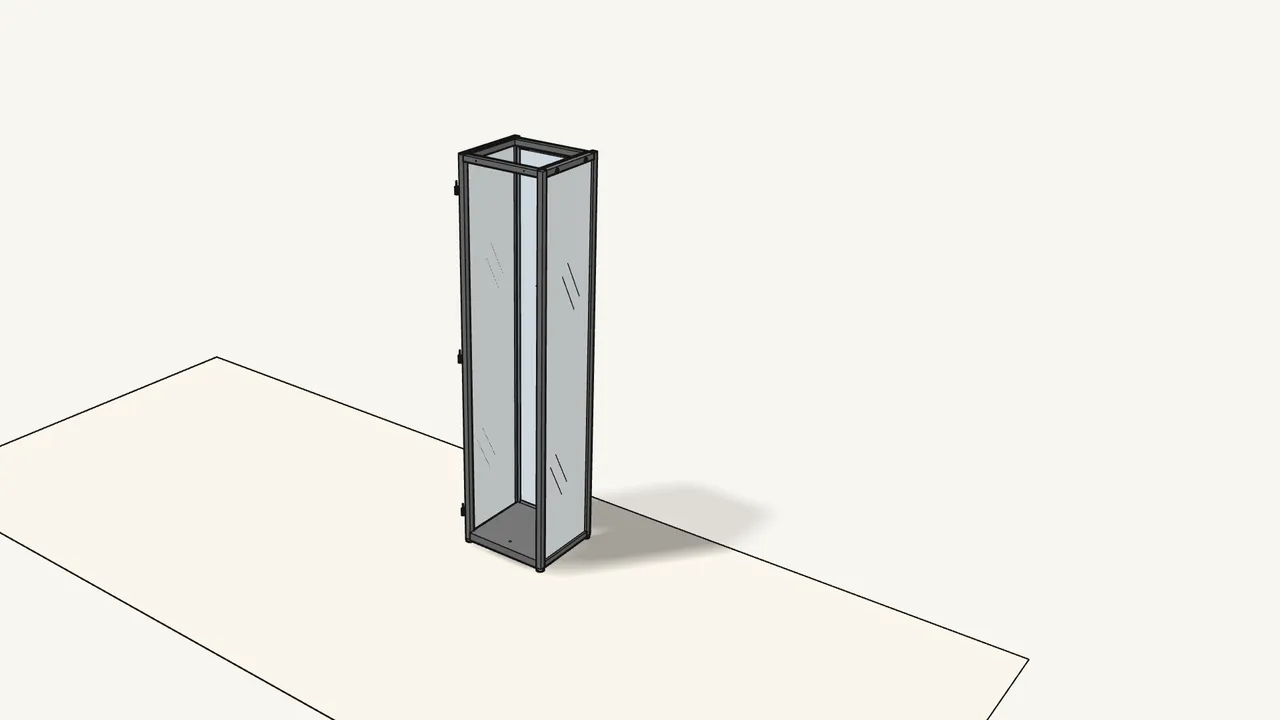
Slide the glass back panel down in from the top.
Make sure it sits in the groove at the bottom — see the manual, step 5.
Step 7 · manual step 6
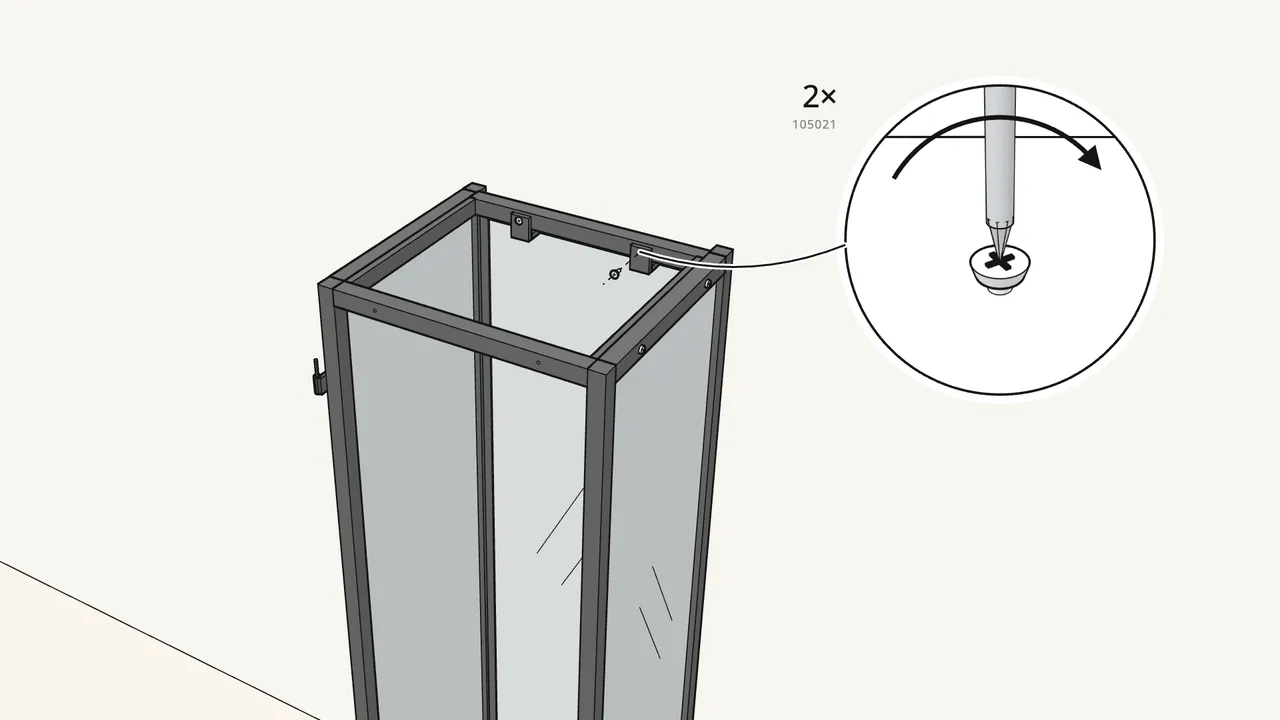
Hook 2 clips (10087193) over the back panel. Fix each with a screw (105021).
Two people: one holds the back panel in place.
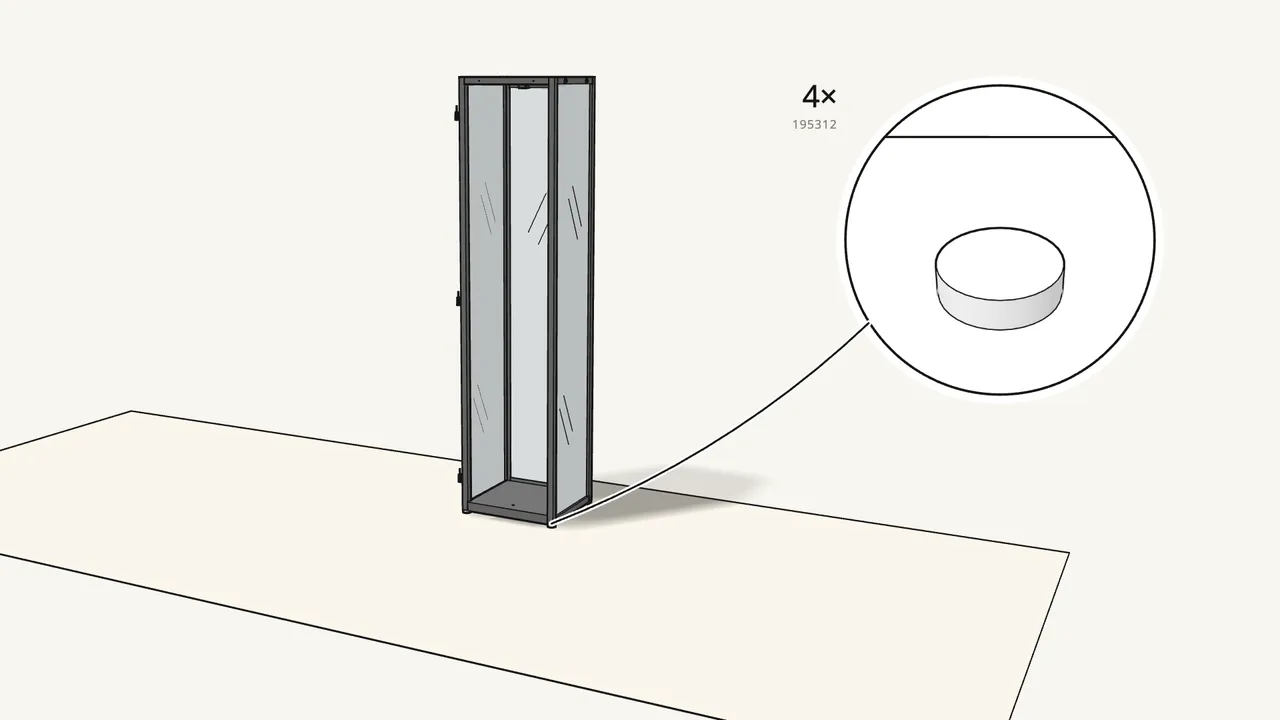
Step 8 · manual step 7–8
Turn the feet until the cabinet stands level.
Check with a spirit level. Then check both clips sit right — see the manual, step 8.
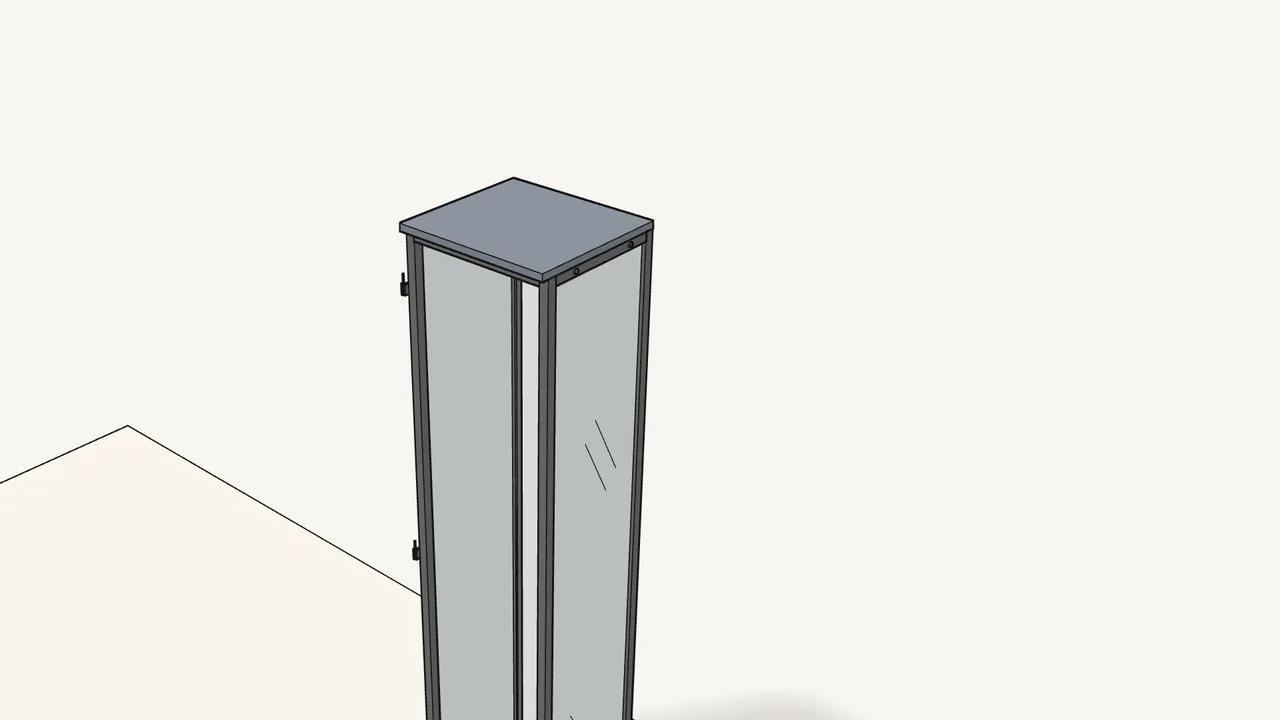
Step 9
Put the top on: hook it in at the back, then lower the front.
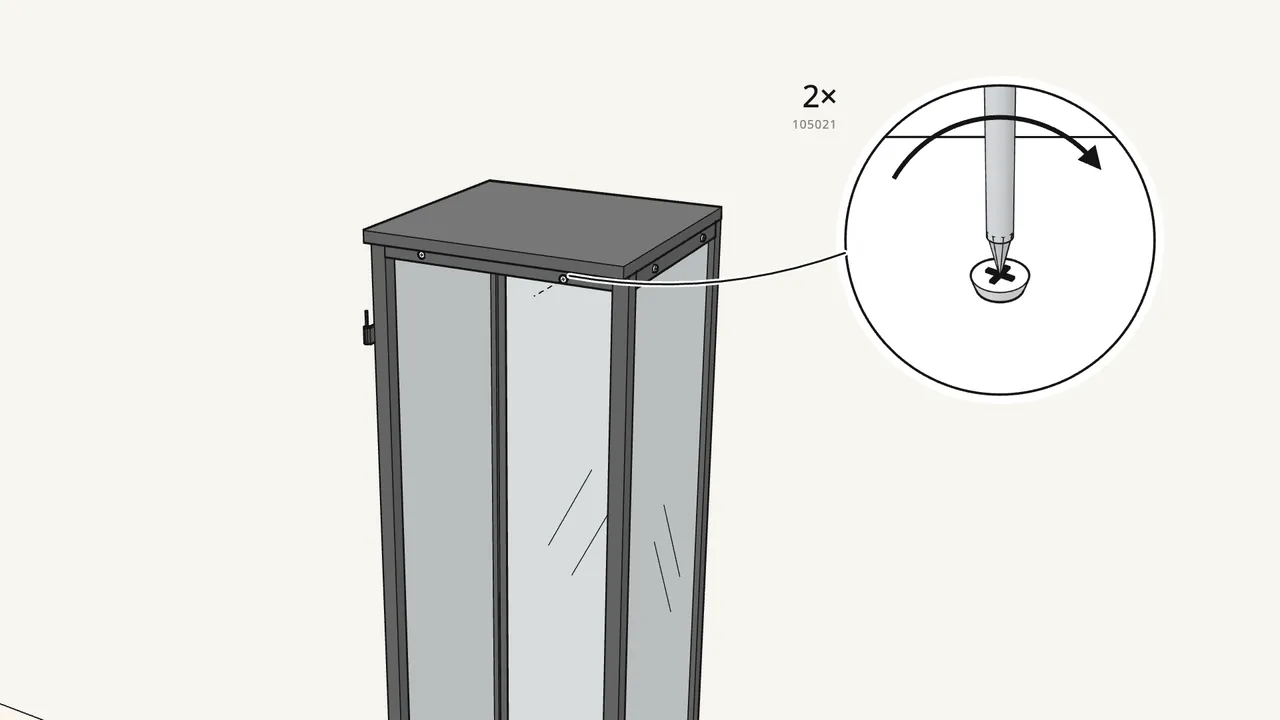
Step 10
Fix the top with 2 screws (105021).
Use the Phillips screwdriver — see the manual, step 10.
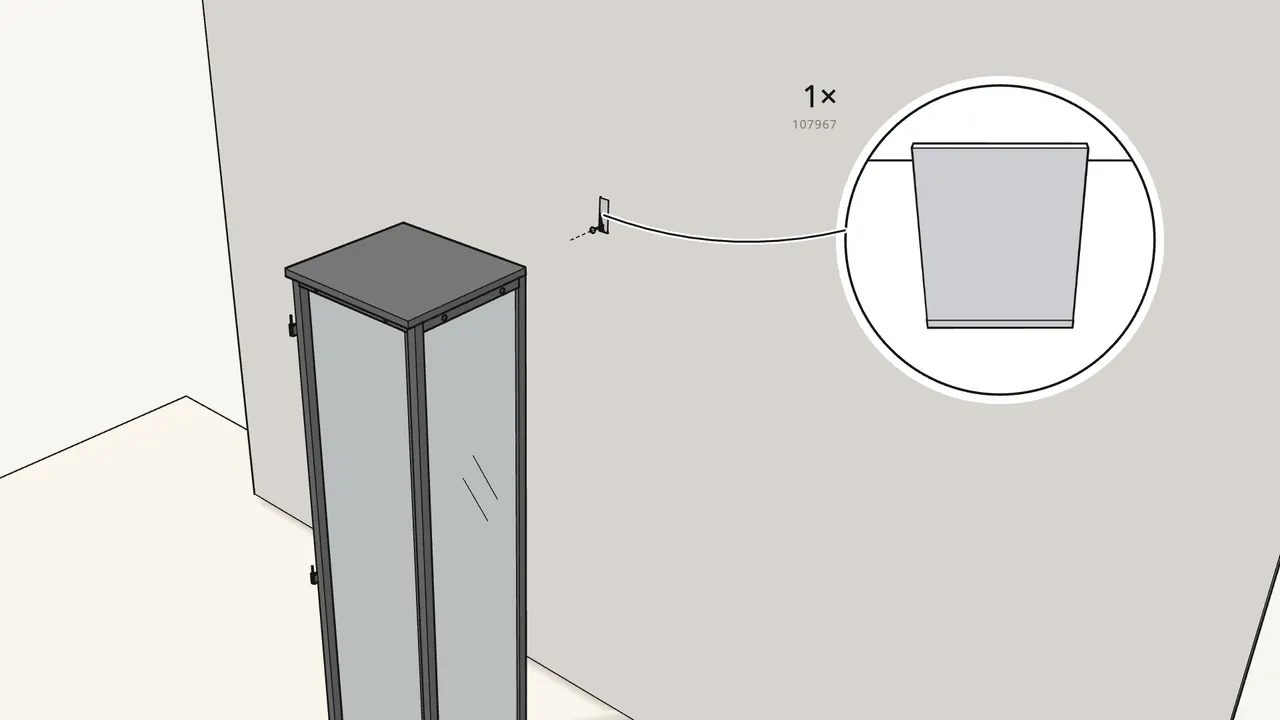
Step 11 · manual step 11–12
Against the wall, mark the top edge. Then screw the strap (107967) to the wall.
Wall screws and plugs are not included. Check the height in the manual, step 12.
Step 12 · manual step 13–14
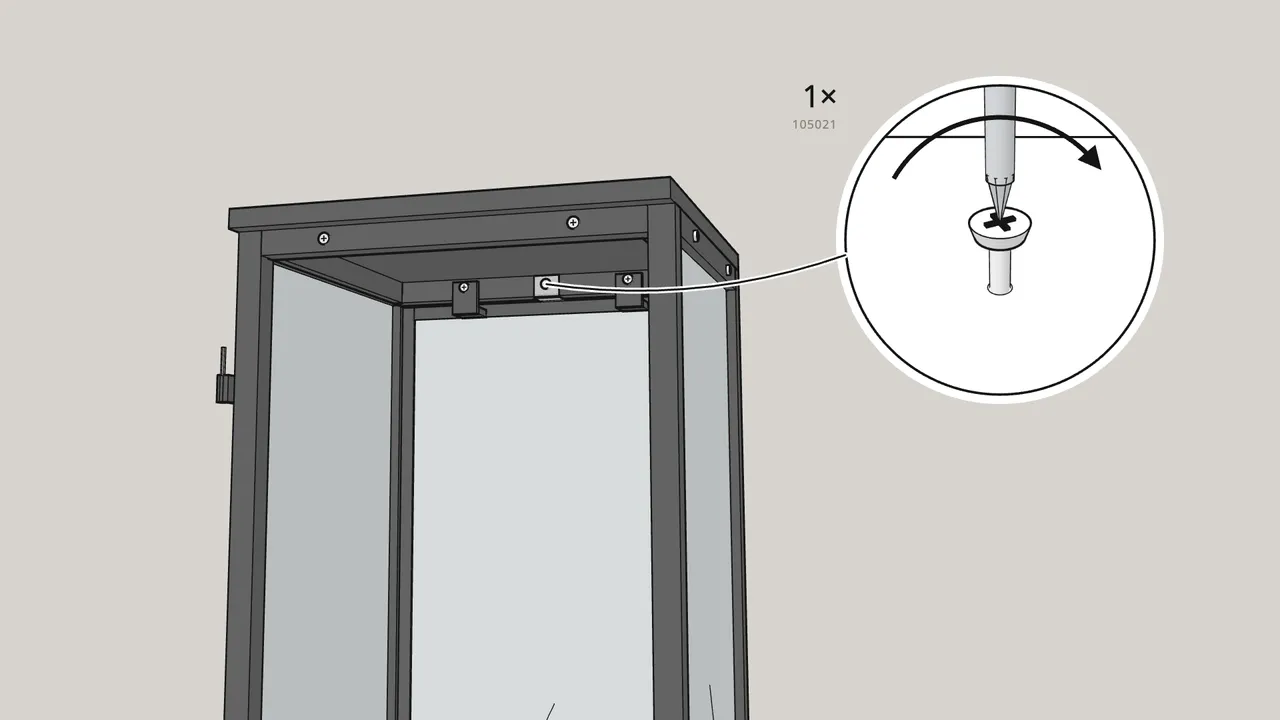
Push the cabinet back. Thread the strap into the slot and fix it with 1 screw (105021).
Step 13 · manual step 15
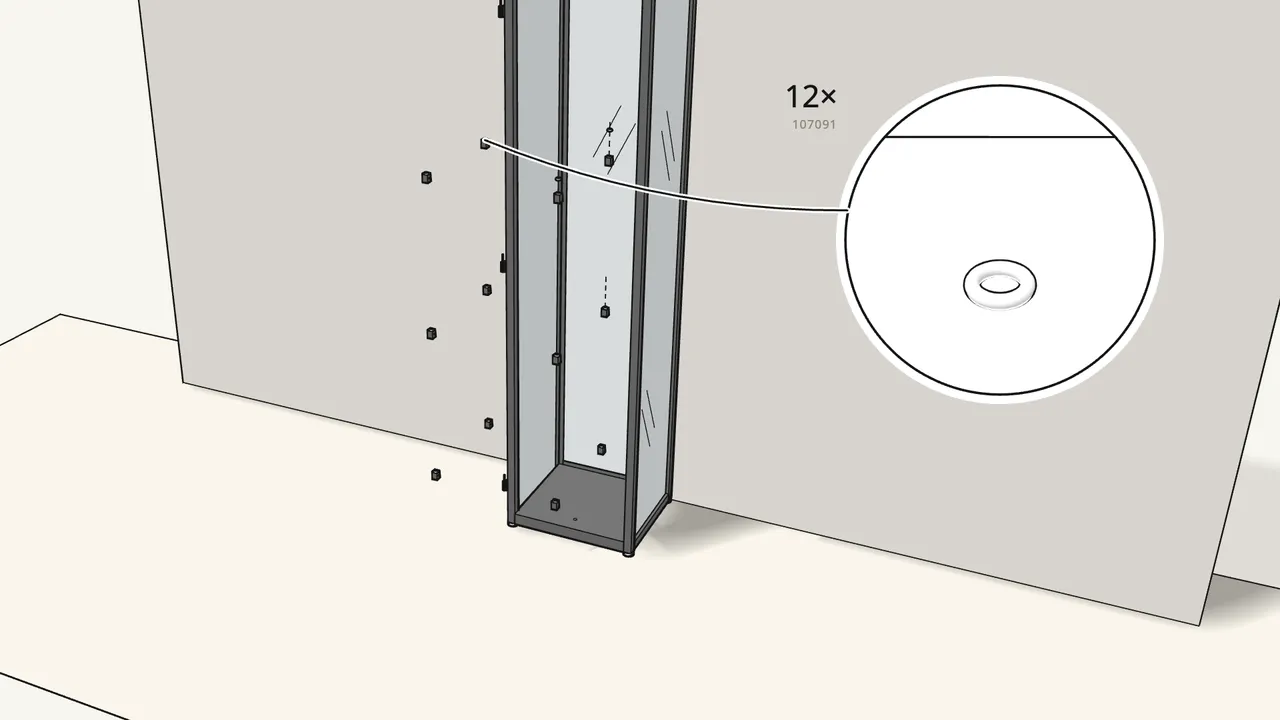
Press a pad (107091) into each of the 12 shelf clips (10082805).
The pads come on 6 sheets of 2.
Step 14 · manual step 16
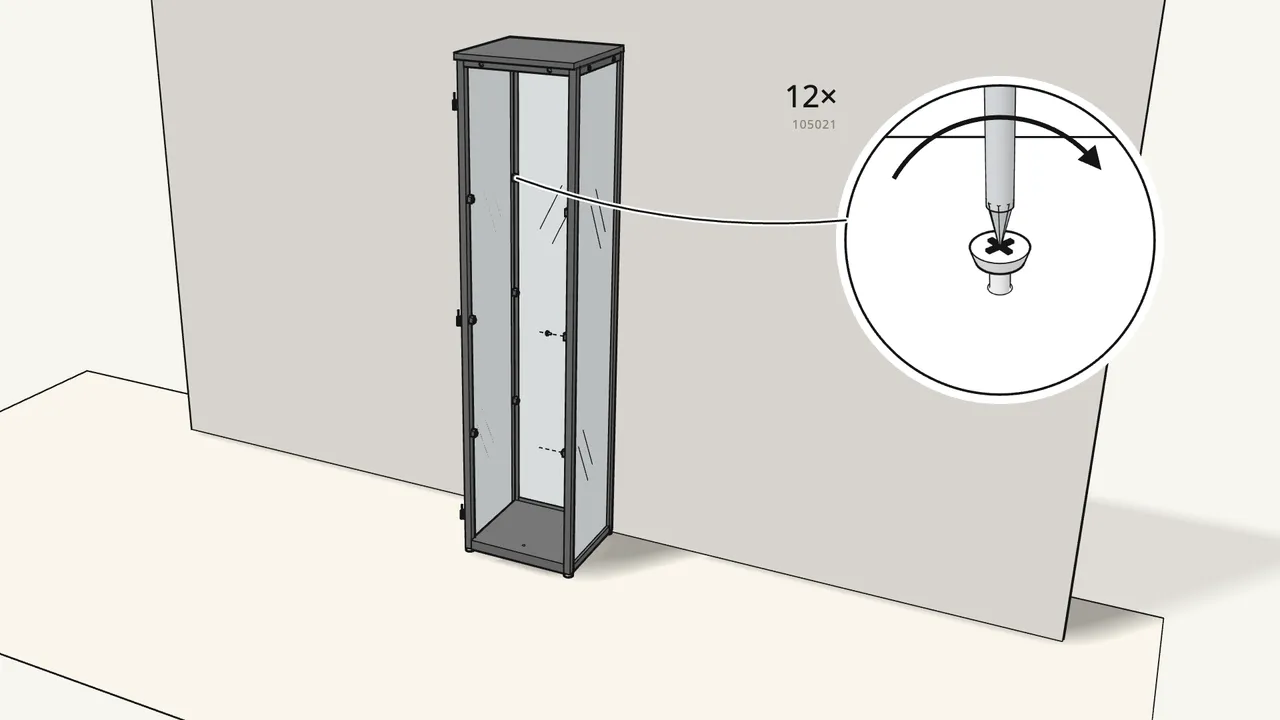
Screw the 12 clips onto the corner posts with 12 screws (105021).
Four clips per shelf, at the same height.
Step 15 · manual step 17
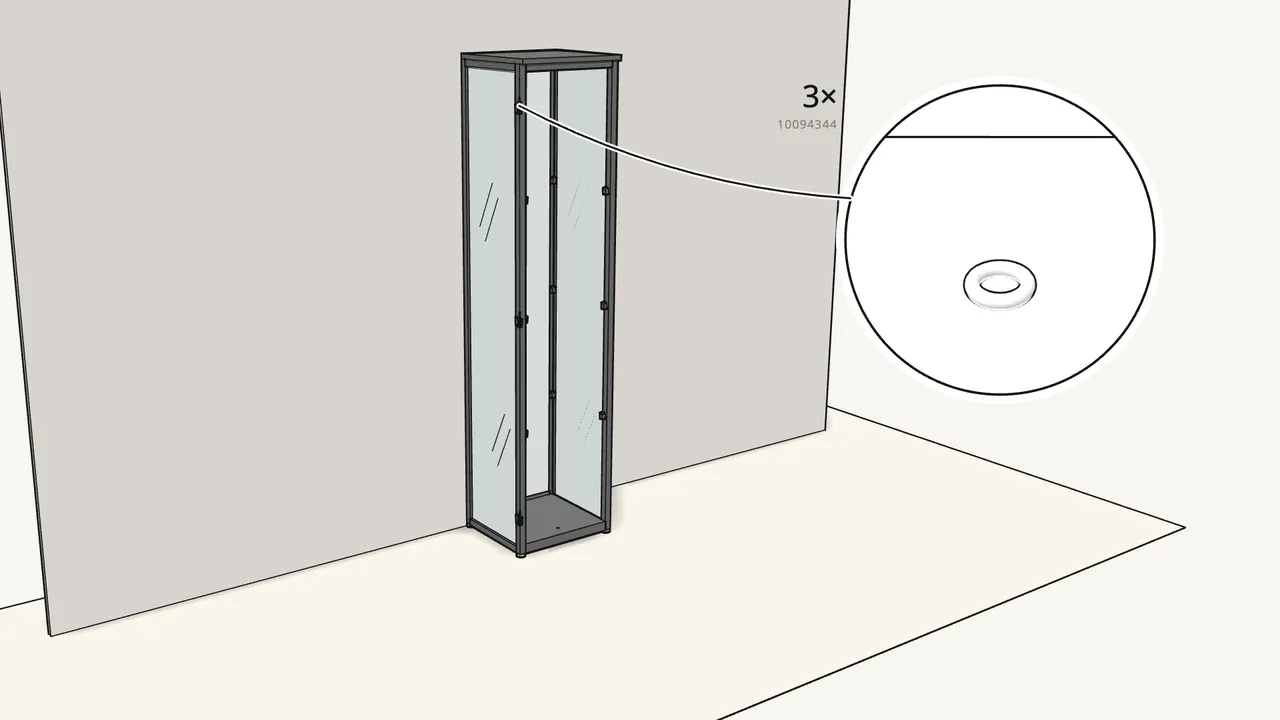
Drop a washer (10094344) onto each of the 3 hinge pins.
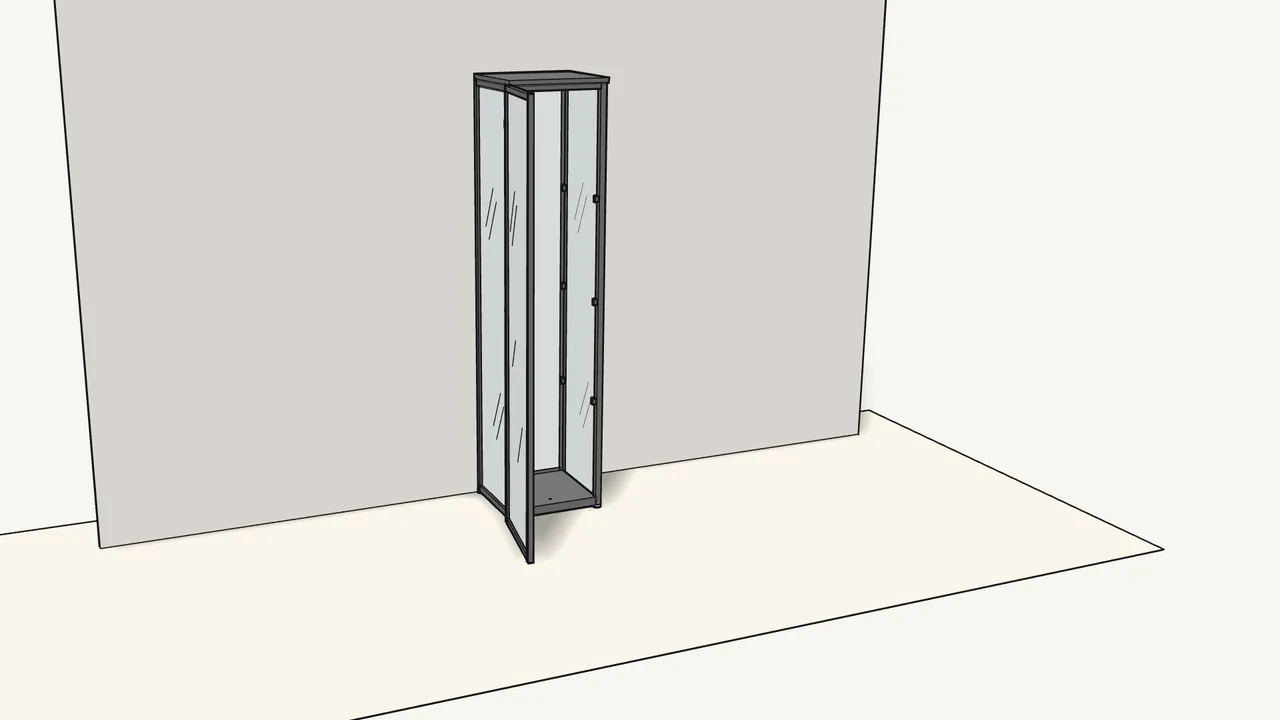
Step 16 · manual step 18
Lift the door onto the 3 hinge pins.
Two people — one holds the bottom of the door.
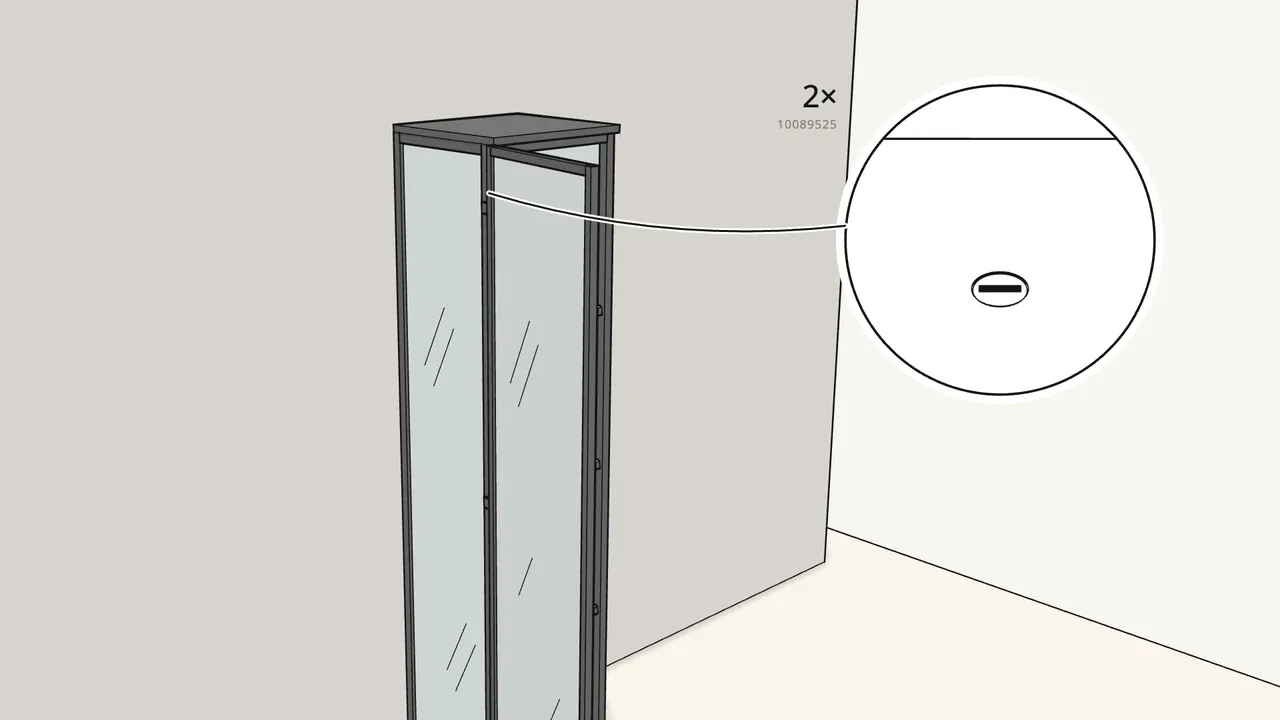
Step 17 · manual step 19
Fit the 2 hinge locks (10089525) with a screwdriver.
At the top and bottom hinges — see the manual, step 19.
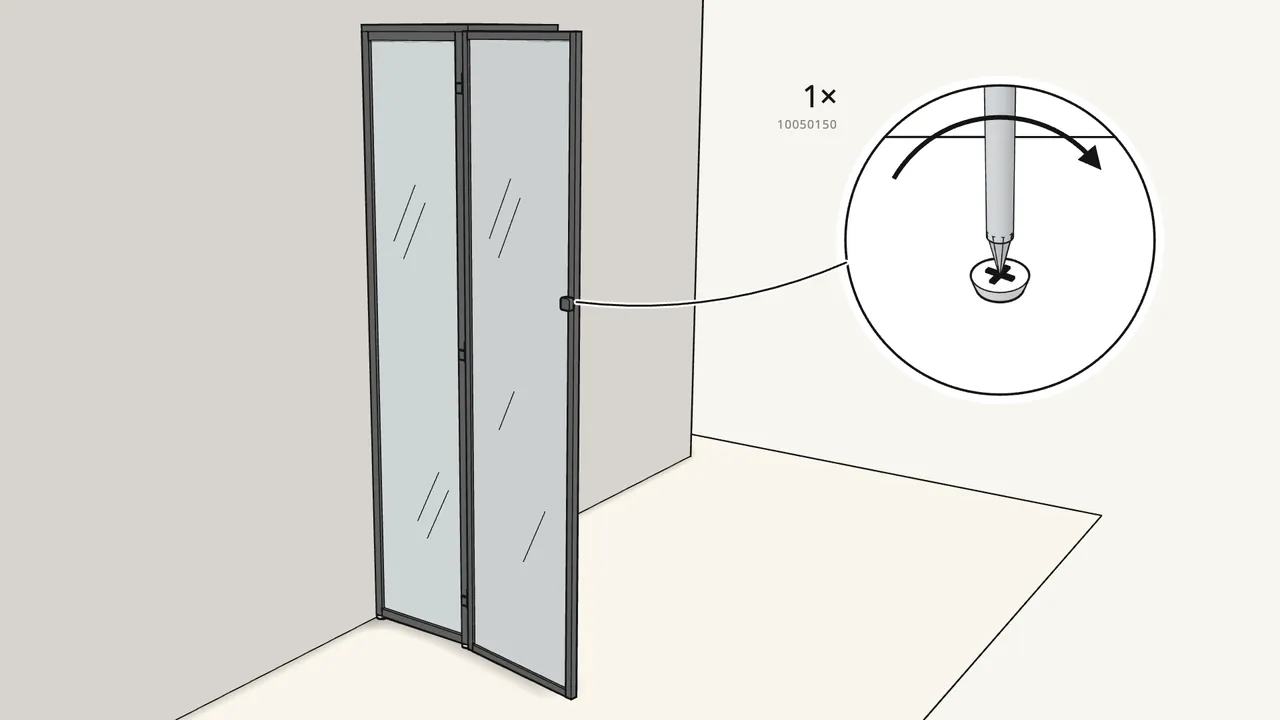
Step 18 · manual step 20
Fix the knob (10083273) to the door with screw 10050150.
The screw goes through the door frame into the knob.
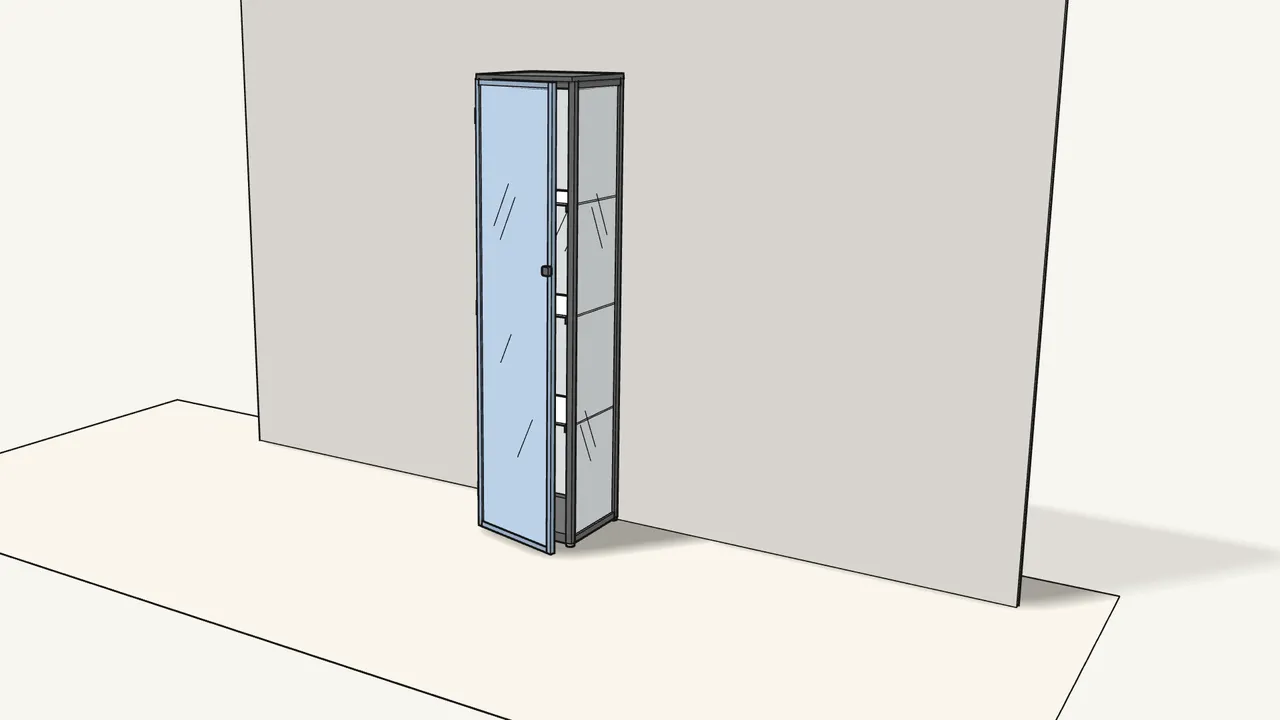
Step 19 · manual step 21
Lay the 3 shelves on the clips. Close the door.
Tips & safety
- Always fix BLÅLIDEN to the wall. Furniture tip-over can cause serious or fatal crushing injuries. Use wall screws and plugs suited to your wall.
- Missing a part or unsure about a step? The manual asks you to contact your IKEA store for help.
Official instructions
This guide follows IKEA’s official assembly instructions (AA-2344862-5). Keep the printed manual to hand — if anything differs, the manual is right.



