IKEA · Cabinets & Wardrobes
How to Assemble IKEA BESTÅ Frame
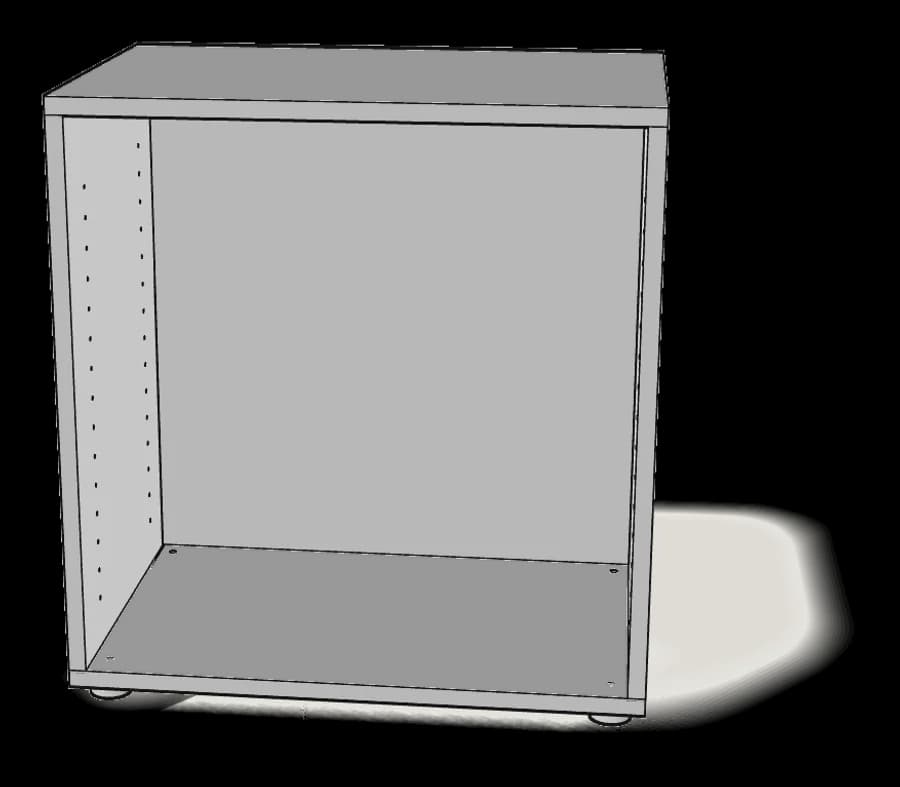
Step-by-step IKEA BESTÅ frame assembly: 15 illustrated steps, an animated video, the hardware list and the tools you need — following the official instructions (AA-1272068-11).
- 15 illustrated steps
- 14 steps in the manual
- 2:23 video
- 60×40×64 cm
What you need
Tools
- Flat-head screwdriver
- Phillips screwdriver
- Allen key (included)
- Spirit level
Hardware in the box
| Part no. (as printed in the manual) | Qty |
|---|---|
| 130618 | 8× |
| 114667 | 2× |
| 122971 | 8× |
| 133189 | 4× |
| 126916 | 2× |
| 100006 | 1× |
| 141414 | 2× |
| 141413 | 2× |
| 133194 | 2× |
| 114949 | 2× |
| 114947 | 4× |
| 108064 | 1× |
Step-by-step assembly
Step 1
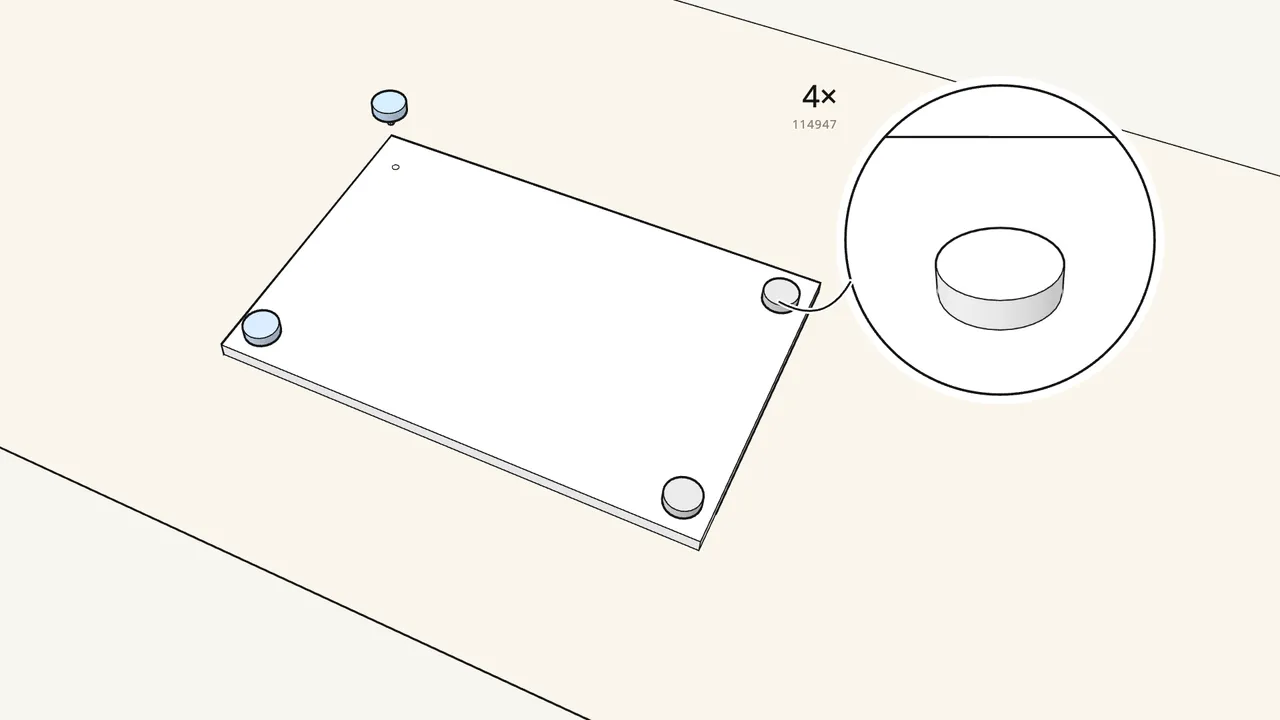
Screw the 4 feet (114947) into the bottom panel.
Lay the panel on the rug and turn each foot in by hand.
Step 2
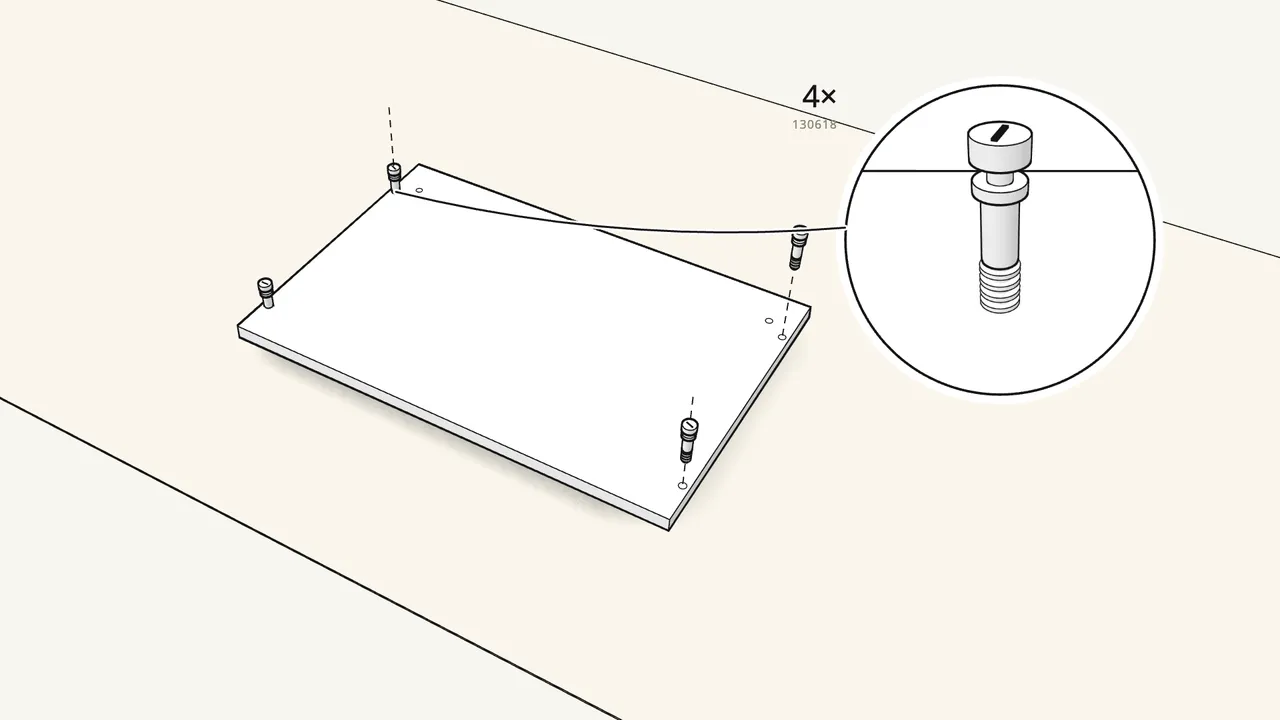
Turn the panel over and screw in 4 cam bolts (130618).
Use a screwdriver by hand — not a drill.
Step 3
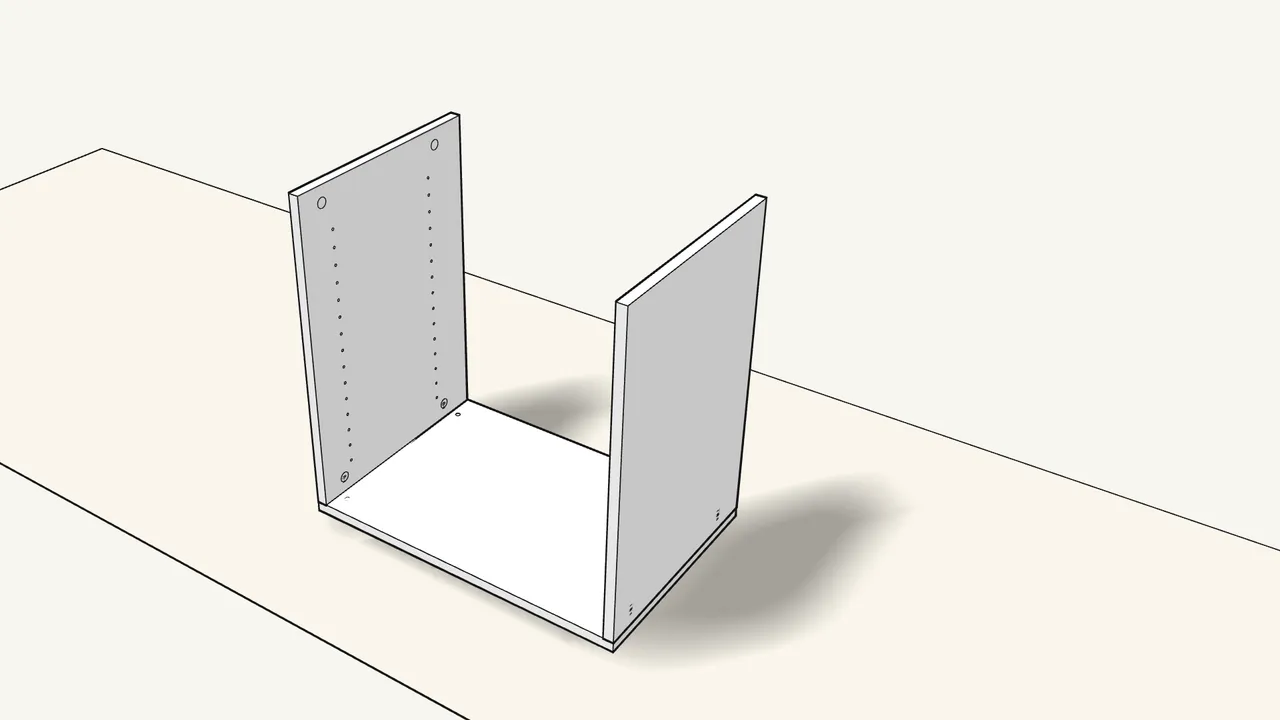
Lower both side panels onto the bolts.
The rows of shelf holes face inwards.
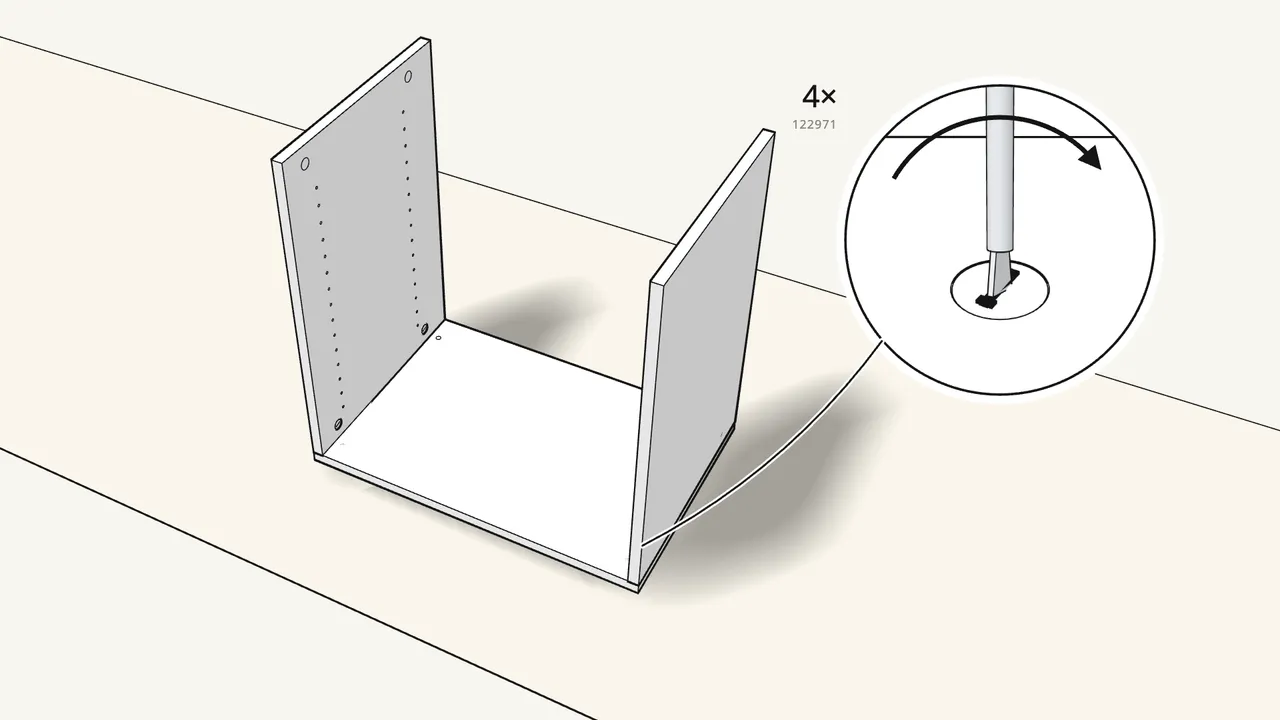
Step 4
Insert 4 cam locks (122971) and turn them clockwise.
Use the flat-head screwdriver.
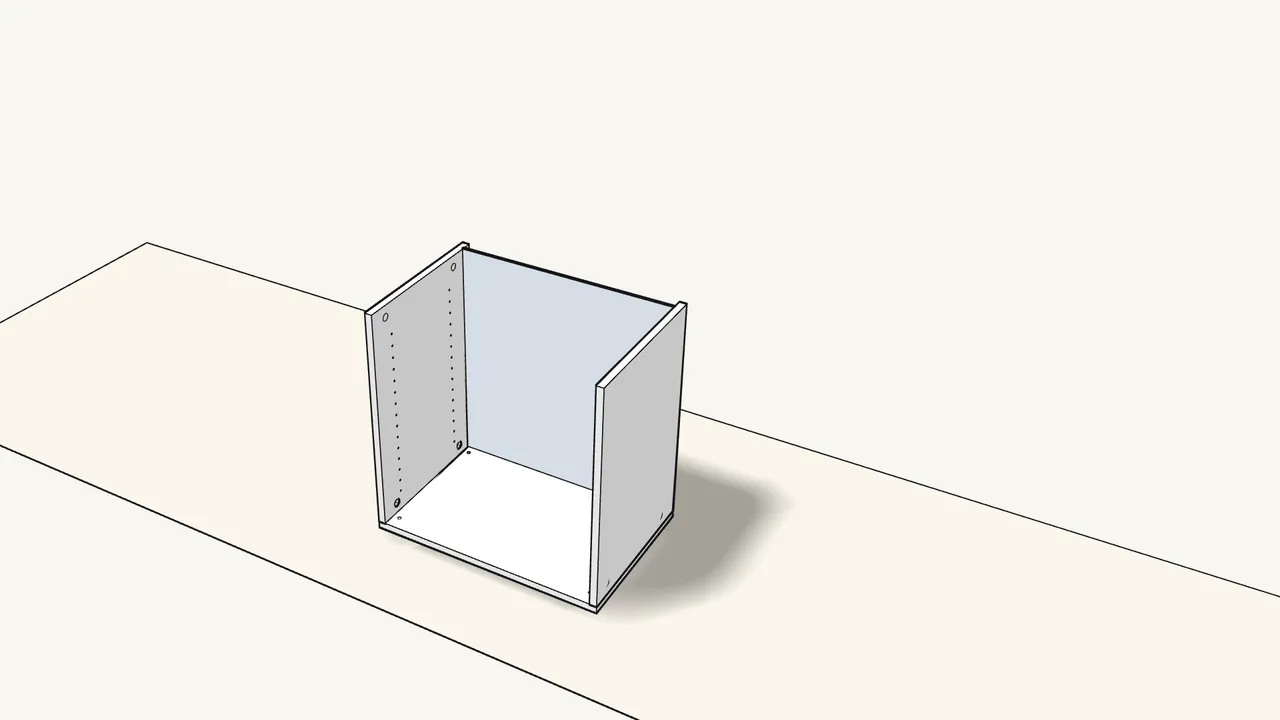
Step 5
Slide the back panel down into the grooves.
Push it all the way down.
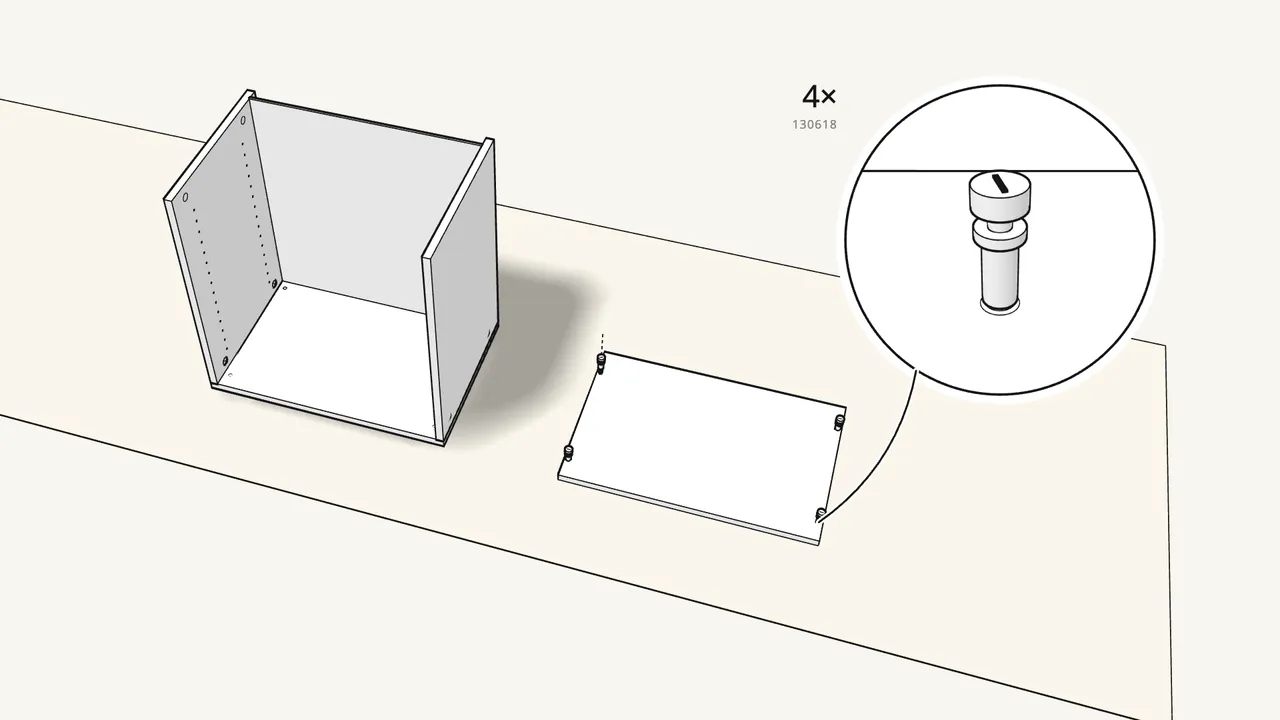
Step 6
Screw 4 cam bolts (130618) into the top panel.
Lay it on the rug. Screwdriver by hand — not a drill.
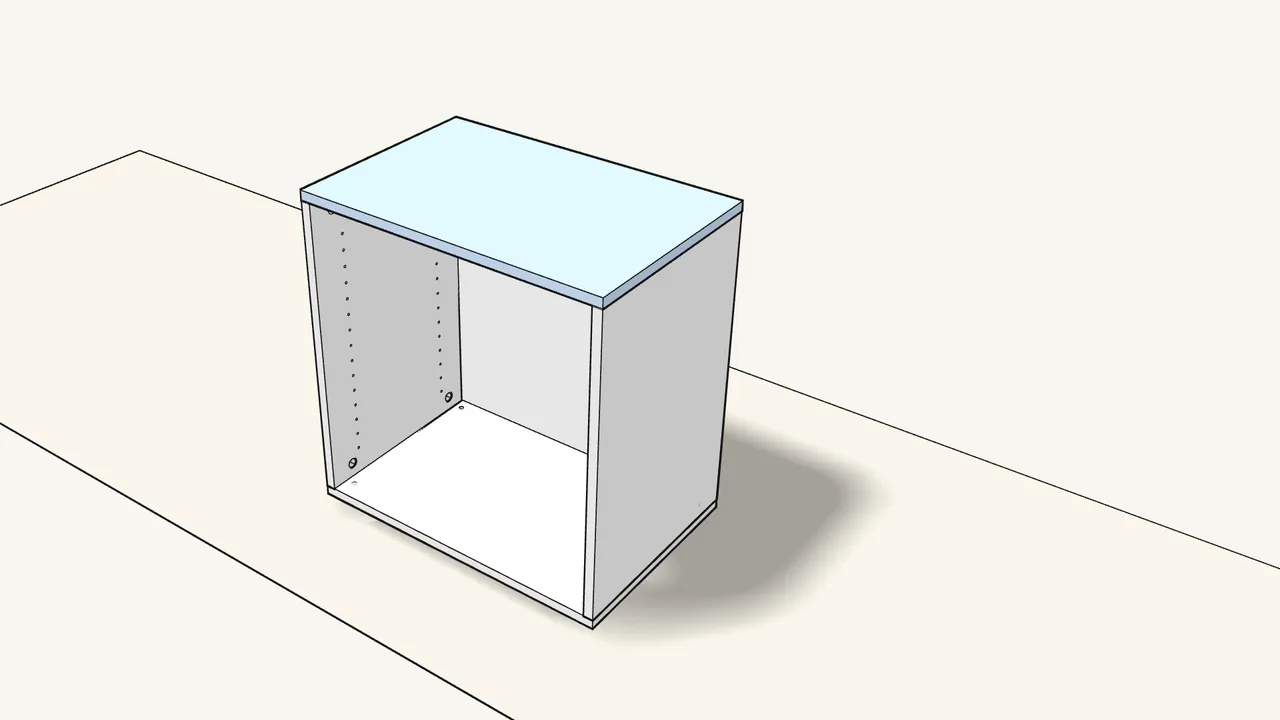
Step 7
Turn the top panel over and lower it onto the sides.
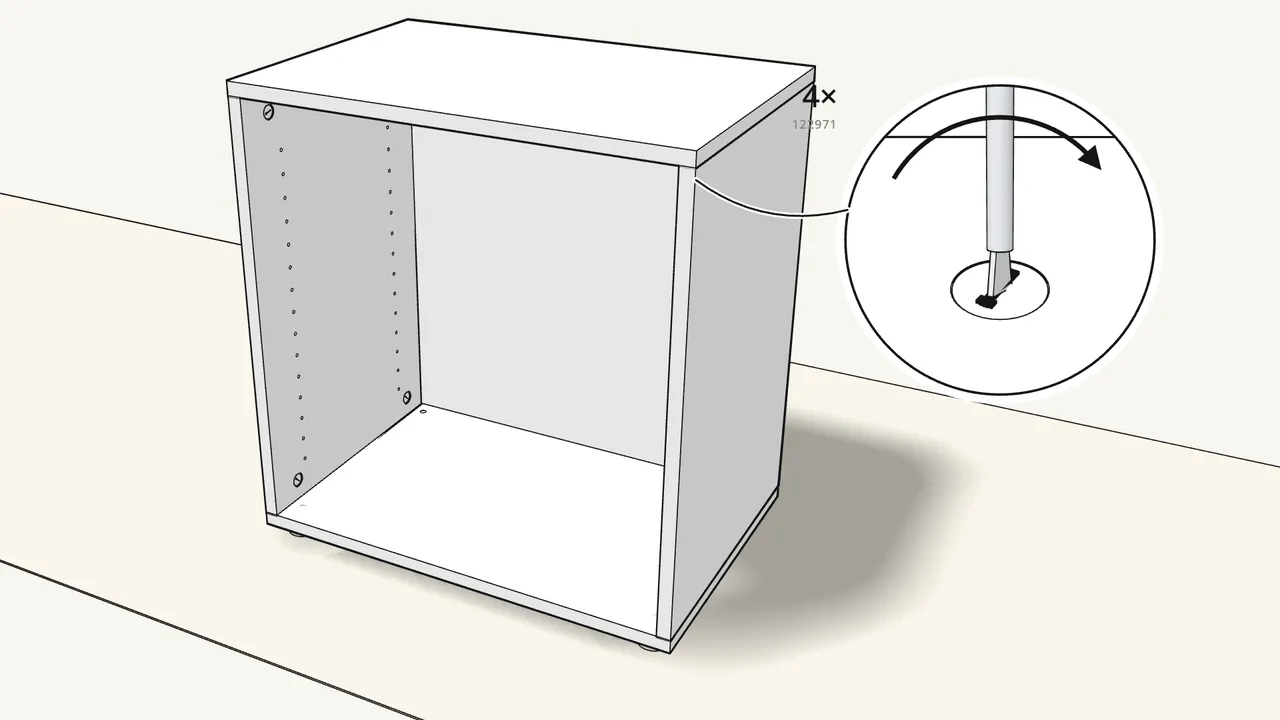
Step 8
Insert 4 more cam locks (122971) and turn them clockwise.
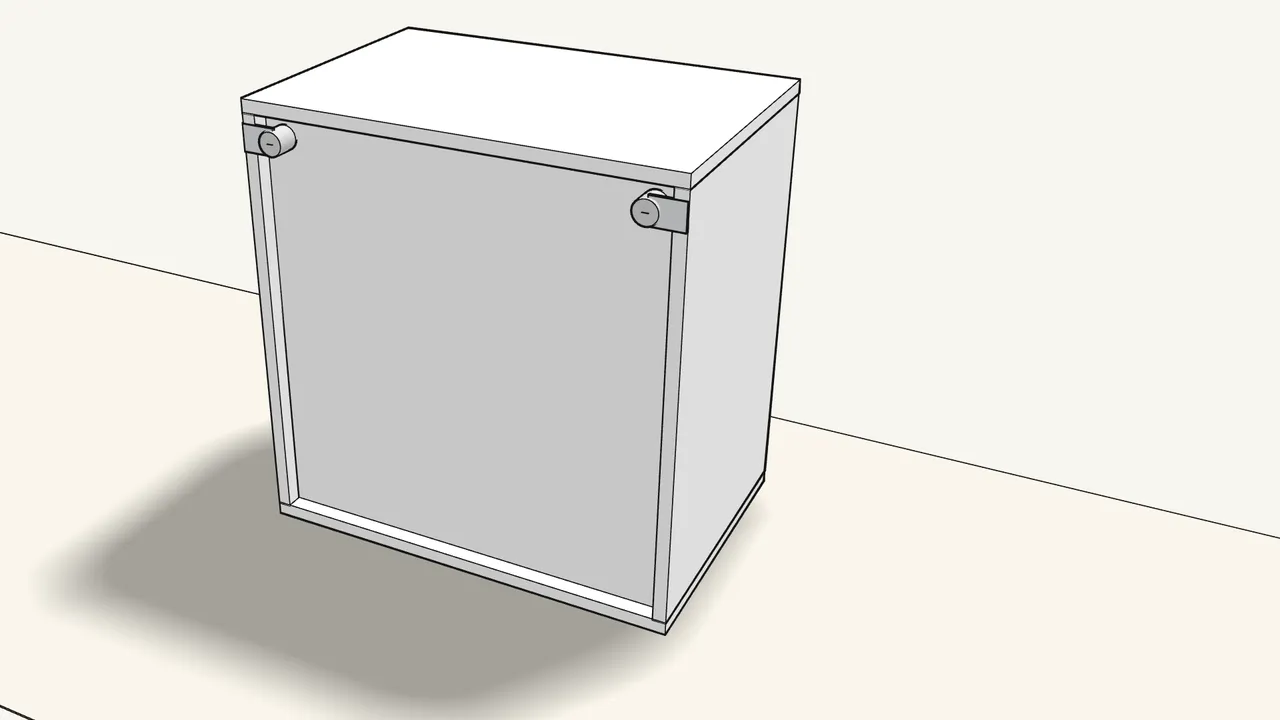
Step 9
Press 2 wall fittings (141413) into the back edges of the sides.
Top corners, pegs into the 2 small holes.
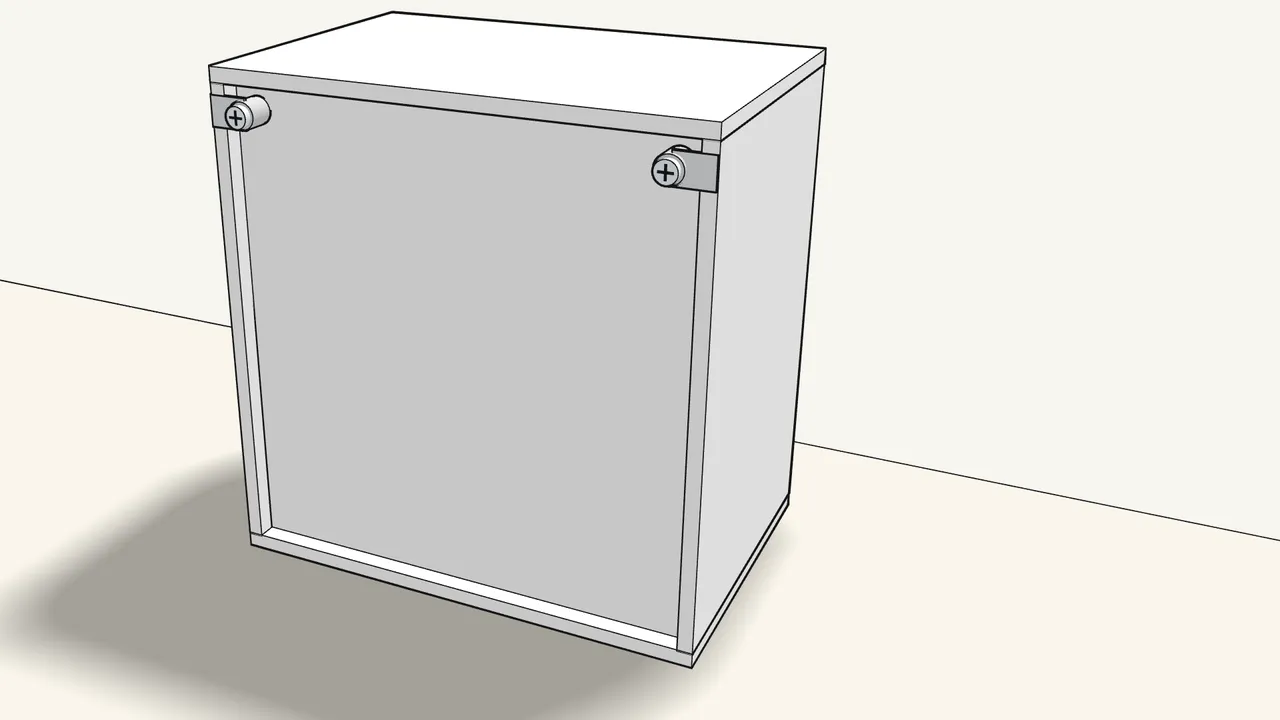
Step 10
Skirting board? Screw a knob (141414) onto each wall fitting.
No skirting board: leave the knobs off and go to step 12.
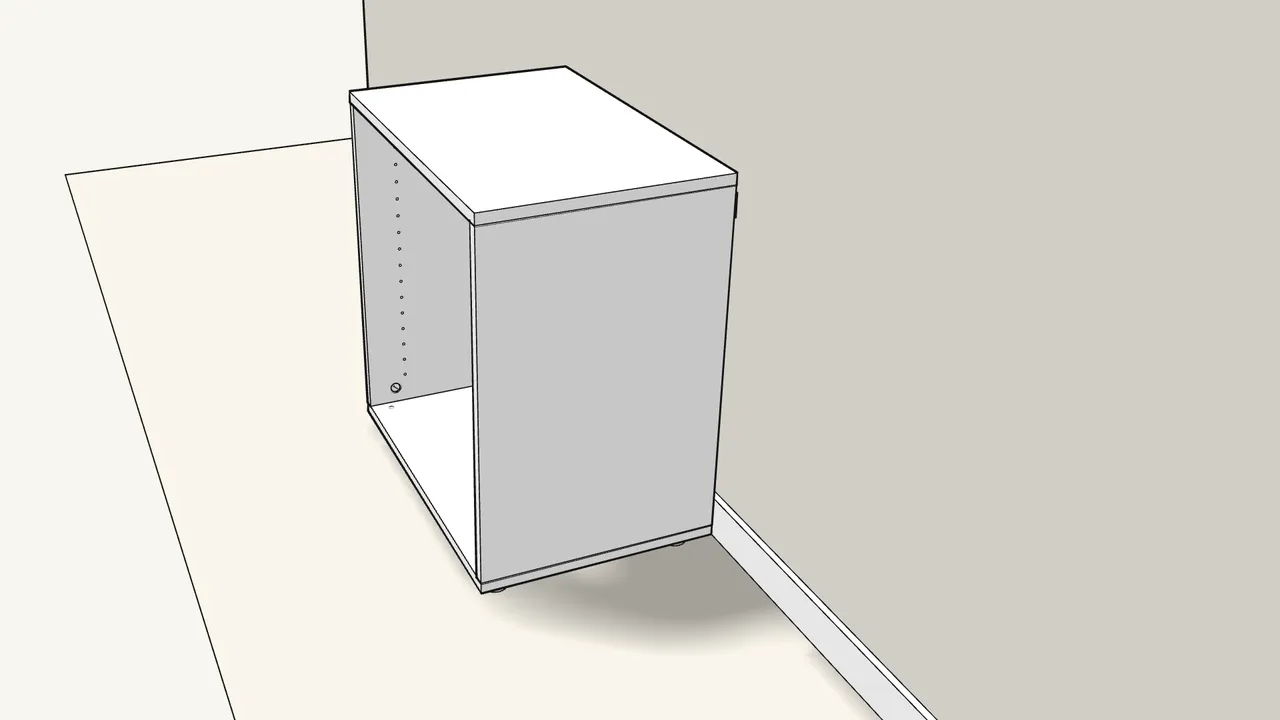
Step 11
Push the frame back against the wall.
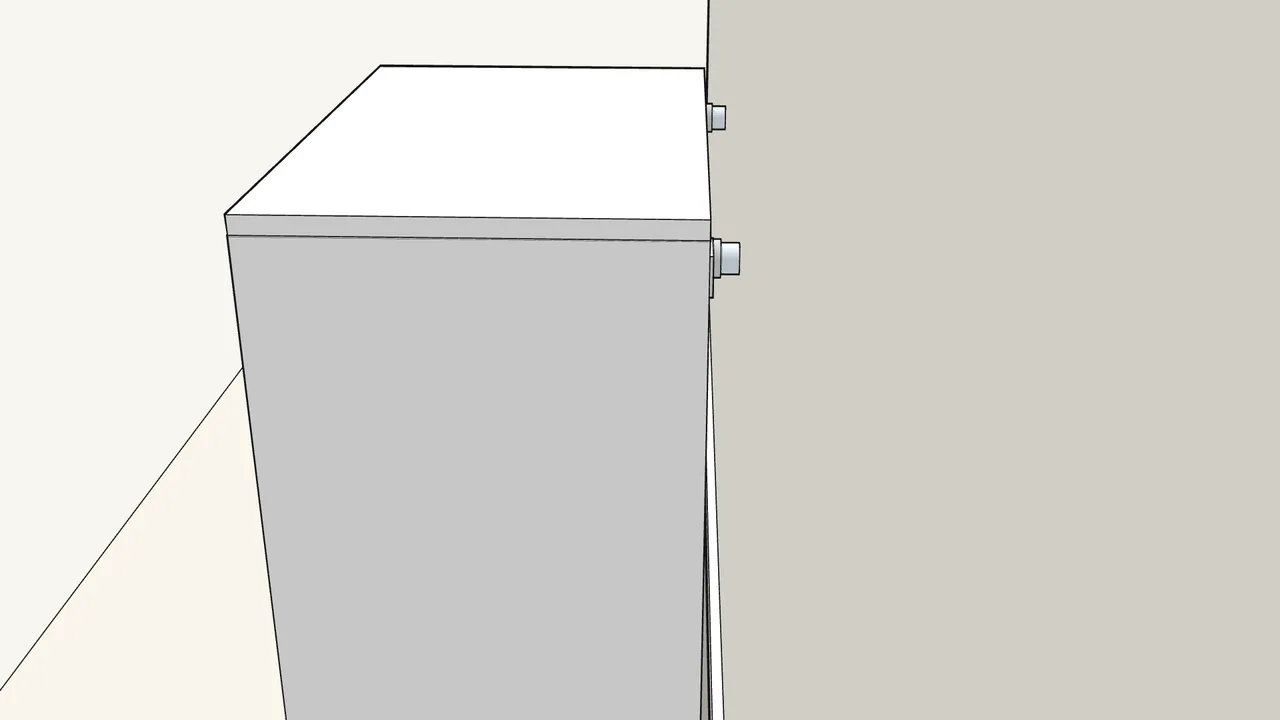
Step 12 · manual step 11
Turn both knobs by hand until they touch the wall.
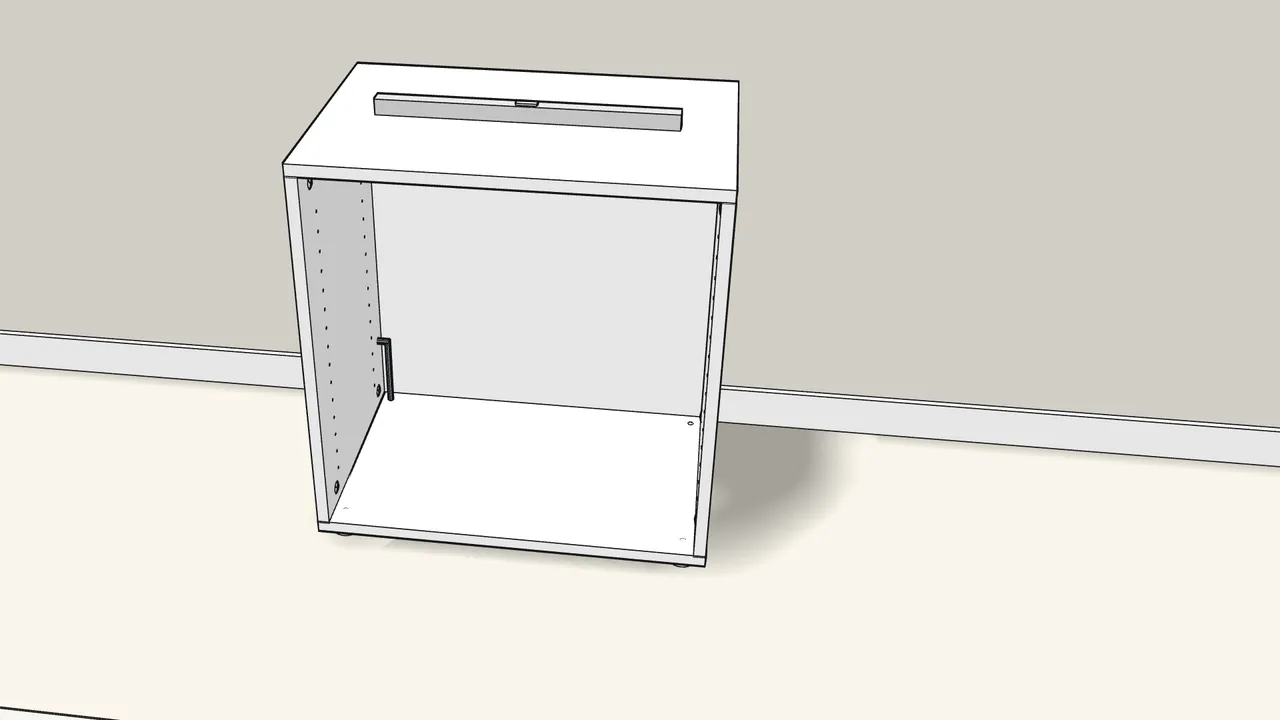
Step 13 · manual step 12
Level it side to side: adjust the 2 back feet with the Allen key.
Reach them through the holes in the bottom panel.
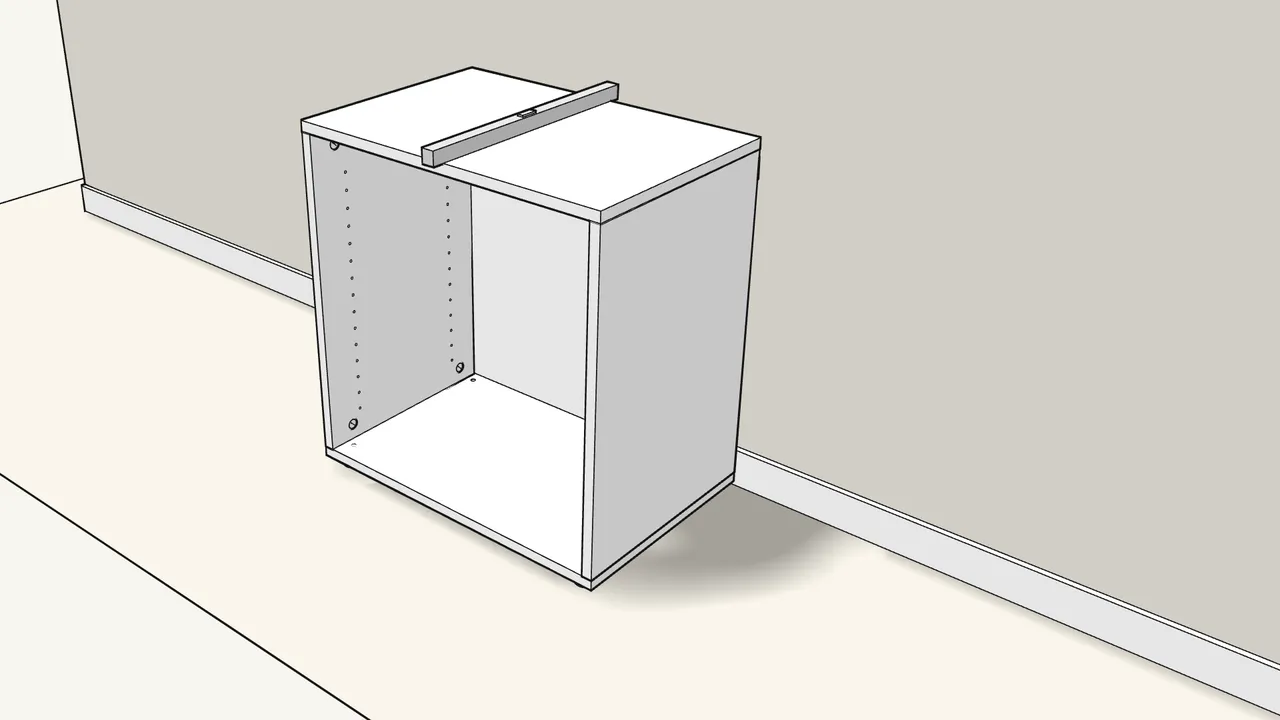
Step 14 · manual step 13
Level it front to back: turn the 2 front feet by hand.
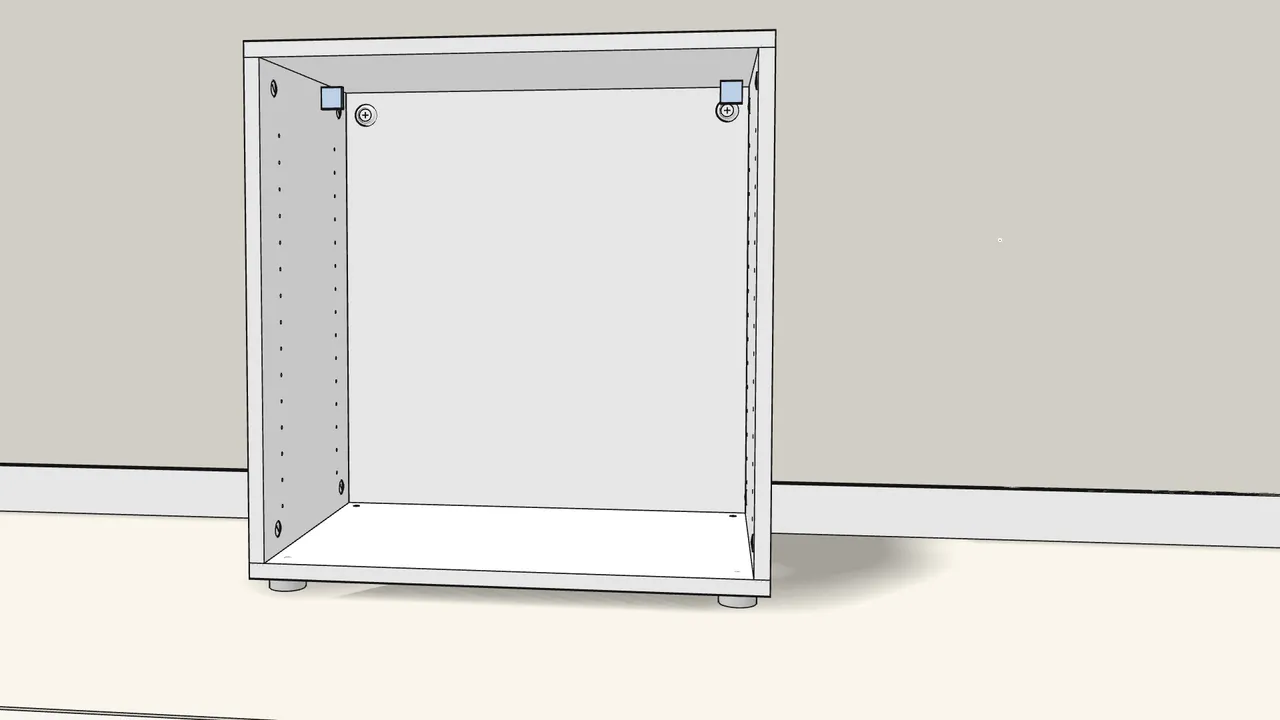
Step 15 · manual step 14
Screw through 2 washers (126916) to fix the frame to the wall.
Wall screws are not included. Then click a cover (133194) over each washer.
Tips & safety
- Always fix the frame to the wall. Furniture tip-over can cause serious or fatal crushing injuries. Ask your hardware store which wall screws suit your wall.
- Stacking or hanging frames? Stacking: manual p. 19–23 (clips 114949, felt pads 108064). Wall-hung: 4 plugs (133189) replace the feet, plus the BESTÅ suspension rail (sold separately).
- Joining two frames side by side? Screw them together with the 2 screws (114667) — see manual p. 24.
Official instructions
This guide follows IKEA's official assembly instructions (AA-1272068-11). Keep the printed manual to hand — if anything differs, the manual is right.