IKEA · Bookcases & Shelving
How to assemble IKEA VILTO Towel Stand
Step-by-step IKEA VILTO Towel Stand assembly: 9 illustrated steps, an animated video, the hardware list and the tools you need — following the official instructions (AA-2012110-7).
- 9 illustrated steps
- 8 steps in the manual
- 1:47 video
- 46×36×160 cm
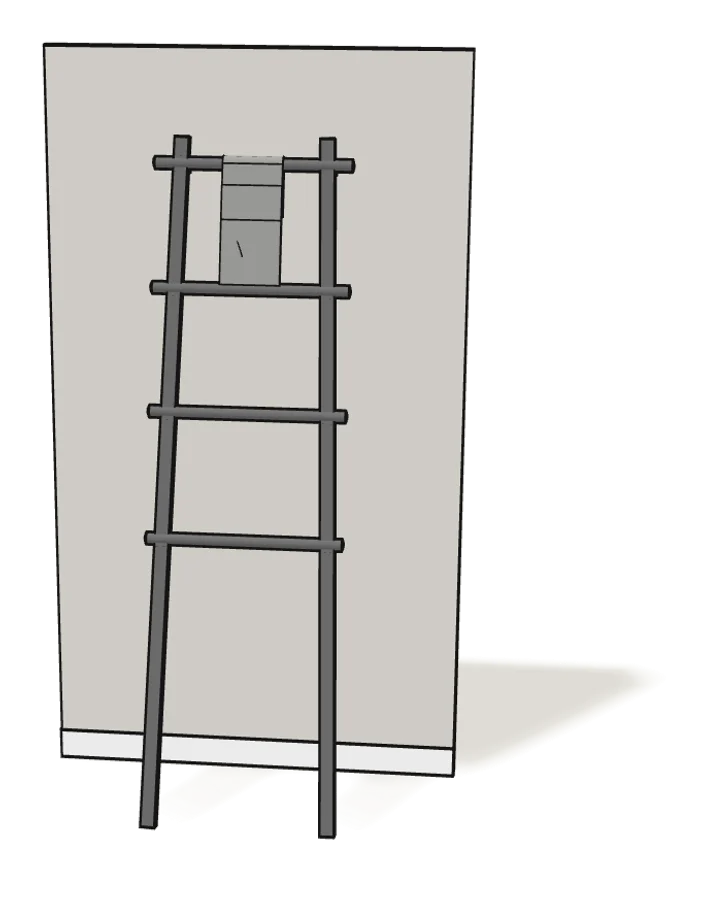
What you need
Tools
- Phillips screwdriver
You’ll need: a Phillips screwdriver and a pencil.
Hardware in the box
| Part no. (as printed in the manual) | Qty |
|---|---|
| 157435 | 8× |
| 157433 | 4× |
| 158216 | 2× |
| 158217 | 2× |
Step-by-step assembly
Step 1
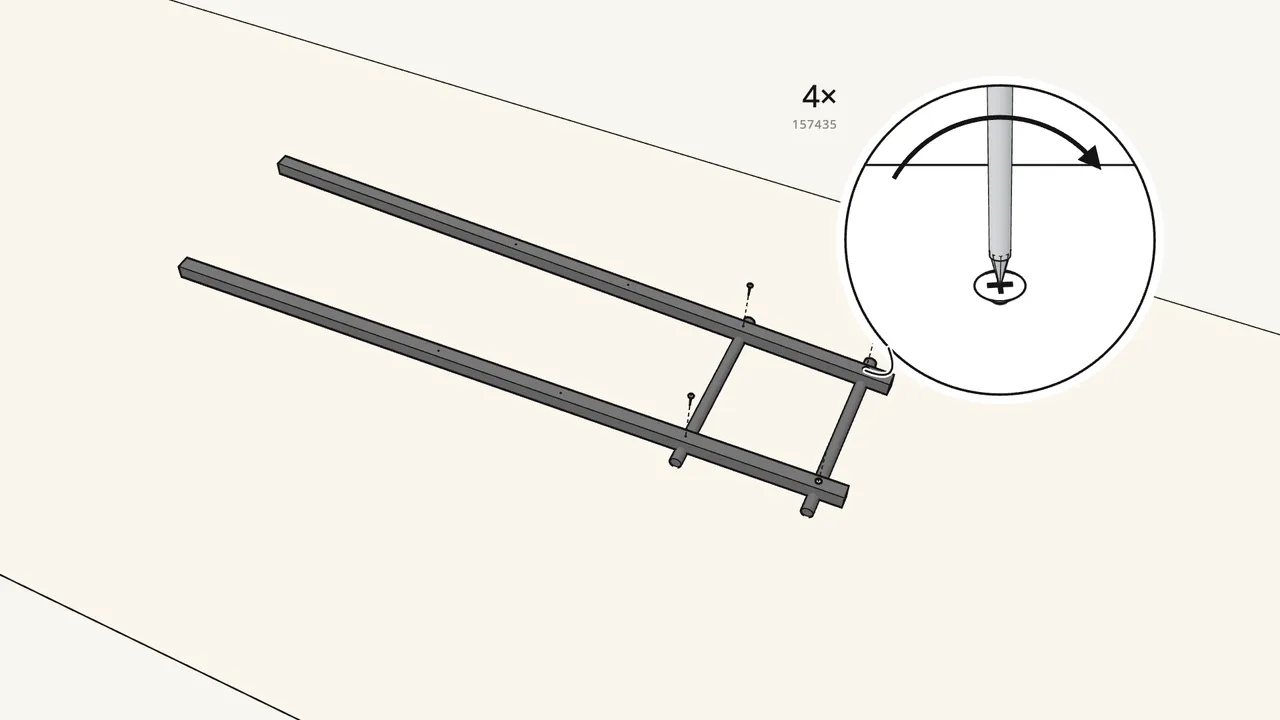
Lay the 2 rails on the top 2 rungs and fix them with 4 screws (157435).
Pick the 2 rungs the manual’s warning box shows — the screw holes differ. Use the long 157435 screws.
Step 2
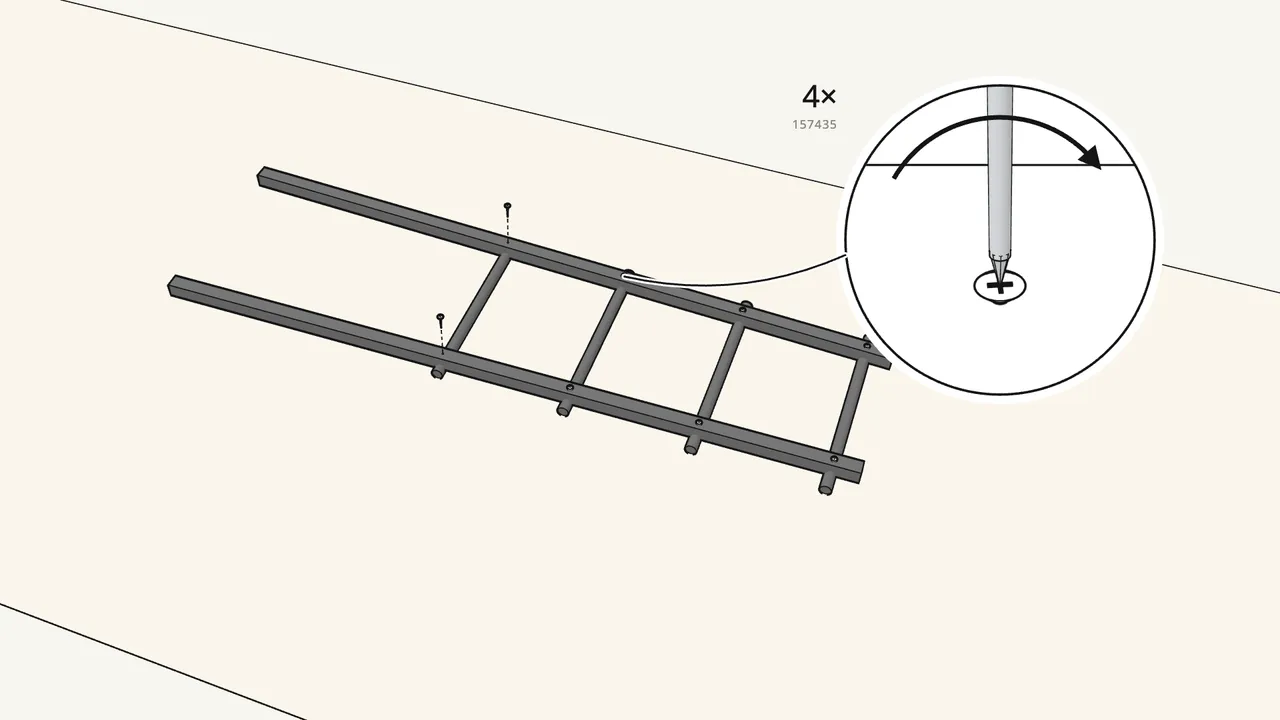
Fit the other 2 rungs with 4 more screws (157435).
Not the short 157433 screws — those are for the brackets.
Step 3
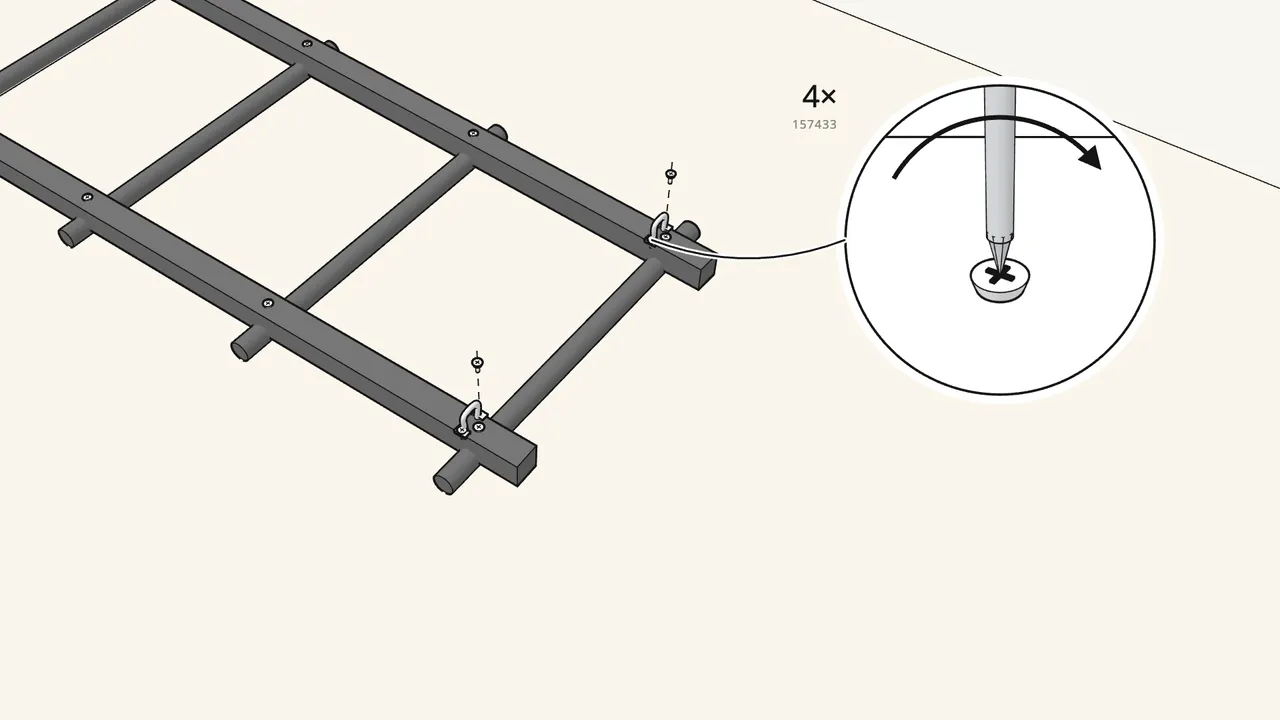
Screw the 2 U-brackets (158217) to the top ends of the rails.
2 short screws (157433) each. Check the way round in the manual, step 3.
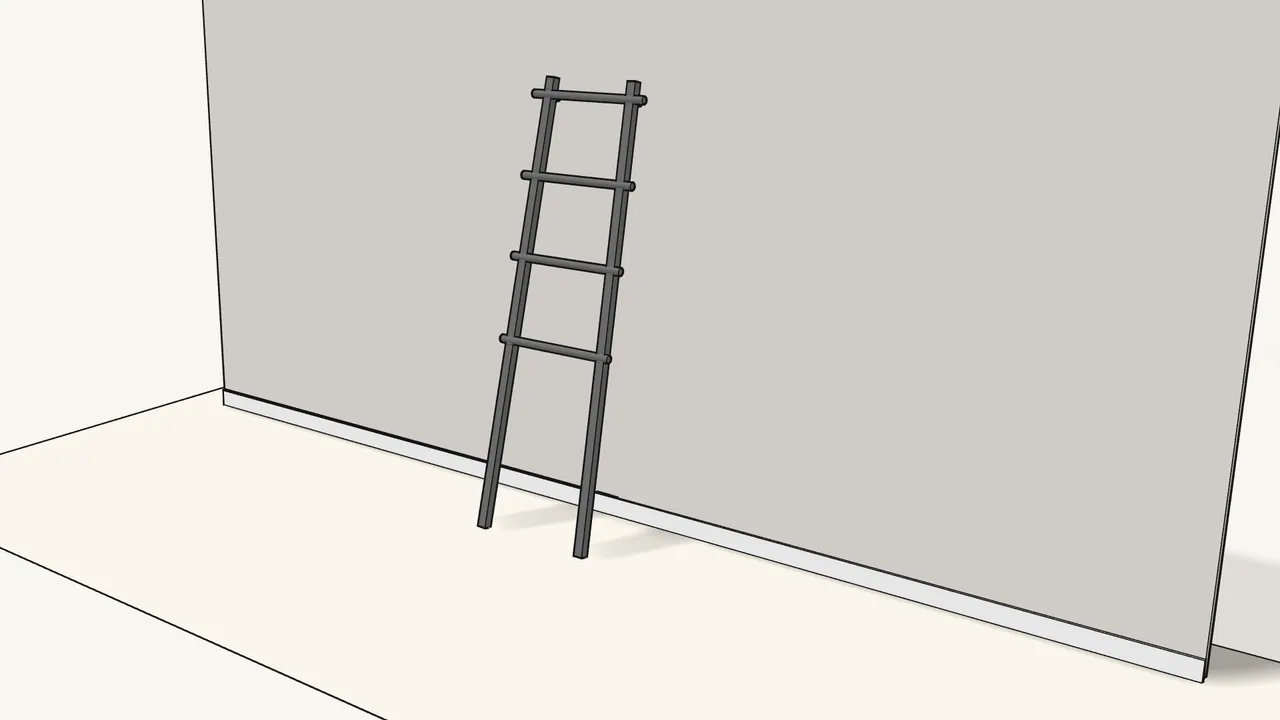
Step 4
Stand the ladder up and lean it against the wall.
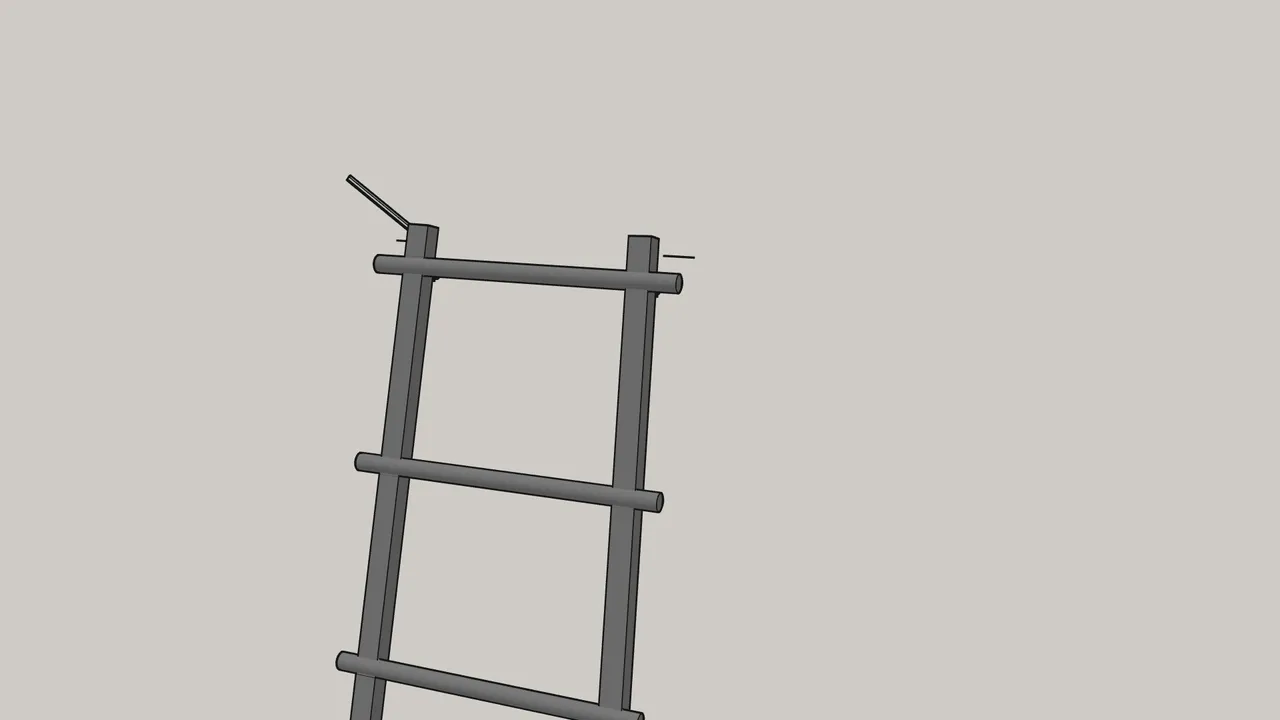
Step 5 · manual step 4
Mark the wall beside the 2 brackets with a pencil.
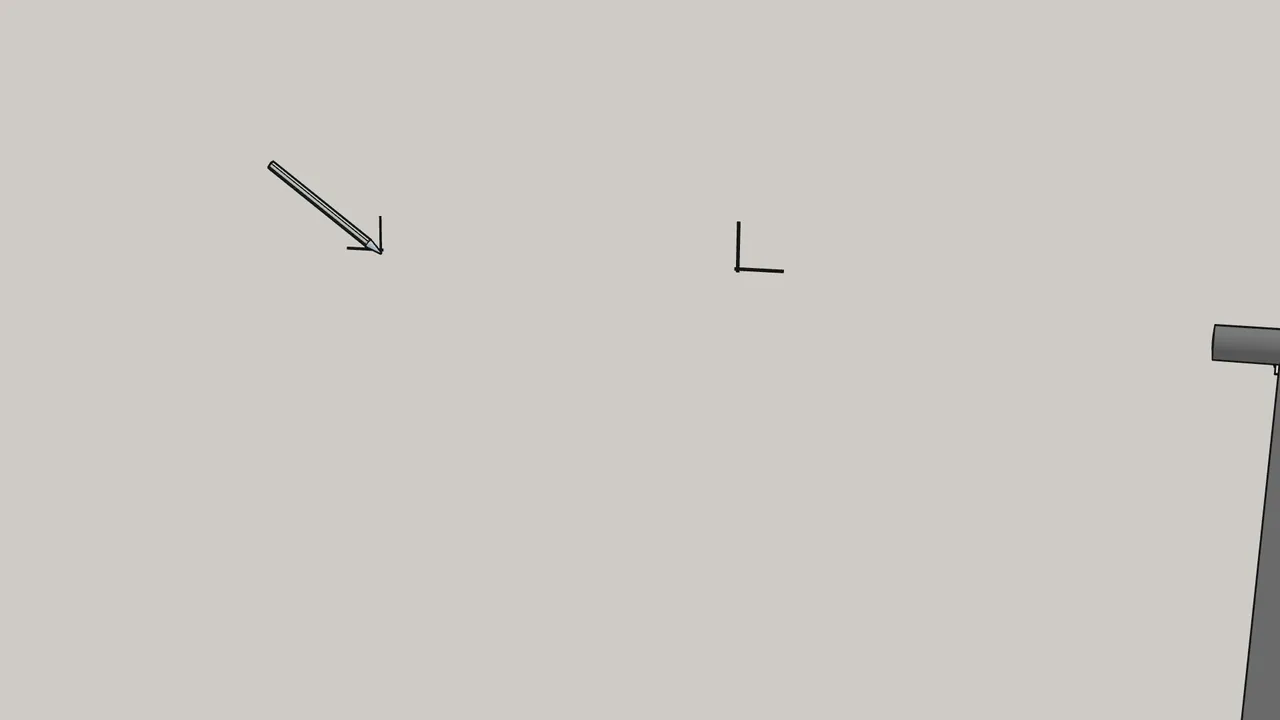
Step 6 · manual step 5
Move the ladder aside and complete the 2 marks.
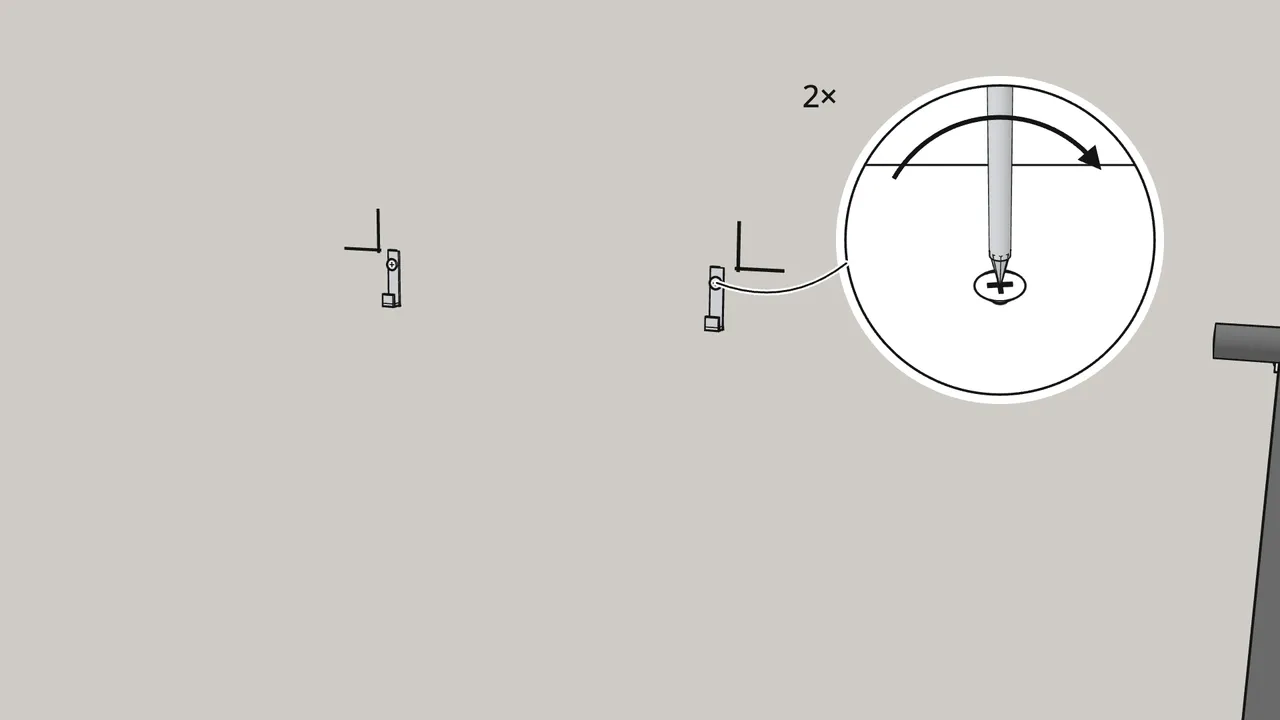
Step 7 · manual step 6
Screw the 2 wall clips (158216) to the wall at the marks.
Hook at the bottom. Wall screws and plugs are not included — use round-head screws suited to your wall.
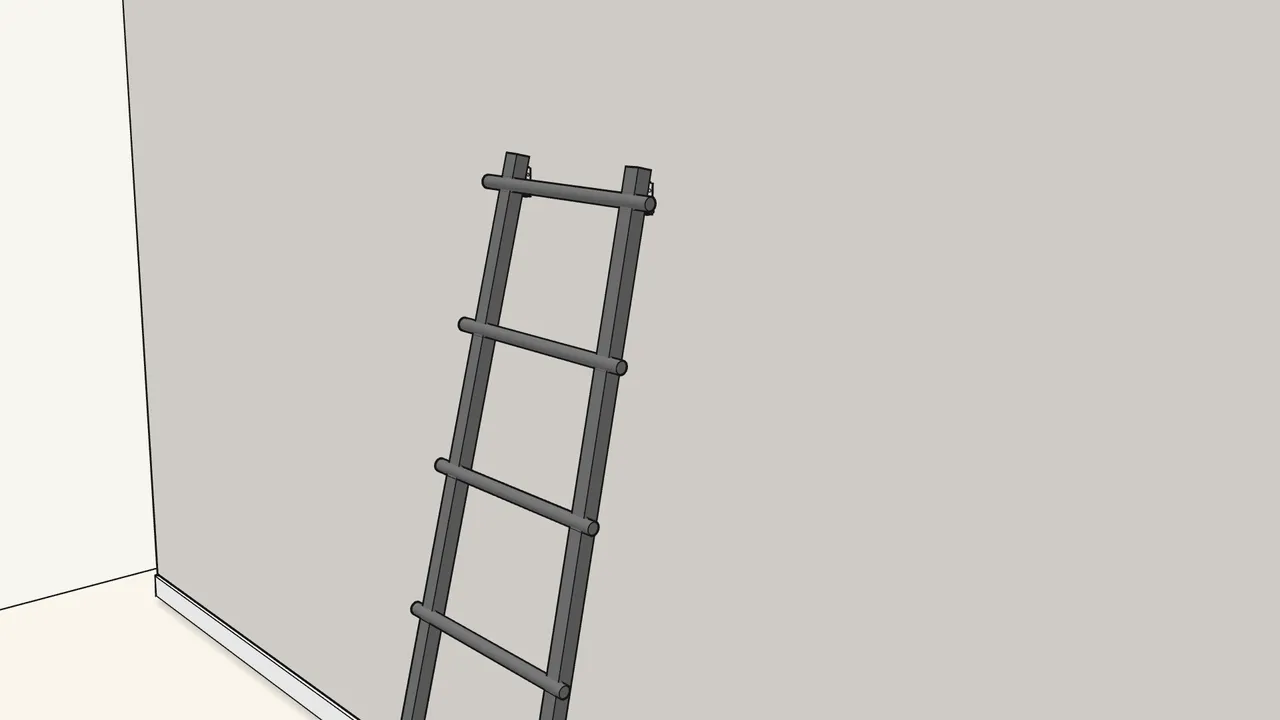
Step 8 · manual step 7
Hook the brackets into the wall clips until they click.
You can vary how far the feet stand from the wall — see the manual, step 7.
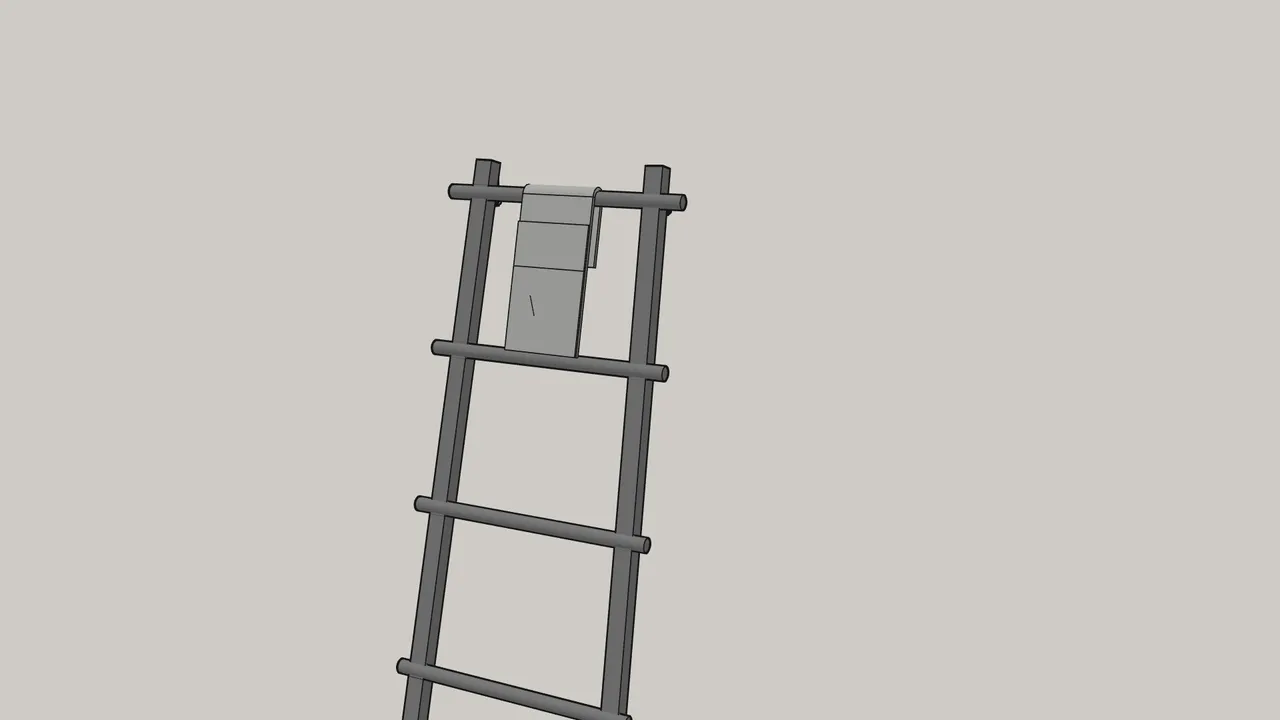
Step 9 · manual step 8
Hang the textile organizer over the top rung.
Push the insert into the pocket of the back flap — see the manual, step 8.
Tips & safety
- Always hook VILTO into the wall clips. Furniture tip-over can cause serious or fatal crushing injuries. Wall screws and plugs are not included.
- Not sure which screws suit your wall? Ask your local hardware store for advice.
Official instructions
This guide follows IKEA’s official assembly instructions (AA-2012110-7). Keep the printed manual to hand — if anything differs, the manual is right.