IKEA · Bookcases & Shelving
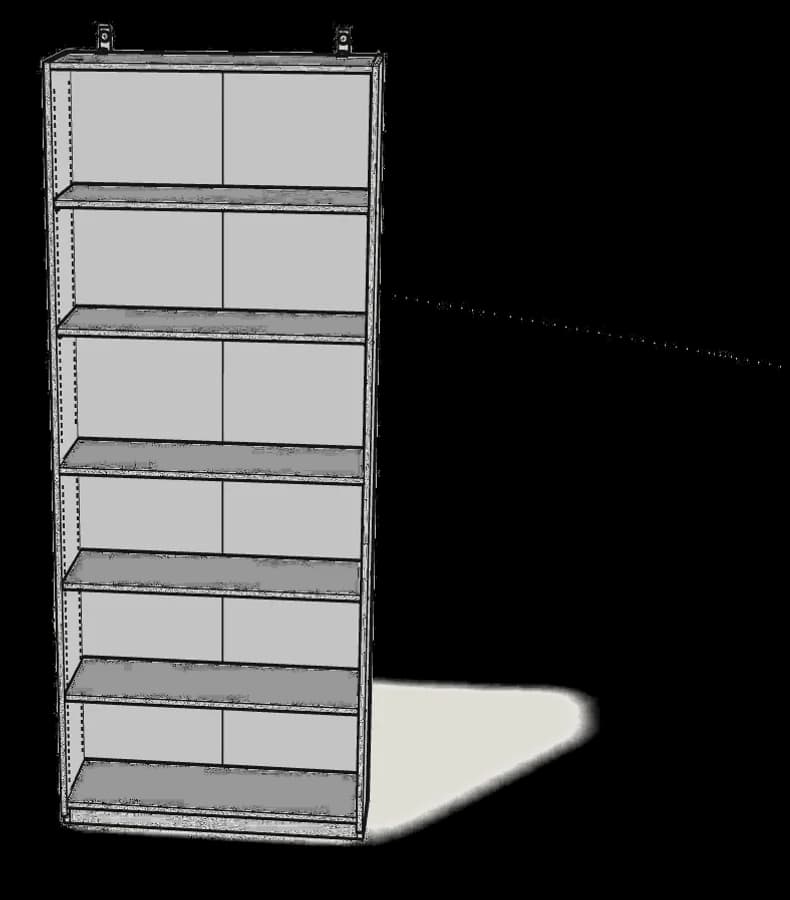
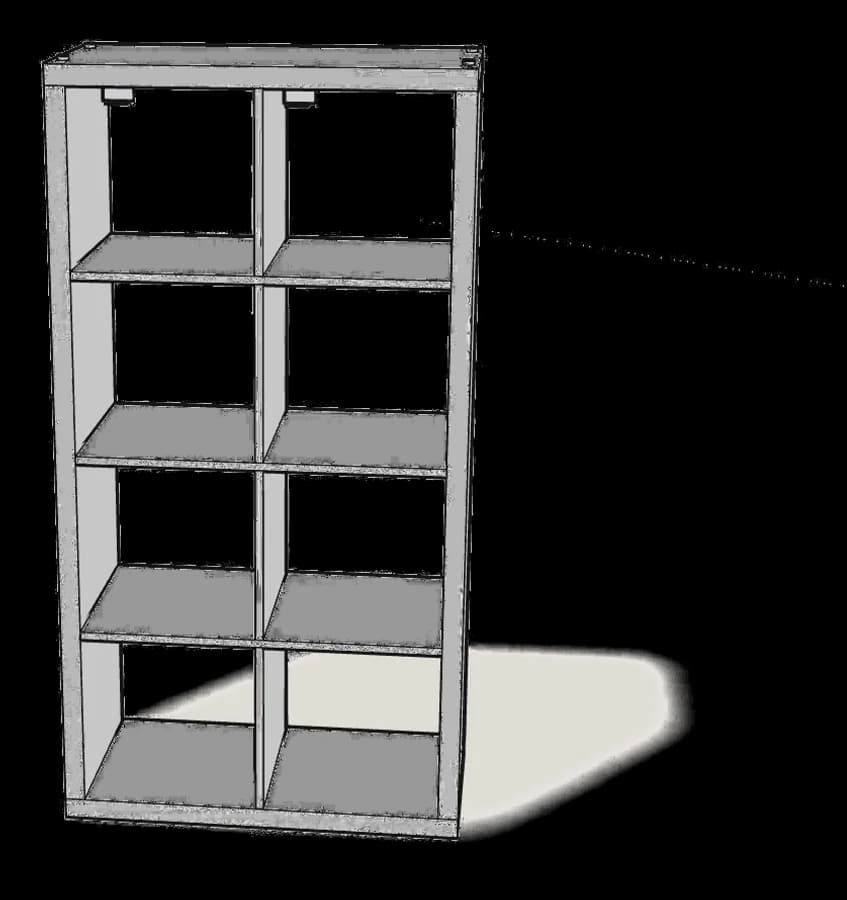
How to Assemble IKEA KALLAX Shelf Unit 2x4
Step-by-step IKEA KALLAX shelf unit 2x4 assembly: 17 illustrated steps, an animated video, the hardware list and the tools you need — following the official instructions (AA-2703433-1).
- 17 illustrated steps
- 19 steps in the manual
- 2:35 video
- 77×39×147 cm
What you need
Tools
- Flat-head screwdriver
- Phillips screwdriver
- Hammer
- Allen key (included)
- Spirit level
You’ll need: flat-head and Phillips screwdrivers, a hammer, a pencil and a spirit level.
Hardware in the box
| Part no. (as printed in the manual) | Qty |
|---|---|
| 104321 | 8× |
| 101339 | 22× |
| 100372 | 4× |
| 115753 | 2× |
| 103693 | 2× |
| 10002300 | 2× |
Step-by-step assembly
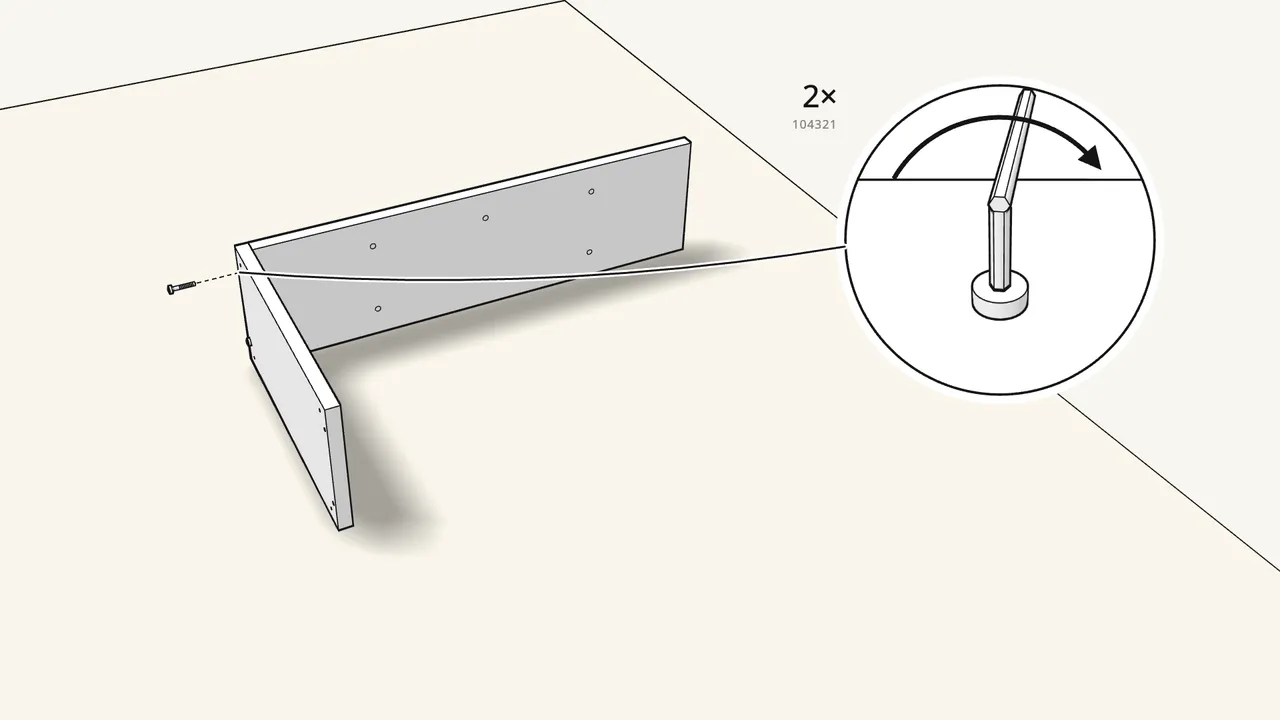
Step 1
Join a short panel to a long side with 2 bolts (104321).
Stand both on edge. Turn the bolts in with the Allen key (100001).
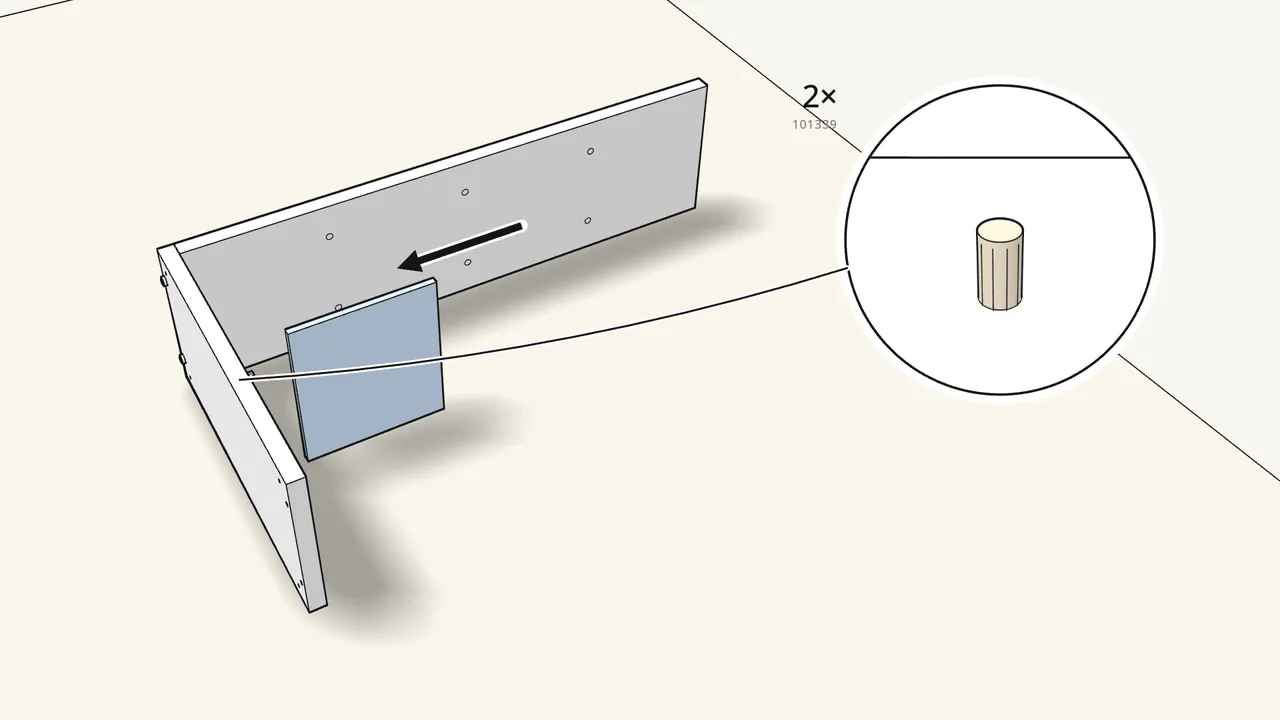
Step 2
Tap 2 dowels (101339) into the short panel and fit a divider.
The divider runs parallel to the long side.

Step 3
Push 2 dowels into the long side, then slide the first shelf on.
The shelf sits on the end of the divider.
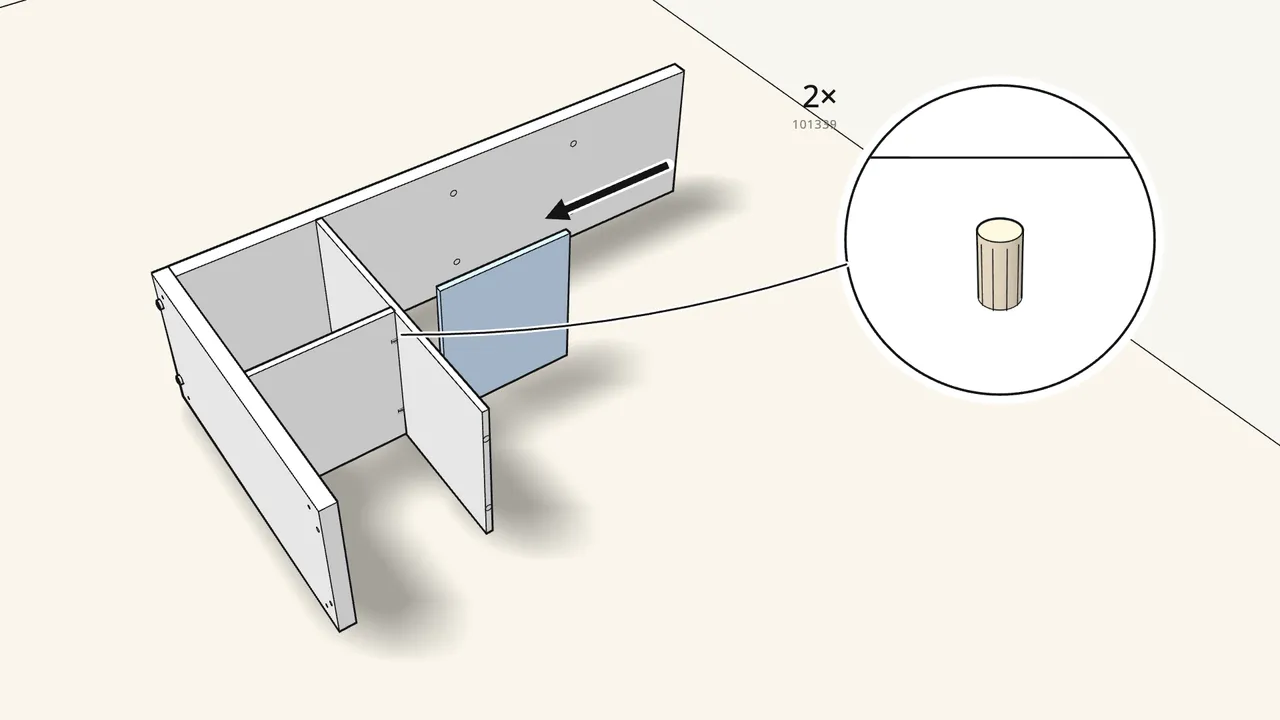
Step 4 · manual step 4–5
Put 2 dowels in the middle of the shelf and fit the next divider.
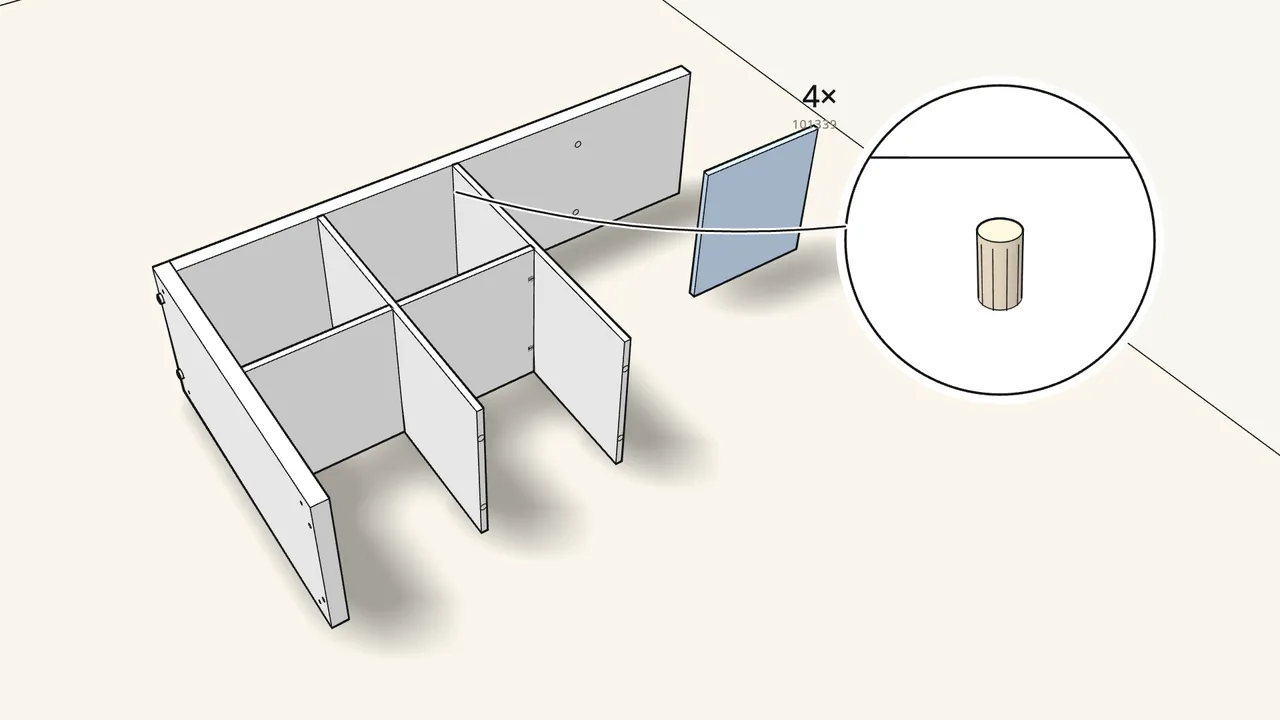
Step 5 · manual step 6–8
Repeat: dowels + shelf, then dowels + divider.
Always 2 dowels (101339) per joint.
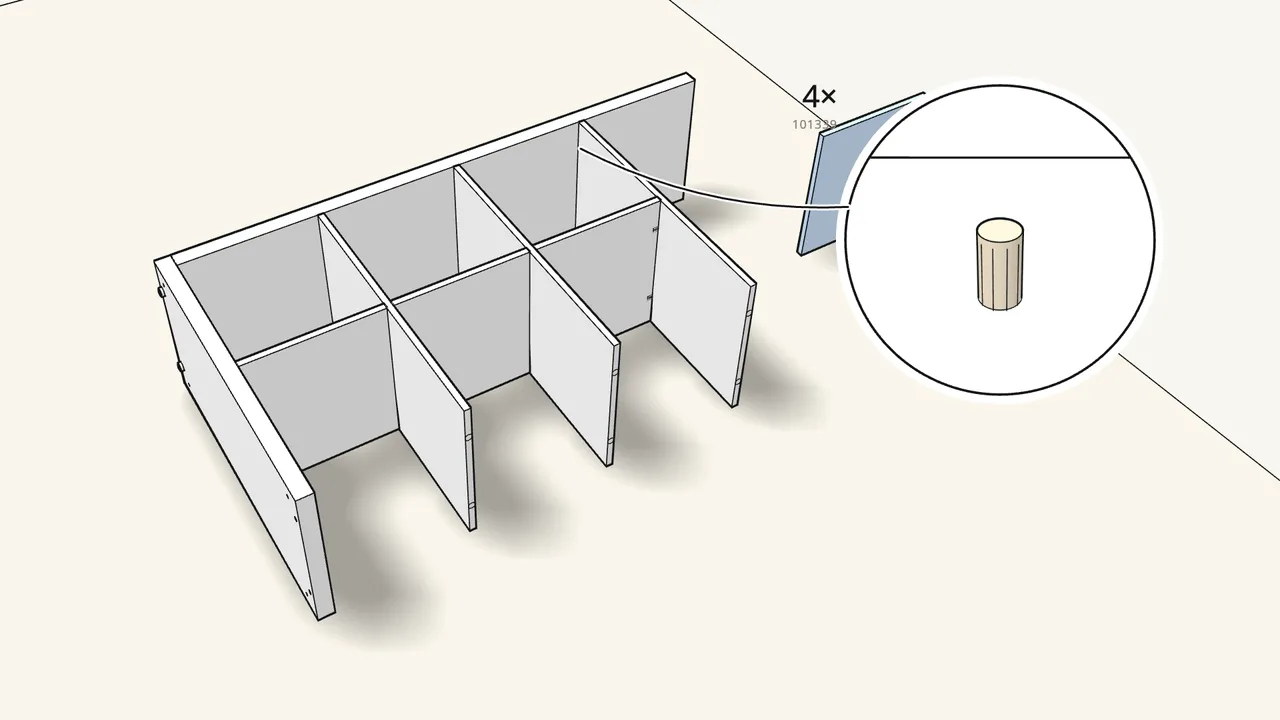
Step 6 · manual step 9–11
Repeat once more for the third shelf and last divider.
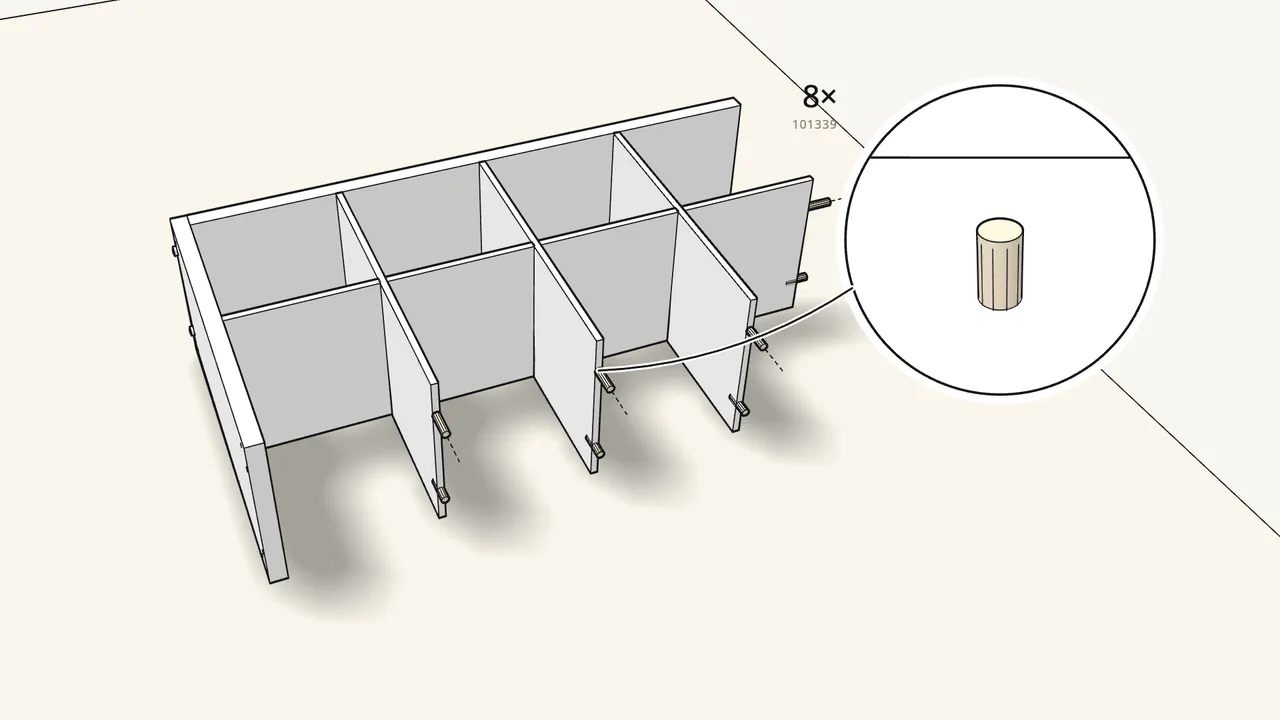
Step 7 · manual step 12
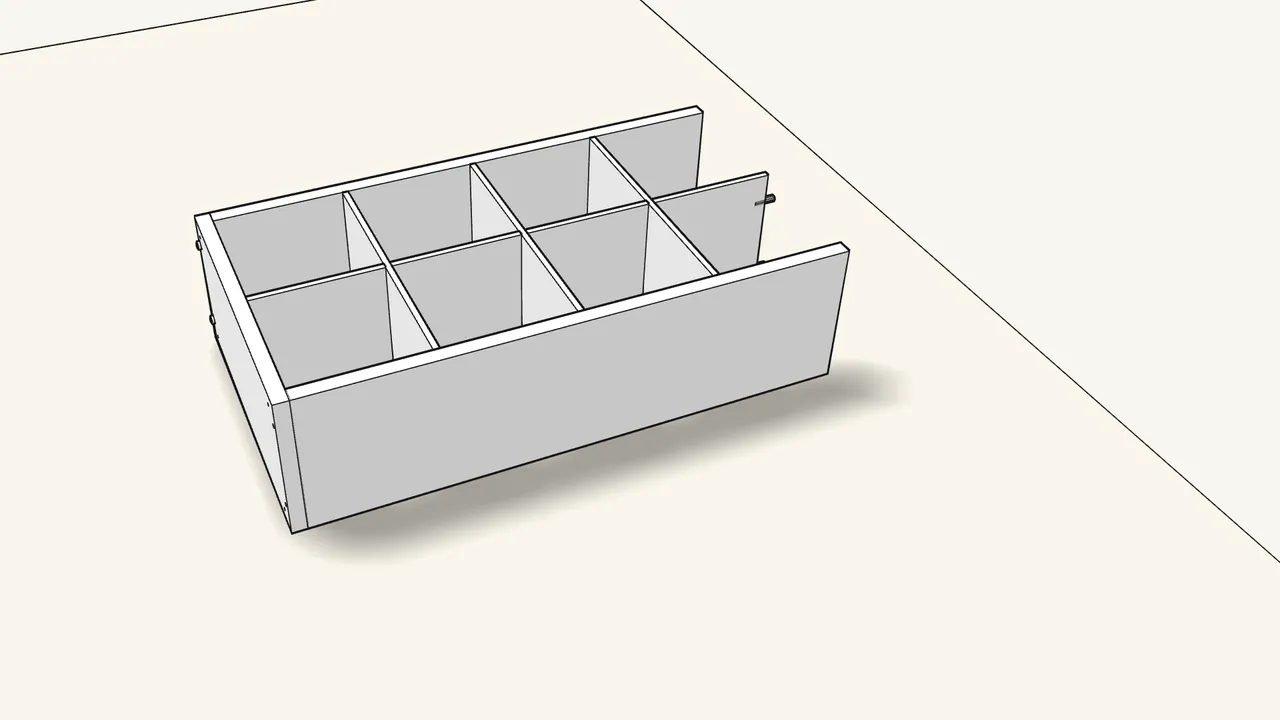
Push 8 dowels into the free ends of the shelves and the last divider.
Step 8 · manual step 13
Fit the second long side onto the dowels.

Step 9 · manual step 14
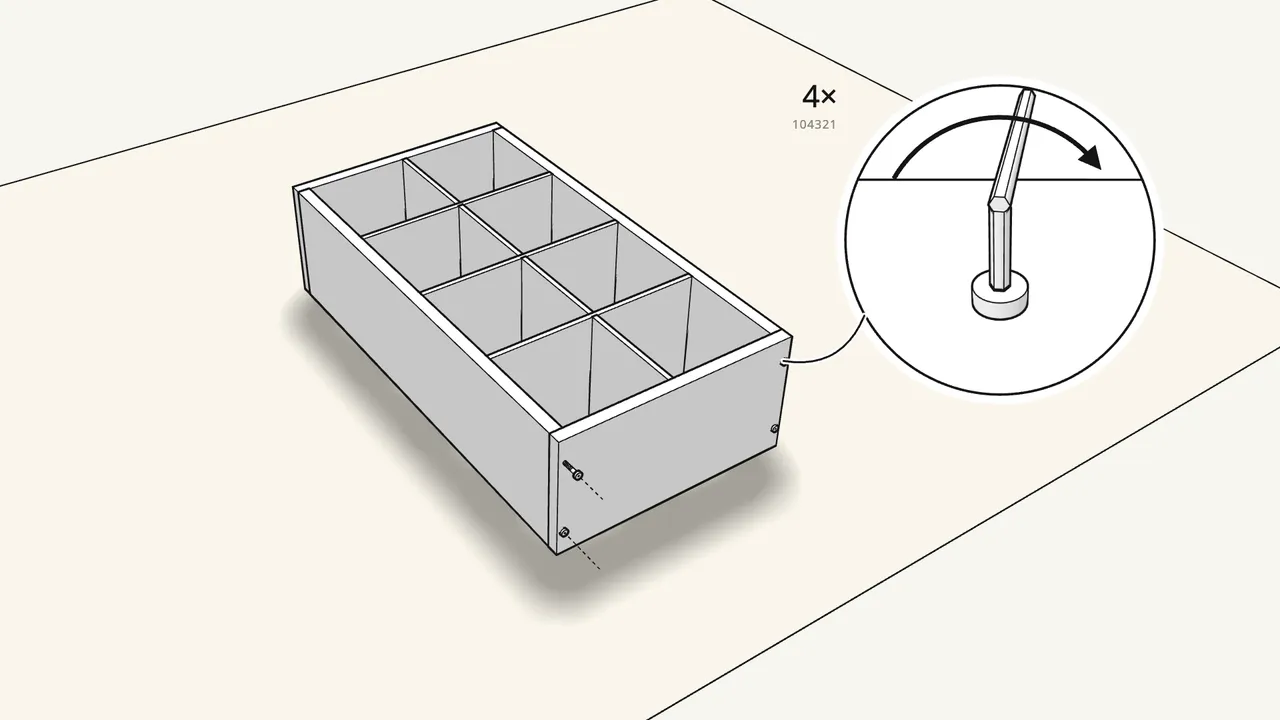
Turn the second short panel over and place it on the open end.
Step 10 · manual step 14
Fix it with 4 bolts (104321) and the Allen key.
2 into each long side.

Step 11 · manual step 14
Add the last 2 bolts at the other end.
All 8 bolts are now in.

Step 12 · manual step 15
Stick 4 floor protectors under the unit.
Peel them off the sheet (10002300) and press onto the bottom panel.

Step 13 · manual step 15
Stand the unit upright.
Lift it with two people.
Step 14 · manual step 16
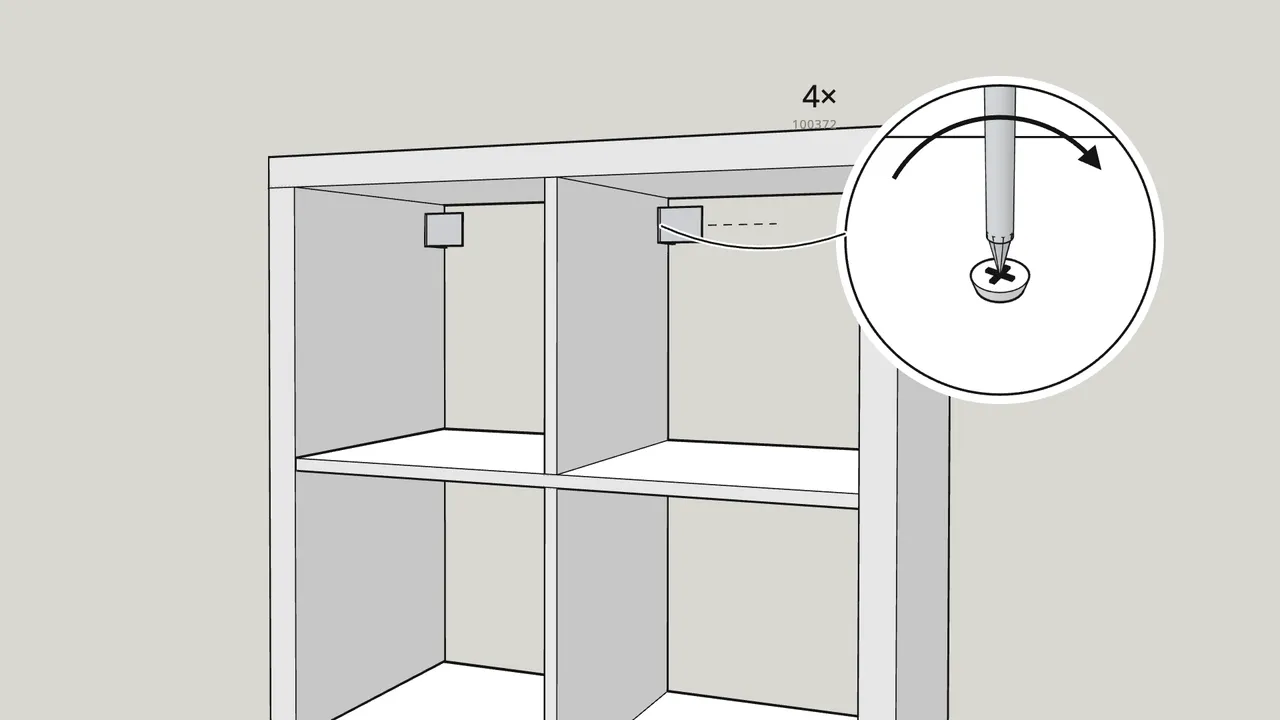
Screw the 2 wall brackets (115753) in the top cells, at the back.
2 screws (100372) each, with the Phillips screwdriver.

Step 15 · manual step 17
Against the wall, check it is level and mark the bracket holes.
Use a pencil through the brackets.
Step 16 · manual step 18
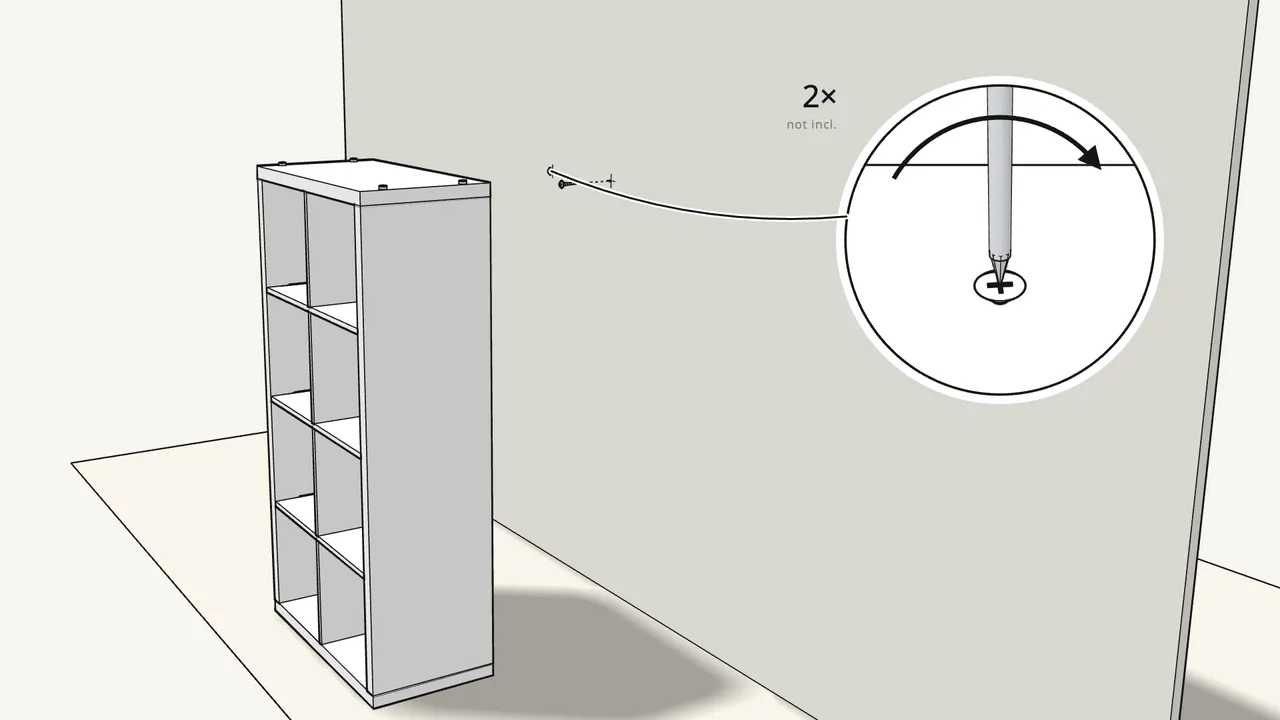
Move the unit away and drive 2 screws into the wall.
Wall screws are not included — choose ones suited to your wall. Leave the heads out a little.
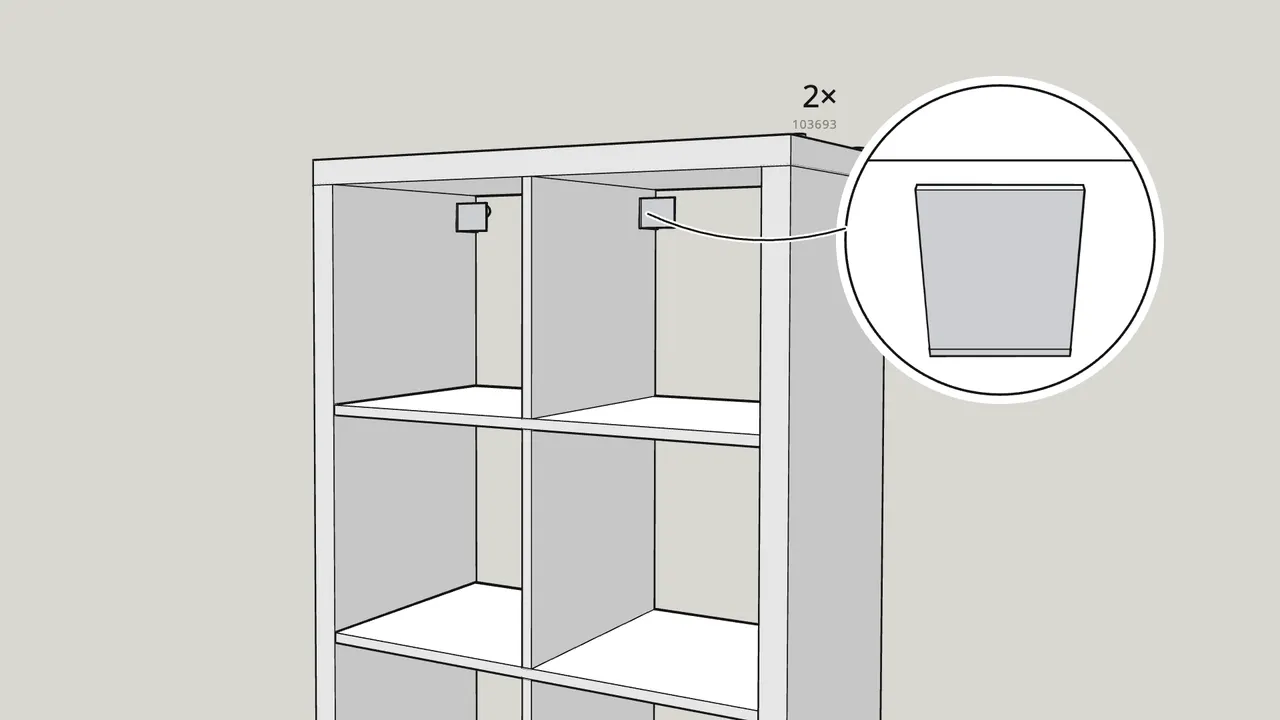
Step 17 · manual step 19
Push the unit back and hook the brackets on with plates 103693.
Adjust, tighten the screws, then click on the covers.
Tips & safety
- Always fix KALLAX to the wall. Furniture tip-over can cause serious or fatal crushing injuries. Wall screws are not included — ask a specialist if unsure.
- Using it horizontally (4 wide × 2 high)? Stick the 8 floor protectors on one long side and follow the horizontal steps 15–19 on manual p. 31–35.
Official instructions
This guide follows IKEA's official assembly instructions (AA-2703433-1). Keep the printed manual to hand — if anything differs, the manual is right.