IKEA · Bookcases & Shelving
How to assemble IKEA VILTO Shelf Unit
Step-by-step IKEA VILTO Shelf Unit assembly: 14 illustrated steps, an animated video, the hardware list and the tools you need — following the official instructions (AA-2010670-7).
- 14 illustrated steps
- 10 steps in the manual
- 2:12 video
- 46×36×150 cm
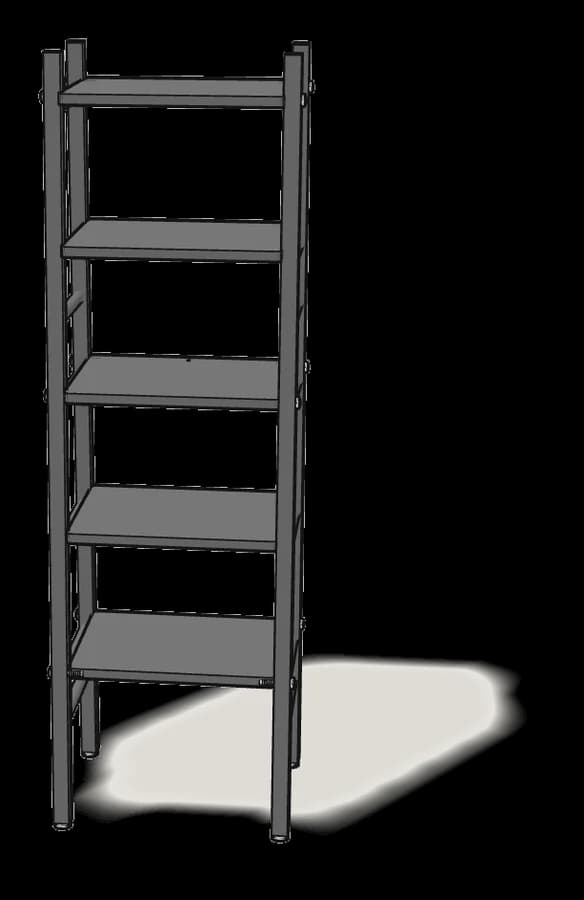
What you need
Tools
- Allen key (included)
- Phillips screwdriver
- Spirit level
You’ll need: the Allen key (100092) in its handle (121030) — both included — a Phillips screwdriver and a spirit level.
Hardware in the box
| Part no. (as printed in the manual) | Qty |
|---|---|
| 157436 | 12× |
| 101350 | 8× |
| 157732 | 4× |
| 157084 | 1× |
| 157433 | 1× |
| 157424 | 2× |
Step-by-step assembly
Step 1
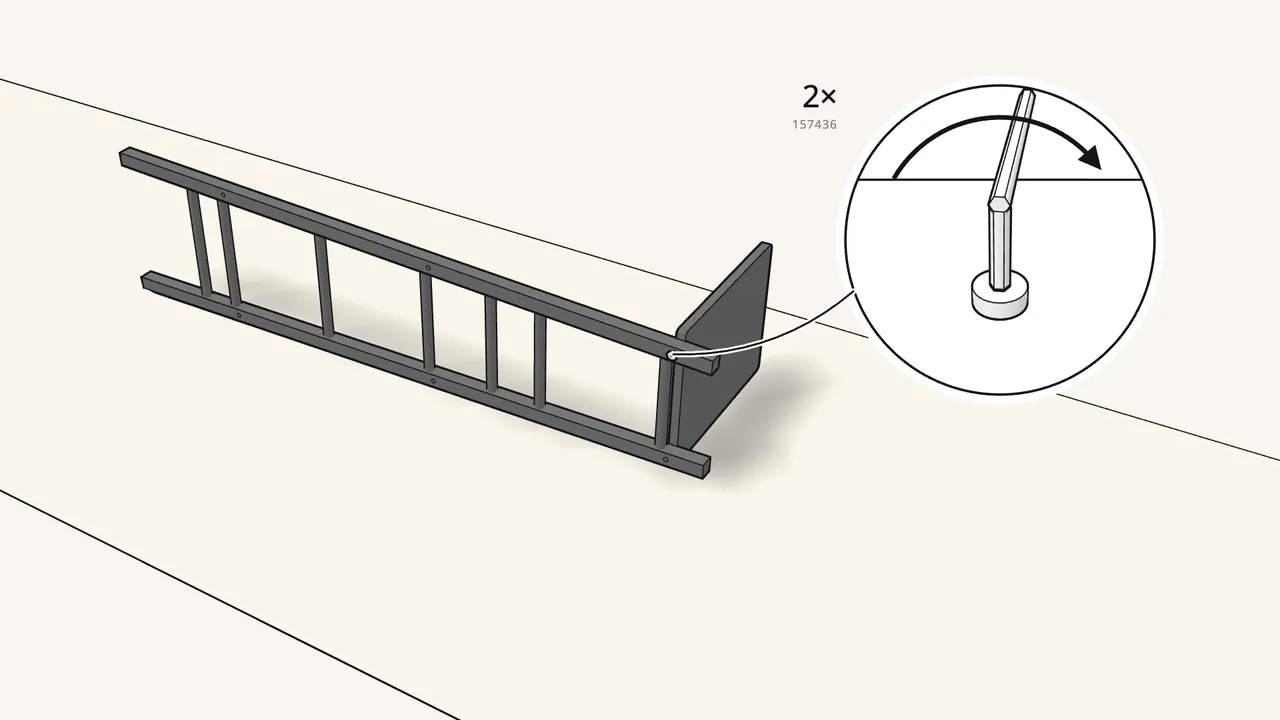
Fix the top shelf to one side frame with 2 bolts (157436).
Take the shelves from the pile in the order the manual shows — see the small picture in steps 1–4.
Step 2
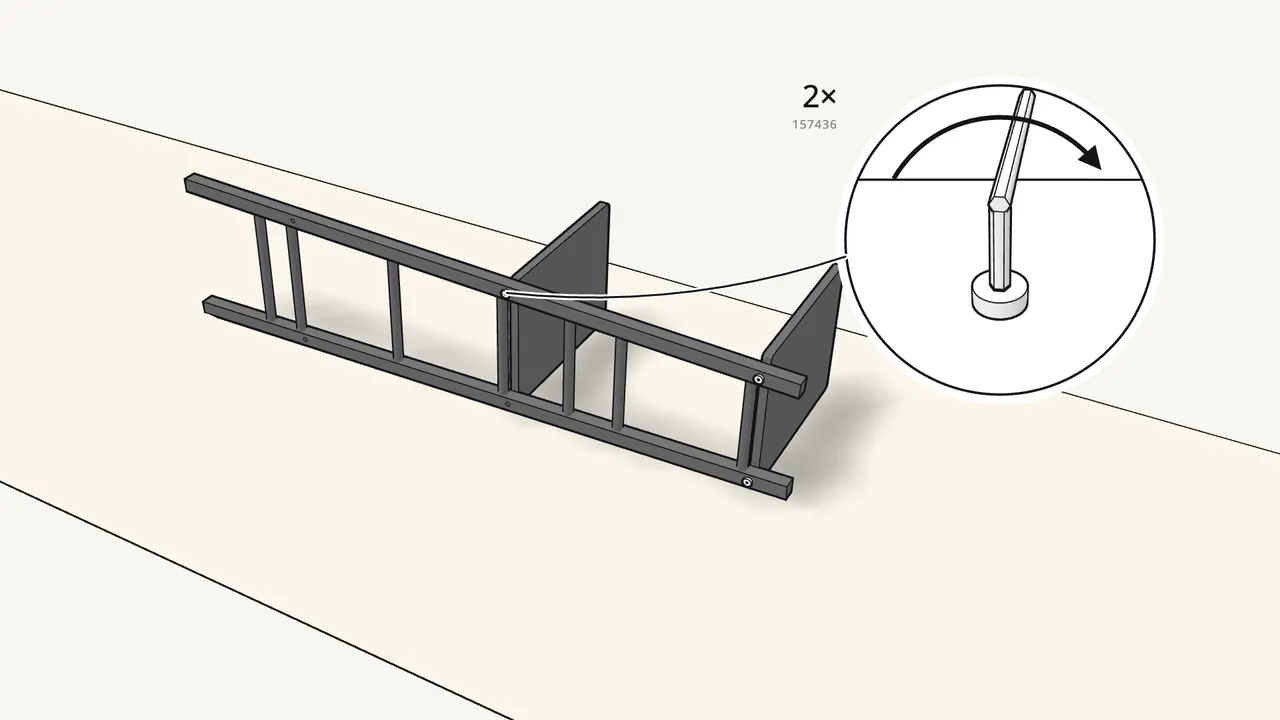
Fix the middle shelf the same way — 2 bolts.
Turn the bolts with the Allen key fitted in its handle (121030).
Step 3
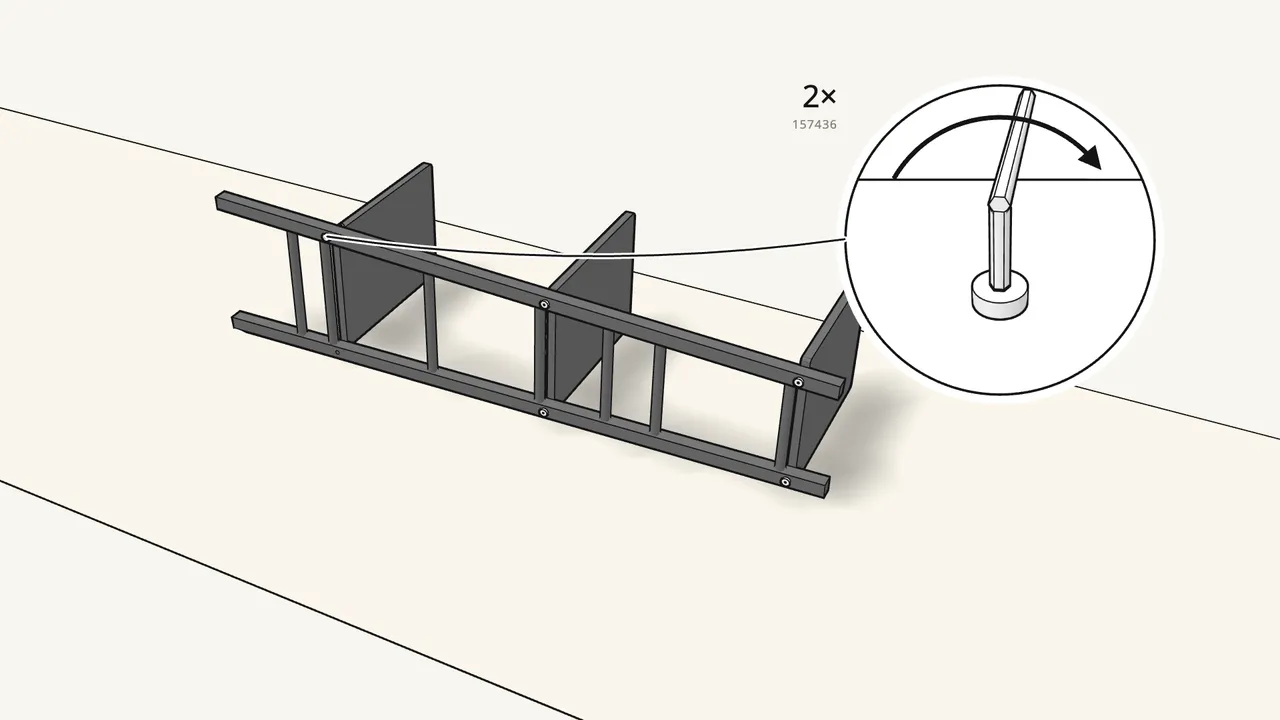
Fix the bottom shelf with 2 more bolts.
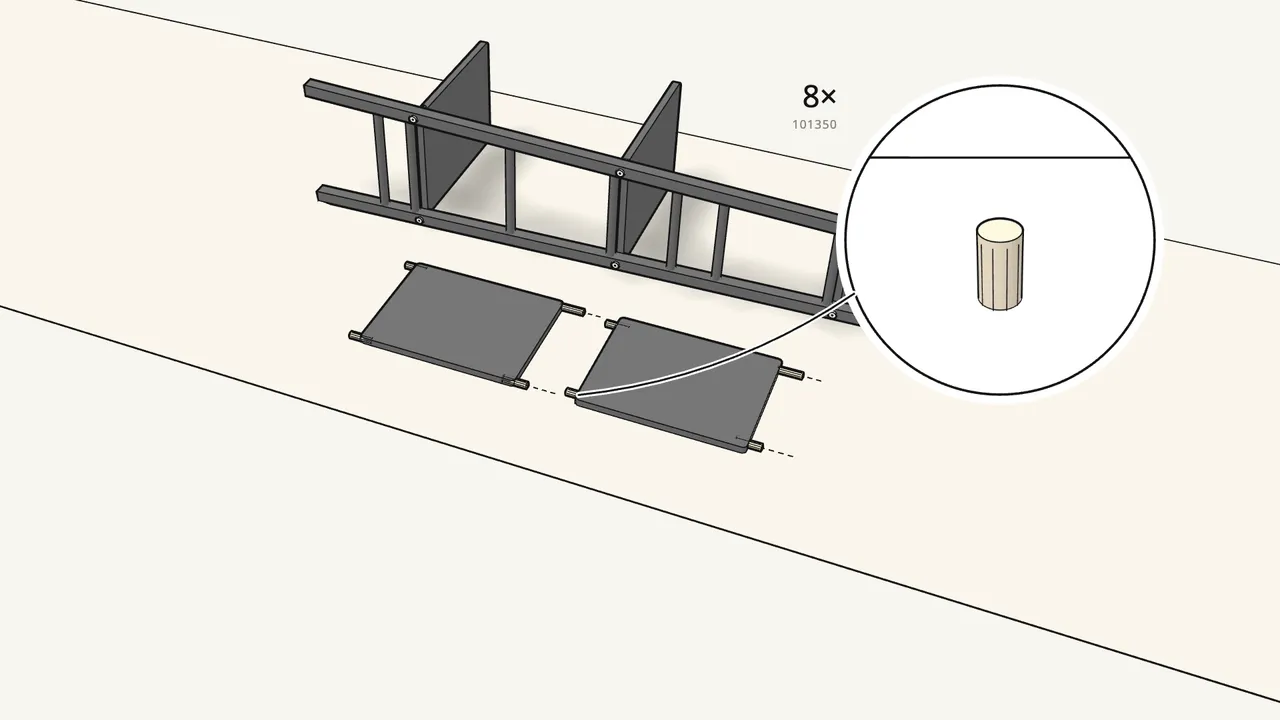
Step 4
Push 8 dowels (101350) into the ends of the other 2 shelves.
2 dowels in each end.
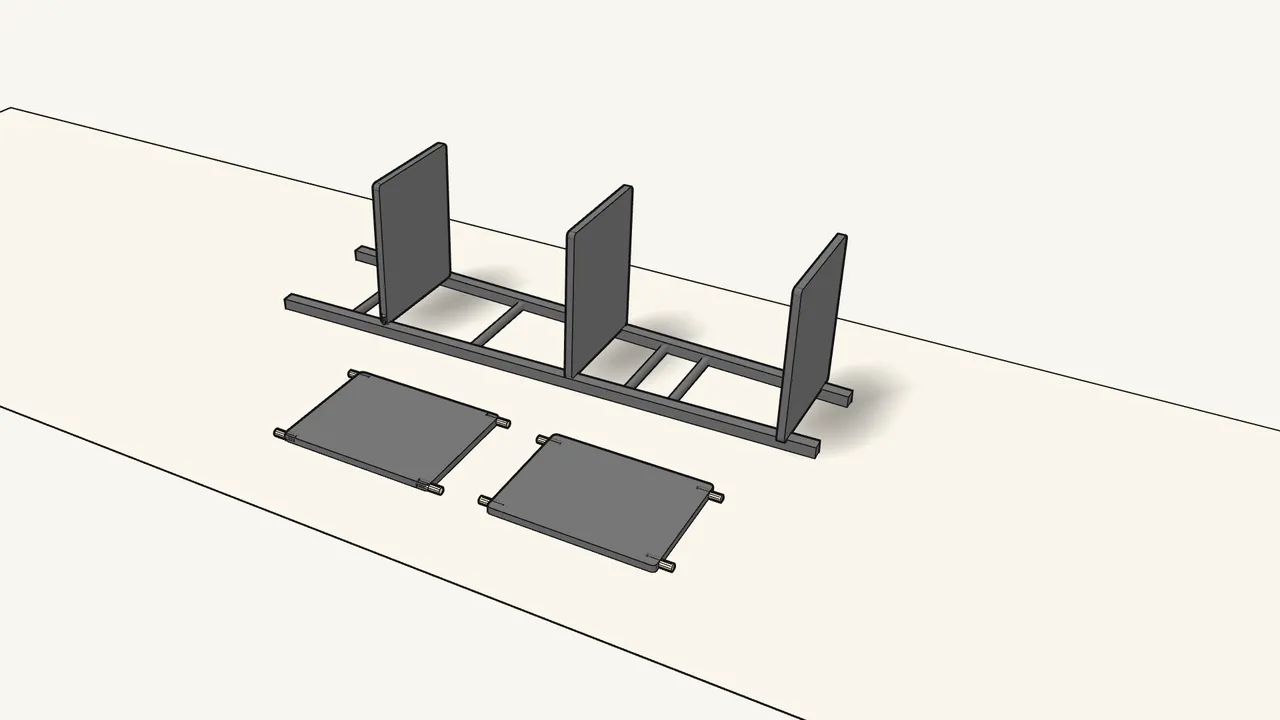
Step 5
Turn the frame over so the shelves stand up.
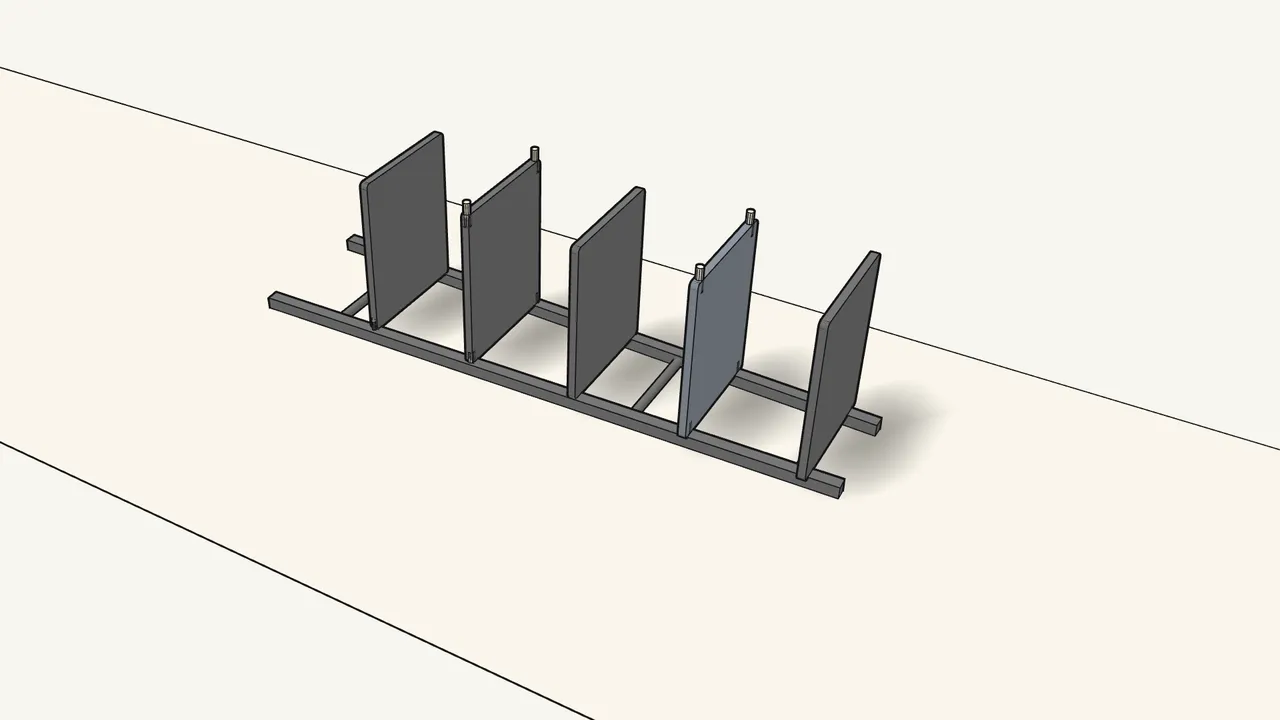
Step 6 · manual step 5
Fit the 2 dowelled shelves into the frame between the others.
The dowels go into the holes in the posts.
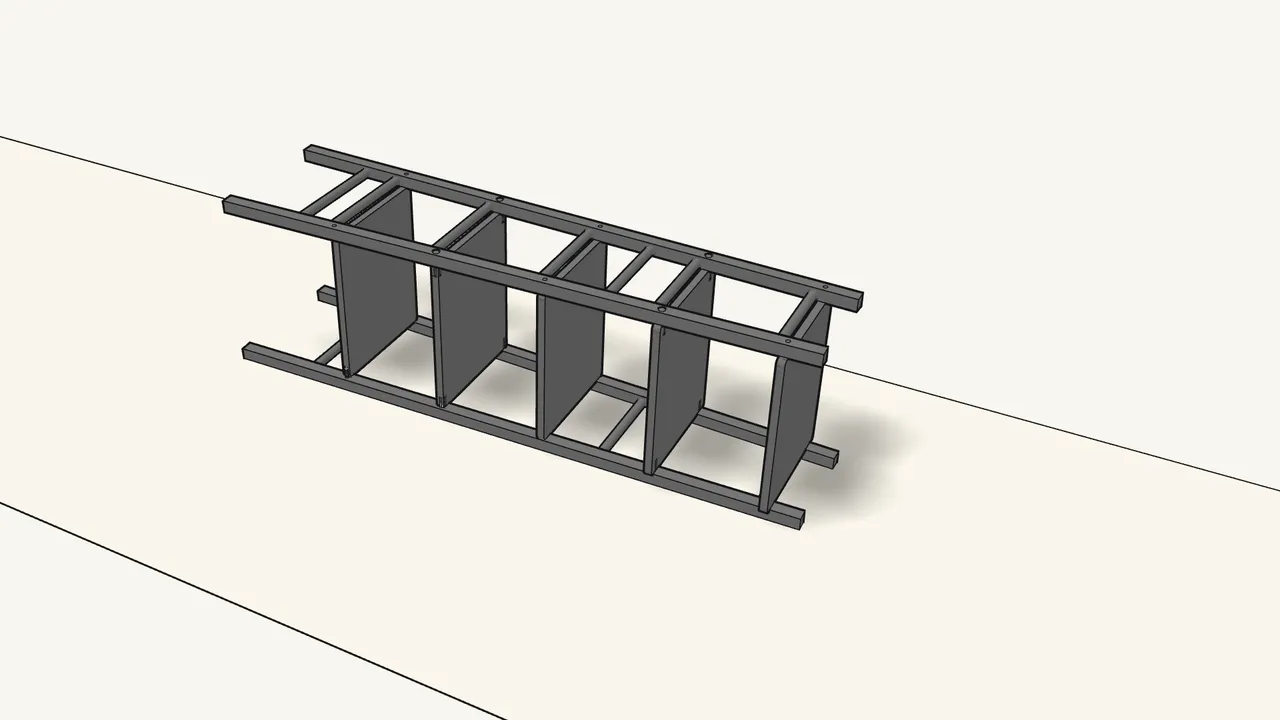
Step 7 · manual step 6
Place the second side frame on top.
The dowels go into the holes in its posts.
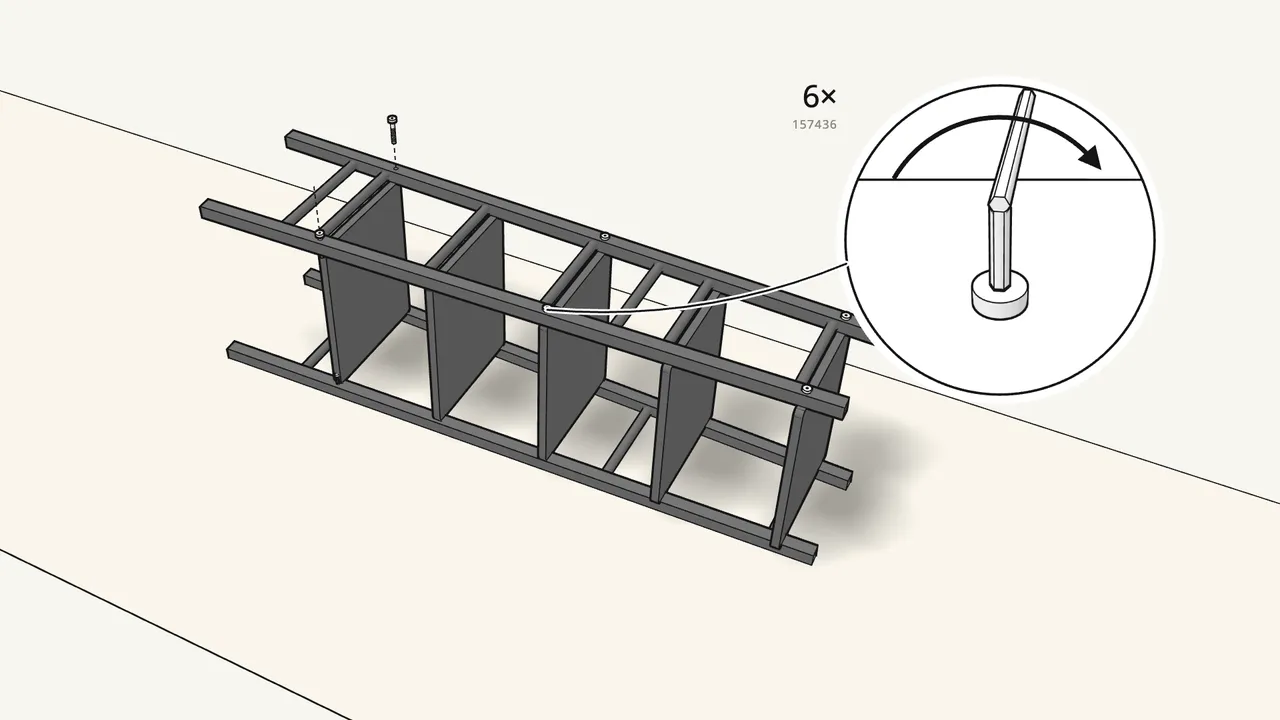
Step 8 · manual step 7
Fix it to the top, middle and bottom shelves — 6 bolts.
2 bolts (157436) per shelf, with the Allen key and handle.
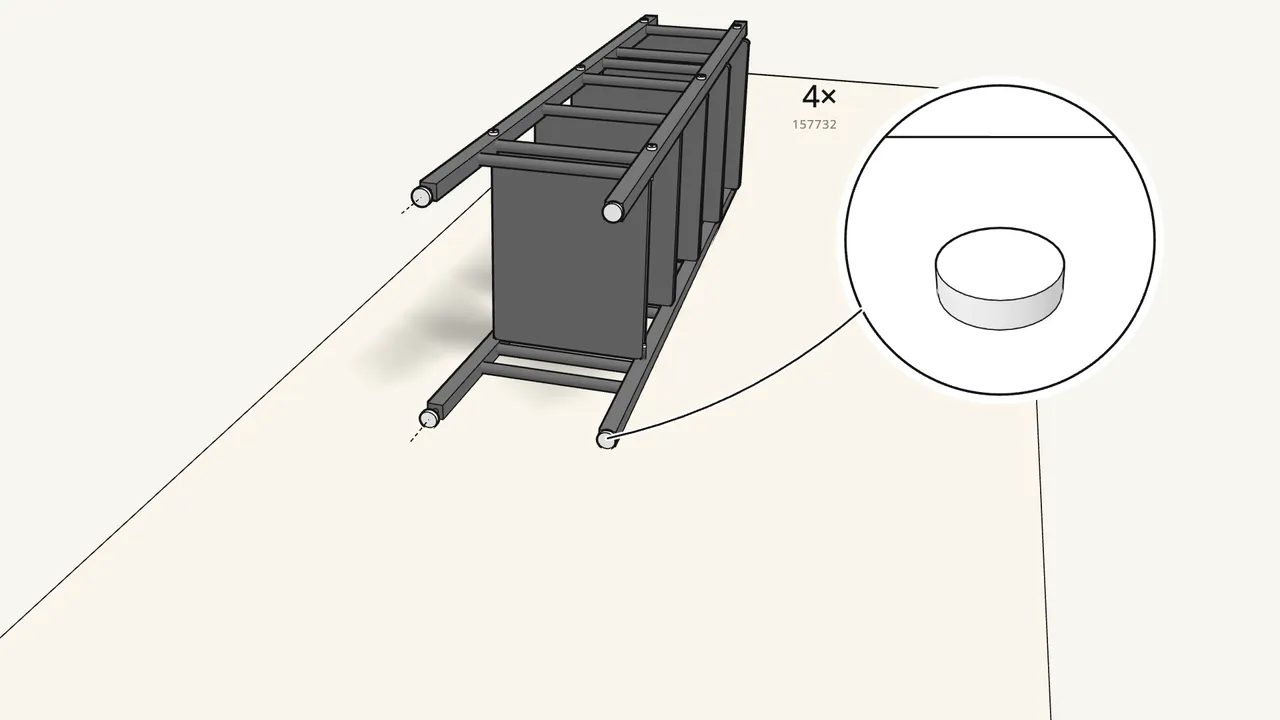
Step 9 · manual step 8
Screw the 4 adjustable feet (157732) into the post ends.
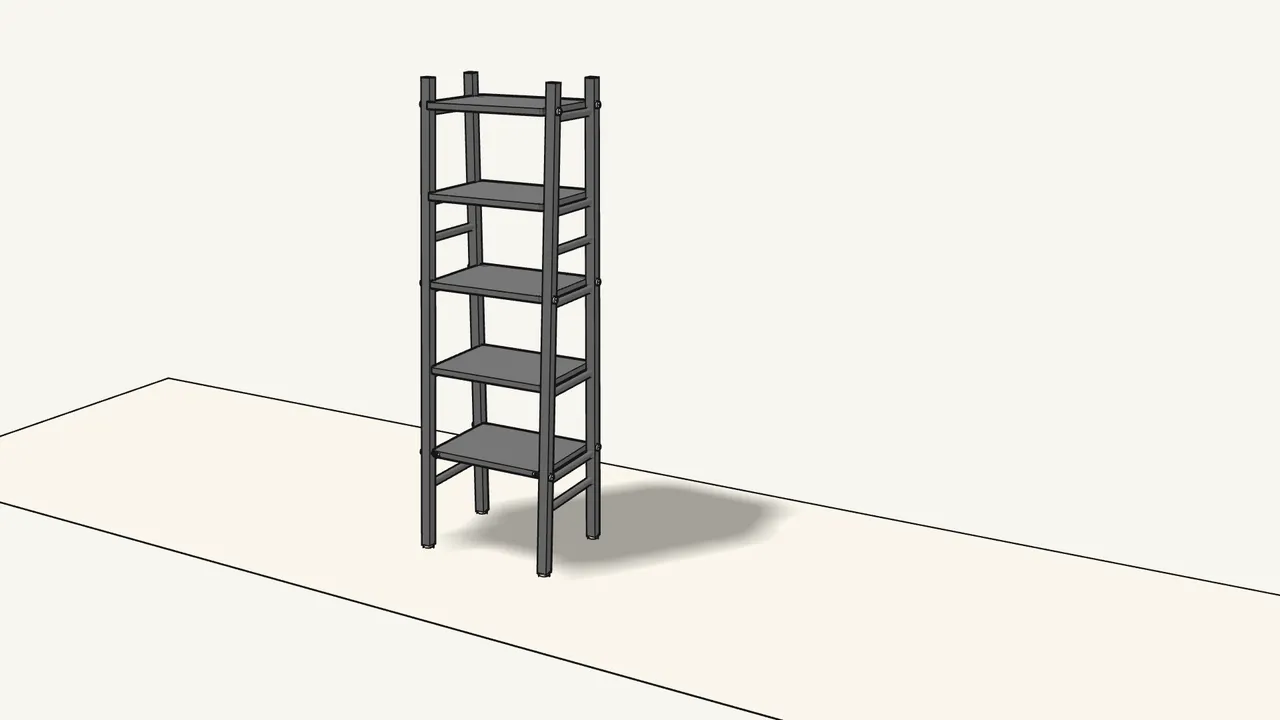
Step 10 · manual step 9
Stand the shelf unit upright.
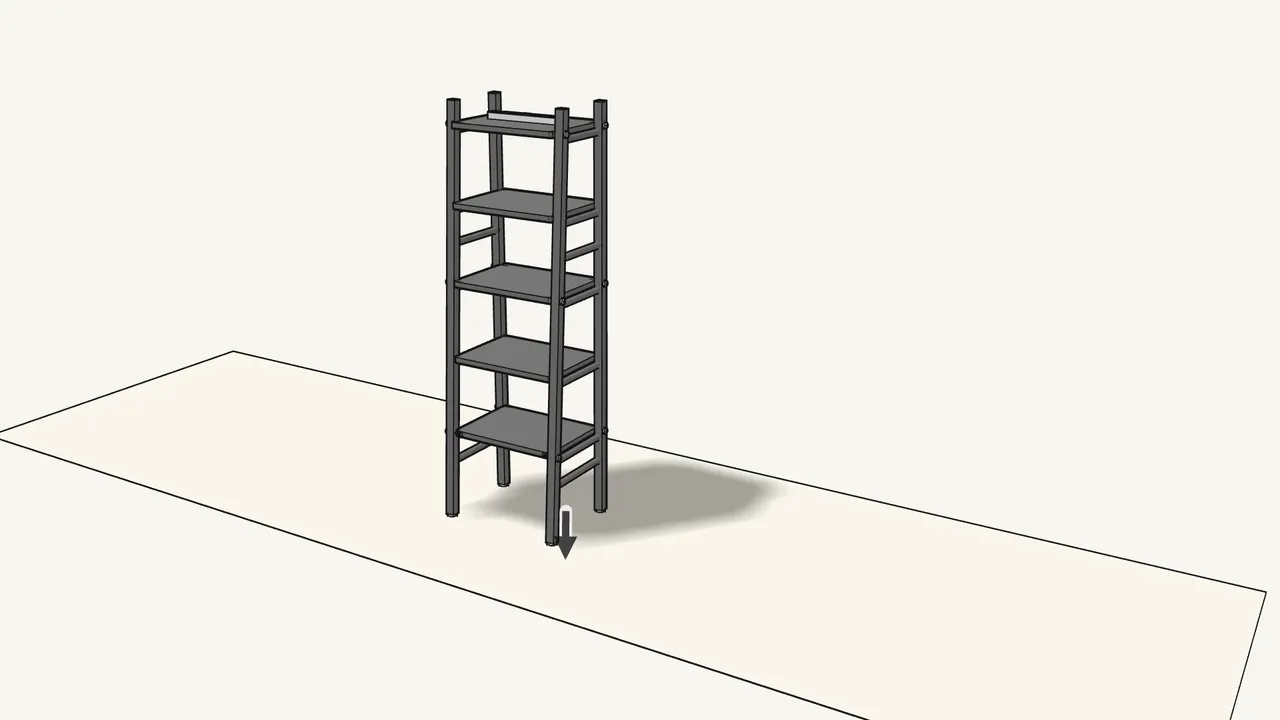
Step 11 · manual step 9
Check it is level and adjust the feet.
Turn a foot to raise or lower that corner.
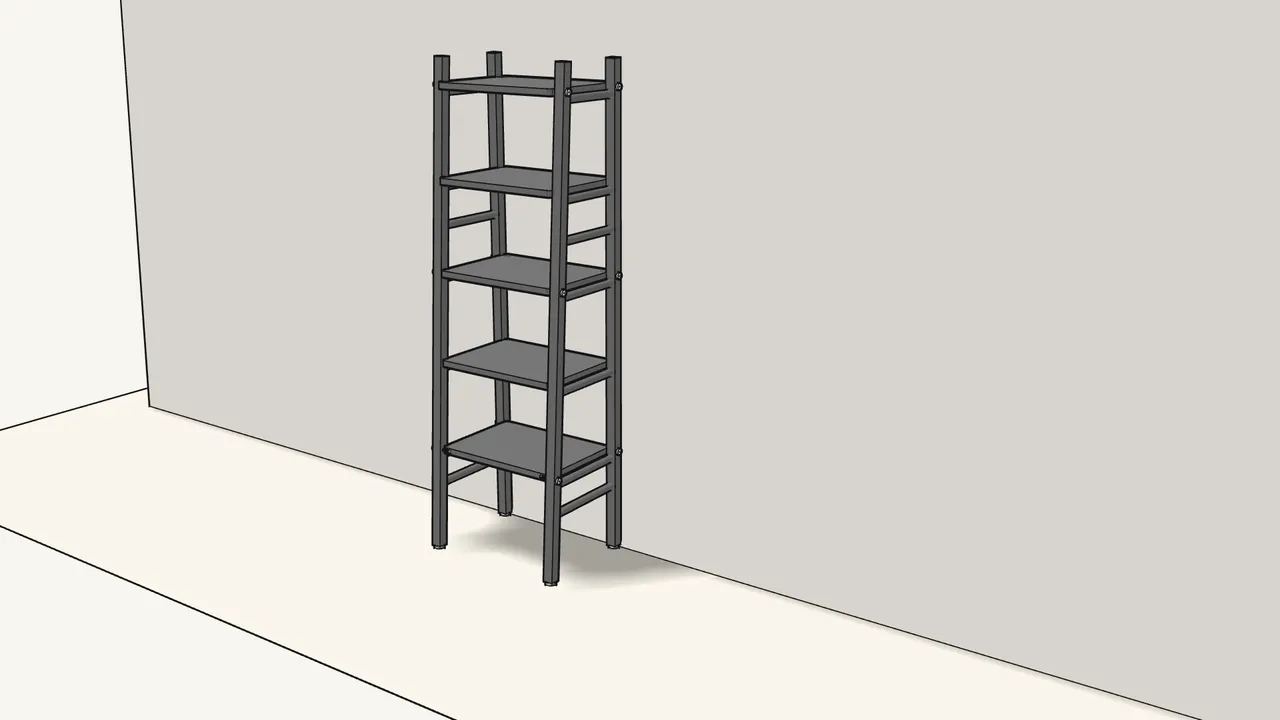
Step 12 · manual step 10
Push the unit back against the wall.
To prevent tip-over, it must be fixed to the wall.
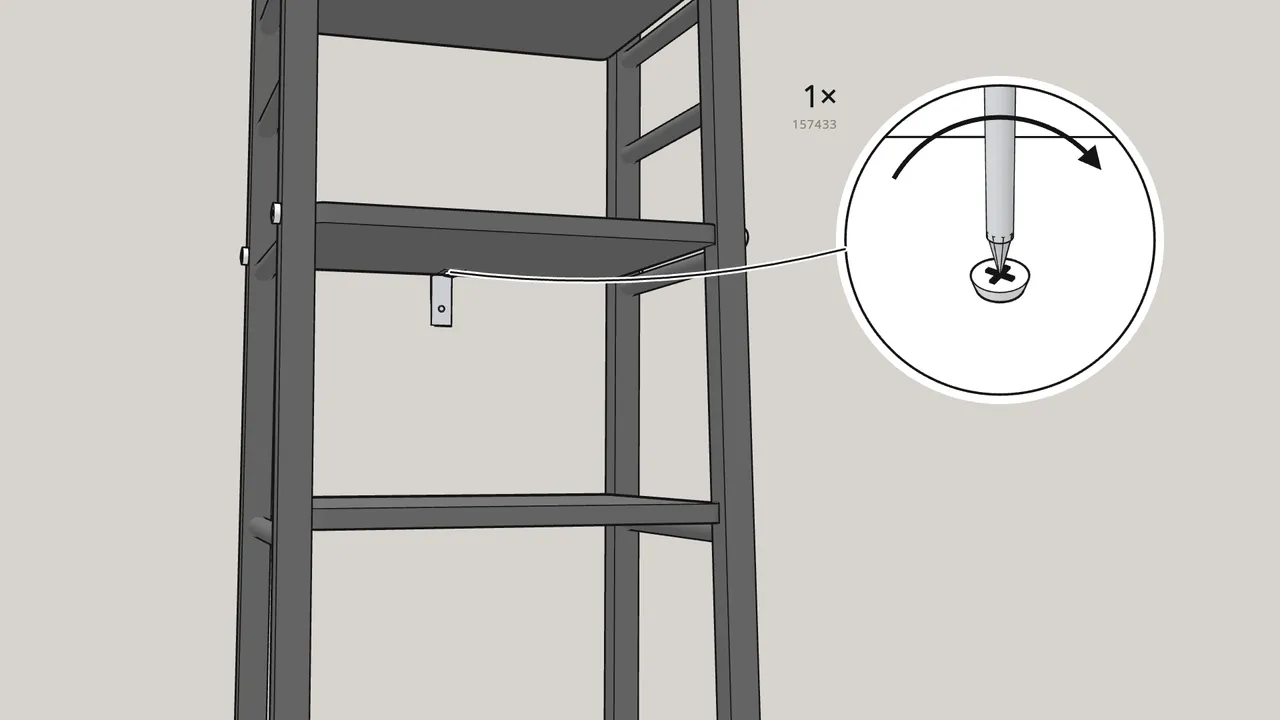
Step 13 · manual step 10
Screw the bracket (157084) under the middle shelf.
1 screw 157433 with a washer 157424 — Phillips screwdriver.
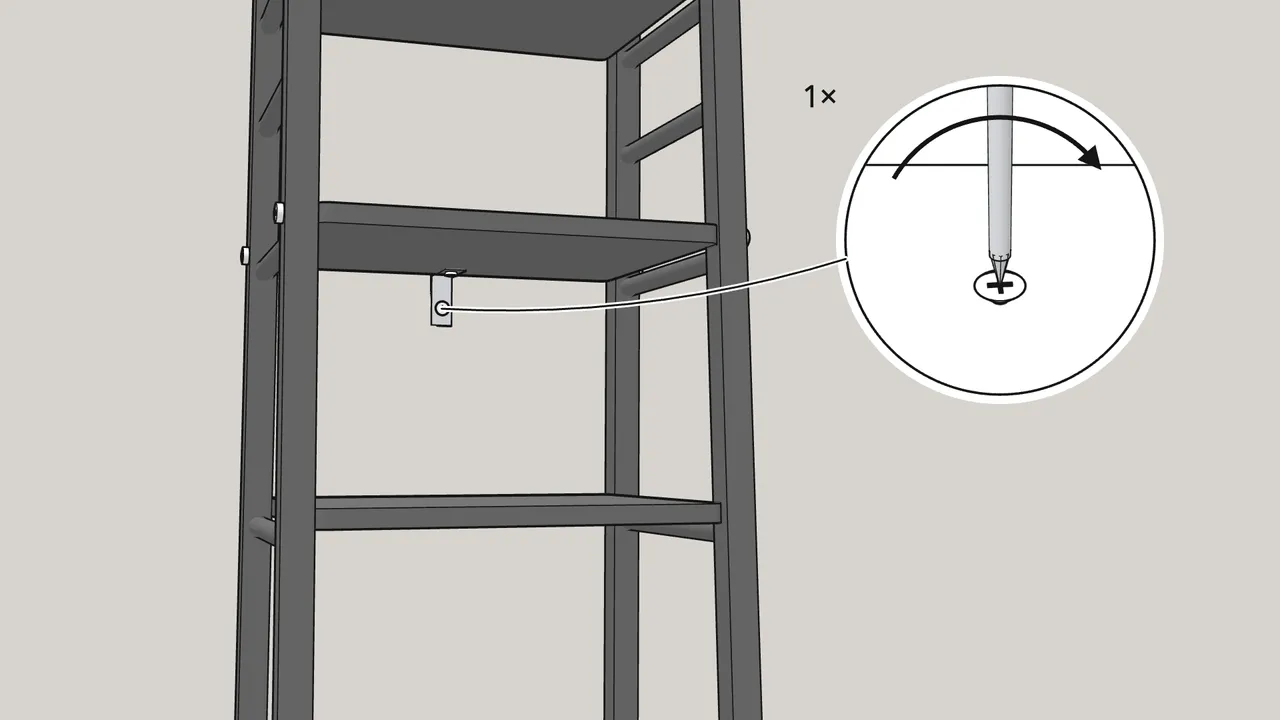
Step 14 · manual step 10
Screw the bracket to the wall with the second washer.
Wall screw and plug not included — use ones suited to your wall.
Tips & safety
- Always fix VILTO to the wall. Furniture tip-over can kill children. Never let children climb or hang on the shelves.
- Never put a TV on this product. Keep the heaviest things on the lowest shelves.
Official instructions
This guide follows IKEA’s official assembly instructions (AA-2010670-7). Keep the printed manual to hand — if anything differs, the manual is right.