IKEA · Bookcases & Shelving
How to assemble IKEA SKRUVBY Bookcase
Step-by-step IKEA SKRUVBY Bookcase assembly: 24 illustrated steps, an animated video, the hardware list and the tools you need — following the official instructions (AA-2313530-5).
- 24 illustrated steps
- 24 steps in the manual
- 3:29 video
- 60×35×140 cm
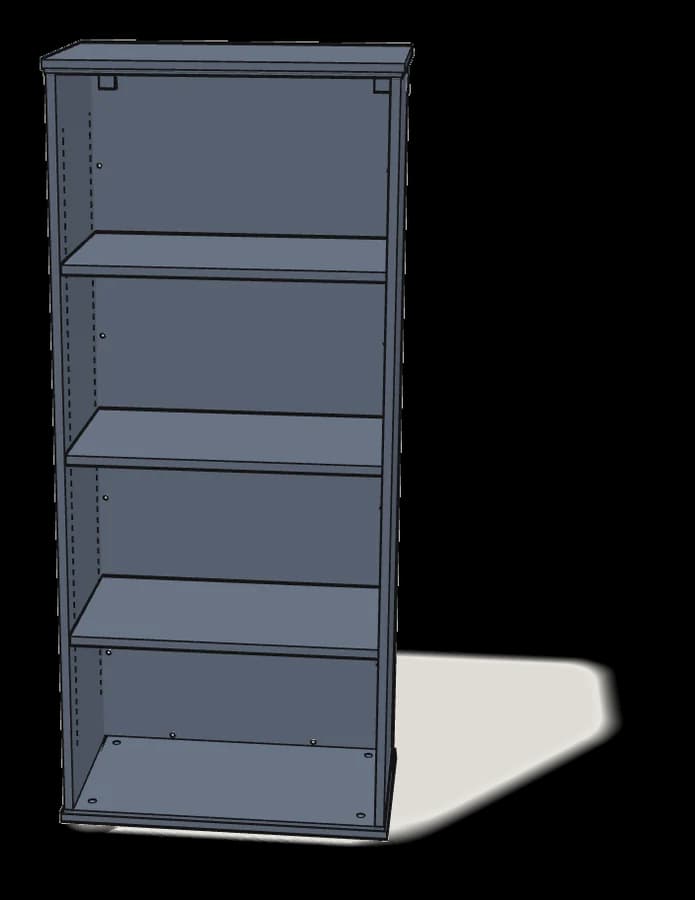
What you need
Tools
- Flat-head screwdriver
- Phillips screwdriver
- Hammer
- Drill (for wall fixing)
You’ll need: flat-head and Phillips screwdrivers, a pencil, a hammer and a drill (for the wall fixing).
Hardware in the box
| Part no. (as printed in the manual) | Qty |
|---|---|
| 10047135 | 8× |
| 10078589 | 8× |
| 101345 | 8× |
| 10093081 | 12× |
| 10093082 | 12× |
| 10075382 | 12× |
| 133304 | 2× |
| 152676 | 4× |
| 150688 | 2× |
| 150689 | 2× |
| 126916 | 2× |
| 147968 | 2× |
| 158469 | 2× |
| 121714 | 2× |
Step-by-step assembly
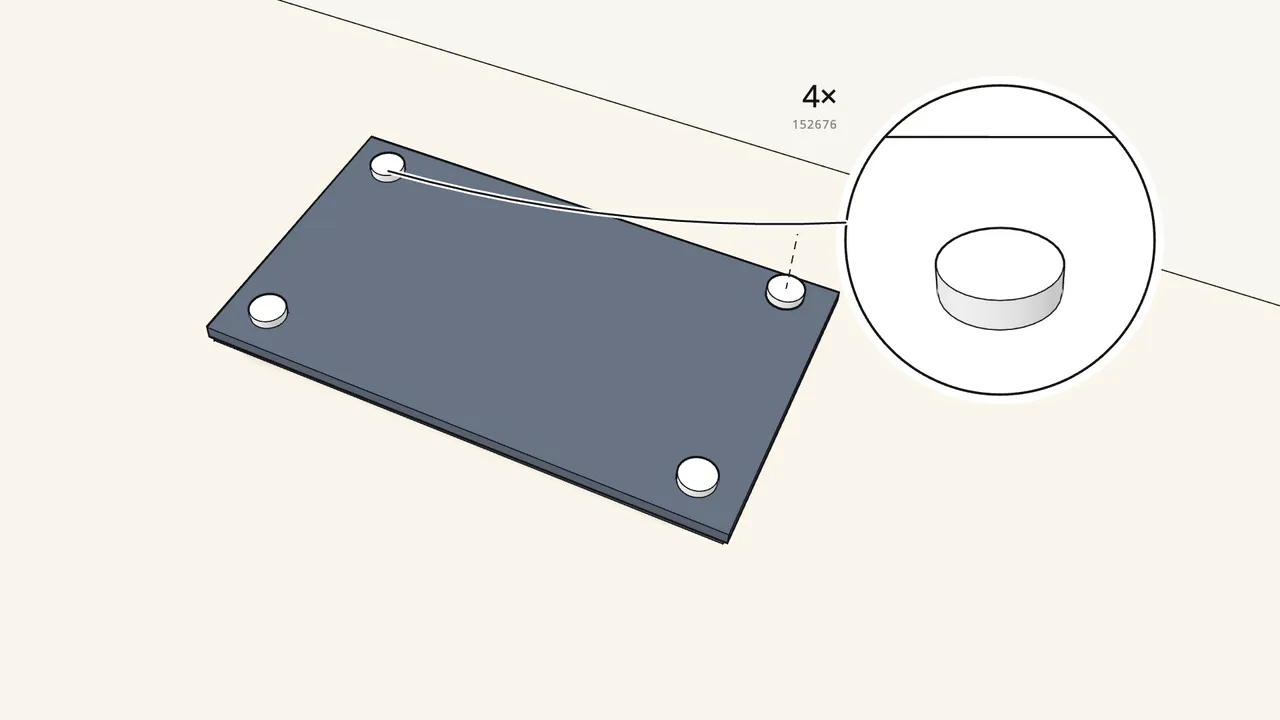
Step 1
Screw the 4 feet (152676) into the bottom panel.
Lay the bottom panel upside-down on the rug.
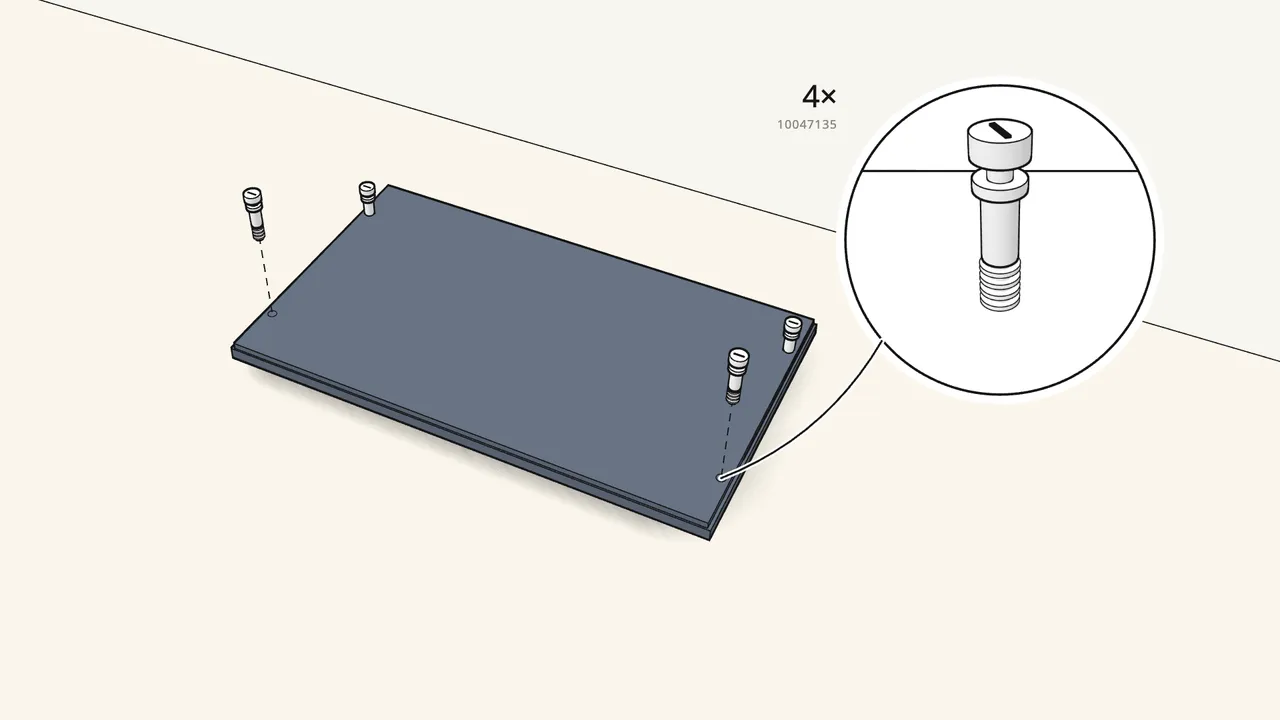
Step 2
Turn it over and screw in 4 connectors (10047135).
Screw them all the way in by hand — no thread may show.
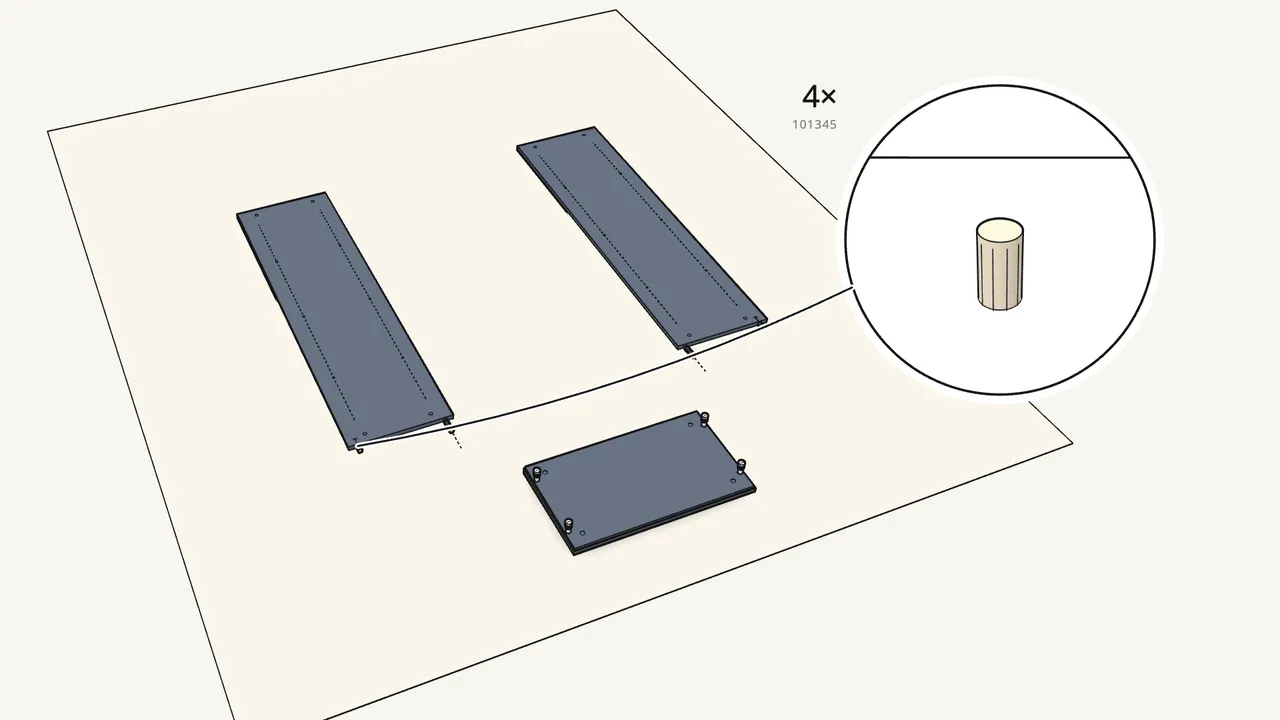
Step 3
Push 4 dowels (101345) into the bottom ends of the sides.
2 in each side panel.
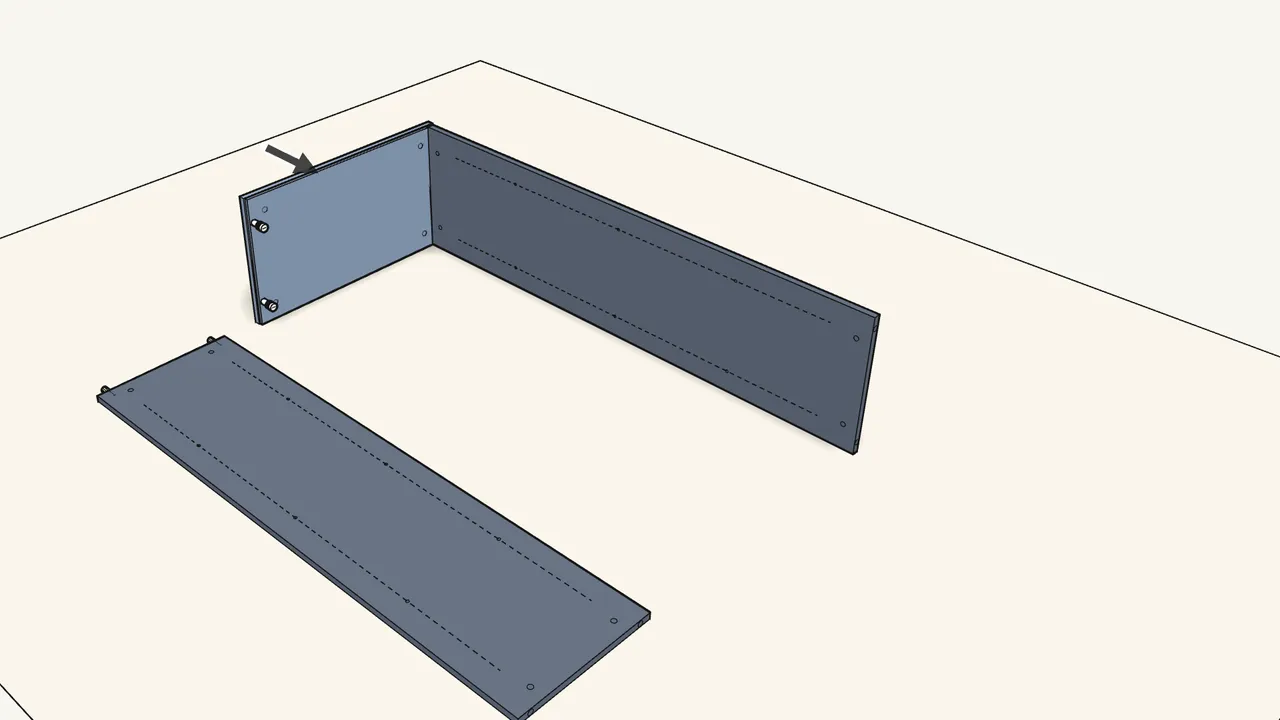
Step 4
Stand a side on its front edge and push the bottom panel on.
The connectors and dowels go into the holes in the side.
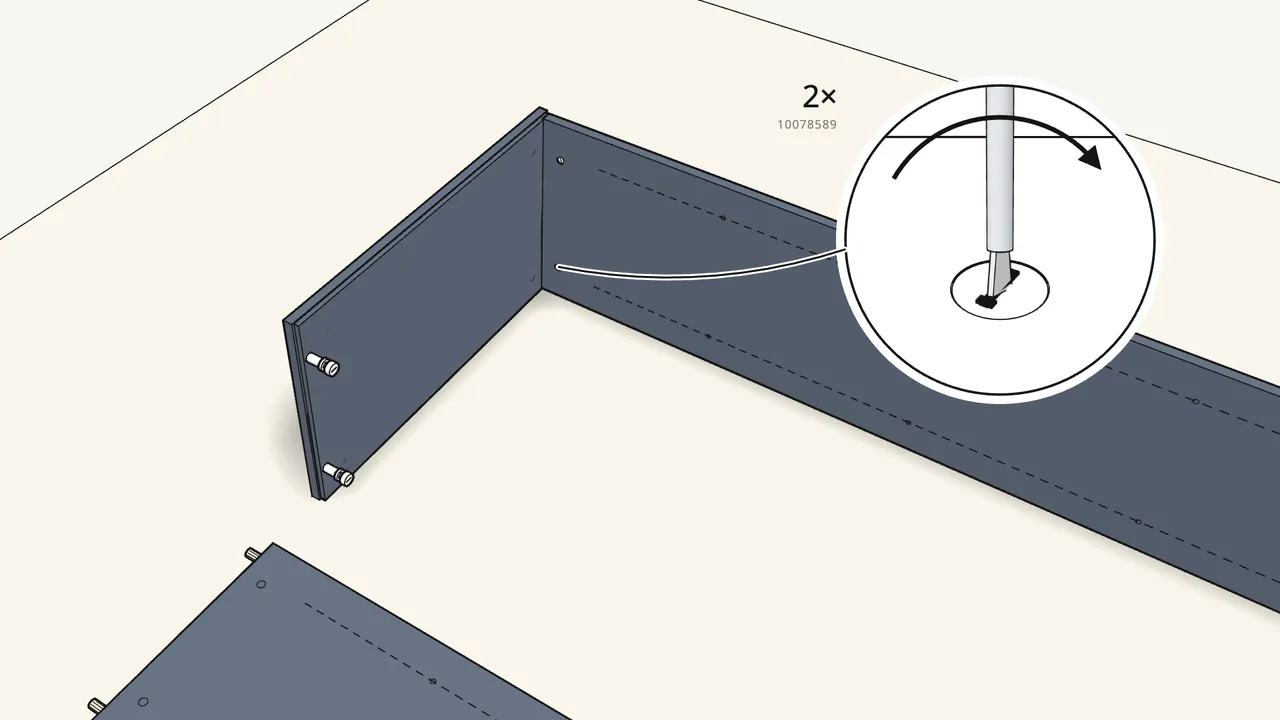
Step 5
Insert 2 cam locks (10078589) and turn them clockwise.
Use a flat-head screwdriver — the lock grips the connector.
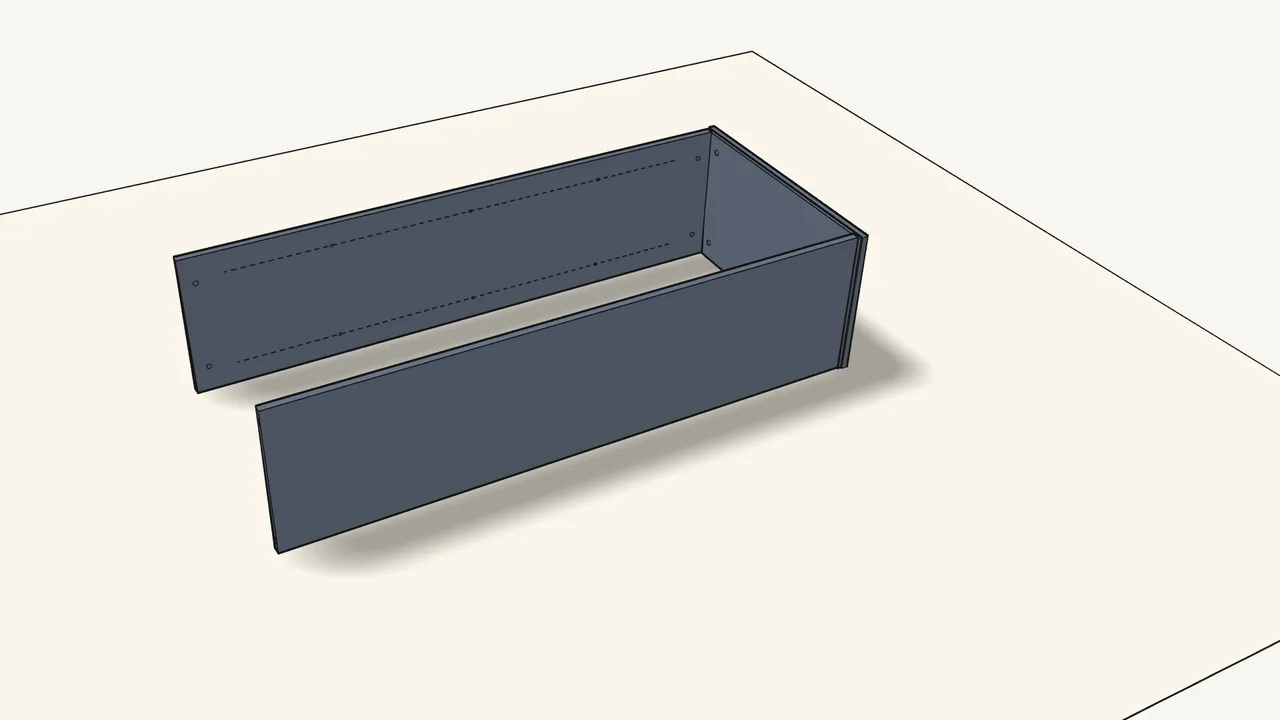
Step 6
Push the other side panel onto the bottom panel.
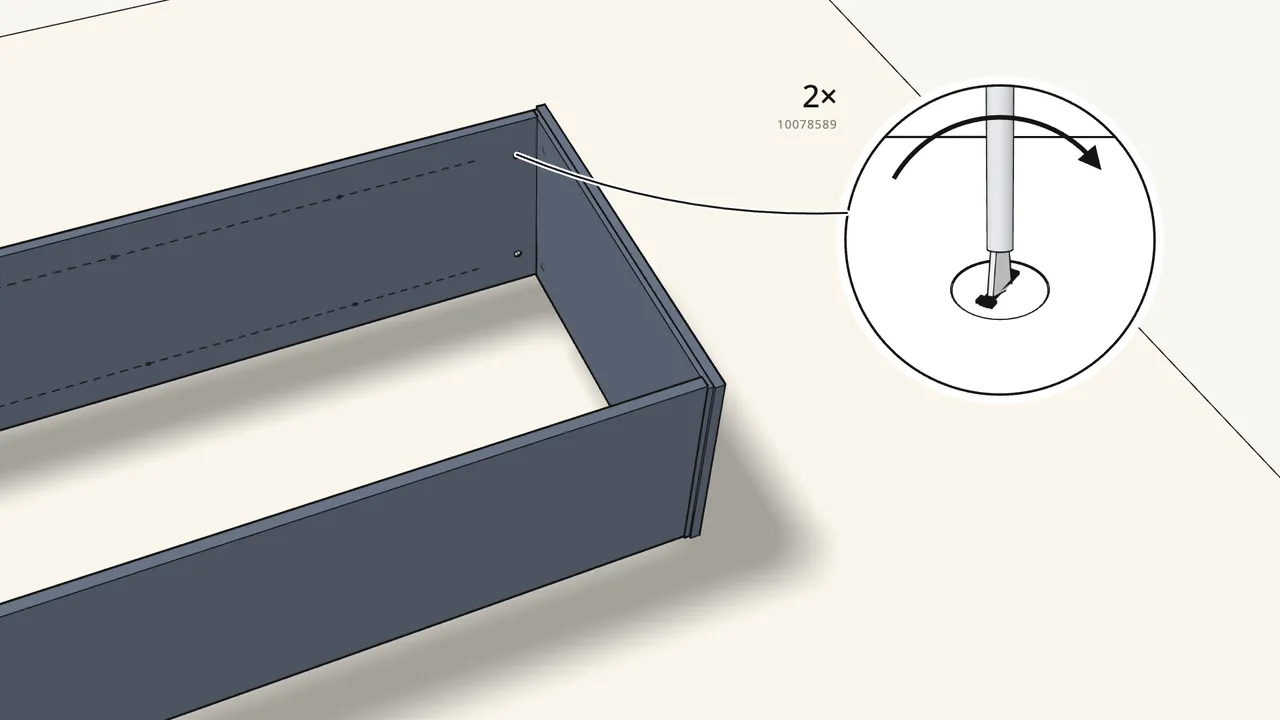
Step 7
Insert 2 cam locks (10078589) and turn them clockwise.
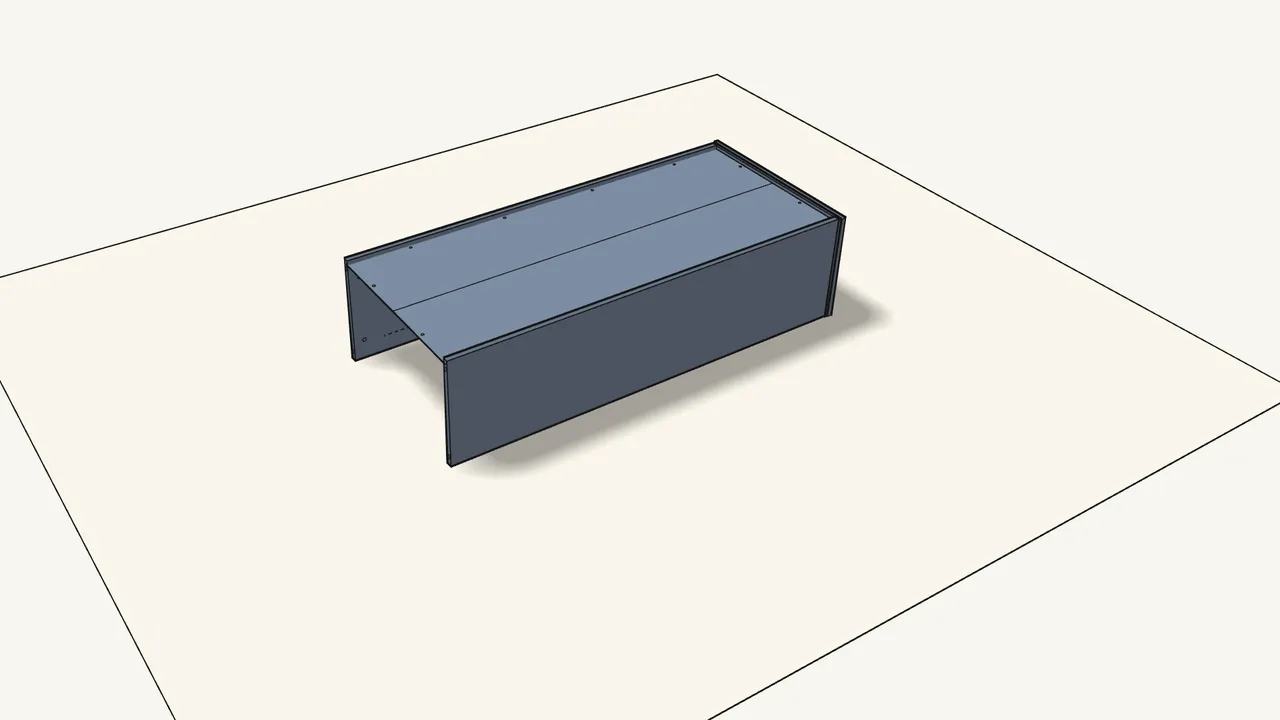
Step 8
Slide the back panel into the grooves.
Push it all the way into the groove in the bottom panel.
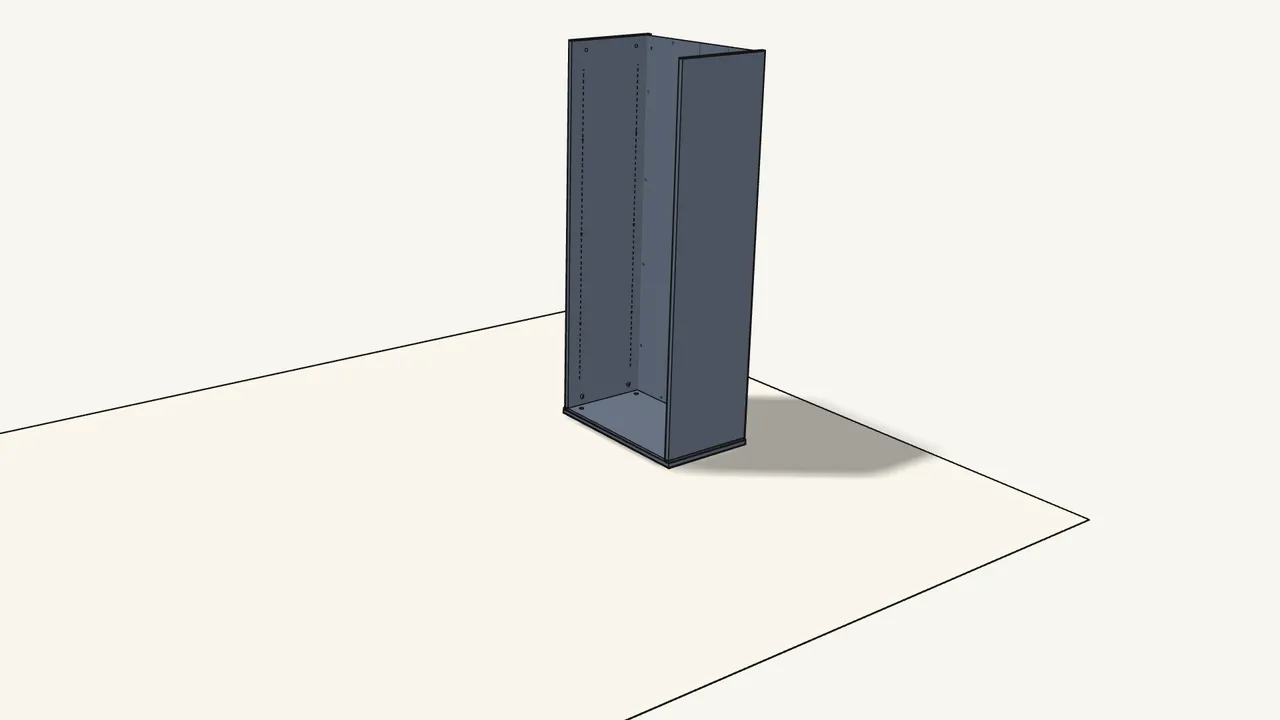
Step 9
Stand the bookcase upright.
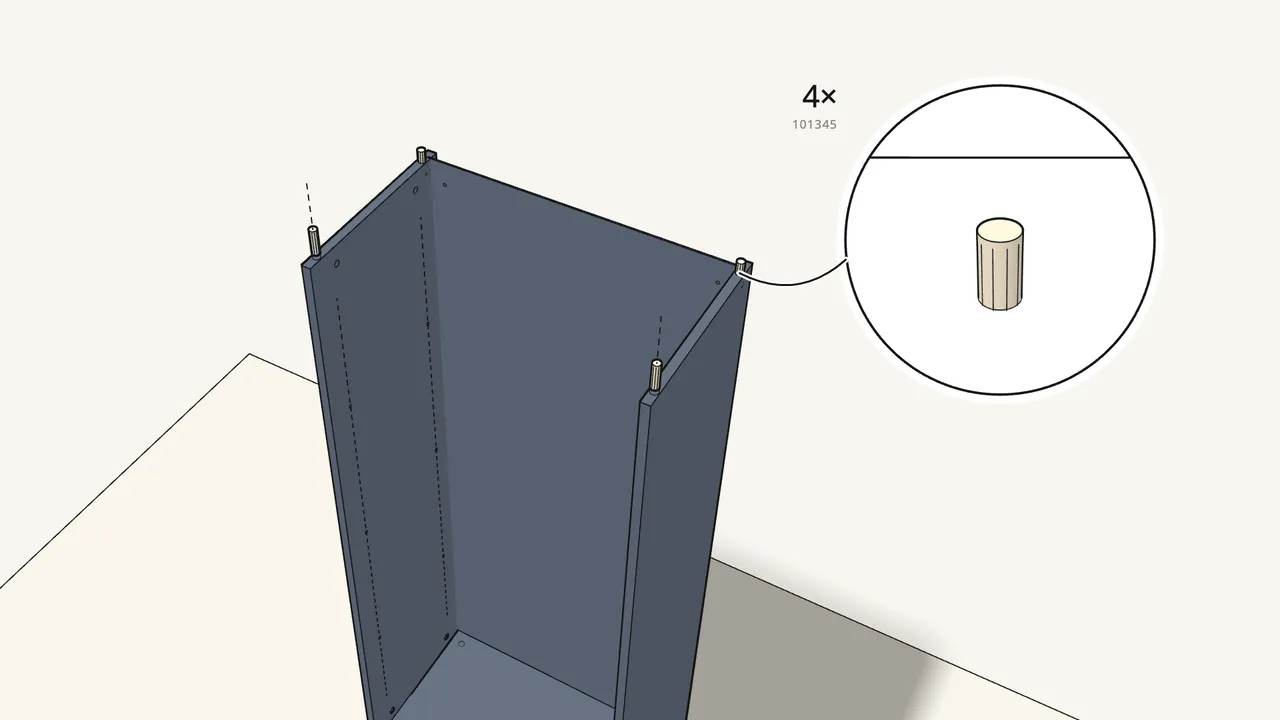
Step 10 · manual step 9
Push 4 dowels (101345) into the tops of the sides.
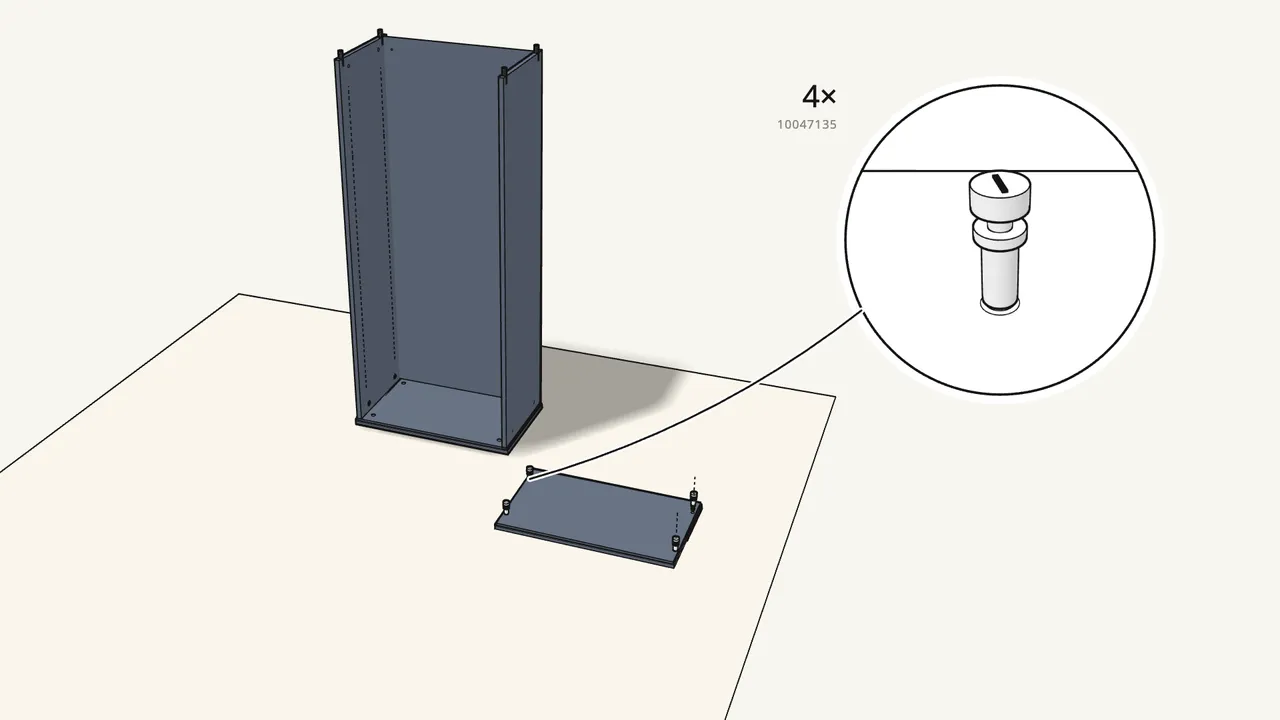
Step 11 · manual step 10
Screw 4 connectors (10047135) into the top panel.
Underside up, all the way in by hand.
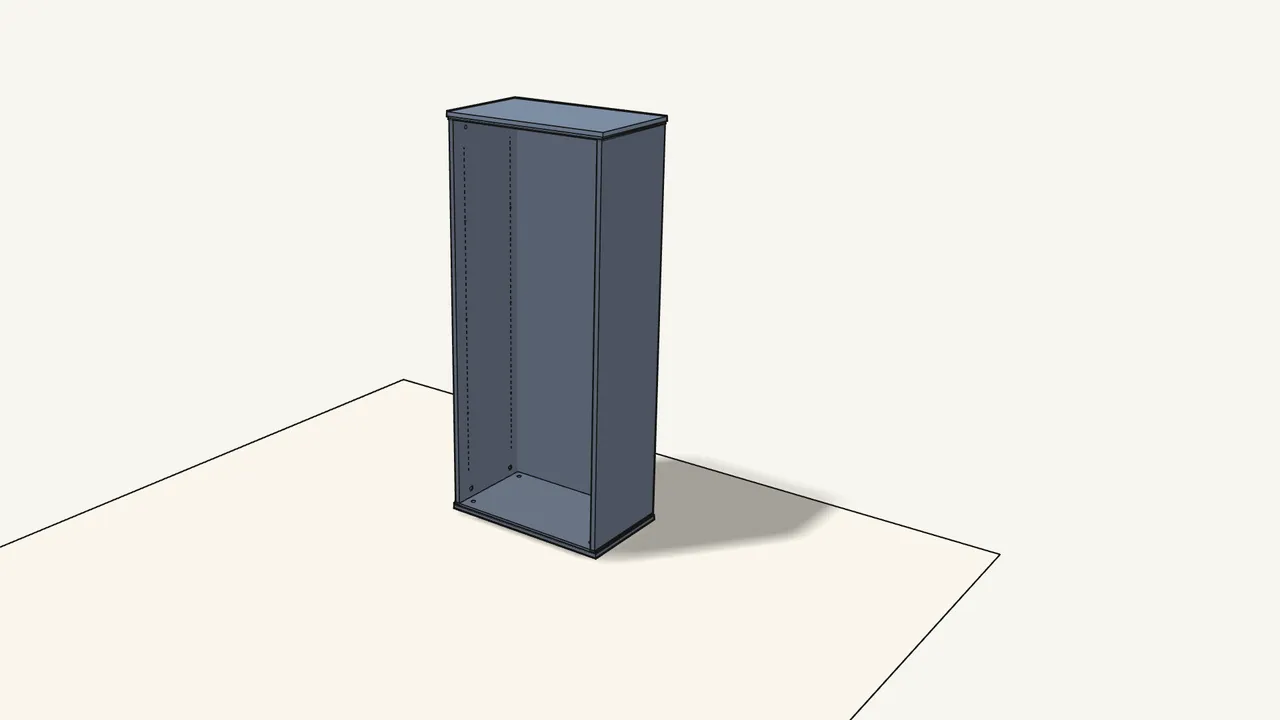
Step 12 · manual step 11
Turn the top over and press it onto the side panels.
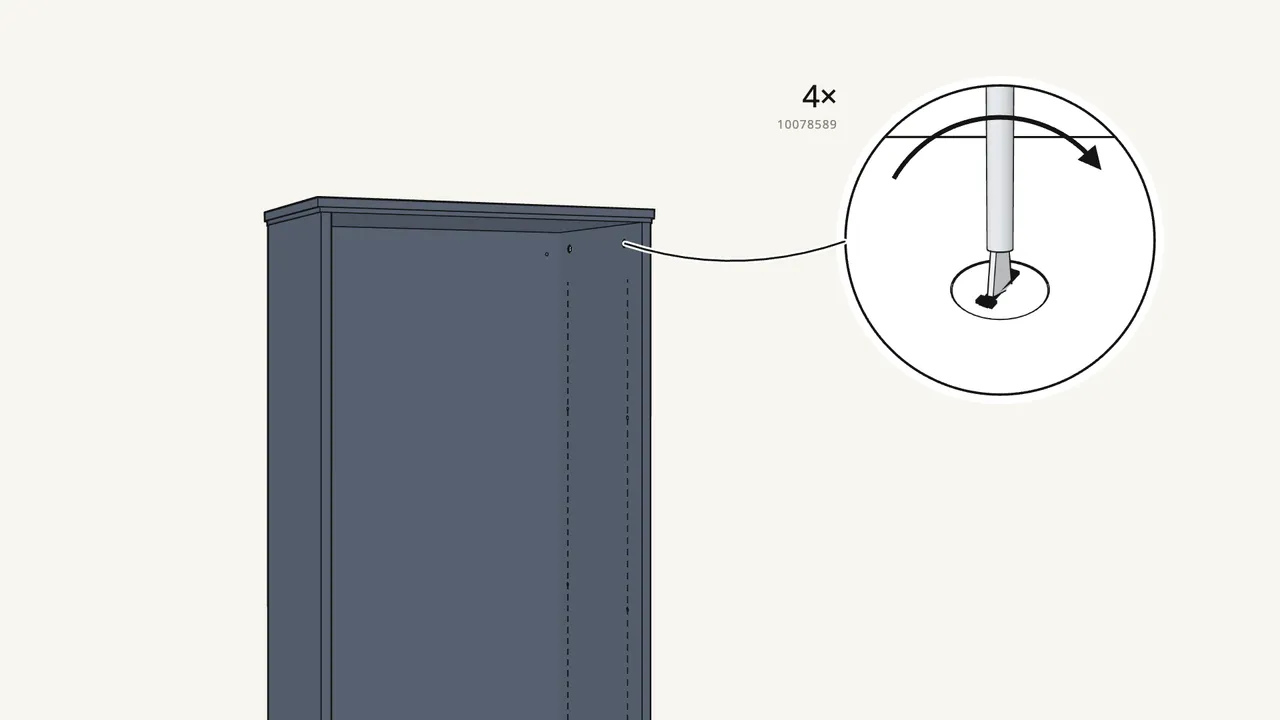
Step 13 · manual step 12
Insert 4 cam locks at the top and turn them clockwise.
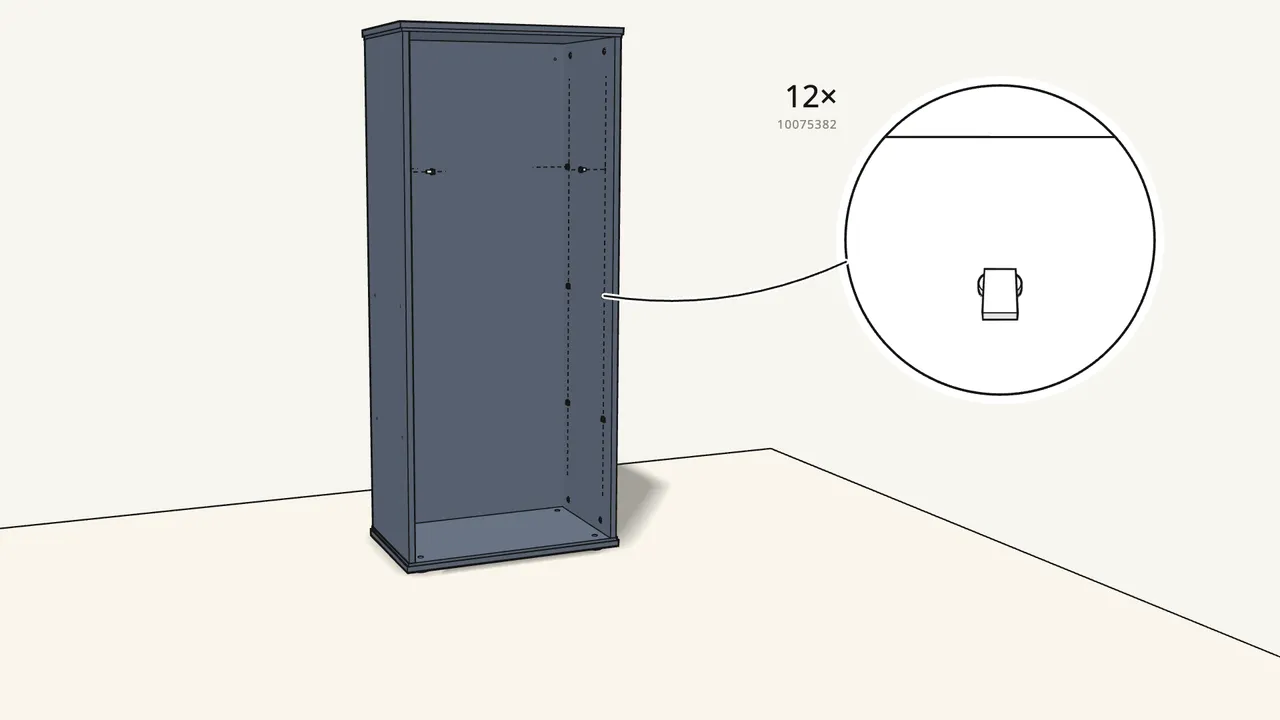
Step 14 · manual step 13
Push the 12 shelf supports (10075382) into the sides.
4 per shelf, at the height you want.
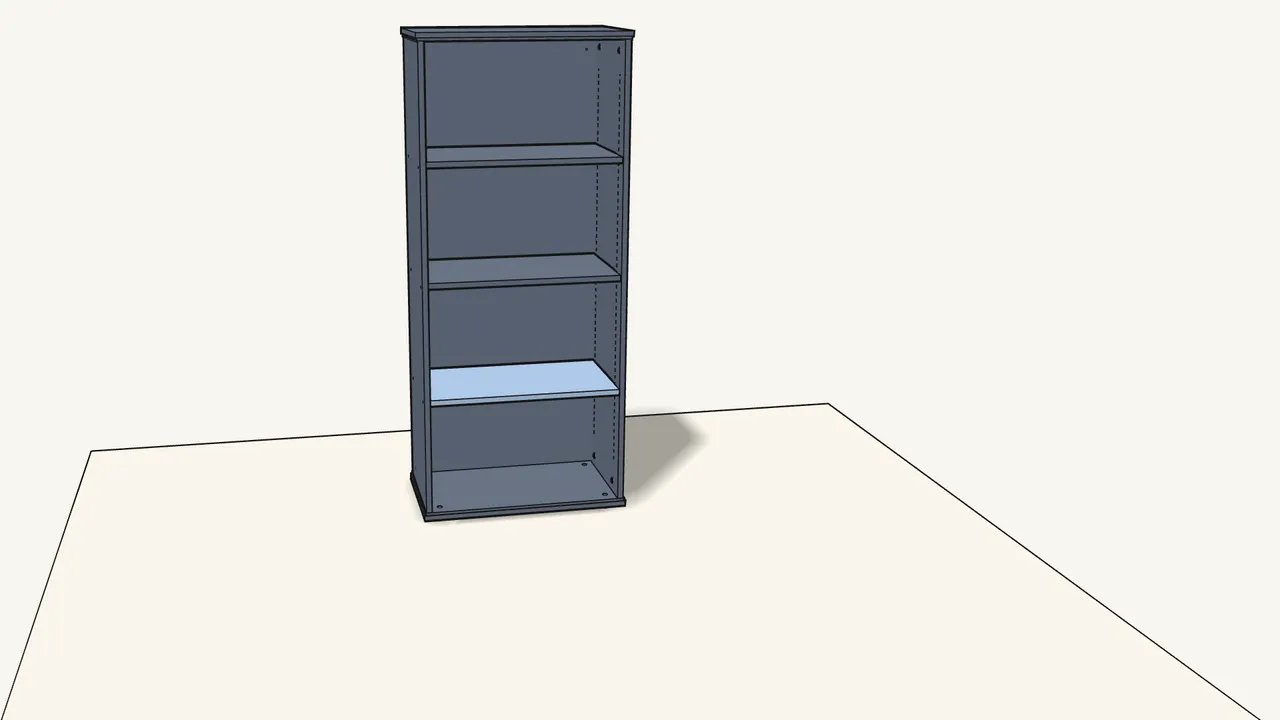
Step 15 · manual step 14
Lay the 3 shelves on the supports.
Check the edge detail in the manual, step 14, for the right way round.
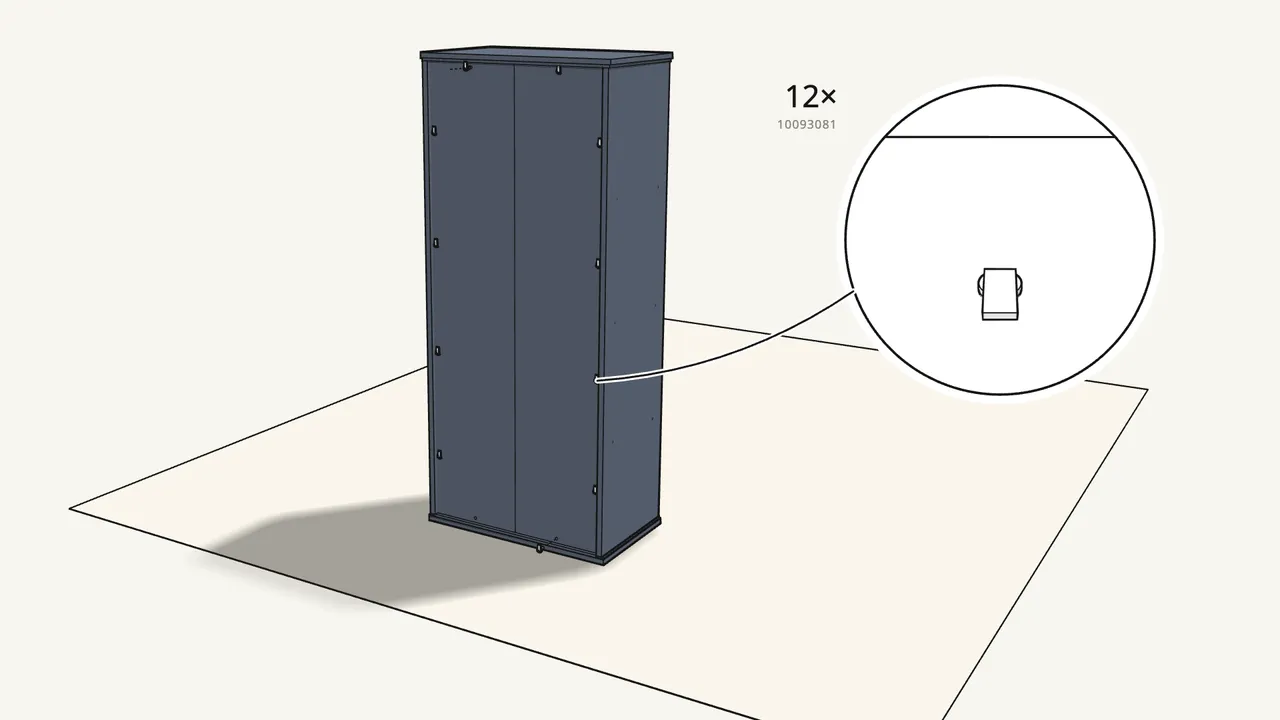
Step 16 · manual step 15
Turn the bookcase round and fit the 12 back clips.
Push in the clips (10093081), then lock each one with a 10093082.
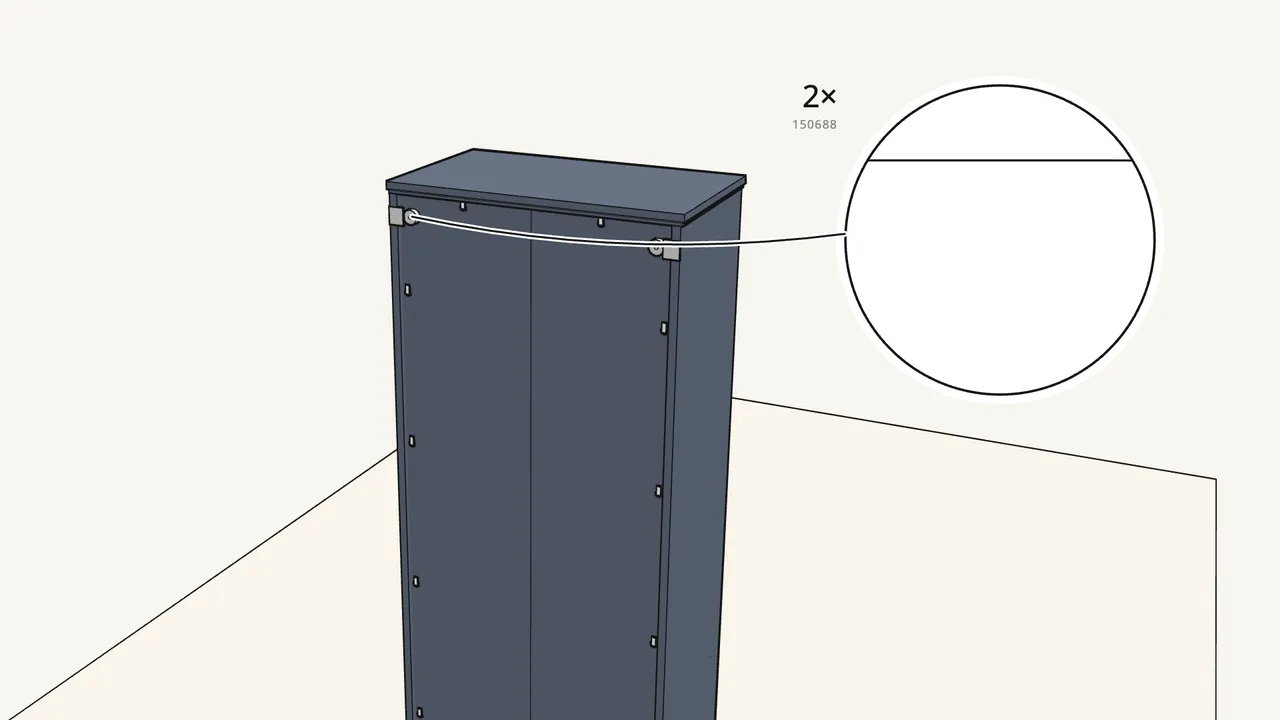
Step 17 · manual step 16
Fit the 2 wall fittings (150688) at the top of the back.
Push their 2 pins into the holes in each side panel.
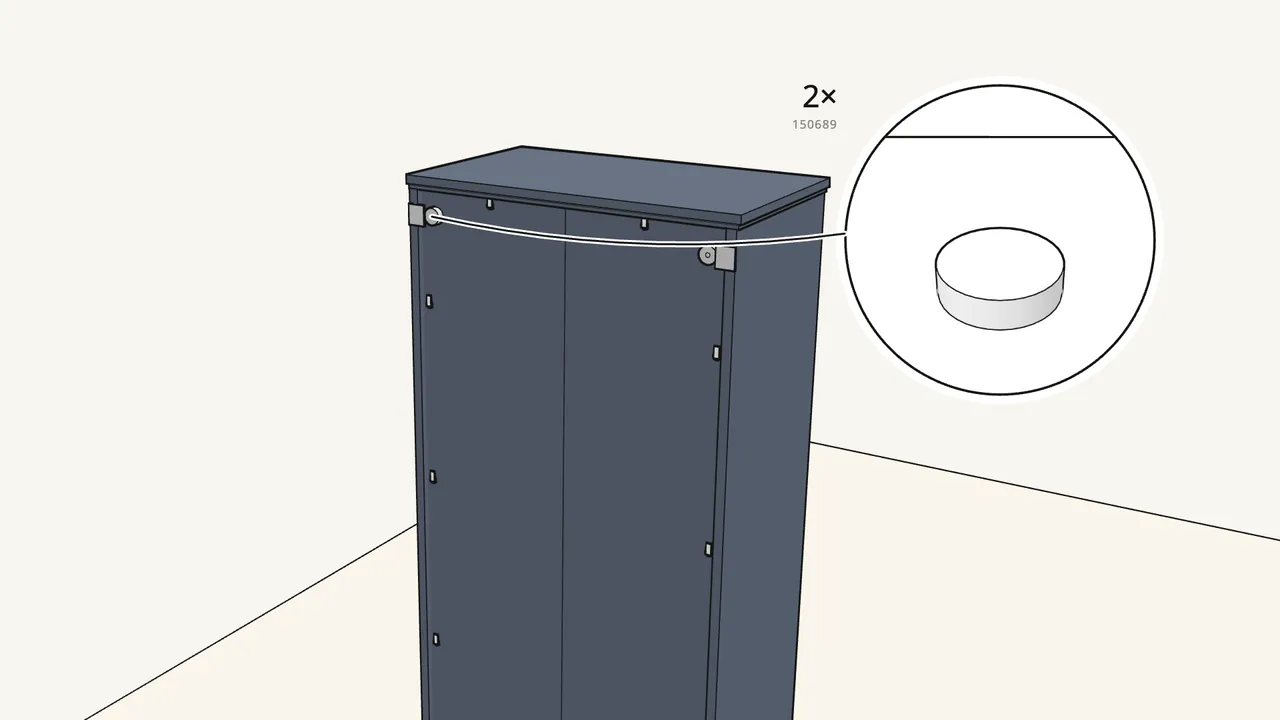
Step 18 · manual step 17
Skirting board on your wall? Fit the knobs (150689).
Screw one onto each fitting and turn it to fit the gap — see the manual, steps 17–18.
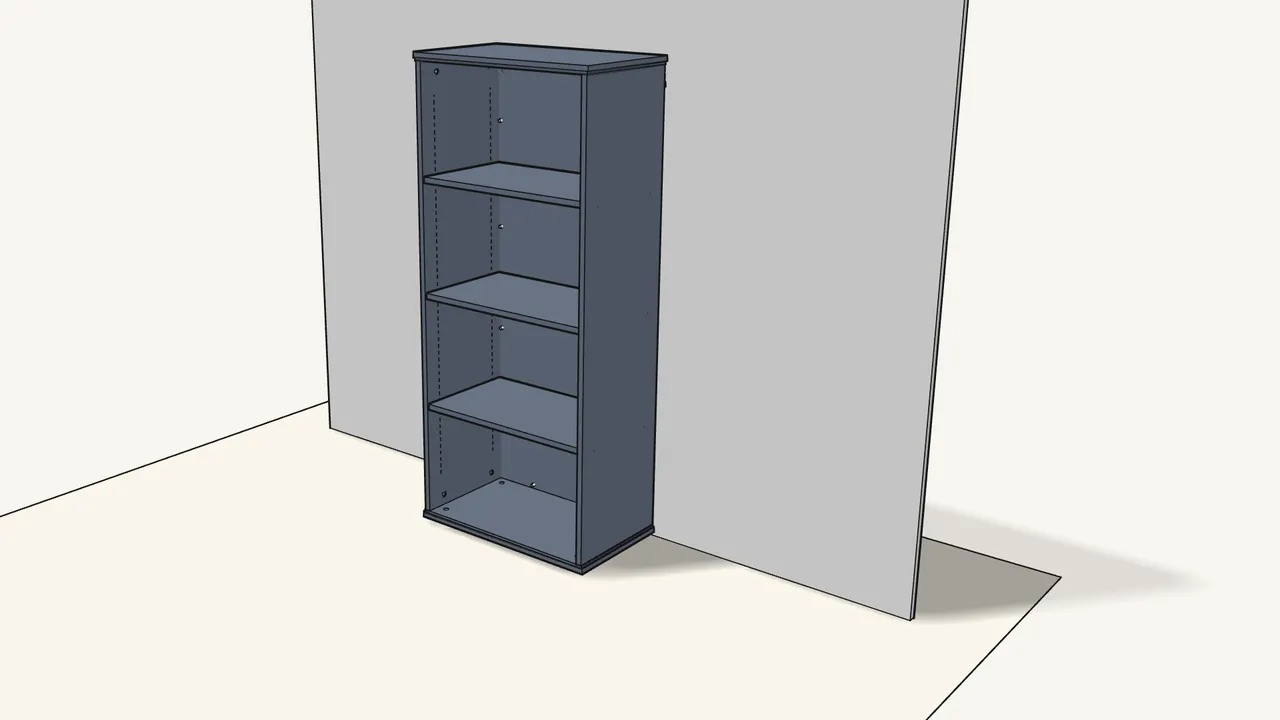
Step 19 · manual step 18
Stand the bookcase against the wall.
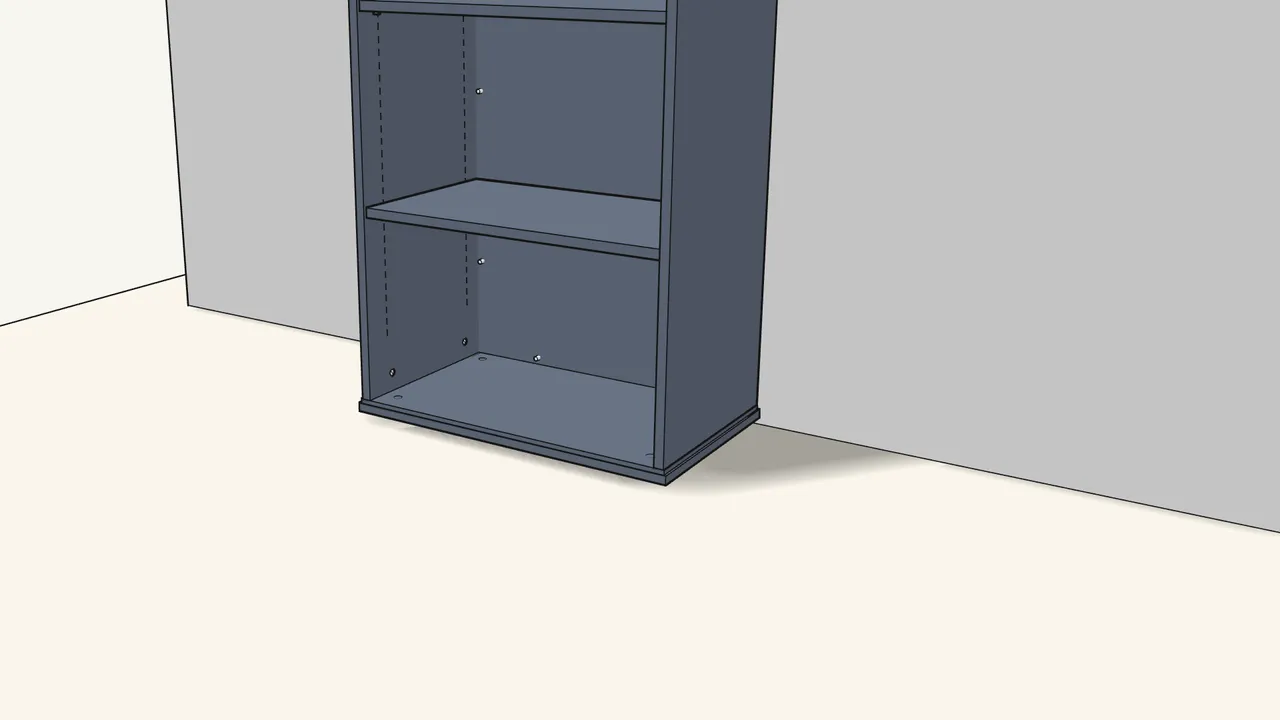
Step 20 · manual step 19
Turn the 4 feet to level the bookcase.
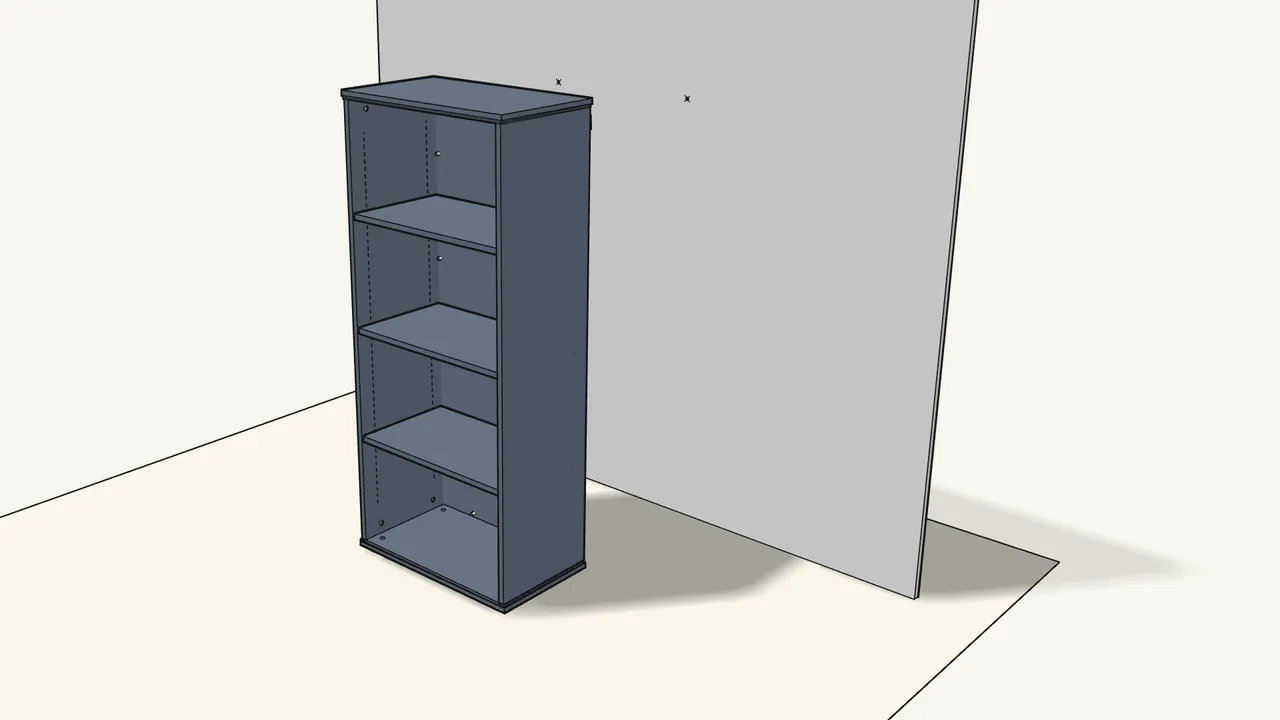
Step 21 · manual step 20–21
Mark the 2 holes through the fittings, then move it away.
Use a pencil.
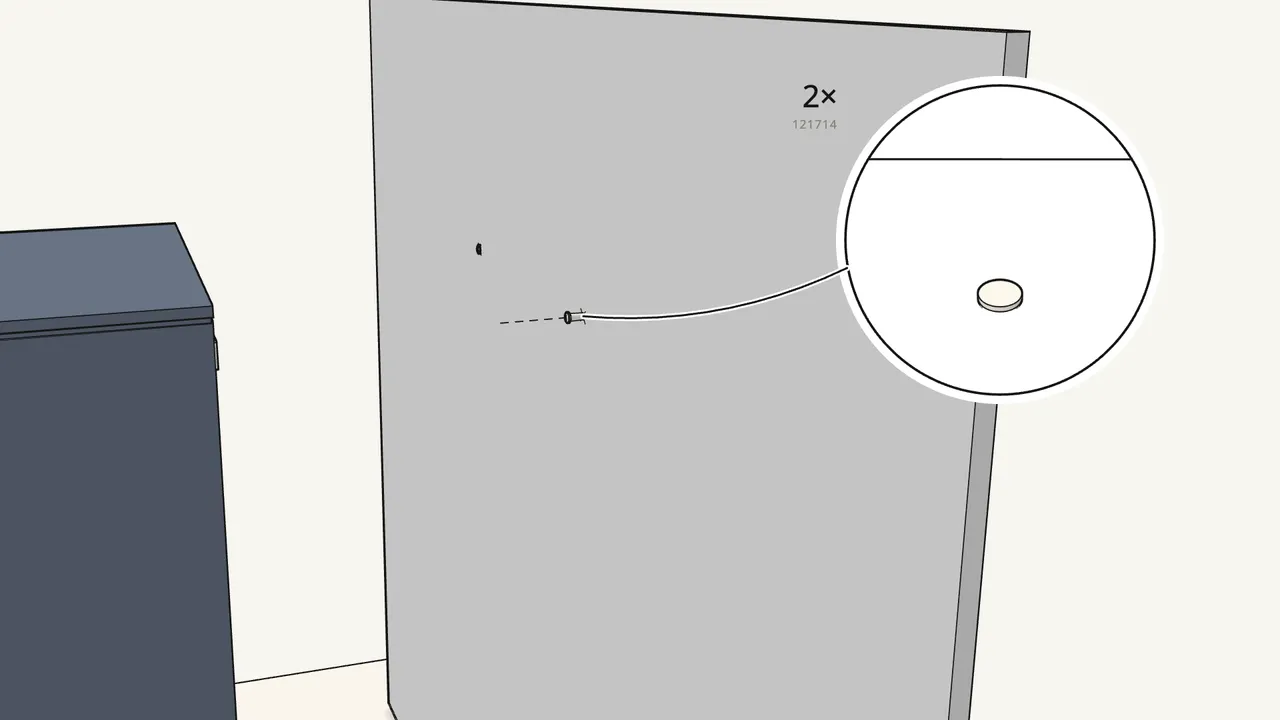
Step 22
Drill the holes and fit plugs to suit your wall.
Plugs (121714) for solid and hollow walls; none for solid wood — see manual p. 20–21.
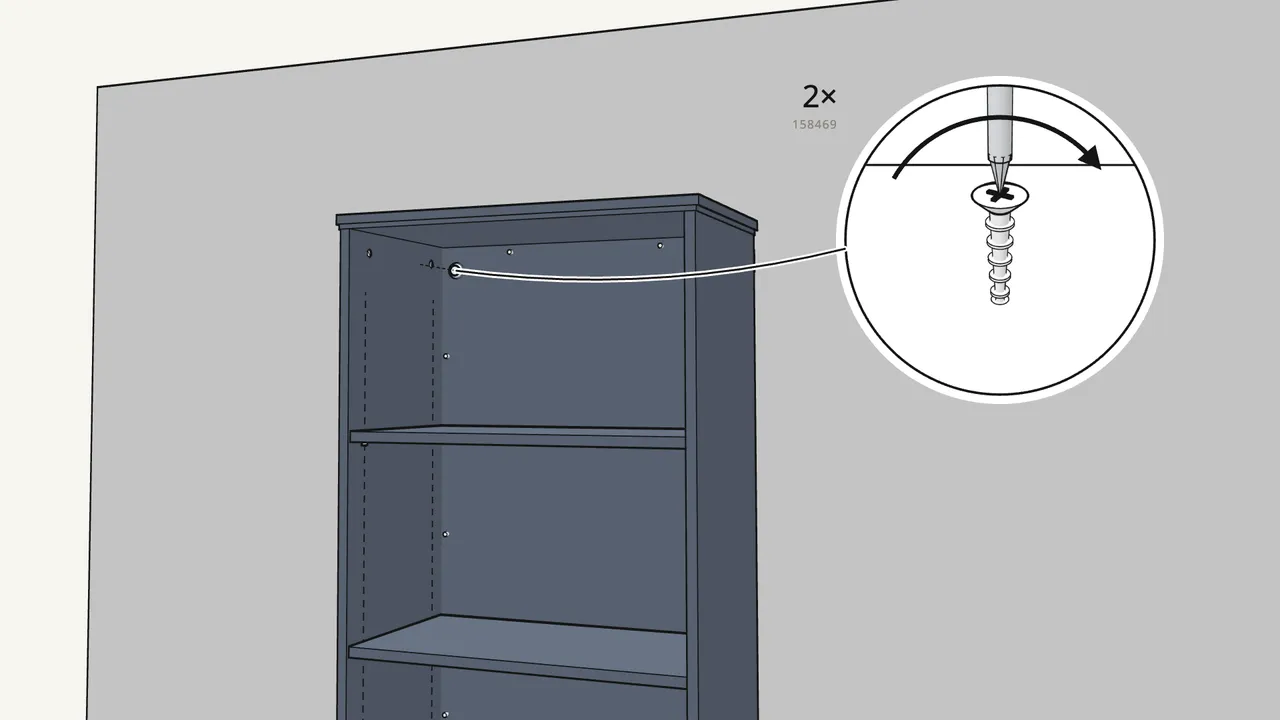
Step 23
Push it back and screw it to the wall through the fittings.
Washer (126916) + screw 158469 — use the long 147968 if you fitted the knobs.
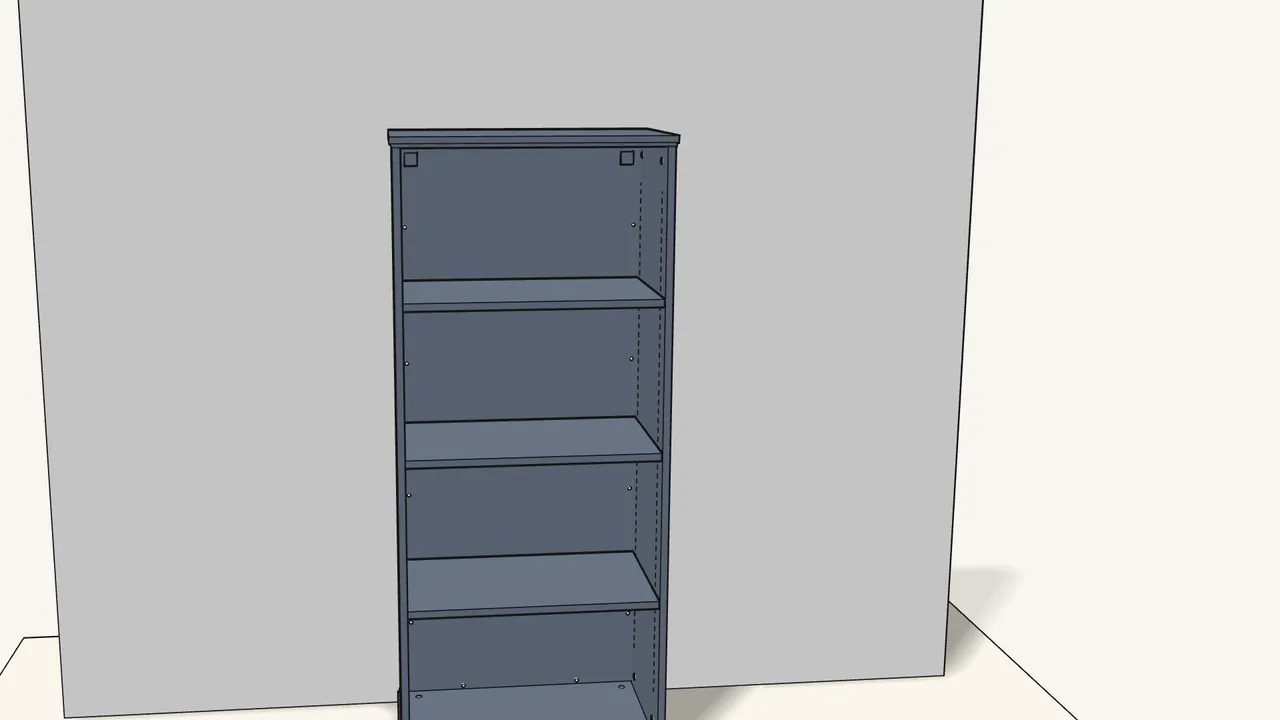
Step 24
Snap the 2 covers (133303/133304) over the screw heads.
Tips & safety
- Always fix SKRUVBY to the wall. Furniture tip-over can cause serious or fatal crushing injuries. Use the included fittings with plugs and screws that suit your wall.
- Keep heavy things low. Put the heaviest items on the bottom shelf. Never put a TV or other heavy objects on top.
- No climbing. Never let children climb or hang on the shelves.
Official instructions
This guide follows IKEA’s official assembly instructions (AA-2313530-5). Keep the printed manual to hand — if anything differs, the manual is right.