IKEA · Bookcases & Shelving
How to assemble IKEA PAX Add-On Mid Unit
Step-by-step IKEA PAX Add-On Mid Unit assembly: 23 illustrated steps, an animated video, the hardware list and the tools you need — following the official instructions (AA-2663820-2).
- 23 illustrated steps
- 18 steps in the manual
- 3:09 video
- 35×35×236 cm
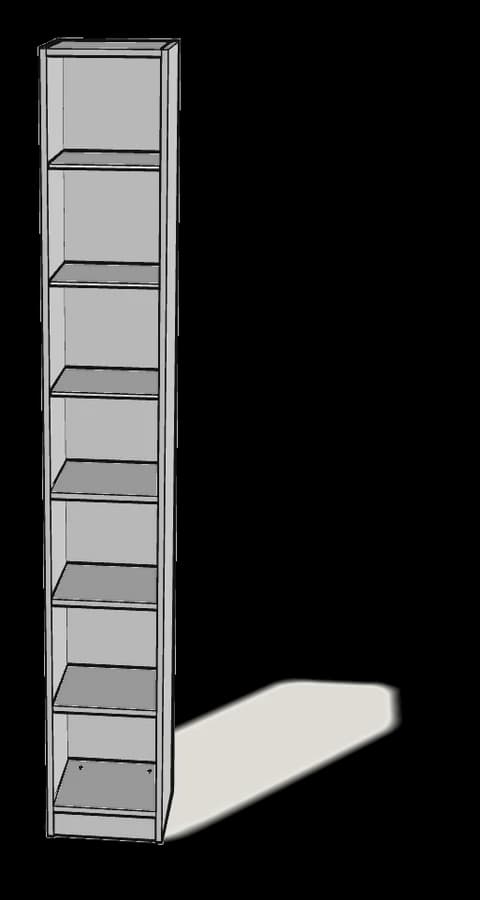
What you need
Tools
- Phillips screwdriver
- Hammer
- Spirit level
- Drill (for wall fixing)
You’ll need: a Phillips screwdriver, a hammer, a spirit level, a drill with a Ø 5 mm (1/4") bit, clamps, a step ladder and a tape measure.
Hardware in the box
| Part no. (as printed in the manual) | Qty |
|---|---|
| 100229 | 12× |
| 101375 | 12× |
| 100644 | 4× |
| 100402 | 4× |
| 151705 | 4× |
| 151706 | 4× |
| 10080579 | 12× |
| 101558 | 8× |
| 10093081 | 16× |
| 10093082 | 16× |
| 10123654 | 12× |
| 100751 | 2× |
| 122972 | 4× |
| 110618 | 2× |
| 110617 | 2× |
Step-by-step assembly
Step 1
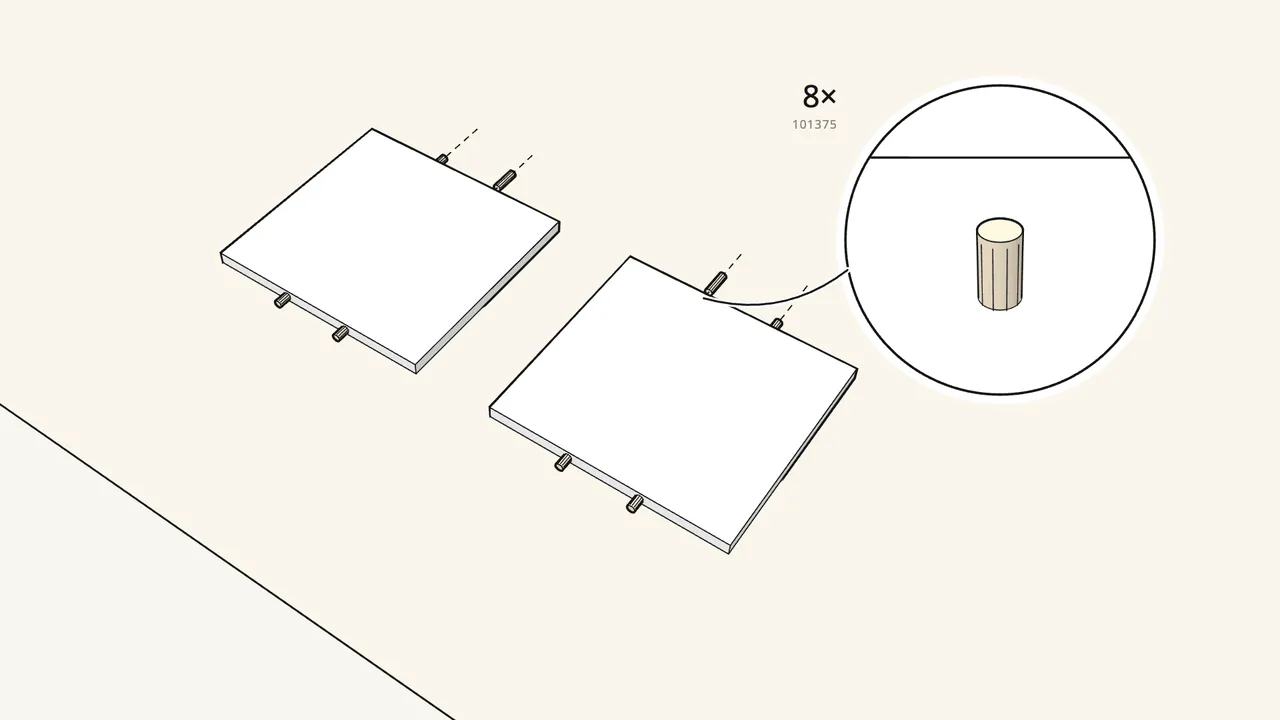
Push 8 dowels (101375) into the ends of the top and bottom panels.
2 in each end.
Step 2
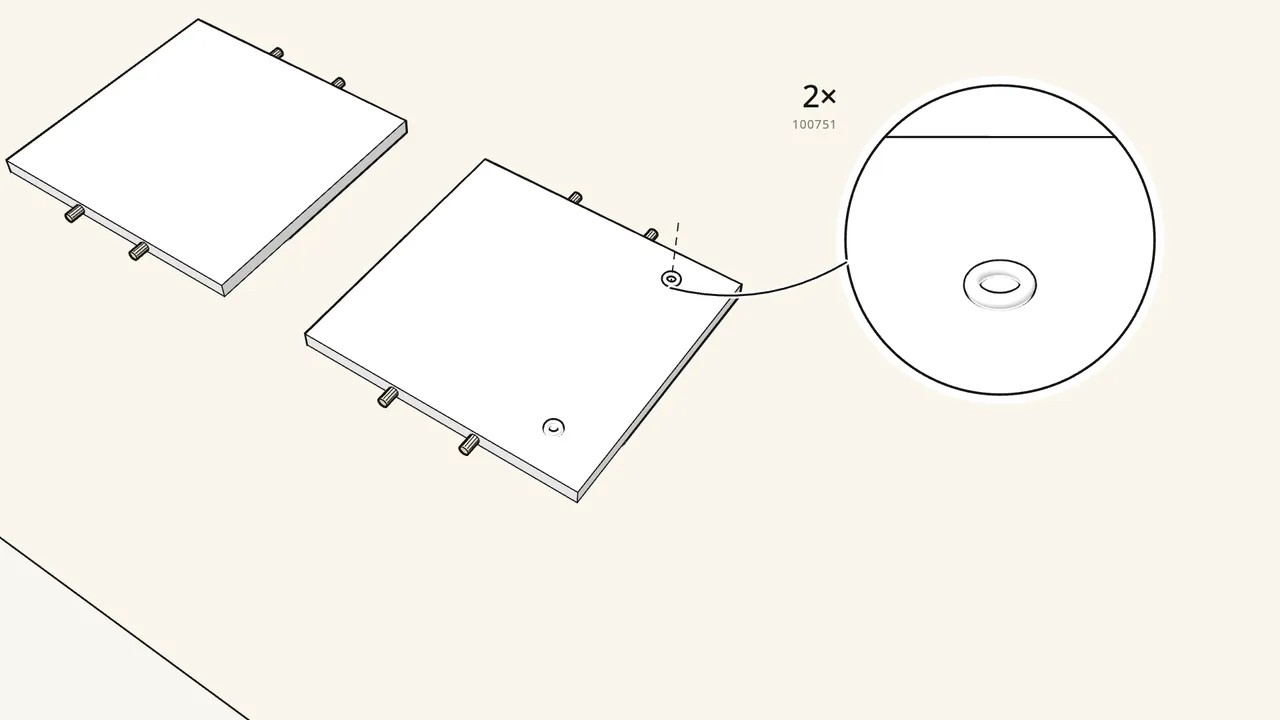
Hammer 2 tee nuts (100751) into the bottom panel.
Prongs into the board — see the manual, step 2.
Step 3
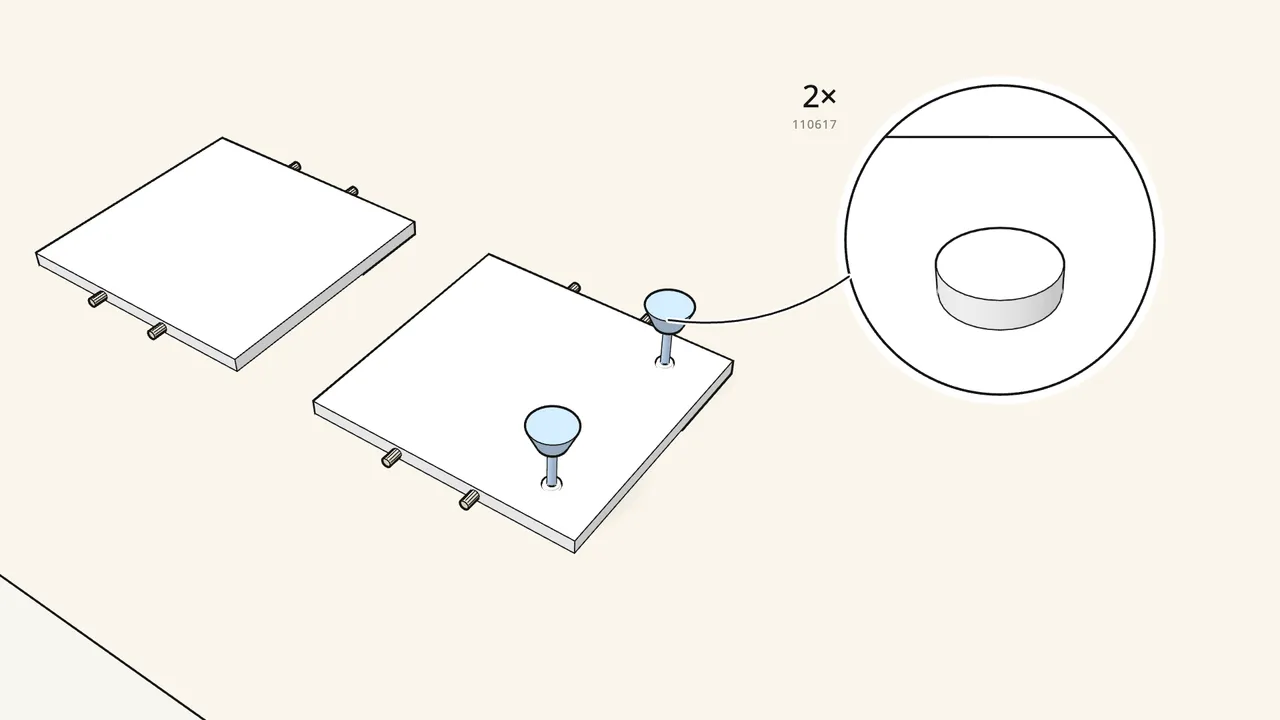
Tap each bolt (110618) into a foot (110617) until it clicks.
Then screw the 2 feet into the tee nuts.
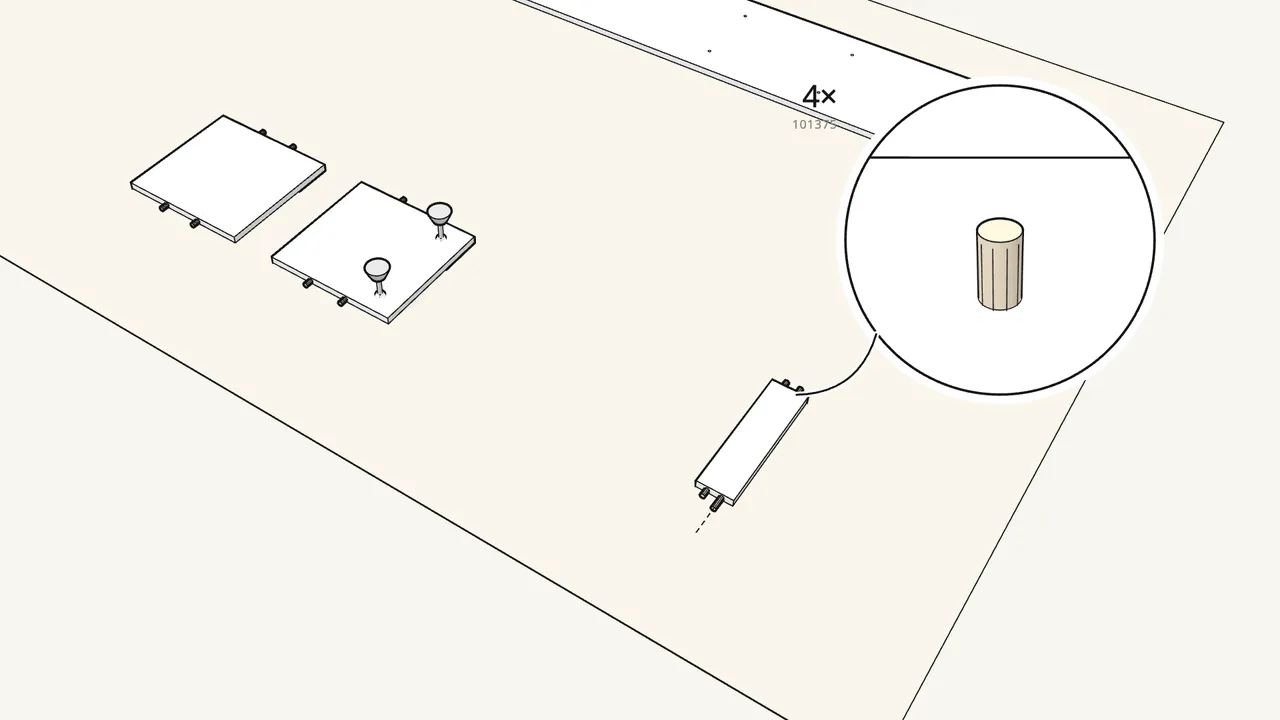
Step 4
Push 4 dowels (101375) into the ends of the plinth.
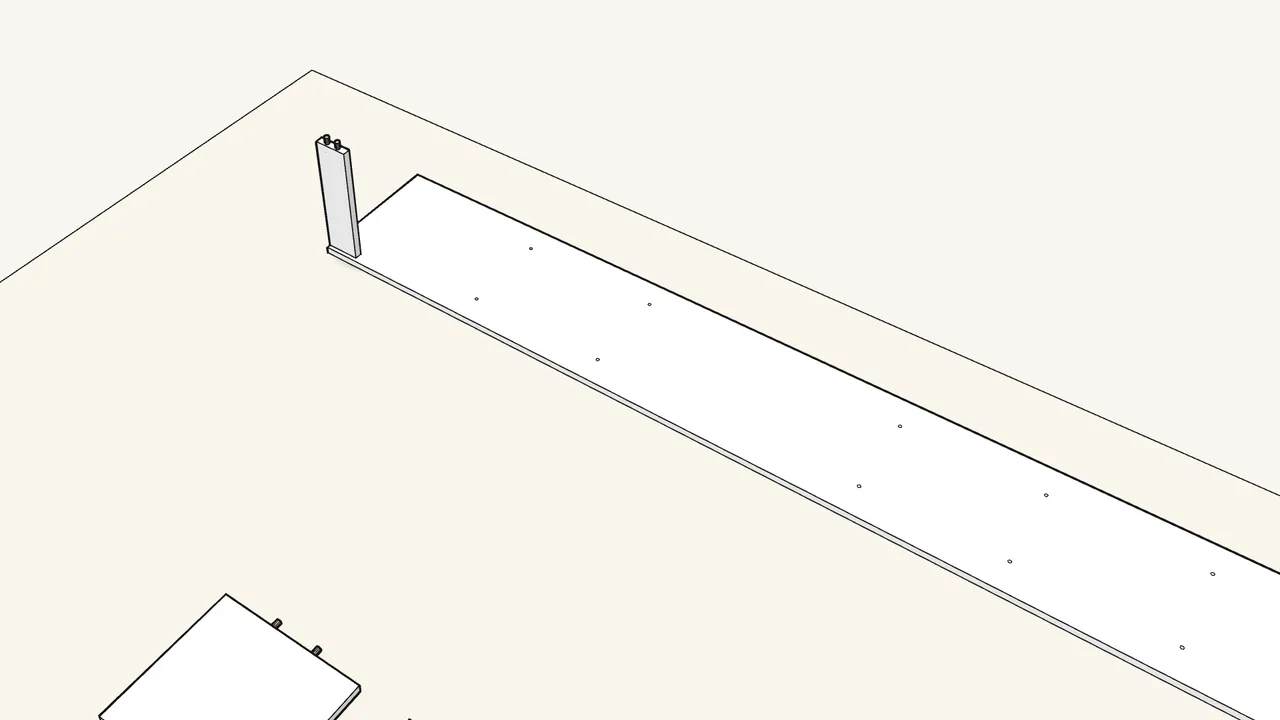
Step 5
Lay a side panel flat and push the plinth into its bottom end.
Lying-down method: ceiling 244 cm (95 5/8") or higher. Lower ceiling: see the manual, page 14.
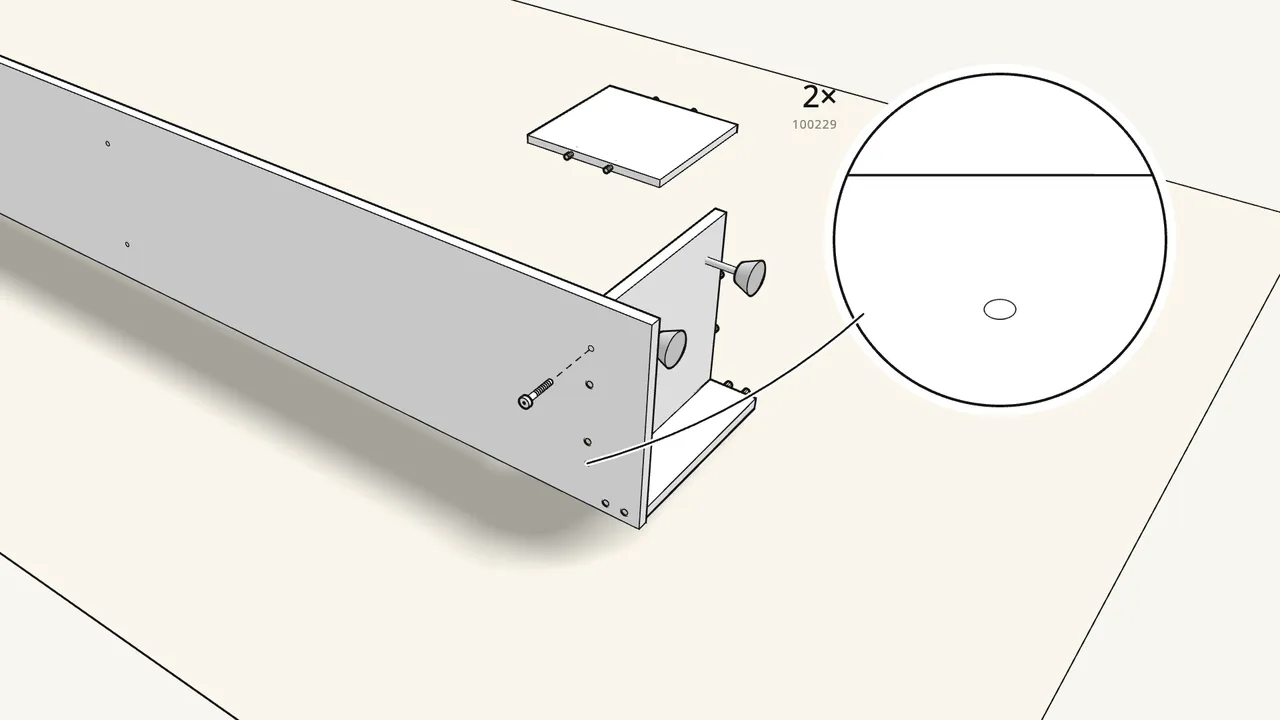
Step 6
Stand the side on its long edge; fit the bottom panel.
2 bolts (100229) through the side, tightened with the Allen key.
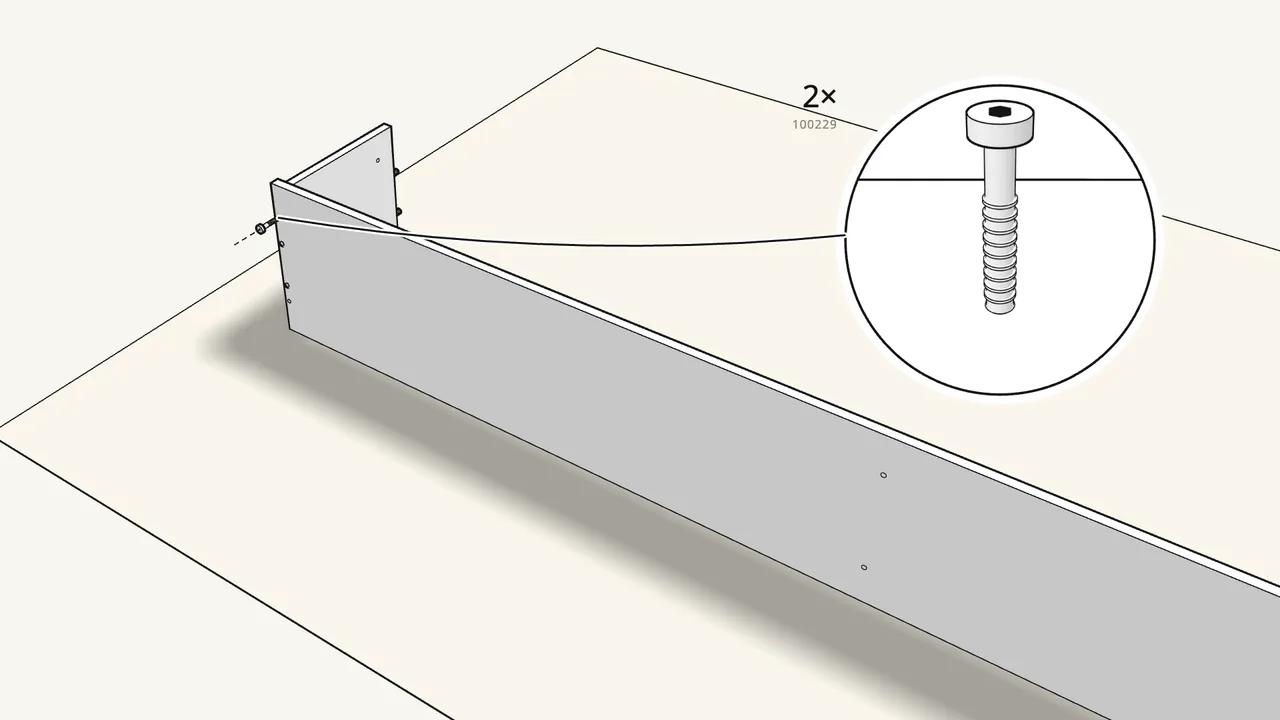
Step 7
Fit the top panel at the other end: 2 bolts (100229).
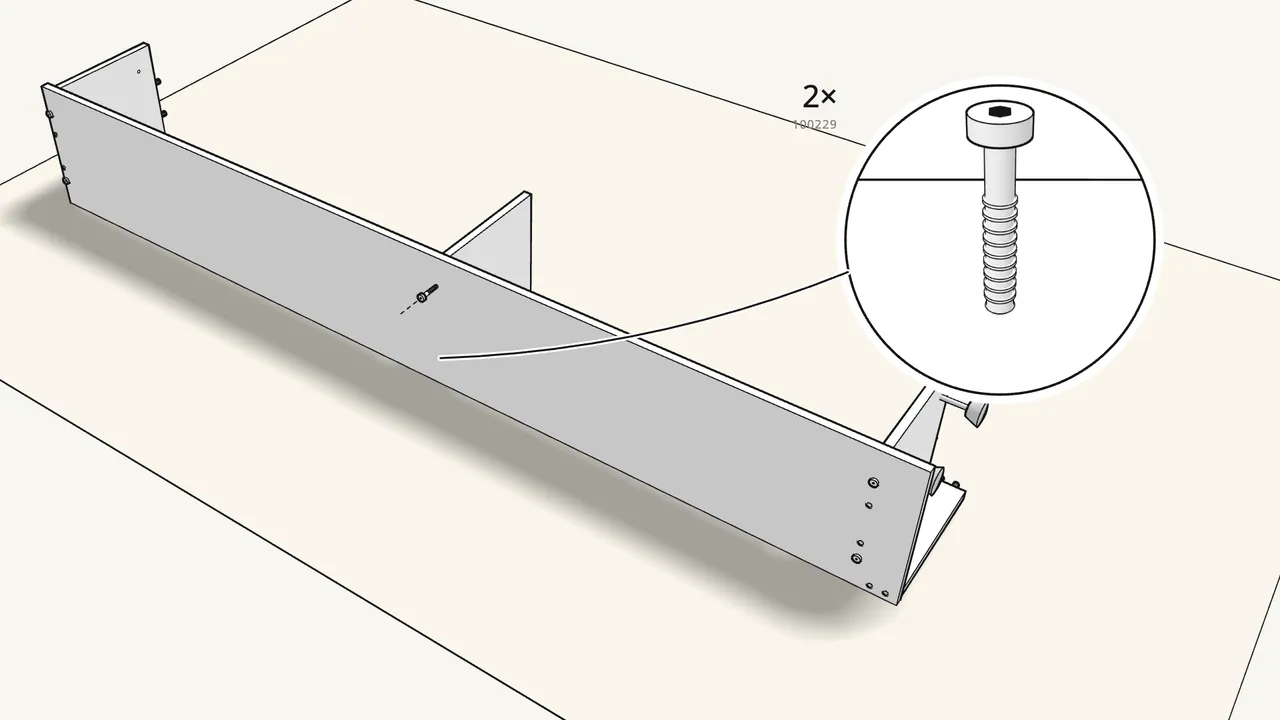
Step 8
Fit the middle (fixed) shelf: 2 bolts (100229).
Check the hole positions — see the manual, step 8.
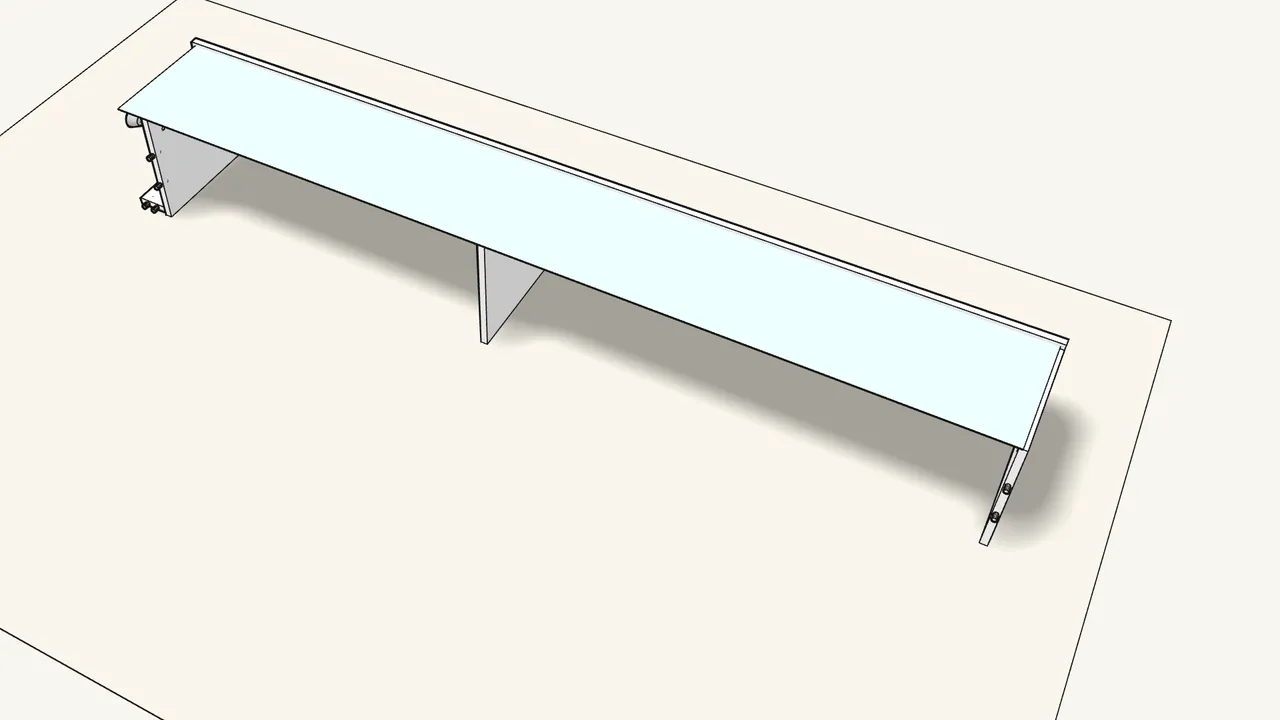
Step 9
Lay the back panel on and push it into the groove of the side.
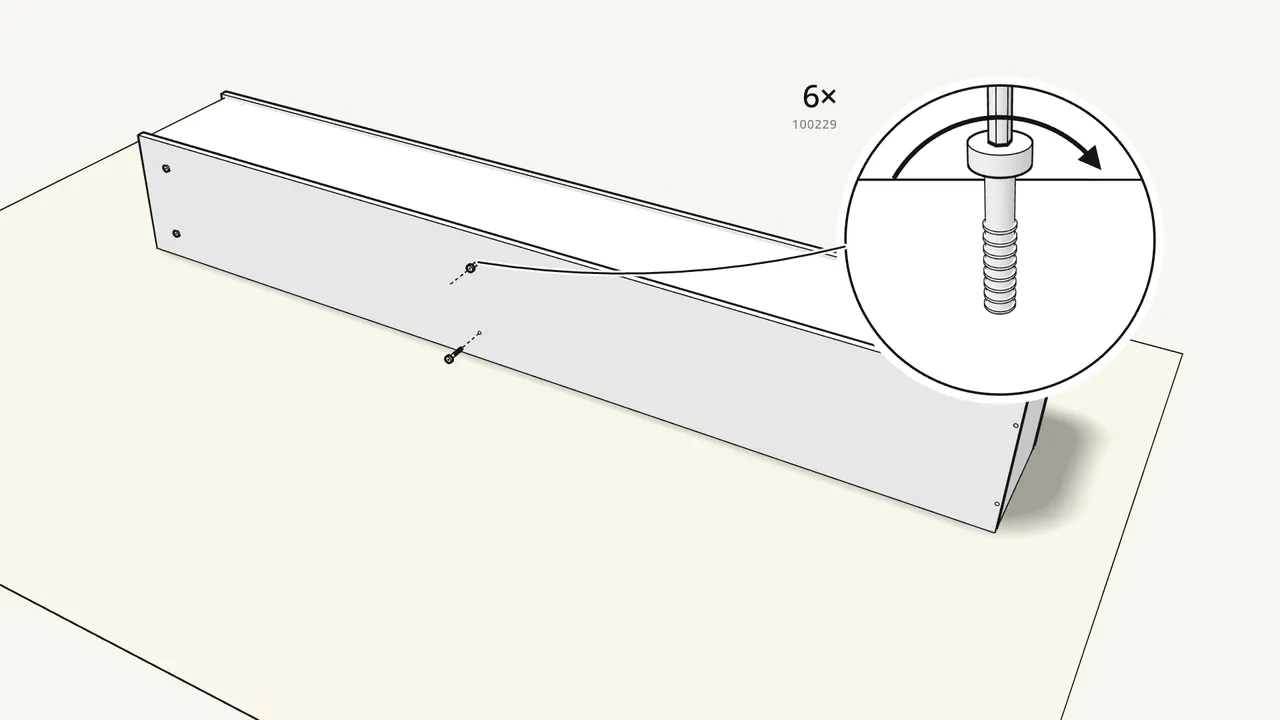
Step 10
Tip the second side panel up onto the unit: 6 bolts (100229).
The back panel goes into its groove.
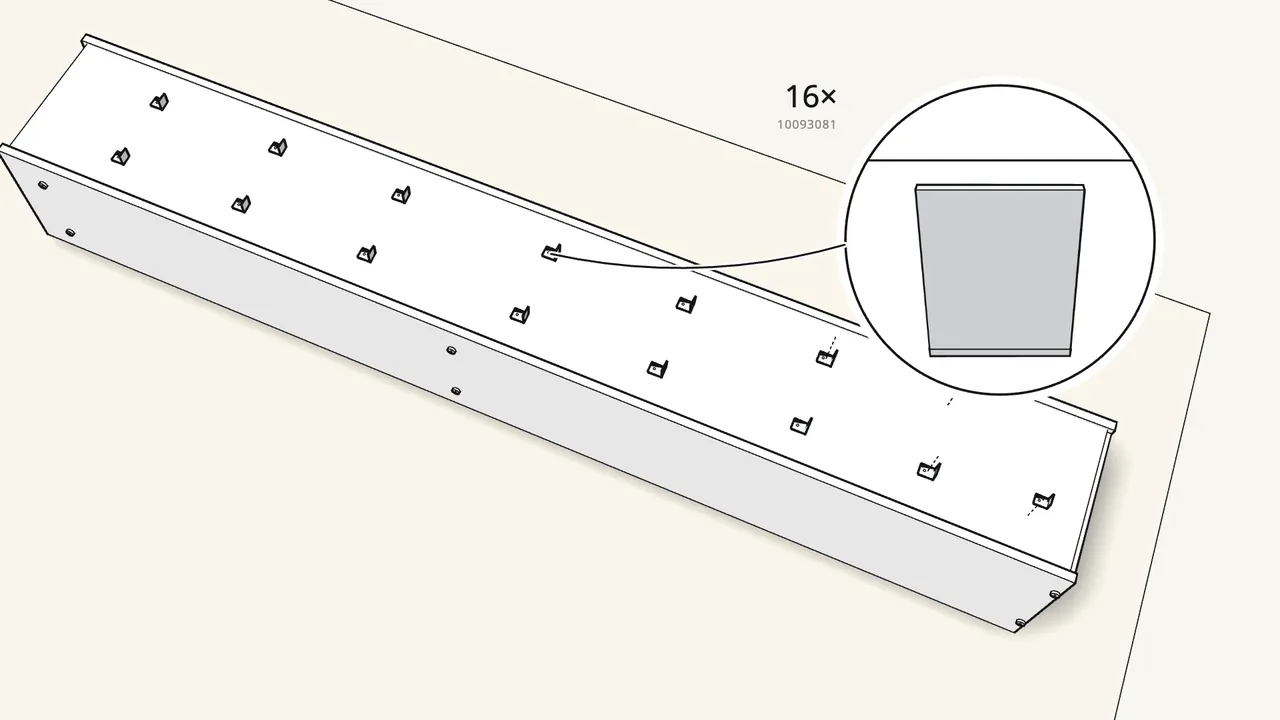
Step 11
Press 16 clips (10093081) into the back; push a cap (10093082) into each.
Positions: see the manual, step 11.
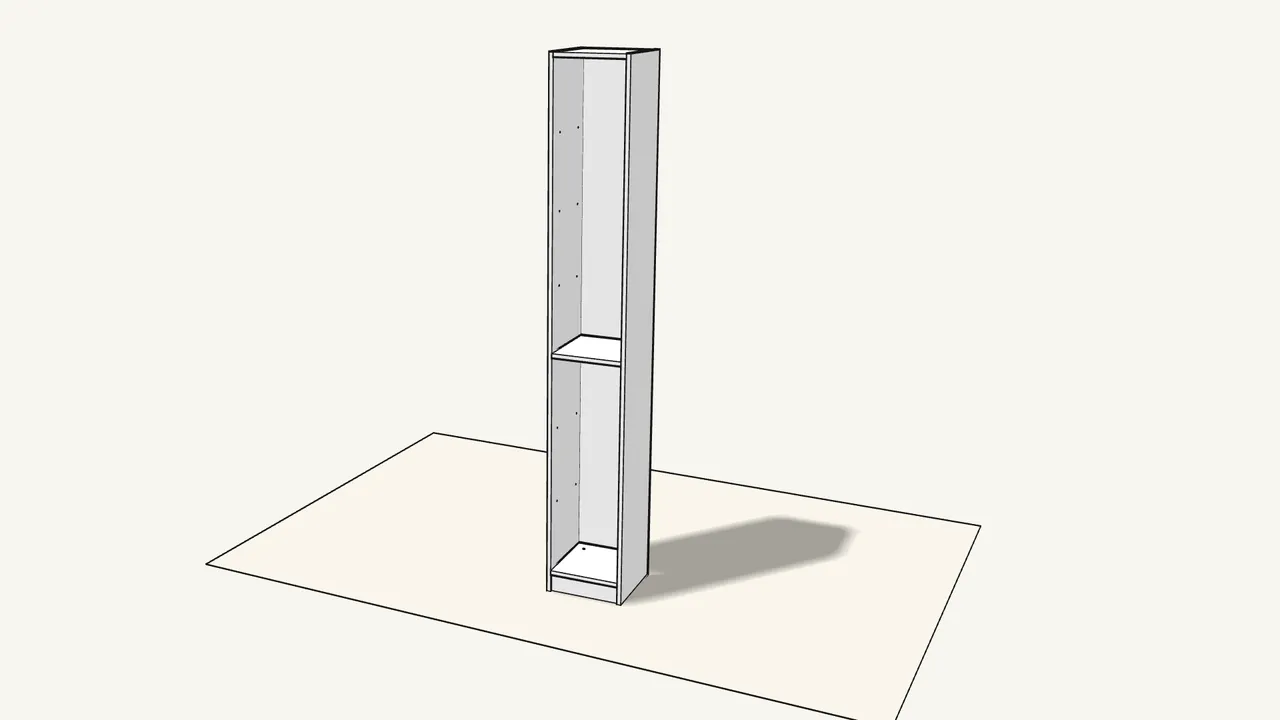
Step 12
Two people: raise the unit upright.
Mind the ceiling. Then continue at step 8 (page 18).
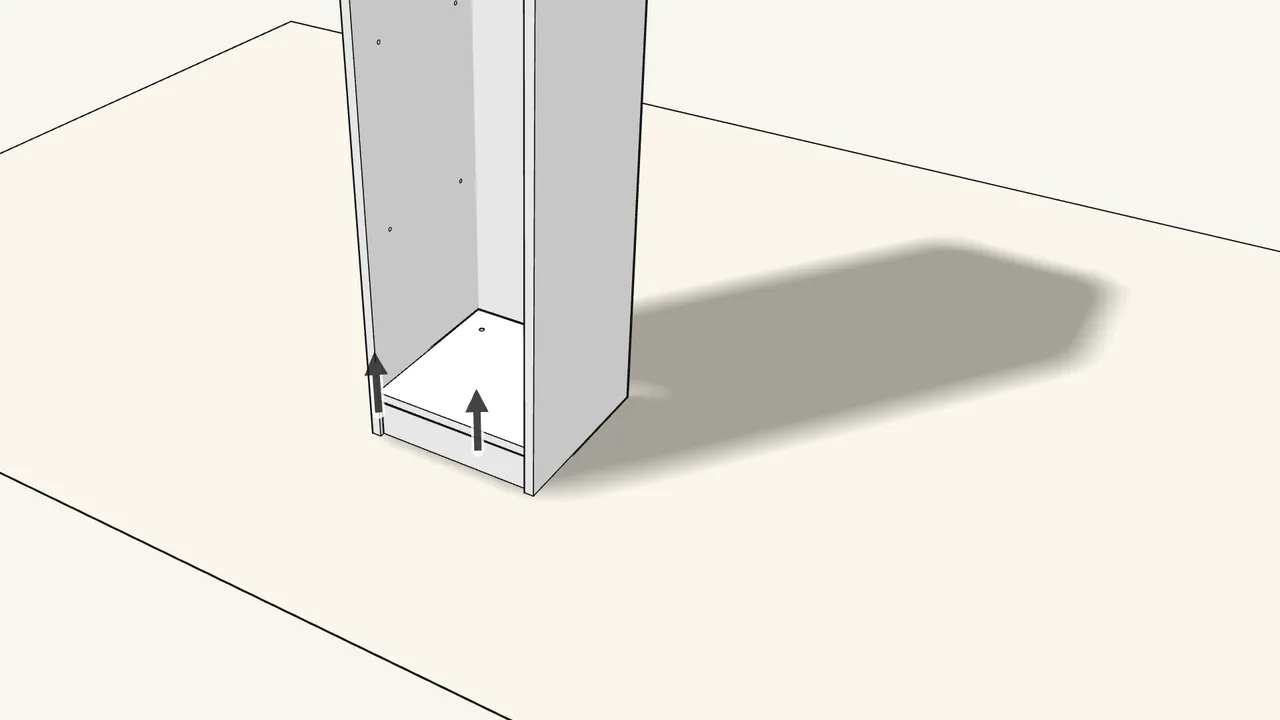
Step 13 · manual step 8
Level the unit: turn the 2 feet from above with a Phillips screwdriver.
Through the holes in the bottom panel.
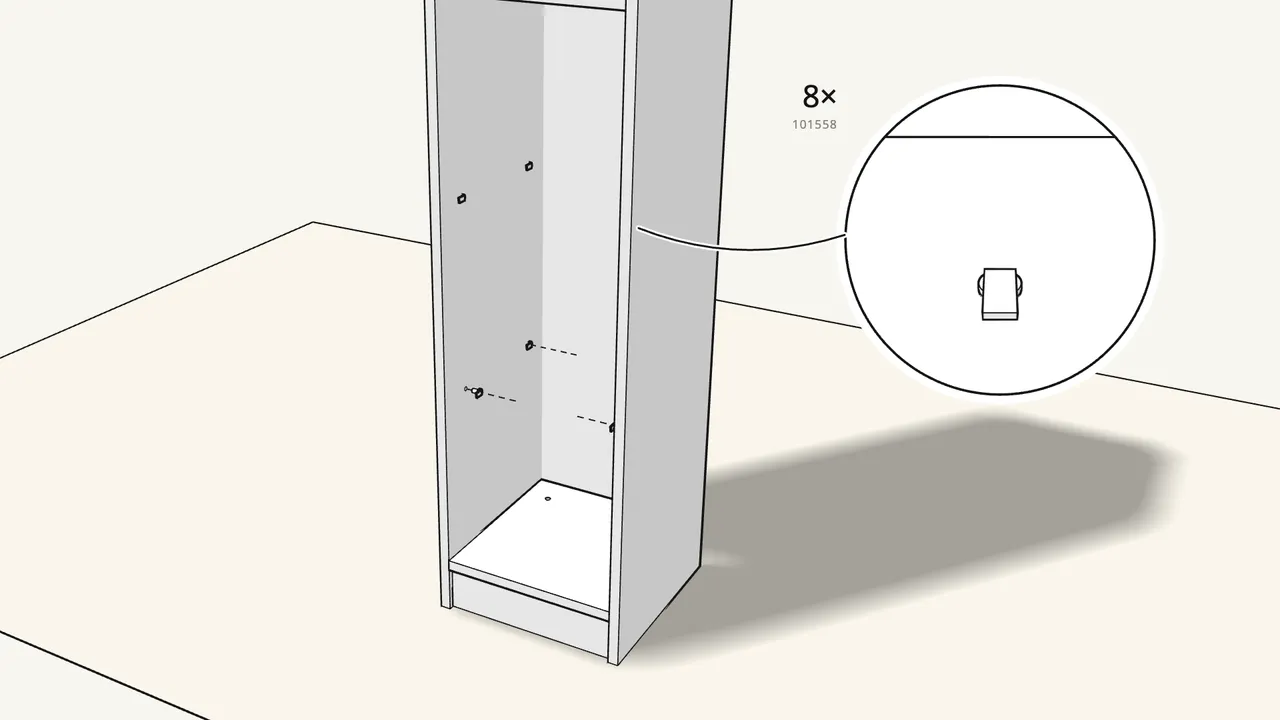
Step 14 · manual step 9
Screw 8 shelf supports (101558) into the sides below the fixed shelf.
4 for each shelf.
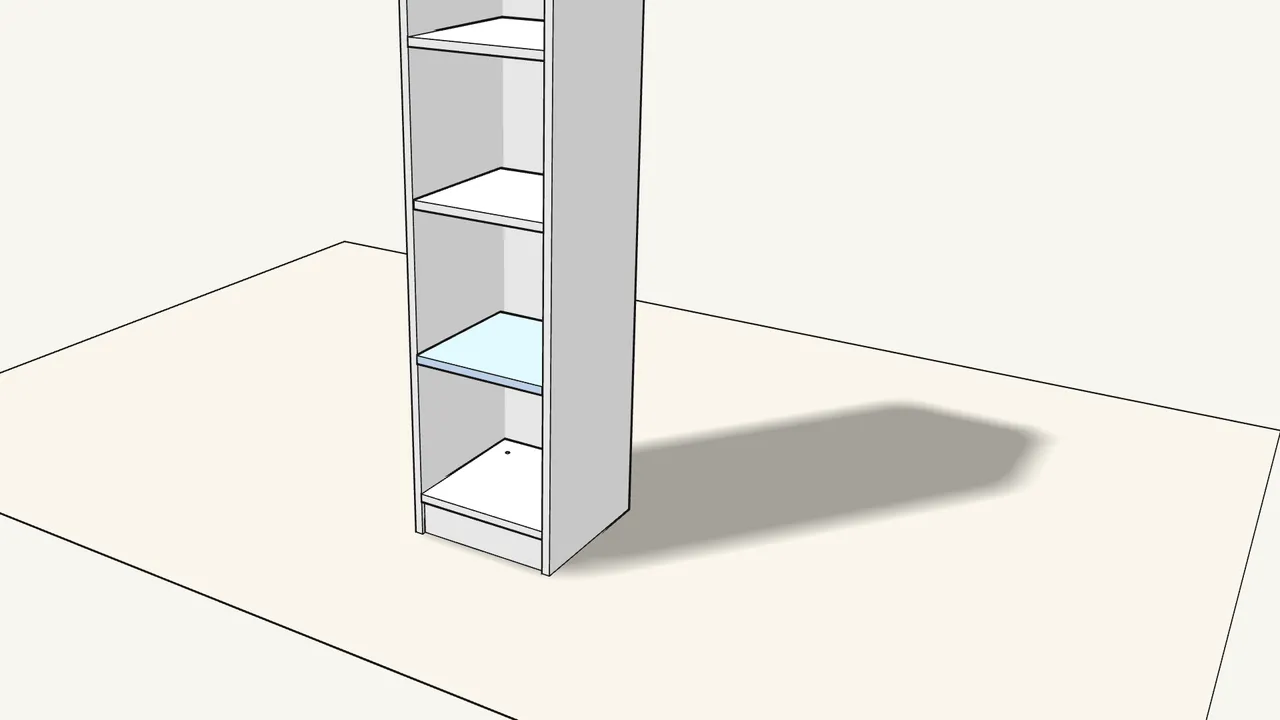
Step 15 · manual step 10
Place the 2 shelves on the supports.
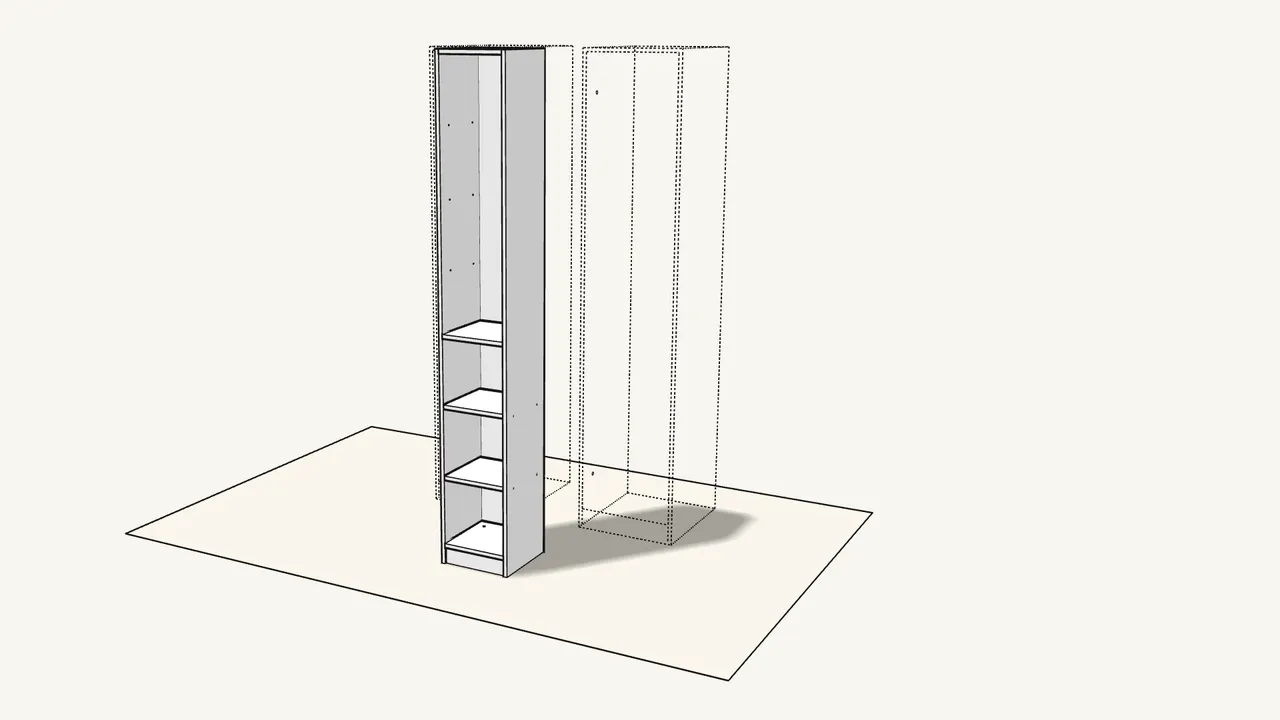
Step 16 · manual step 11
Place the two PAX frames exactly 35 cm (13 3/4") apart.
The frames must be fixed to the wall — see their own manual.
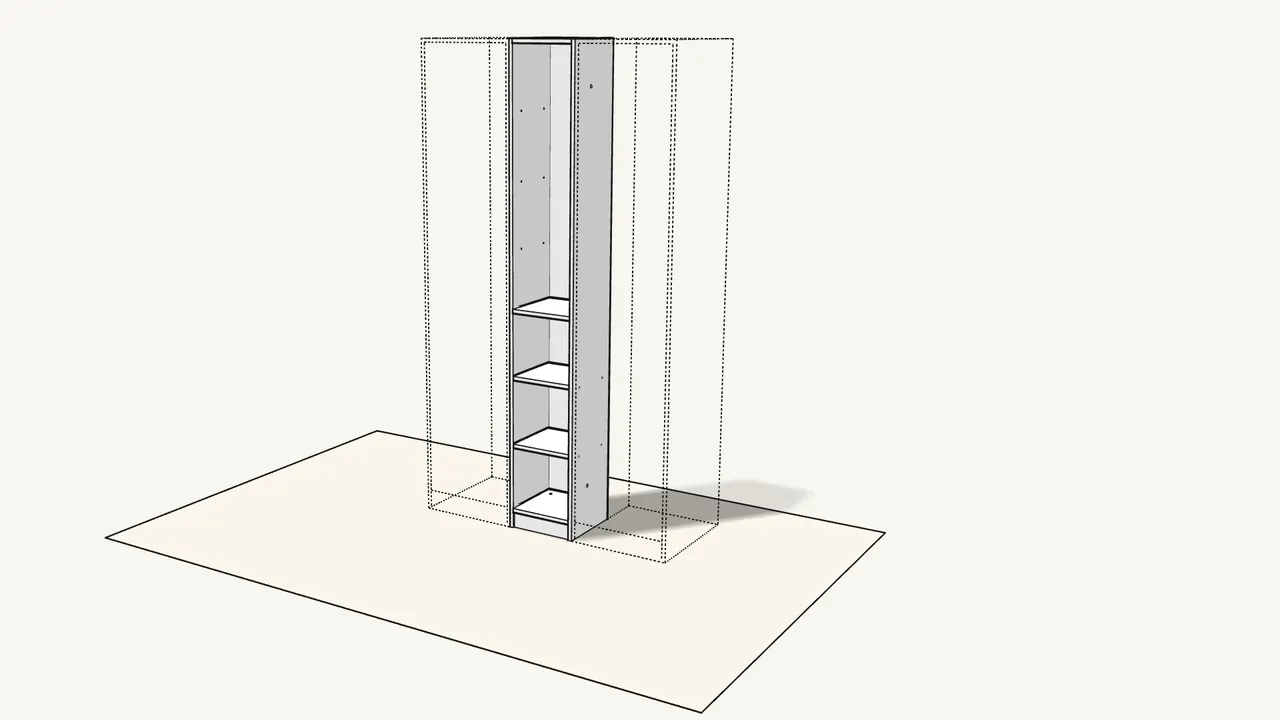
Step 17 · manual step 12
Push the unit into the gap between the frames.
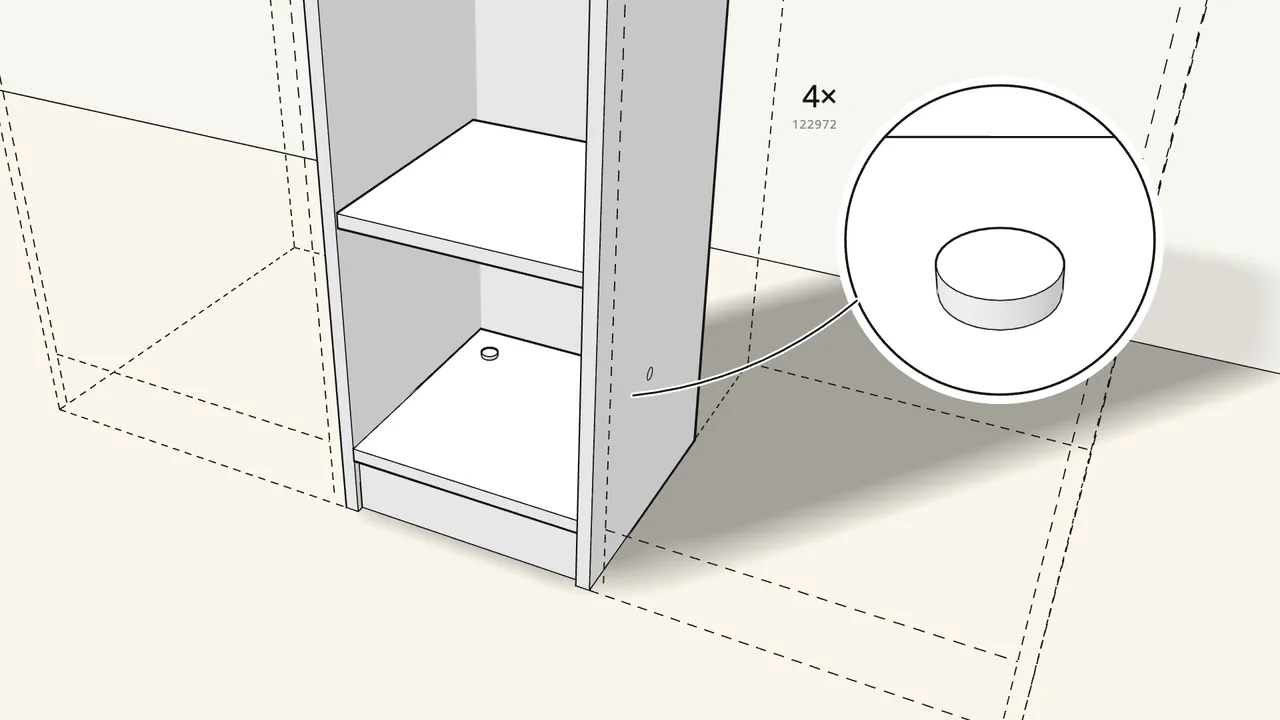
Step 18 · manual step 13
Press 4 caps (122972) into the holes in the top and bottom panels.
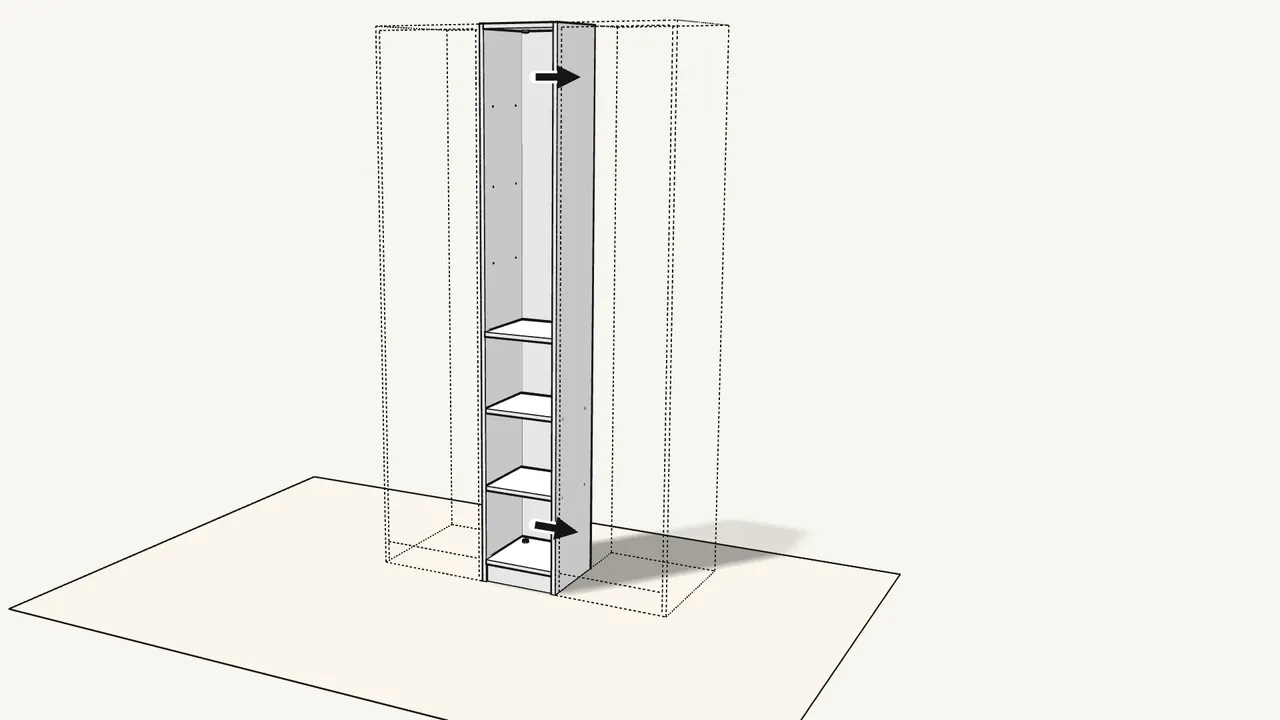
Step 19 · manual step 14–15
Clamp the unit to each frame; drill 2 holes (Ø 5 mm) per side.
Near the top and the bottom. Positions: see the manual, steps 14–15.
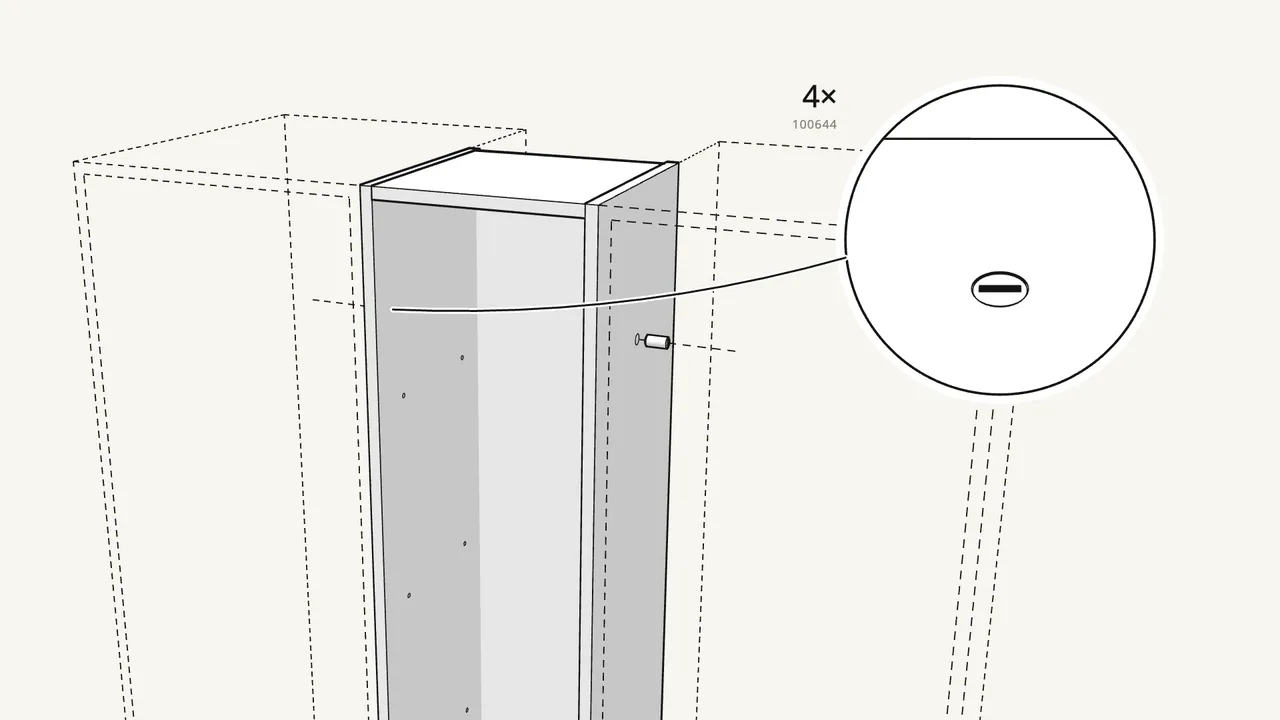
Step 20 · manual step 16
Push 4 sleeves (100644) through the frame sides into the unit.
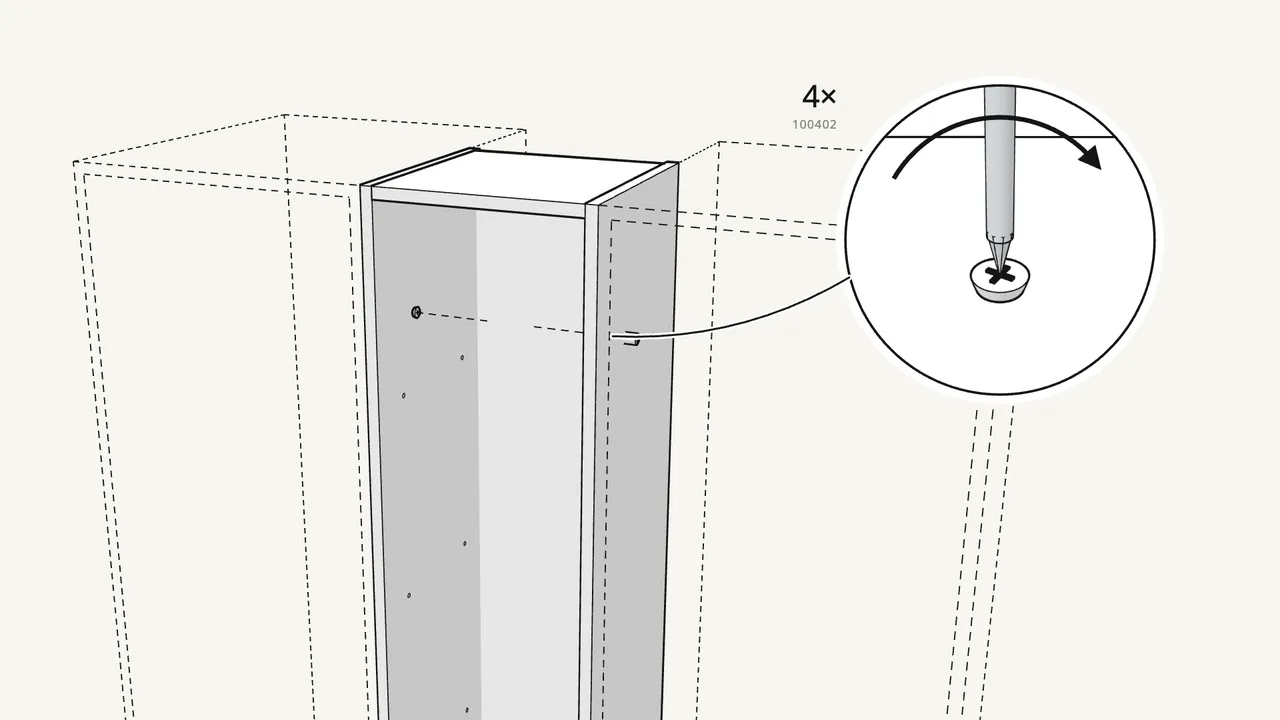
Step 21 · manual step 16
Screw in 4 screws (100402) from inside the unit.
Top and bottom, on both sides.
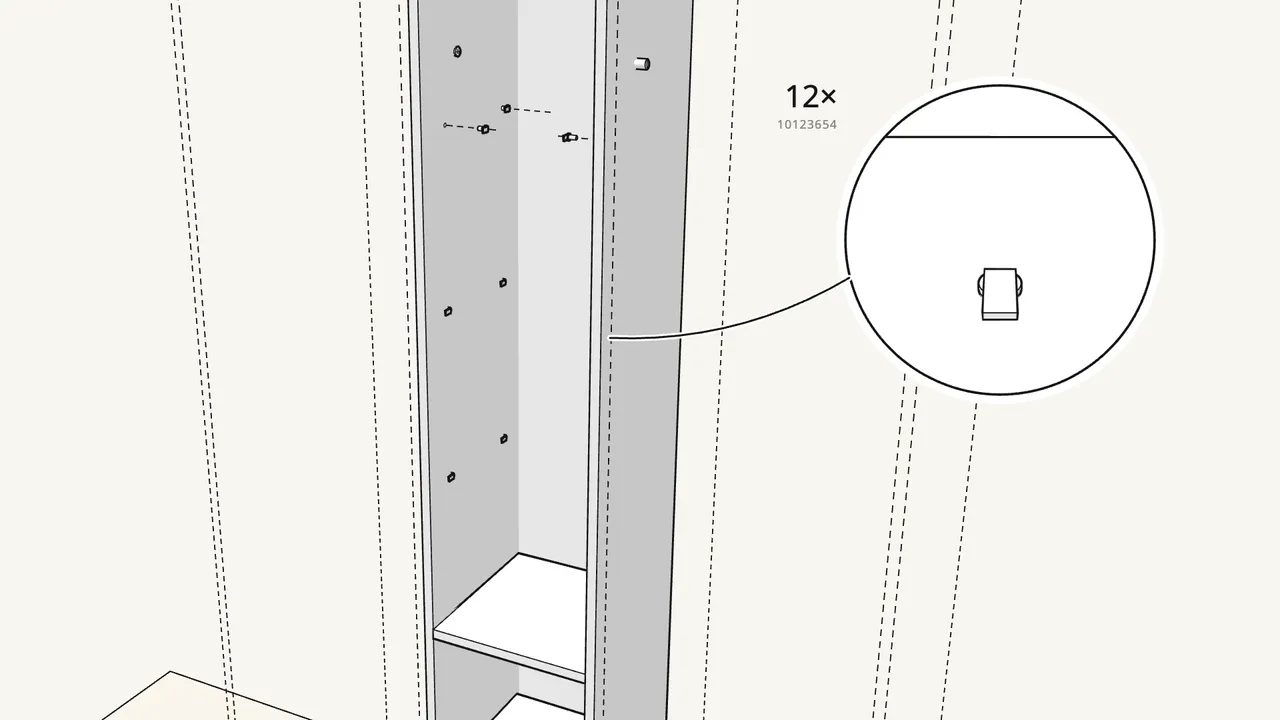
Step 22 · manual step 17
Screw 12 glass-shelf holders (10123654) into the upper section.
4 per shelf, each with a screw (10080579).
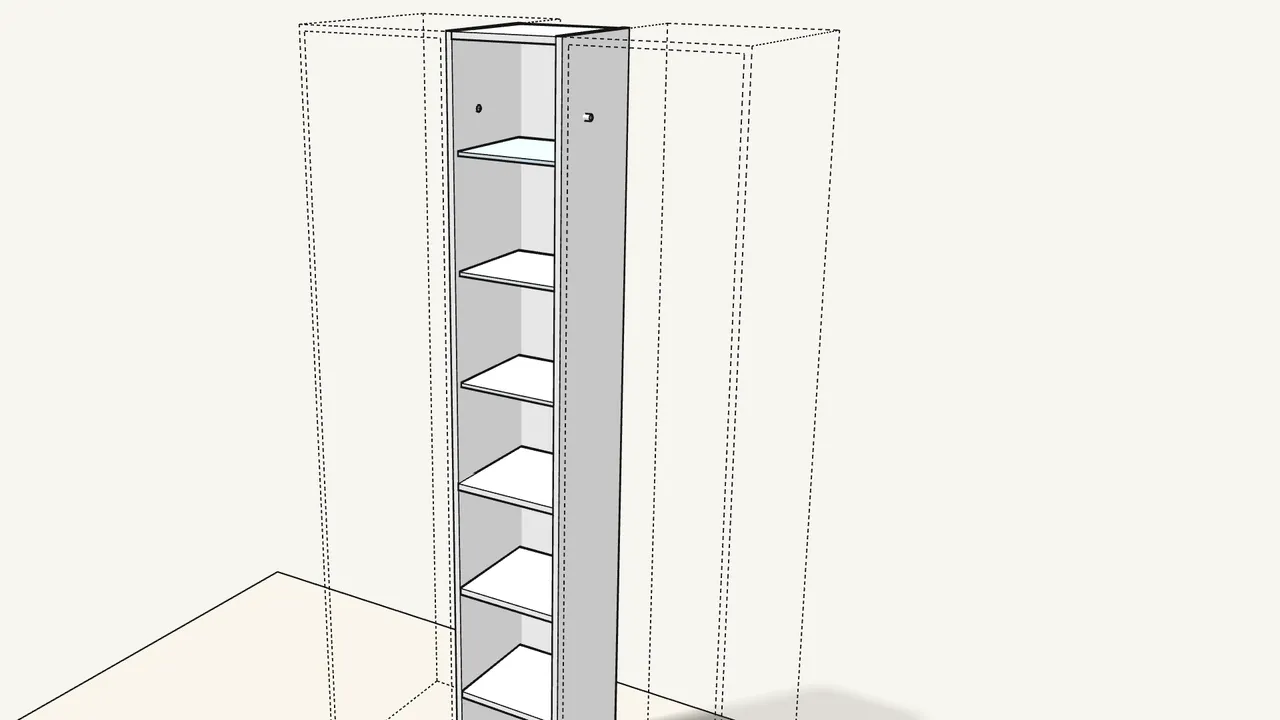
Step 23 · manual step 18
Slide in the 3 glass shelves (10124988); tighten the holders gently.
Over-tightening can crack the glass.
Tips & safety
- The PAX frames must be fixed to the wall. This unit is screwed to the frames on both sides — anchor the frames to the wall. Serious or fatal crushing injuries can occur from furniture tip-over.
- Raise it with two people. The 236 cm unit needs a ceiling of 244 cm (95 5/8") to be raised. With 58 cm deep frames, see the manual, page 27.
Official instructions
This guide follows IKEA’s official assembly instructions (AA-2663820-2). Keep the printed manual to hand — if anything differs, the manual is right.