IKEA · Bookcases & Shelving
How to assemble IKEA PAX Add-On End Unit
Step-by-step IKEA PAX Add-On End Unit assembly: 23 illustrated steps, an animated video, the hardware list and the tools you need — following the official instructions (AA-2567081-3).
- 23 illustrated steps
- 28 steps in the manual
- 3:13 video
- 20×58×236 cm cm
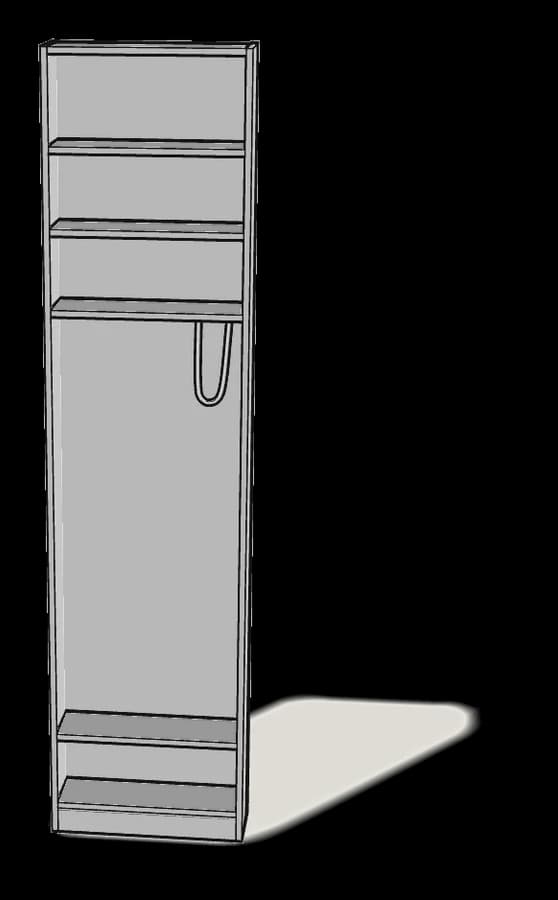
What you need
Tools
- Flat-head screwdriver
- Phillips screwdriver
- Hammer
- Spirit level
- Drill (for wall fixing)
You’ll need: flat-head and Phillips screwdrivers, a hammer, a spirit level and a drill with a Ø 5 mm (1/4") bit.
Hardware in the box
| Part no. (as printed in the manual) | Qty |
|---|---|
| 110618 | 2× |
| 110519 | 2× |
| 118331 | 30× |
| 130718 | 2× |
| 101375 | 34× |
| 100644 | 4× |
| 100402 | 4× |
| 10093081 | 16× |
| 10093082 | 16× |
| 110617 | 2× |
| 113434 | 24× |
| 119030 | 6× |
| 100751 | 2× |
| 122972 | 4× |
Step-by-step assembly
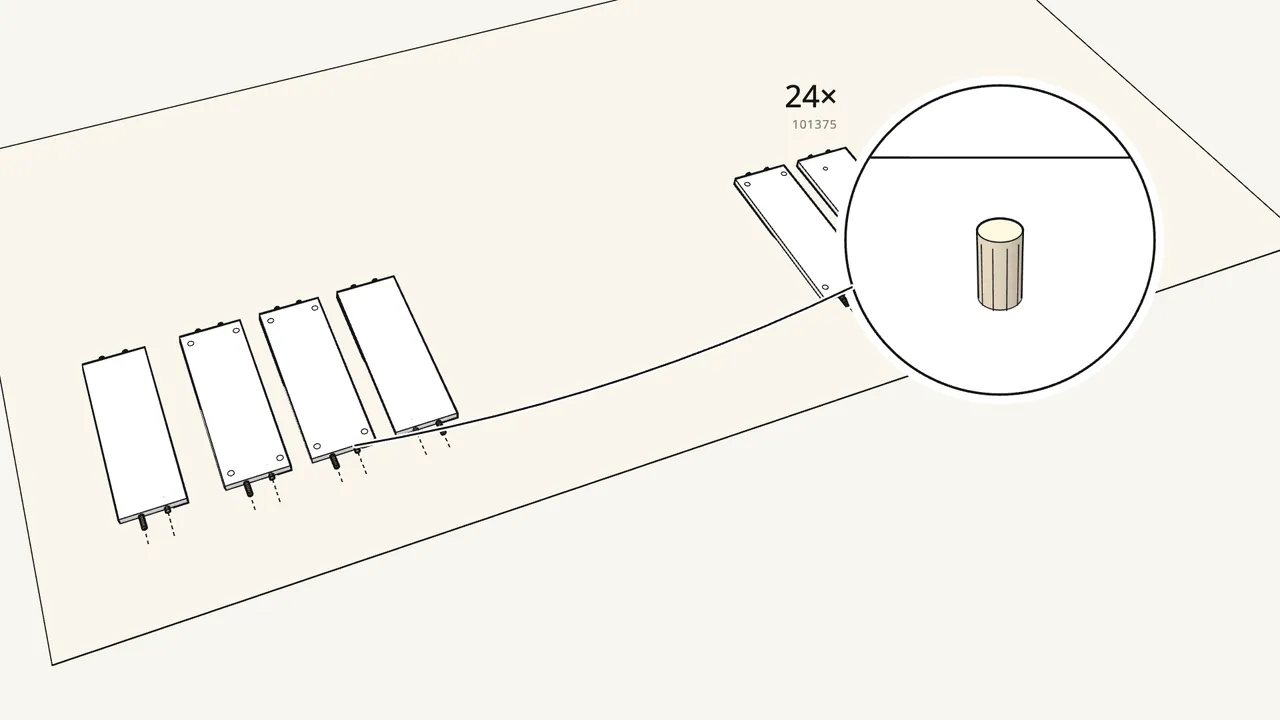
Step 1
Push 24 dowels (101375) into the ends of the 6 panels.
4 in each panel — the top, the bottom and 4 shelves.
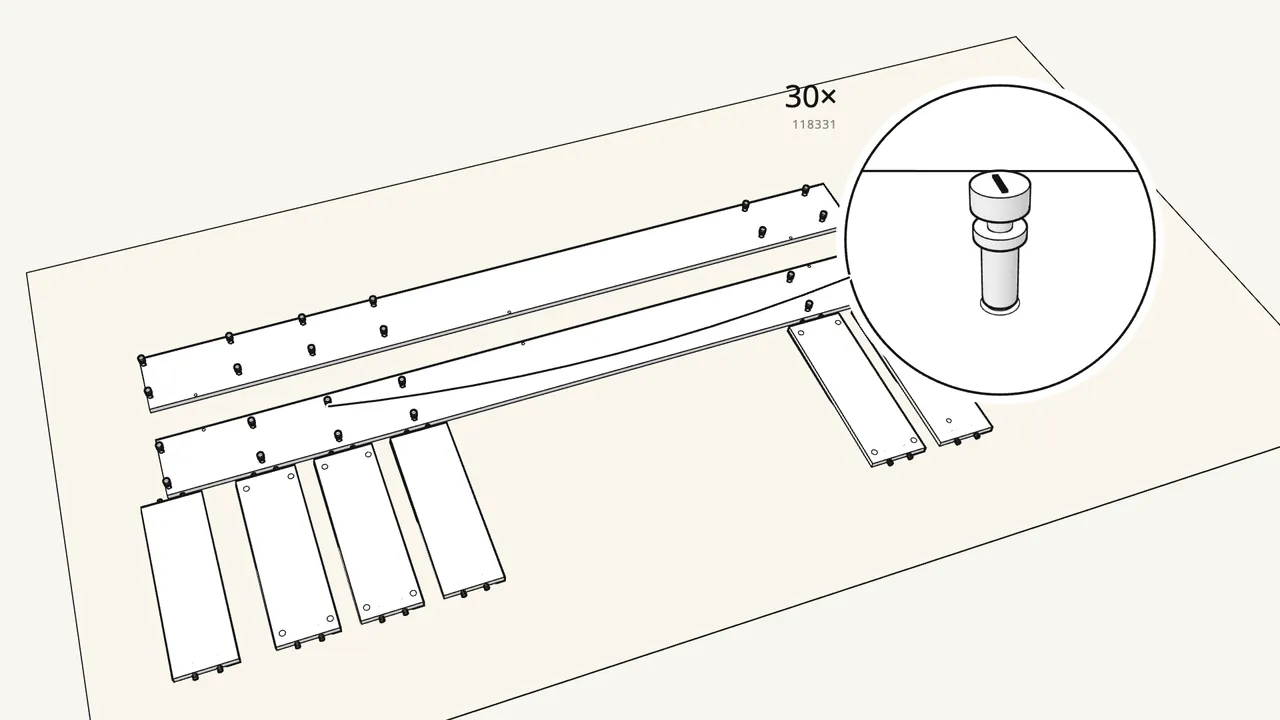
Step 2 · manual step 2–3
Screw 30 cam bolts (118331) into the 2 long side panels.
12 + 3 in each side: the 3 extra ones (step 3) are for the rails.
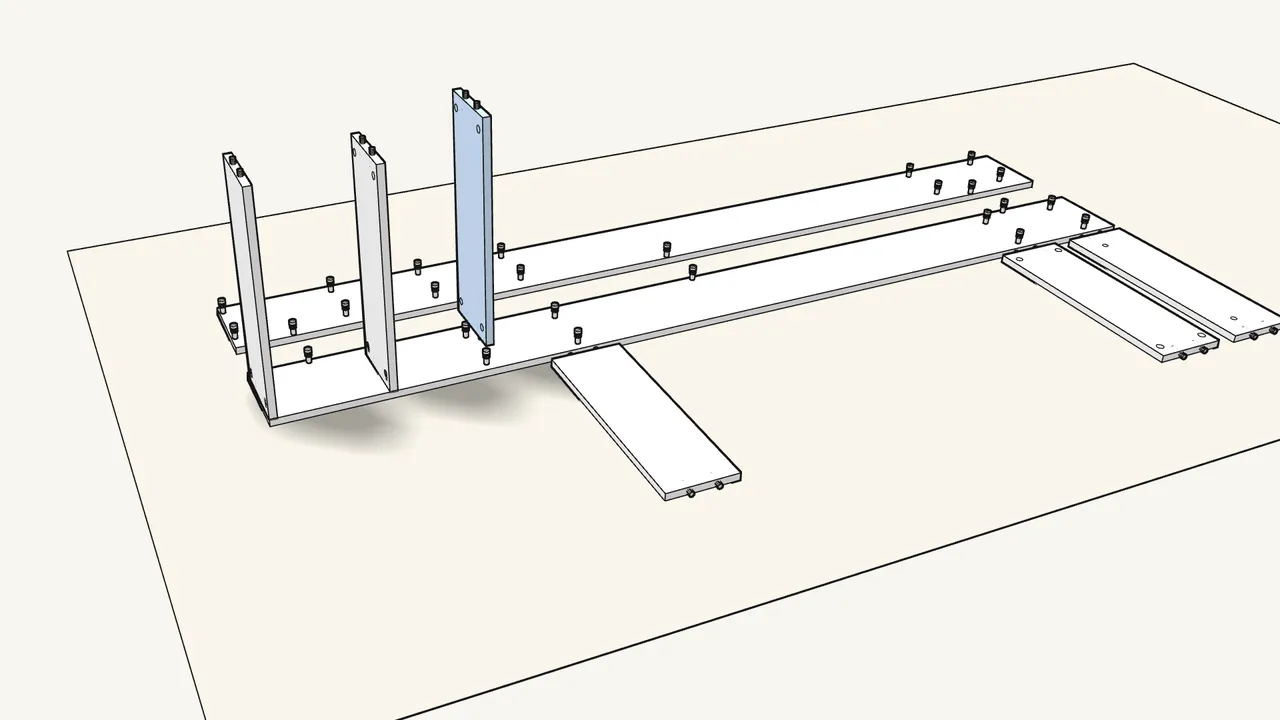
Step 3 · manual step 4–5
Fit the top panel and 2 shelves onto one side panel.
Lay that side flat; the bolts and dowels go into the panel ends.
Step 4 · manual step 6
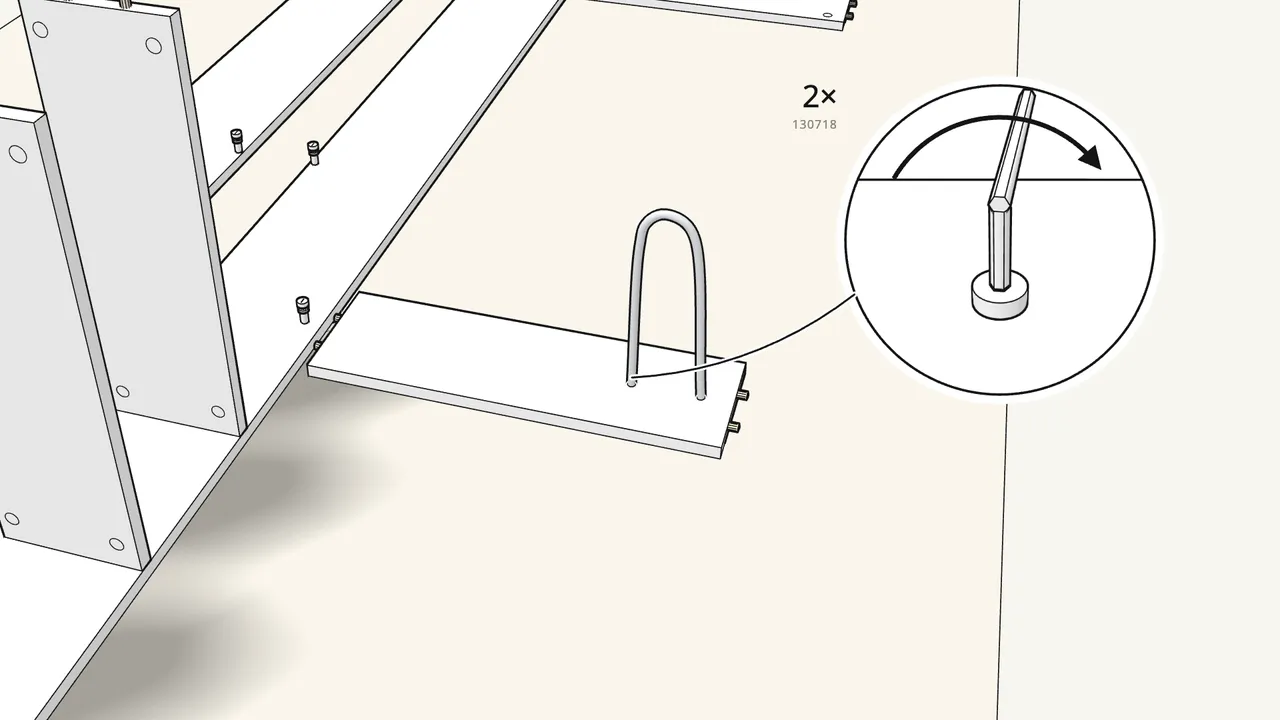
Fix the hanger to its shelf: 2 bolts (130718) and the Allen key.
Step 5 · manual step 7–8
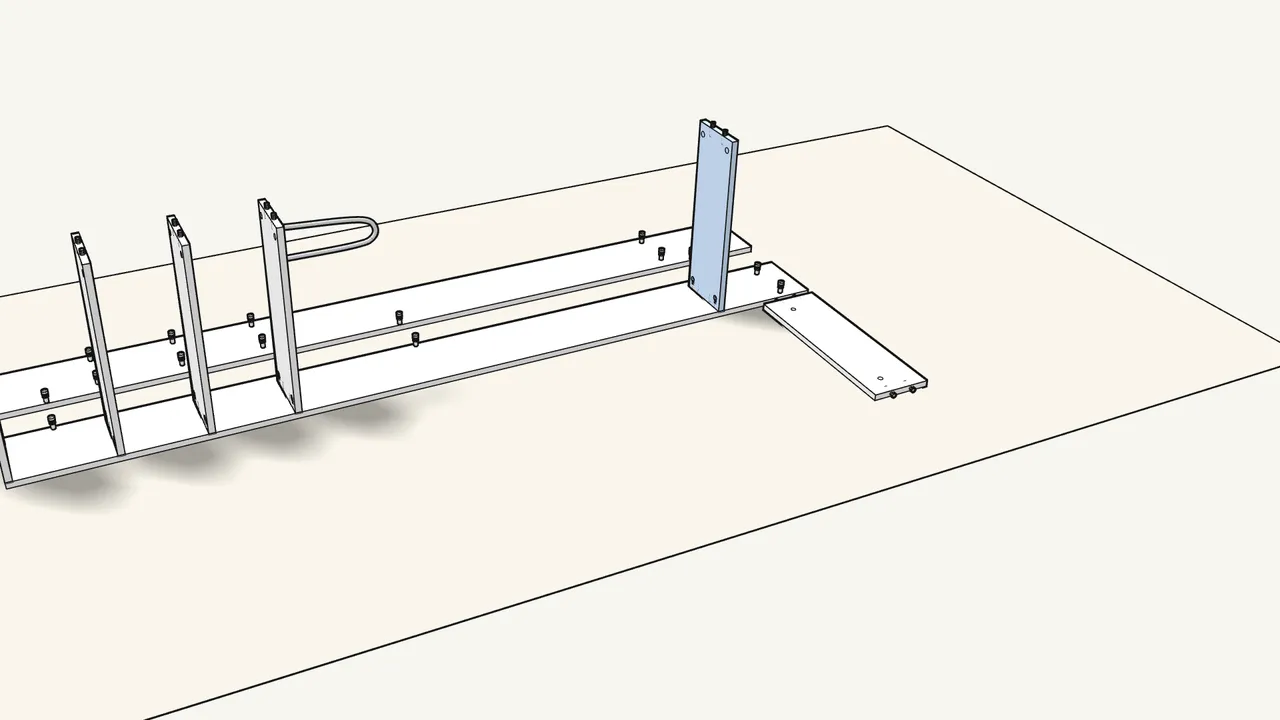
Fit the hanger shelf, then the lower shelf.
The hanger points toward the bottom end.
Step 6 · manual step 9
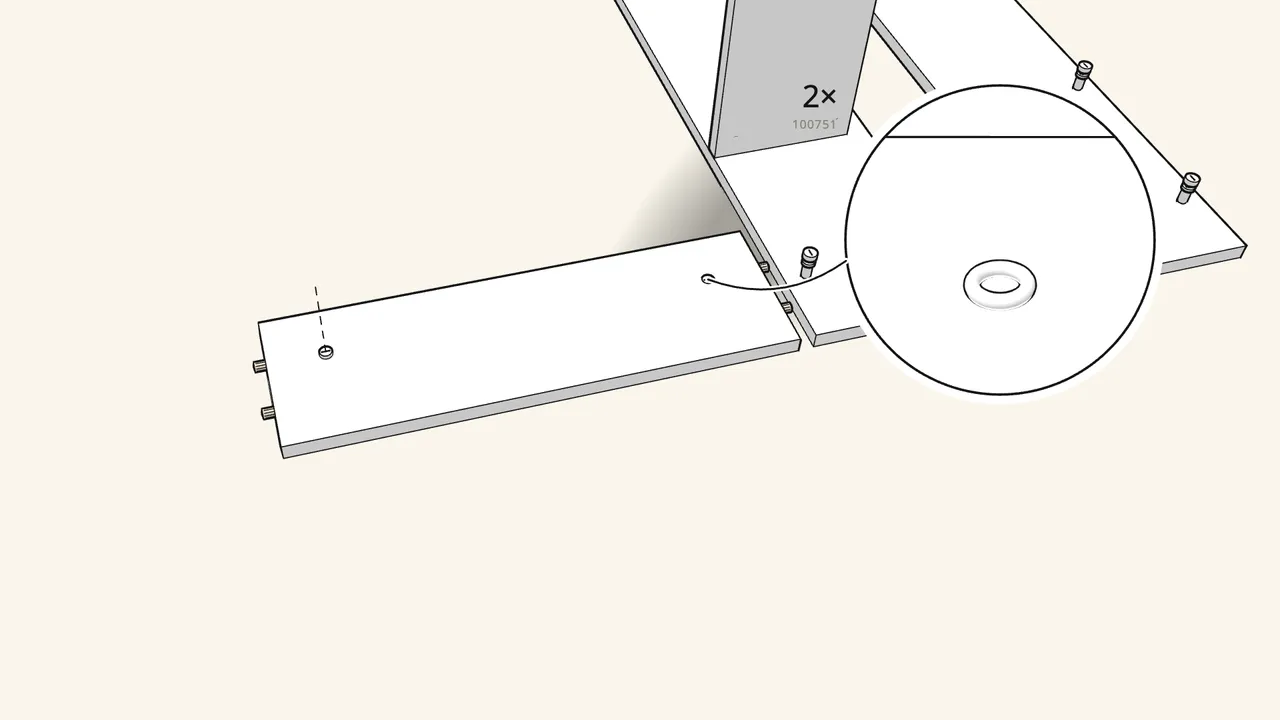
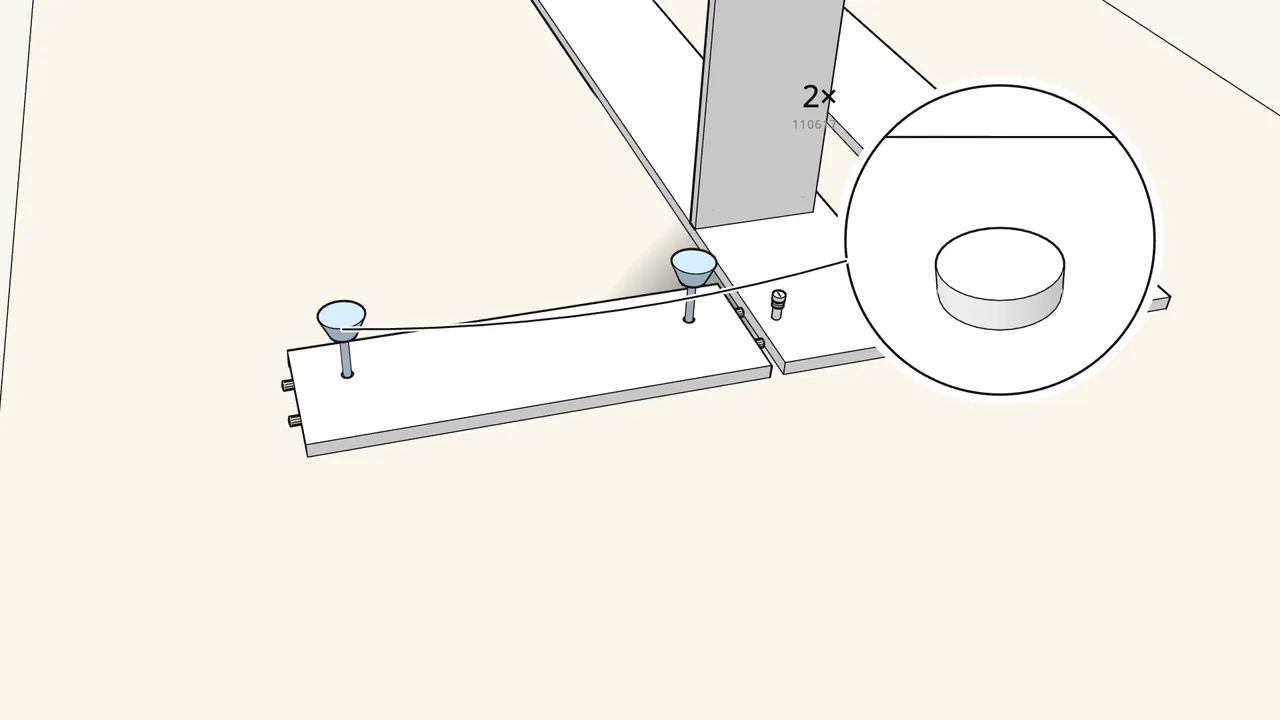
Hammer 2 tee nuts (100751) into the bottom panel.
See the manual, step 9, for which way round the nuts go.
Step 7 · manual step 10
Click the 2 feet (110617) onto bolts (110618) and screw them in.
Tap each bolt into its foot with the hammer until it clicks.
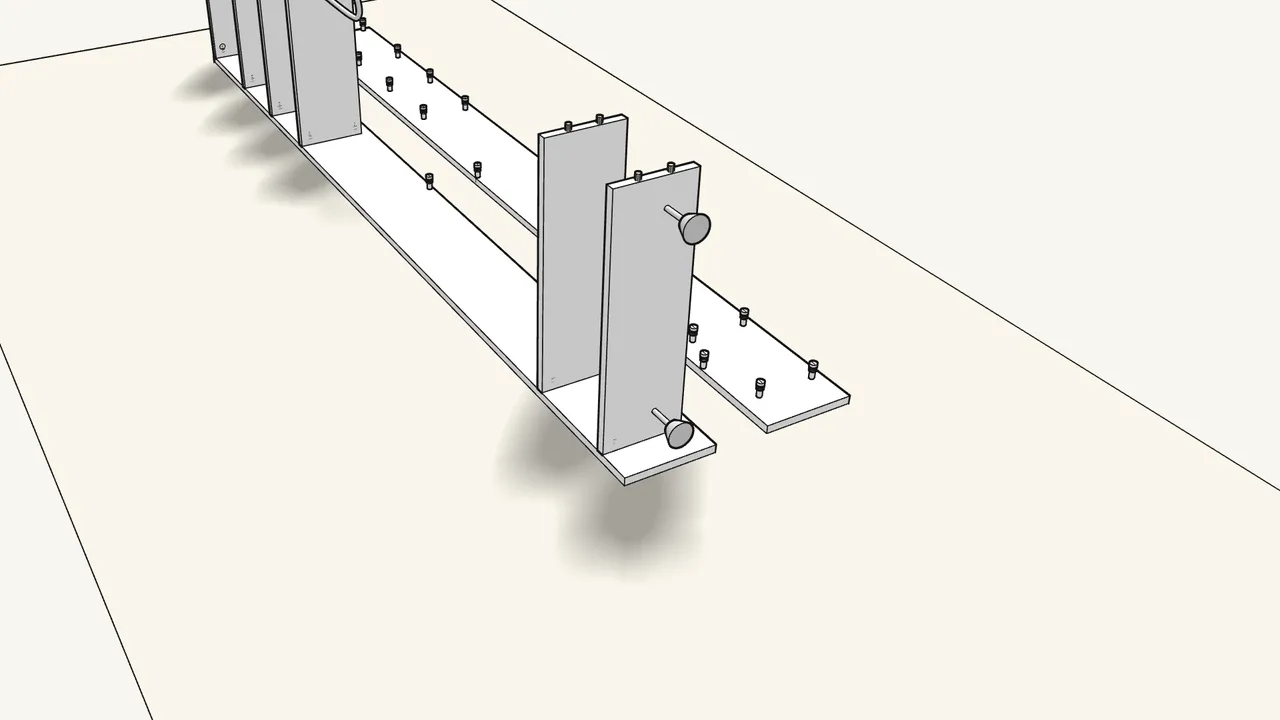
Step 8 · manual step 11
Fit the bottom panel at the end, feet pointing outward.
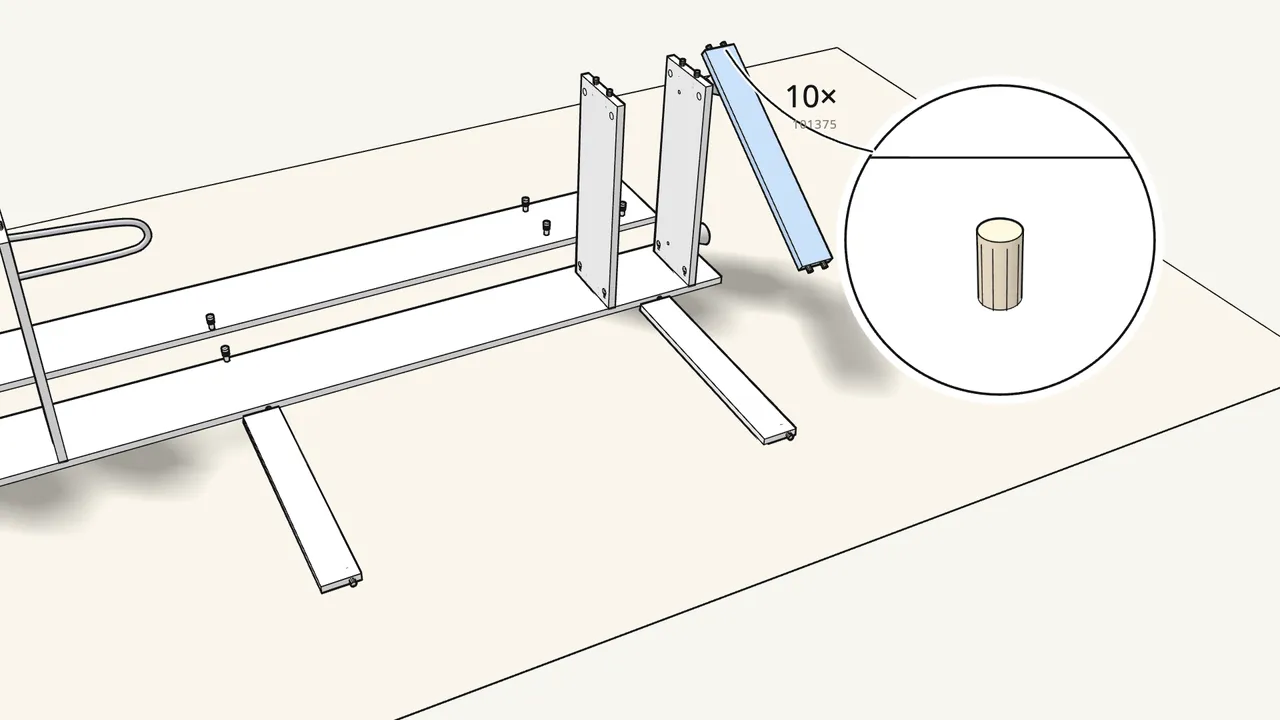
Step 9 · manual step 12–14
Push 10 dowels into the 3 rails and the plinth, then fit the plinth.
2 in each rail, 4 in the plinth. The plinth goes beside the bottom panel.
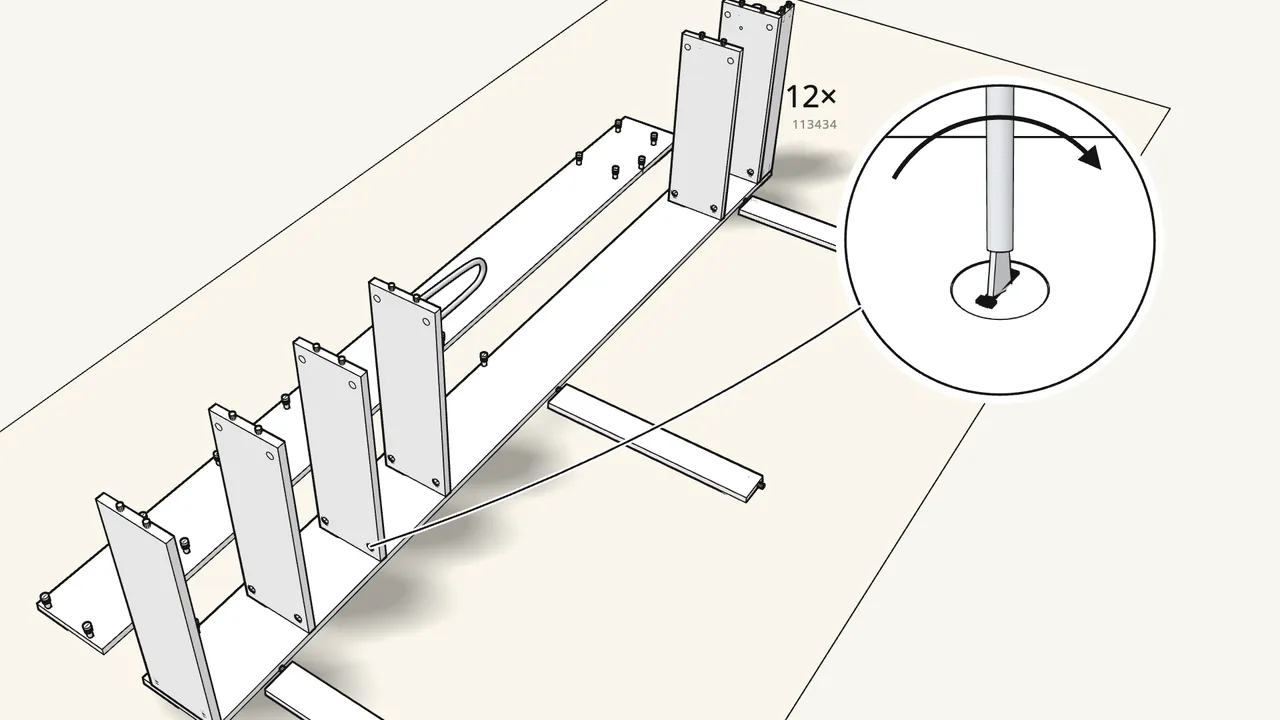
Step 10 · manual step 15
Insert 12 cam locks (113434) and turn them to lock.
Only the 113434 locks here — the 119030 ones are for the rails.
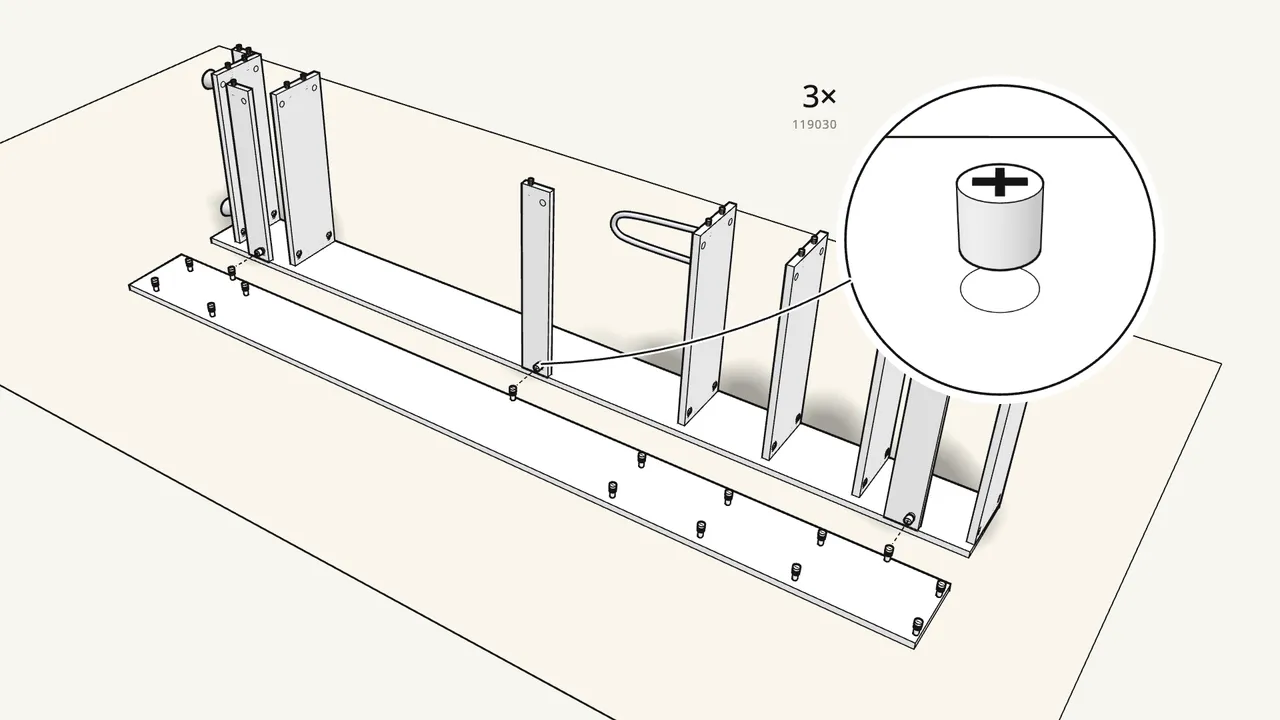
Step 11 · manual step 16–17
Fit the 3 rails along the back edge; lock them with 3 cam locks (119030).
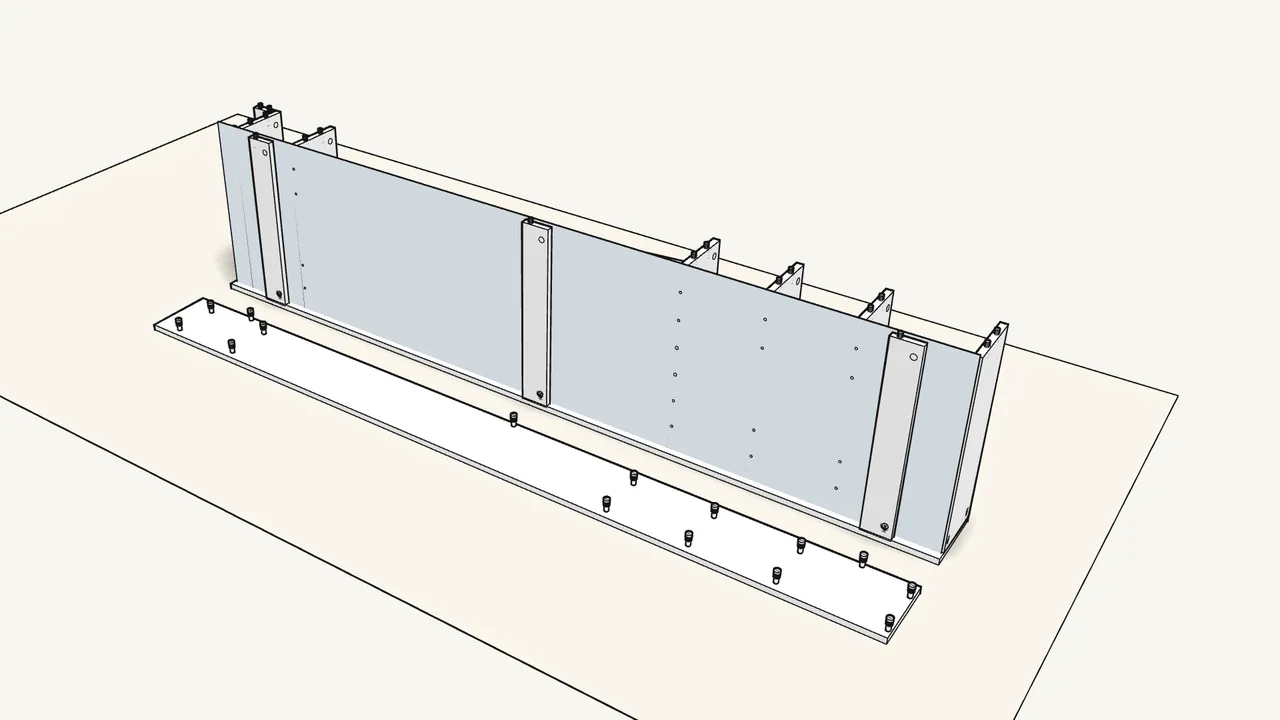
Step 12 · manual step 18
Slide the back panel down into the groove, behind the rails.
Hole marks: see the manual, step 18.
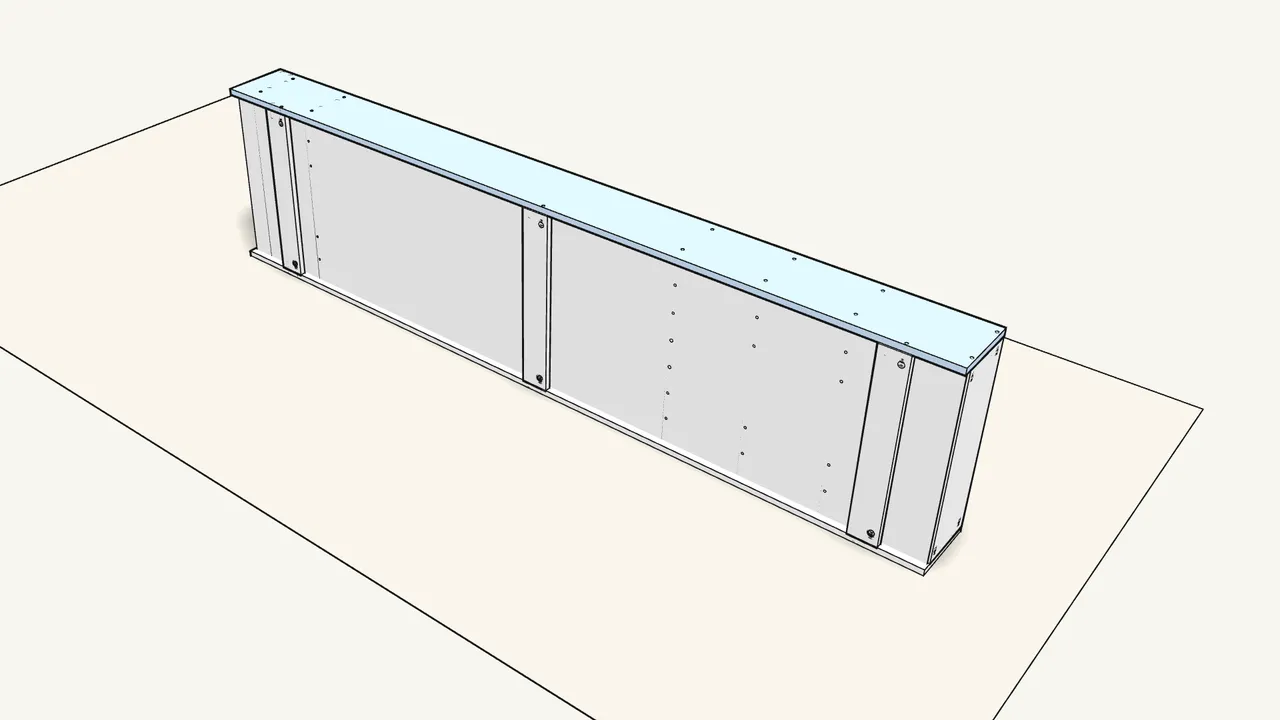
Step 13 · manual step 19
Lay the second side panel on top.
Its bolts, dowels and groove line up with the panels and the back panel.
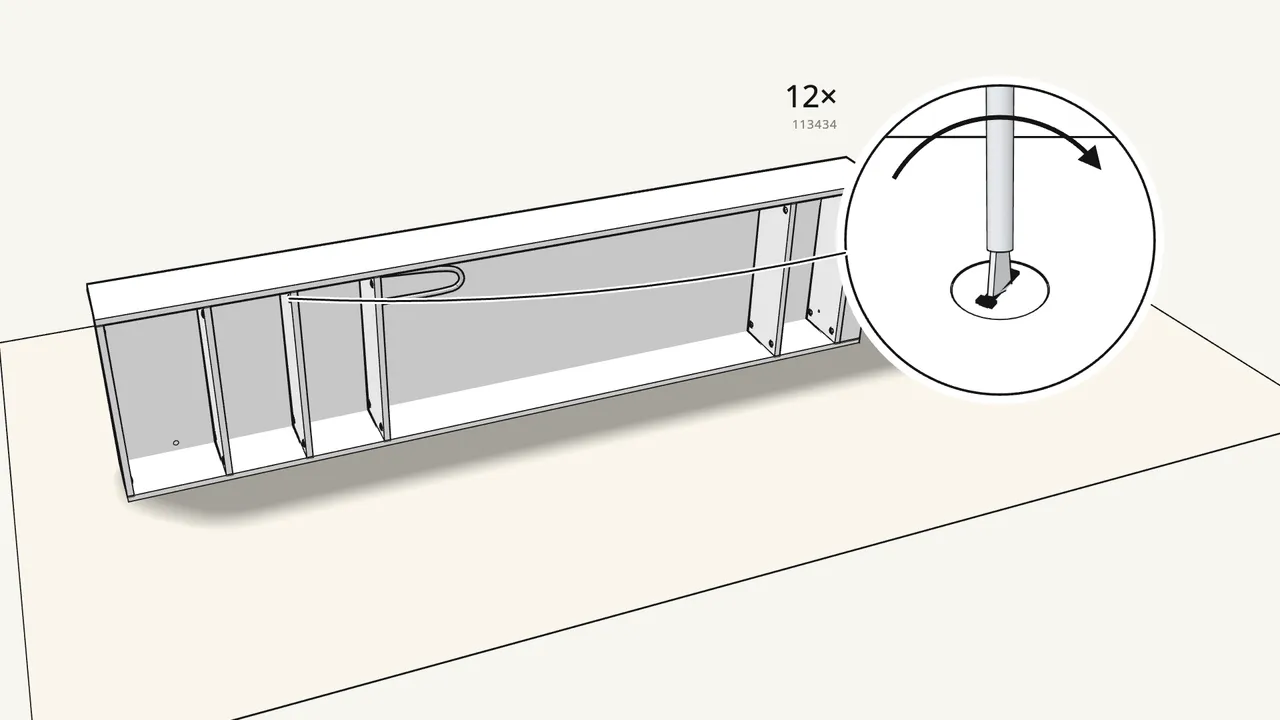
Step 14 · manual step 20–21
Insert 12 cam locks (113434) and 3 (119030) on this side; turn to lock.
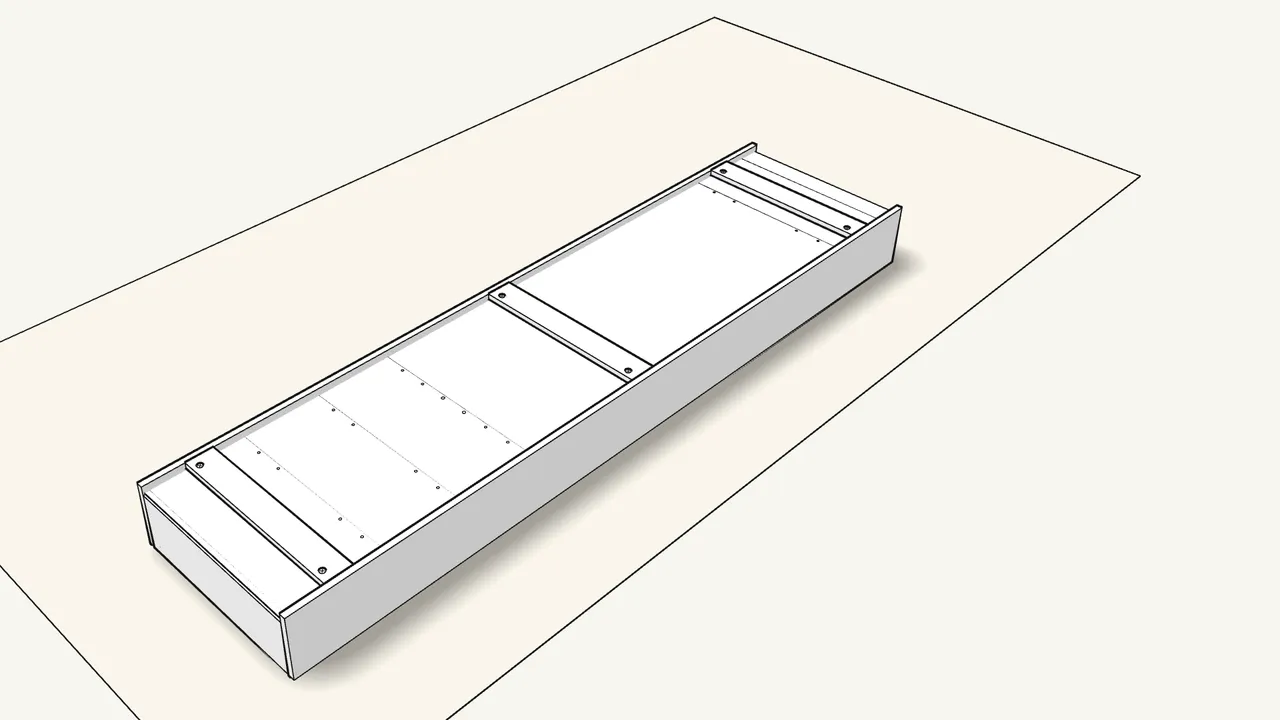
Step 15
Turn the unit over onto its open front.
Two people.
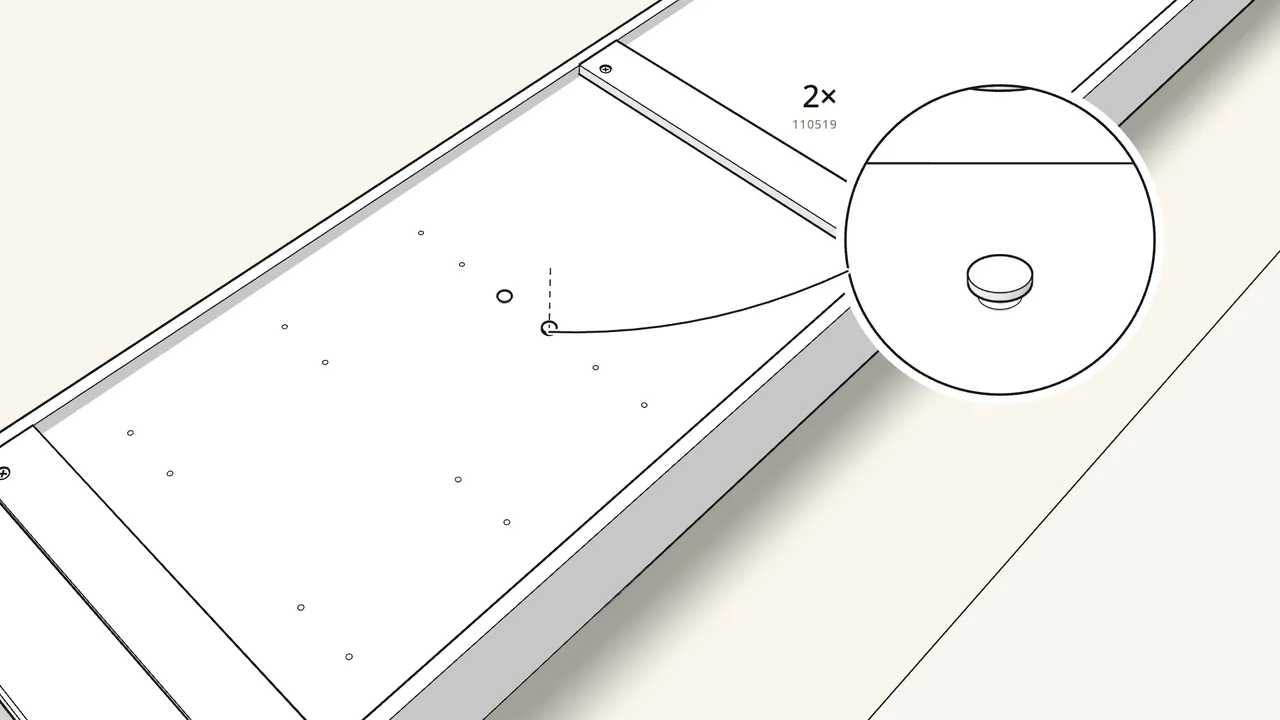
Step 16 · manual step 22
Hammer 2 screws (110519) through the back panel into the hanger shelf.
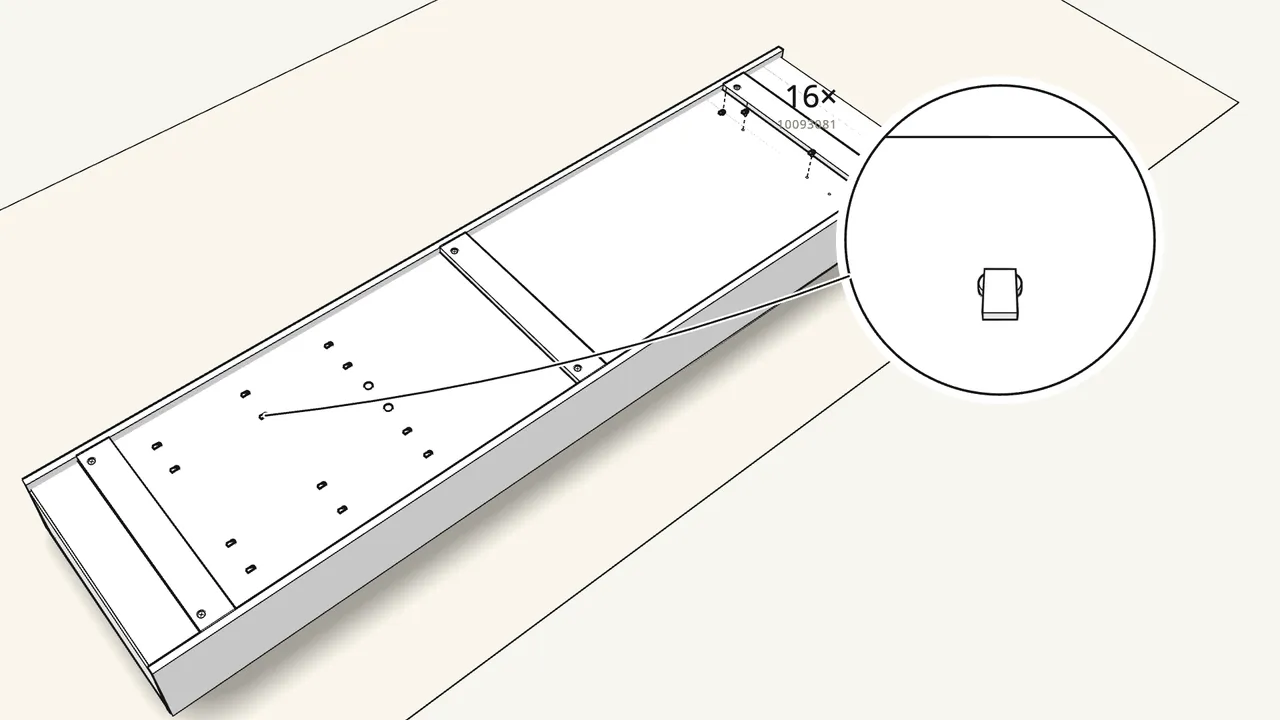
Step 17 · manual step 23
Press 16 clips (10093081) into the back panel; push a cap (10093082) into each.
Positions: see the manual, step 23.
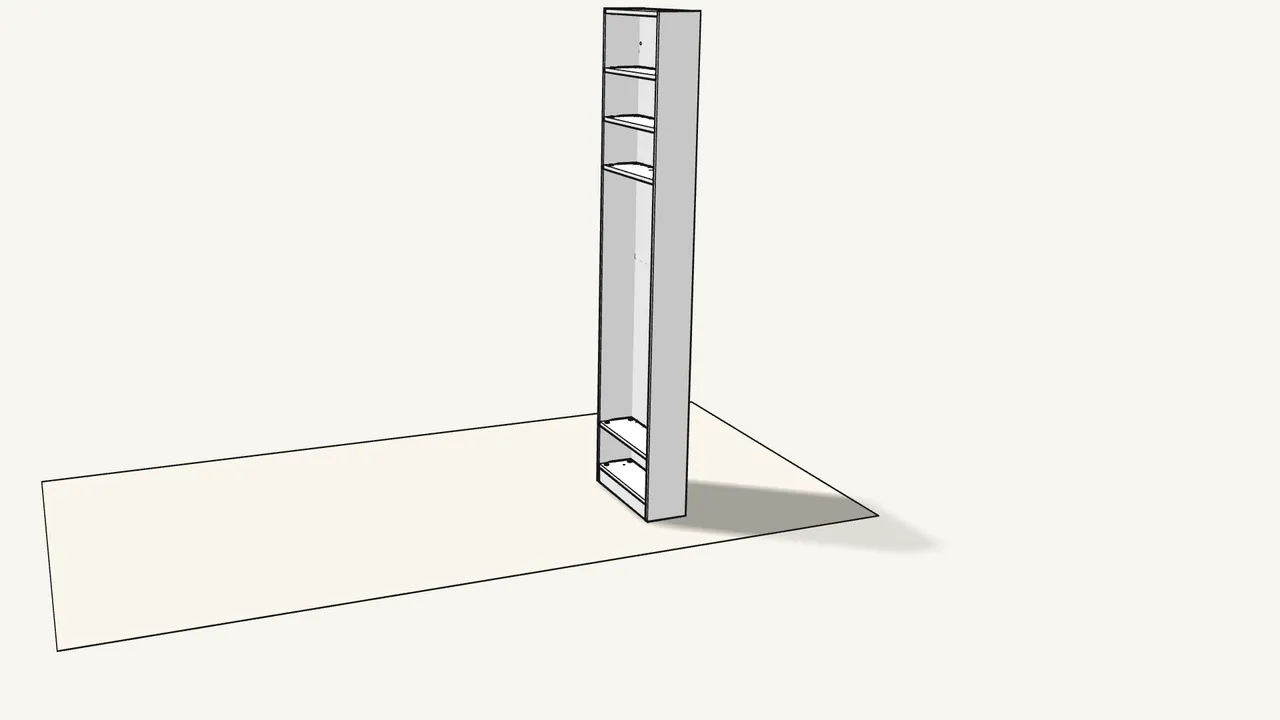
Step 18 · manual step 24
Two people: raise the unit upright.
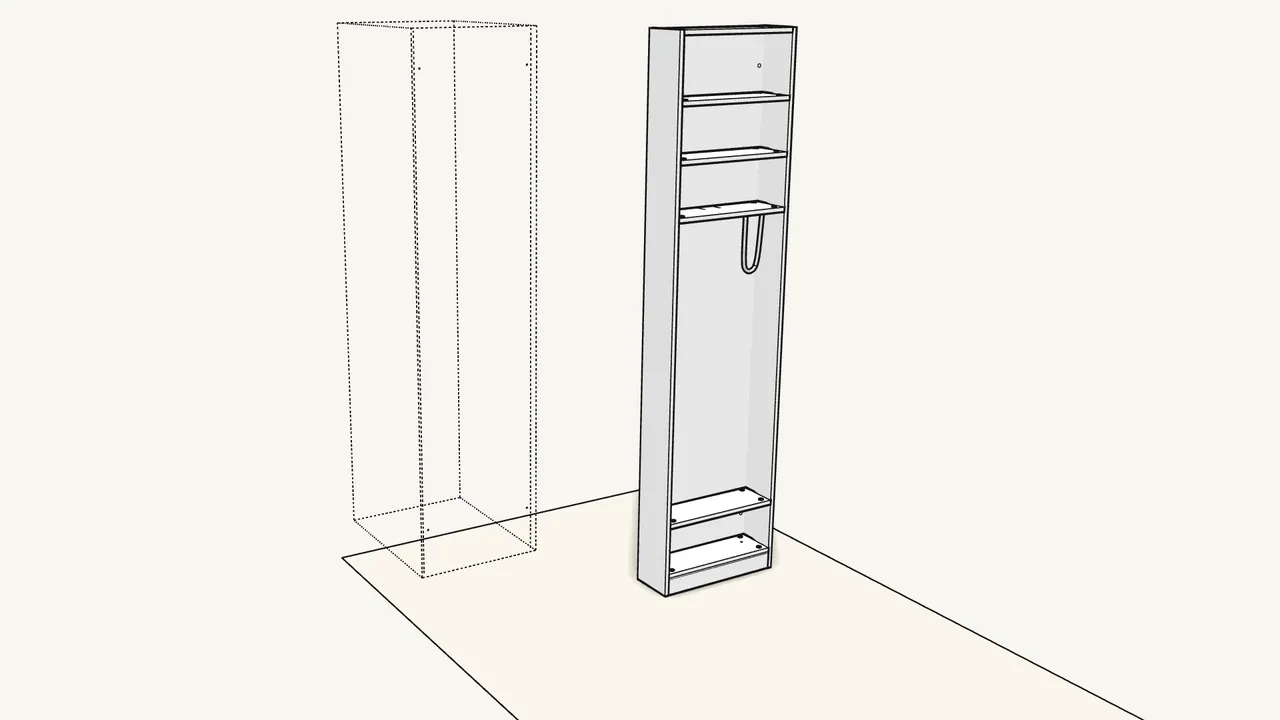
Step 19 · manual step 25
Drill 4 holes (Ø 5 mm) in the side of the PAX frame.
Hole no. 5 from the top and no. 5 from the bottom, in the front and back rows.
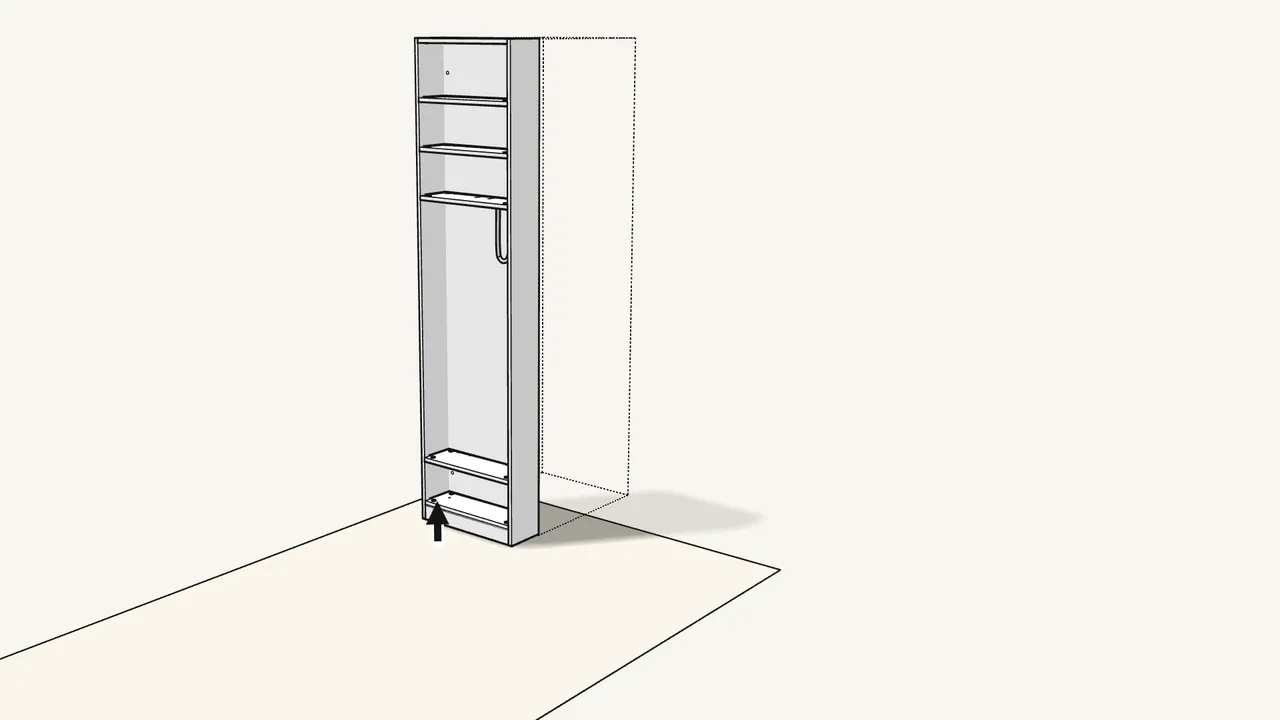
Step 20 · manual step 26
Stand the unit against the PAX side and level it.
Adjust the 2 feet from above with a Phillips screwdriver.
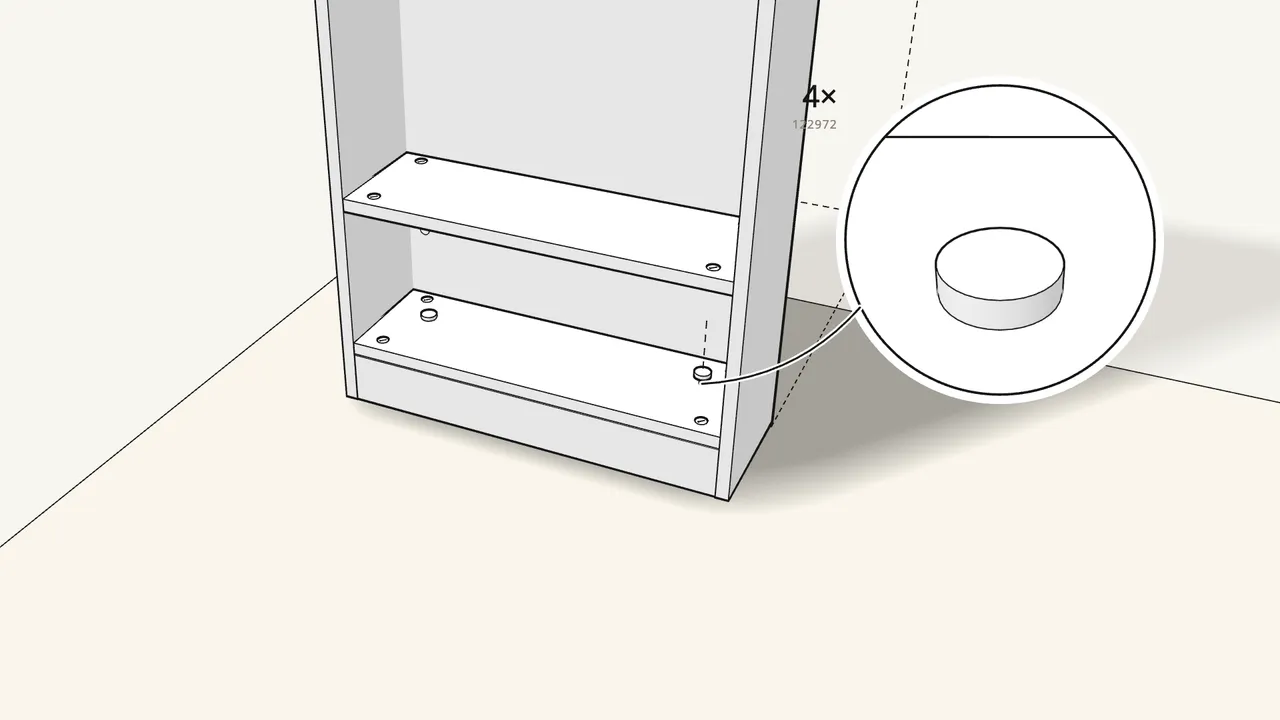
Step 21 · manual step 27
Press 4 caps (122972) into the holes in the top and bottom panels.
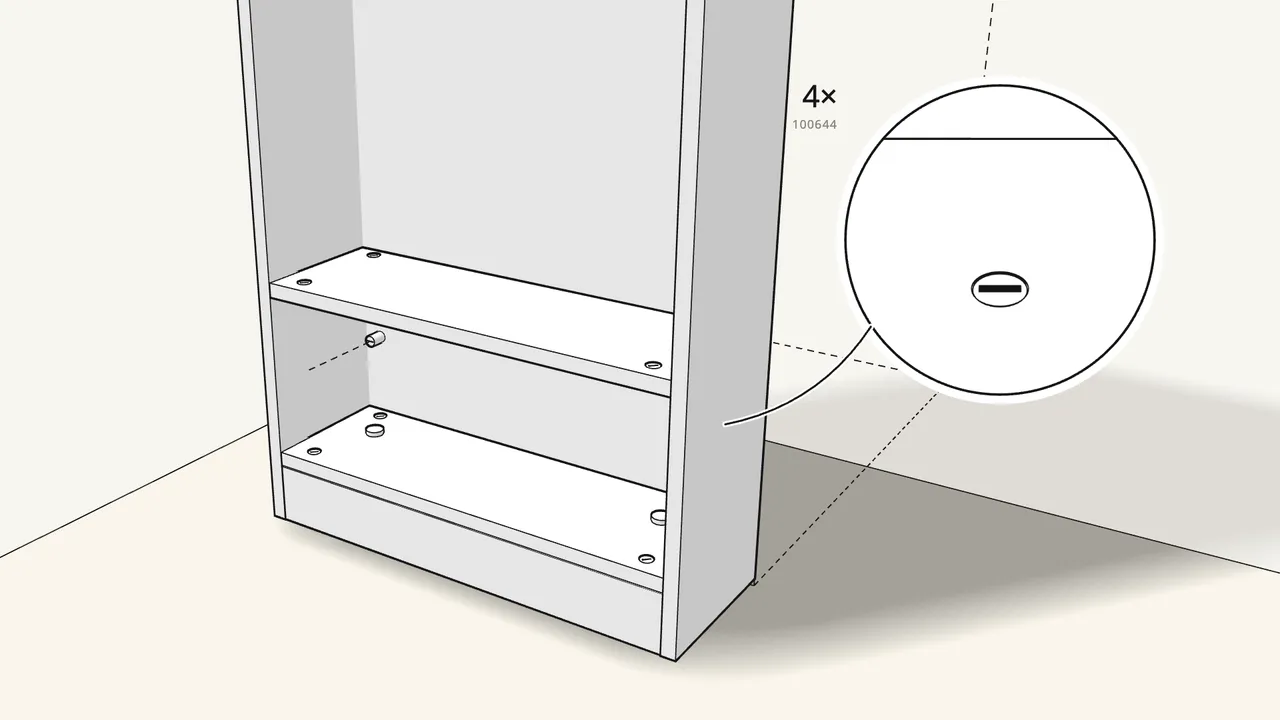
Step 22 · manual step 28
Push 4 sleeves (100644) through the back into the PAX side.
Near the top and the bottom, front and back.
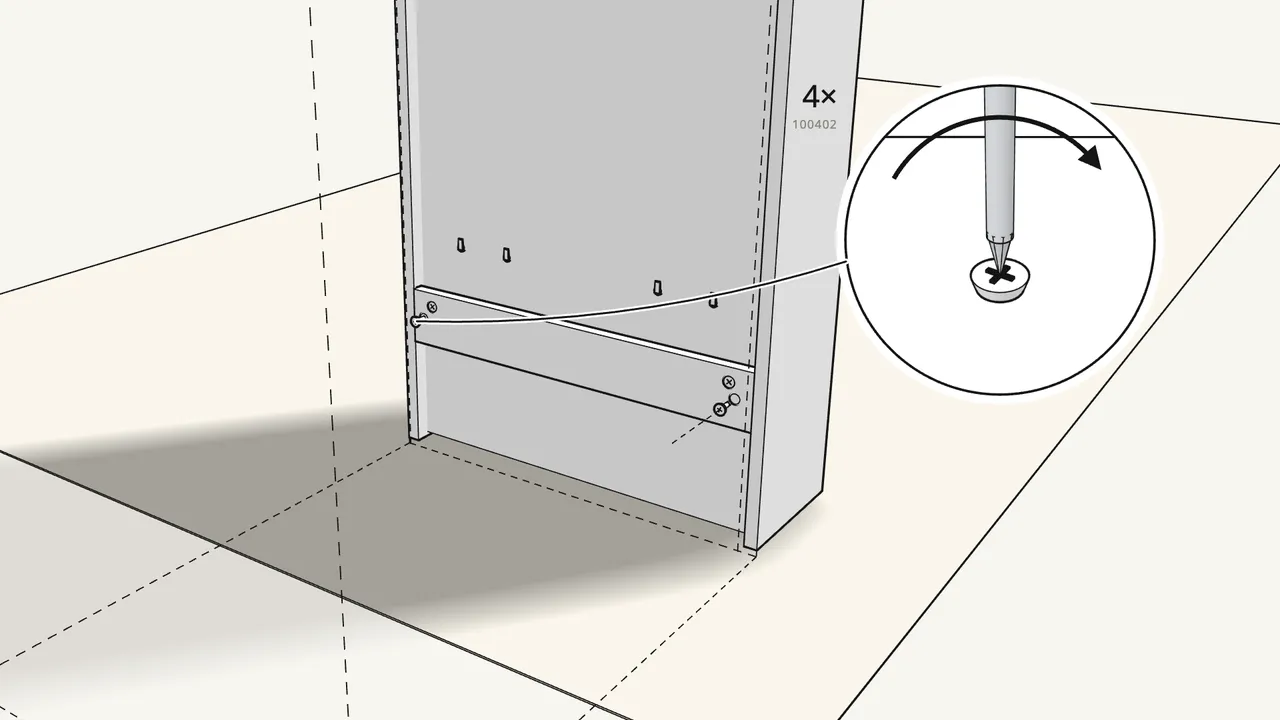
Step 23 · manual step 28
From inside the PAX frame, screw 4 screws (100402) into the sleeves.
Tips & safety
- The PAX frame must be fixed to the wall. This unit is fixed to the side of a PAX frame, and that frame must be anchored to the wall. Serious or fatal crushing injuries can occur if it is not.
- Work with two people. Turning and raising the 236 cm unit needs two. Never lean a ladder against a frame that isn’t fixed to the wall.
Official instructions
This guide follows IKEA’s official assembly instructions (AA-2567081-3). Keep the printed manual to hand — if anything differs, the manual is right.