IKEA · Bookcases & Shelving
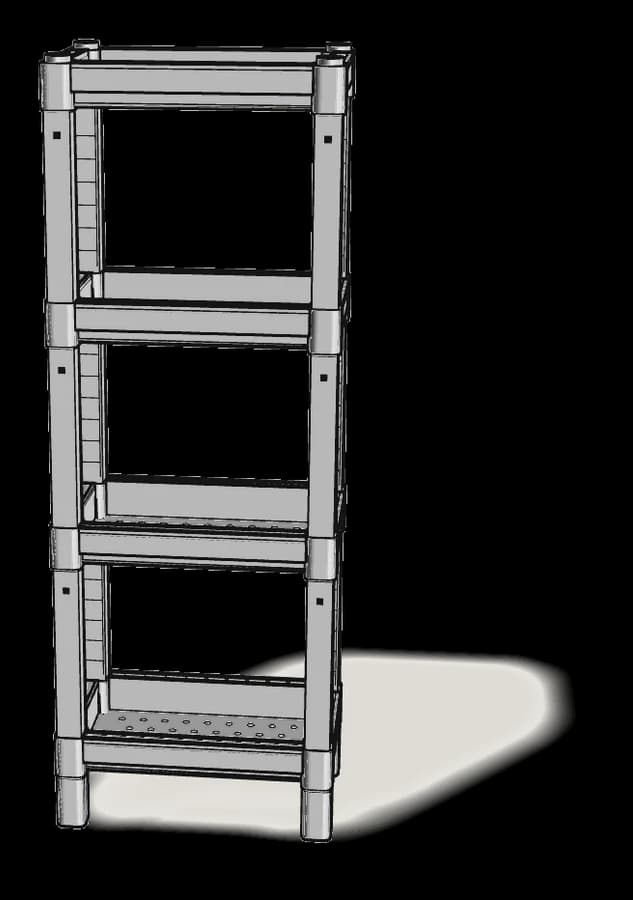
How to assemble IKEA OMAR Shelf Unit
Step-by-step IKEA OMAR Shelf Unit assembly: 13 illustrated steps, an animated video, the hardware list and the tools you need — following the official instructions (AA-108683-16).
- 13 illustrated steps
- 10 steps in the manual
- 1:57 video
- 92×36×94 cm
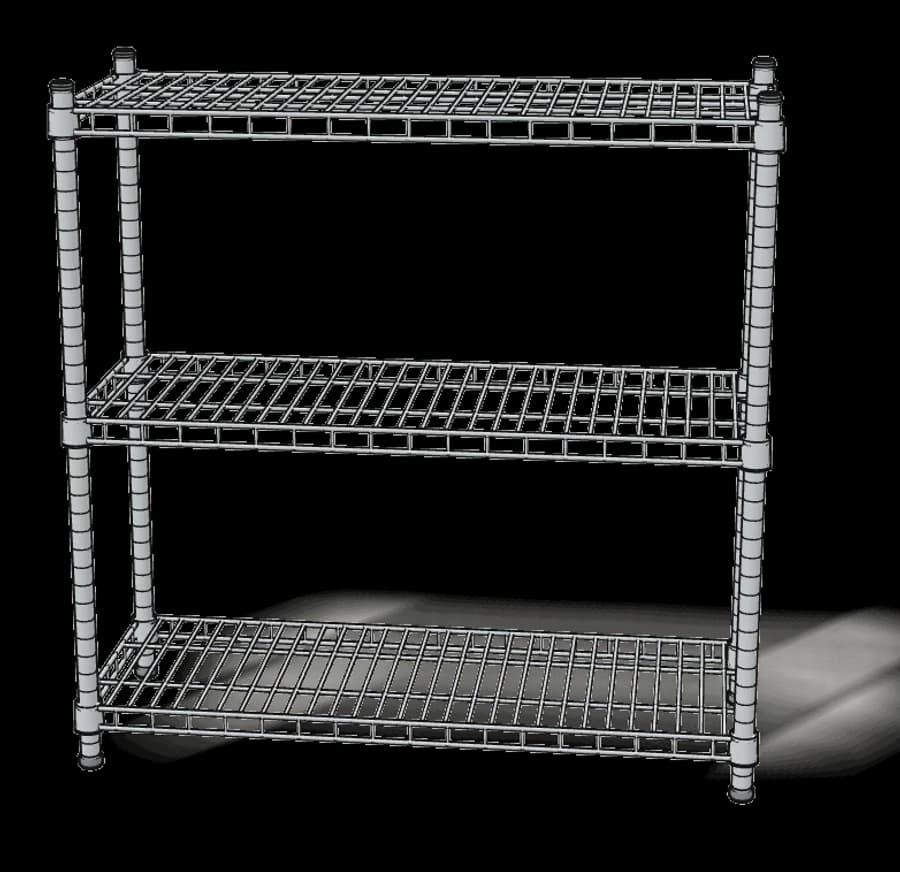
What you need
Tools
No tools needed.
Hardware in the box
| Part no. (as printed in the manual) | Qty |
|---|---|
| 10054272 | 2× |
| 139294 | 4× |
| 130531 | 24× |
| 139285 | 4× |
| 10054270 | 2× |
Step-by-step assembly
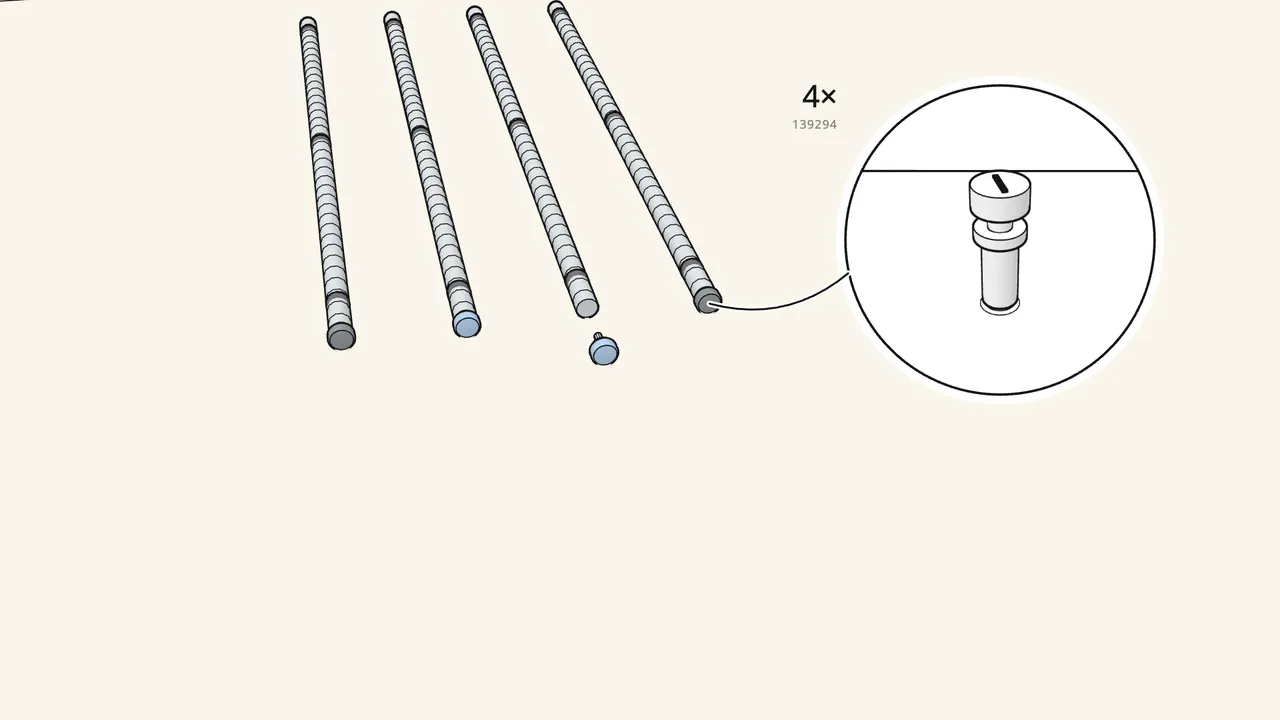
Step 1
Screw a foot (139294) into the bottom end of each post.
4 posts, 4 feet — turn them in by hand.
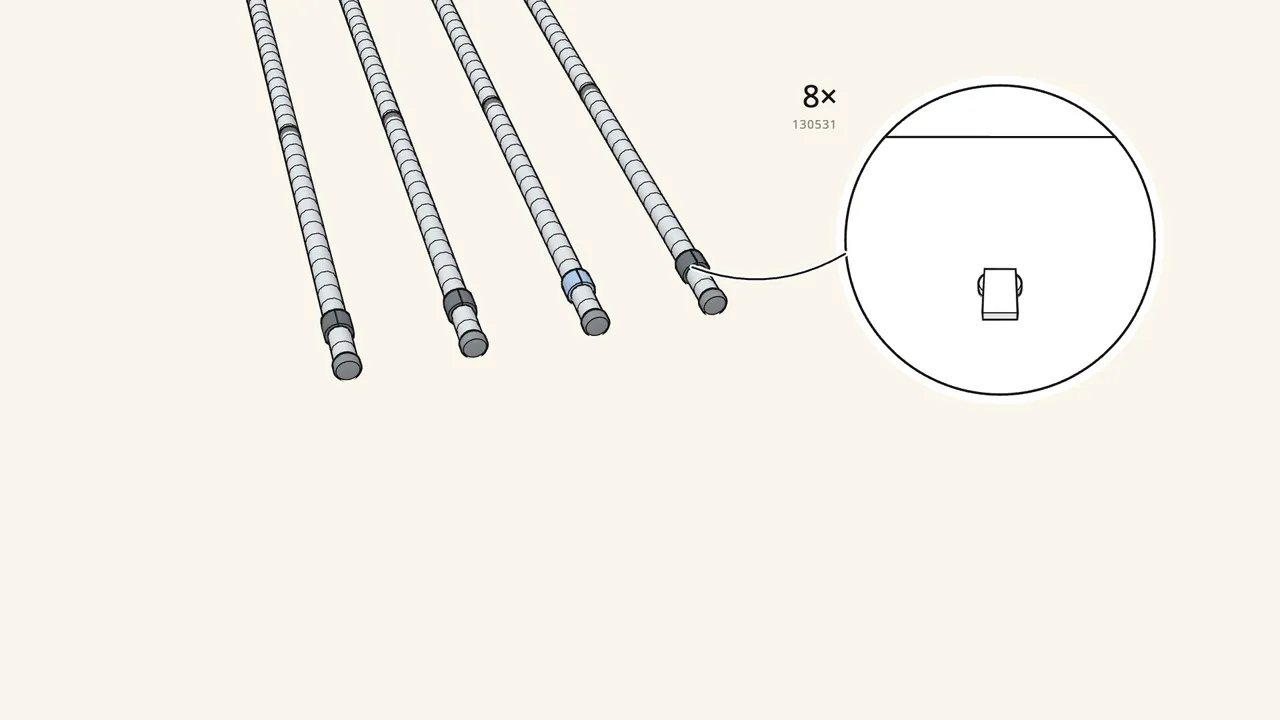
Step 2
Snap a pair of clips (130531) onto each post at the first marking.
The marking near the foot — press the two halves together round the post.
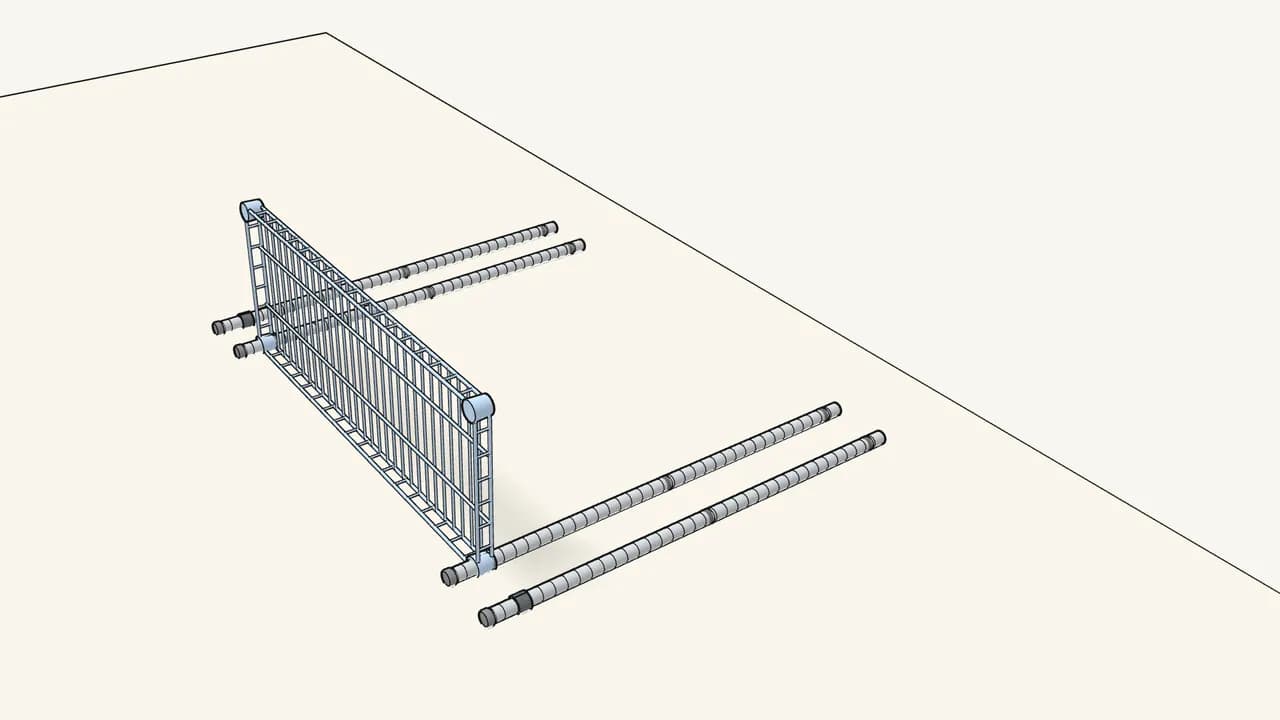
Step 3
Slide the bottom shelf onto the 2 posts lying on the floor.
Push it down onto the clips. Check which way the collars face — see the manual, step 3.
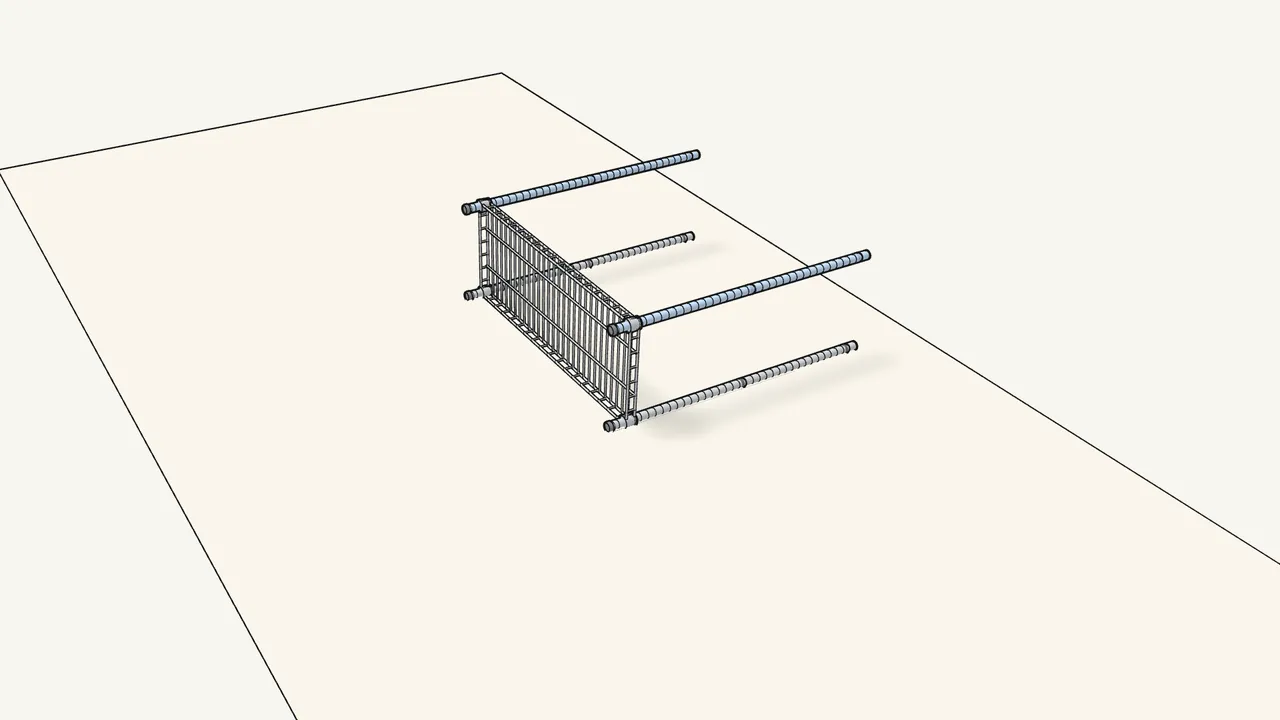
Step 4
Push the other 2 posts through the shelf corners.
Feet toward the same end as the first two.
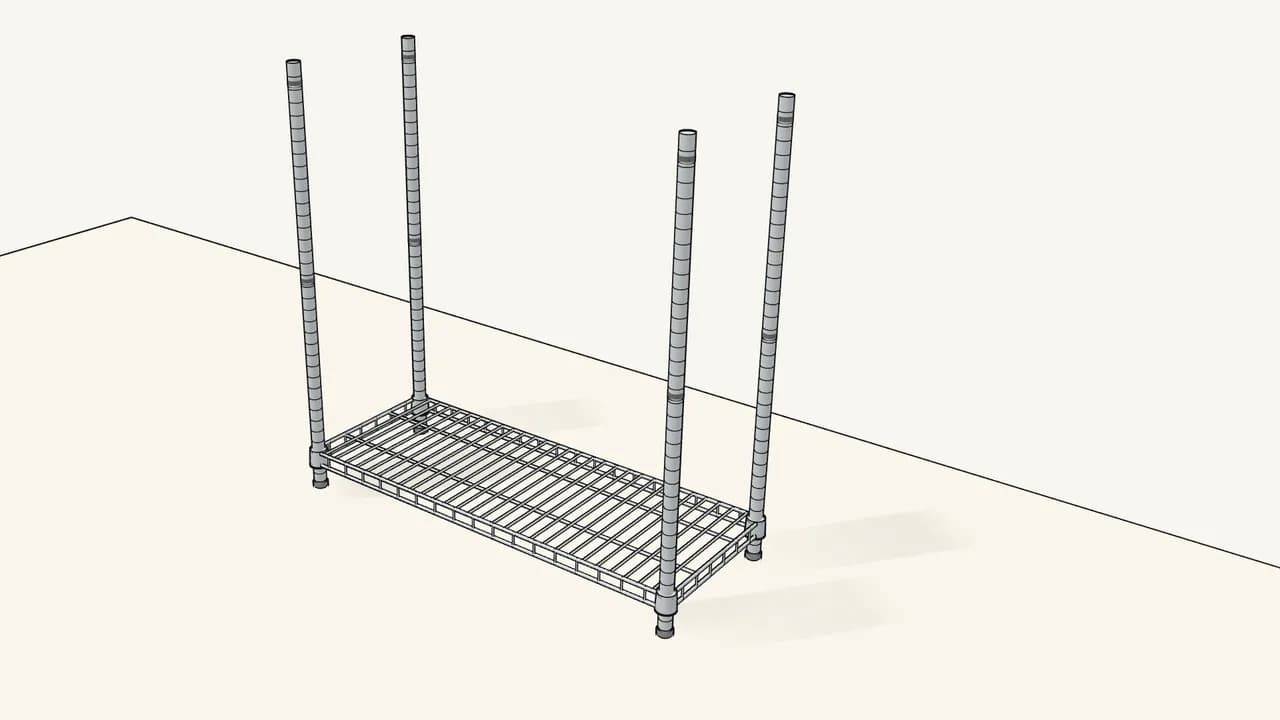
Step 5
Stand the frame upright on its feet.
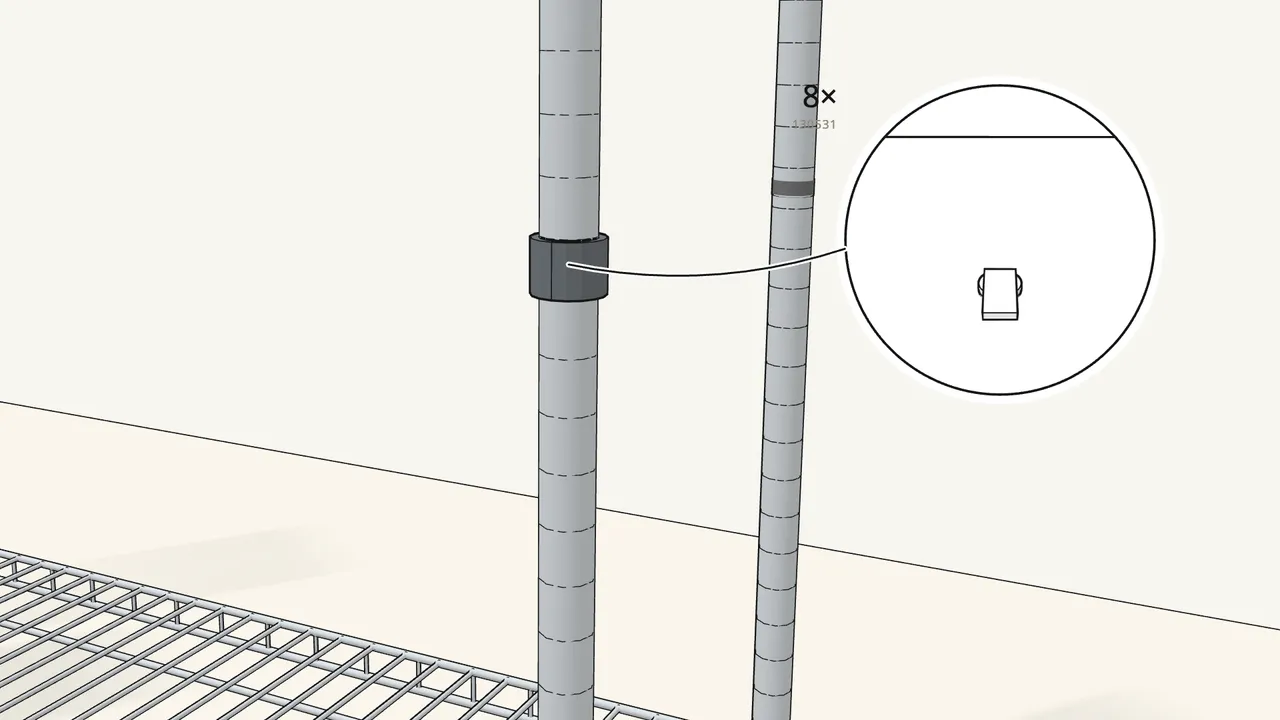
Step 6 · manual step 5
Snap a pair of clips (130531) round each post at the middle marking.
Each clip fits between two grooves, not across one — see the manual, step 5.
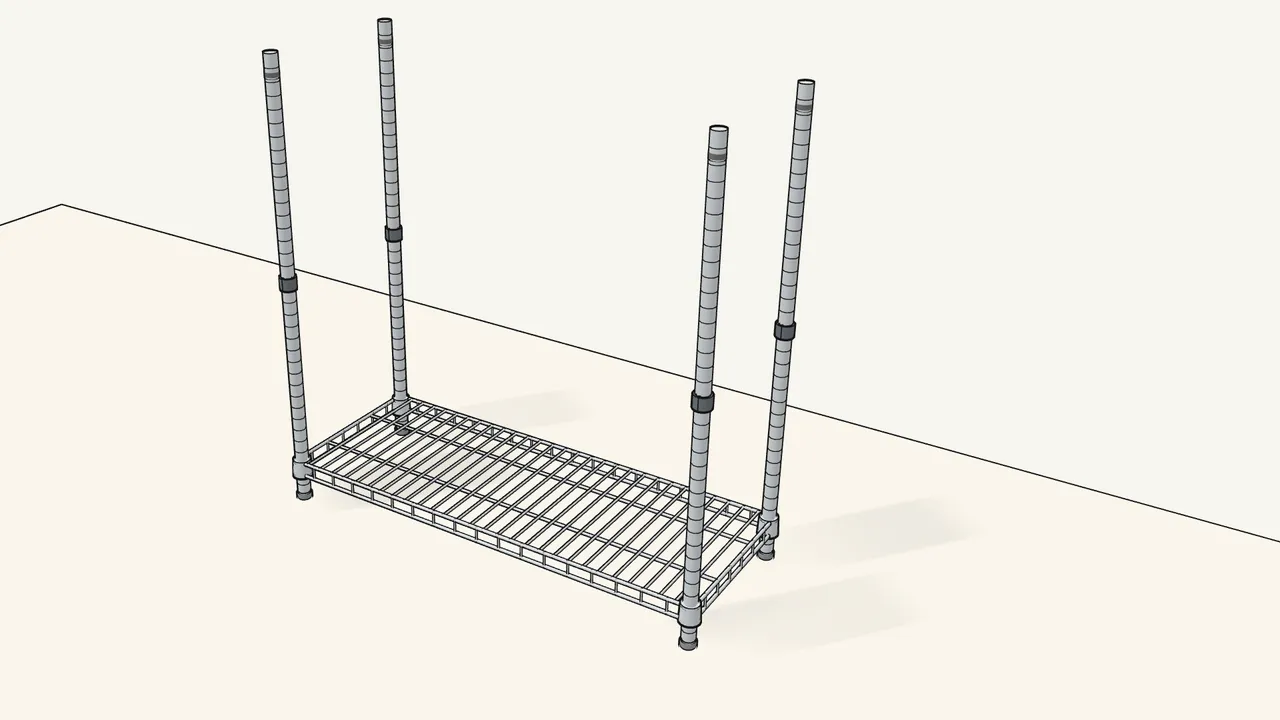
Step 7 · manual step 5
Repeat on the other 3 posts.
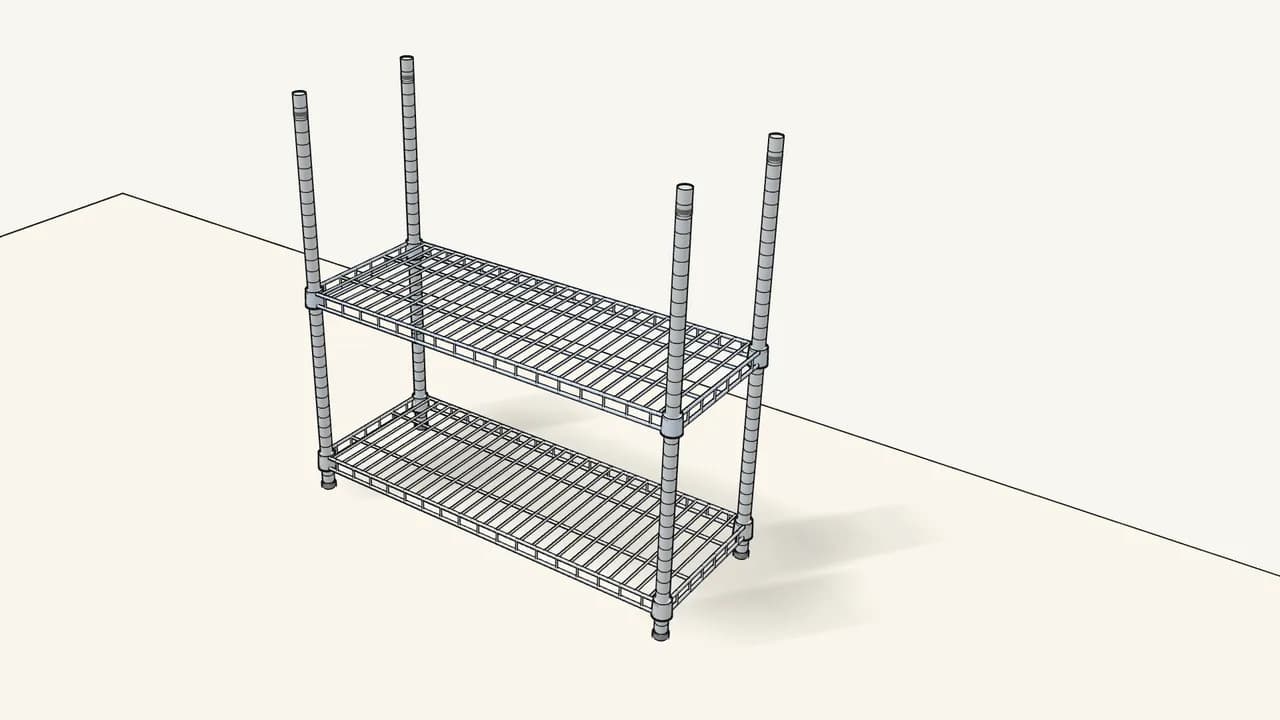
Step 8 · manual step 6
Lower the middle shelf over the posts onto the clips.
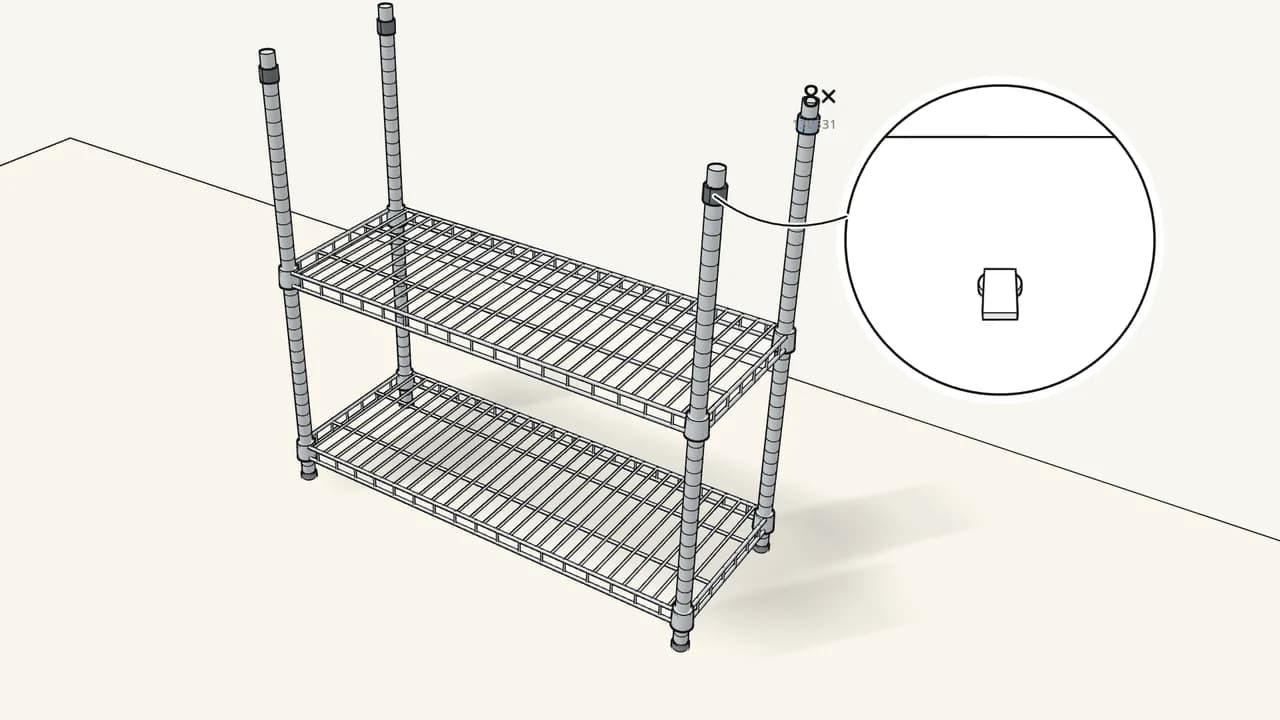
Step 9 · manual step 7
Snap 4 more pairs of clips onto the posts at the top marking.
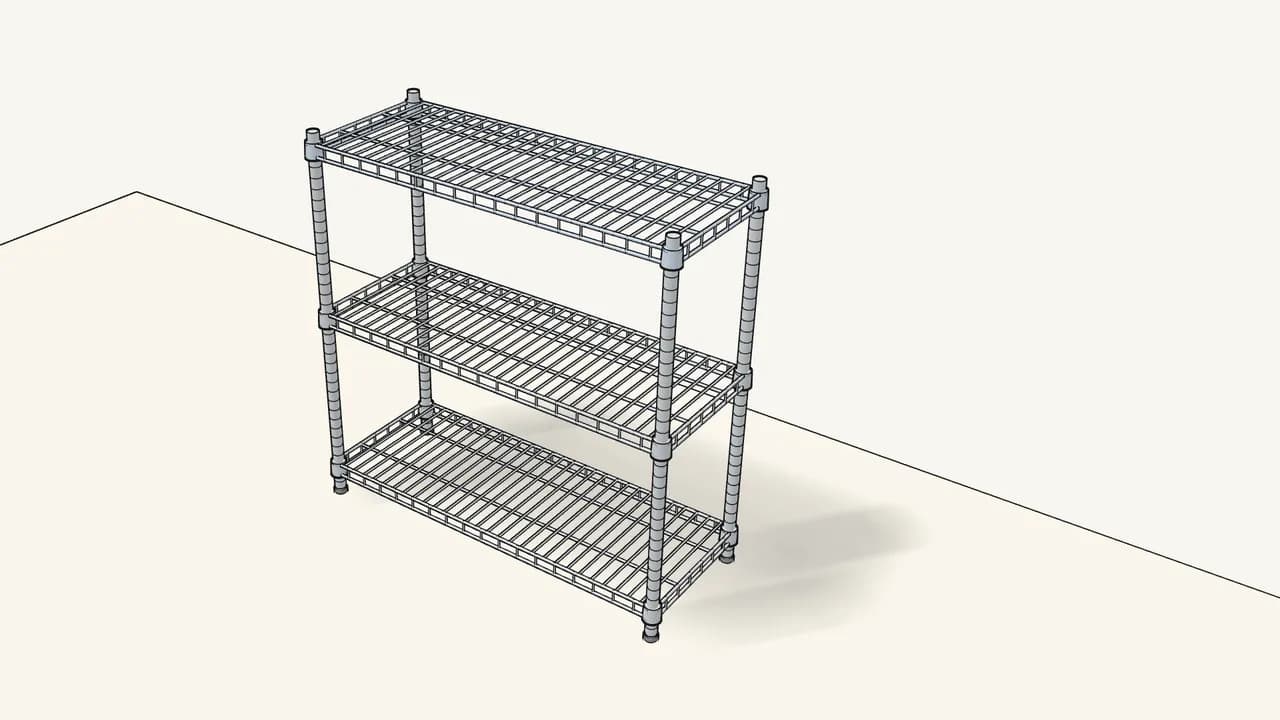
Step 10 · manual step 8
Lower the top shelf onto the clips.
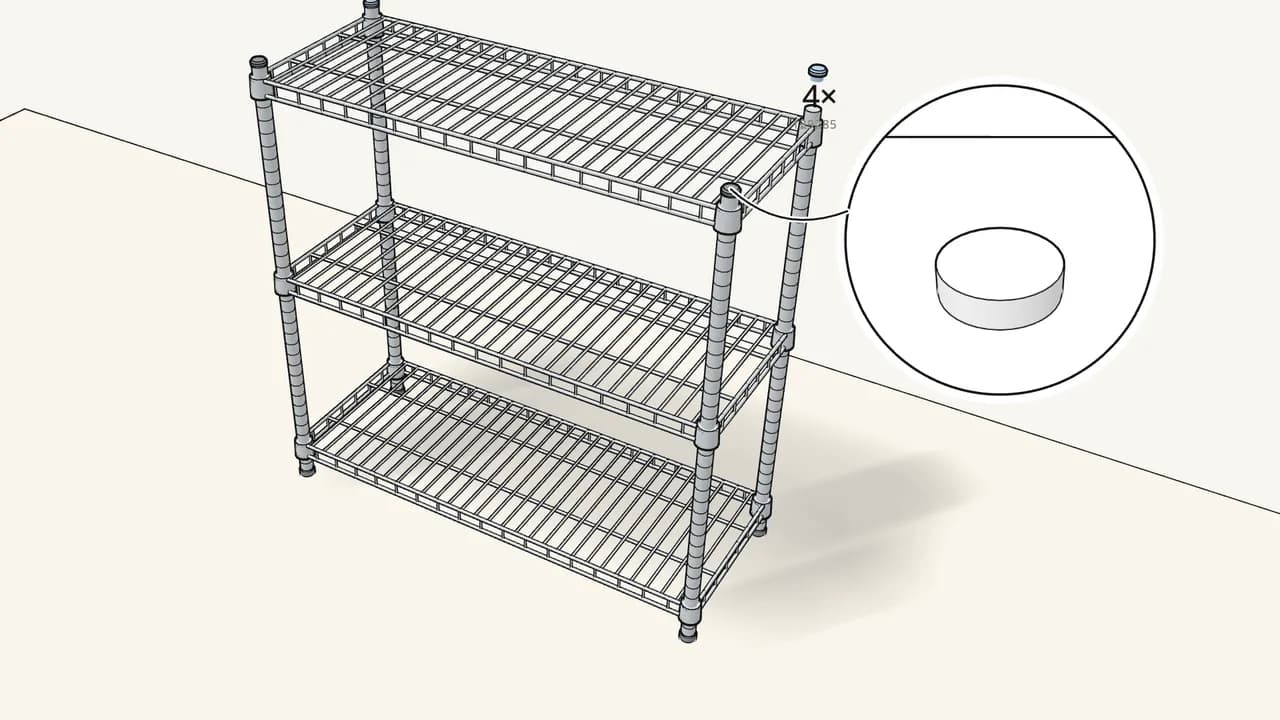
Step 11 · manual step 9
Press a cap (139285) onto the top of each post.
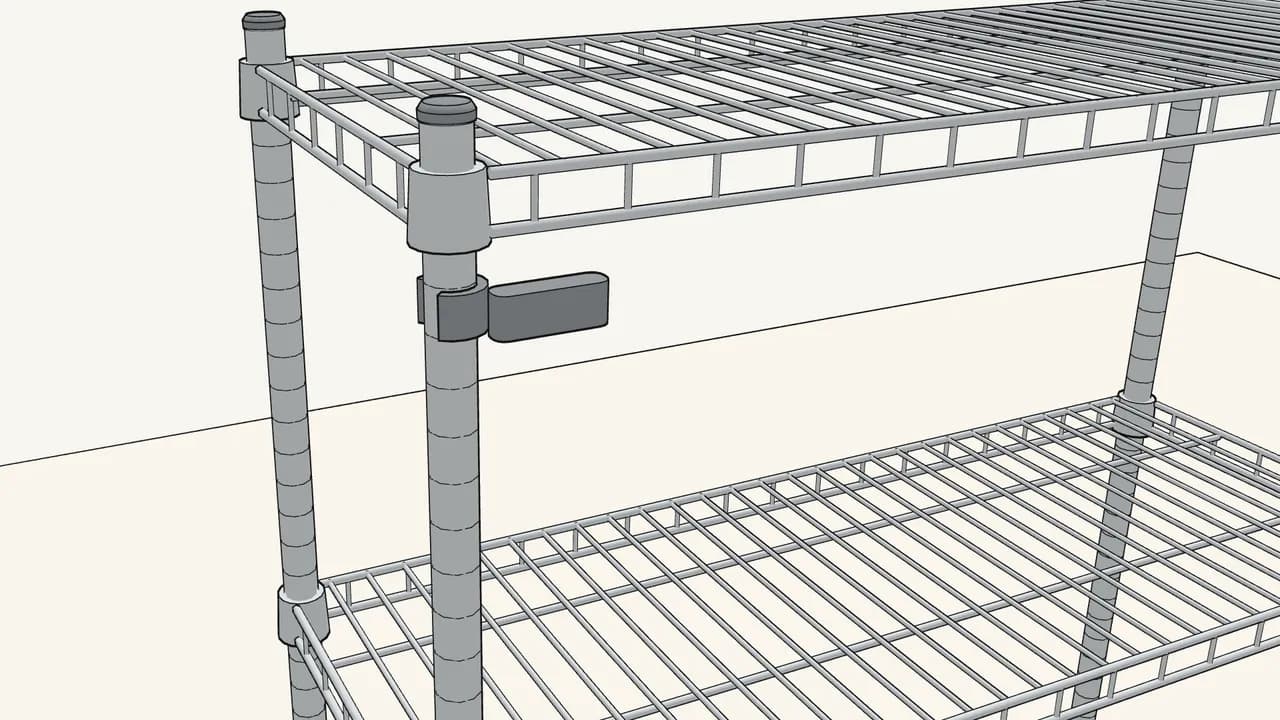
Step 12 · manual step 10
Snap a wall bracket (10054272) round each back post, under the top shelf.
Check the position in the manual, step 10.
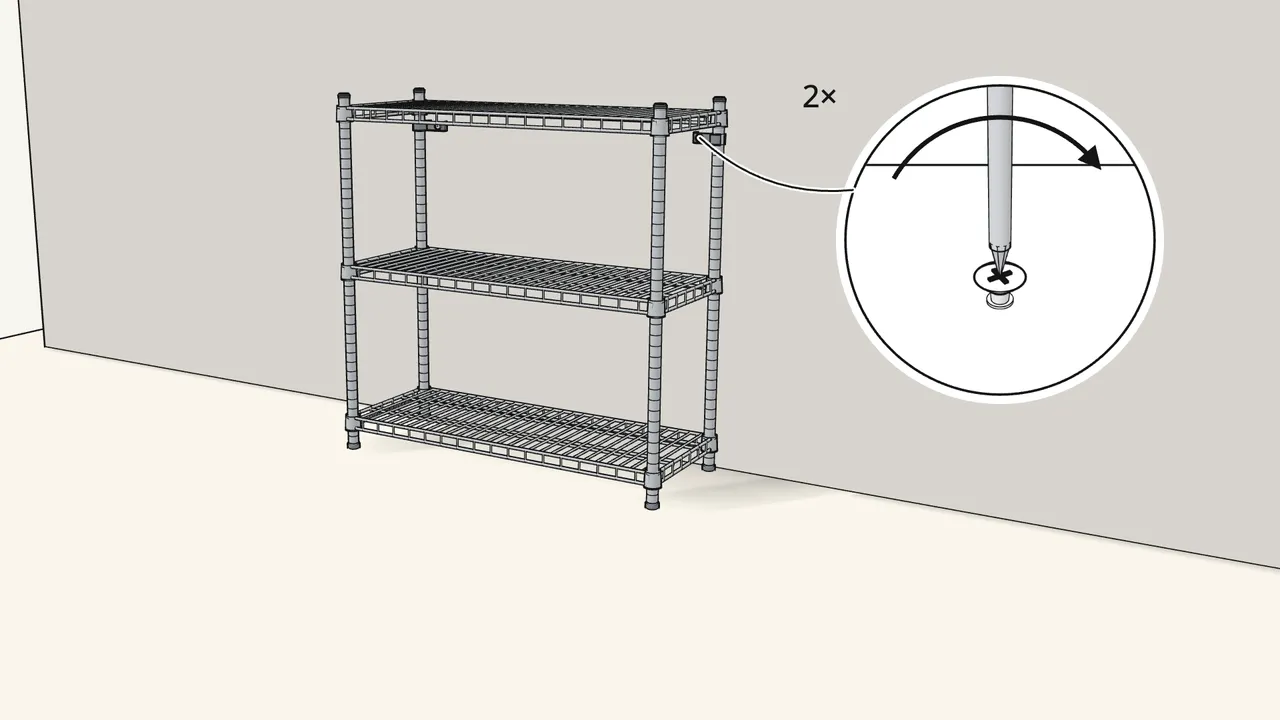
Step 13 · manual step 10
Push the unit against the wall and screw both brackets to it.
Wall screws and plugs are not included. Skirting board 10–15 mm? Fit the spacer (10054270) — see step 10.
Tips & safety
- Always fix OMAR to the wall. Furniture tip-over can cause serious or fatal crushing injuries. Use screws and plugs suited to your wall — ask a specialist if unsure.
- Stacking units on top of each other? The information pages at the end of the manual show how — and the maximum height.
Official instructions
This guide follows IKEA’s official assembly instructions (AA-108683-16). Keep the printed manual to hand — if anything differs, the manual is right.