IKEA · Bookcases & Shelving
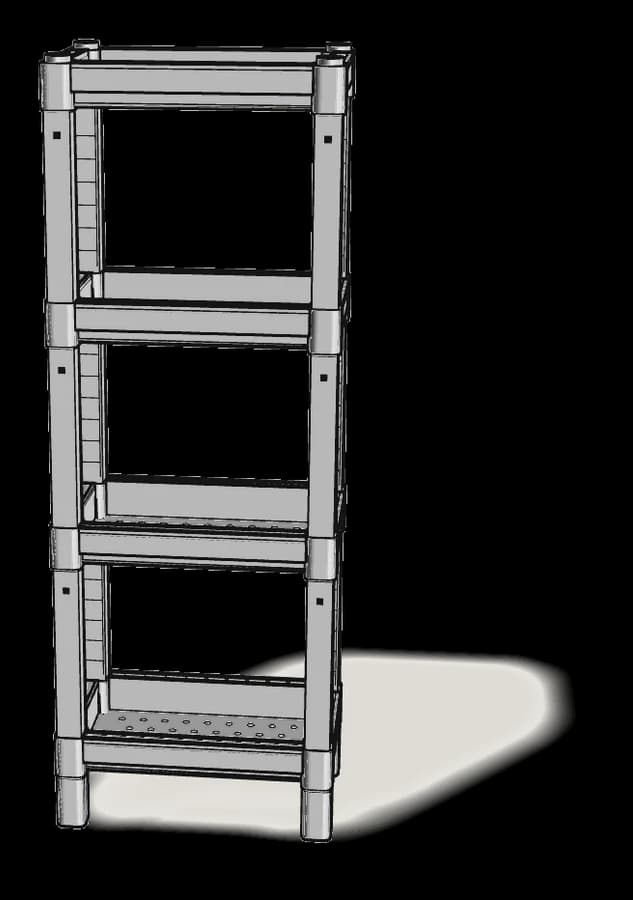
How to assemble IKEA LÄCKÖ Shelving Unit
Step-by-step IKEA LÄCKÖ Shelving Unit assembly: 10 illustrated steps, an animated video, the hardware list and the tools you need — following the official instructions (AA-417695-10).
- 10 illustrated steps
- 6 steps in the manual
- 1:42 video
- 60×28×163 cm
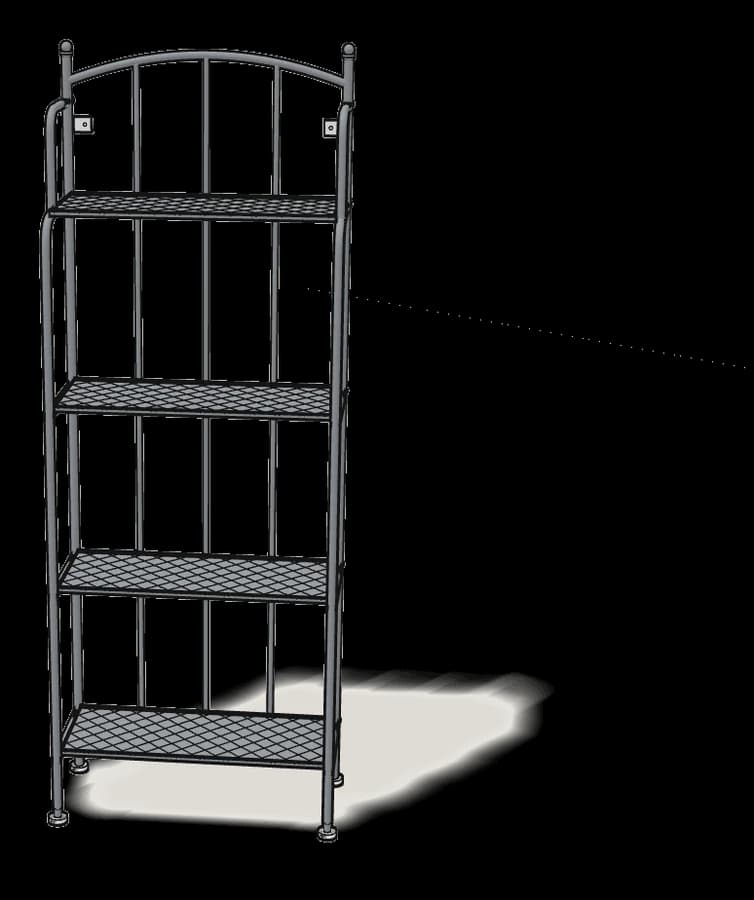
What you need
Tools
- Allen key (included)
- Spirit level
You’ll need: the Allen key (100092, included) and a spirit level.
Hardware in the box
| Part no. (as printed in the manual) | Qty |
|---|---|
| 120940 | 10× |
| 122168 | 4× |
Step-by-step assembly
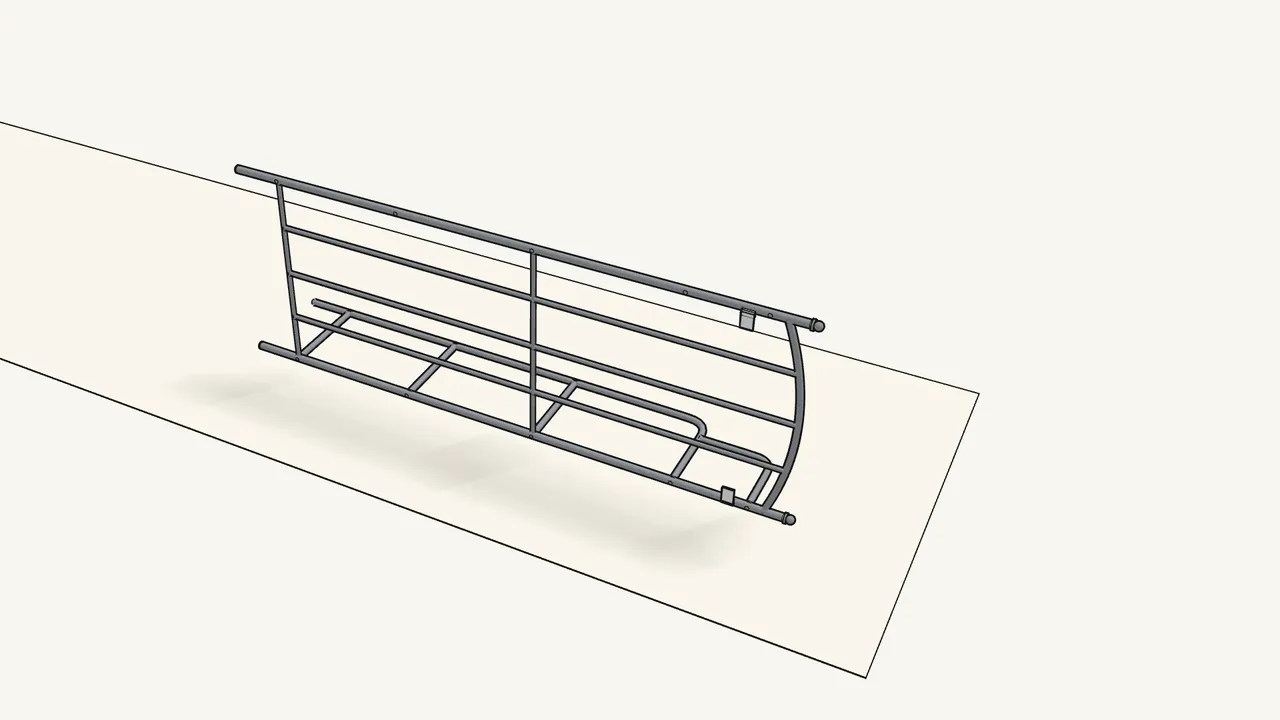
Step 1
Lay one side frame on the floor and place the back frame on it.
Both curved ends (the top) point the same way.
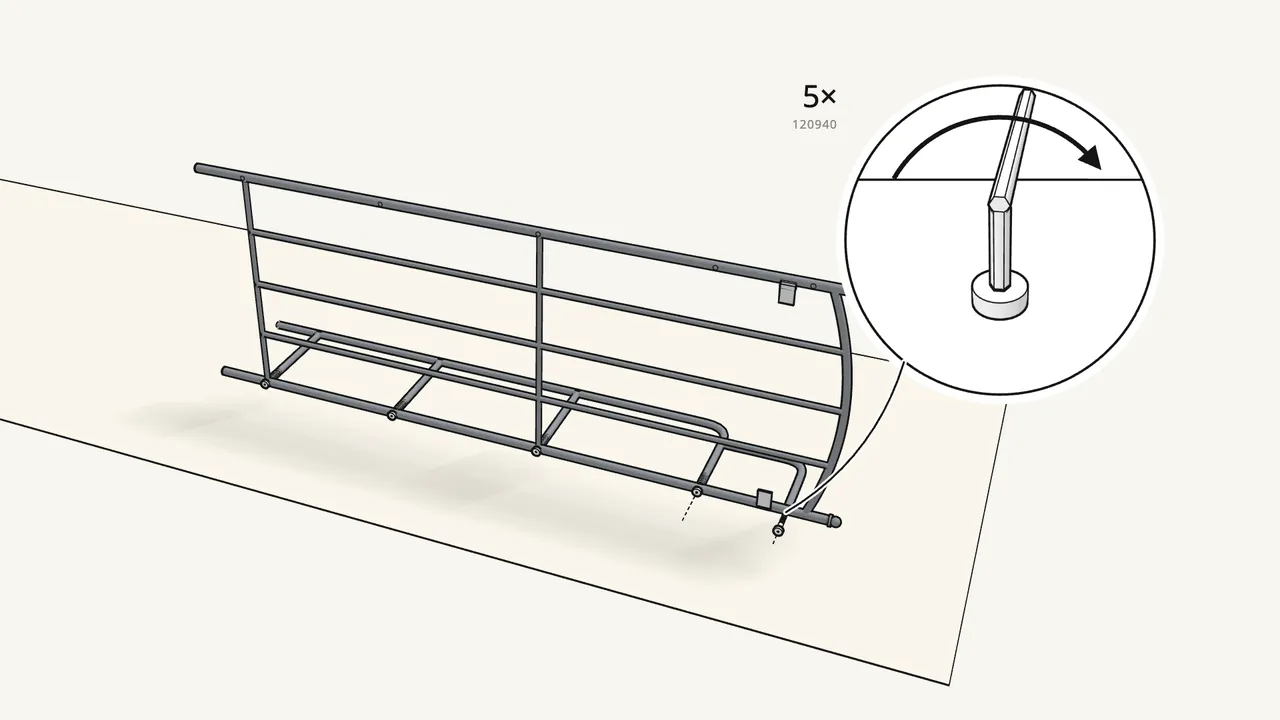
Step 2 · manual step 1
Join them with 5 bolts (120940) and the Allen key.
Check the tube ends are turned the right way — see the small picture in step 1.
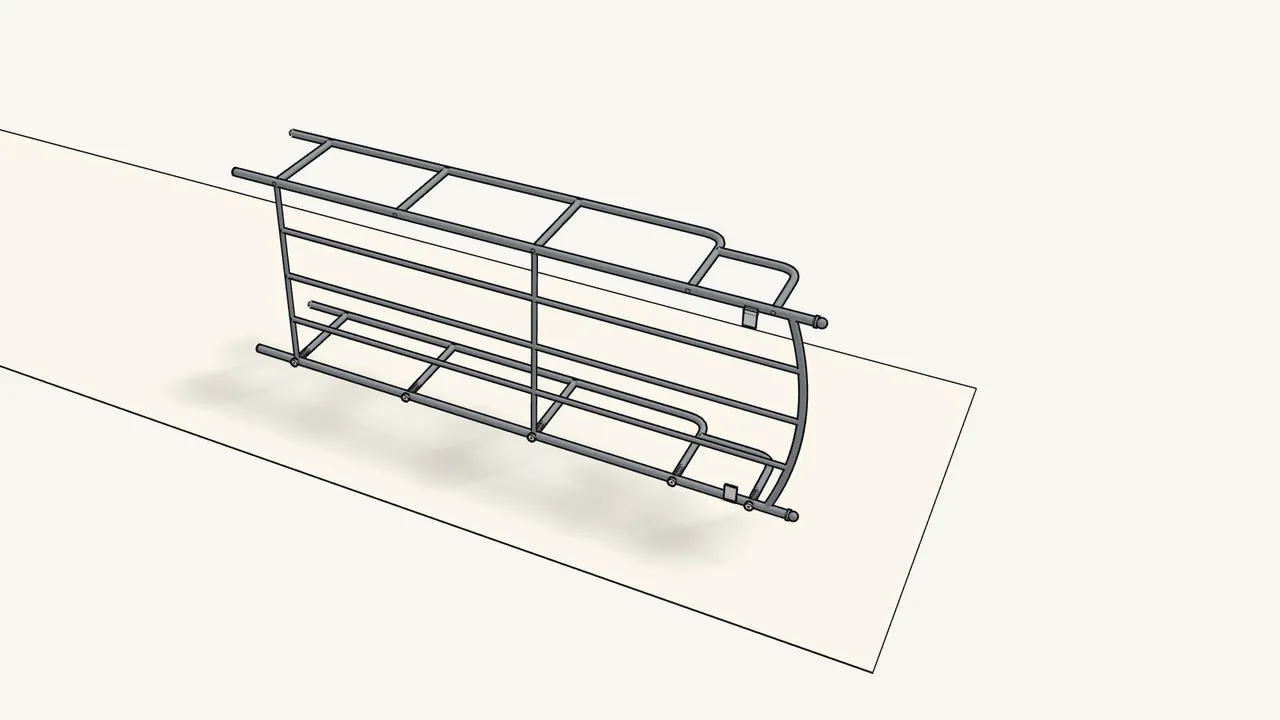
Step 3 · manual step 2
Place the other side frame on top.
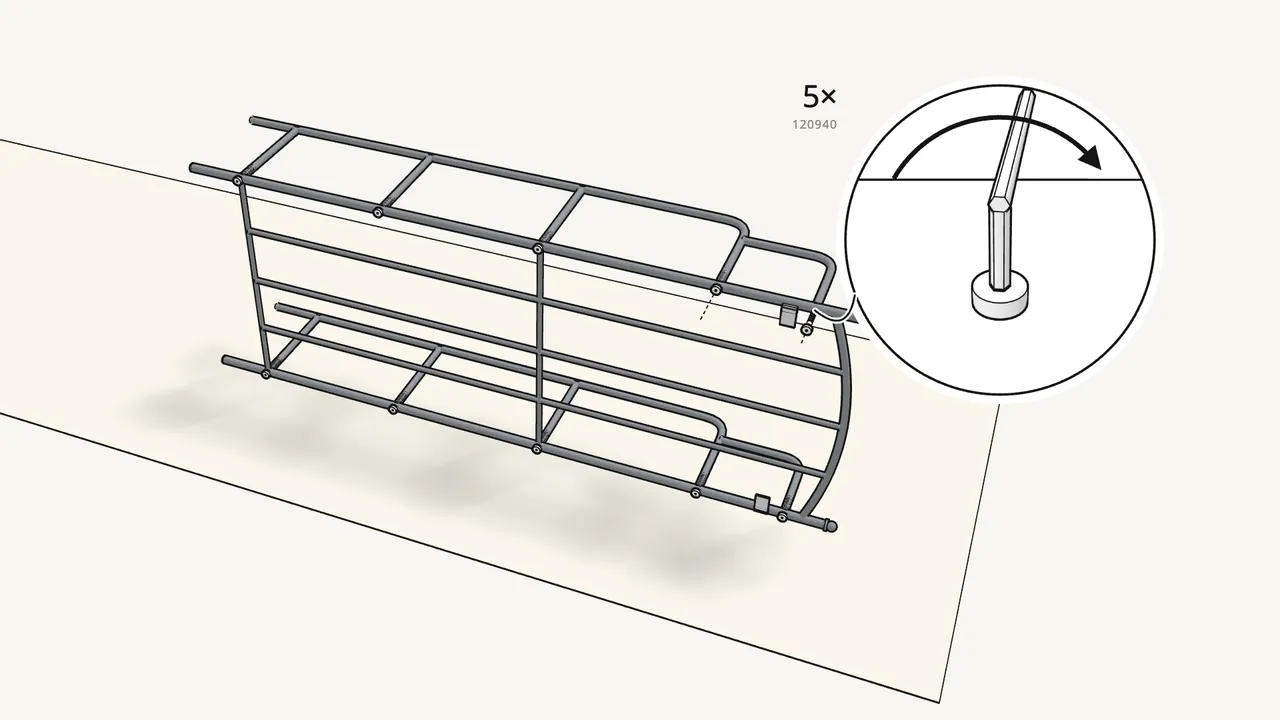
Step 4 · manual step 2
Fix it with 5 more bolts (120940).
Tighten all the bolts with the Allen key.
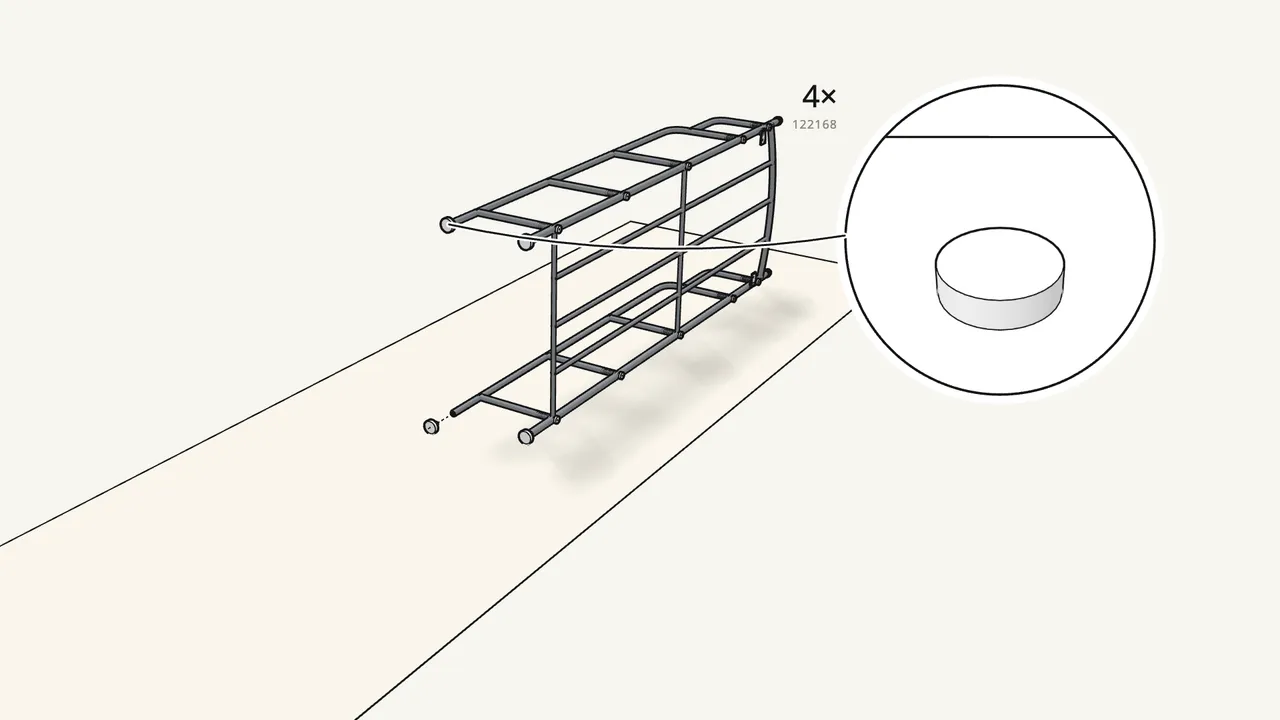
Step 5 · manual step 3
Screw a foot (122168) into the end of each leg.
4 feet — one in each of the 4 tube ends.
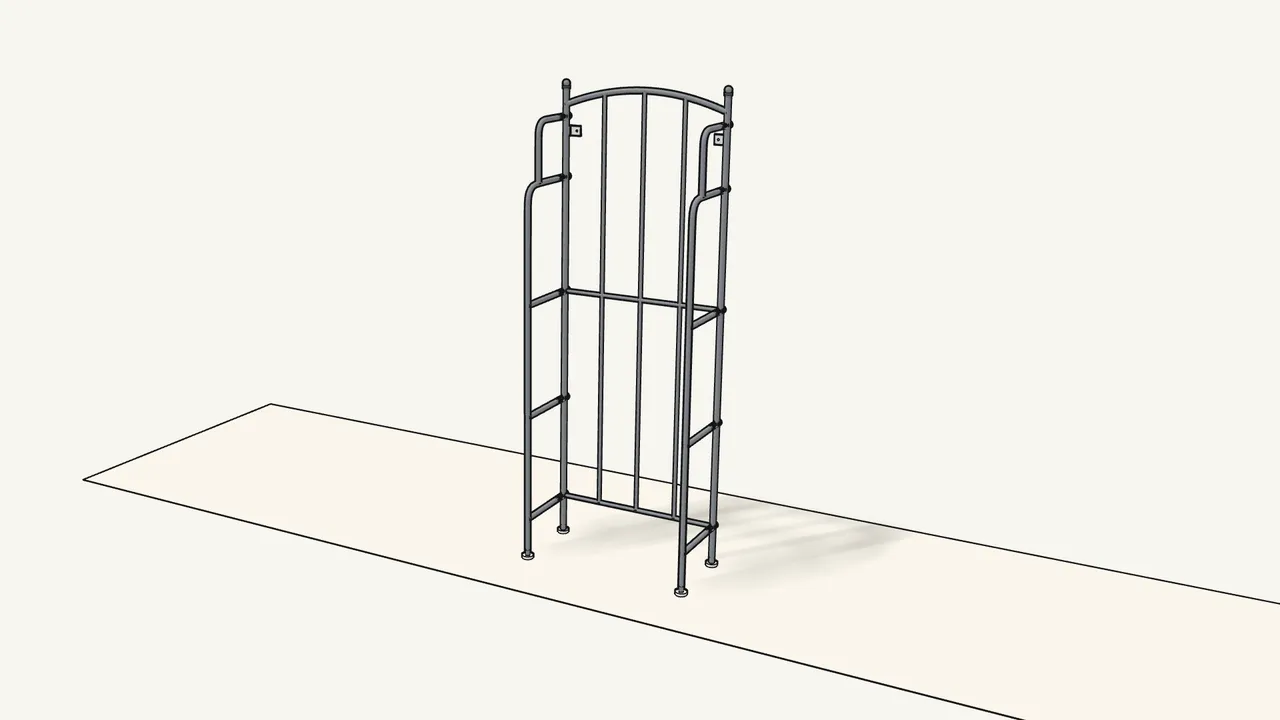
Step 6 · manual step 4
Stand the shelving unit upright.
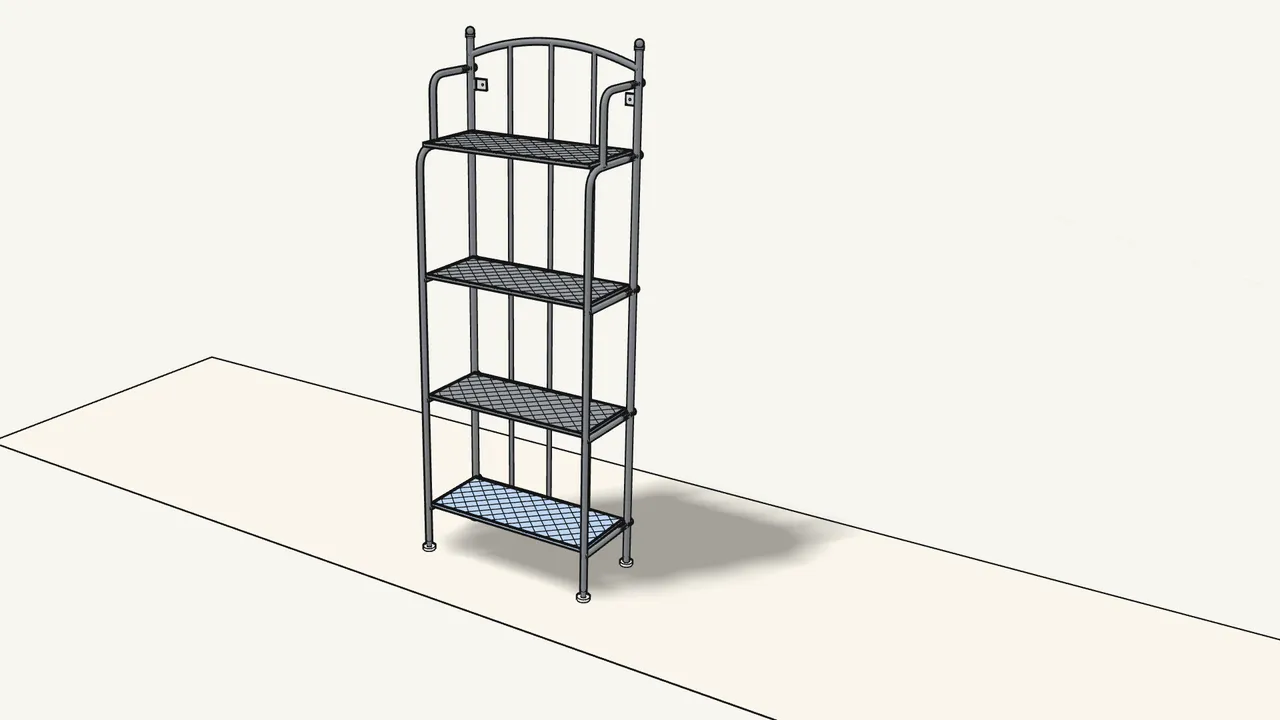
Step 7 · manual step 4
Lower the shelves until they lie flat.
See the manual, step 4.
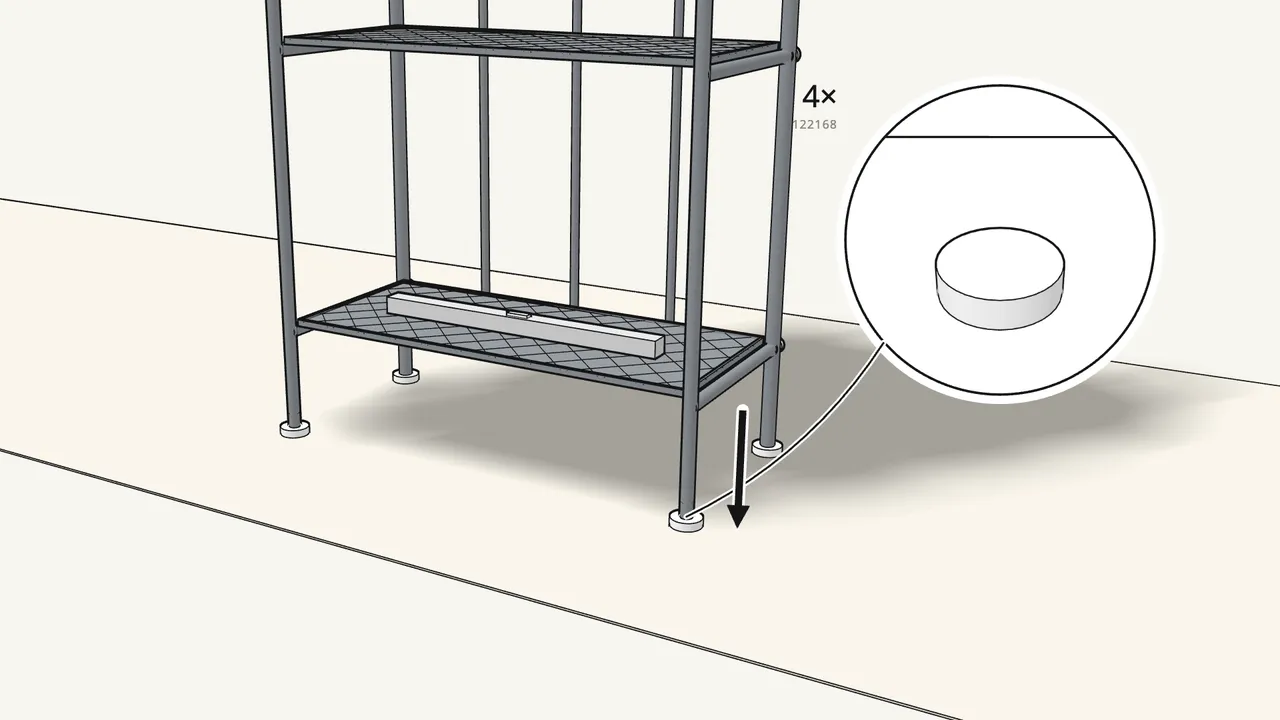
Step 8 · manual step 5
Check it stands level and adjust the feet.
Turn a foot to raise or lower that corner.
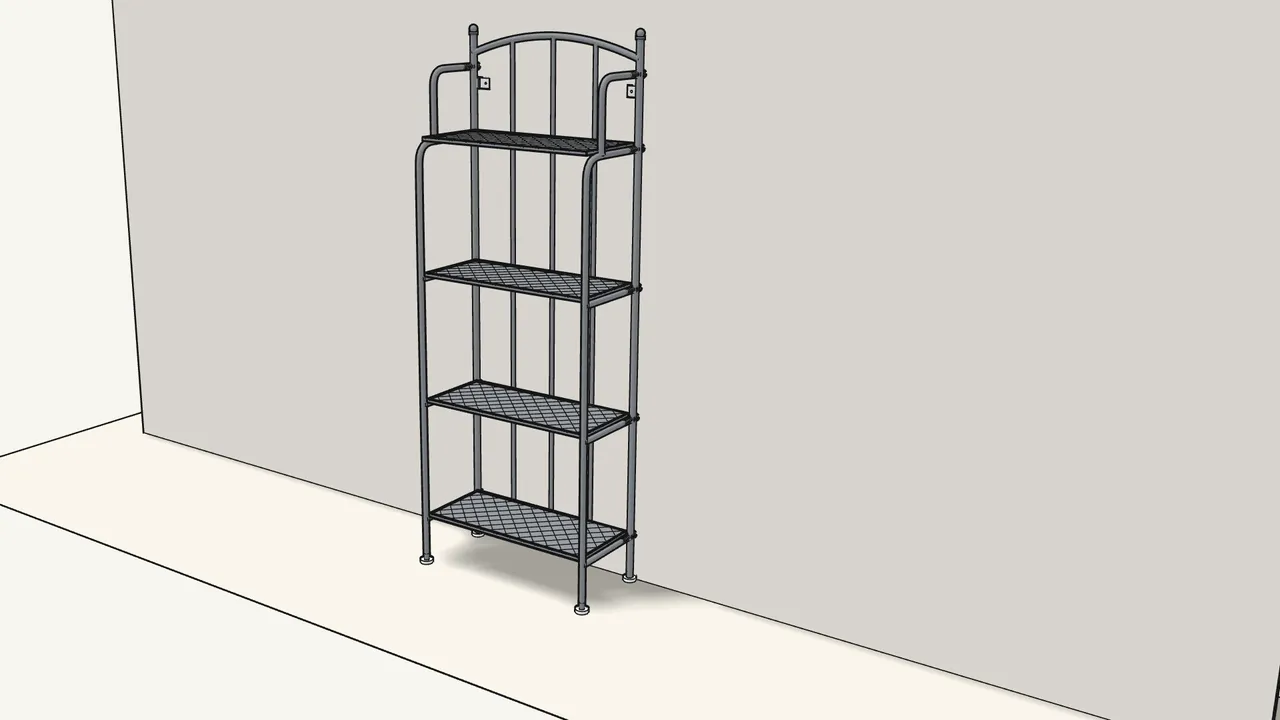
Step 9 · manual step 6
Place the shelving unit against the wall.
To prevent tip-over, it must be fixed to the wall.
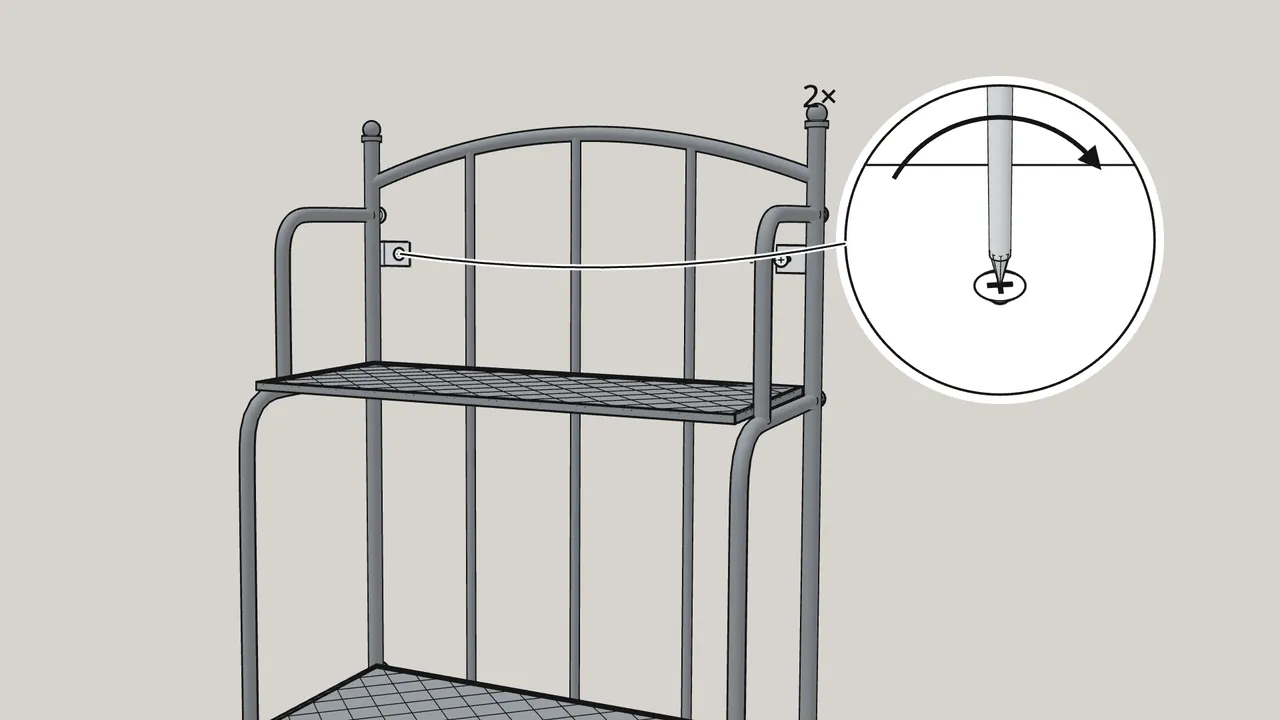
Step 10 · manual step 6
Screw both wall tabs to the wall — 2 screws.
Screws and plugs are not included. Don’t use countersunk screws — see the manual, step 6.
Tips & safety
- Always fix LÄCKÖ to the wall. Furniture tip-over can cause serious or fatal crushing injuries. If unsure which screws and plugs suit your wall, ask a specialist.
- Assemble it on a soft surface. The manual shows building it on a rug or the box, not a hard floor — and asks you to contact IKEA if a part is missing.
Official instructions
This guide follows IKEA’s official assembly instructions (AA-417695-10). Keep the printed manual to hand — if anything differs, the manual is right.