IKEA · Bookcases & Shelving
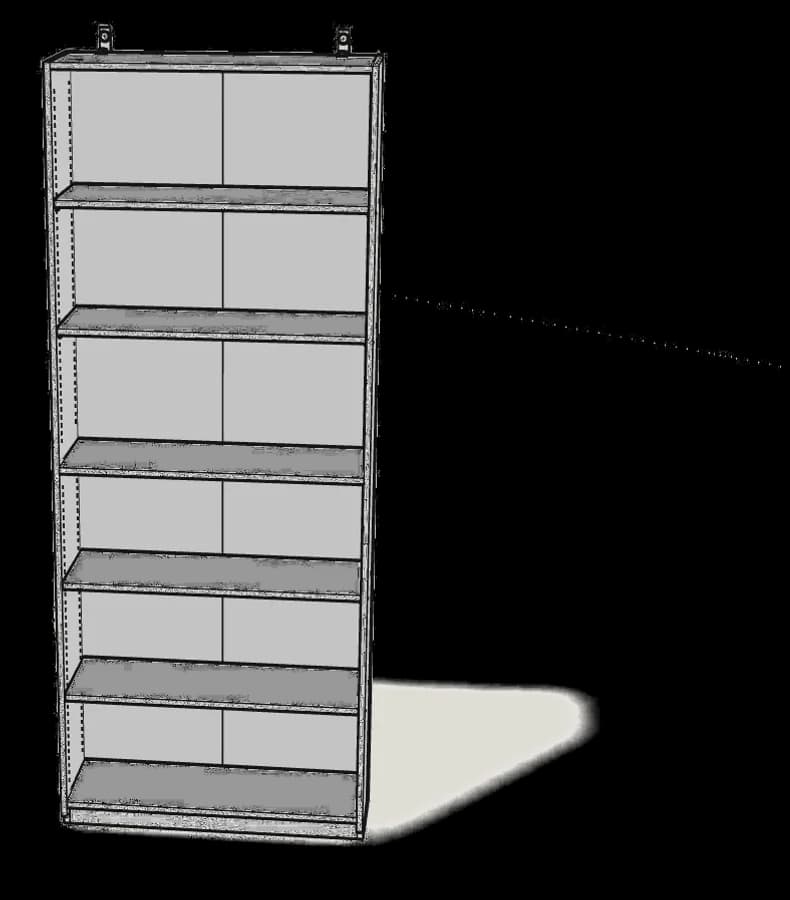
How to Assemble IKEA LACK Wall Shelf Unit
Step-by-step IKEA LACK wall shelf unit assembly: 9 illustrated steps, an animated video, the hardware list and the tools you need — following the official instructions (AA-2699149-2).
- 9 illustrated steps
- 3 steps in the manual
- 1:39 video
- 30×28×190 cm
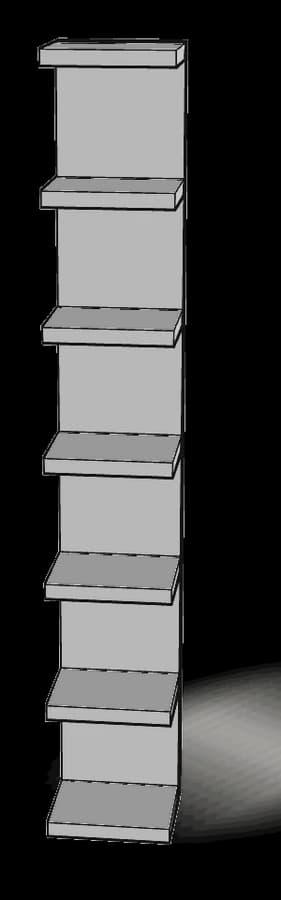
What you need
Tools
- Phillips screwdriver
- Flat-head screwdriver
- Allen key (included)
- Spirit level
You’ll need: Phillips and flat-head screwdrivers, a pencil, a spirit level and a tape measure.
Hardware in the box
| Part no. (as printed in the manual) | Qty |
|---|---|
| 104323/5 | 14× |
| 109053 | 9× |
| 120942 | 3× |
| 100001 | 1× |
Step-by-step assembly
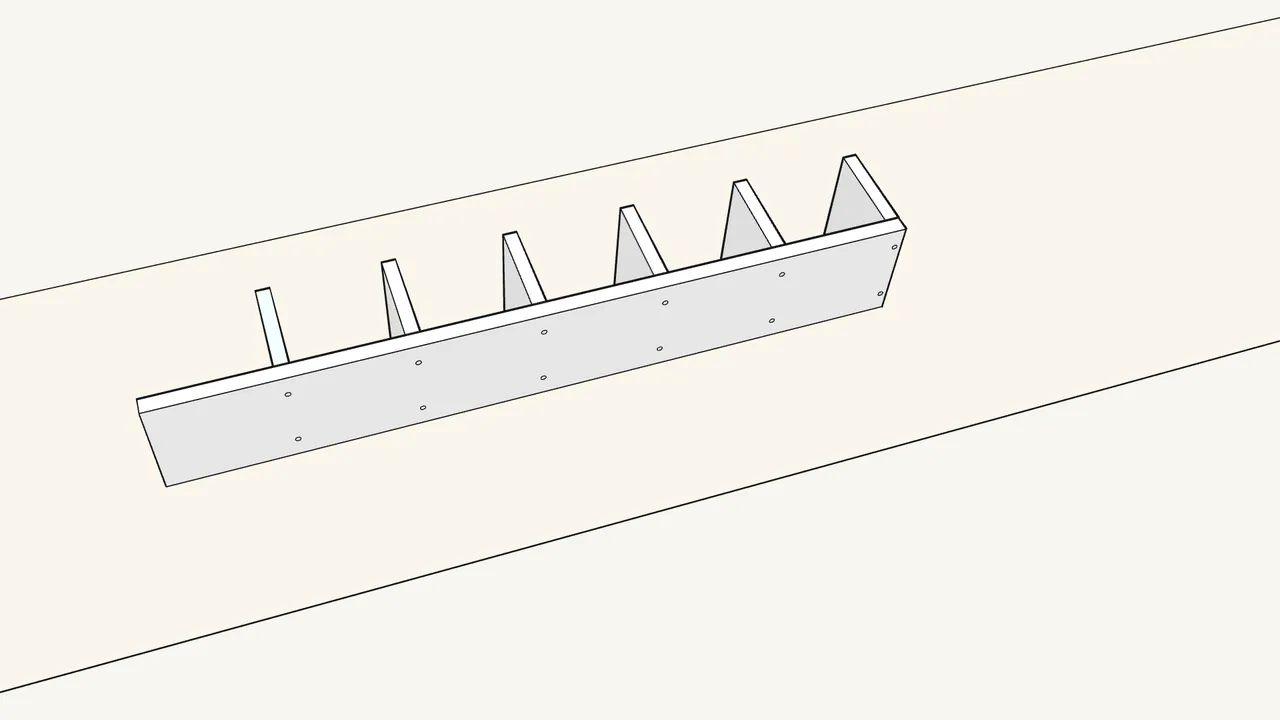
Step 1
Stand the long panel on edge and line up 6 shelves behind it.
Two people, on a rug or the flattened box.
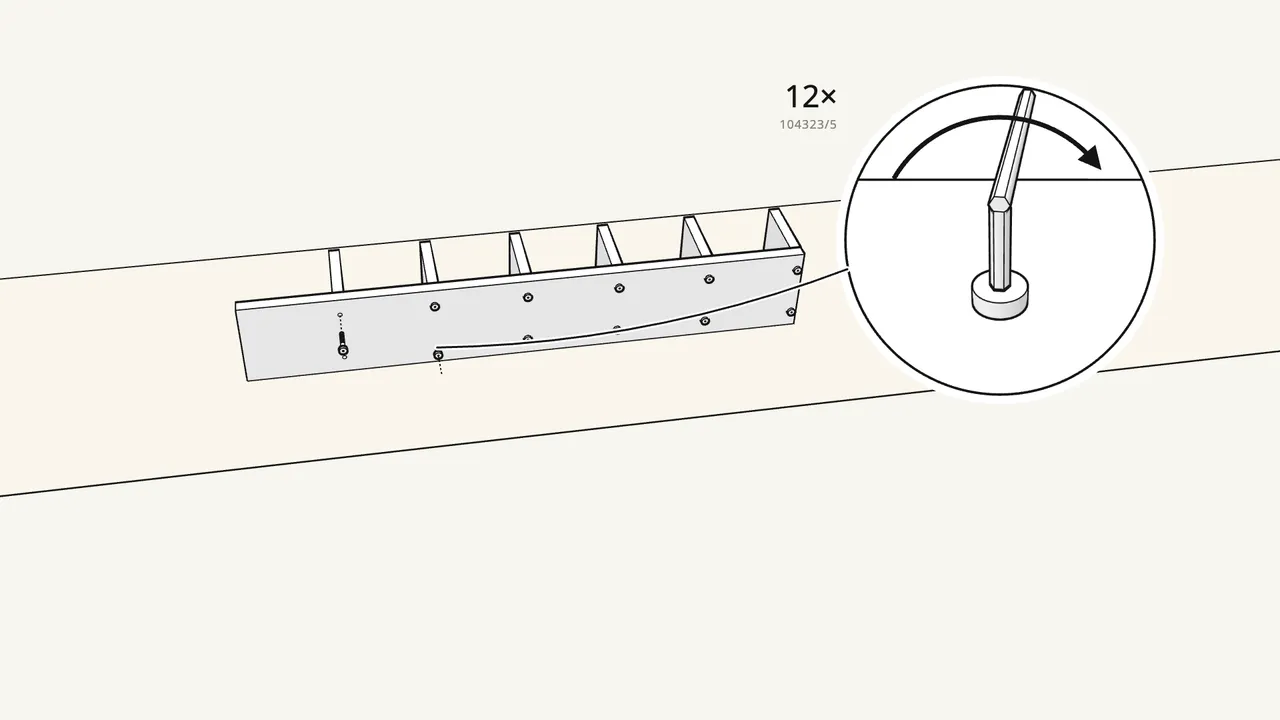
Step 2 · manual step 1
Fix them with 12 screws (104323/5) and the Allen key — 2 per shelf.
Check the hole detail next to step 1 in the manual before you start.
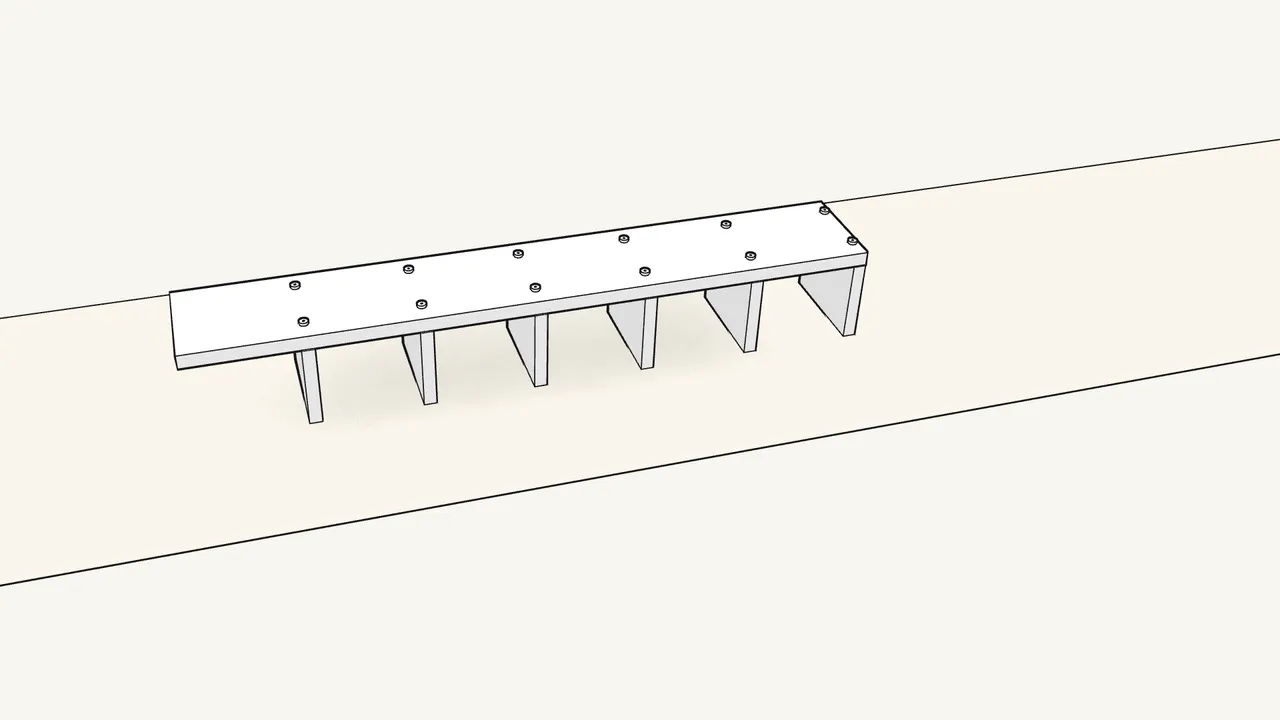
Step 3 · manual step 2
Turn the unit over so it rests on the shelves.
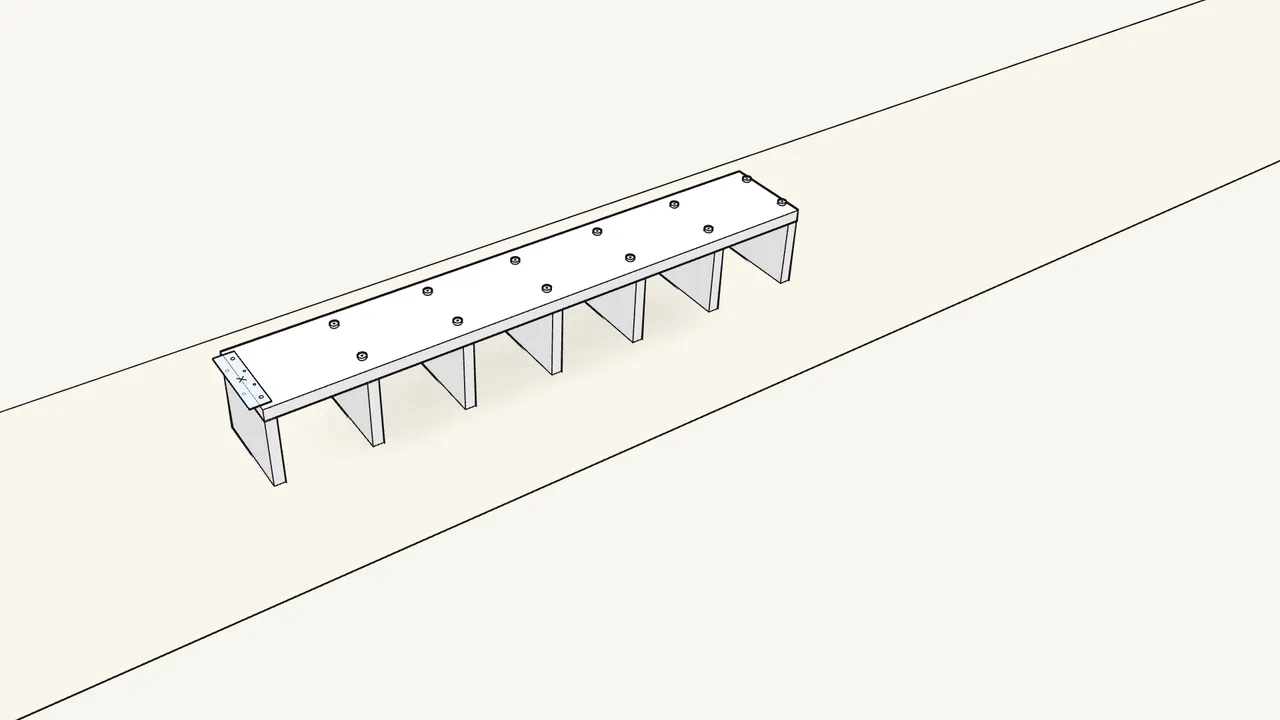
Step 4 · manual step 2
Fit the last shelf at the end, then lay the plate on top.
Line the plate up as shown in the manual, step 2 (note the X).
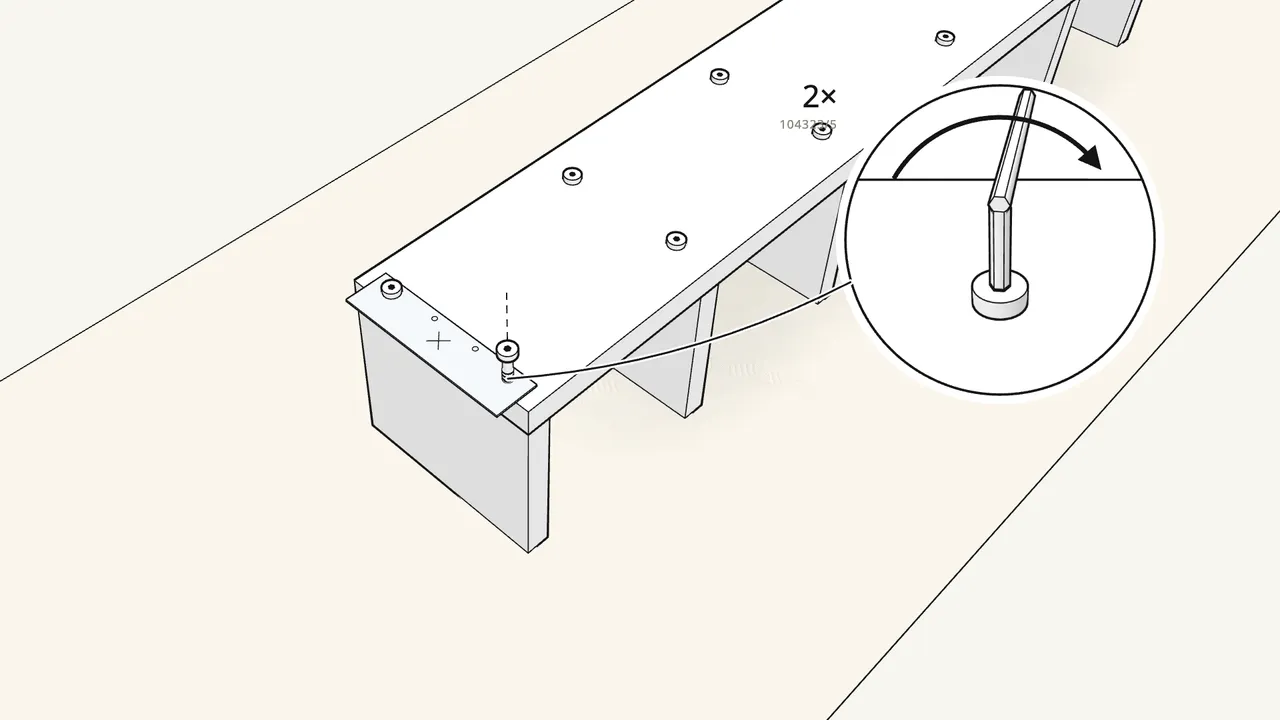
Step 5 · manual step 2
Screw 2 screws (104323/5) through the plate into the shelf.
Use the Allen key.
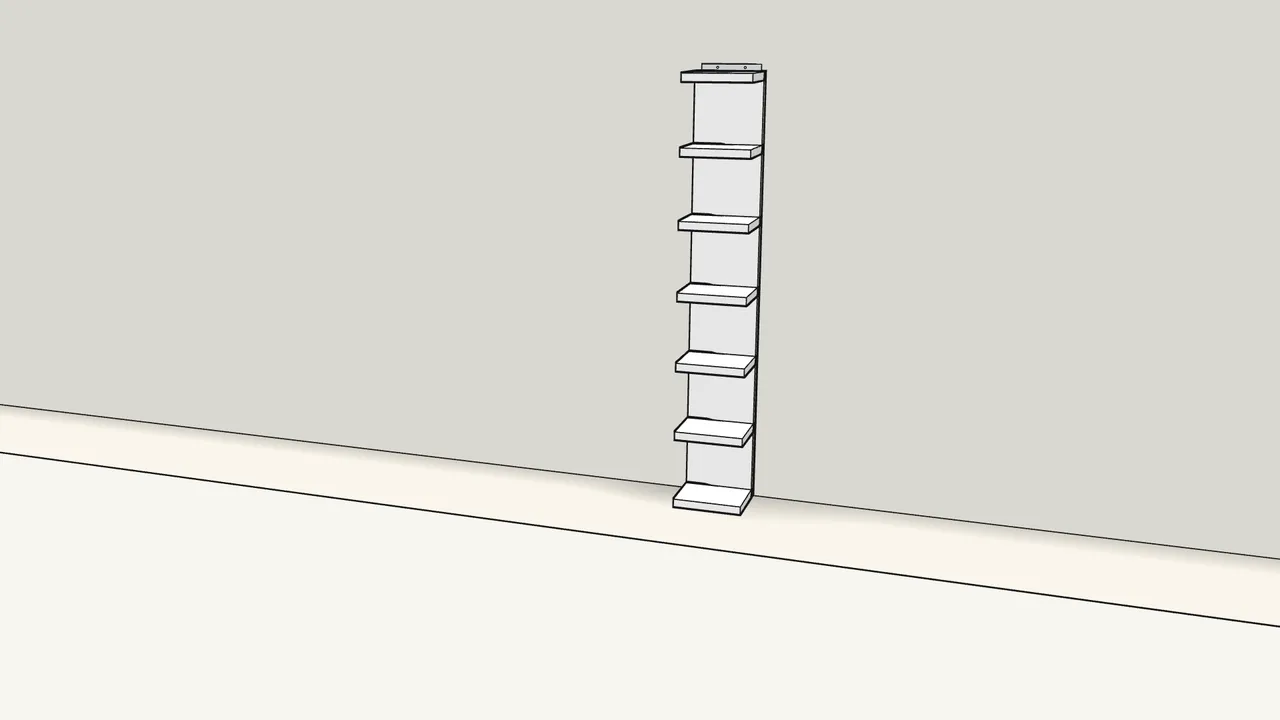
Step 6 · manual step 3
Lift the unit up against the wall.
The plate goes at the top, on the wall side.
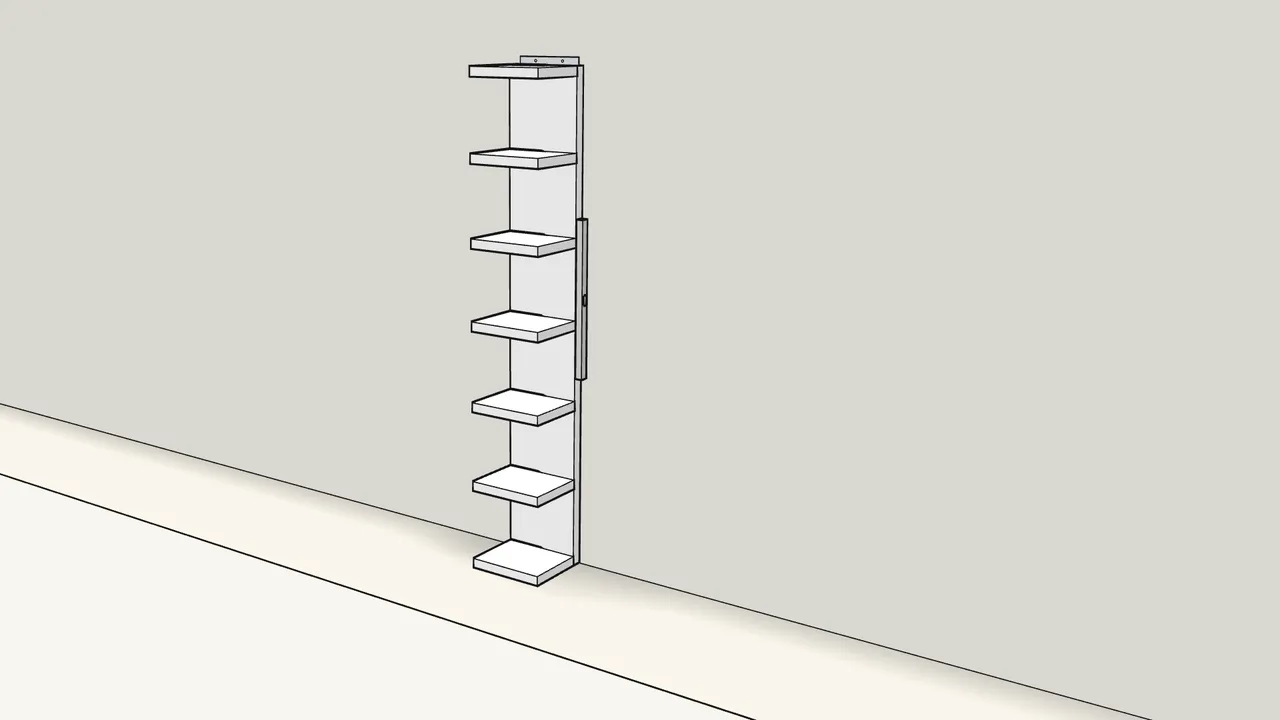
Step 7 · manual step 3
Check it is vertical with a spirit level.
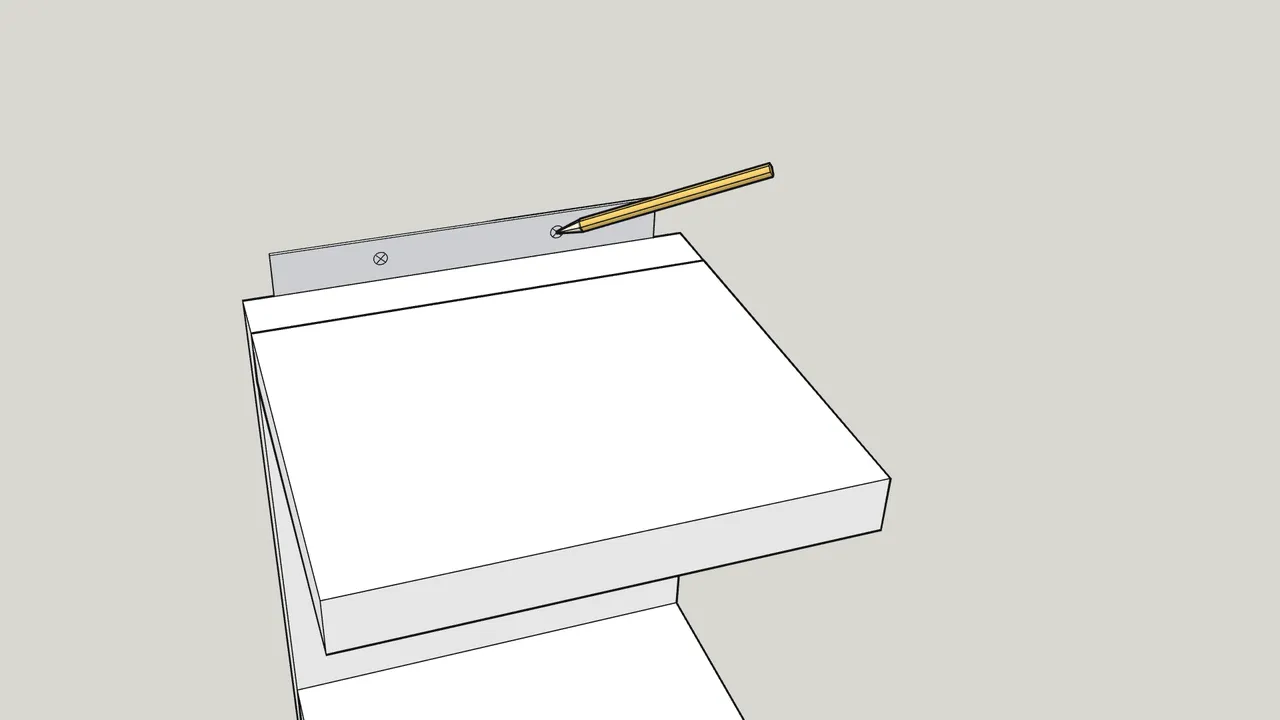
Step 8 · manual step 3
Mark 2 holes on the wall through the plate.
Use a pencil — see the detail in the manual, step 3.
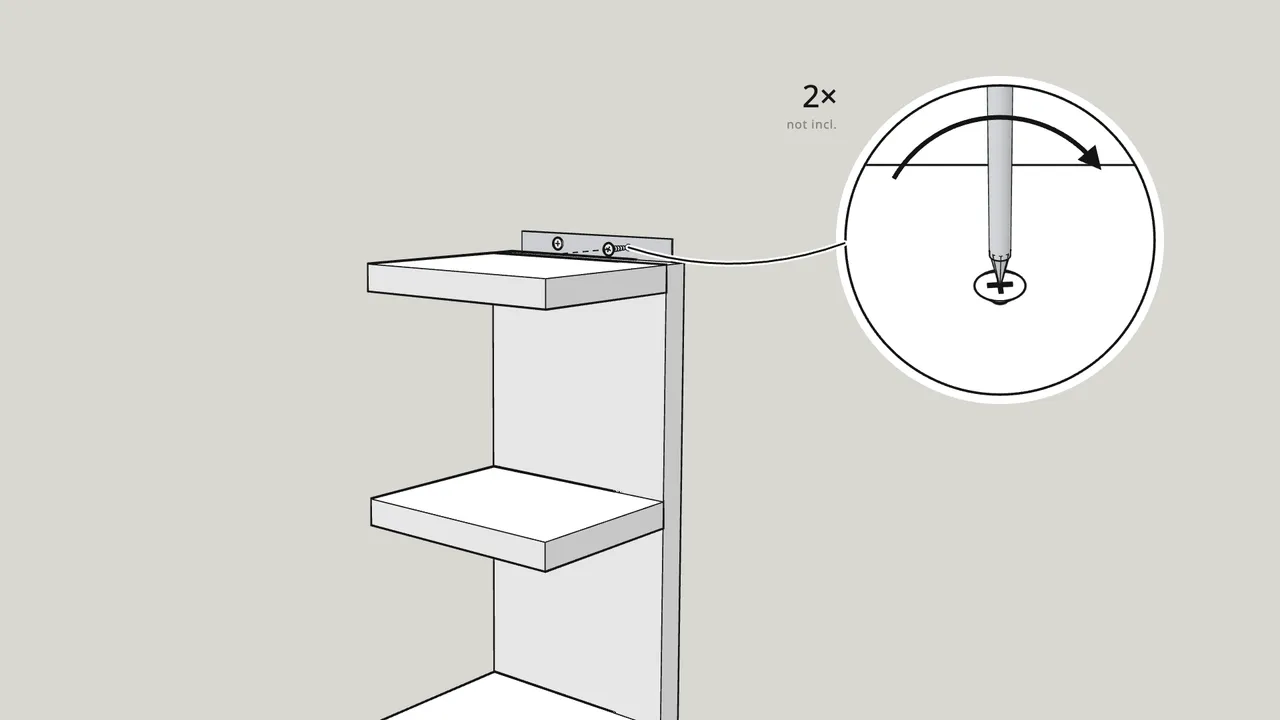
Step 9 · manual step 3
Fix the plate to the wall with 2 screws.
Wall screws and plugs are not included — choose ones suited to your wall.
Tips & safety
- Always fix LACK to the wall. Tip-over can cause serious or fatal crushing injuries. Screws and plugs for the wall are not included — ask a specialist if unsure.
- Mounting it horizontally? Follow the separate steps 1–5 on manual p. 10–12: they use all 3 plates and the 9 short screws (109053).
Official instructions
This guide follows IKEA's official assembly instructions (AA-2699149-2). Keep the printed manual to hand — if anything differs, the manual is right.