IKEA · Bookcases & Shelving
How to assemble IKEA IVAR Side Unit
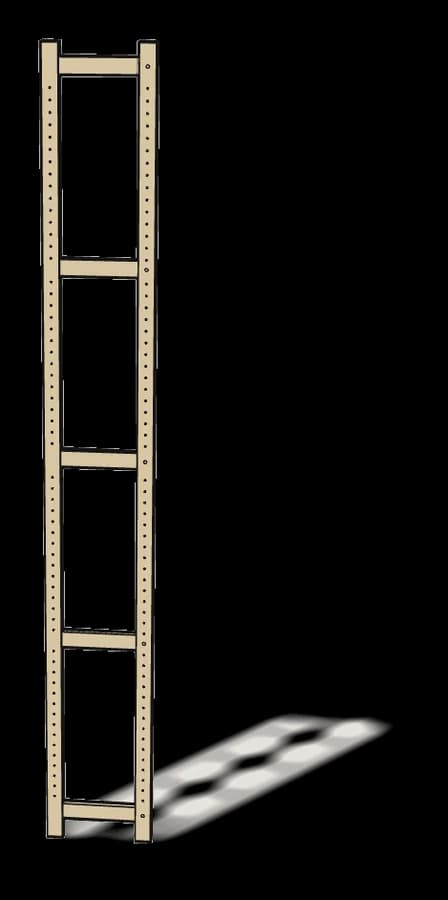
Step-by-step IKEA IVAR Side Unit assembly: 9 illustrated steps, an animated video, the hardware list and the tools you need — following the official instructions (AA-2204612-8).
- 9 illustrated steps
- 8 steps in the manual
- 1:41 video
- 3.3×30×226 cm
What you need
Tools
- Flat-head screwdriver
- Phillips screwdriver
- Hammer
- Spirit level
Hardware in the box
| Part no. (as printed in the manual) | Qty |
|---|---|
| 10049370 | 10× |
| 100823 | 2× |
| 109049 | 1× |
| 107967 | 1× |
Step-by-step assembly
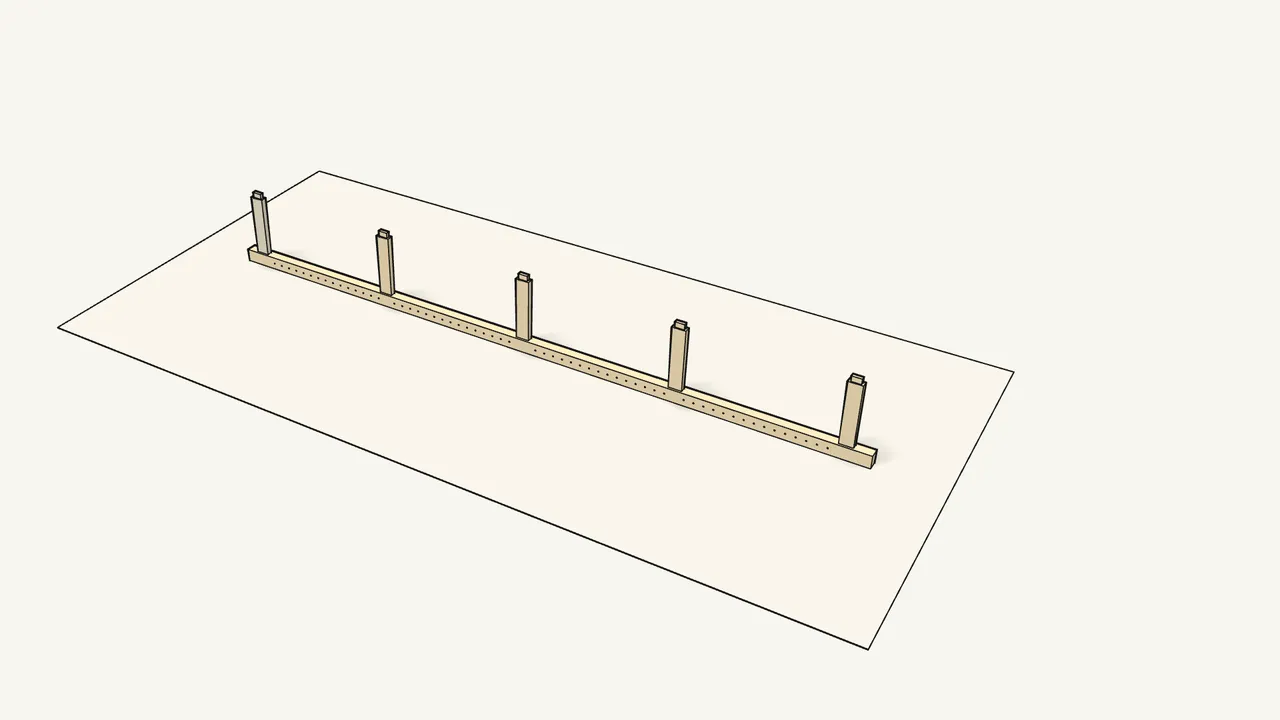
Step 1
Fit the 5 crossbars into the slots of one post.
Post on the rug, slots up. Tap each crossbar in — hammer on the wooden block.
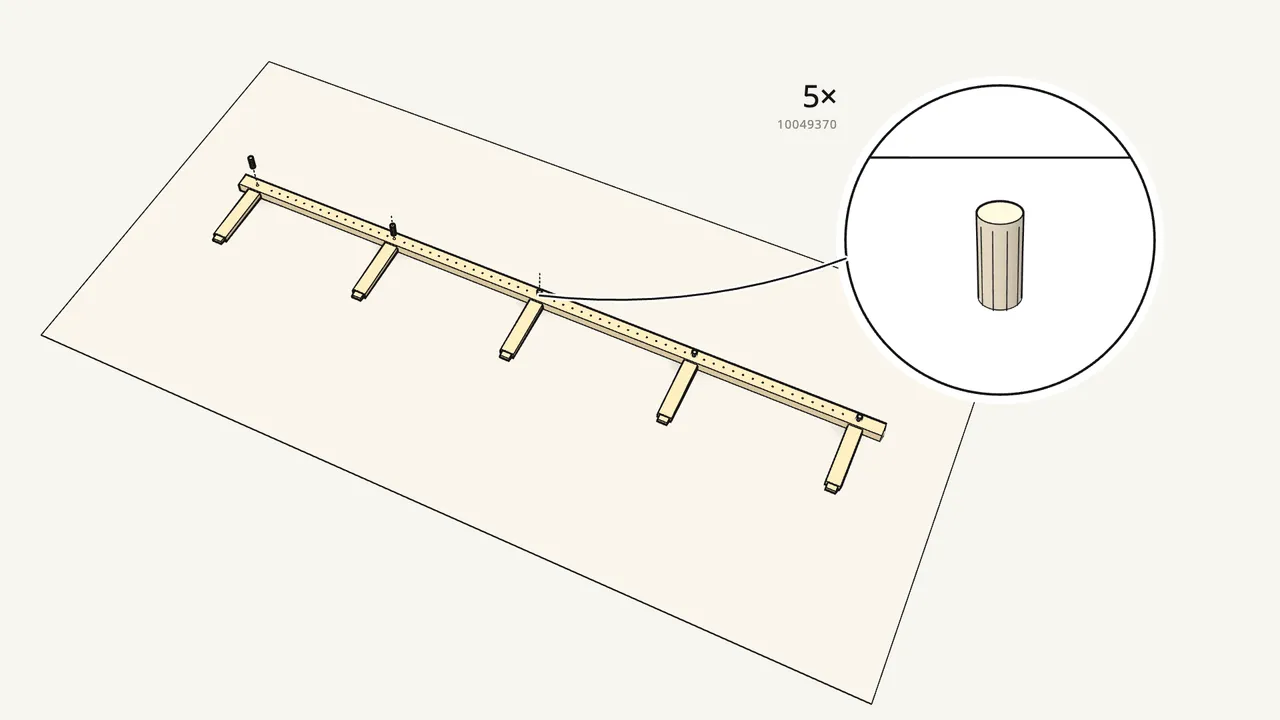
Step 2
Lay it flat and hammer a dowel (10049370) into each crossbar.
Drive them in flush with the wooden block — don’t hit the post with the hammer.
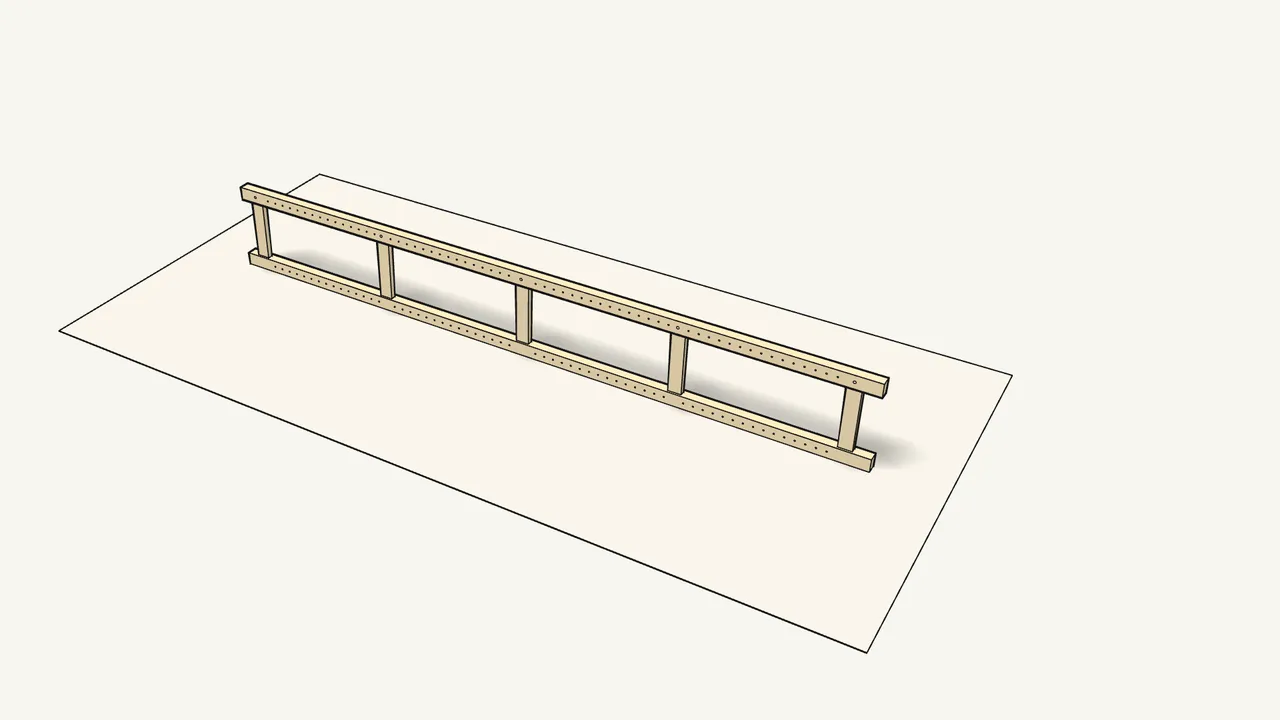
Step 3
Stand it on edge again and fit the second post on top.
Tap it down over every crossbar — hammer on the wooden block.
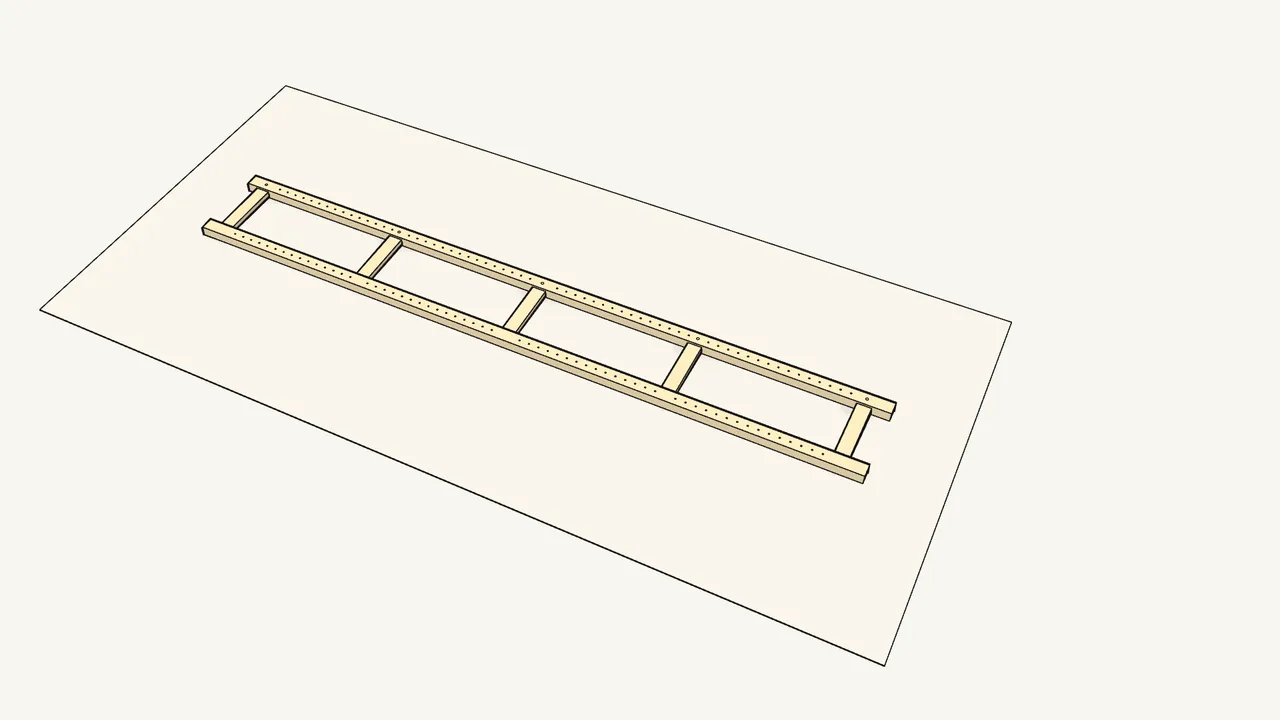
Step 4 · manual step 3
Turn the ladder over.
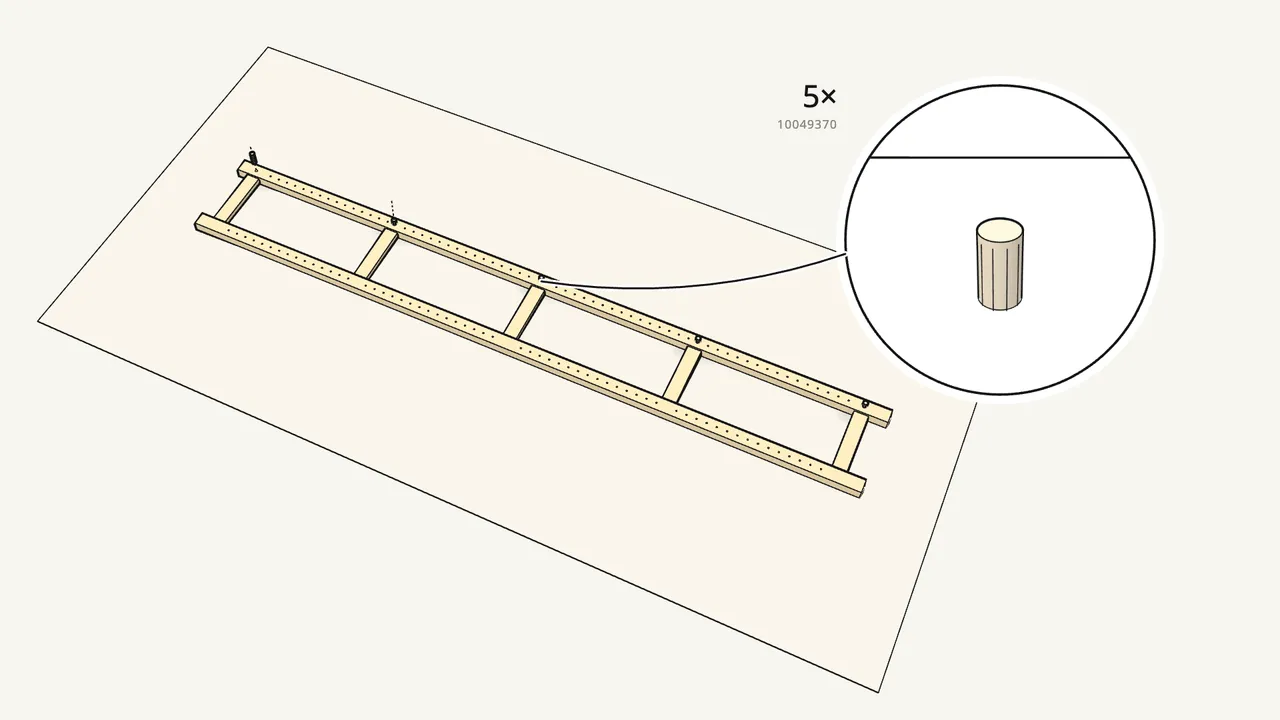
Step 5 · manual step 4
Hammer a dowel into each crossbar on the second post.
10 dowels in total. Again finish them flush with the wooden block.
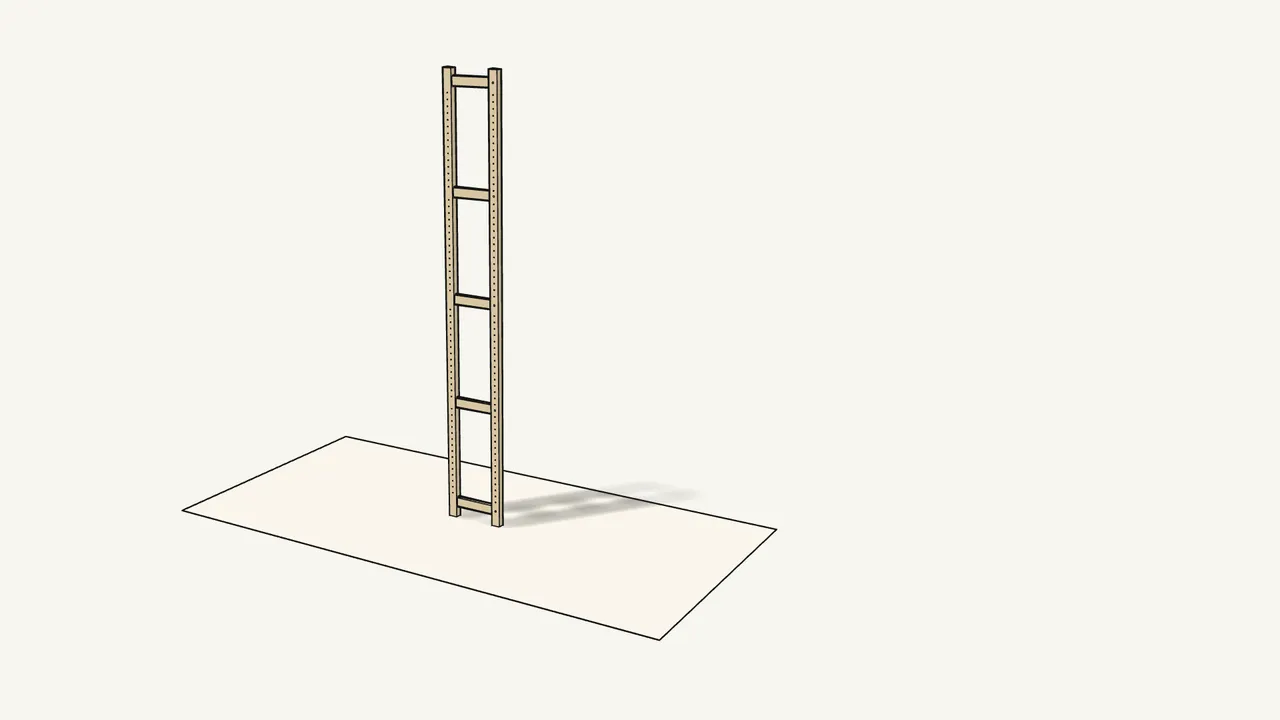
Step 6
Stand the side unit upright.
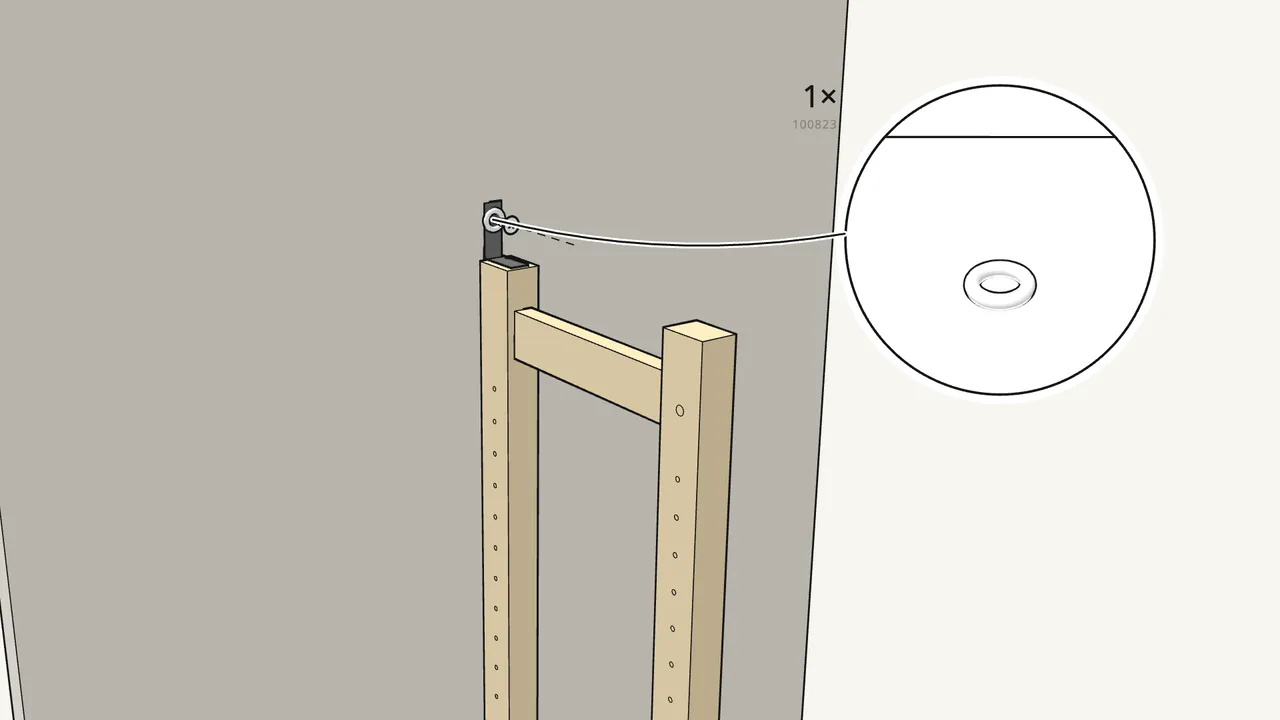
Step 7
Fix the strap (107967) to the wall with a washer (100823).
Wall screws and plugs are not included — use ones suited to your wall.
Step 8
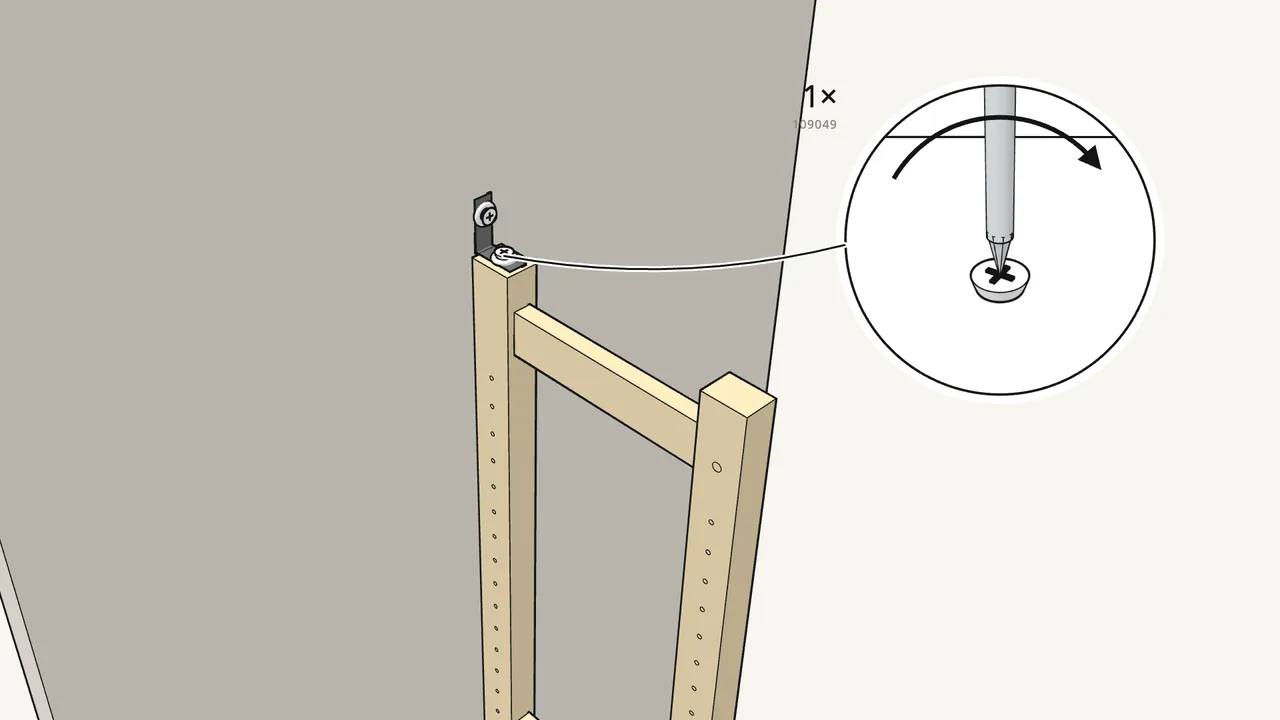
Screw the strap to the top of the post: washer (100823) + screw (109049).
Use the Phillips screwdriver.
Step 9
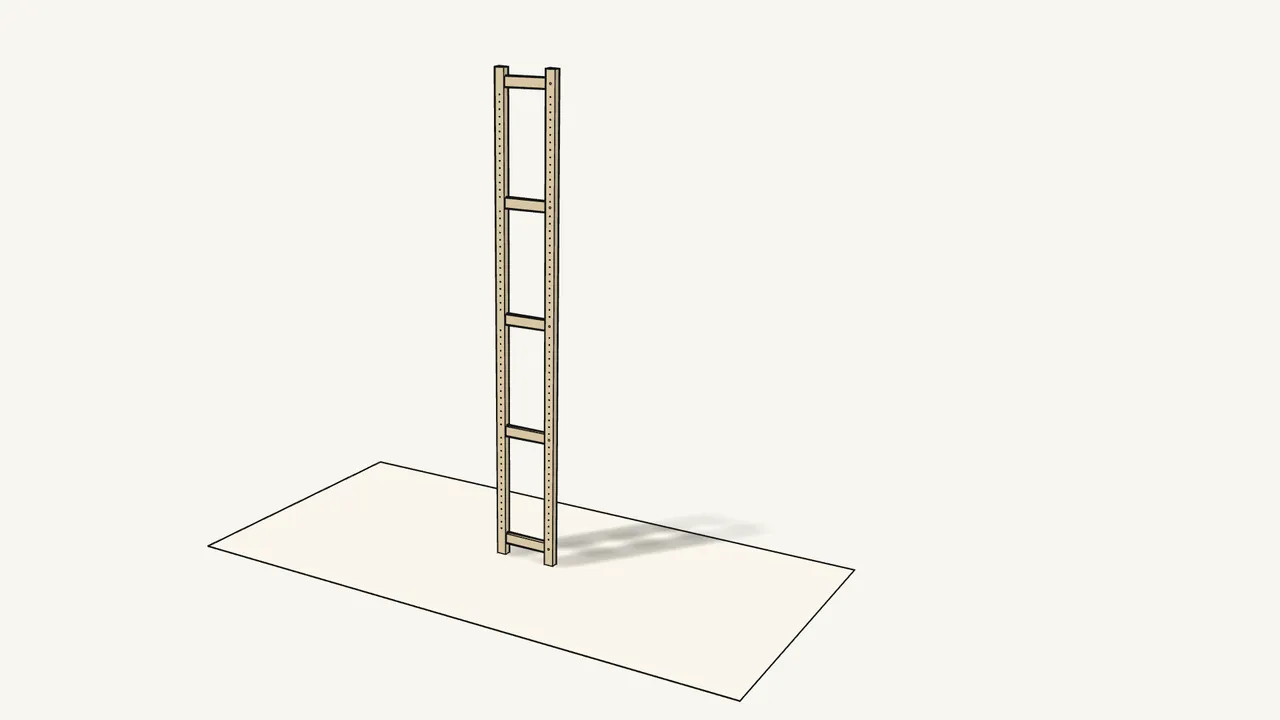
Your IVAR side unit is ready.
Add IVAR shelves (sold separately) between two side units.
Tips & safety
- Always fix IVAR to the wall. Tip-over can cause serious or fatal crushing injuries. Screws and plugs for the wall are not included — ask a specialist if unsure.
- Adding shelves? IVAR shelves click onto 4 pins (101324) — two people make it easier. Shelves and OBSERVATÖR braces are sold separately; see the manual, steps 5–6.
Official instructions
This guide follows IKEA’s official assembly instructions (AA-2204612-8). Keep the printed manual to hand — if anything differs, the manual is right.