IKEA · Bookcases & Shelving
How to assemble IKEA IVAR Bottle Rack
Step-by-step IKEA IVAR Bottle Rack assembly: 7 illustrated steps, an animated video, the hardware list and the tools you need — following the official instructions (AA-1600142-1).
- 7 illustrated steps
- 2 steps in the manual
- 1:34 video
- 83×30×5 cm cm
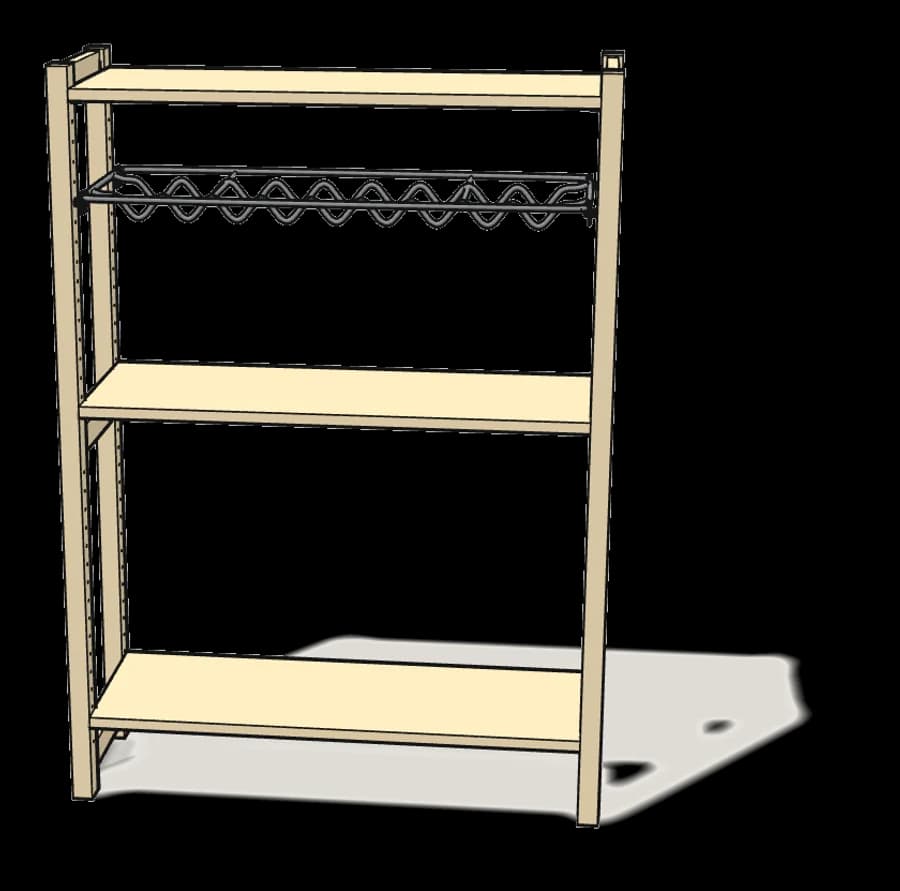
What you need
Tools
No tools needed.
Hardware in the box
| Part no. (as printed in the manual) | Qty |
|---|---|
| 101324 | 4× |
Step-by-step assembly
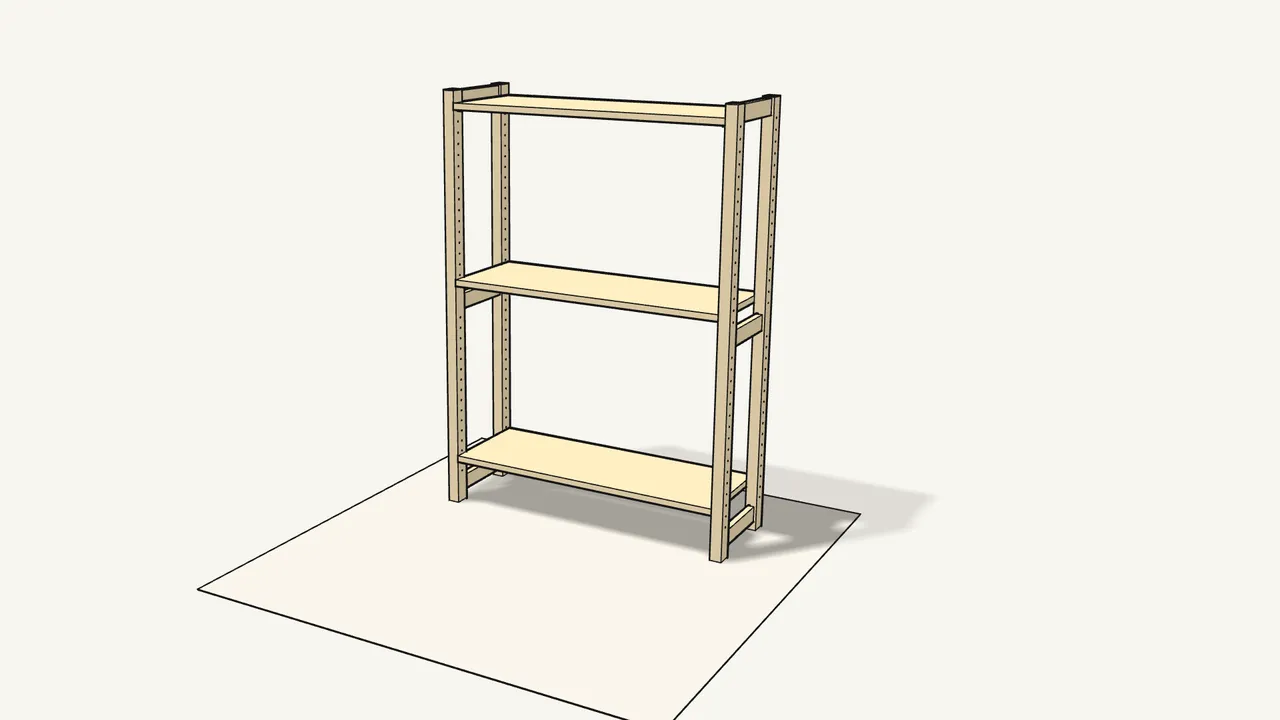
Step 1
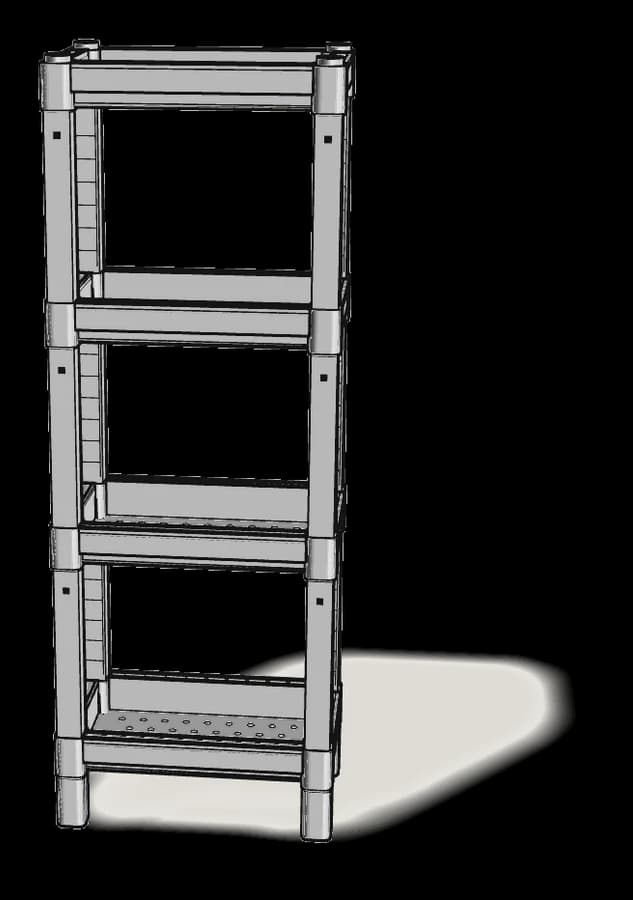
Start with two IVAR side units and an 83 cm shelf.
The side units and shelves are sold separately — the rack hangs between them.
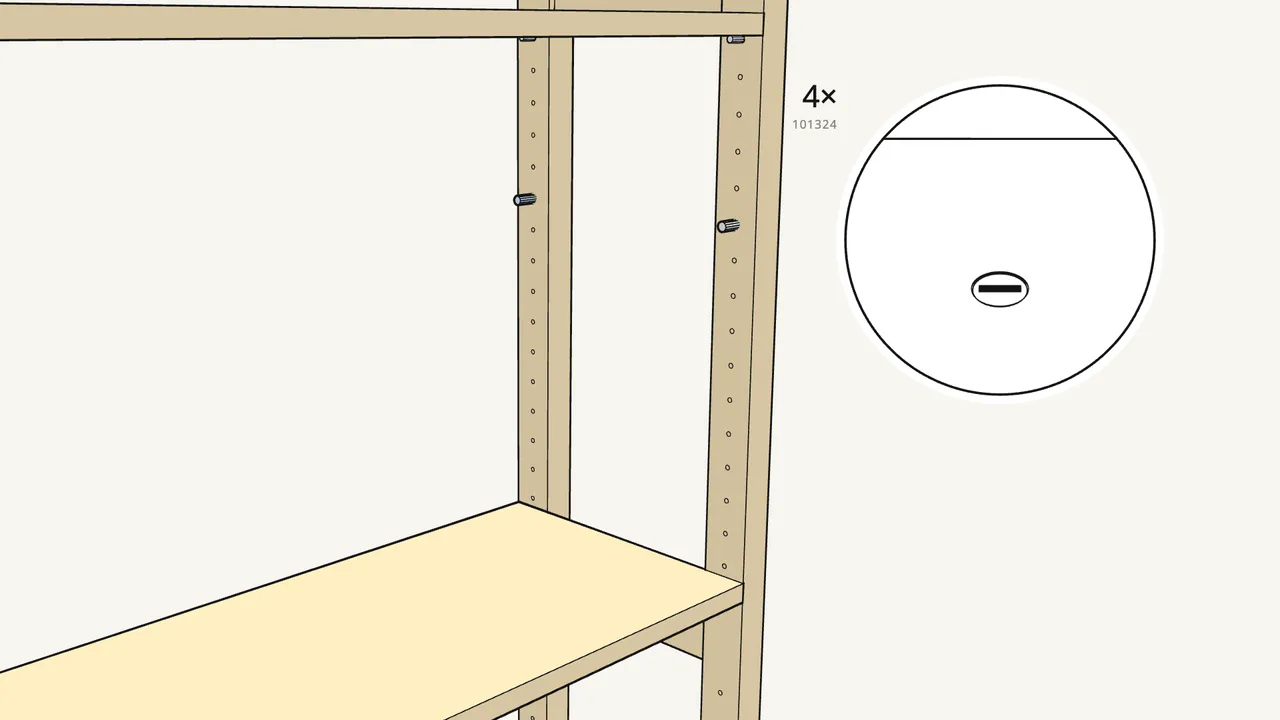
Step 2 · manual step 1
Push 2 pins (101324) into the right side unit.
One in the front post, one in the back post — at the same hole height.
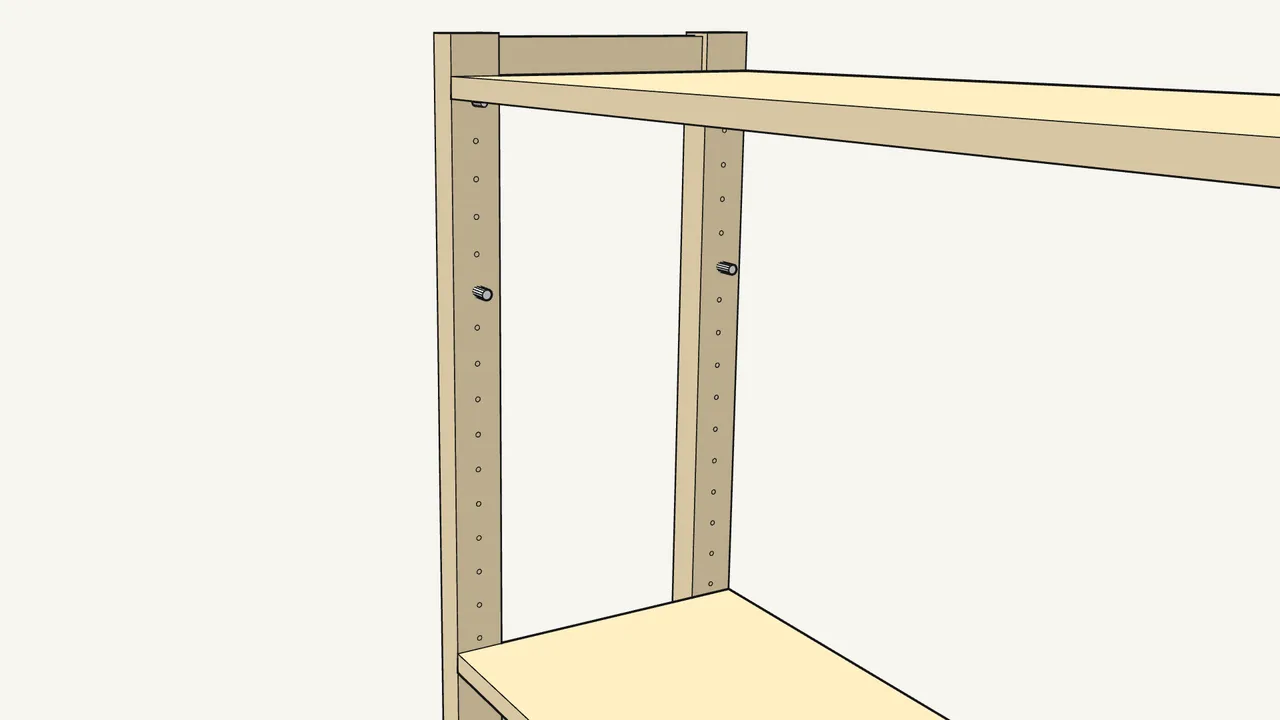
Step 3 · manual step 1
Push the other 2 pins into the left side unit.
4 pins in total, all in the same hole row.
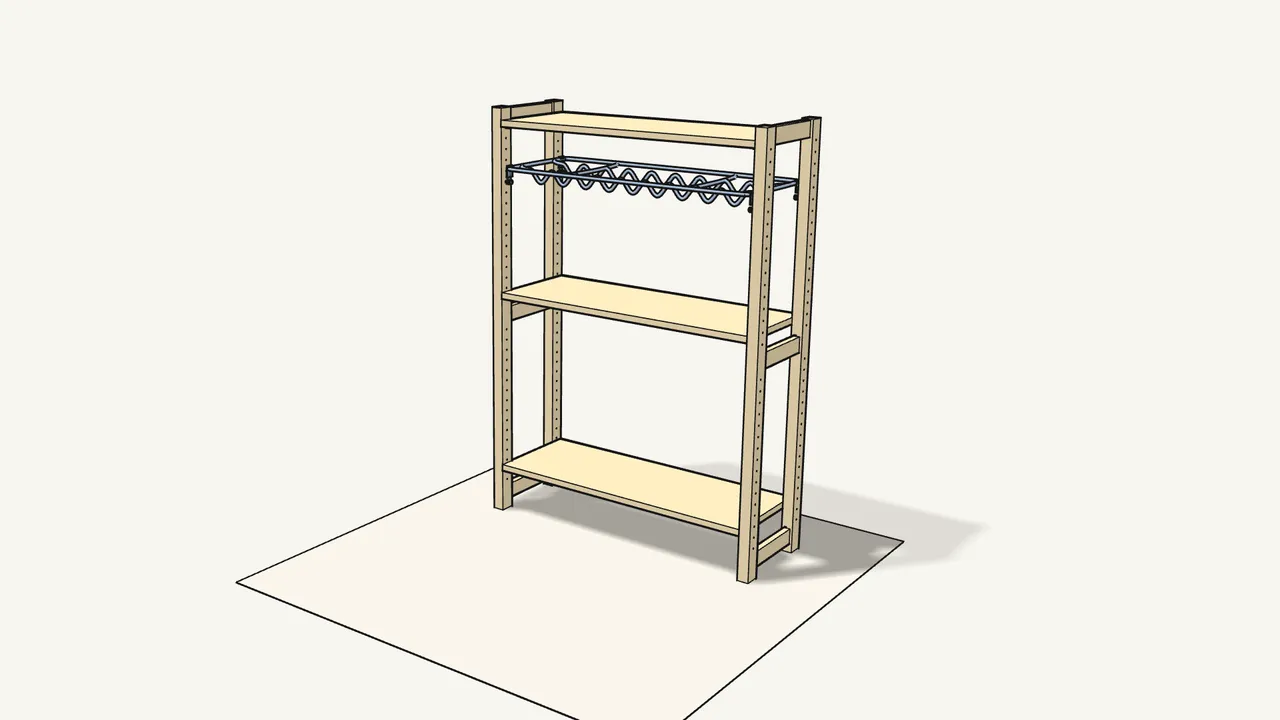
Step 4 · manual step 2
Lift the bottle rack in between the side units.
Hook plates at the ends, wavy side down.
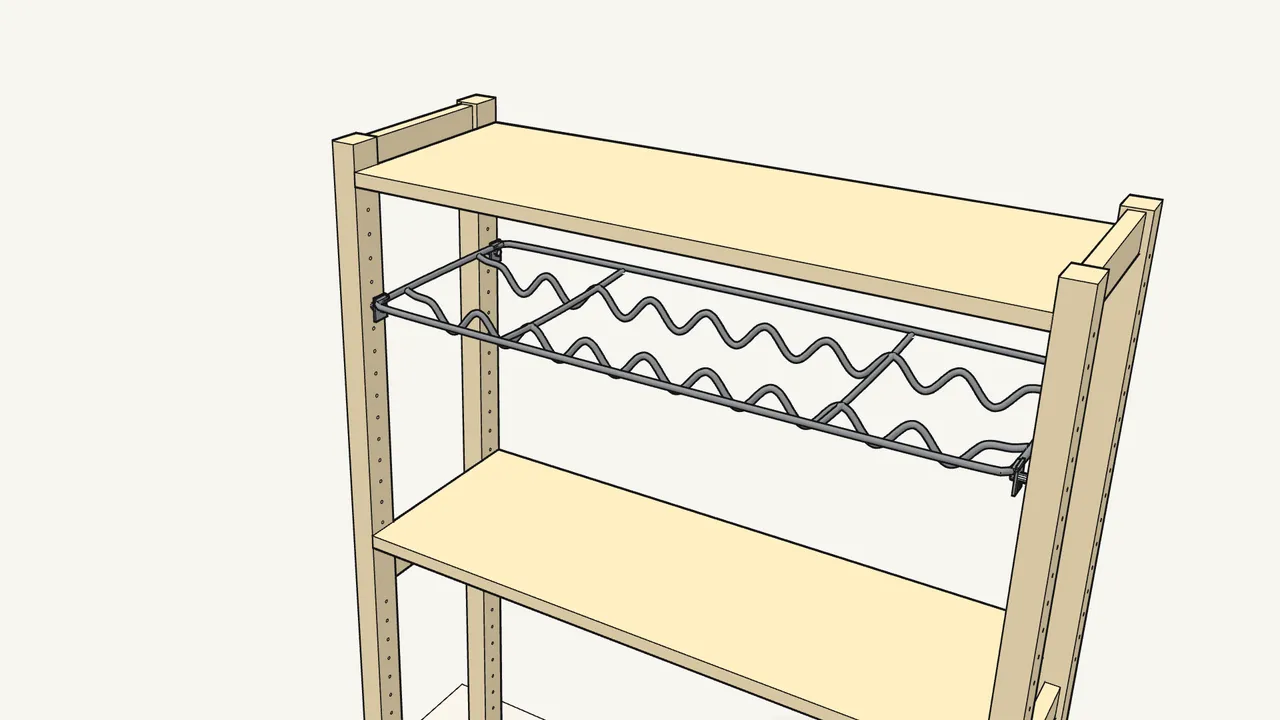
Step 5 · manual step 2
Press the rack down onto the 4 pins until it clicks.
Each hook plate snaps over a pin (4×).
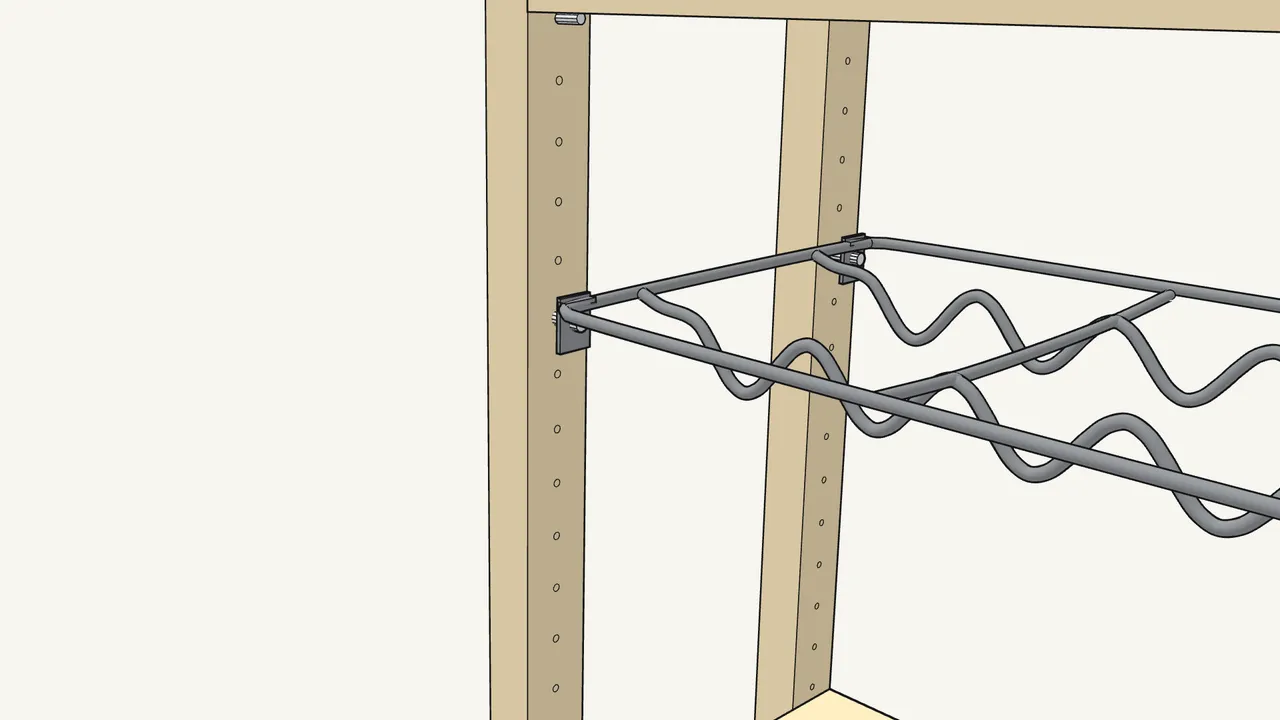
Step 6 · manual step 2
Check all 4 corners have clicked over the pins.
The frame rests level, just above the pins.
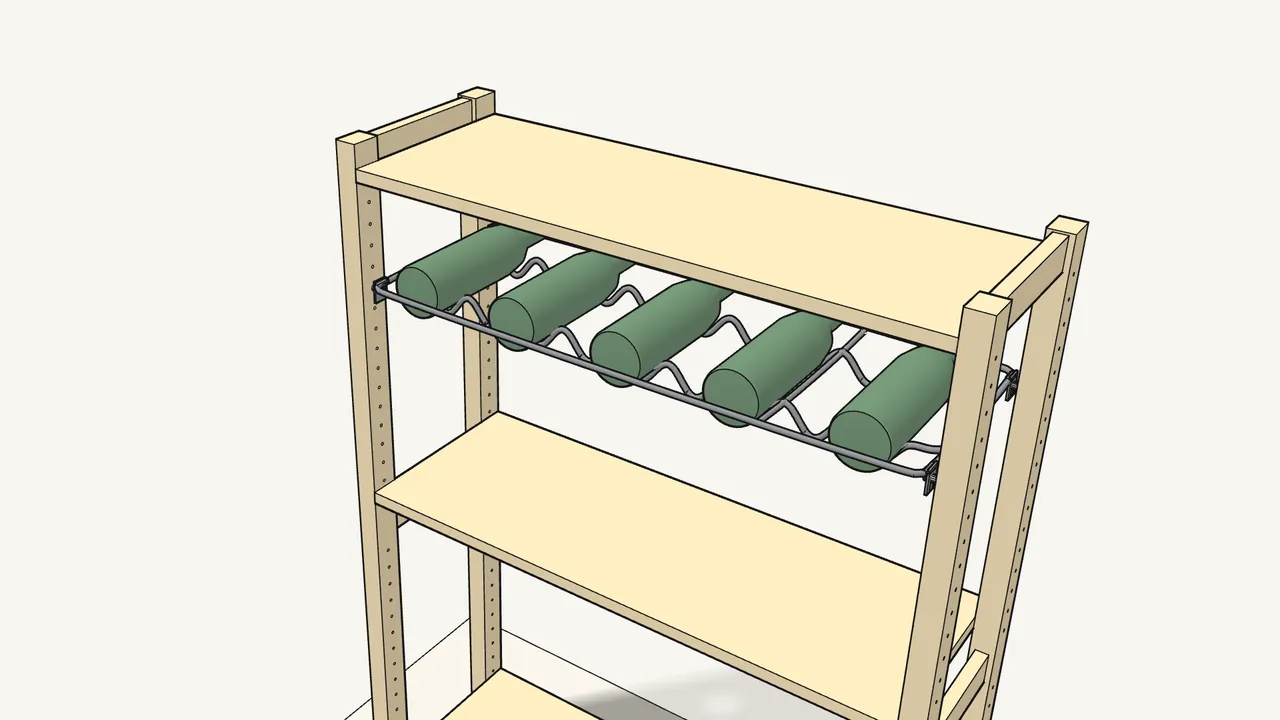
Step 7
Lay the bottles in the hollows of the rack.
One bottle per hollow, lying front to back.
Tips & safety
- Fix the IVAR side units to the wall. Tip-over can cause serious injury. Wall fixings are not included — use ones suited to your wall.
- Max. 12 kg (26.4 lb) on this 83 cm rack. The 42 cm rack takes max. 6 kg (13.2 lb) — see the manual, page 4.
Official instructions
This guide follows IKEA’s official assembly instructions (AA-1600142-1). Keep the printed manual to hand — if anything differs, the manual is right.