IKEA · Bookcases & Shelving
How to assemble IKEA BROR Post
Step-by-step IKEA BROR Post assembly: 12 illustrated steps, an animated video, the hardware list and the tools you need — following the official instructions (AA-2062545-8).
- 12 illustrated steps
- 9 steps in the manual
- 2:23 video
- 4×4×190 cm

What you need
Tools
- Hammer
- Allen key (included)
Hardware in the box
| Part no. (as printed in the manual) | Qty |
|---|---|
| 190230 | 7× |
| 192331 | 1× |
| 190231 | 8× |
| 192365 | 2× |
| 192249 | 4× |
| 192250 | 2× |
Step-by-step assembly
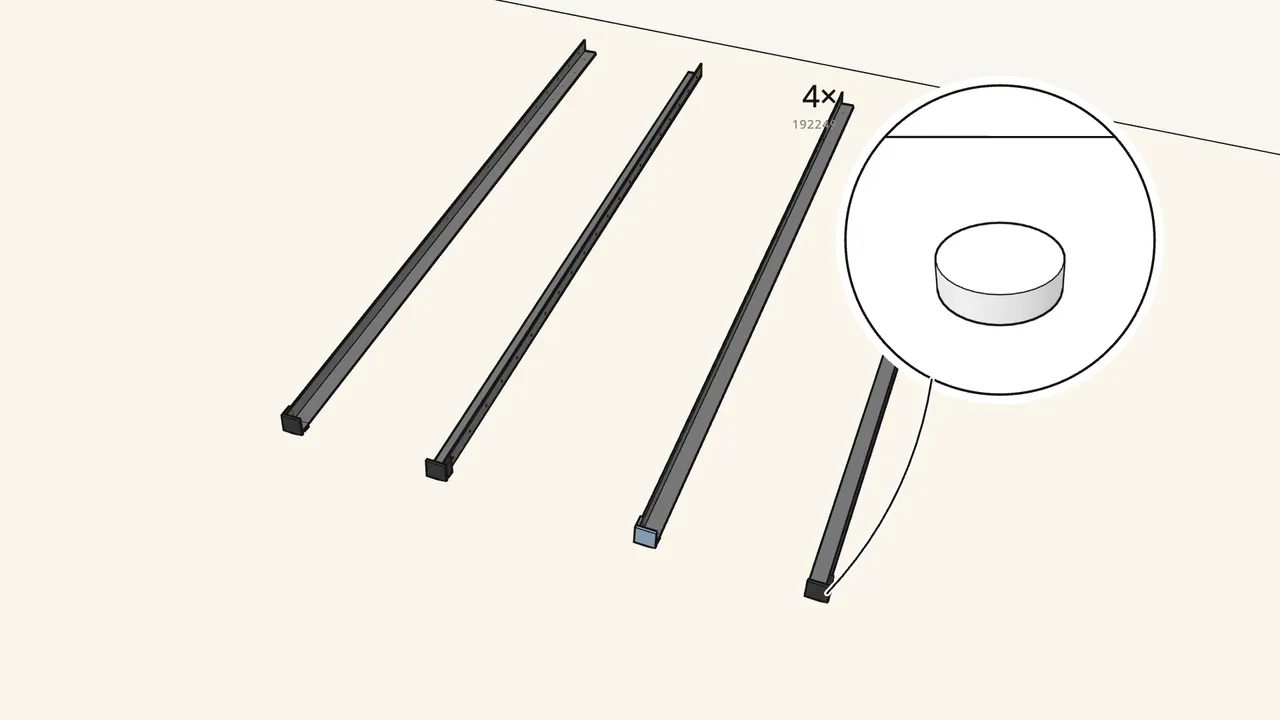
Step 1
Push an L-foot (192249) onto the bottom end of each post.
Lay the 4 posts on the floor — two for each side of the unit.
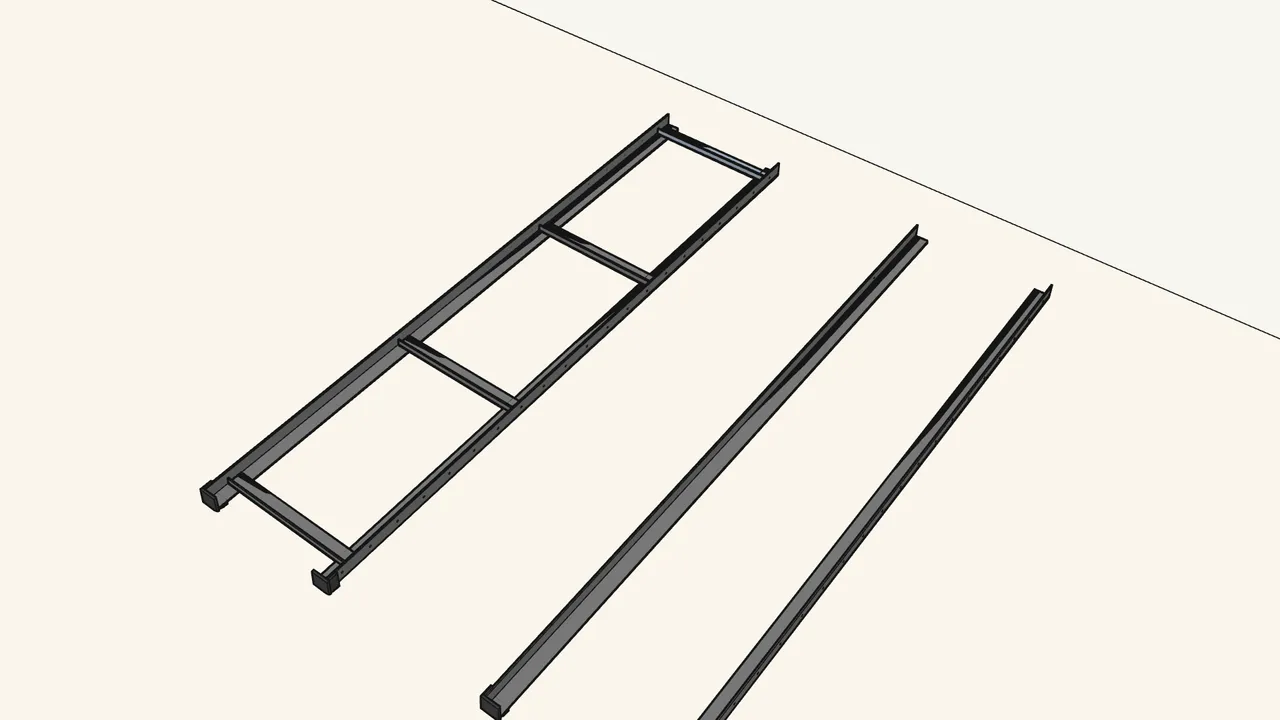
Step 2
Hook 4 short beams onto two posts to make a side frame.
Set each beam end onto the studs, then tap it down with the block (192369) and a hammer.
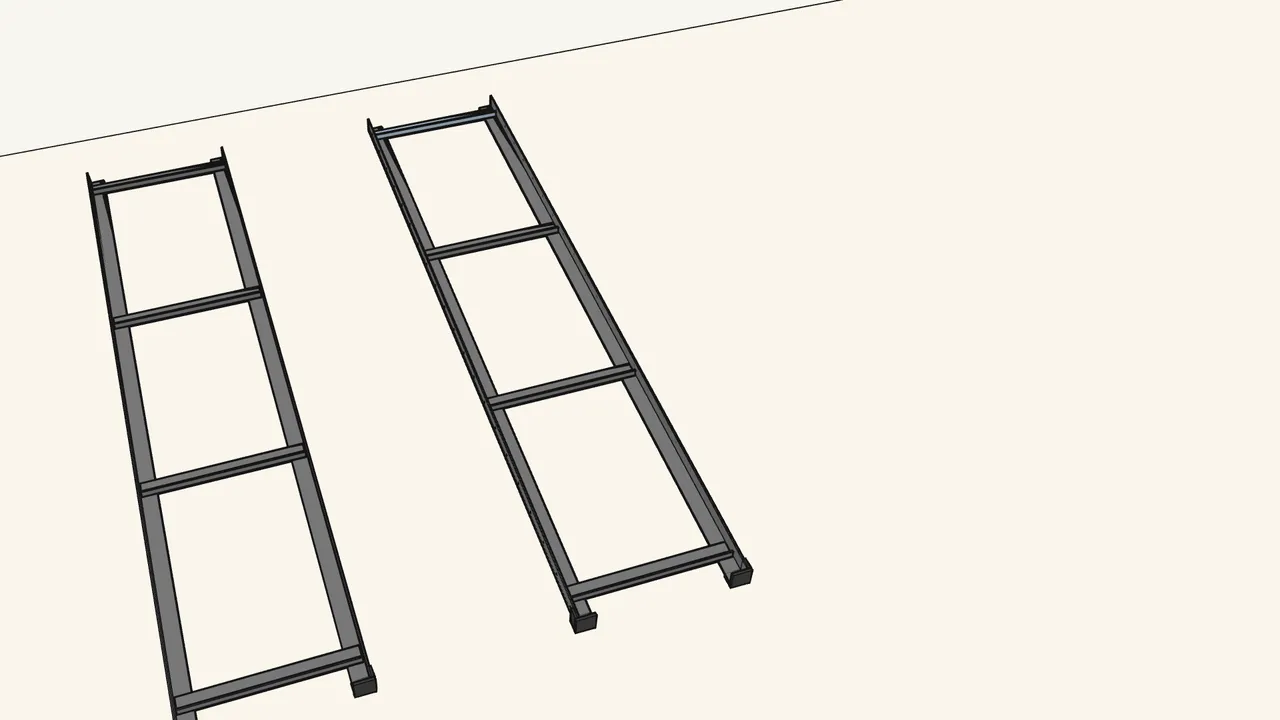
Step 3 · manual step 2
Build the second side frame the same way.
Use the short beams — the long ones join the frames in step 3.
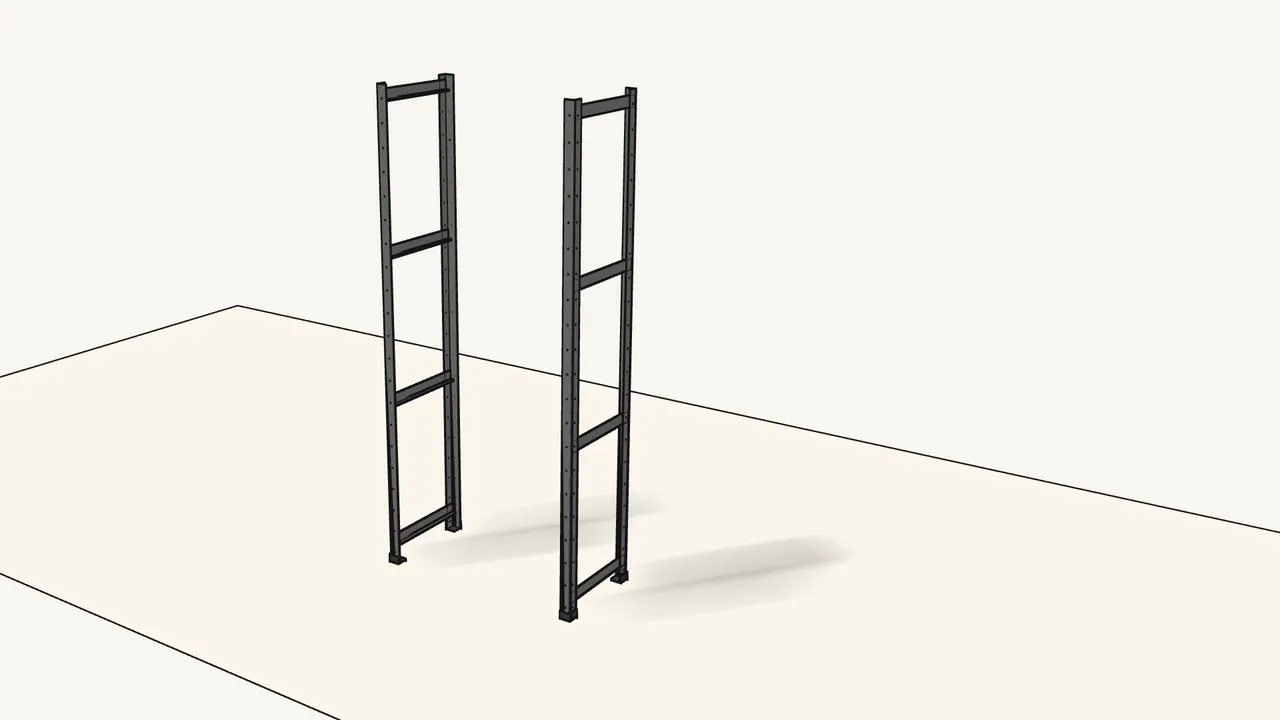
Step 4 · manual step 3
Stand both side frames up, facing each other.
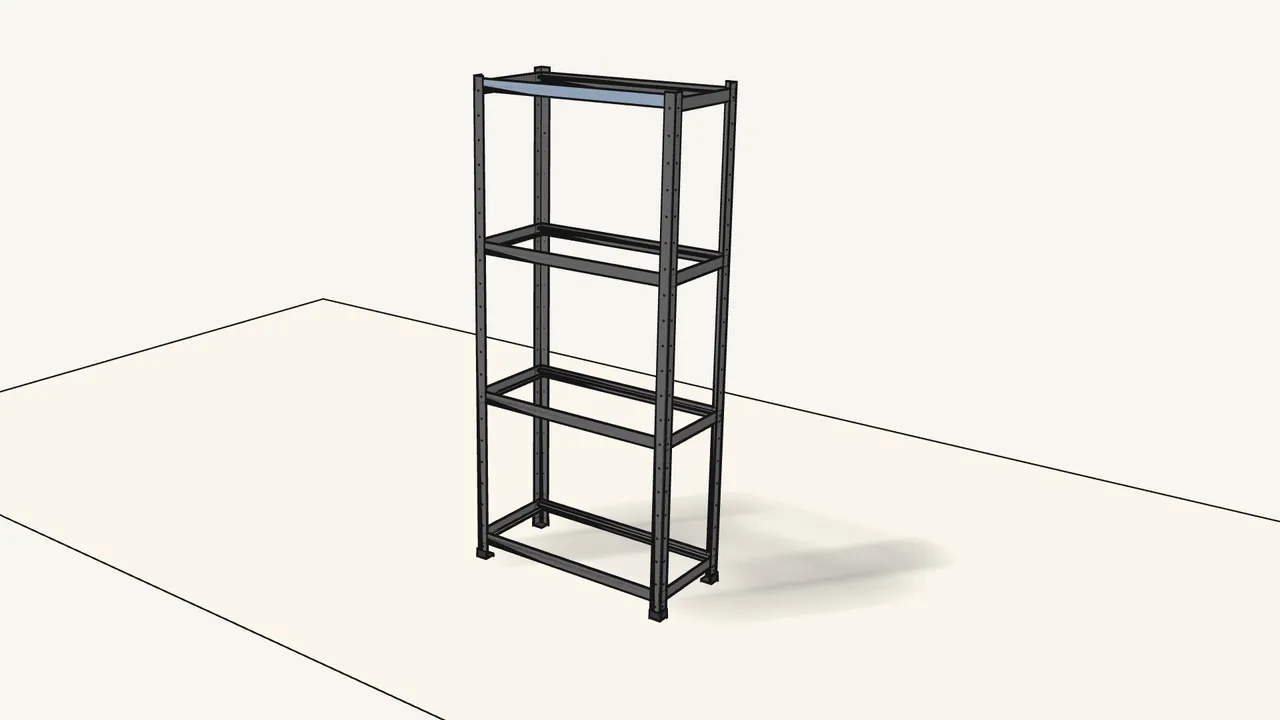
Step 5 · manual step 3
Hook the long beams between the frames — back, then front.
Studs into the beam ends, then tap each beam down with the block and hammer.
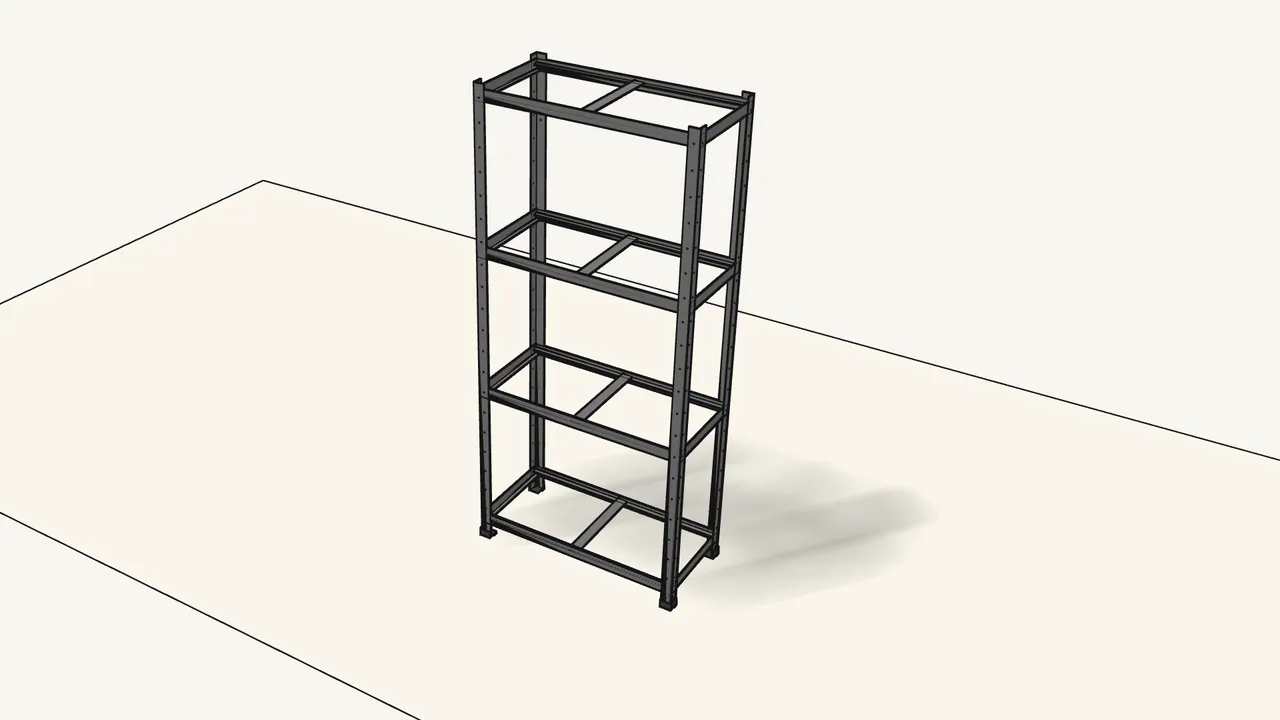
Step 6 · manual step 4
Twist a shelf support in between the beams at each level.
Turn it until it clicks onto both long beams — 4 in all.
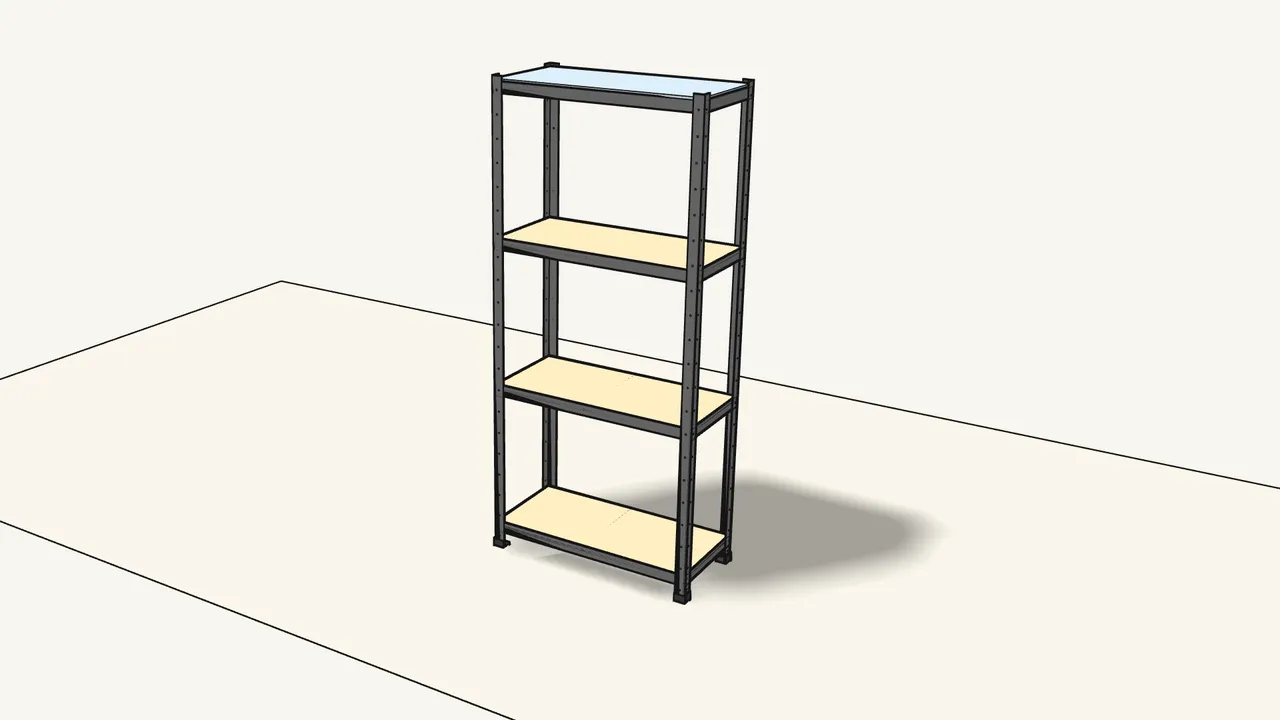
Step 7 · manual step 5
Lay a shelf into each level.
It rests on the beams and the support.
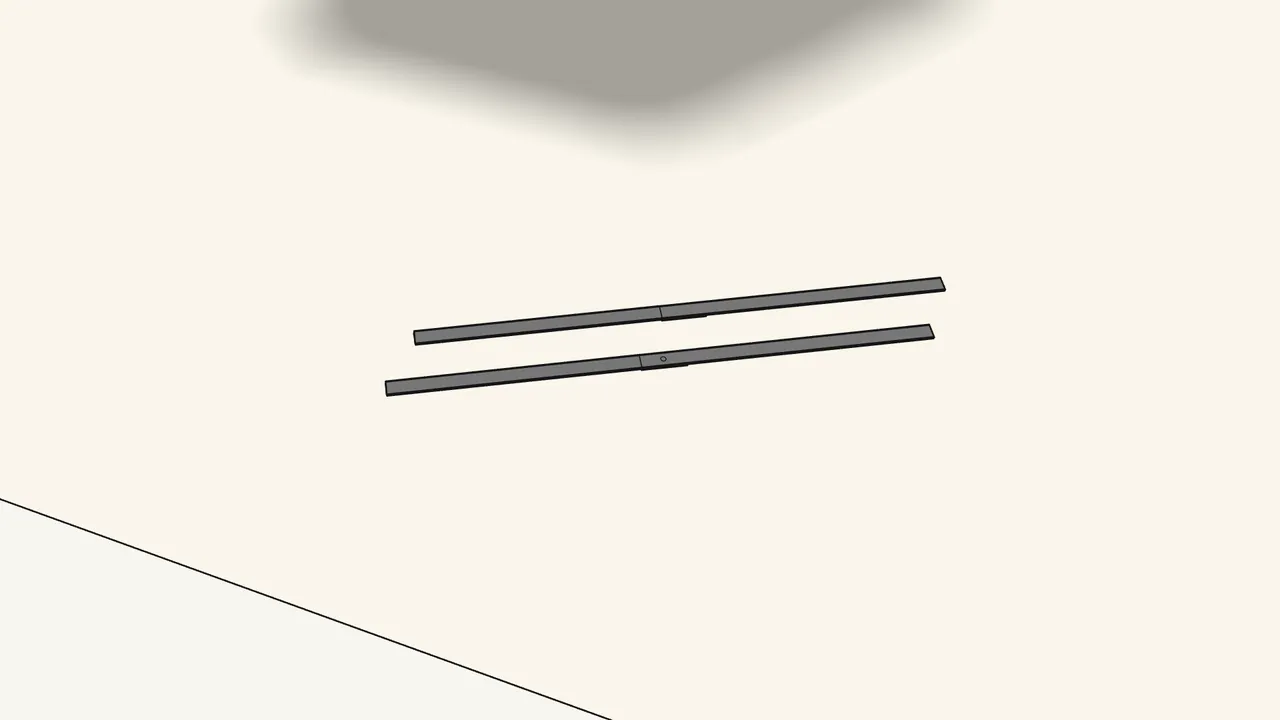
Step 8 · manual step 6
Hook two brace halves together into one long brace — make 2.
For an 85 cm (33 1/2") wide unit. 65 cm units use other slots — manual p. 17–18.
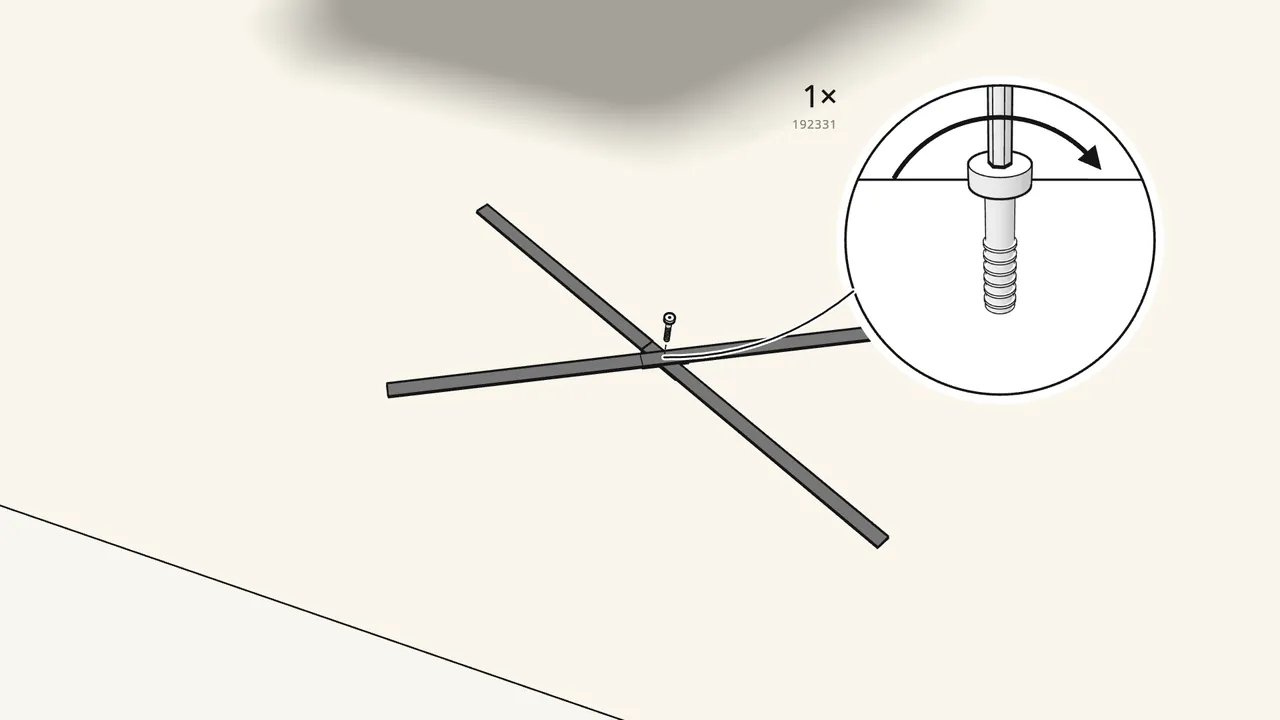
Step 9 · manual step 7
Cross the braces and bolt them together in the middle.
Bolt 192331 (not 190230) and a square nut 190231, with the Allen key.
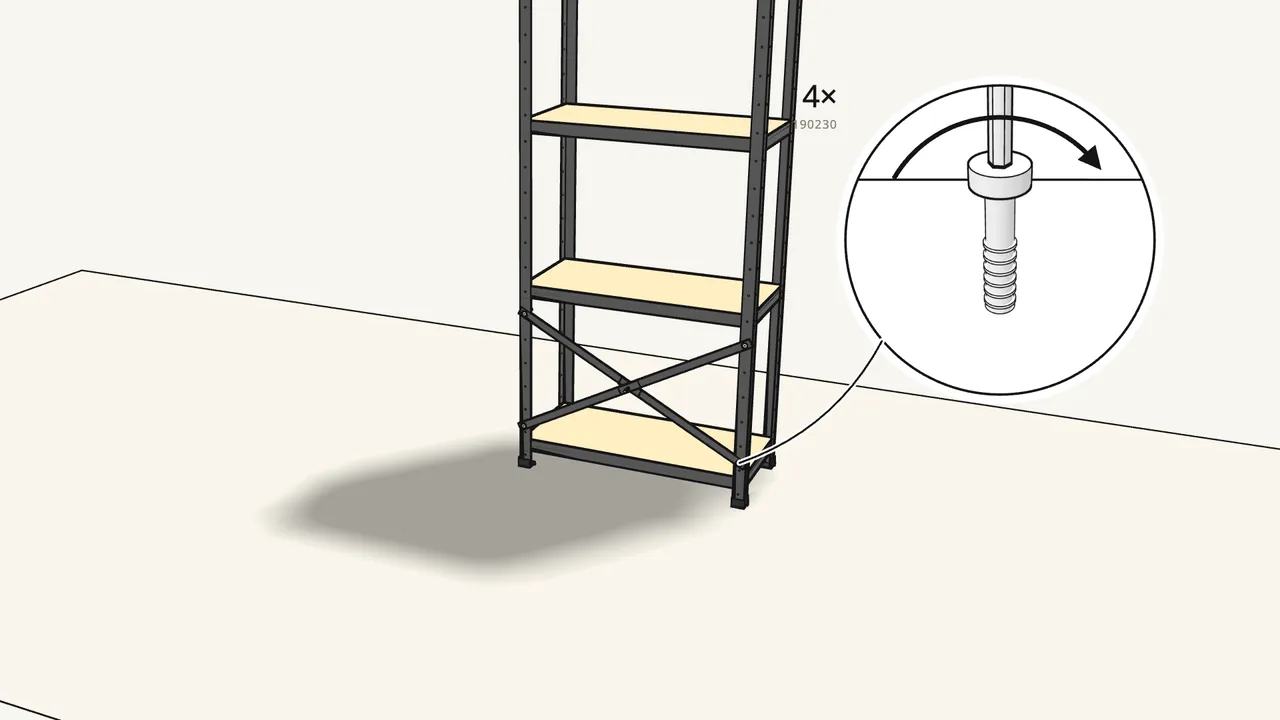
Step 10 · manual step 8
Bolt the cross-brace to the back of the two back posts.
4 bolts (190230) with square nuts (190231) on the inside.
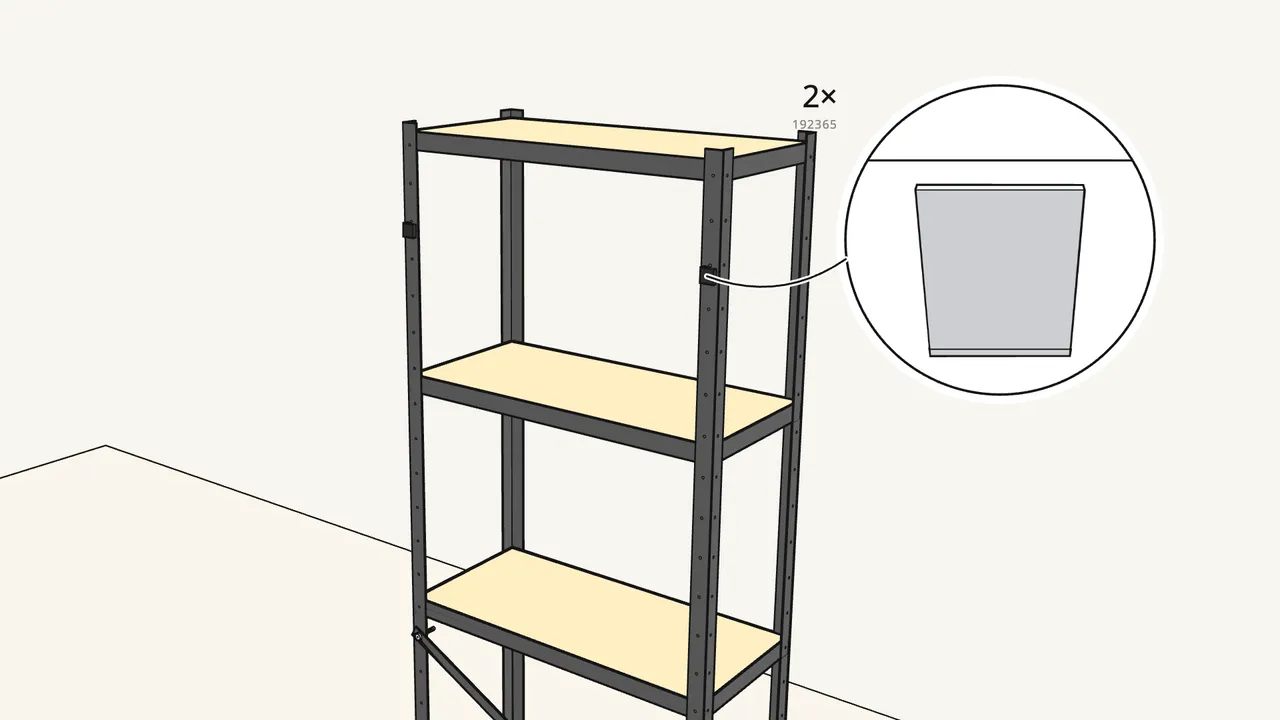
Step 11 · manual step 9
Clip a wall bracket (192365) onto the back of each back post.
The info box shows a 6 mm or 12 mm (1/4" or 1/2") gap to the wall.
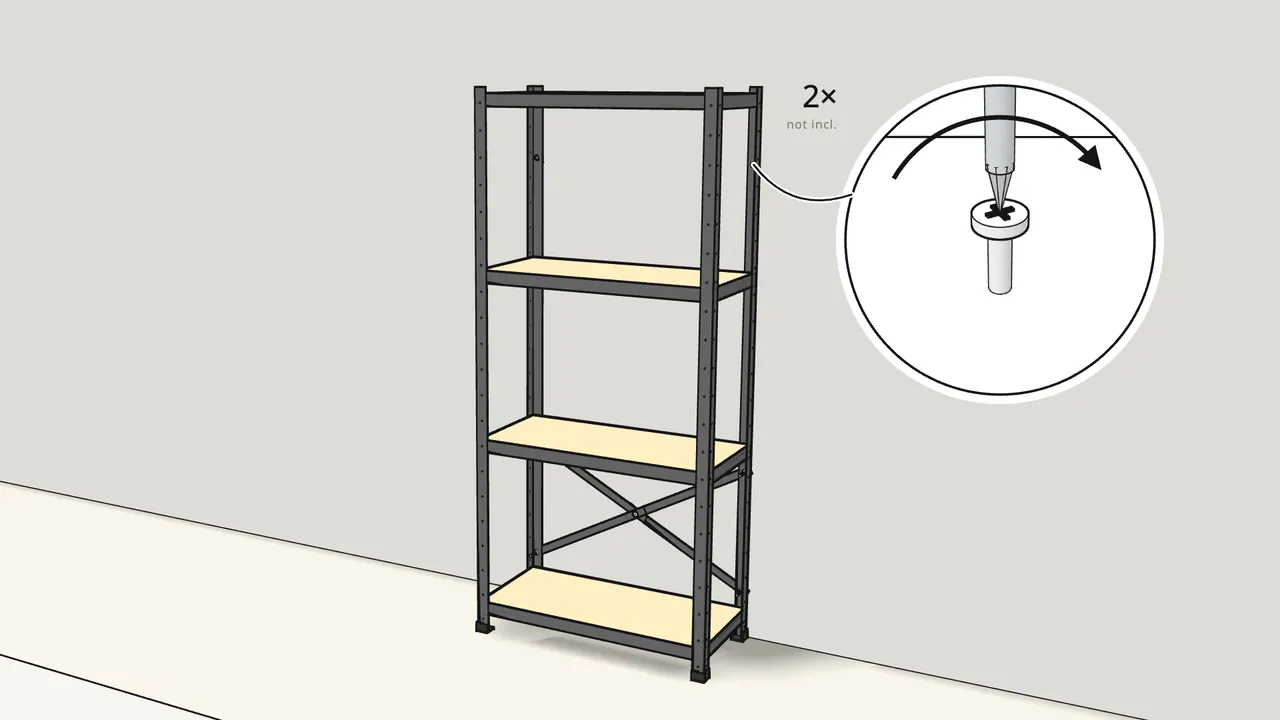
Step 12 · manual step 9
Screw the unit to the wall through both brackets.
Wall screws and plugs are not included — use ones that suit your wall.
Tips & safety
- Always fix BROR to the wall. Use the 2 wall brackets (192365). Wall screws and plugs are not included — if unsure, ask a professional.
- Adding a second section? Swap 2 L-feet for T-feet (192250) and bolt the posts together with 4 bolts and square nuts — manual p. 22–23.
- Spread heavy things out over the shelves. No single heavy loads — see the load picture on manual p. 24.
Official instructions
This guide follows IKEA’s official assembly instructions (AA-2062545-8). Keep the printed manual to hand — if anything differs, the manual is right.