IKEA · Bookcases & Shelving
How to assemble IKEA BILLY Corner Hardware
Step-by-step IKEA BILLY Corner Hardware assembly: 9 illustrated steps, an animated video, the hardware list and the tools you need — following the official instructions (AA-197501-5).
- 9 illustrated steps
- 5 steps in the manual
- 1:39 video
- 20×26×1.5 cm
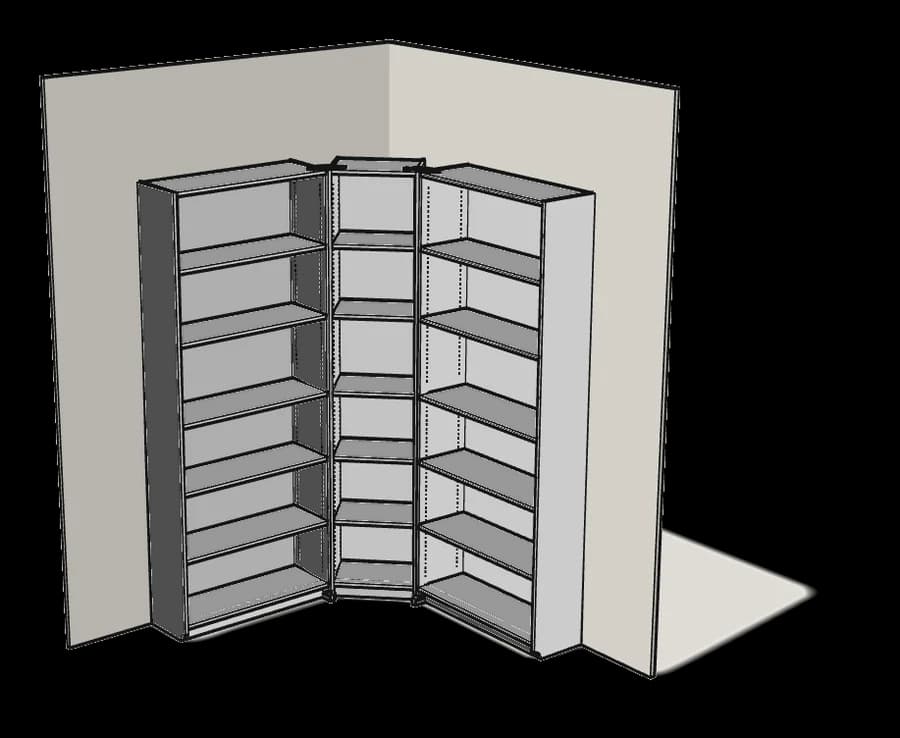
What you need
Tools
- Phillips screwdriver
You’ll need: a Phillips screwdriver and an awl.
Hardware in the box
| Part no. (as printed in the manual) | Qty |
|---|---|
| 100362 | 4× |
| 115257 | 2× |
| 109534 | 2× |
| 102715 | 1× |
Step-by-step assembly
Step 1
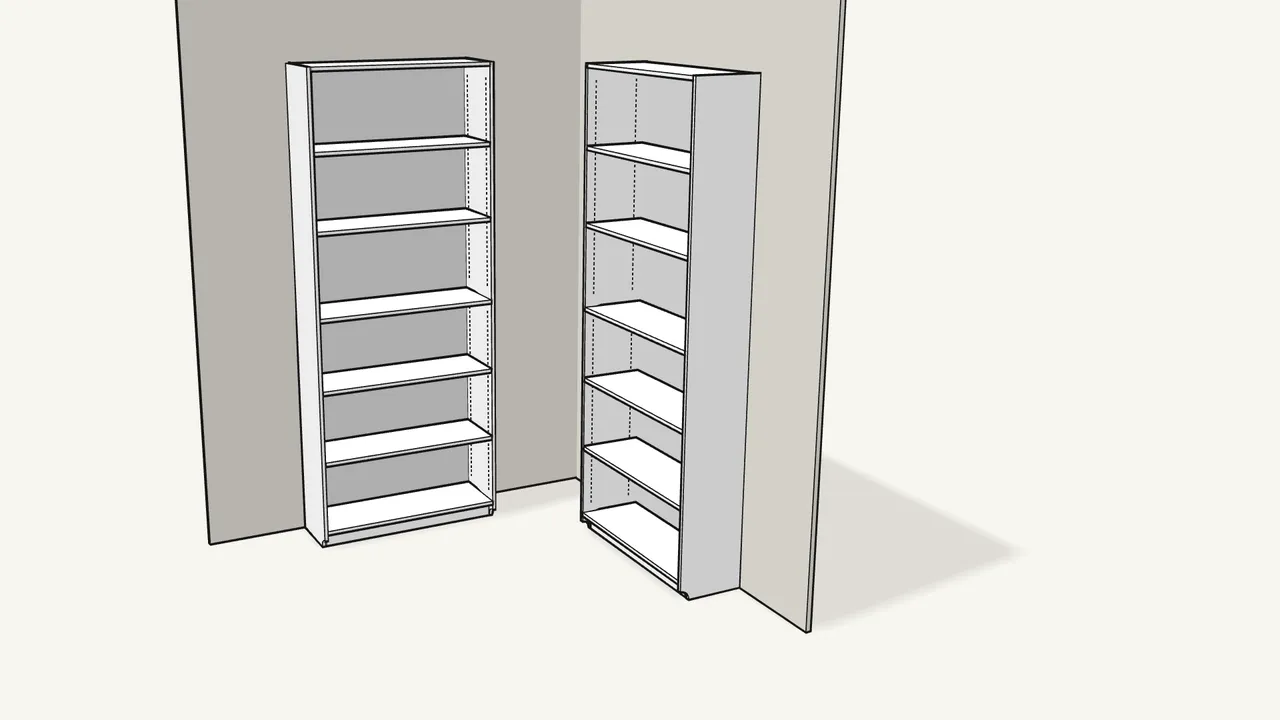
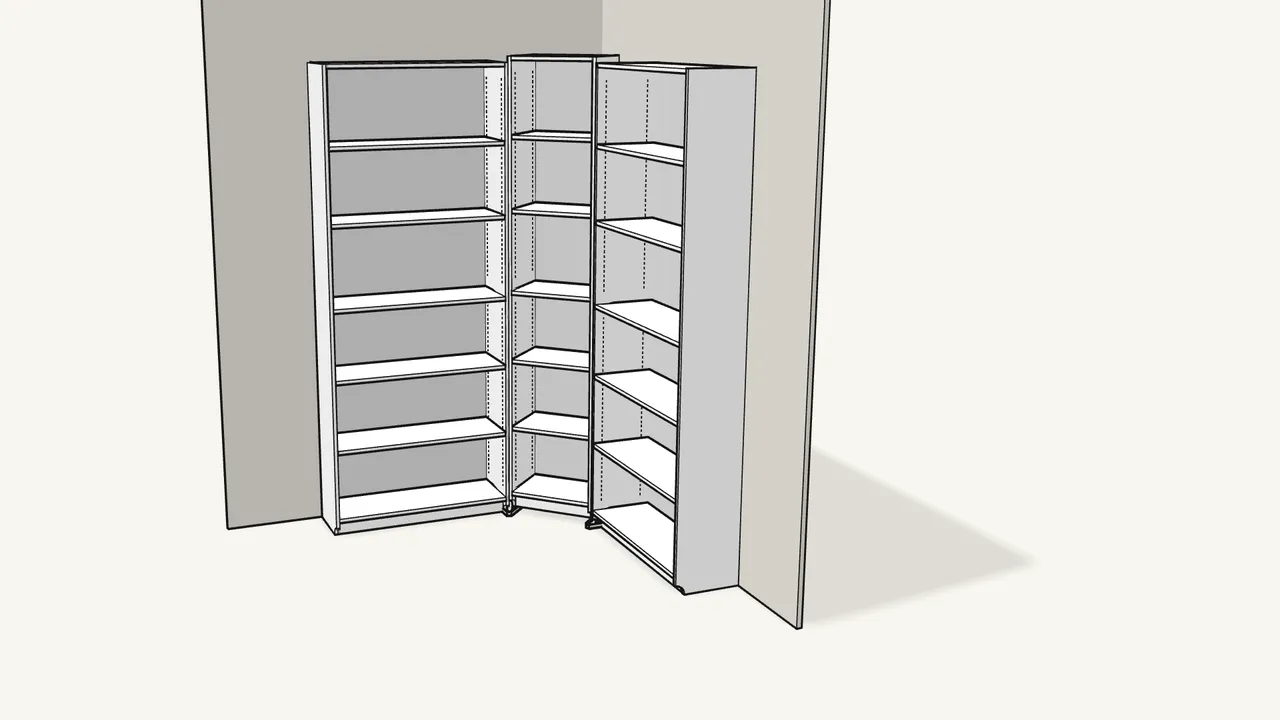
Start with your assembled BILLY bookcases.
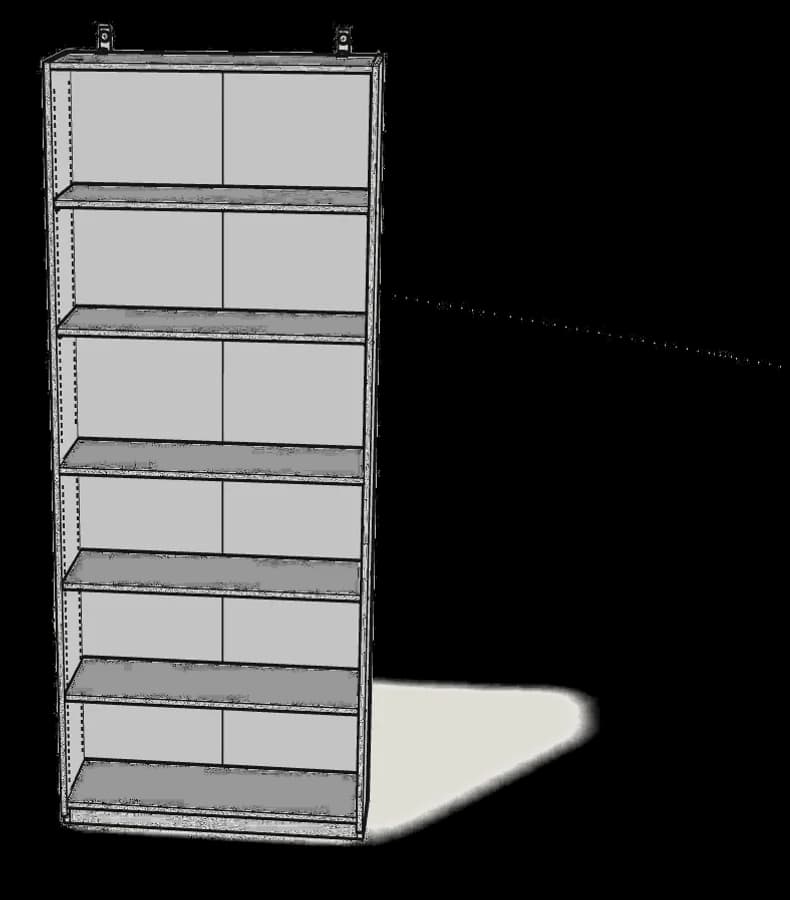
Sold separately. Shown: an 80 cm bookcase on each wall and a 40 cm one across the corner.
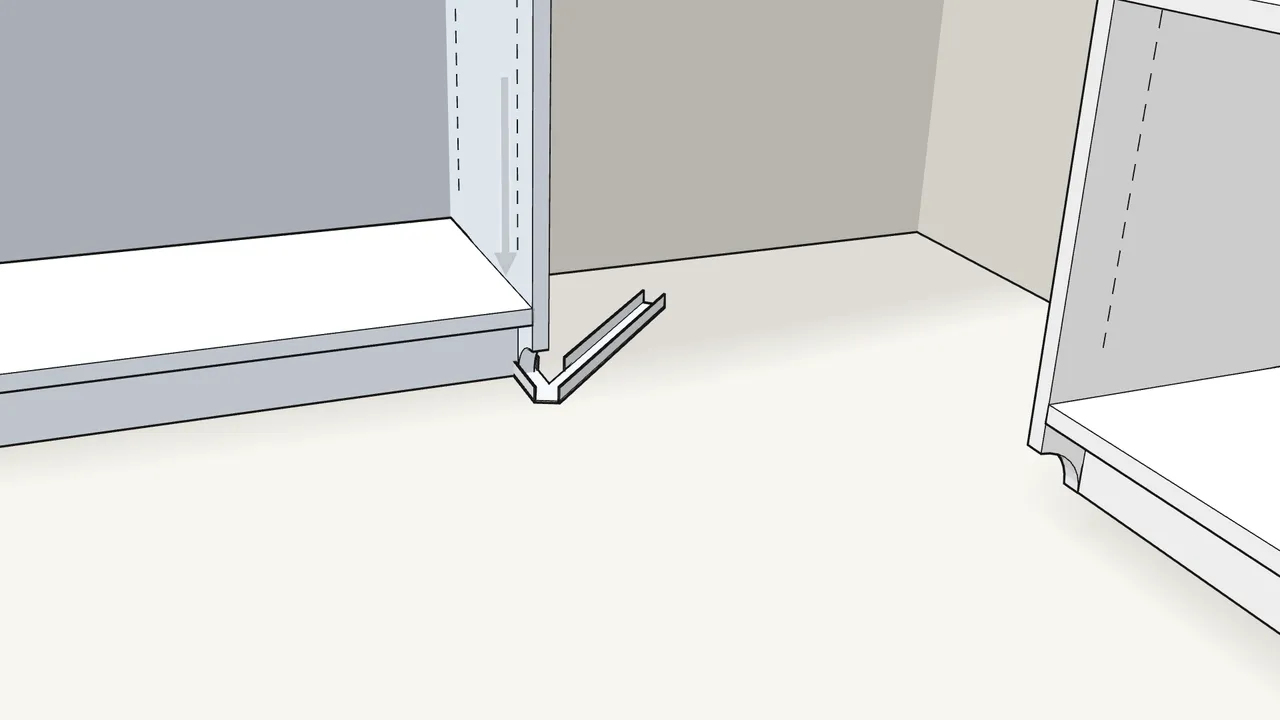
Step 2 · manual step 1
Slide a corner fitting under the front of the bookcase side.
Tip the bookcase slightly, then lower its side onto the fitting.
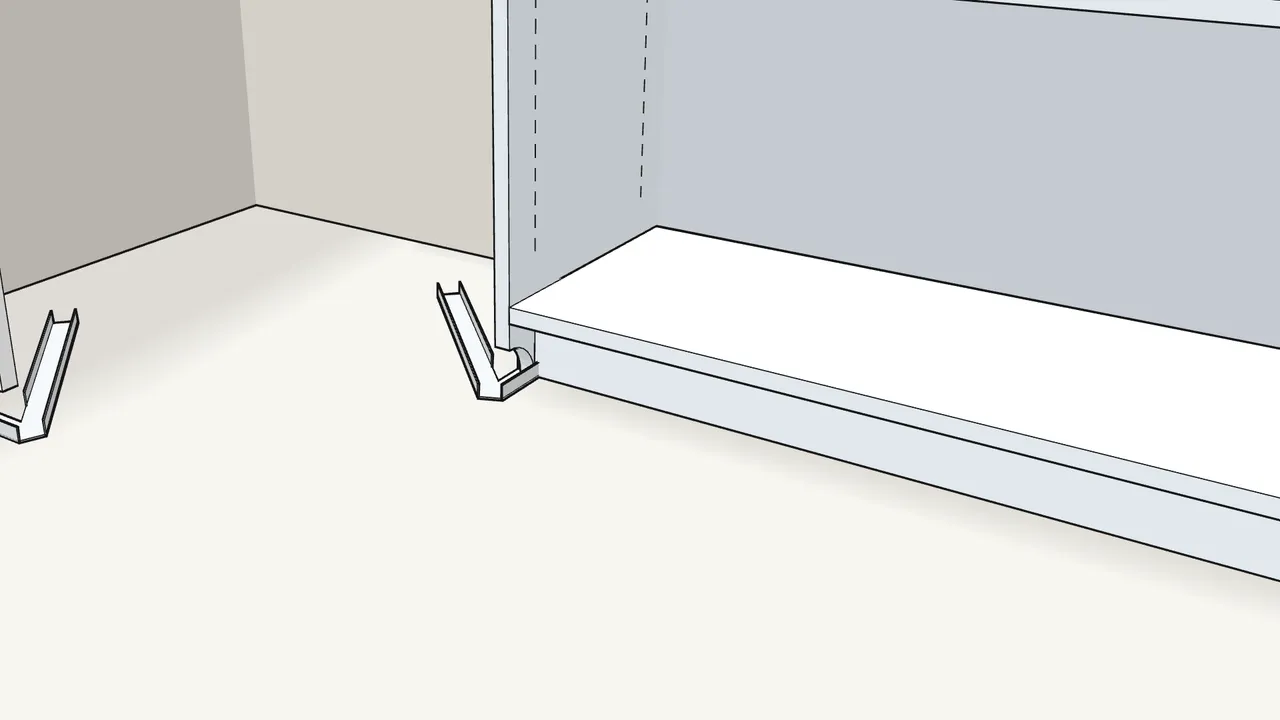
Step 3 · manual step 1
Do the same at the other joint.
Step 4 · manual step 2
Lift the corner bookcase in between.
Its sides go into the second channel of each fitting.
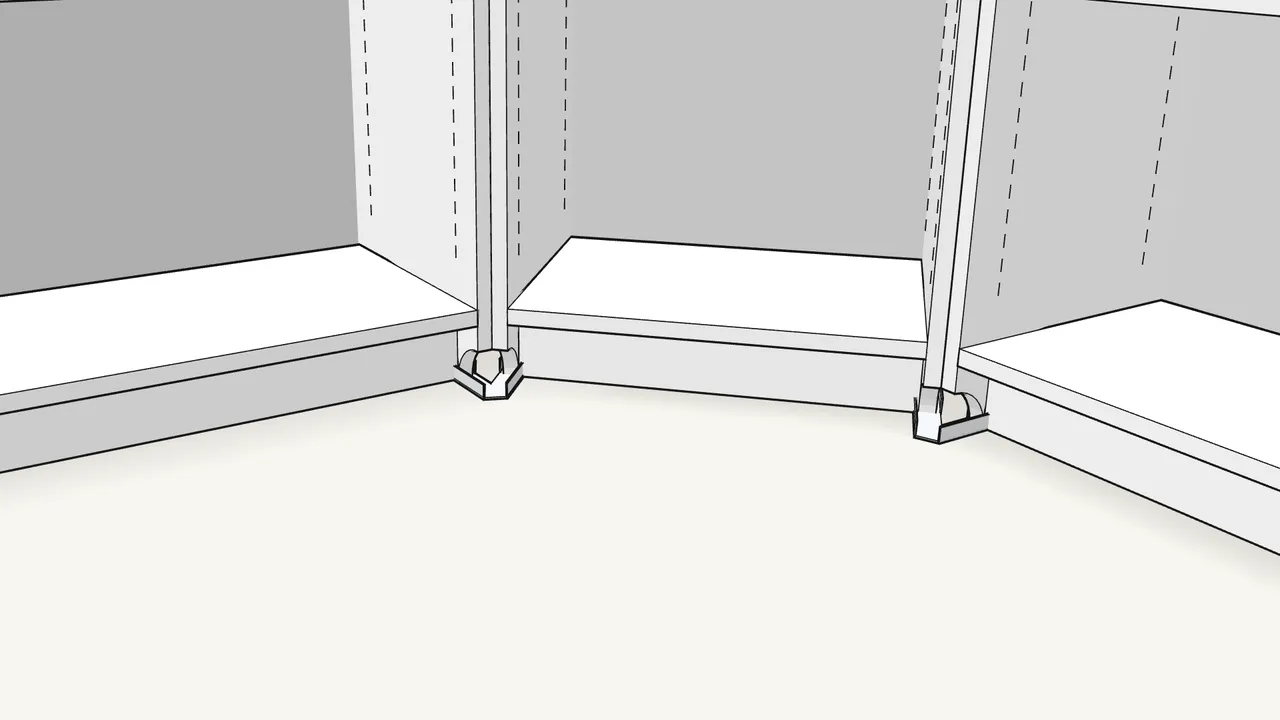
Step 5 · manual step 2
Lower it into the fittings.
The sides of the two bookcases now stand side by side at the front.
Step 6 · manual step 3
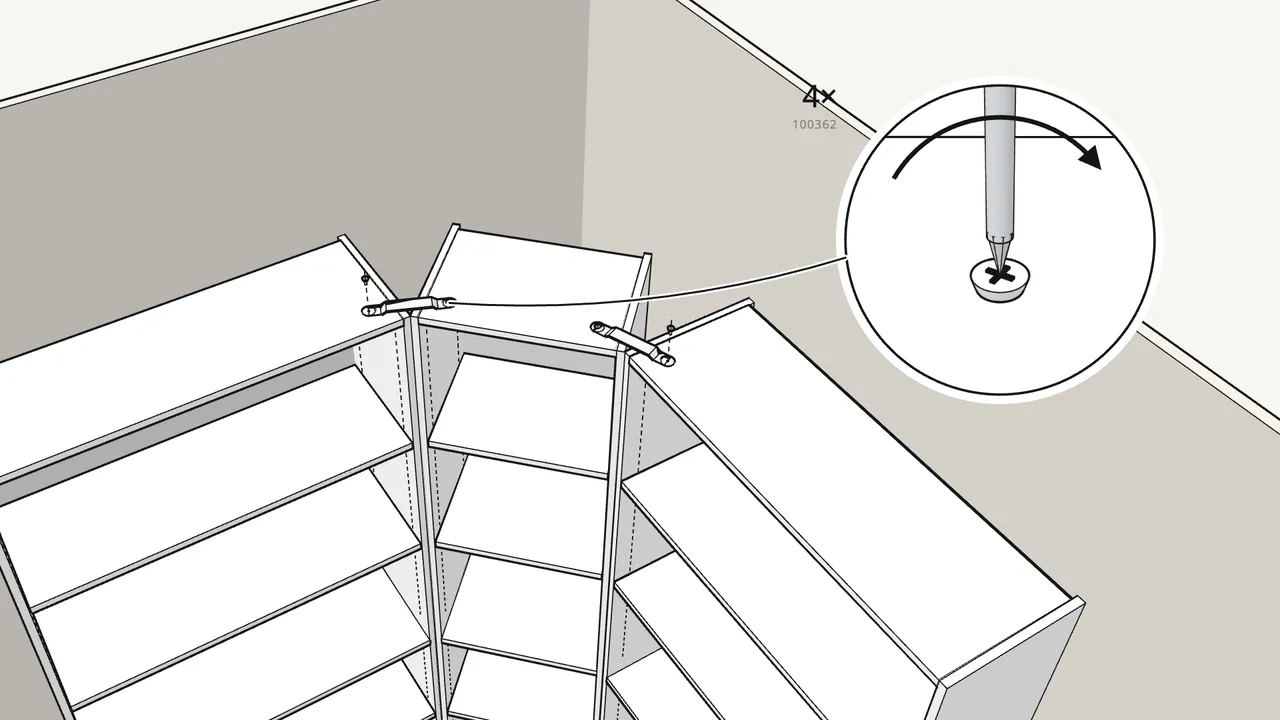
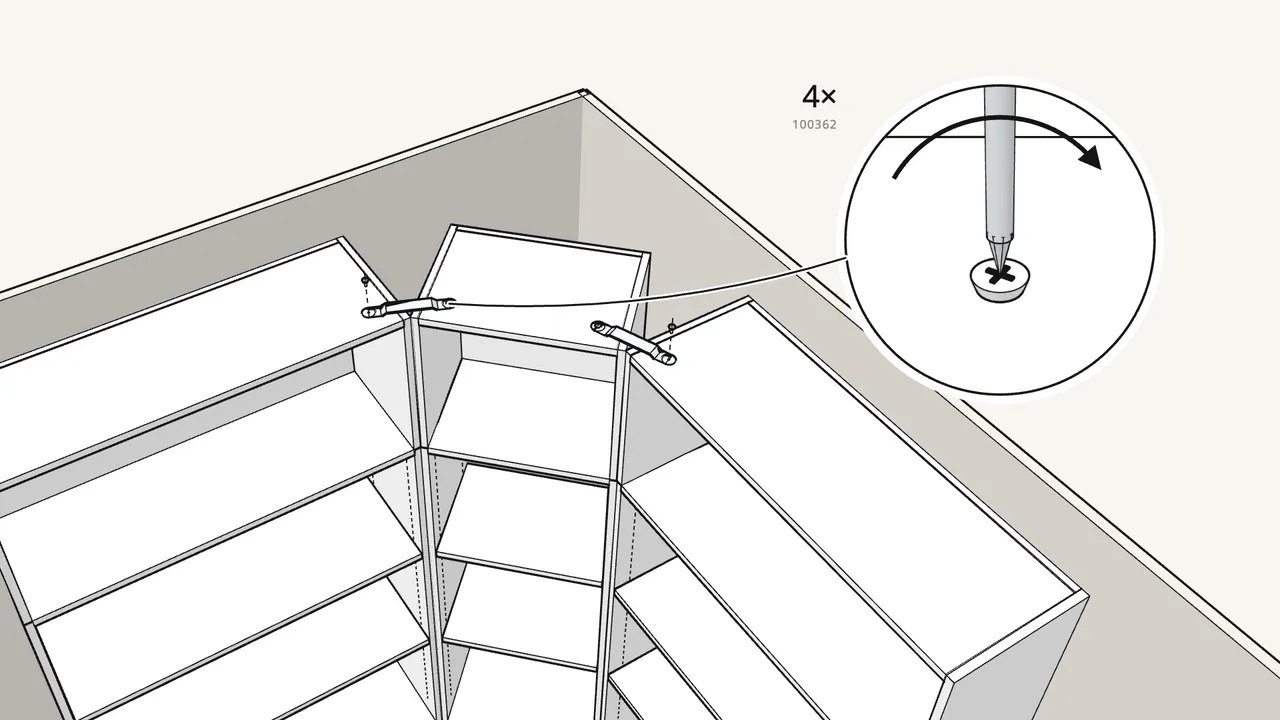
Join the tops with the 2 connecting bars (115257).
2 screws (100362) per bar, with the Phillips screwdriver.
Step 7 · manual step 4
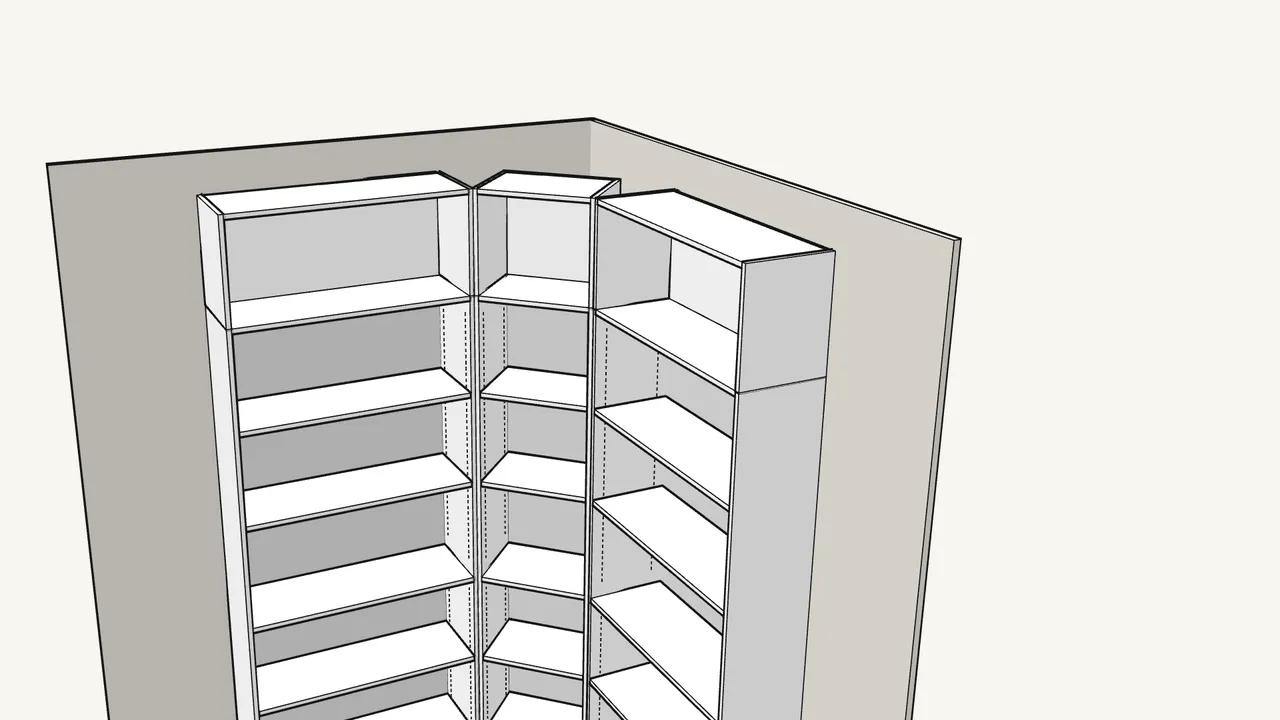
With BILLY height extension units:
At most one per bookcase. The bars then go on the extension tops instead.
Step 8 · manual step 4
Join the extension tops with the connecting bars.
2 screws (100362) per bar.
Step 9 · manual step 5
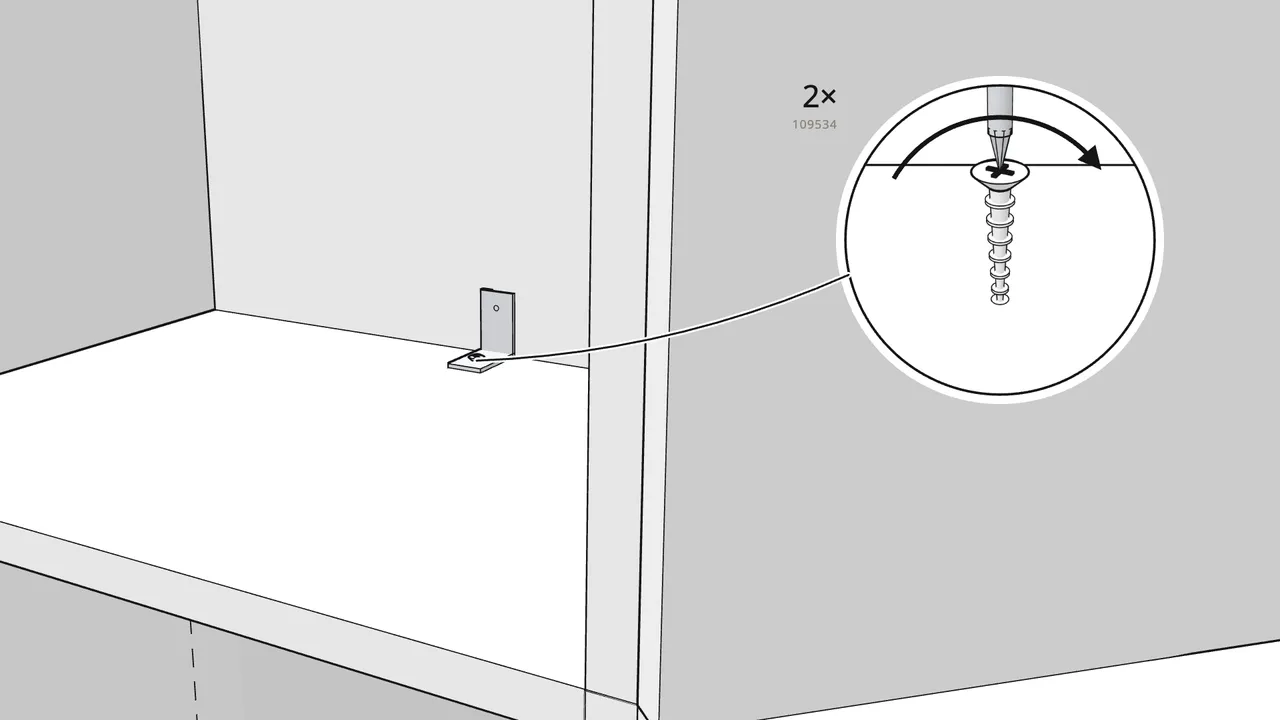
Fix the angle bracket (102715) inside the corner extension.
Make a hole with the awl, then 1 screw (109534) down and 1 into the back panel.
Tips & safety
- Only one height extension unit per bookcase. Never stack two extension units — see the manual, page 6.
- Fix every BILLY bookcase to the wall. Use the wall fixing shown in each bookcase’s own manual.
Official instructions
This guide follows IKEA’s official assembly instructions (AA-197501-5). Keep the printed manual to hand — if anything differs, the manual is right.