IKEA · Tables & Desks
How to assemble IKEA VOXLÖV Dining Table
Step-by-step IKEA VOXLÖV Dining Table assembly: 14 illustrated steps, an animated video, the hardware list and the tools you need — following the official instructions (AA-2183661-3).
- 14 illustrated steps
- 11 steps in the manual
- 2:25 video
- 180×90×75 cm
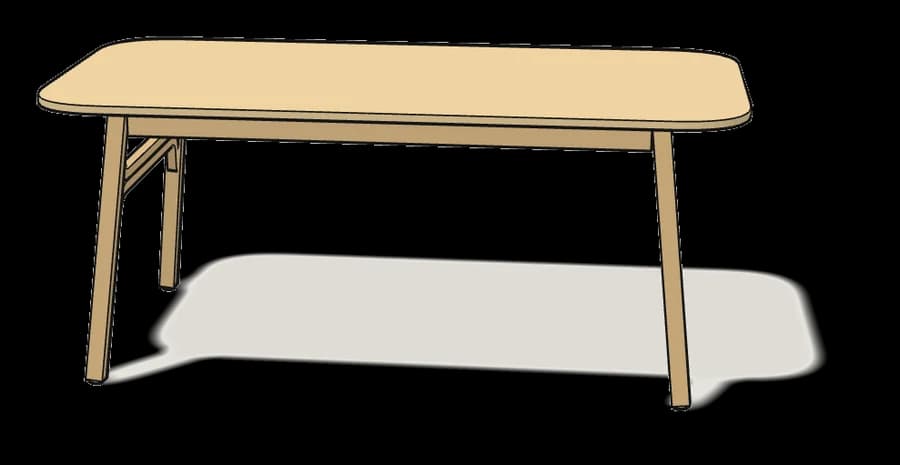
What you need
Tools
- Flat-head screwdriver
- Phillips screwdriver
You’ll need: a flat-head and a Phillips screwdriver.
Hardware in the box
| Part no. (as printed in the manual) | Qty |
|---|---|
| 101350 | 2× |
| 109067 | 16× |
| 100712 | 8× |
| 100843 | 8× |
| 107271 | 4× |
| 105236 | 10× |
| 144723 | 8× |
| 110912 | 4× |
| 122483 | 4× |
Step-by-step assembly
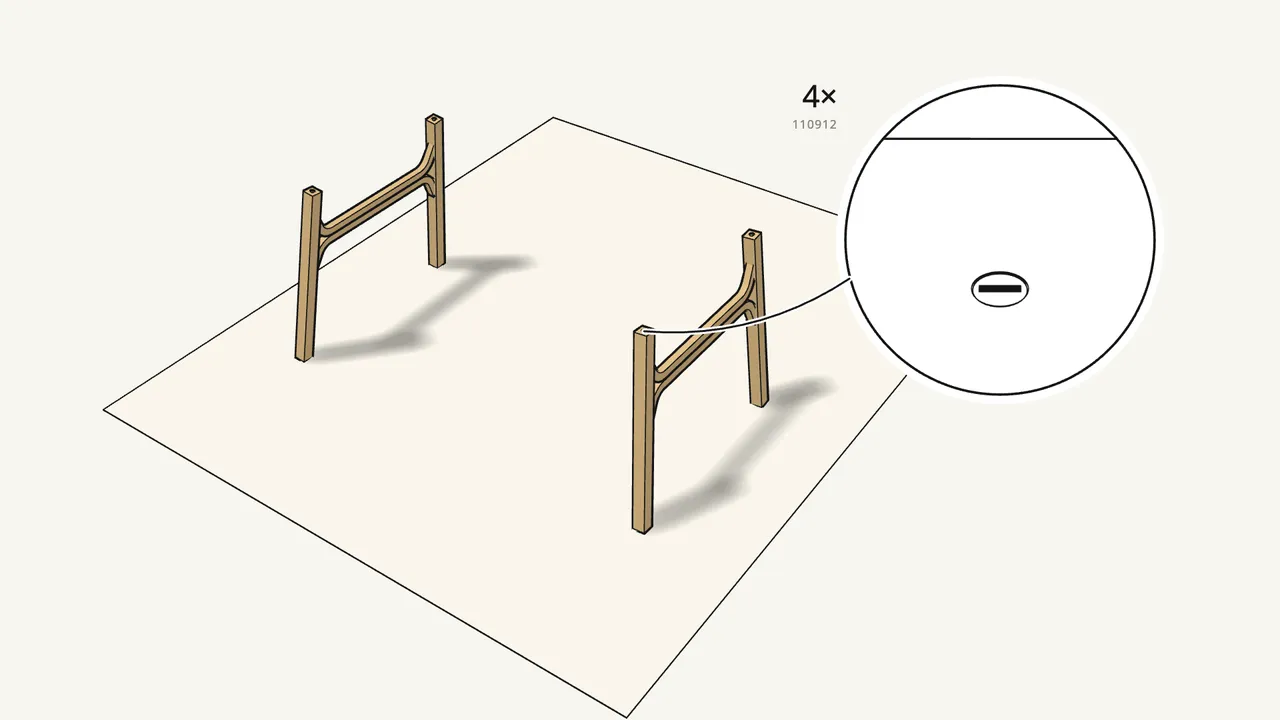
Step 1
Push a barrel nut (110912) into the top of each leg.
Turn it with a flat screwdriver until the holes line up with the side holes.
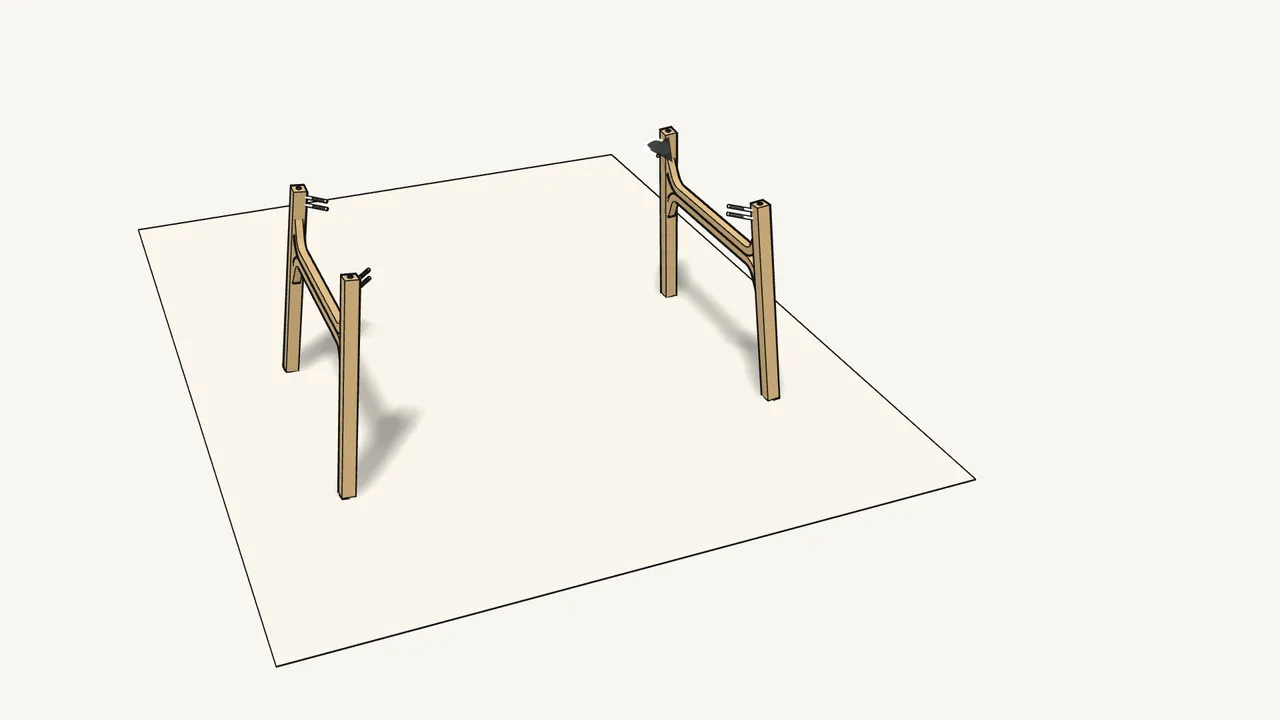
Step 2 · manual step 1
Screw 2 threaded rods (144723) into each leg.
By hand, into the barrel nut. Do the same on both leg frames.
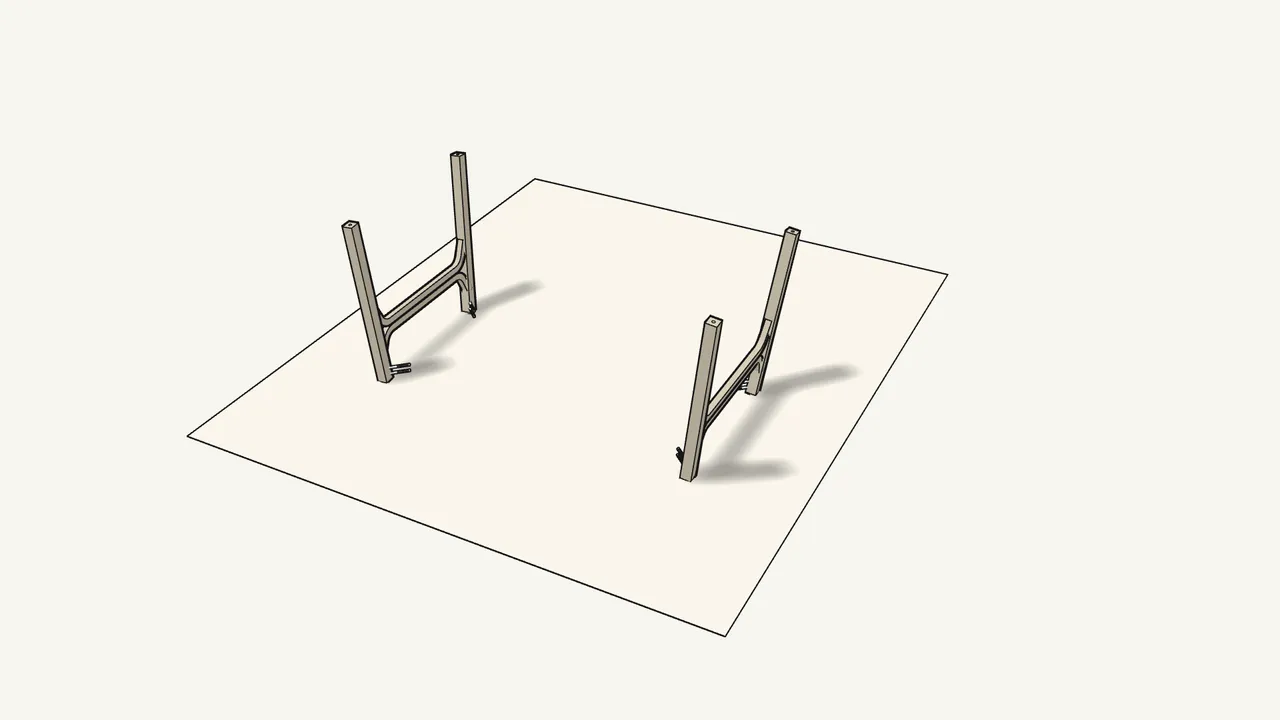
Step 3 · manual step 1
Turn both leg frames upside down.
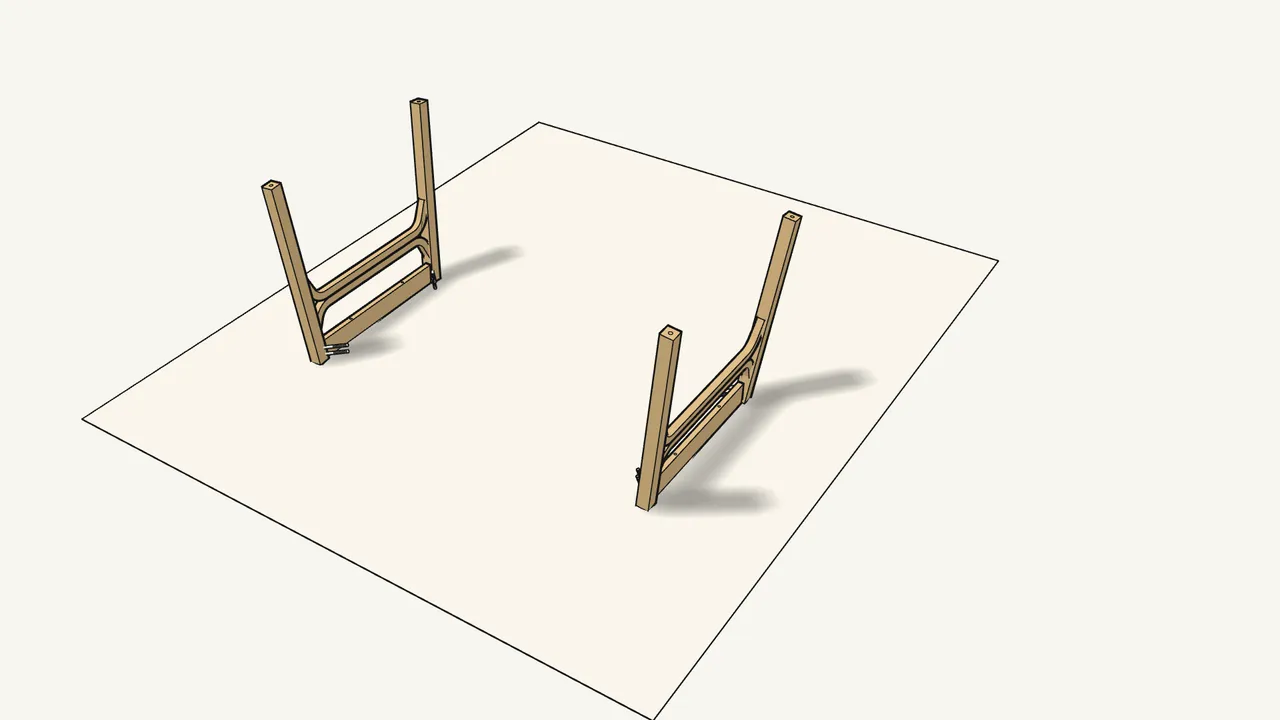
Step 4 · manual step 2
Fit the end rail between the leg tops of each frame.
Check the holes in the ends — see the manual, step 2.
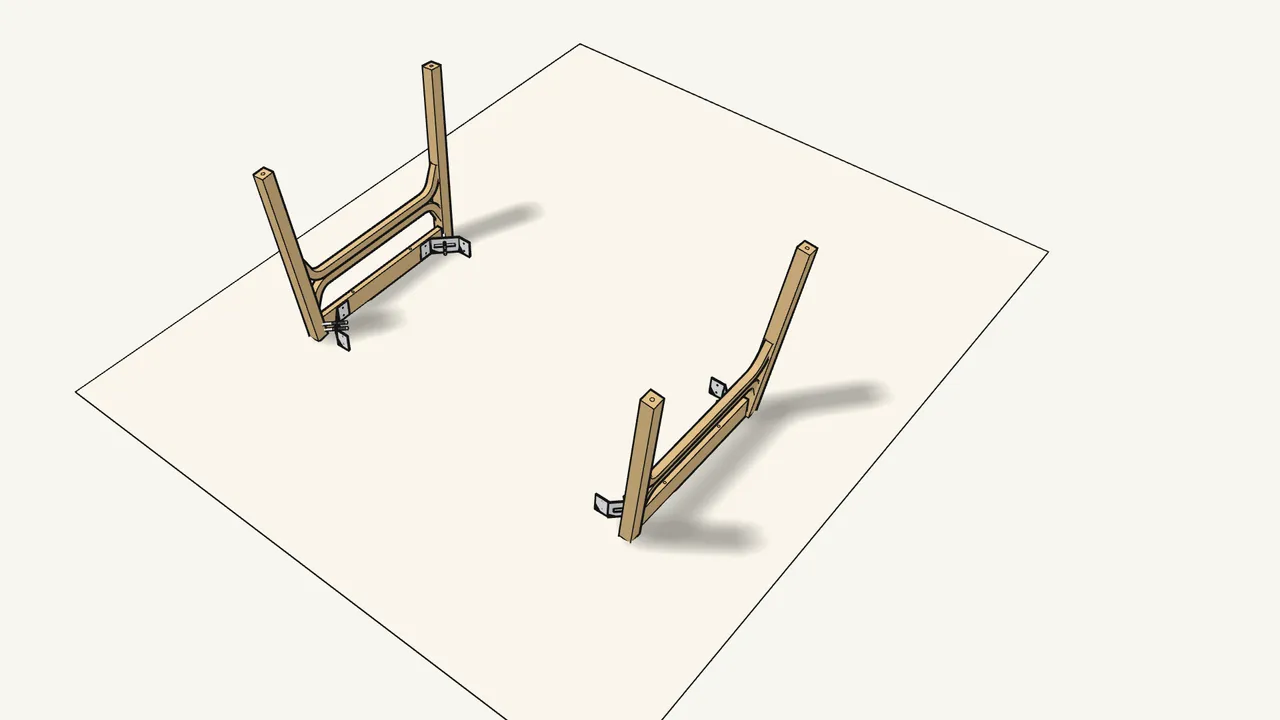
Step 5 · manual step 3
Put a corner bracket (122483) onto the rods at each corner.
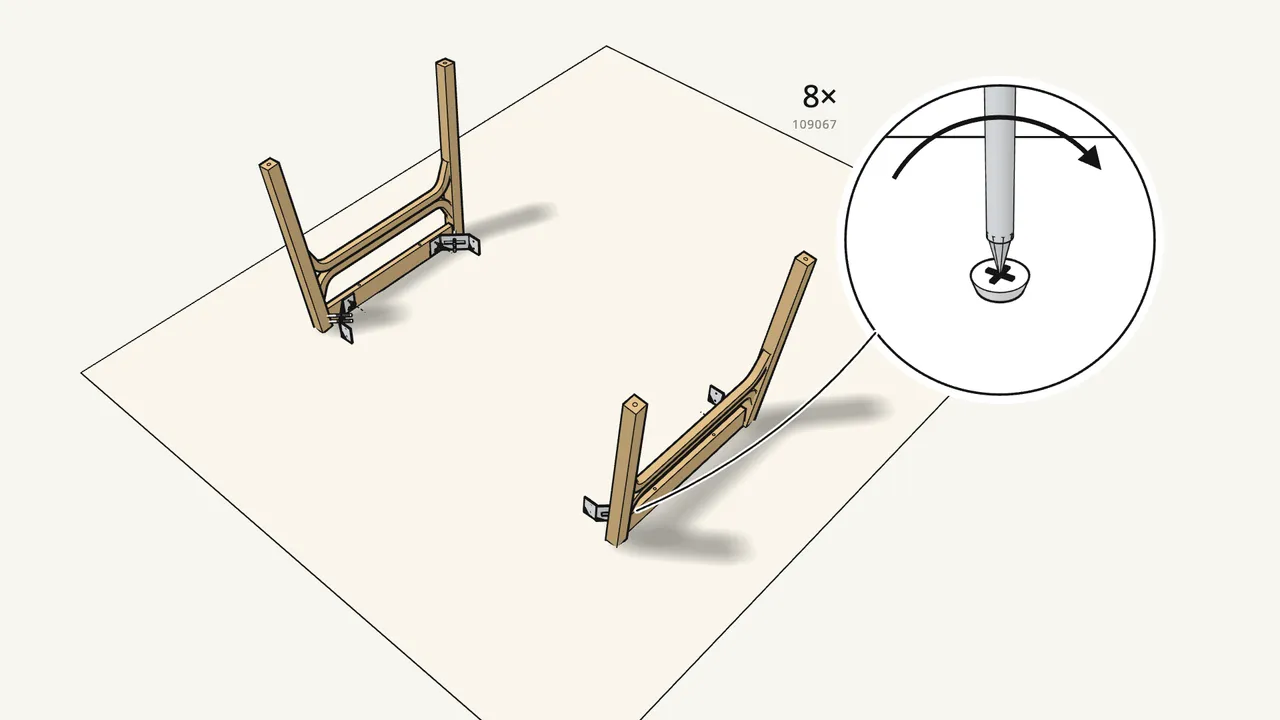
Step 6 · manual step 4
Fix each bracket to the end rail with 2 screws (109067).
Use the Phillips screwdriver — 8 screws in total.
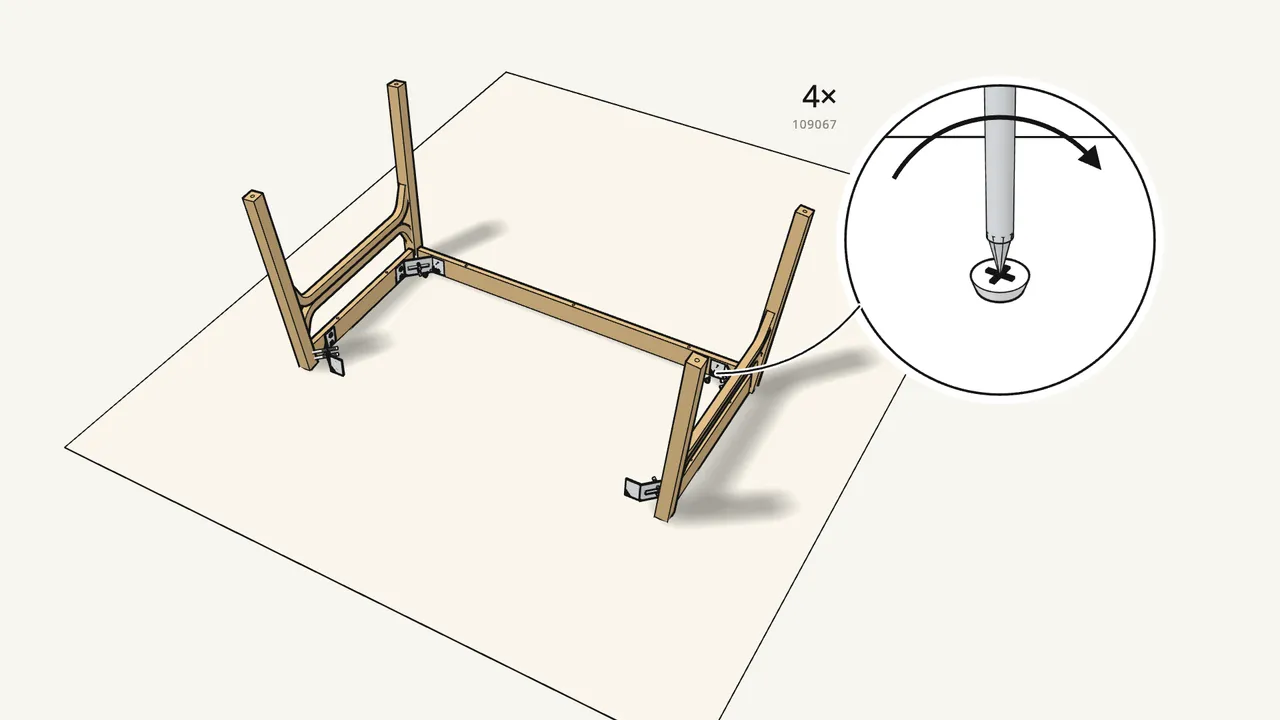
Step 7 · manual step 5
Fit a long rail between the frames and fix it with 4 screws (109067).
The small pre-drilled holes face inwards, towards the brackets.
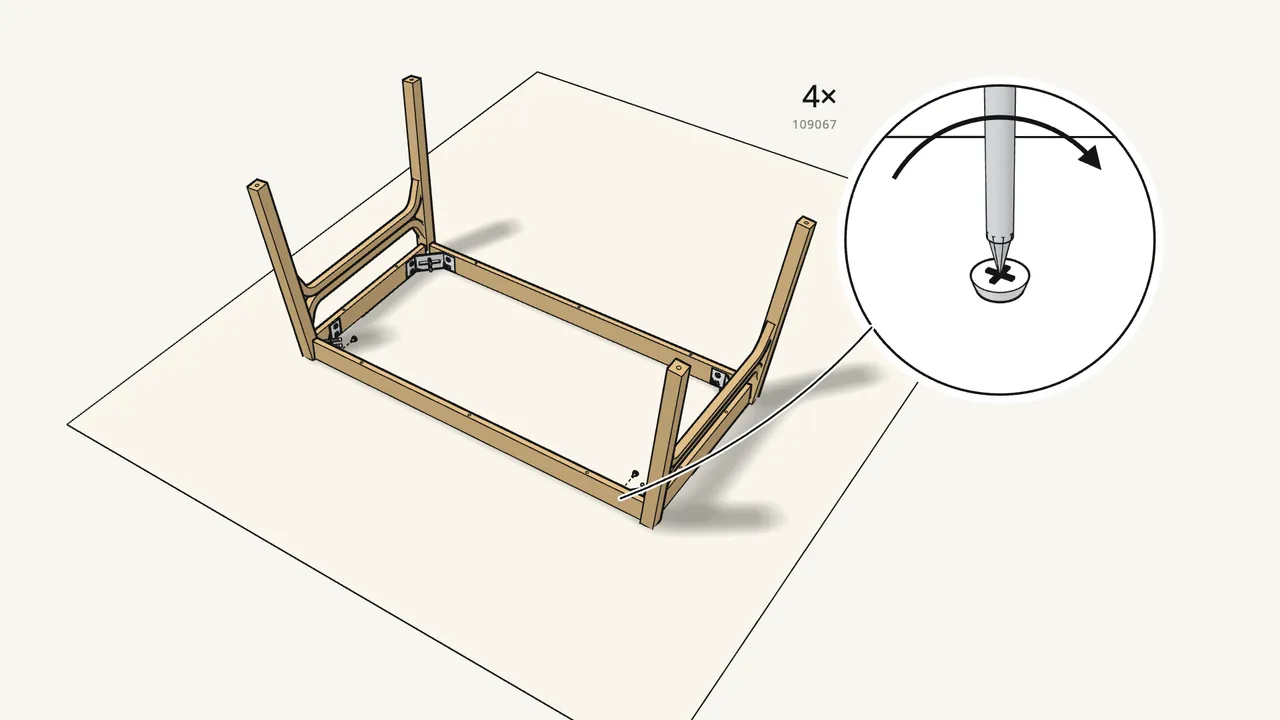
Step 8 · manual step 6
Fit the other long rail the same way, with 4 screws (109067).
Pre-drilled holes inwards — see the manual, step 6.
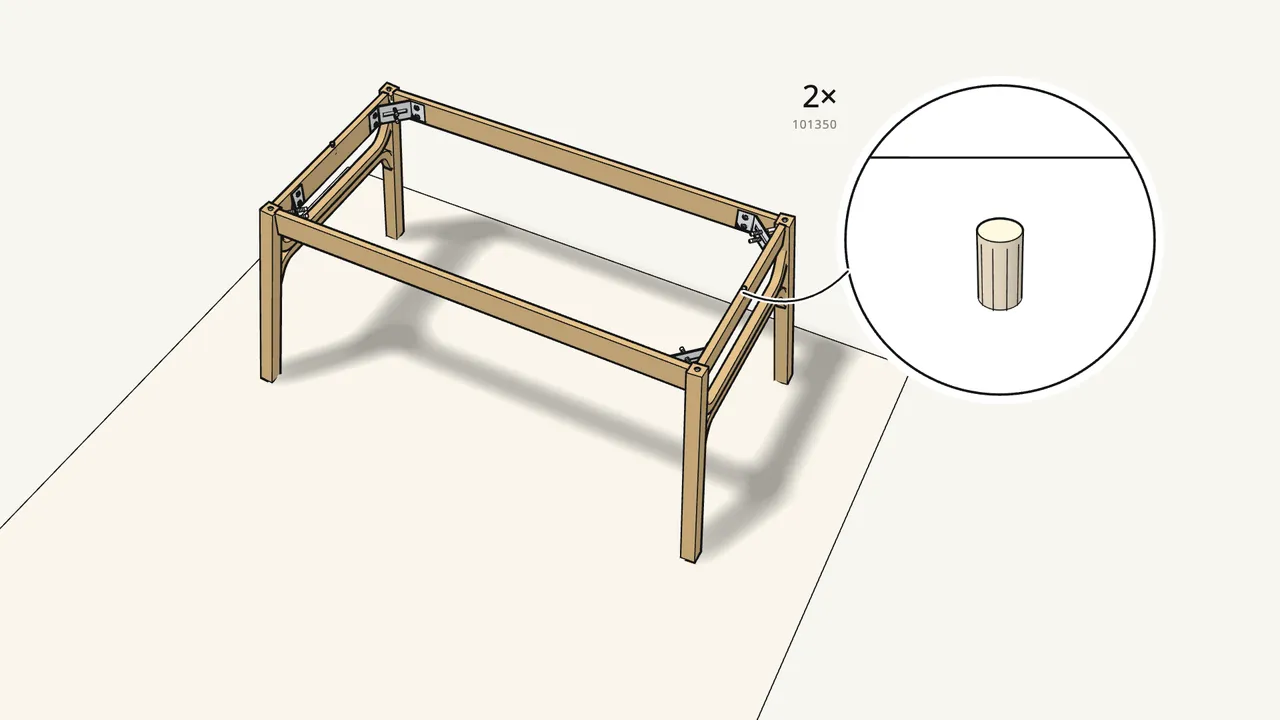
Step 9 · manual step 7
Turn the frame over and push 2 dowels (101350) into the end rails.
One in the centre of each end rail.
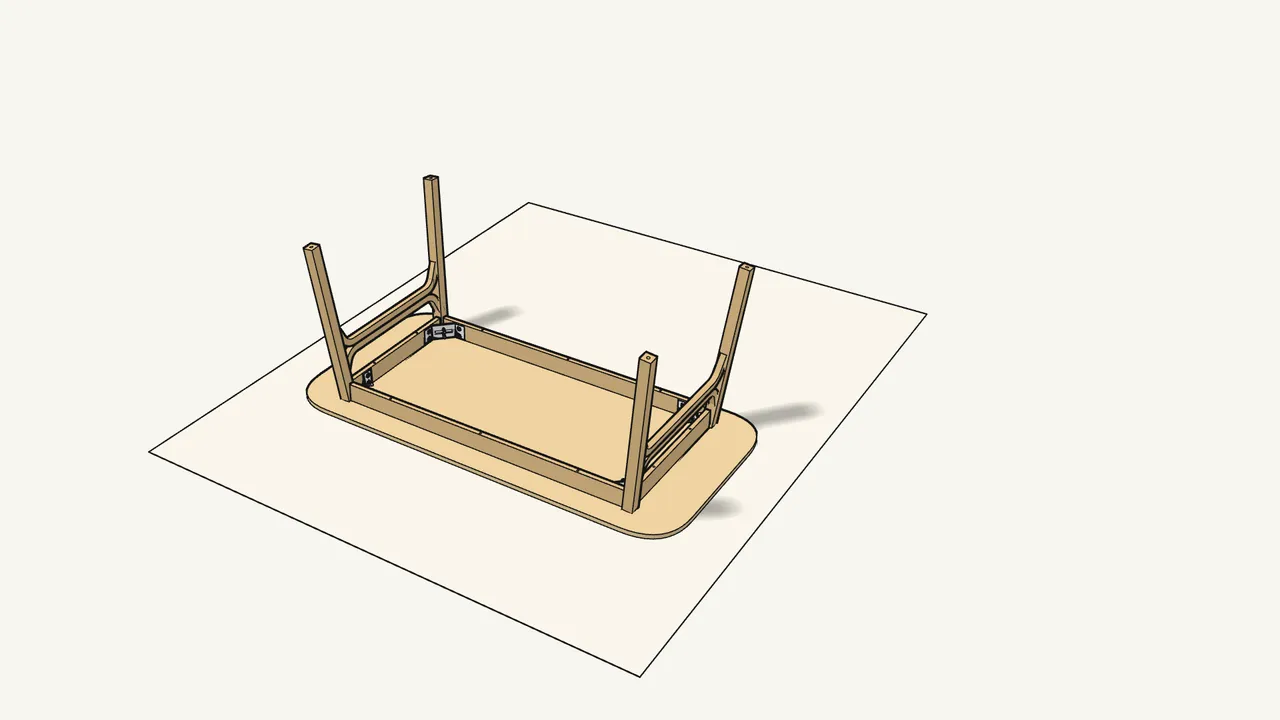
Step 10 · manual step 8
Lay the tabletop face down on a rug and place the frame on it.
The dowels go into the holes in the tabletop.
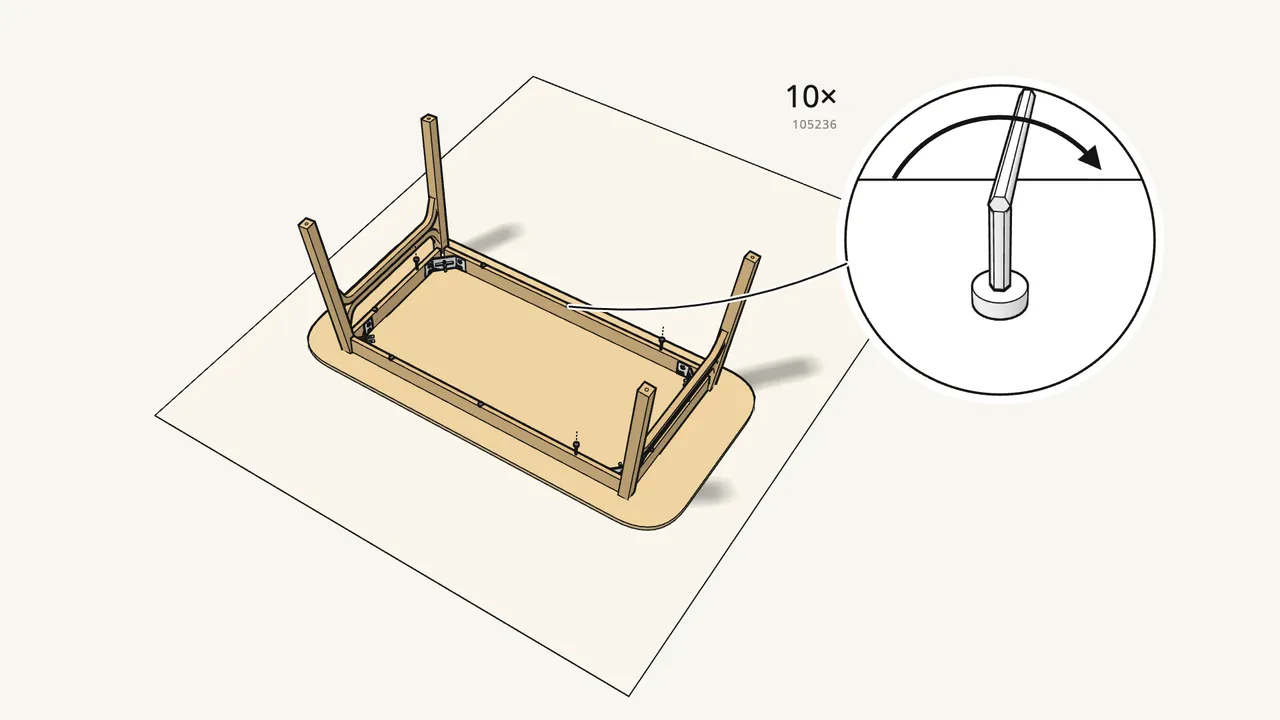
Step 11 · manual step 9
Screw the frame to the tabletop with 10 screws (105236).
Use the Allen key (100092) — 3 in each long rail, 2 in each end rail.
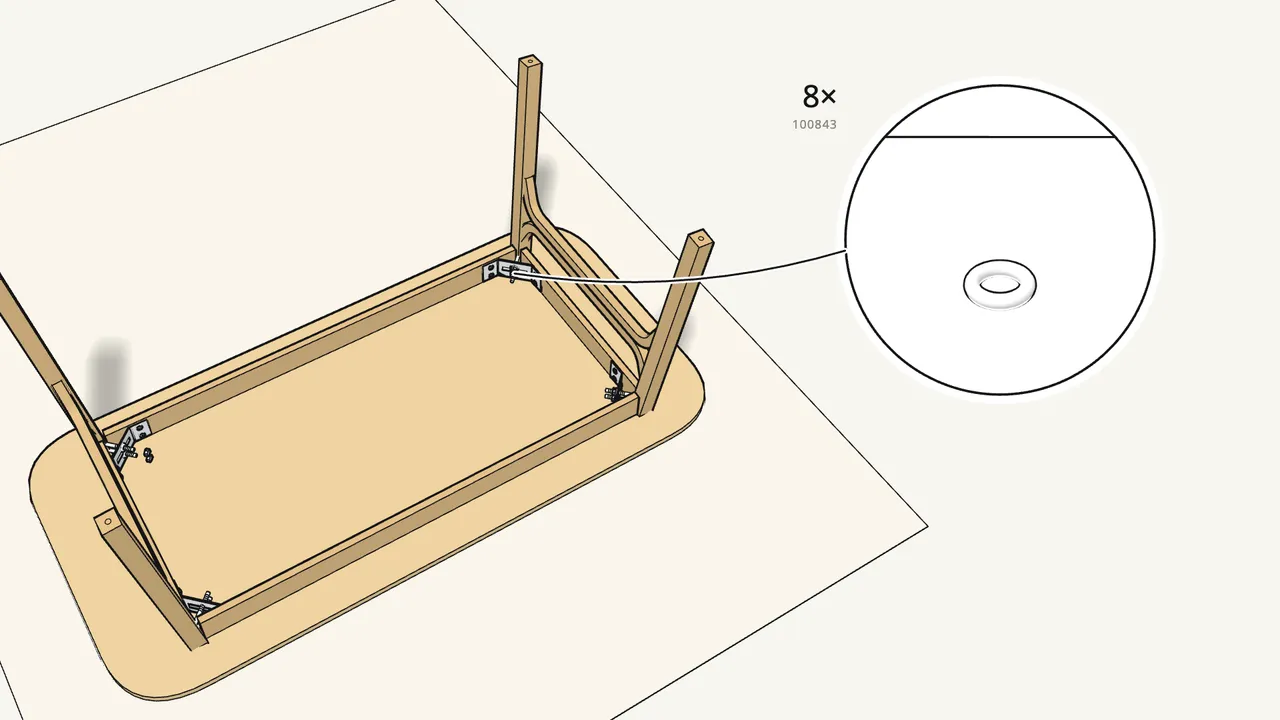
Step 12 · manual step 10
Fit a washer (100843) and a nut (100712) on each threaded rod.
Tighten the nuts with the box spanner (120202).
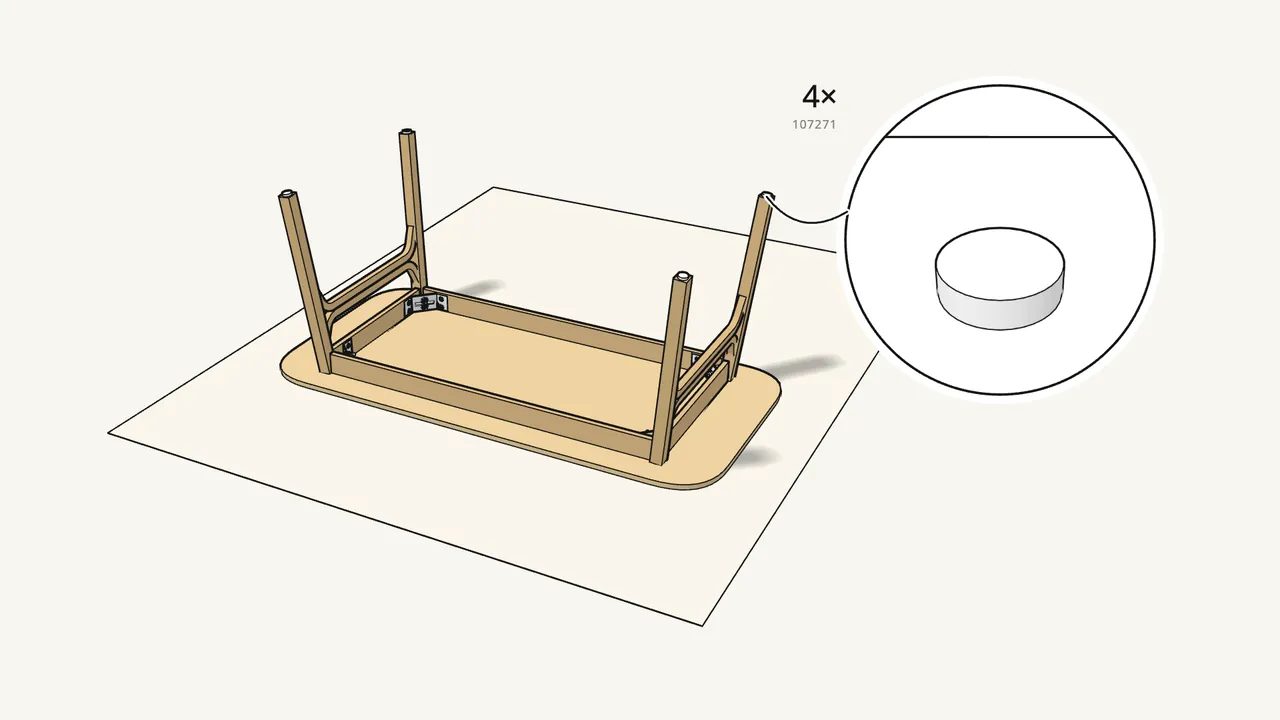
Step 13 · manual step 11
Push a glide (107271) onto the end of each leg.
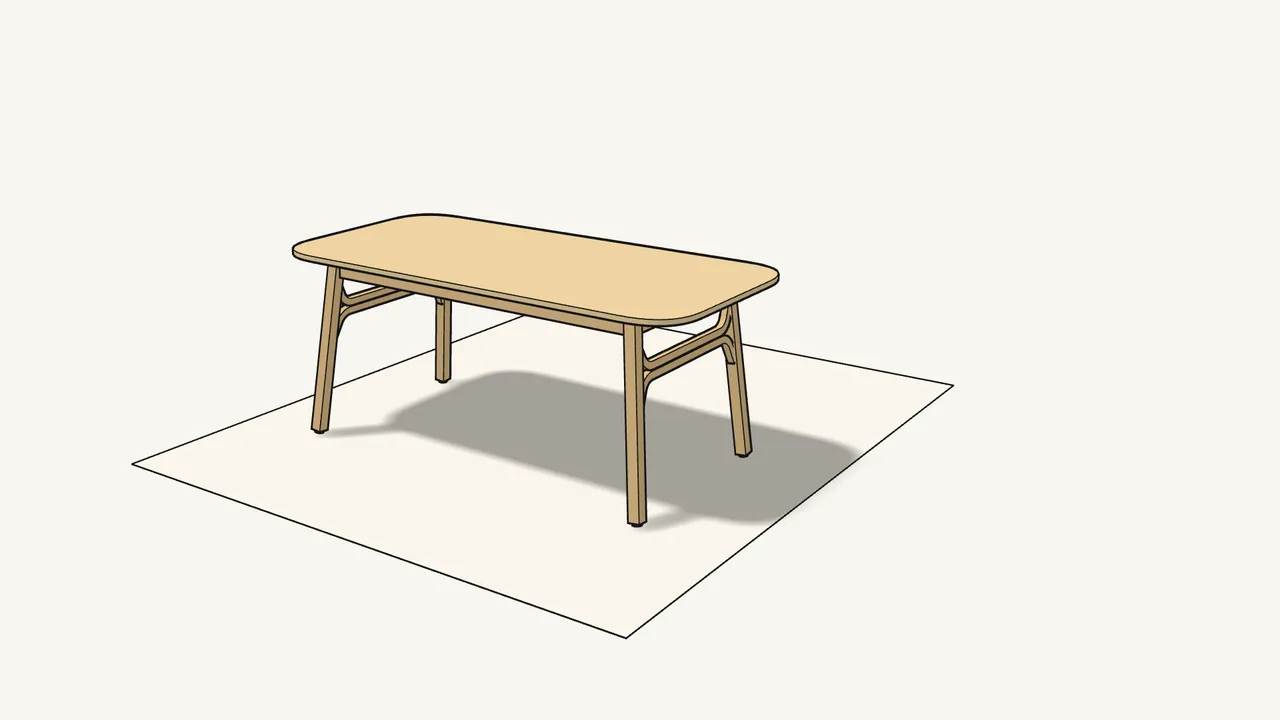
Step 14
Turn the table over — with two people.
Tips & safety
- Assemble with two people. The manual shows two people — the tabletop is big, especially when turning the table over.
- Work on a soft surface. Lay the tabletop face down on a rug, as in the manual, so it doesn’t get scratched.
Official instructions
This guide follows IKEA’s official assembly instructions (AA-2183661-3). Keep the printed manual to hand — if anything differs, the manual is right.



