IKEA · Tables & Desks
How to Assemble IKEA LACK Coffee Table
Step-by-step IKEA LACK coffee table assembly: 13 illustrated steps, an animated video, the hardware list and the tools you need — following the official instructions (AA-472482-3).
- 13 illustrated steps
- 8 steps in the manual
- 2:07 video
- 90×55×45 cm

What you need
Tools
- Phillips screwdriver
- Hammer
You’ll need: a Phillips screwdriver, a hammer and an awl.
Hardware in the box
| Part no. (as printed in the manual) | Qty |
|---|---|
| 115980 | 4× |
| 108530 | 4× |
| 109041 | 4× |
| 120298 | 4× |
Step-by-step assembly

Step 1
Lay the tabletop upside down on a rug.
A soft surface protects the top while you work.

Step 2 · manual step 1
Screw the 4 double-ended screws into the tabletop.
By hand, clockwise. Half of each screw stays sticking out.

Step 3 · manual step 2
Screw a leg onto each screw, turning it clockwise.
By hand, until the leg sits tight against the top.

Step 4 · manual step 2
Screw on the other 3 legs the same way.

Step 5 · manual step 3
Lay the table on its side.
The top stands on its long edge, the legs point sideways.

Step 6 · manual step 3
Put the template (120938) on a lower leg, hooked over its end.
Press the awl through the hole to mark it. Do both lower legs.

Step 7 · manual step 4
Screw a bracket (120298) onto each mark.
Use the longer screws 108530 — not 109041.

Step 8 · manual step 5
Turn the table over onto its other side.
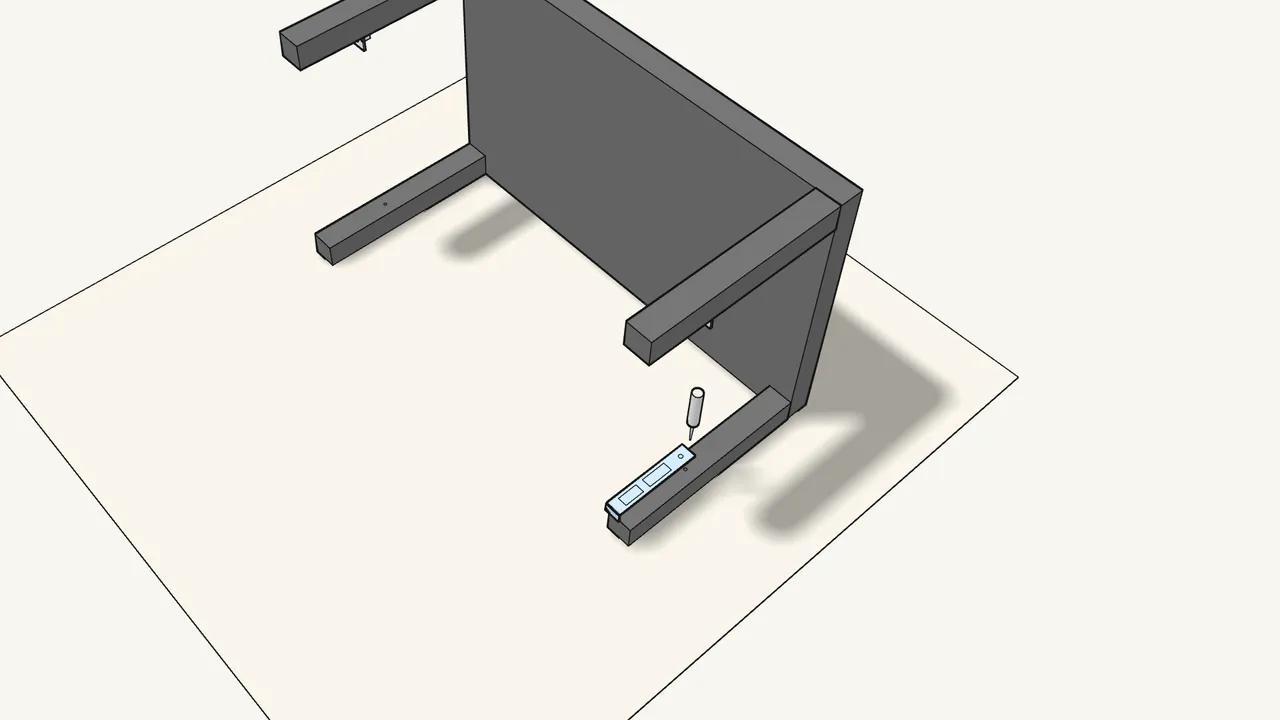
Step 9 · manual step 5
Mark the other two legs with the template and the awl.

Step 10 · manual step 6
Screw the other 2 brackets on.
Again with the longer screws 108530.
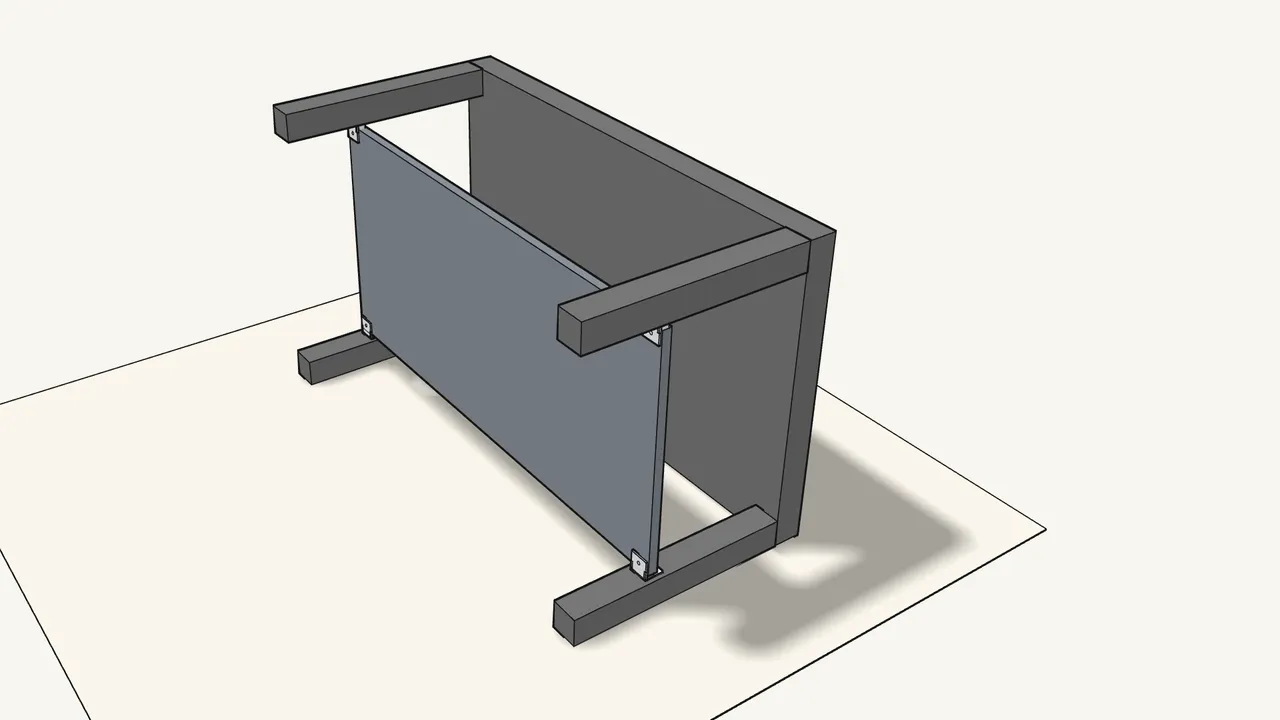
Step 11 · manual step 7
Slide the shelf in between the legs.
Push it down until it rests on all four brackets.
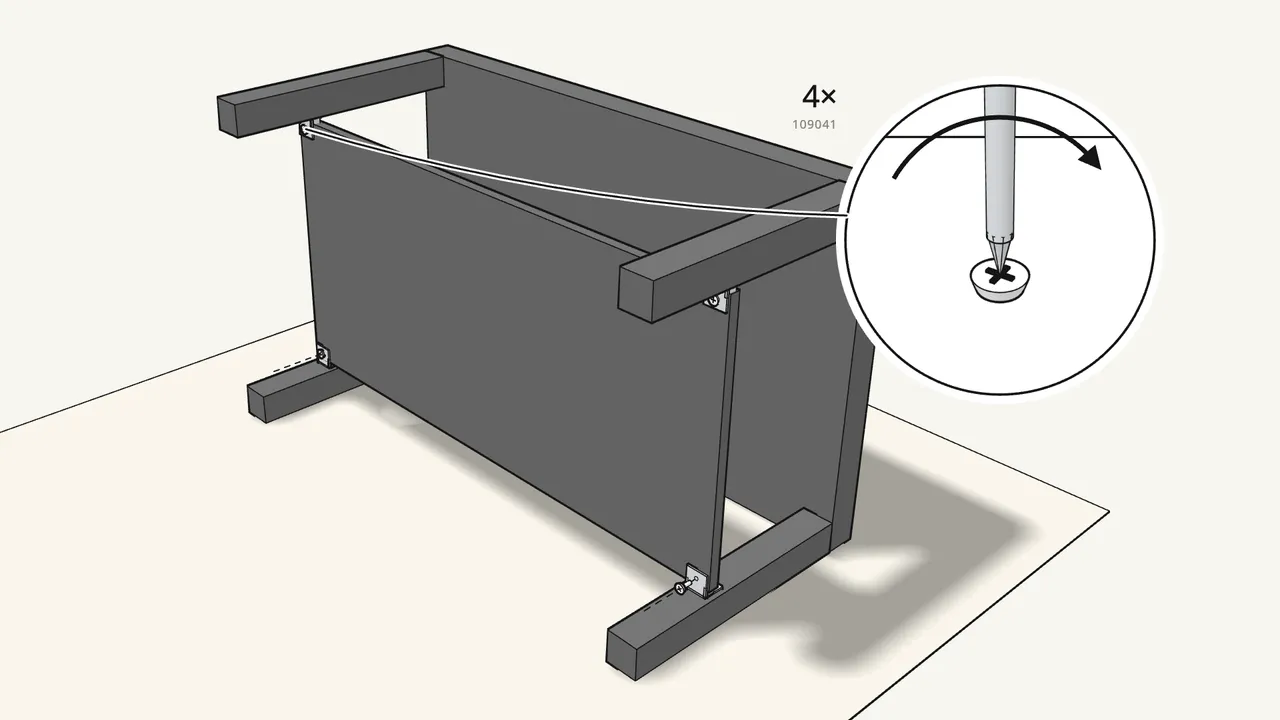
Step 12 · manual step 8
Fix the shelf with 4 screws (109041) through the brackets.
Use the short screws here.
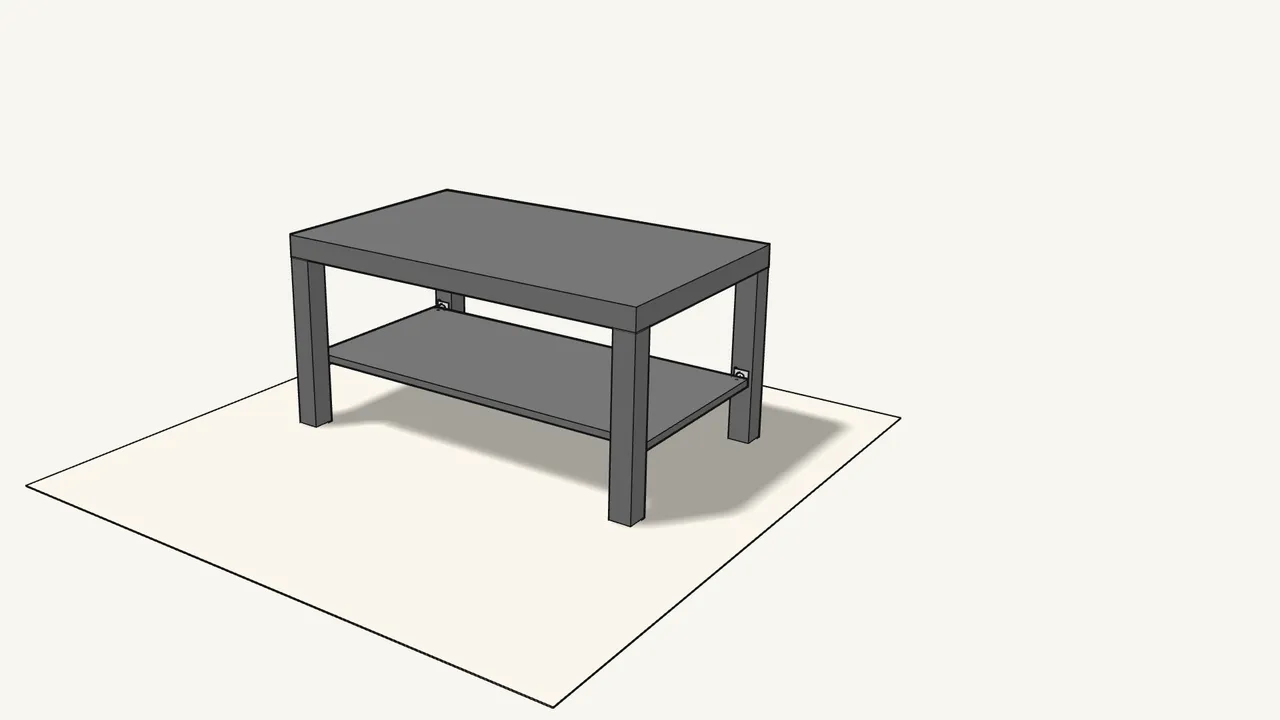
Step 13
Stand the table upright.
Tips & safety
- Assemble on a soft surface. The manual warns: a hard floor can damage the parts — use a rug or the flattened box.
Official instructions
This guide follows IKEA's official assembly instructions (AA-472482-3). Keep the printed manual to hand — if anything differs, the manual is right.