IKEA · Tables & Desks
How to assemble IKEA VADHOLMA Kitchen Island
Step-by-step IKEA VADHOLMA Kitchen Island assembly: 20 illustrated steps, an animated video, the hardware list and the tools you need — following the official instructions (AA-2085236-4).
- 20 illustrated steps
- 19 steps in the manual
- 2:58 video
- 126×79×90 cm cm
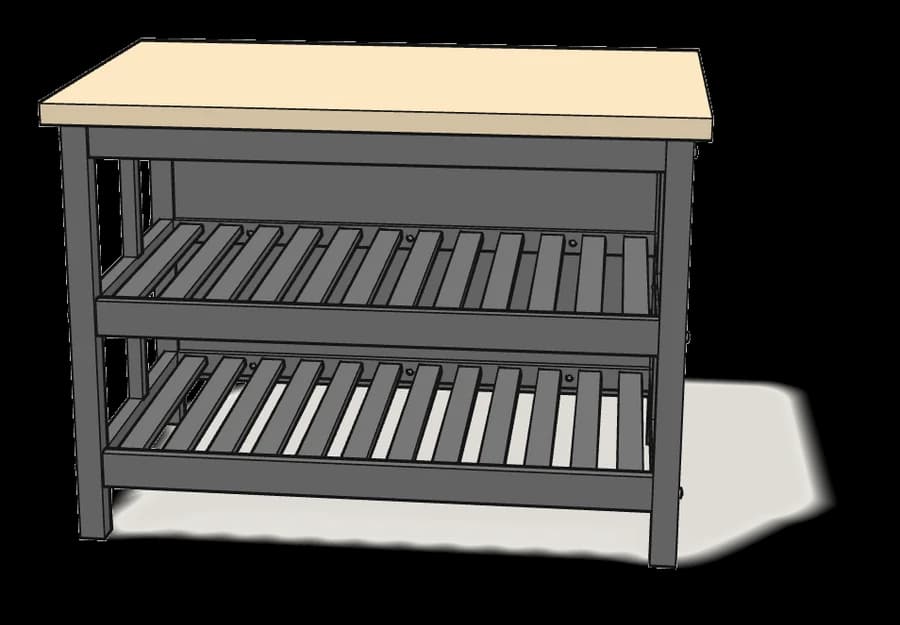
What you need
Tools
- Flat-head screwdriver
- Phillips screwdriver
- Allen key (included)
Hardware in the box
| Part no. (as printed in the manual) | Qty |
|---|---|
| 101352 | 23× |
| 118331 | 8× |
| 128874 | 6× |
| 113434 | 8× |
| 128406 | 8× |
| 117056 | 4× |
| 190473 | 4× |
| 106918 | 8× |
| 192372 | 4× |
| 105298 | 8× |
Step-by-step assembly
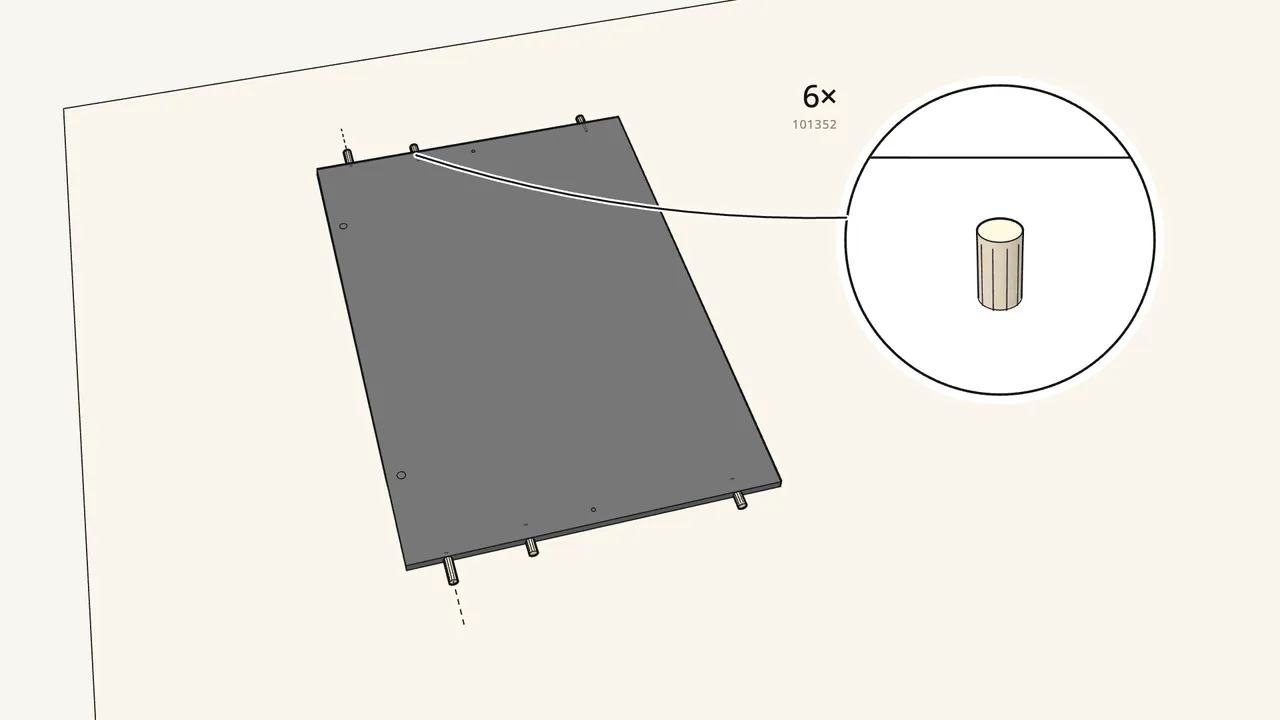
Step 1
Push 6 dowels into the ends of the back panel.
Lay the panel on a rug — 3 dowels in each short edge.
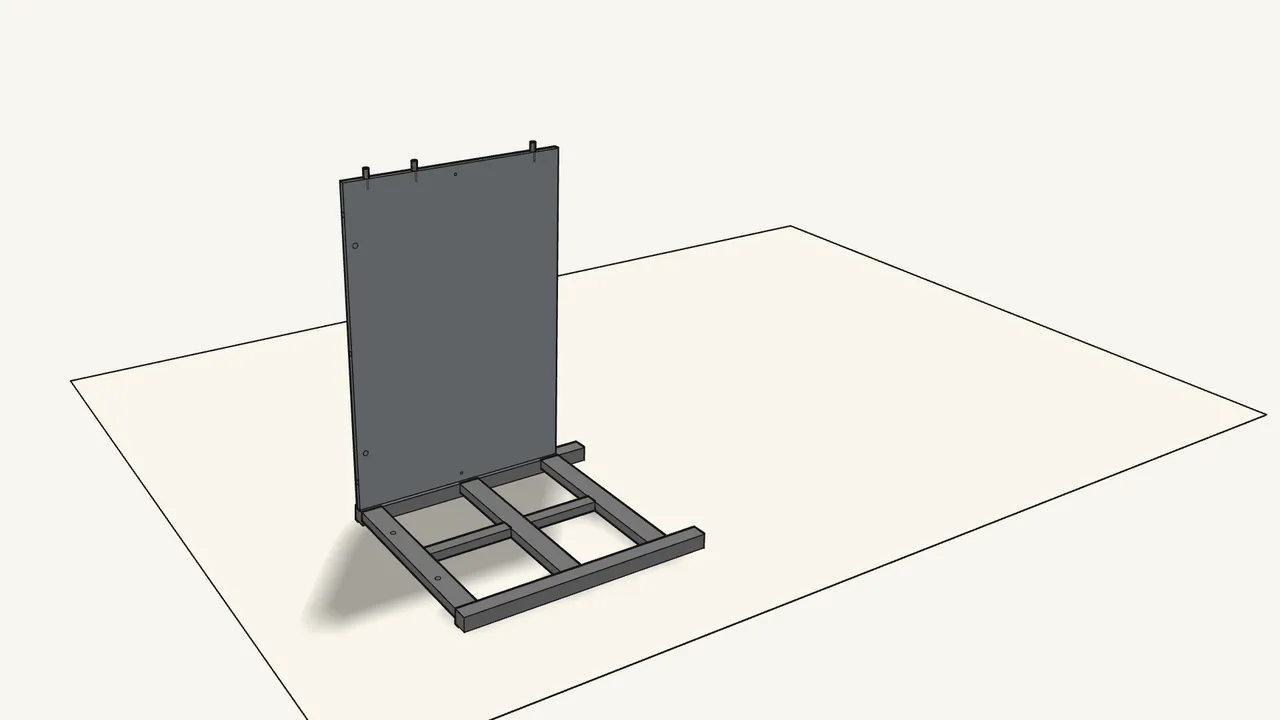
Step 2
Lay one end frame flat and stand the back panel in it.
Check the hole pattern on the panel and the frame — see the manual, step 2.
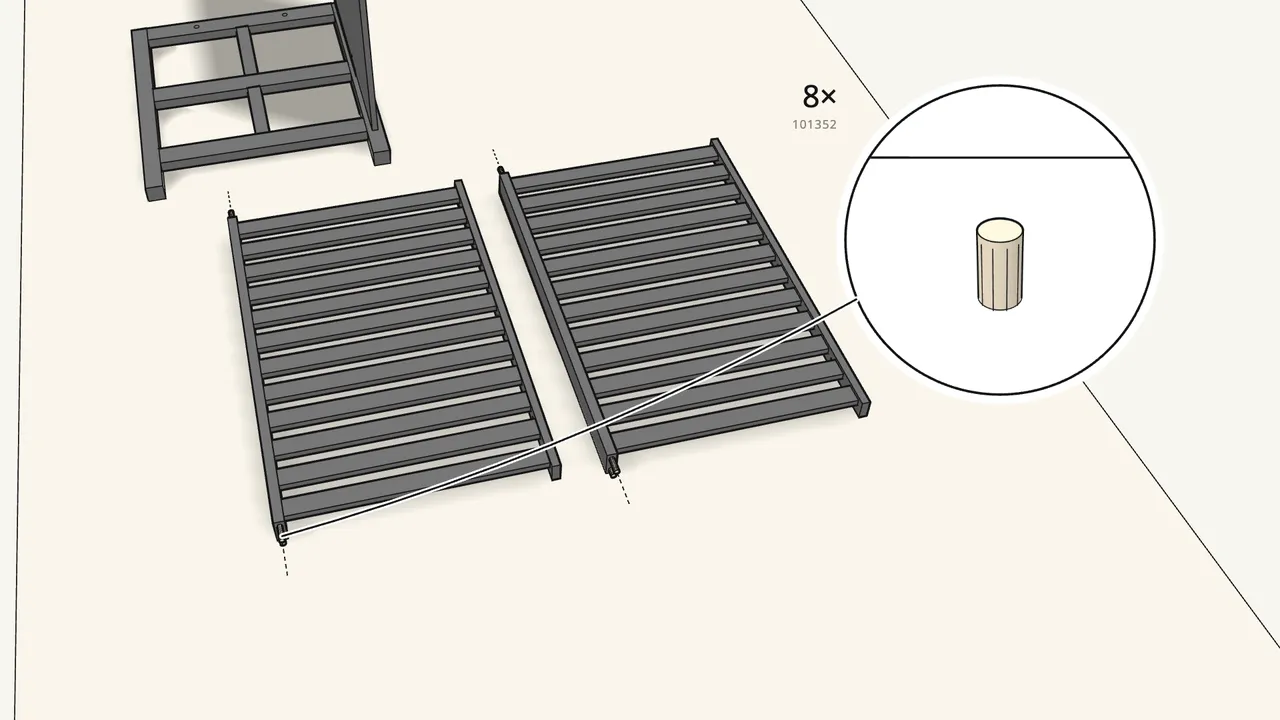
Step 3
Push 4 dowels into each of the two slatted shelves.
2 in each end of the front rail.
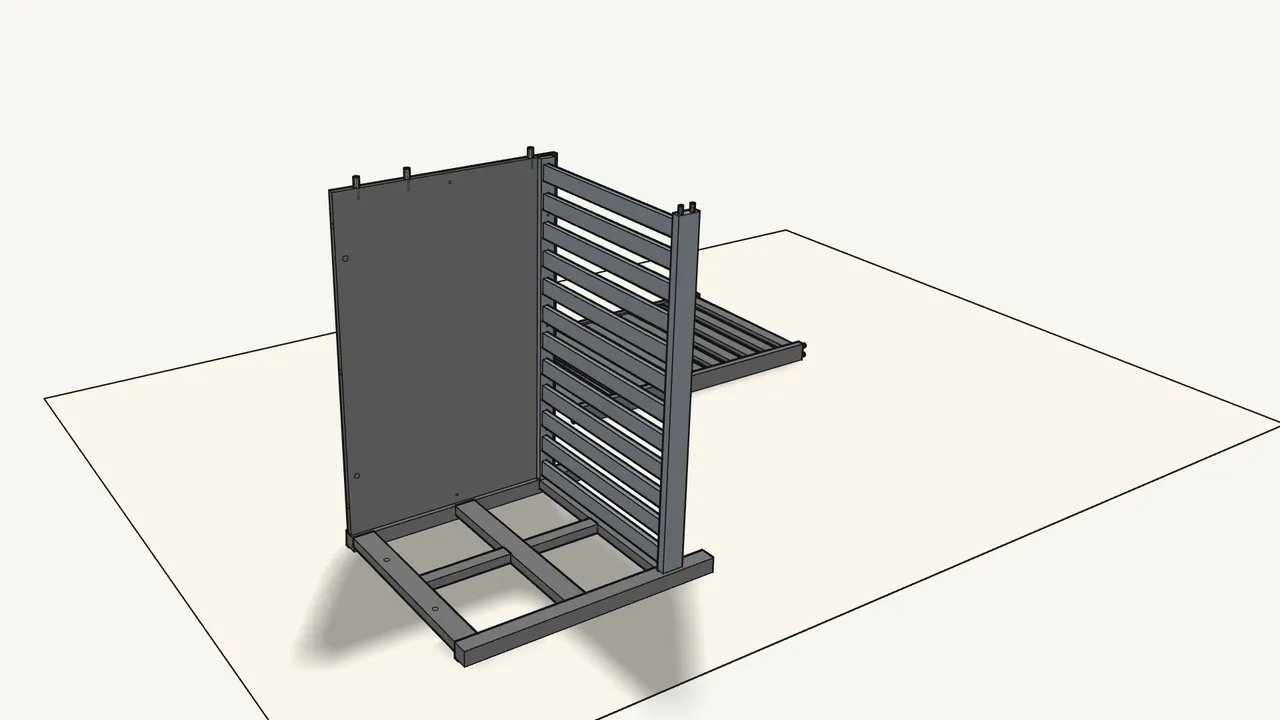
Step 4
Stand the first shelf into the end frame.
Two people. The dowels go into the holes in the leg.
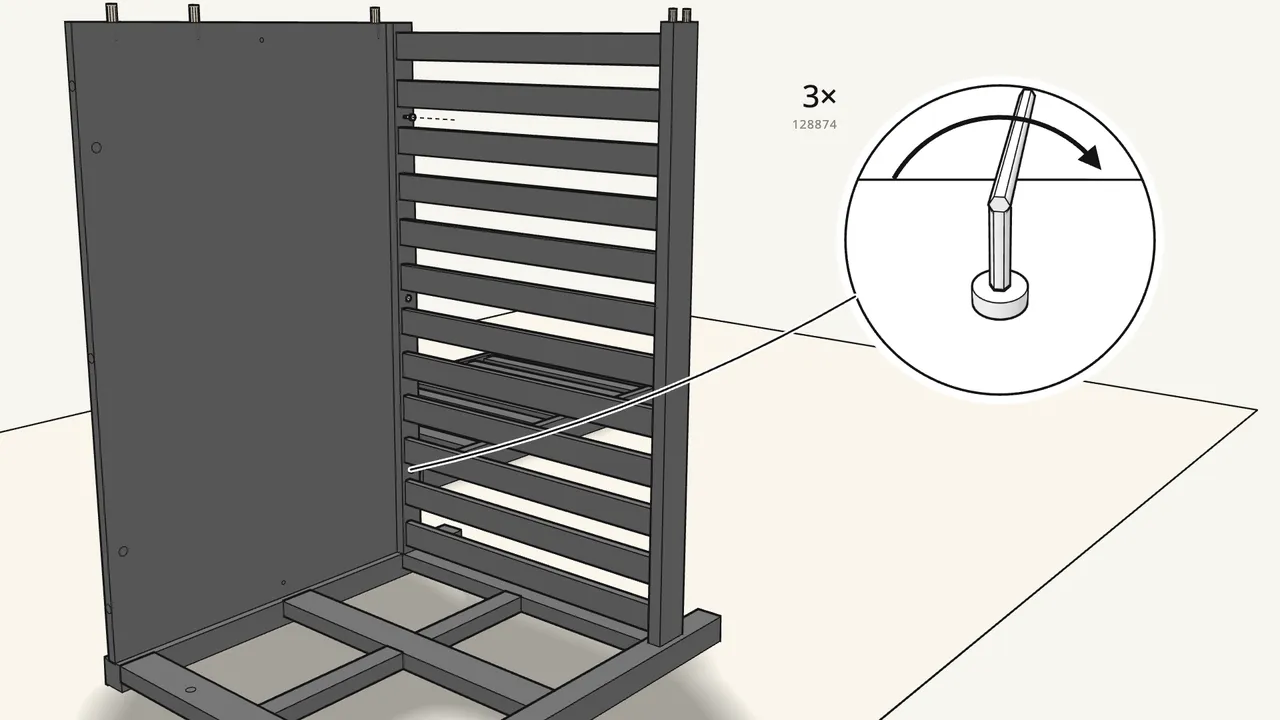
Step 5
Fix the shelf to the back panel with 3 bolts (128874).
Use the Allen key with the 121030 handle.
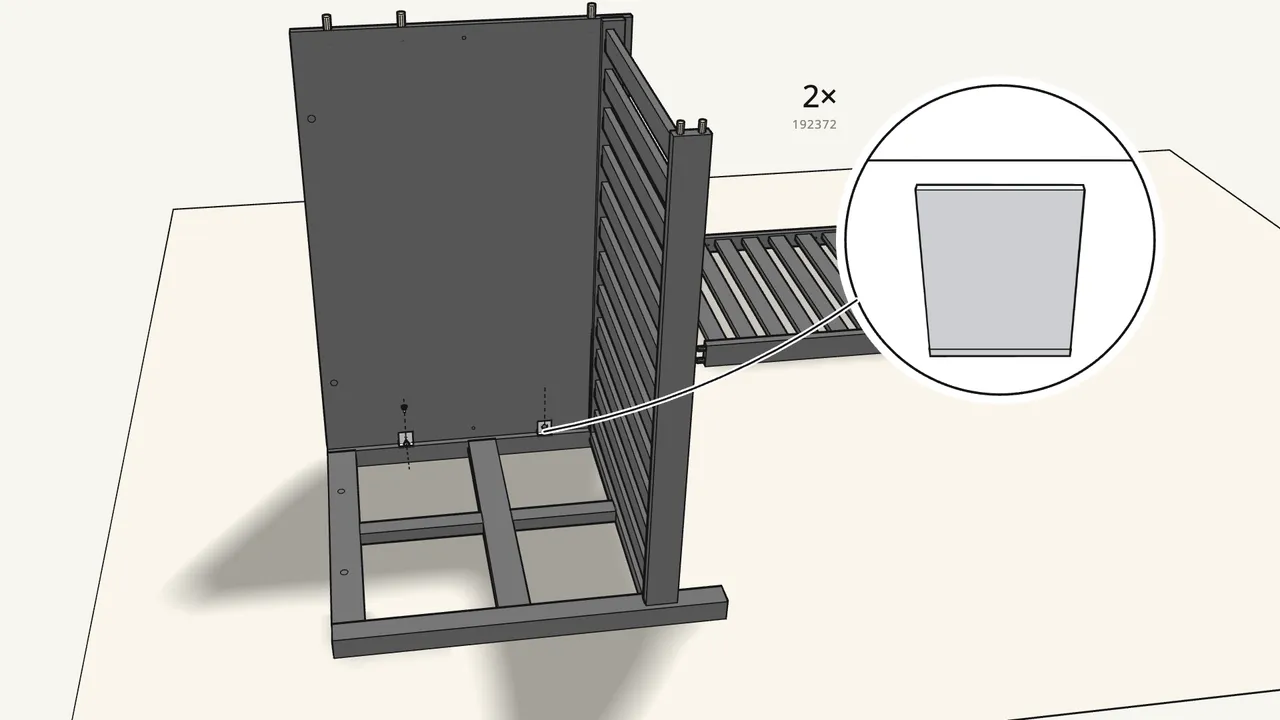
Step 6
Fix 2 angle brackets (192372) with 4 screws (105298).
In the corner between the back panel and the end frame.
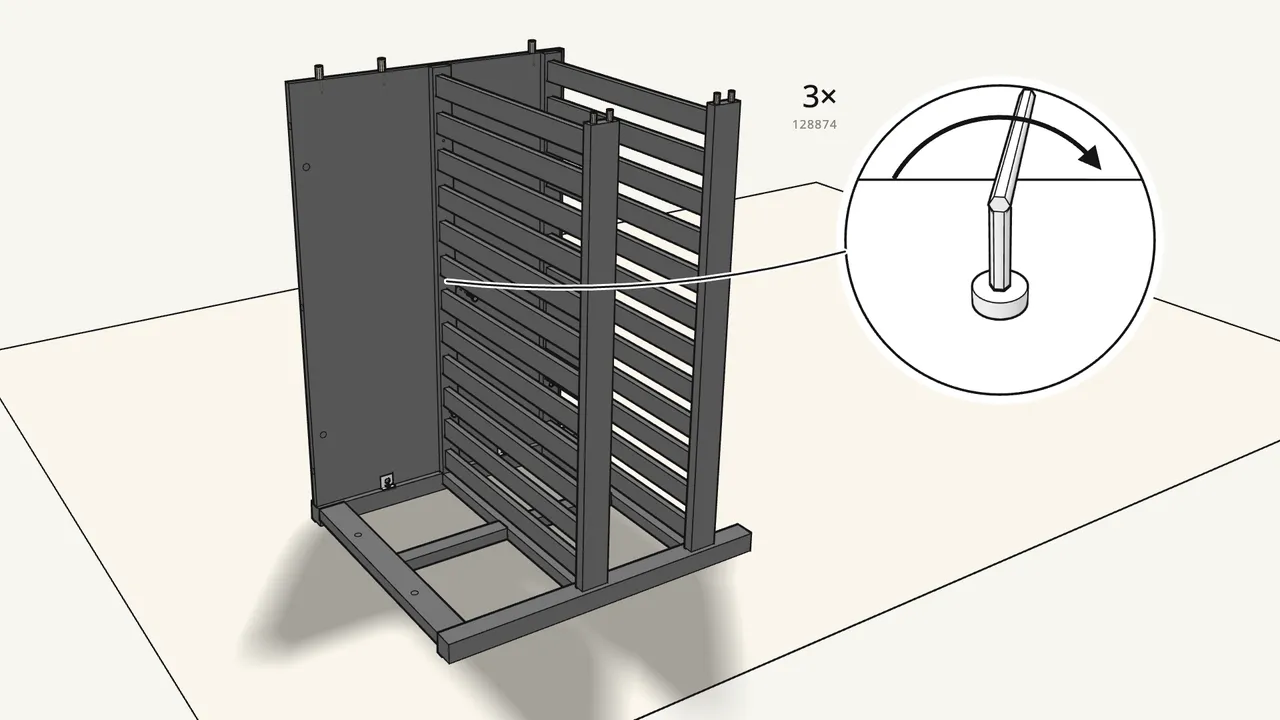
Step 7 · manual step 7–8
Stand the second shelf in and fix it with 3 bolts (128874).
Step 8 · manual step 9
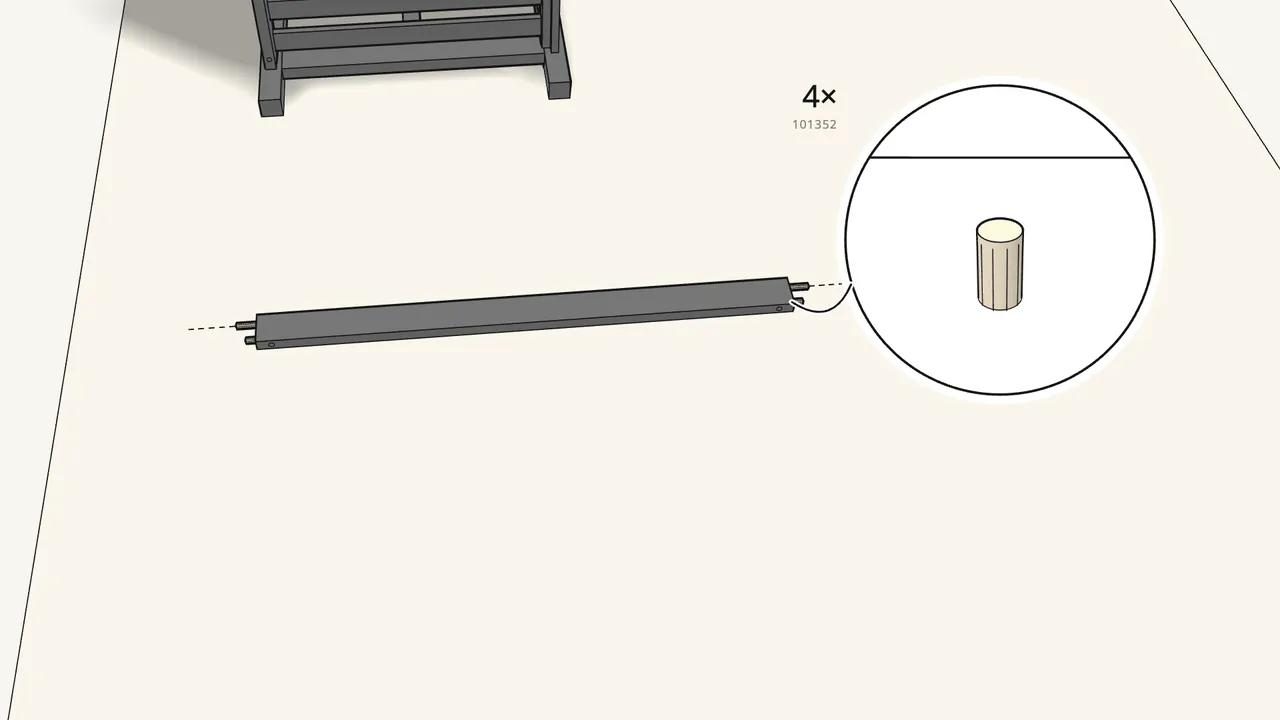
Push 4 dowels into the ends of the front top rail.
2 in each end.
Step 9 · manual step 10
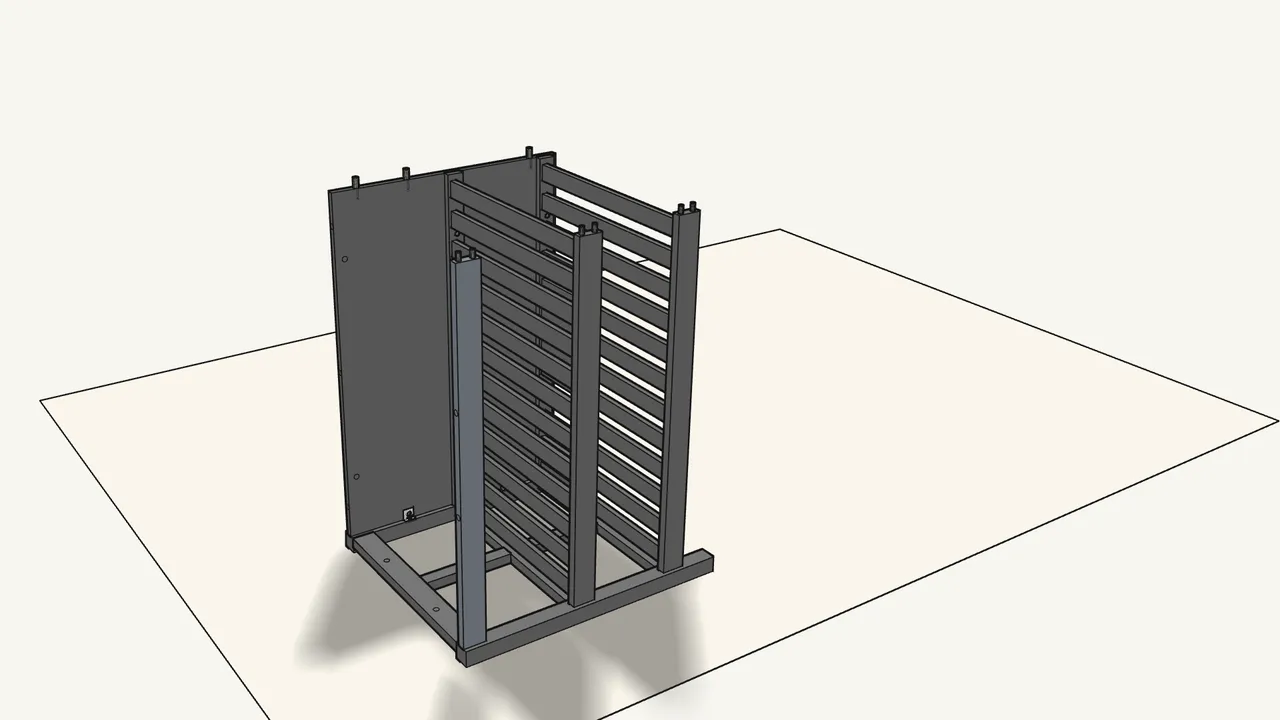
Stand the rail in the front corner of the end frame.
Check which end has which holes — see the manual, step 10.
Step 10 · manual step 11
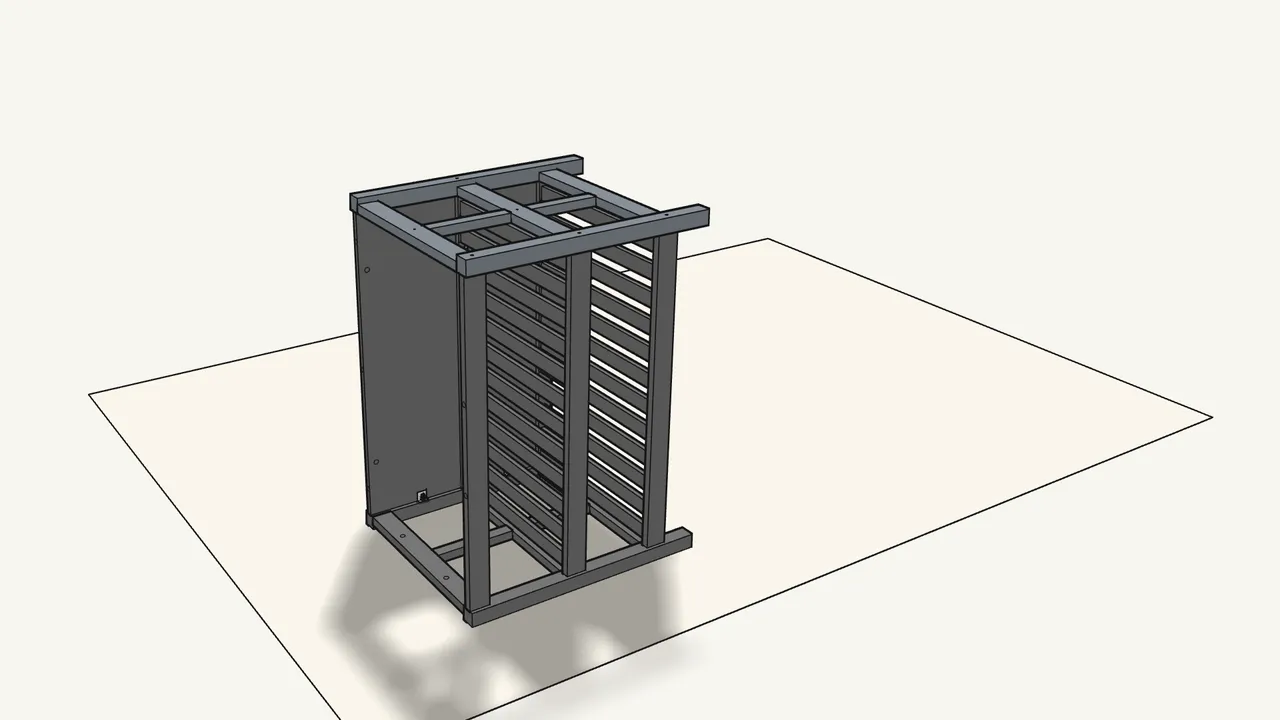
Turn the second end frame over and lower it on top.
Step 11 · manual step 12
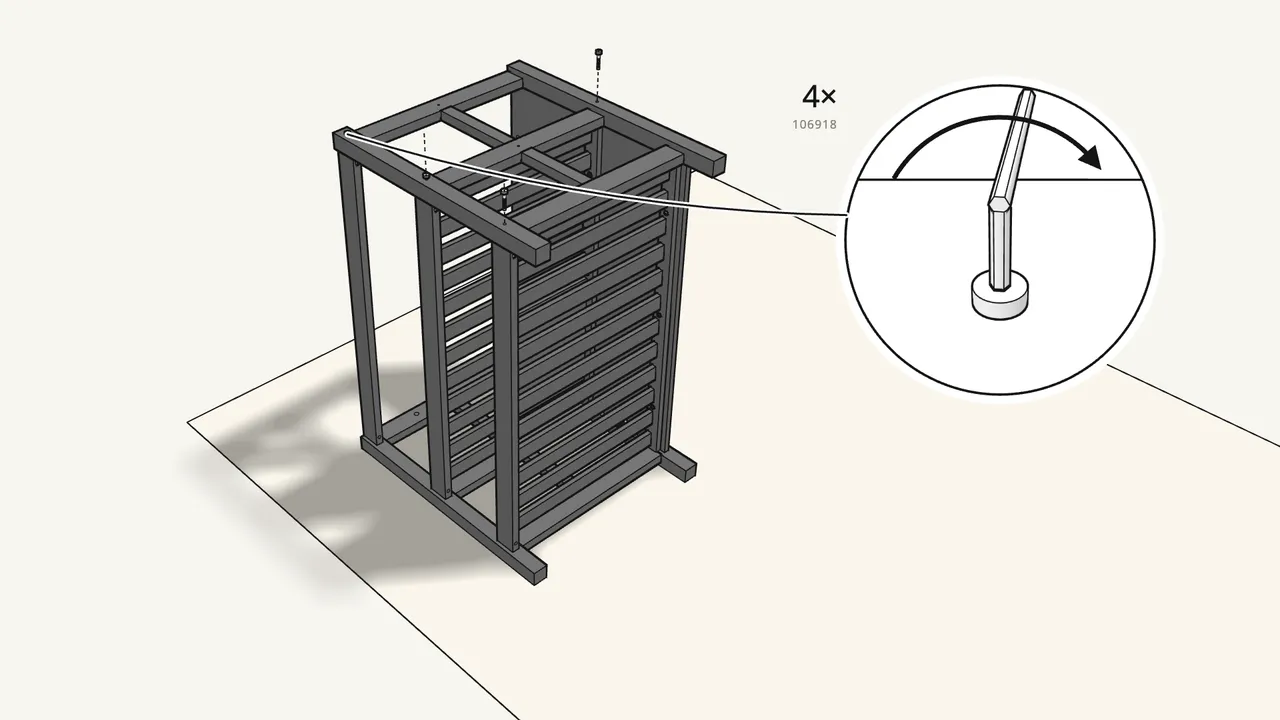
Fix it with 4 barrel nuts (128406) and 4 long bolts (106918).
Put the barrel nuts in first, then tighten the bolts.
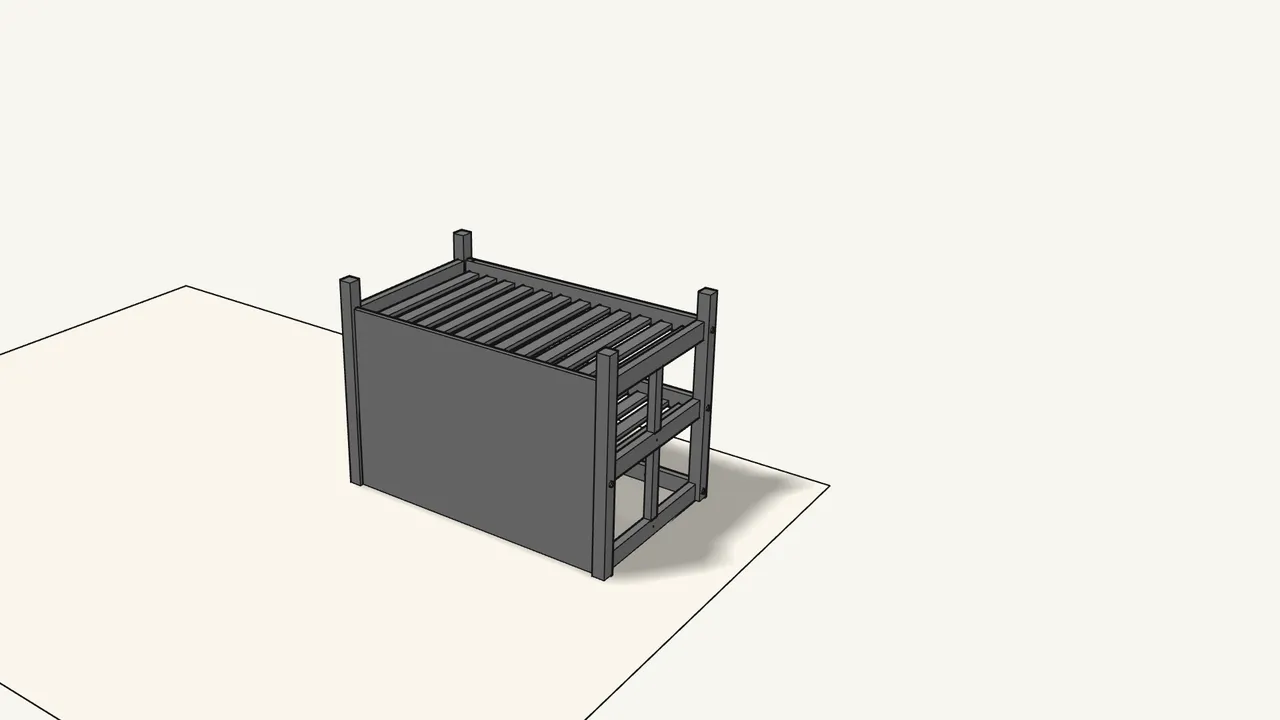
Step 12 · manual step 13
With two people, tip the unit over onto its top.
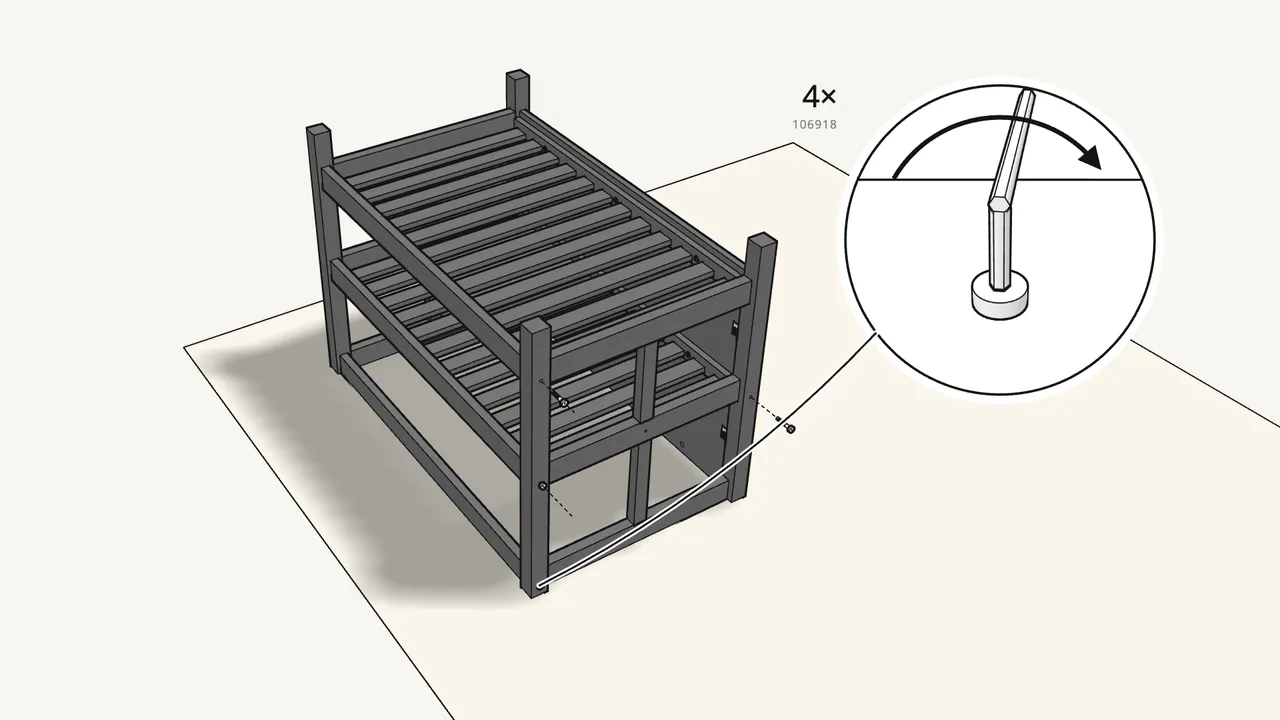
Step 13
Fix the other end the same way: 4 barrel nuts and 4 long bolts.
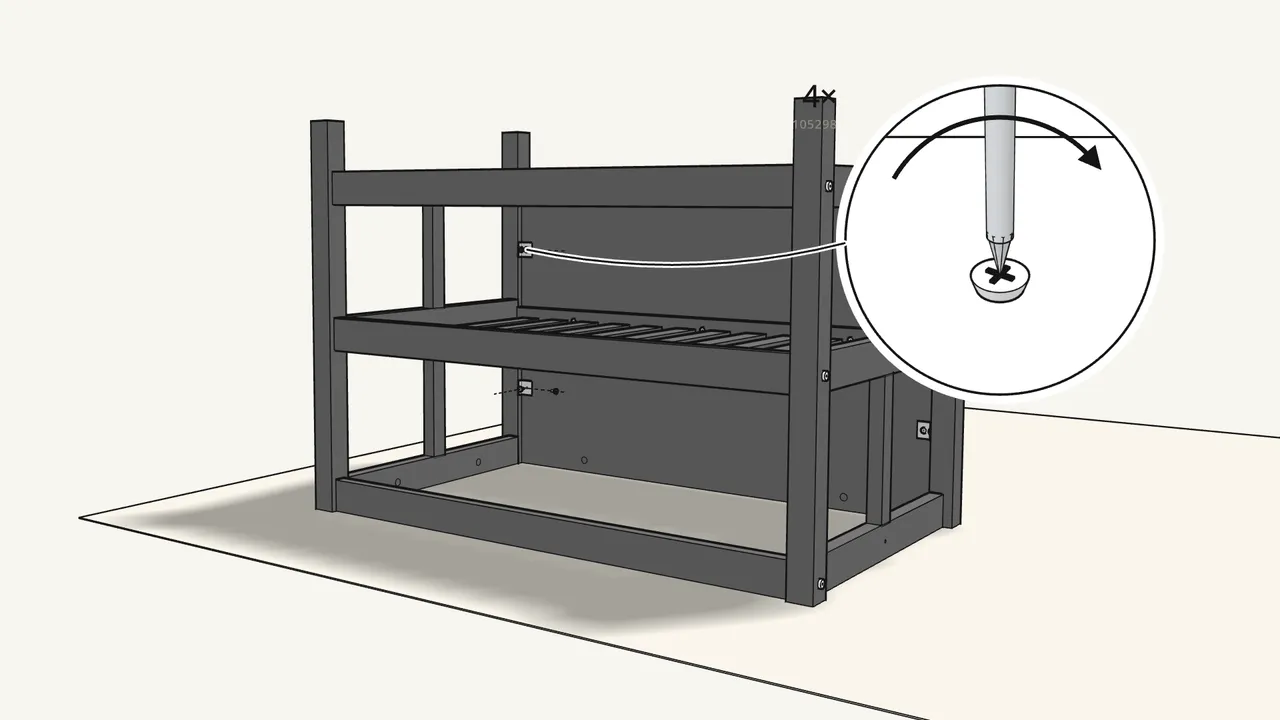
Step 14
Fix 2 more angle brackets with 4 screws (105298).
Back panel to the second end frame.
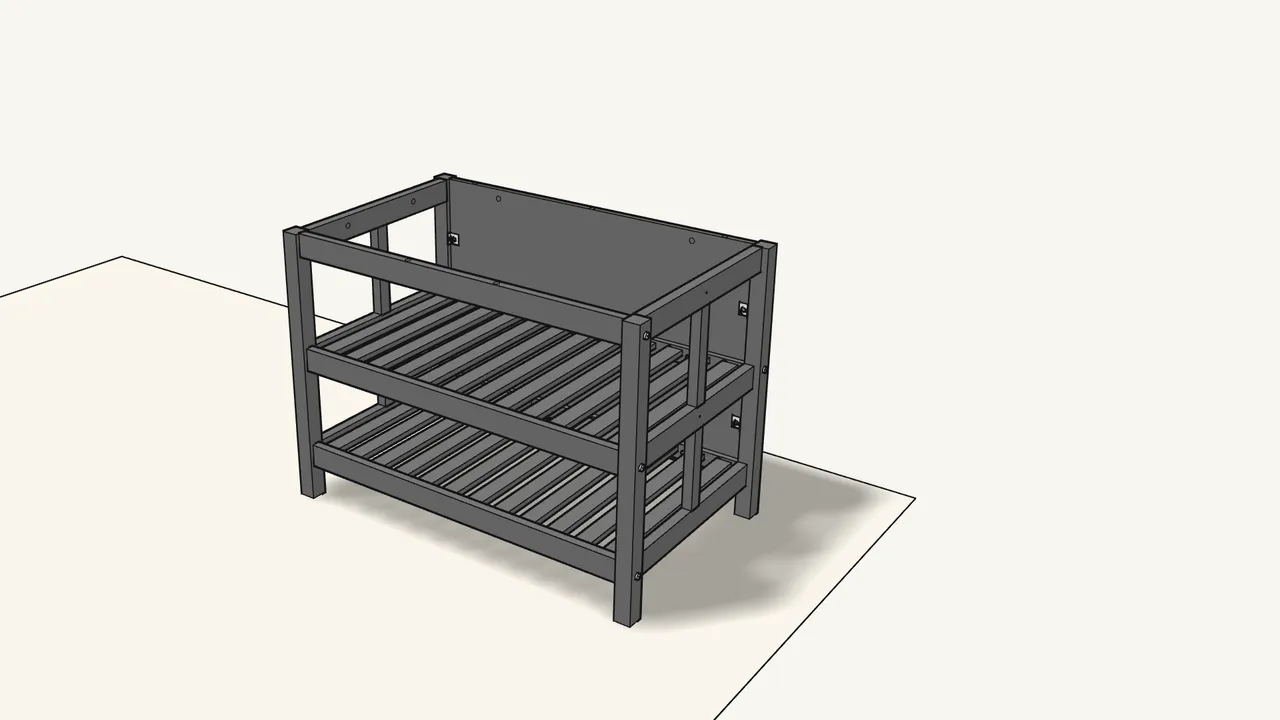
Step 15
With two people, turn the unit upright.
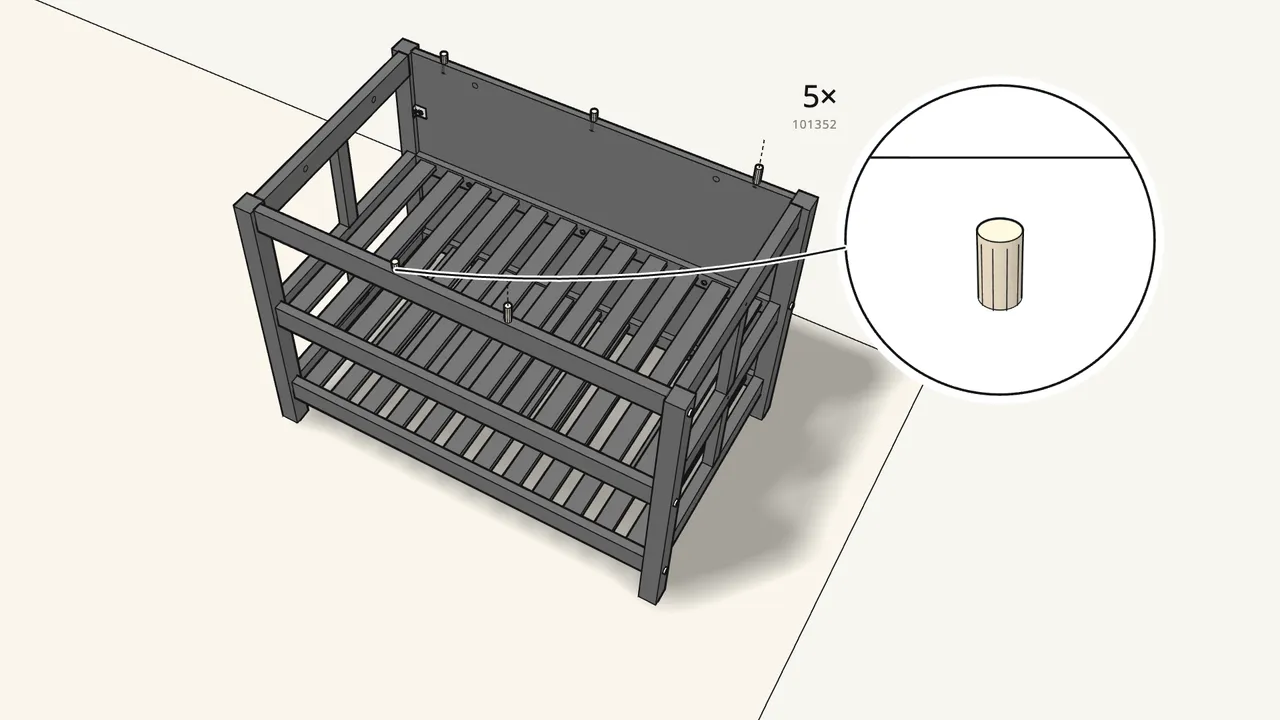
Step 16 · manual step 15
Push 5 dowels into the top edges of the frame.
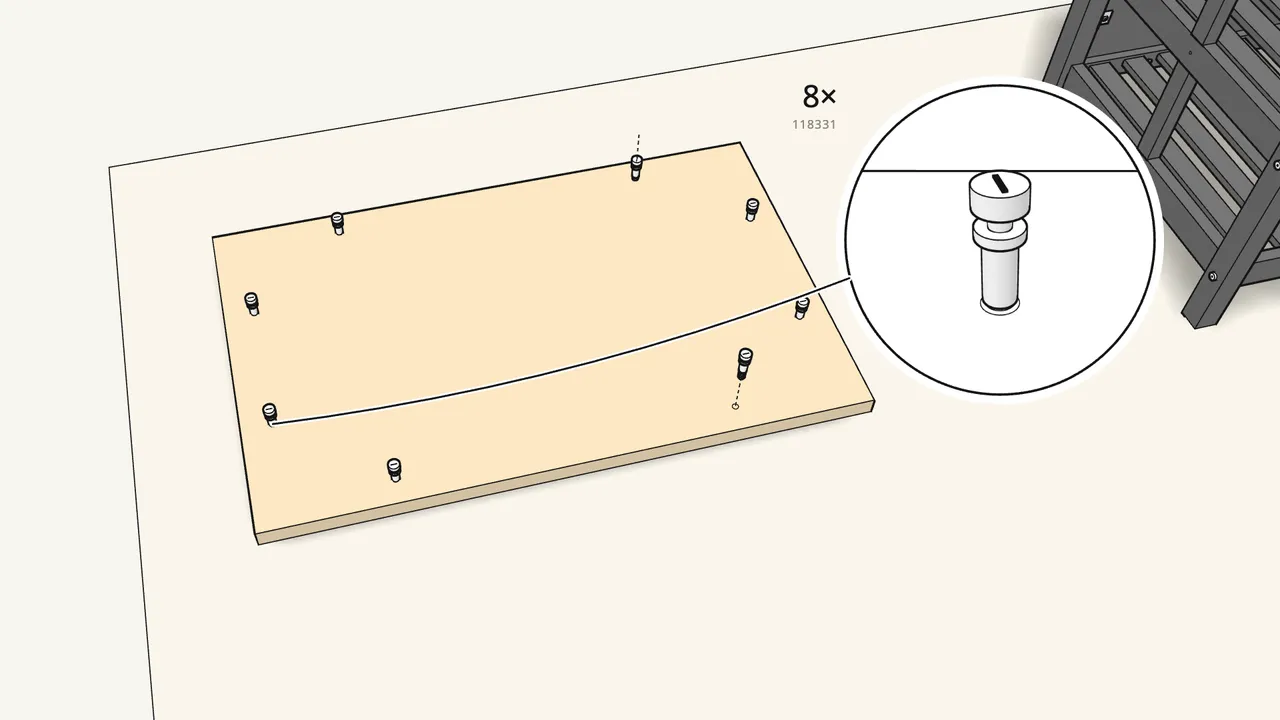
Step 17 · manual step 16
Screw 8 cam bolts into the underside of the top.
Lay the top face-down on a soft surface.
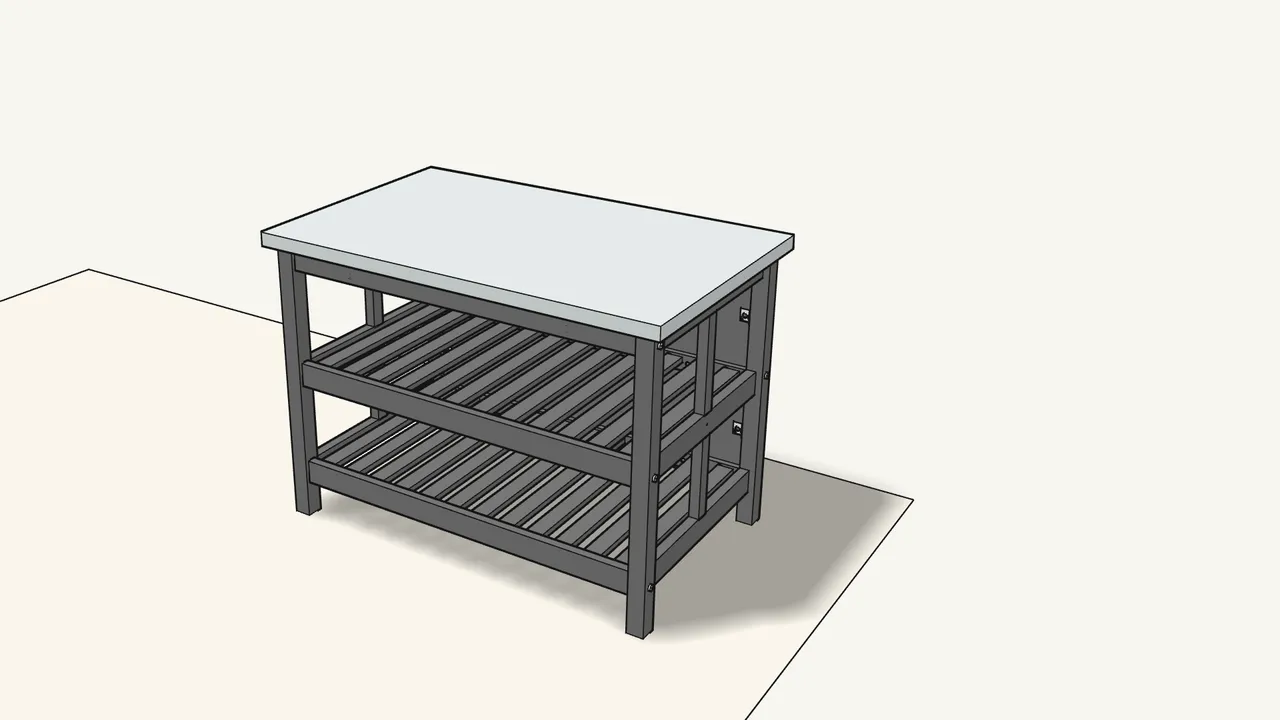
Step 18 · manual step 17
Turn the top over and lower it onto the frame.
Two people.
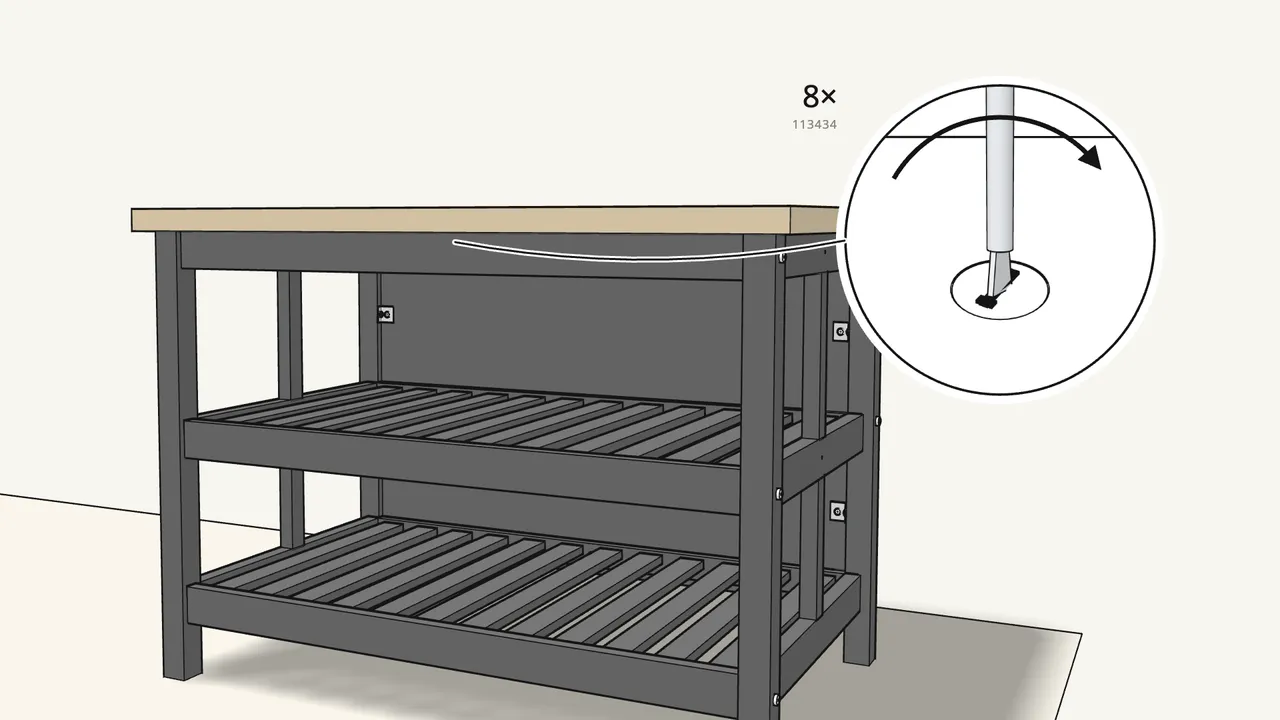
Step 19 · manual step 18
Insert 8 cam locks under the top and turn them clockwise.
In the inner faces of the top rails and the back panel.
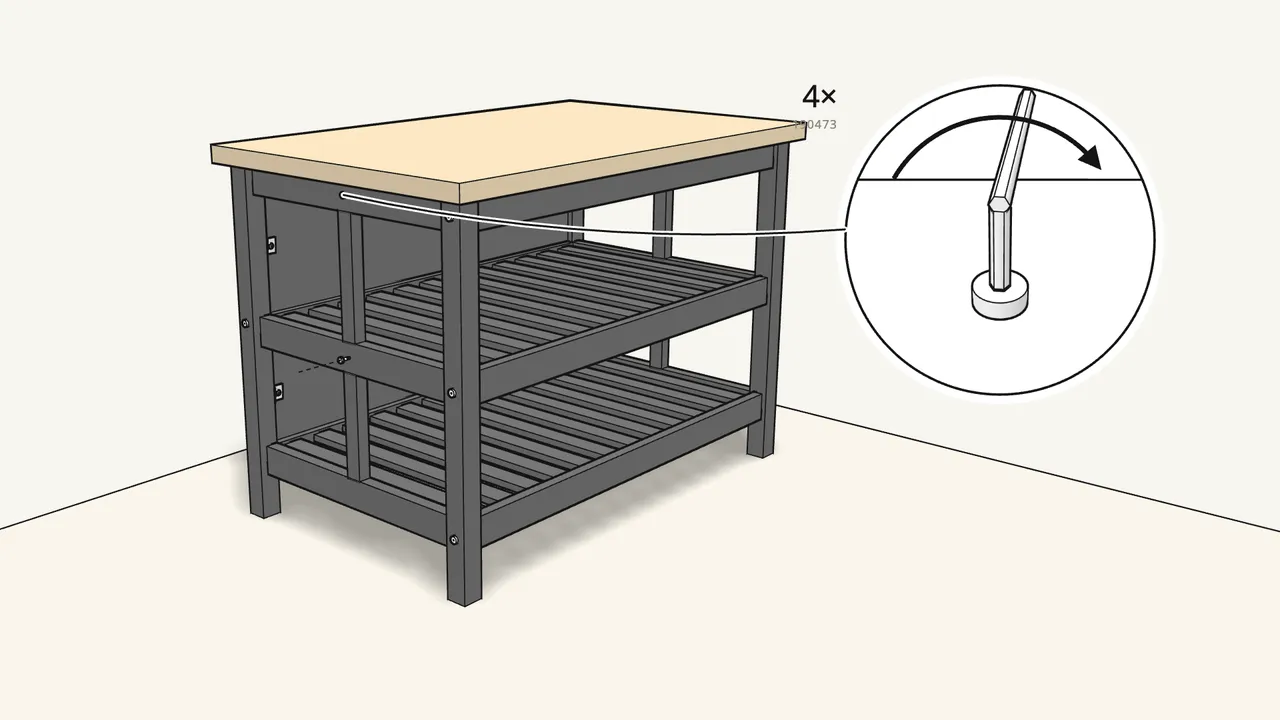
Step 20 · manual step 19
Not fitting the VADHOLMA rack? Close its 4 holes in the end frames.
Sleeve nut 117056 inside, screw 190473 with washer outside — see the manual, step 19.
Tips & safety
- Two people are needed. For standing the parts up, tipping the unit over and lifting the top on (manual steps 4–8, 13, 15, 17).
- Adding the VADHOLMA rack? It’s sold separately and fits in the holes of step 19 — skip step 19 and follow the rack’s own manual.
Official instructions
This guide follows IKEA’s official assembly instructions (AA-2085236-4). Keep the printed manual to hand — if anything differs, the manual is right.



