IKEA · Tables & Desks
How to assemble IKEA UTVISNING Gaming Desk with Shelf
Step-by-step IKEA UTVISNING Gaming Desk with Shelf assembly: 23 illustrated steps, an animated video, the hardware list and the tools you need — following the official instructions (AA-2476264-2).
- 23 illustrated steps
- 23 steps in the manual
- 3:27 video
- 120×60×94 cm cm
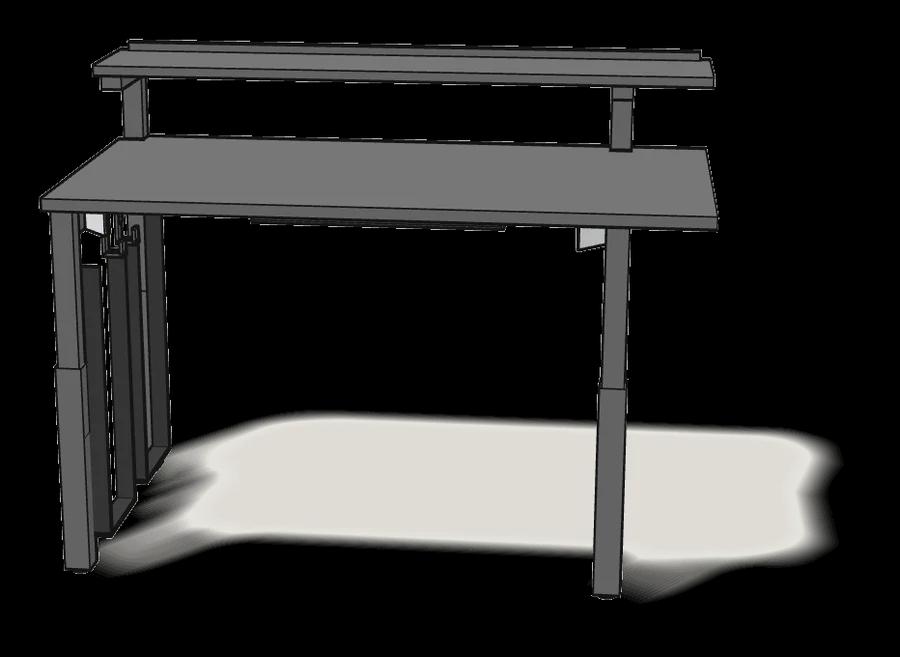
What you need
Tools
- Phillips screwdriver
- Allen key (included)
- Spanner (included)
Hardware in the box
| Part no. (as printed in the manual) | Qty |
|---|---|
| 113142 | 7× |
| 122341 | 4× |
| 100498 | 4× |
| 10120453 | 8× |
| 115461 | 11× |
| 117327 | 2× |
| 190015 | 7× |
| 100600 | 16× |
| 148816 | 4× |
| 103430 | 4× |
| 100843 | 4× |
Step-by-step assembly
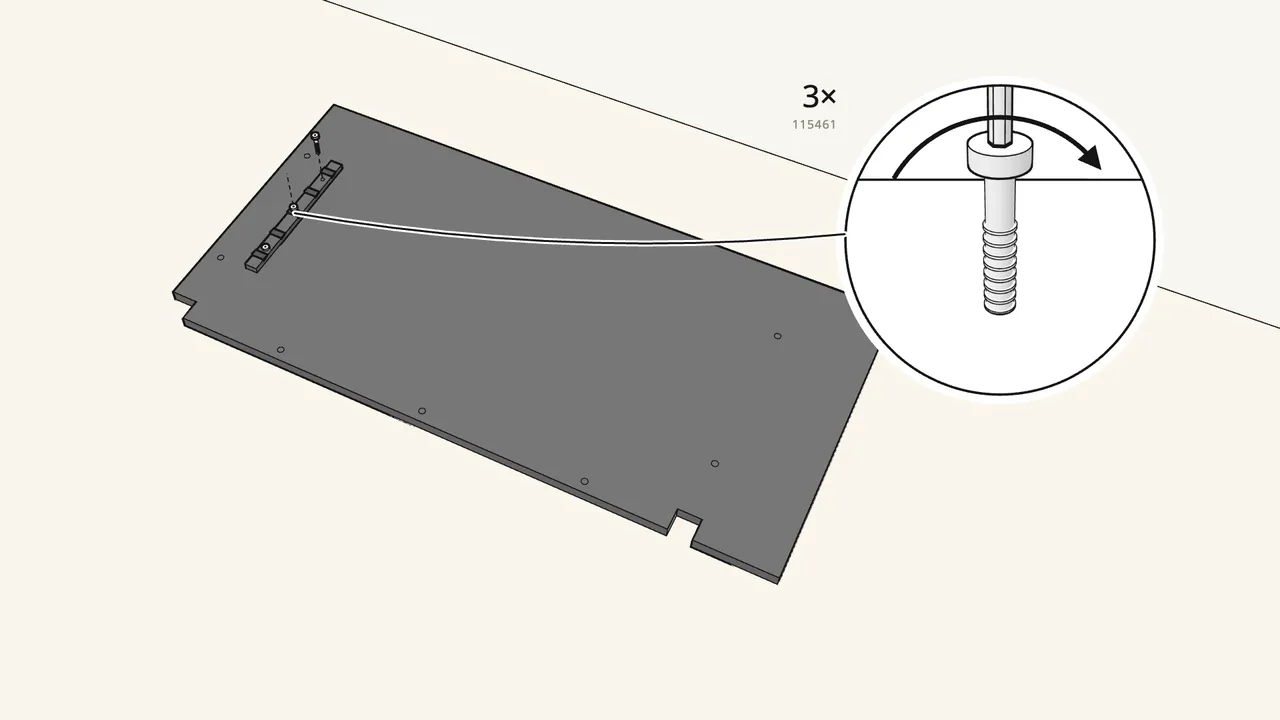
Step 1
Lay the desktop face down. Screw on the bracket with 3 screws (115461).
Shown for the PC holder on the left — for the right side, follow manual p. 8–10.
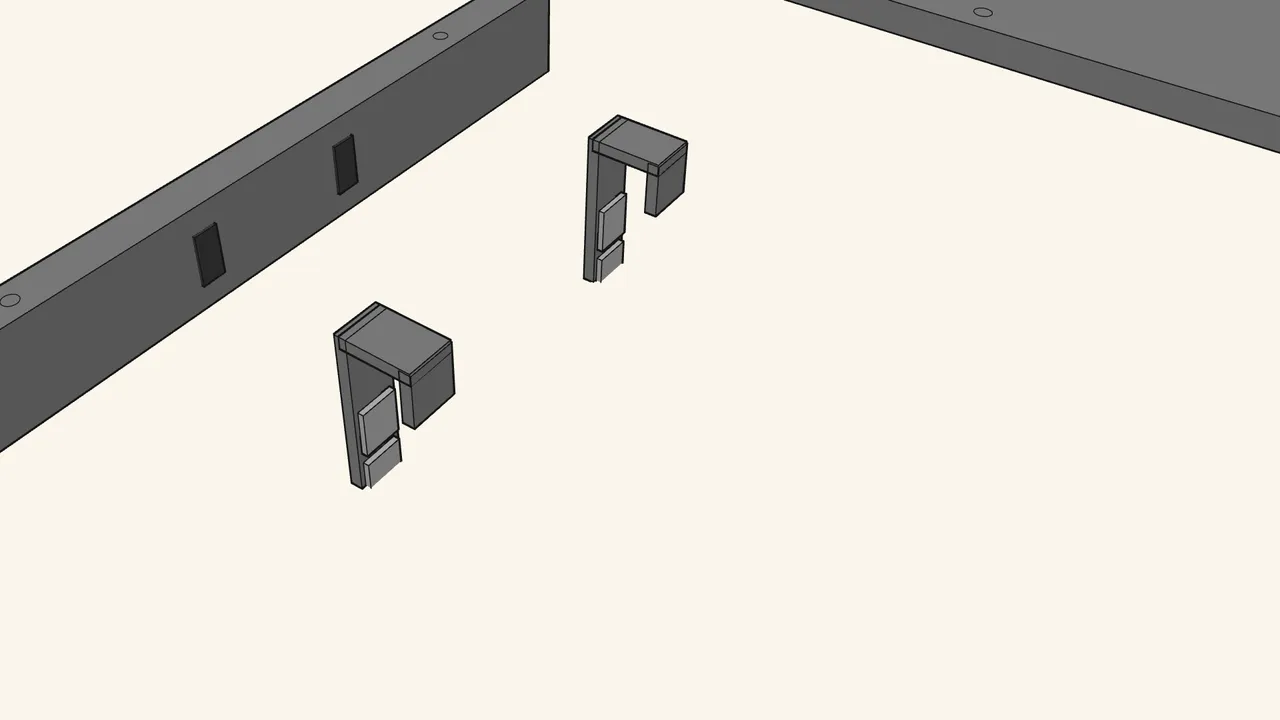
Step 2
Stick the pads (10080238) inside the 2 hooks.
8 pads in all — see the manual, step 2.
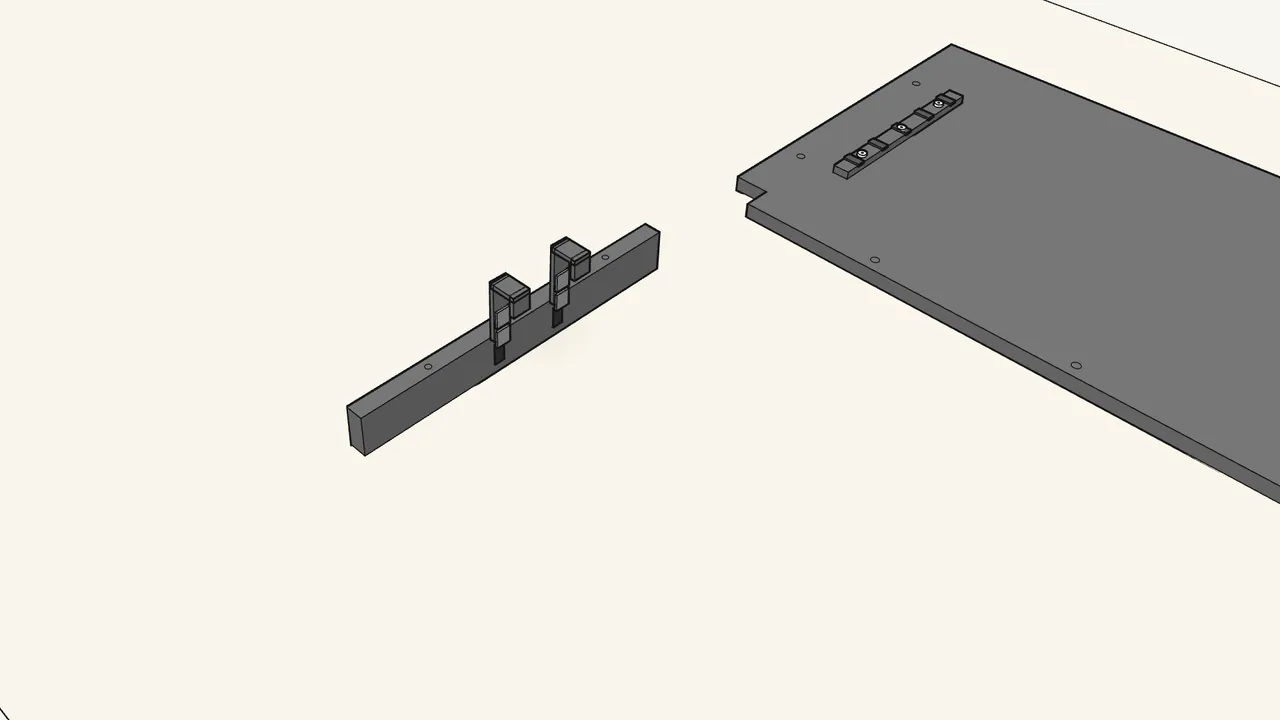
Step 3
Hang the 2 hooks on the end rail.
Step 4
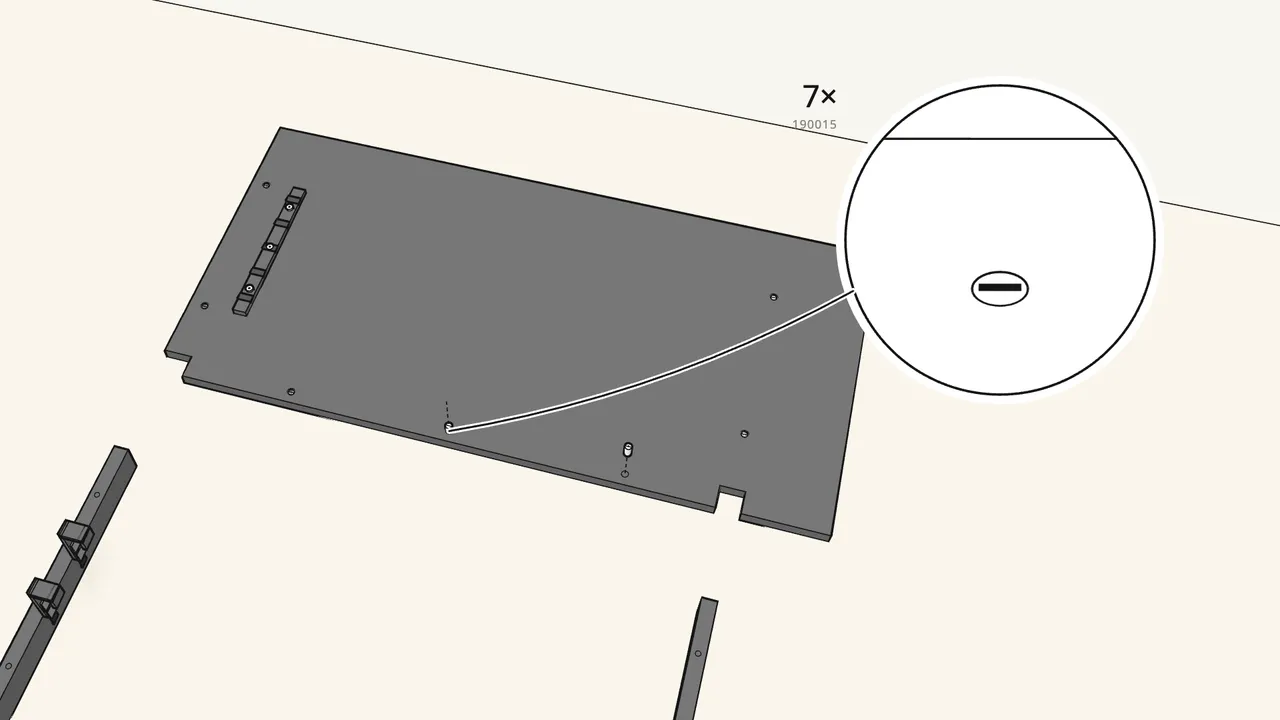
Press 7 inserts (190015) into the holes in the underside.
Step 5 · manual step 4
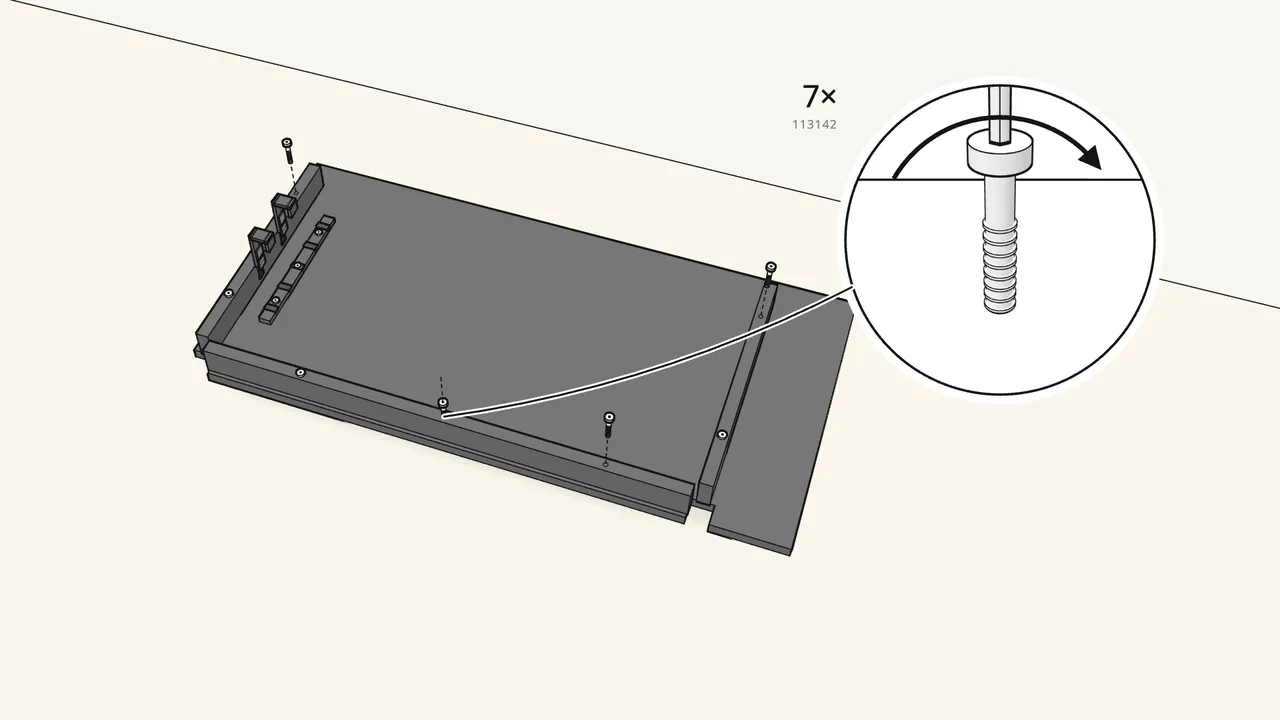
Lay the 3 rails on and bolt them down with 7 bolts (113142).
Allen key 100092. The rail with the hooks goes at the left end.
Step 6 · manual step 5
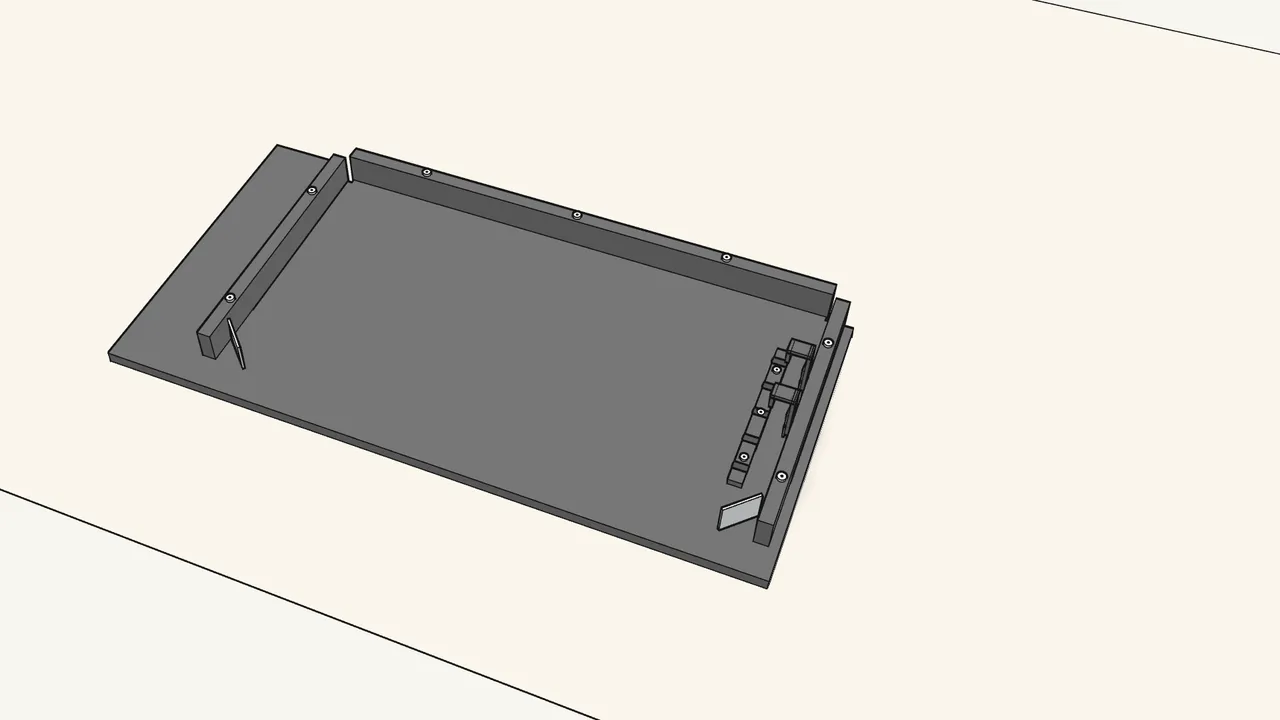
Push a corner plate (10035912) into each front corner of the frame.
Slide it in, then press it into place.
Step 7 · manual step 6
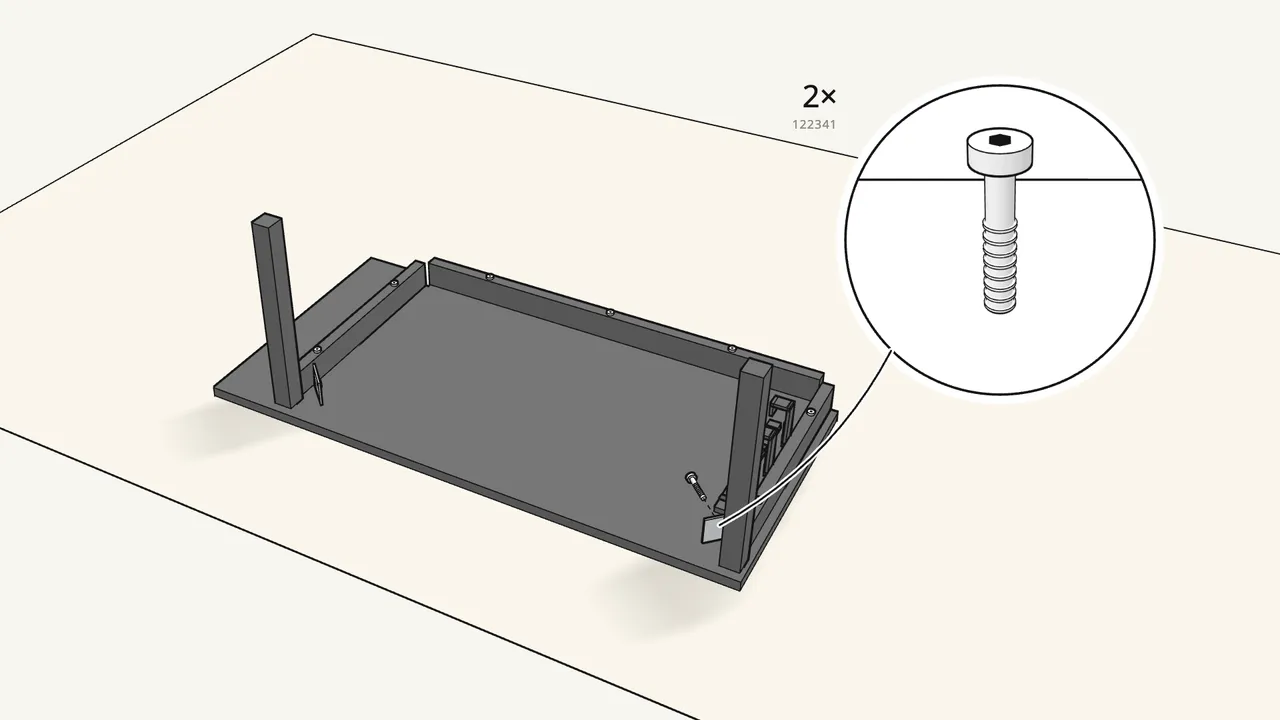
Fit the 2 front legs: spring washer (100843) + bolt (122341).
Notched end of the leg into the corner. Tighten with the spanner (128632).
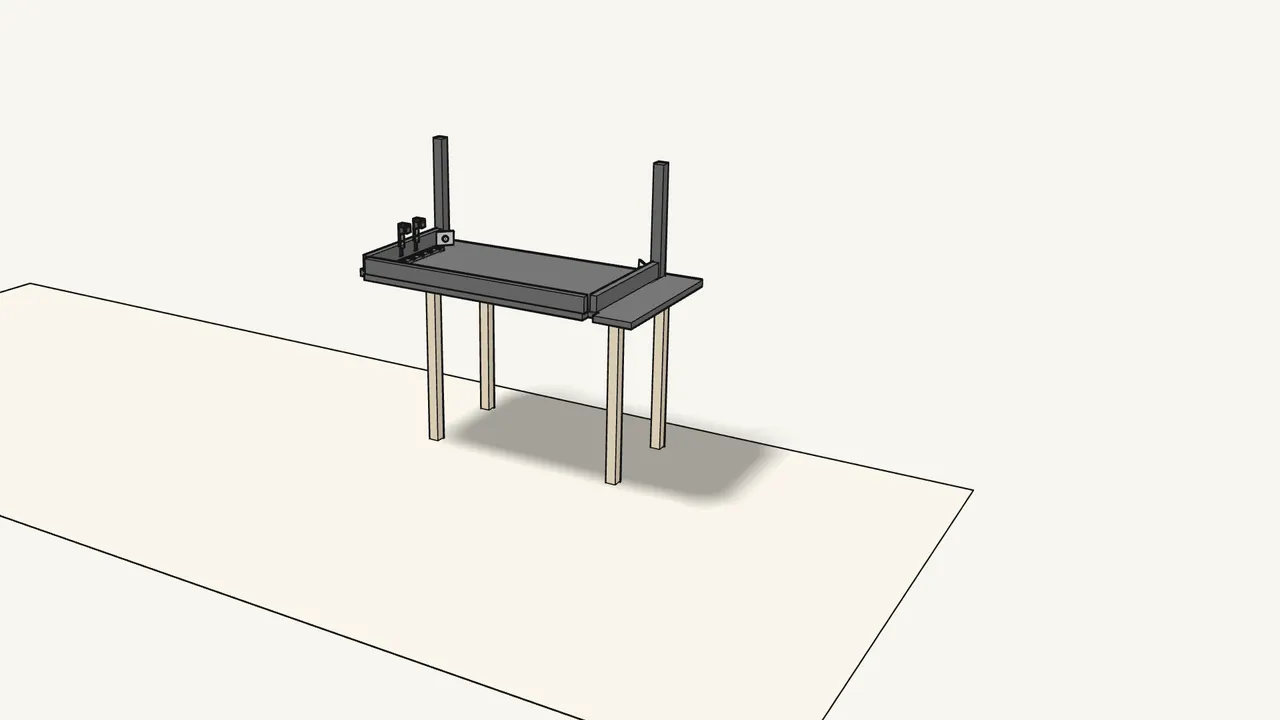
Step 8
Lift the desk, still upside down, onto a sturdy table.
The manual works on a table from step 8 on — the shelf posts reach below the desktop.
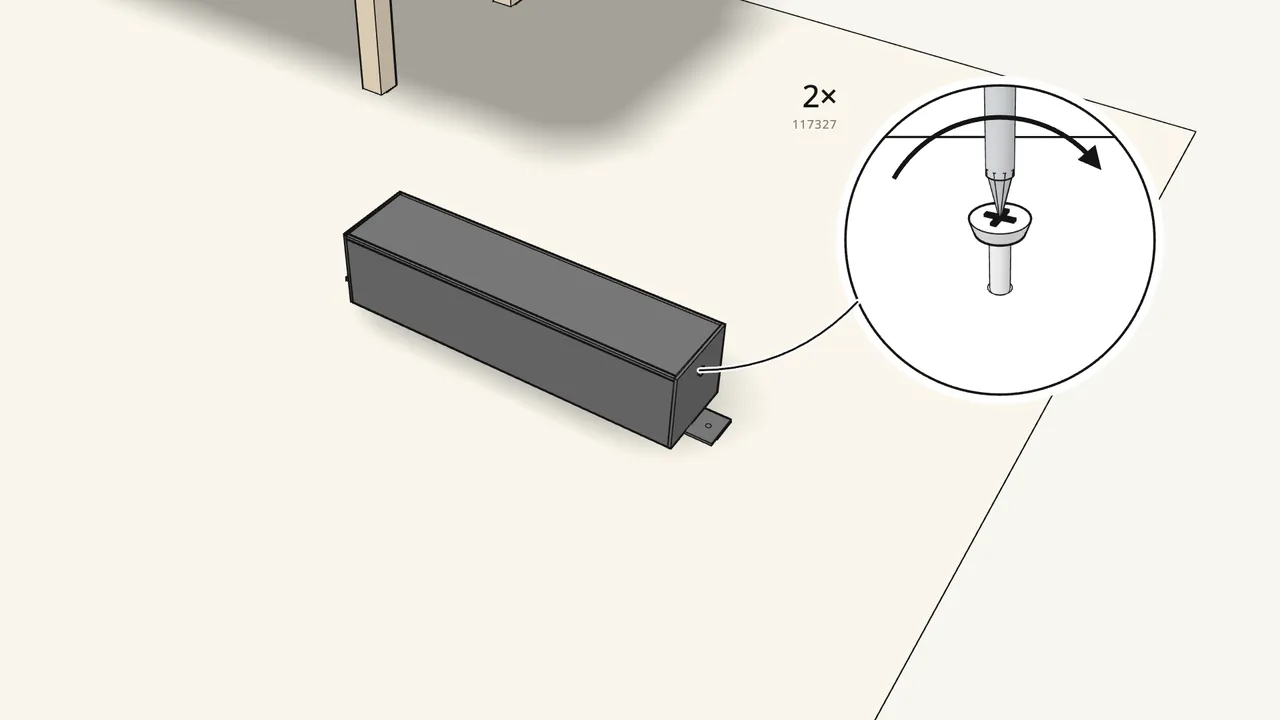
Step 9 · manual step 7
Screw the 2 end brackets onto the cable tray with 2 screws (117327).
Phillips screwdriver.
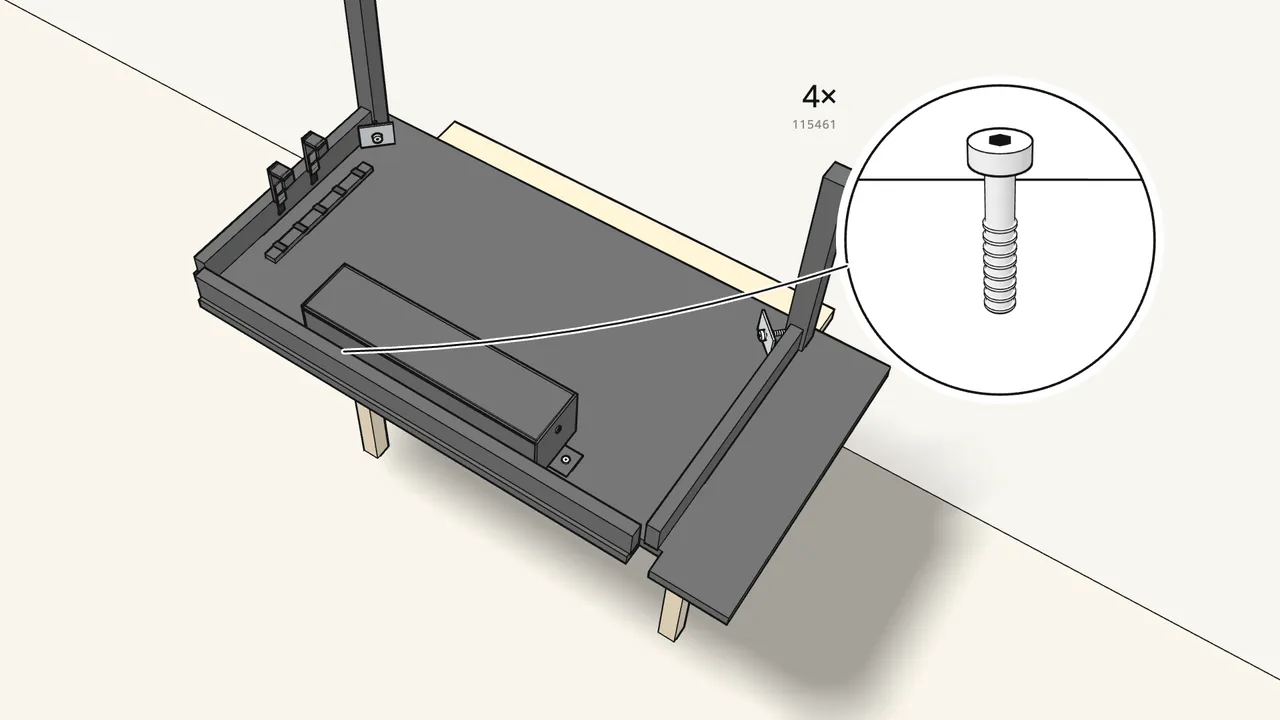
Step 10 · manual step 8–10
Fit the tray under the desktop along the back rail.
2 screws (115461) into the desktop, then 2 through the tray into the rail.
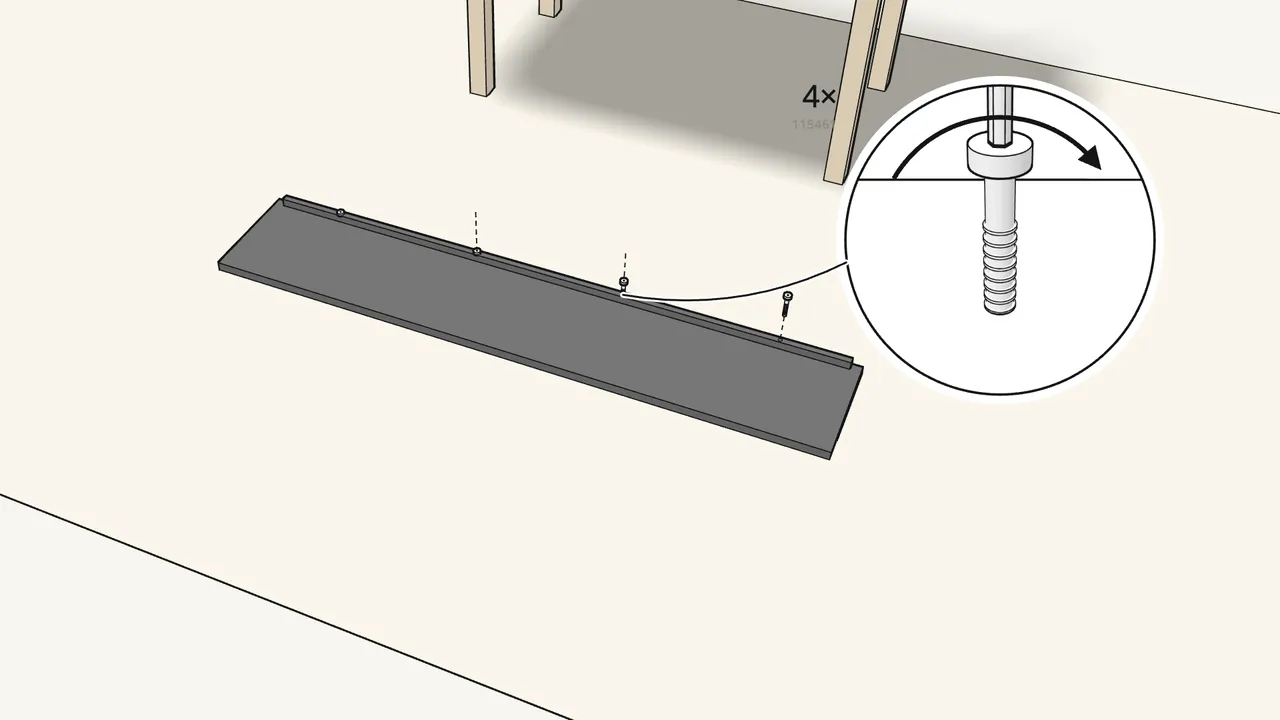
Step 11
Screw the strip onto the shelf with 4 screws (115461).
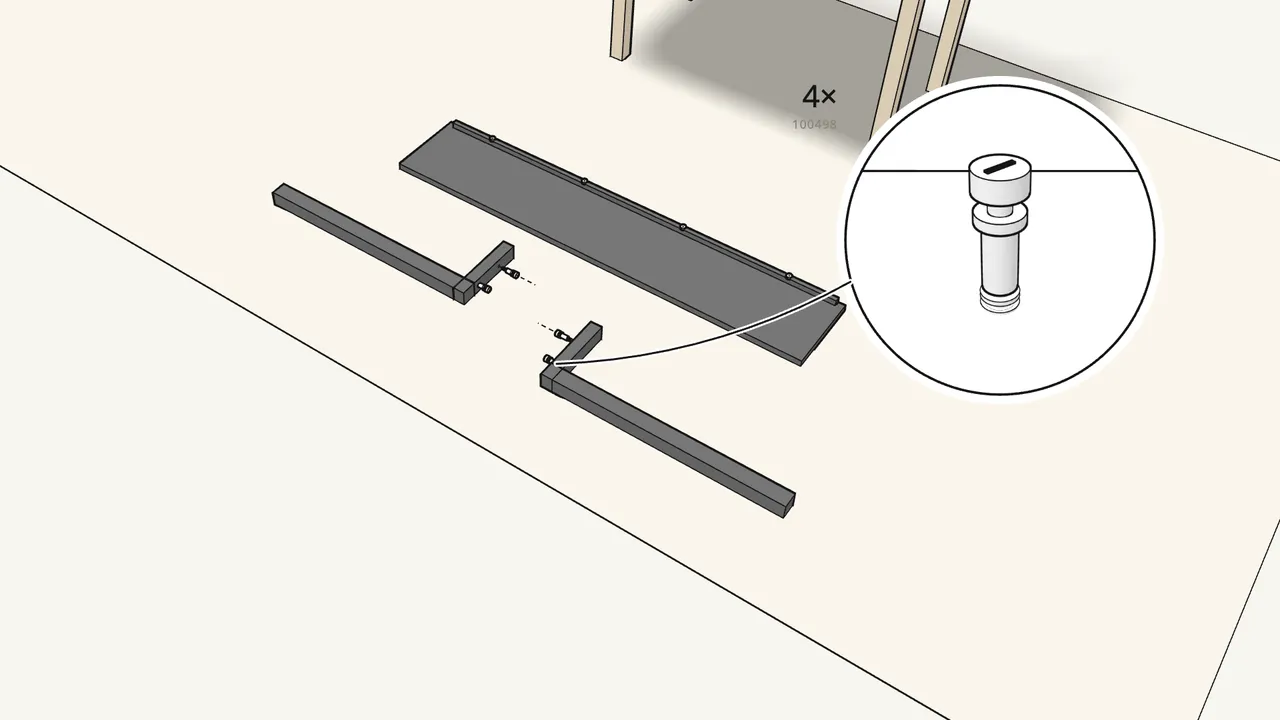
Step 12
Screw 4 cam studs (100498) into the arms of the 2 shelf posts.
Phillips screwdriver — 2 per post.
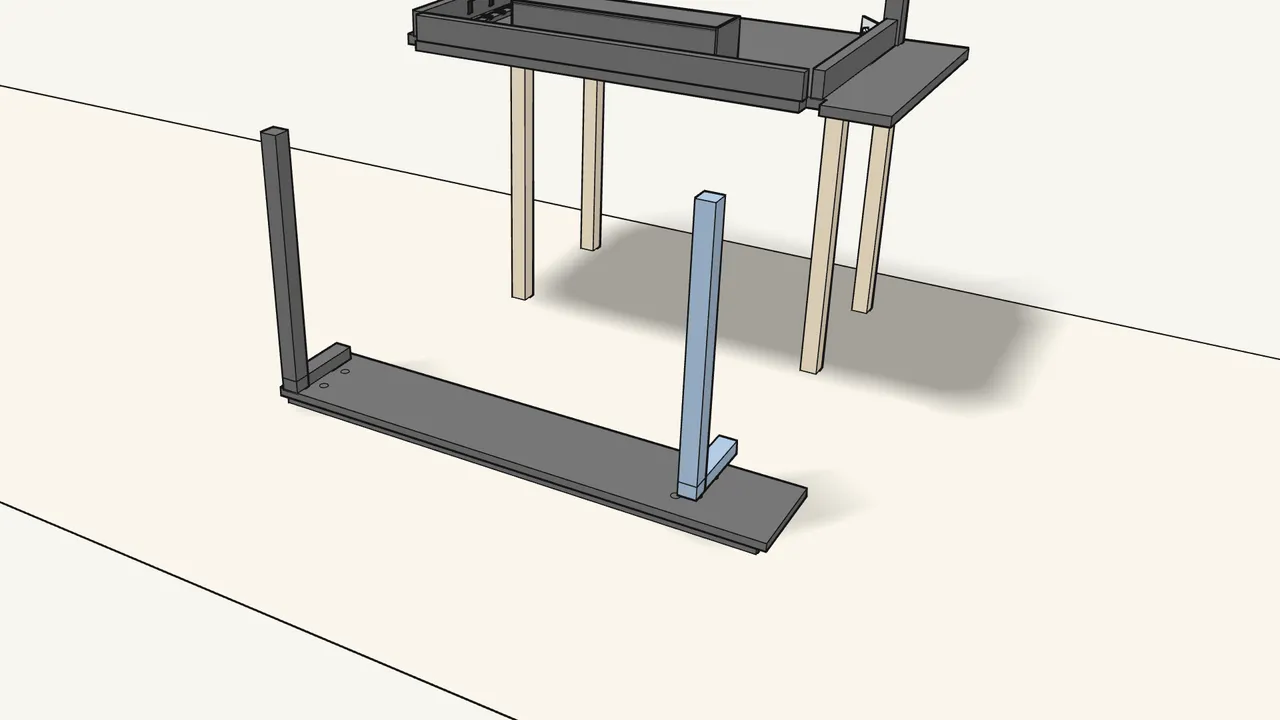
Step 13
Turn the shelf face down and stand the posts on its ends.
The cam studs go into the holes in the shelf ends.
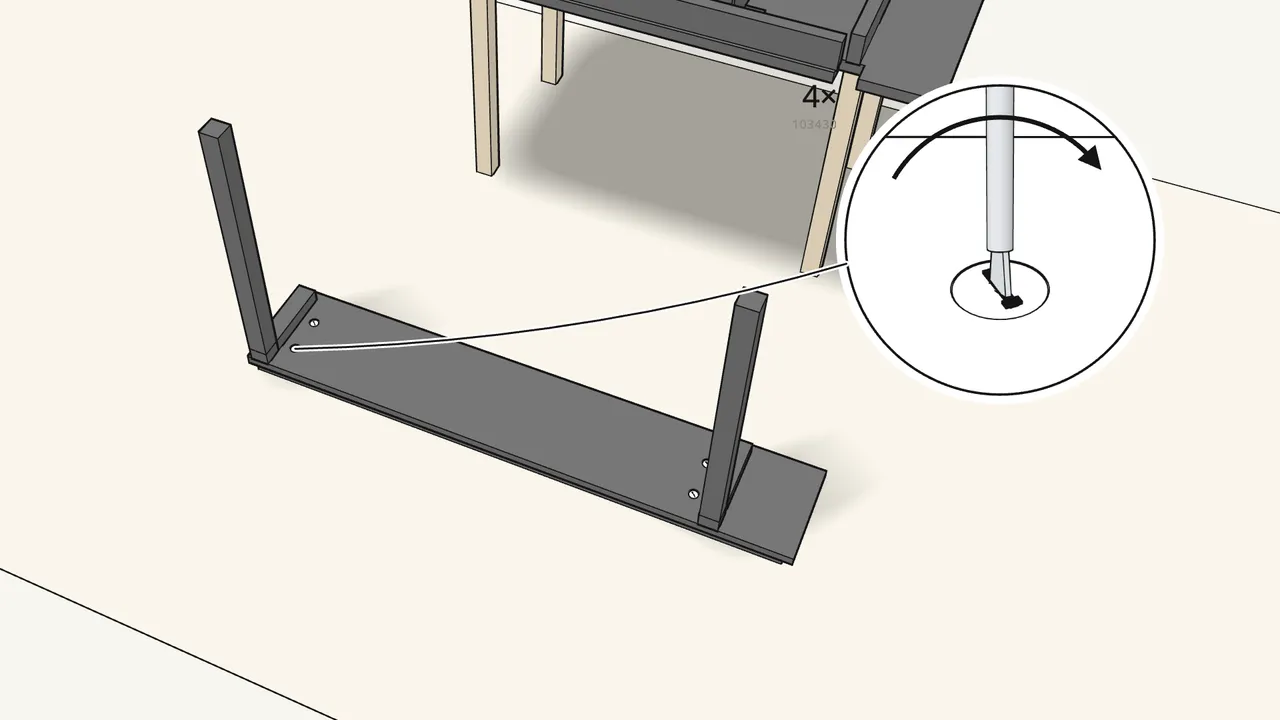
Step 14
Insert 4 cam locks (103430) and turn them clockwise.
Phillips screwdriver.
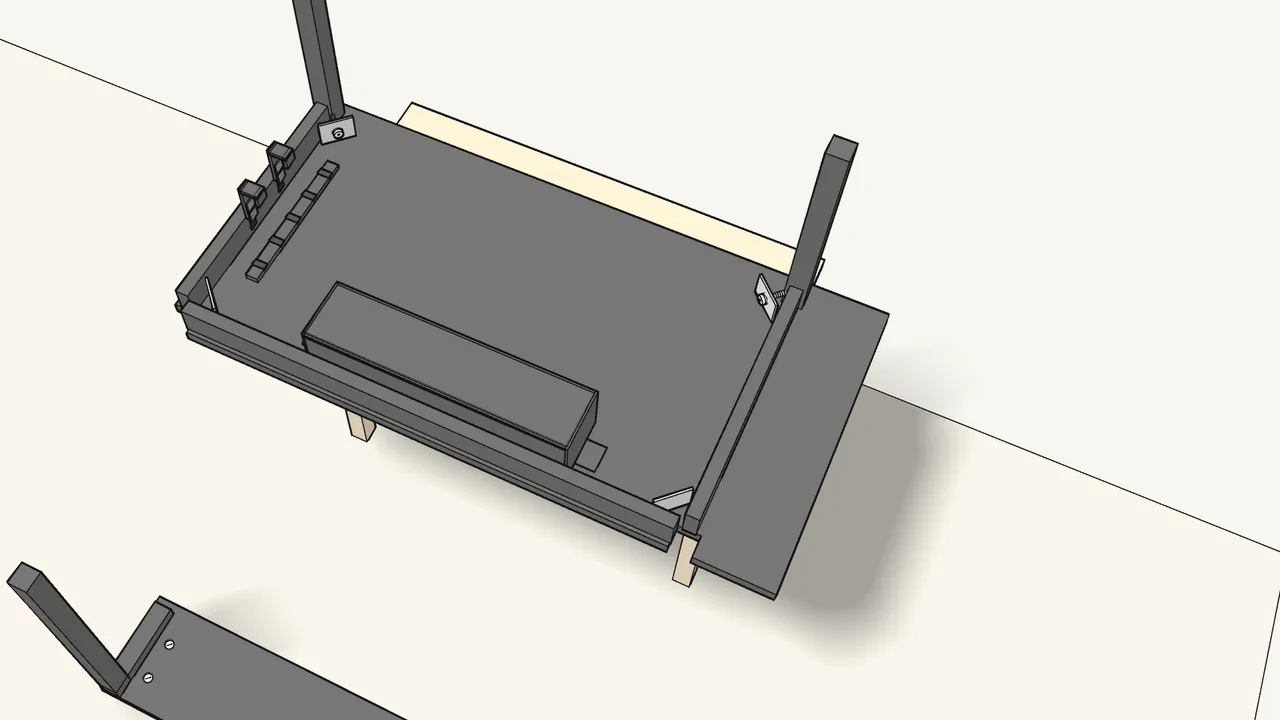
Step 15
Push the other 2 corner plates (10035912) into the back corners.
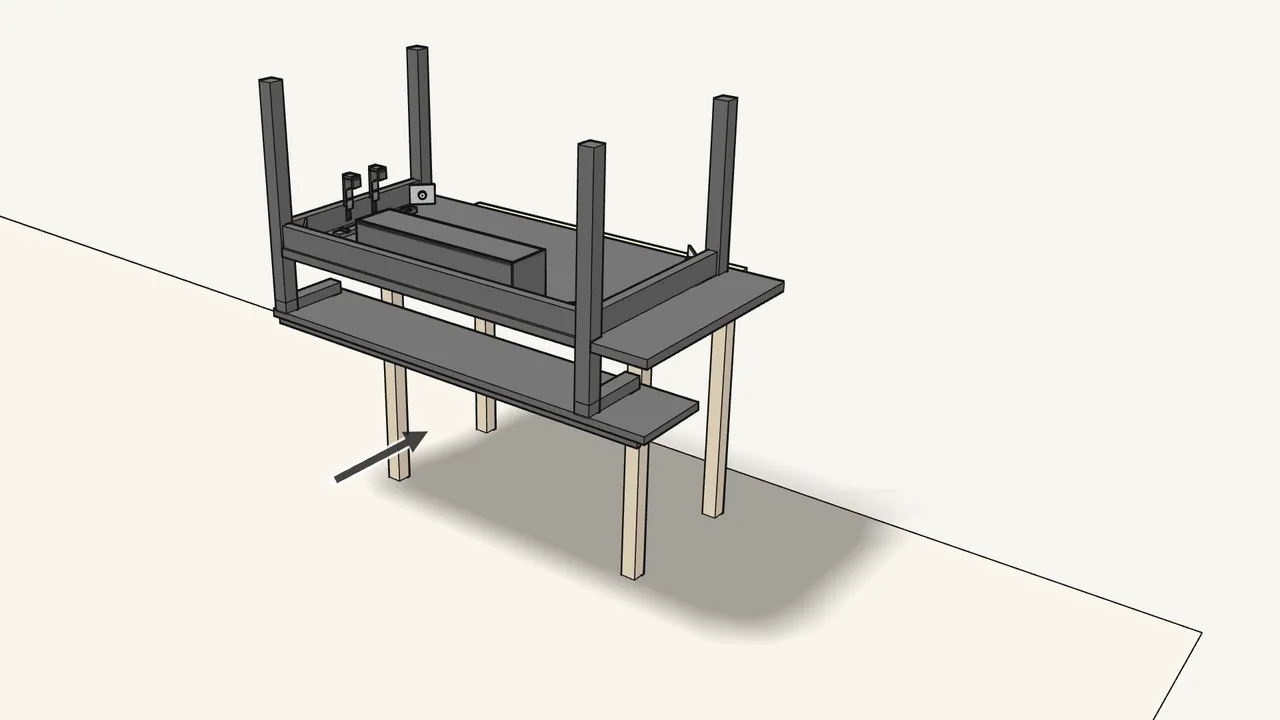
Step 16
Slide the shelf posts into the back corners of the frame.
The posts pass through the notches in the desktop.
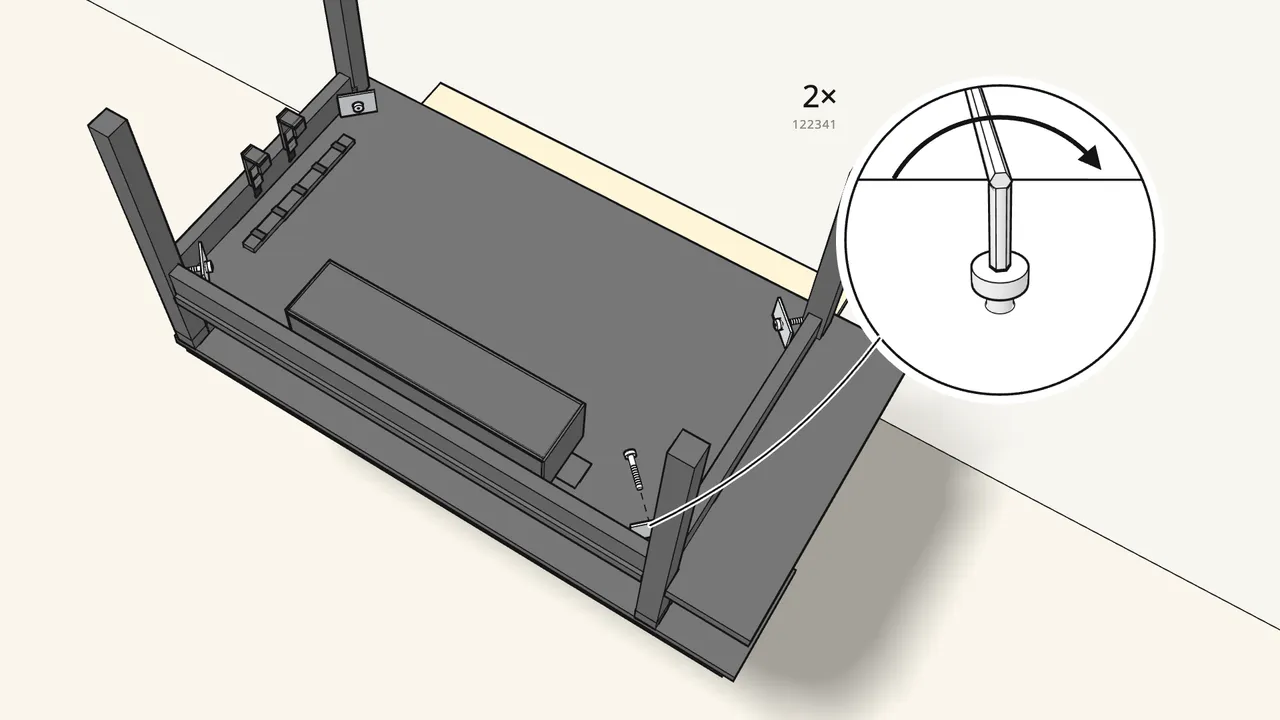
Step 17 · manual step 16
Fix each post: spring washer (100843) + bolt (122341).
Tighten with the spanner (128632).
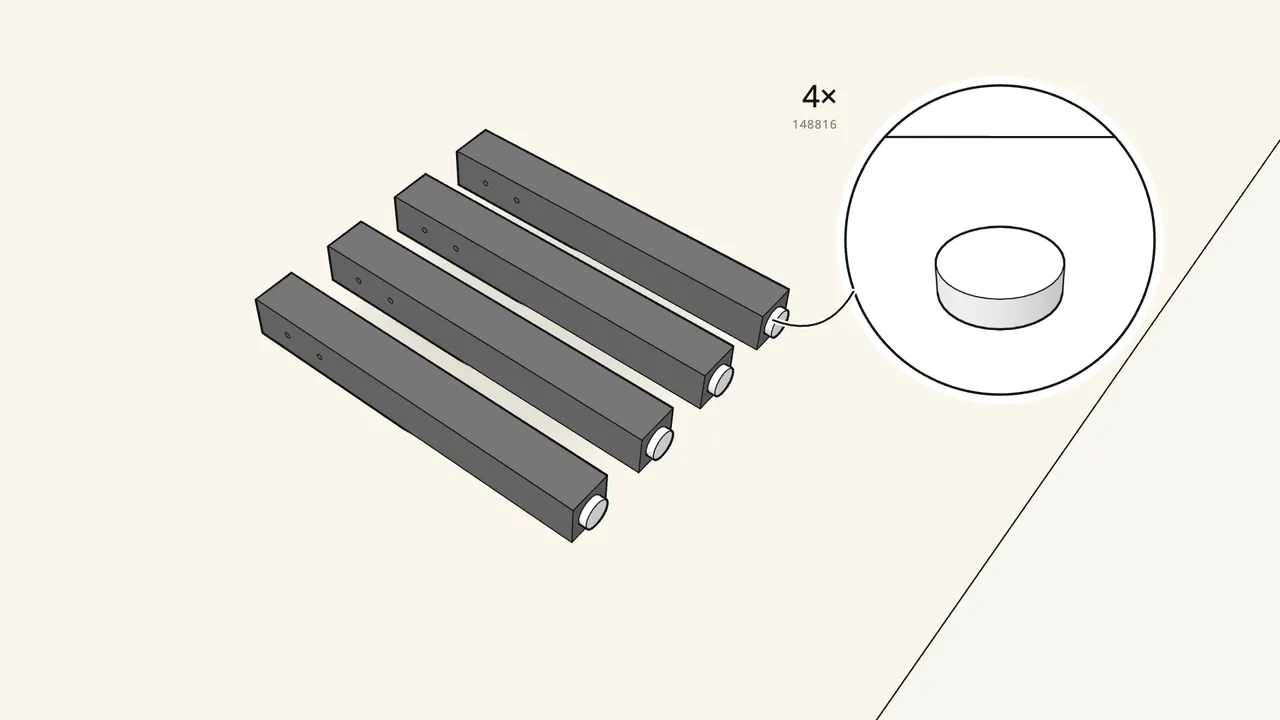
Step 18 · manual step 17
Screw a foot (148816) into each of the 4 lower legs.
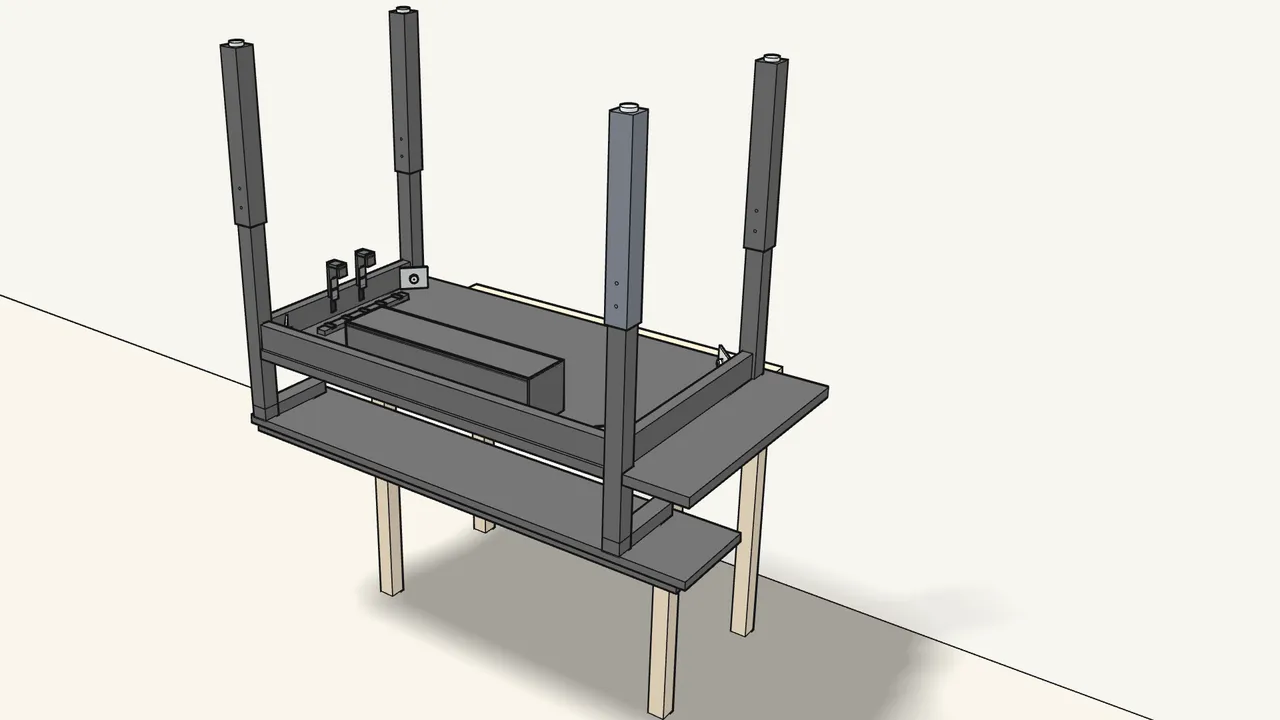
Step 19 · manual step 18
Slide the lower legs onto the 4 legs.
Line up the holes at the height you want — the same on all 4 legs.
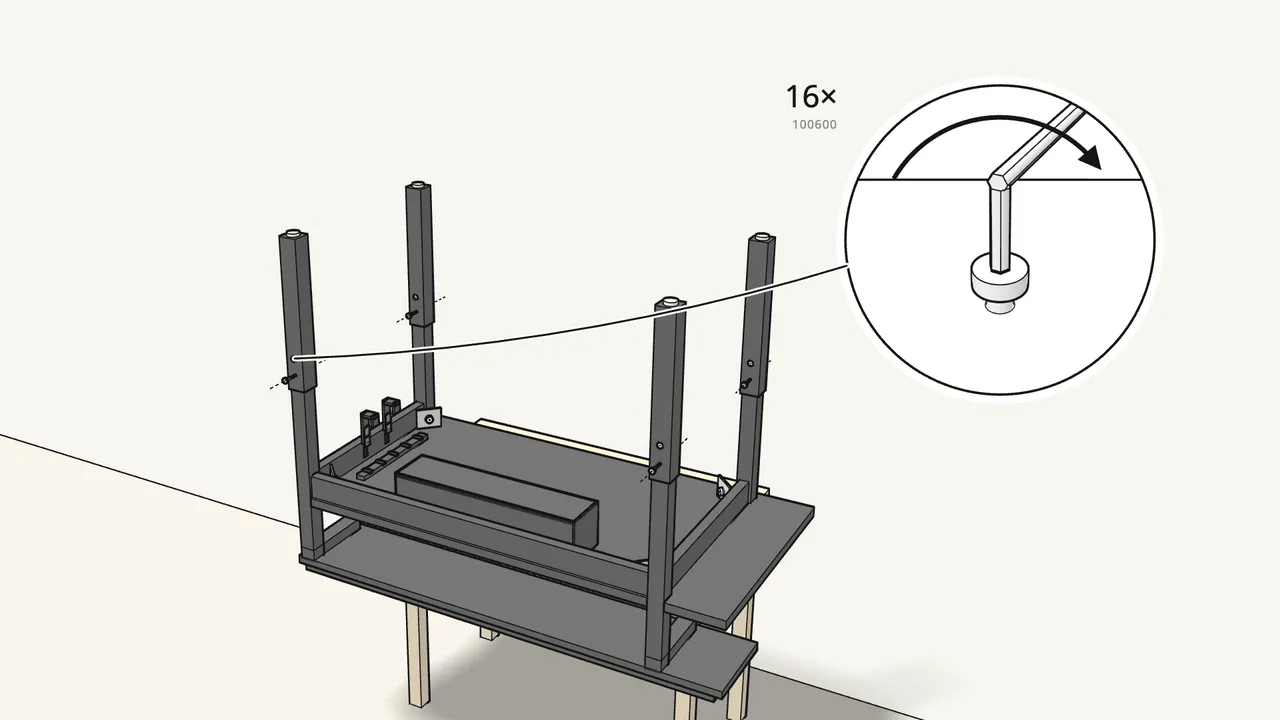
Step 20 · manual step 19
Lock each leg with 2 threaded rods (10120453) and sleeve nuts.
8 rods, 16 sleeve nuts (100600/100610) — tighten with both Z-keys (100002).
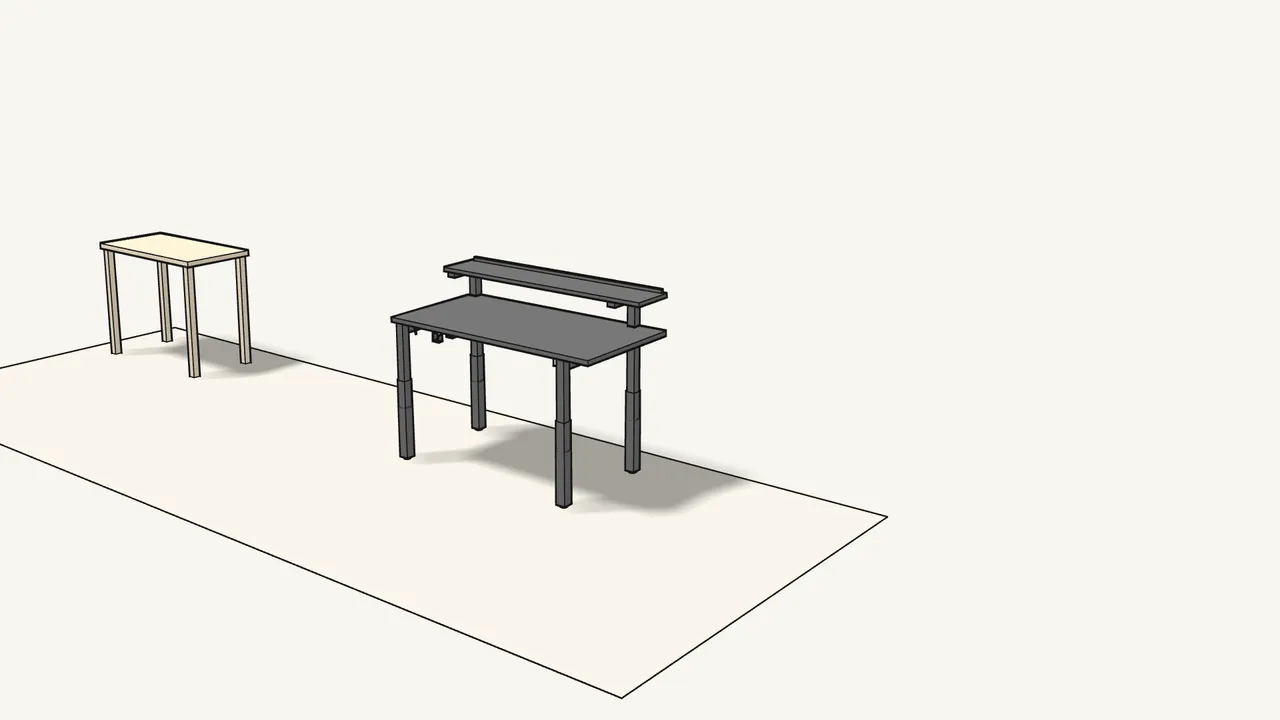
Step 21 · manual step 20
Turn the desk over onto its legs.
It’s big and heavy — do this with two people.
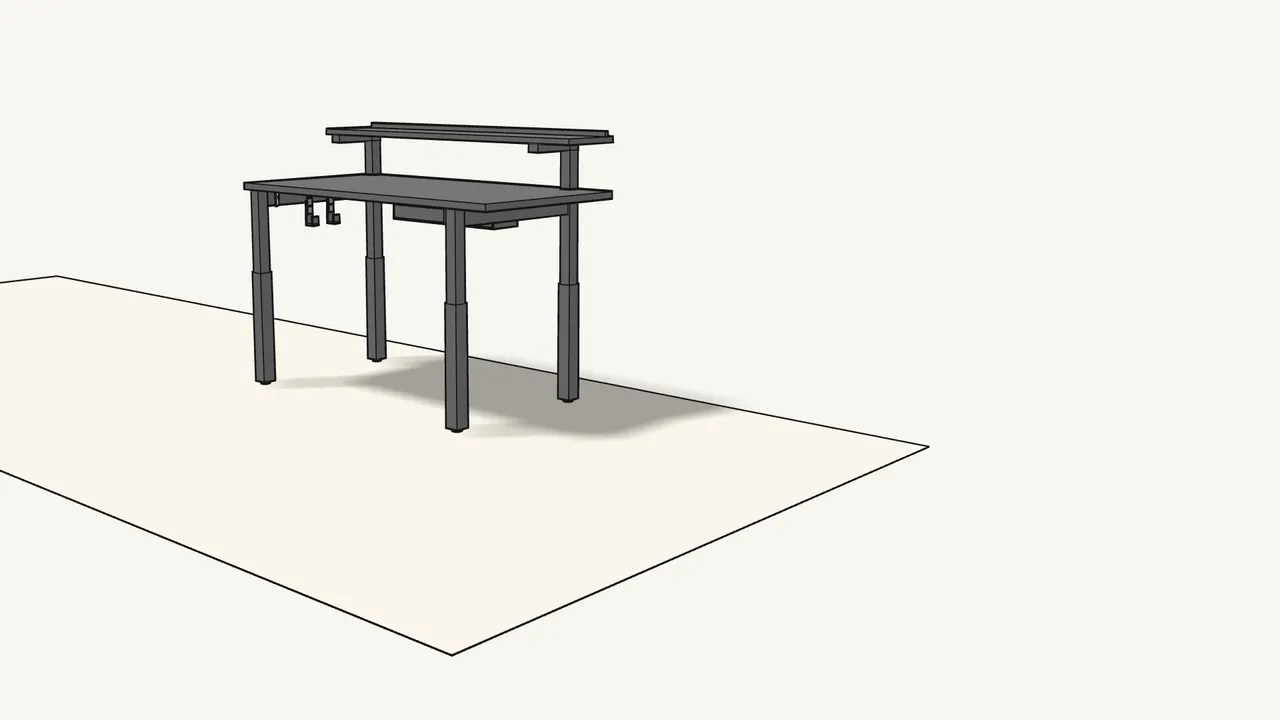
Step 22 · manual step 20
Turn the feet to level the desk.
Screw them in or out until it stands steady.
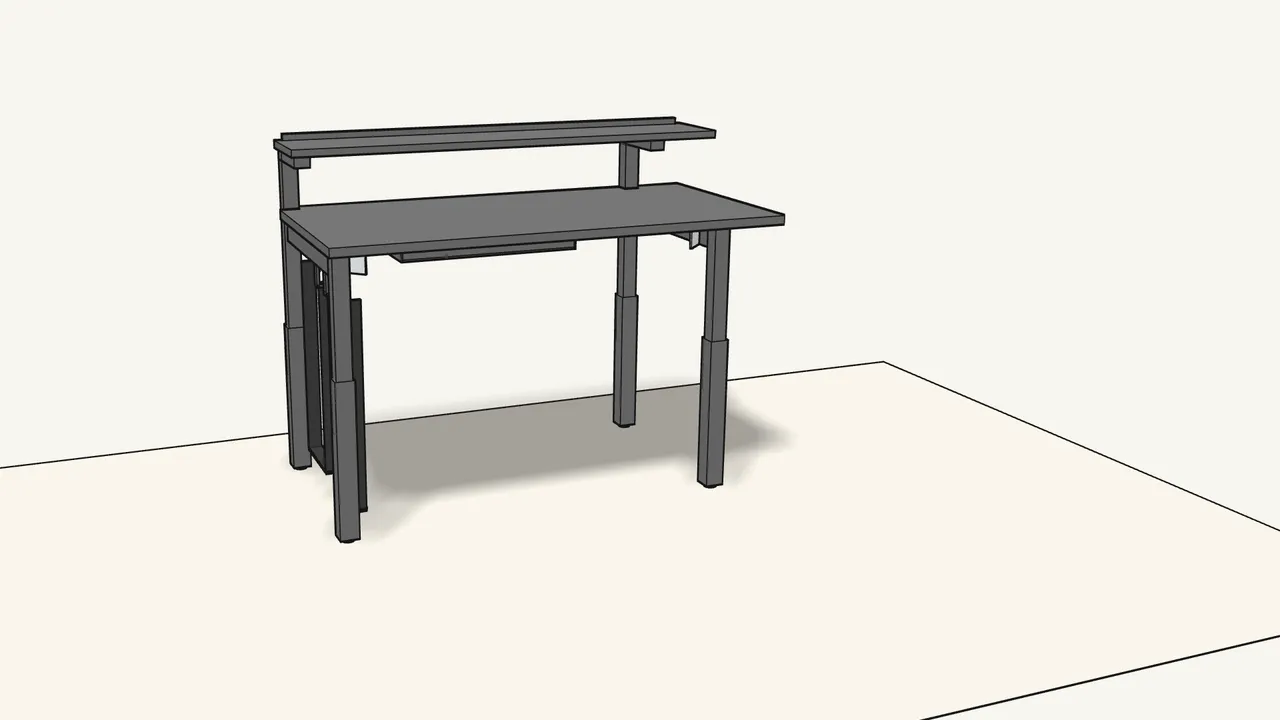
Step 23 · manual step 21–23
Hang the PC strap and set it to your PC.
PC max 25 × 45 × 50 cm. Hook the strap ends into the leg holes — see the manual, steps 21–23.
Tips & safety
- PC holder: max 25 × 45 × 50 cm. Width × depth × height of the PC — see the info box on manual p. 23. The strap height is adjustable.
- Assemble with two people. The manual shows two people, working on a soft surface so the desktop isn’t scratched.
Official instructions
This guide follows IKEA’s official assembly instructions (AA-2476264-2). Keep the printed manual to hand — if anything differs, the manual is right.



