IKEA · Tables & Desks
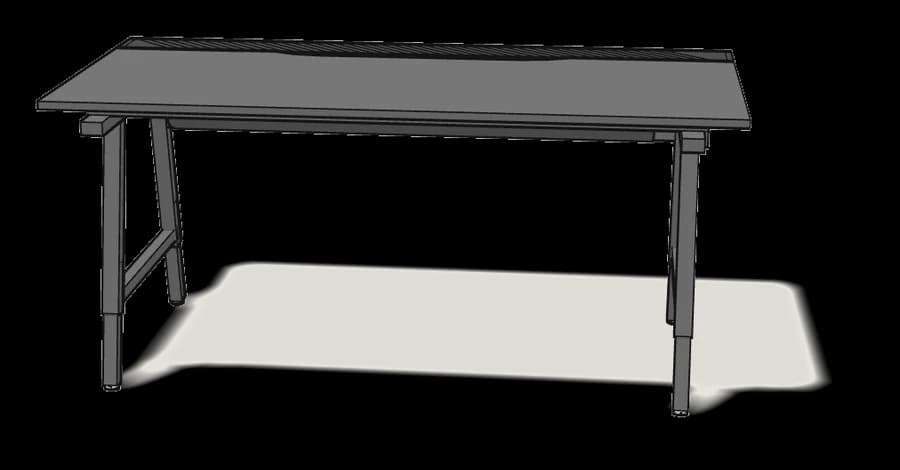
How to assemble IKEA UTESPELARE Gaming Desk
Step-by-step IKEA UTESPELARE Gaming Desk assembly: 13 illustrated steps, an animated video, the hardware list and the tools you need — following the official instructions (AA-2262321-2).
- 13 illustrated steps
- 12 steps in the manual
- 2:10 video
- 160×80×66–78 cm
What you need
Tools
- Allen key (included)
You’ll need: the two Allen keys in the pack (100002 and 108490).
Hardware in the box
| Part no. (as printed in the manual) | Qty |
|---|---|
| 122049 | 6× |
| 110078 | 14× |
| 100013 | 8× |
| 100602 | 16× |
| 100260 | 10× |
| 148816 | 4× |
Step-by-step assembly
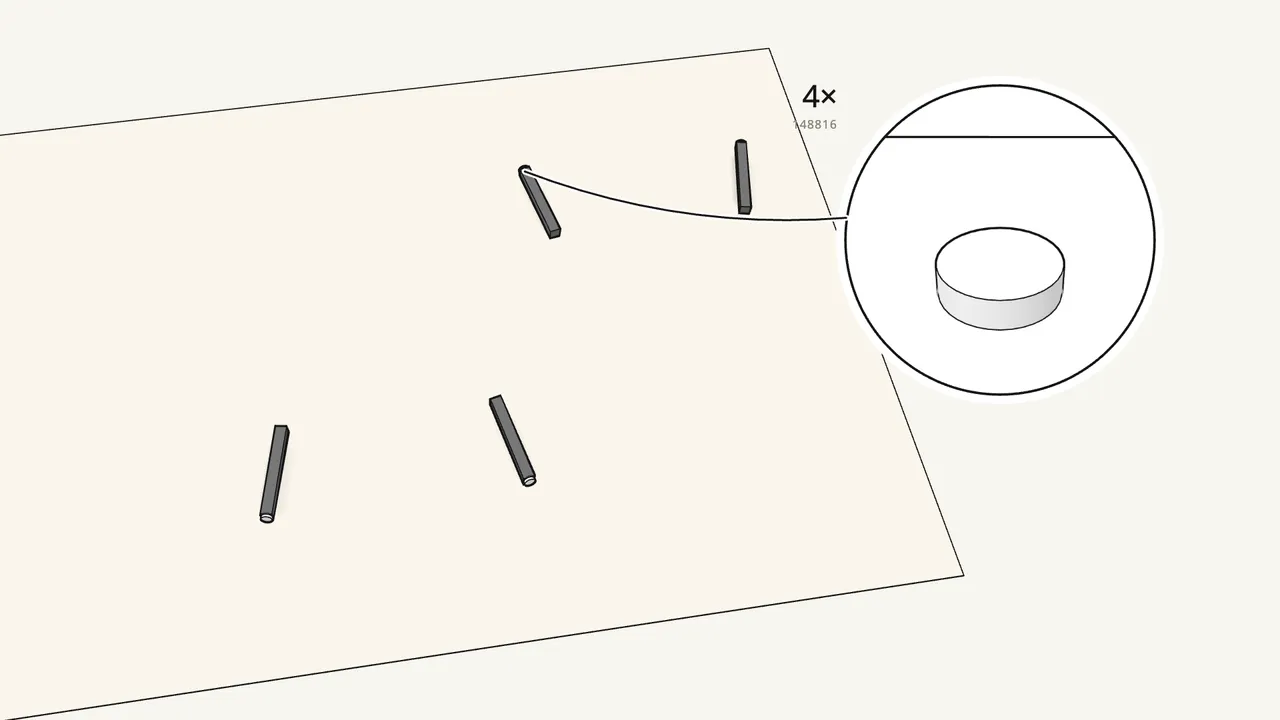
Step 1
Screw a foot (148816) into the end of each of the 4 lower legs.
Turn them in by hand.
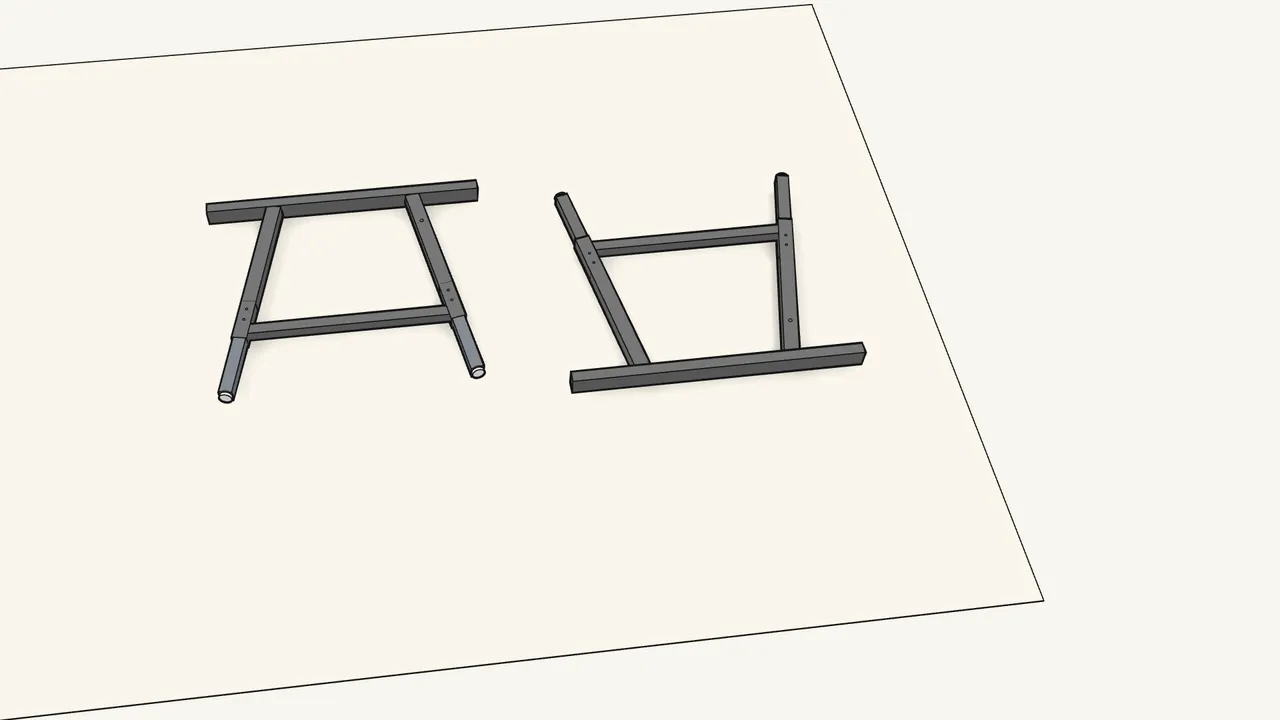
Step 2
Slide the lower legs into the ends of the two leg frames.
The marks on the legs set the height — use the same mark on all 4 (see the inset in step 2).
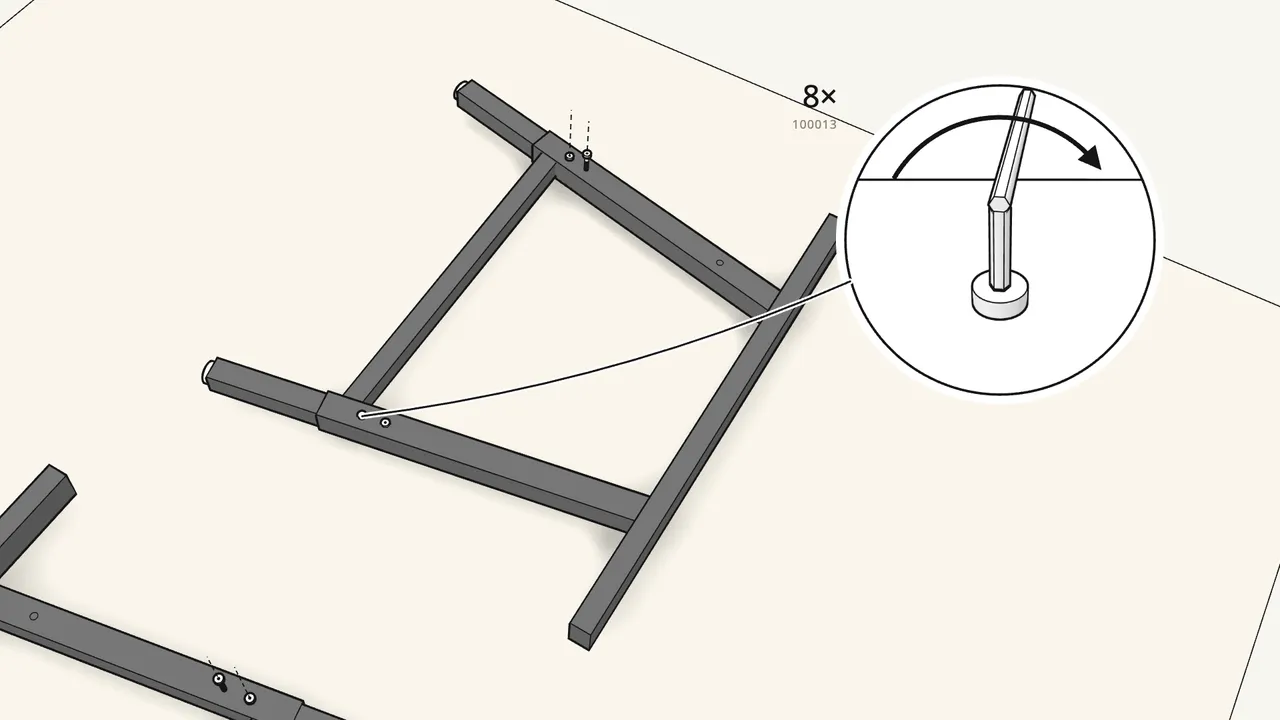
Step 3 · manual step 3–4
Lock each leg with 2 bolts (100013) in sleeve nuts (100602).
8 sets — a sleeve nut on each side, tightened with both Allen keys.
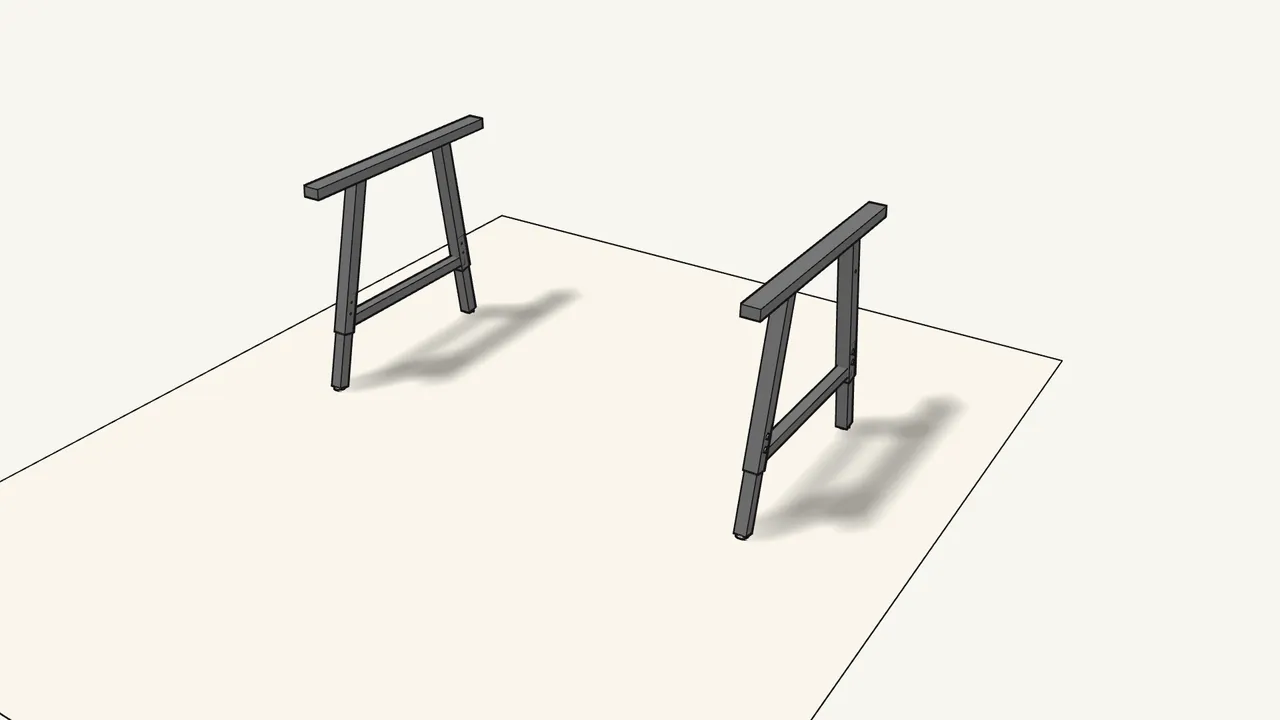
Step 4 · manual step 5
Stand both leg frames upright.
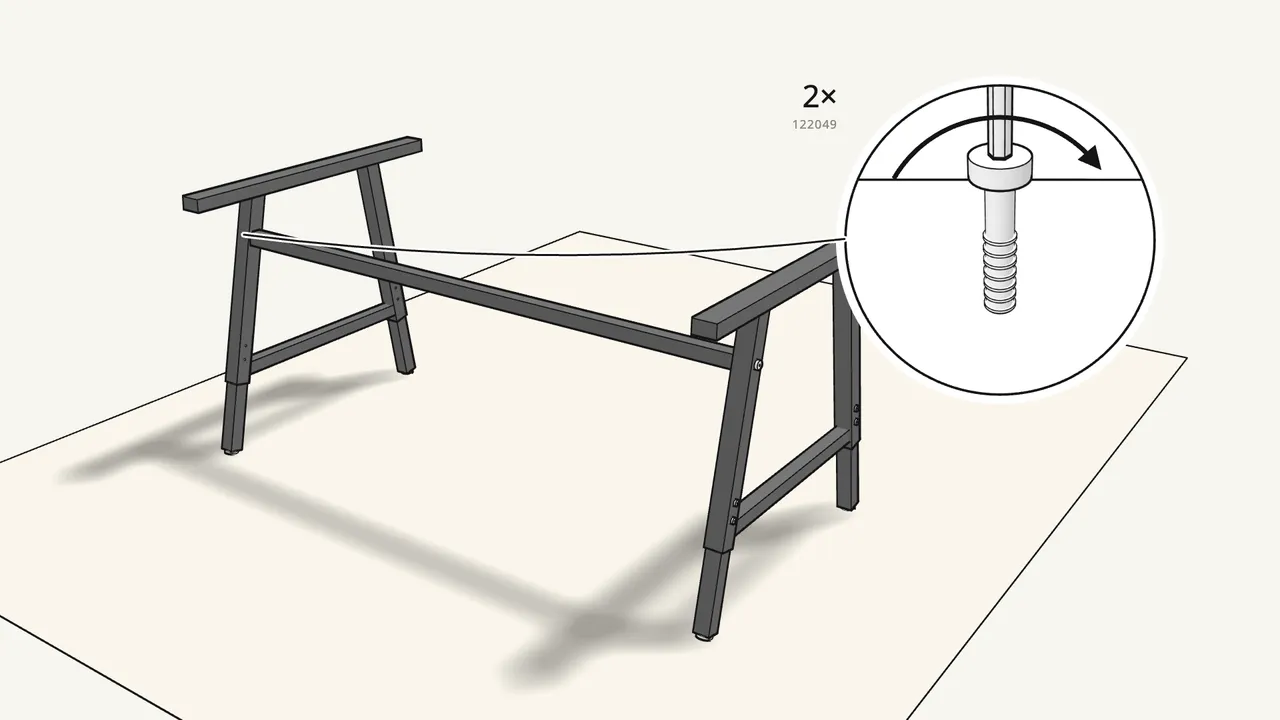
Step 5
Fit the stretcher between the back legs with 2 bolts (122049).
Make sure the bolts go in straight — see the insets in step 5.
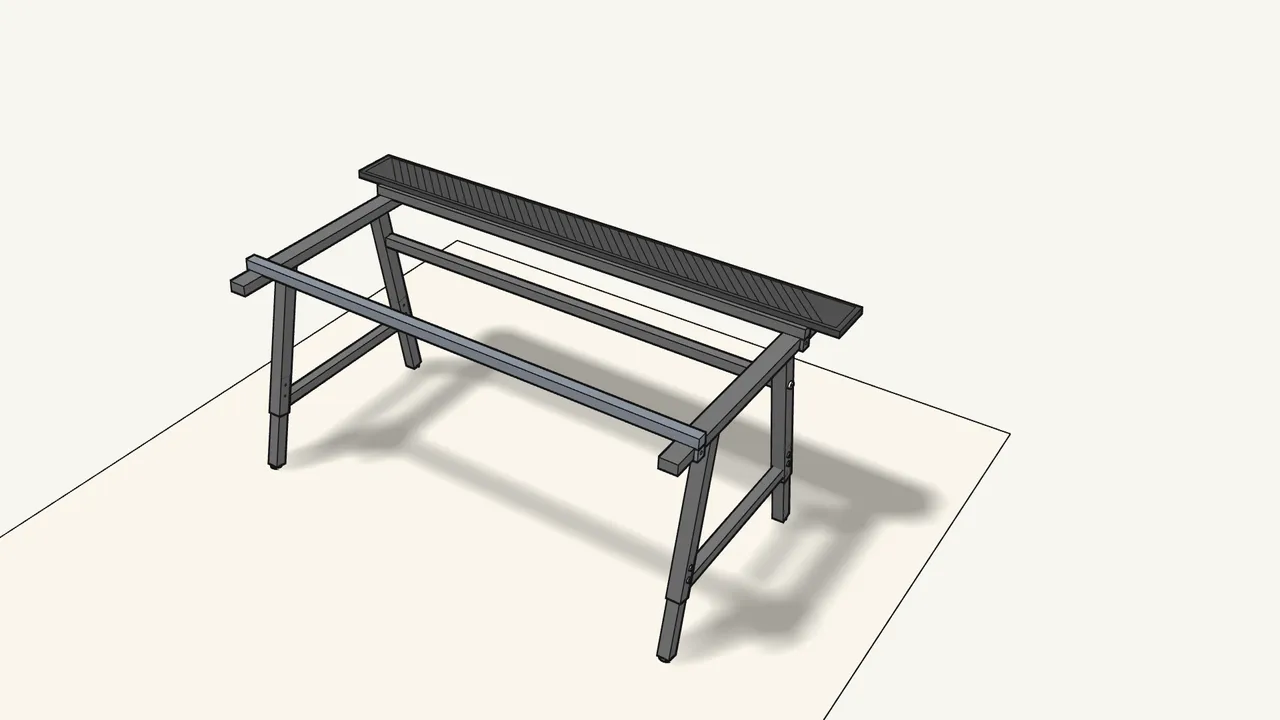
Step 6
Lay the 2 top rails onto the leg frames.
Screw holes facing up — see the insets in step 6.
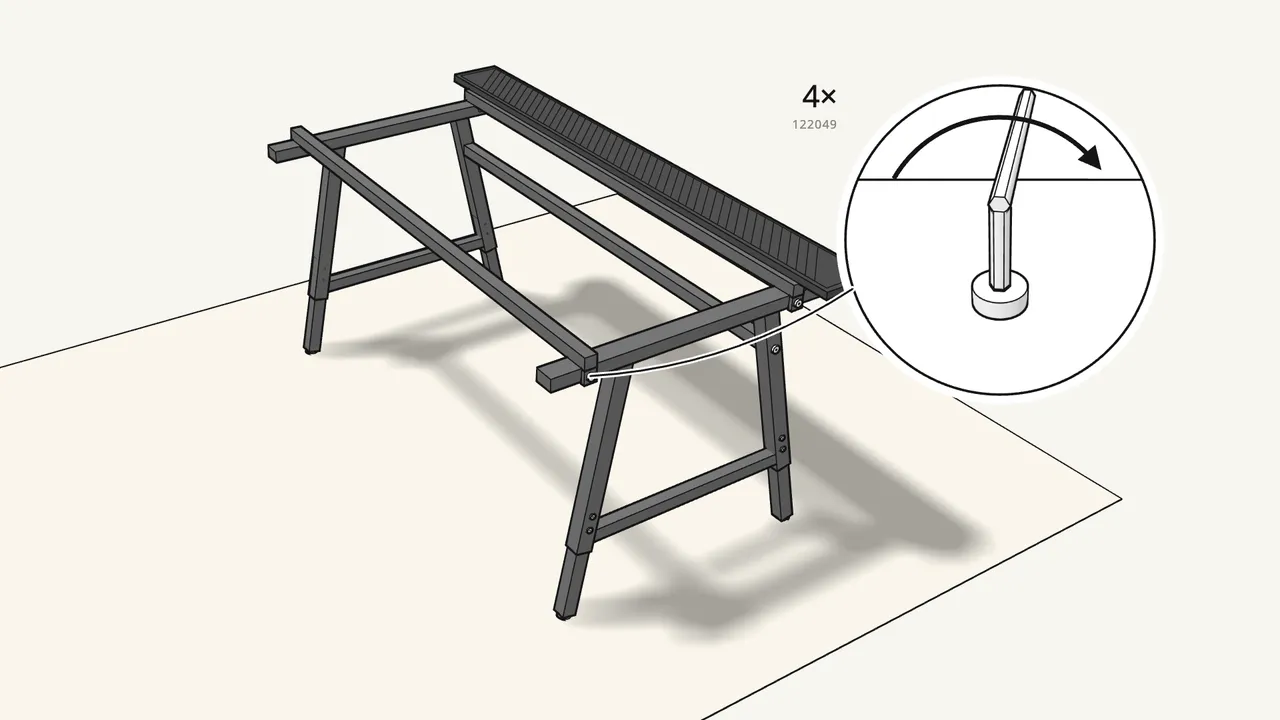
Step 7
Fix the rails with 4 bolts (122049), then tighten all 6.
Use the Allen key 108490.
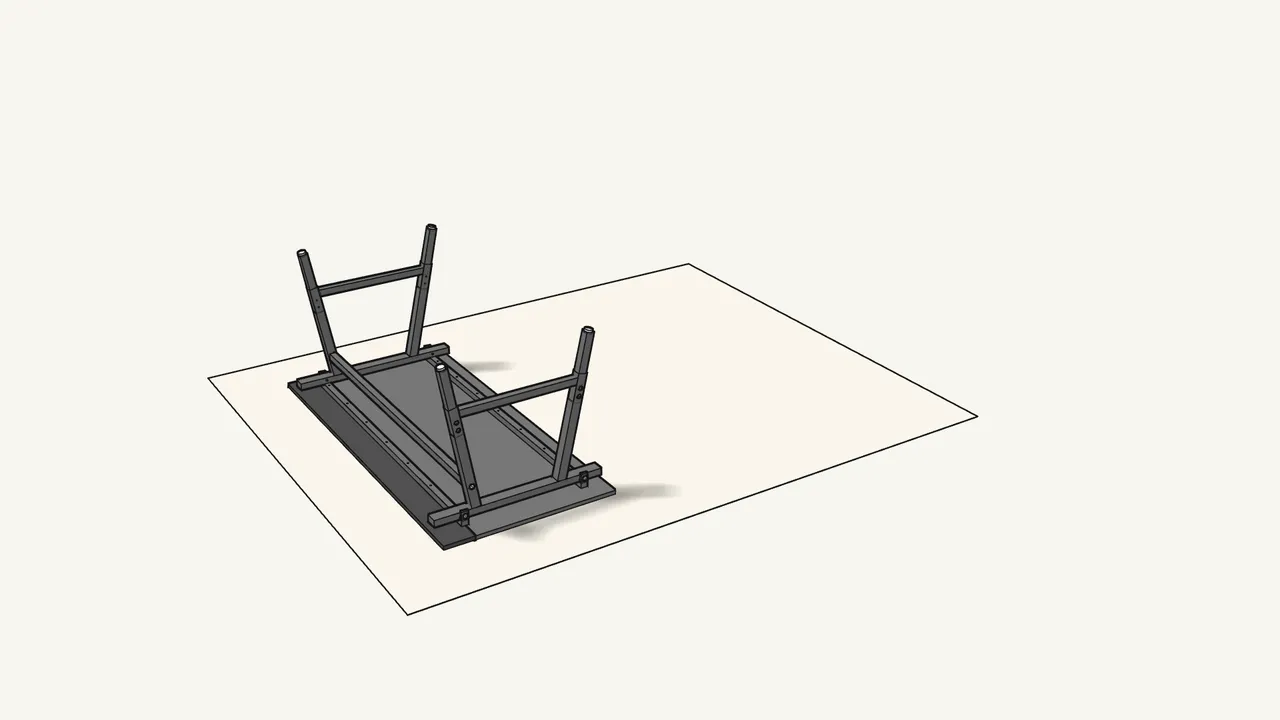
Step 8
Lay the desktop face-down and turn the frame over onto it.
The cut-out edge can face the back or the front — see manual p. 7.
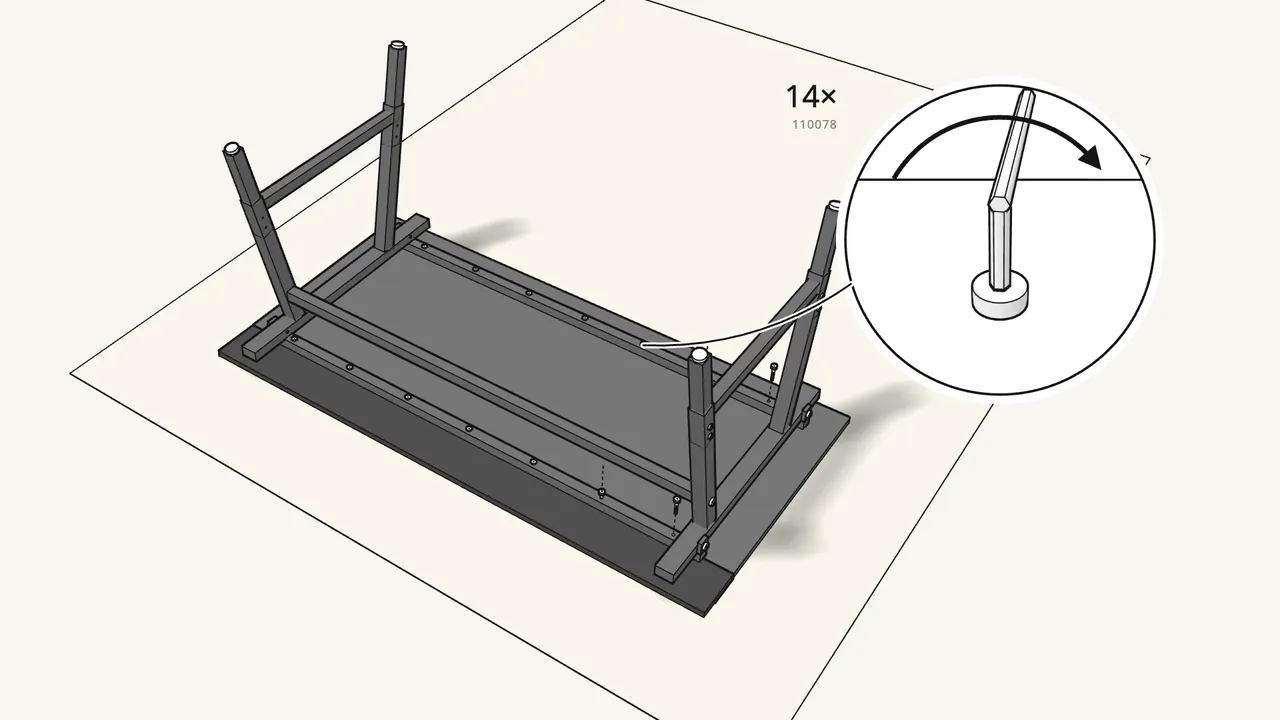
Step 9
Screw the frame to the desktop with 14 screws (110078).
Use the Allen key 108490.
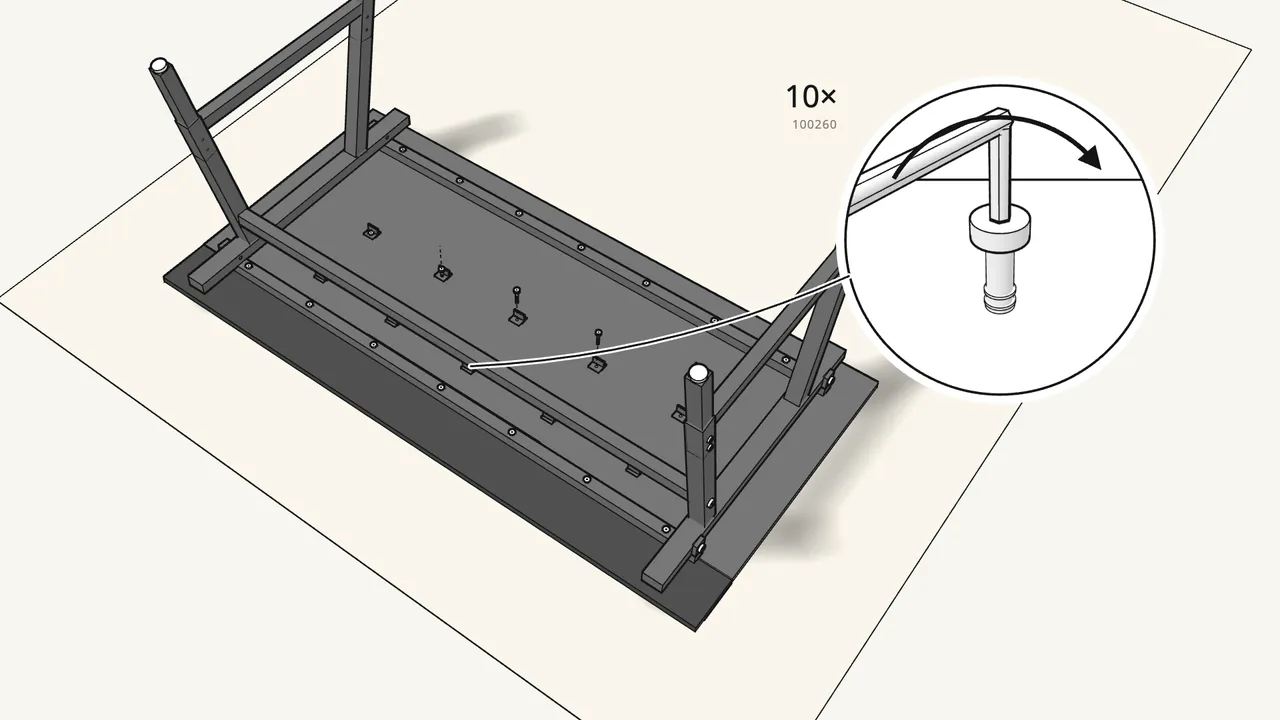
Step 10
Screw the 10 hooks to the underside with 10 screws (100260).
2 rows of 5 — see step 10 for their positions.
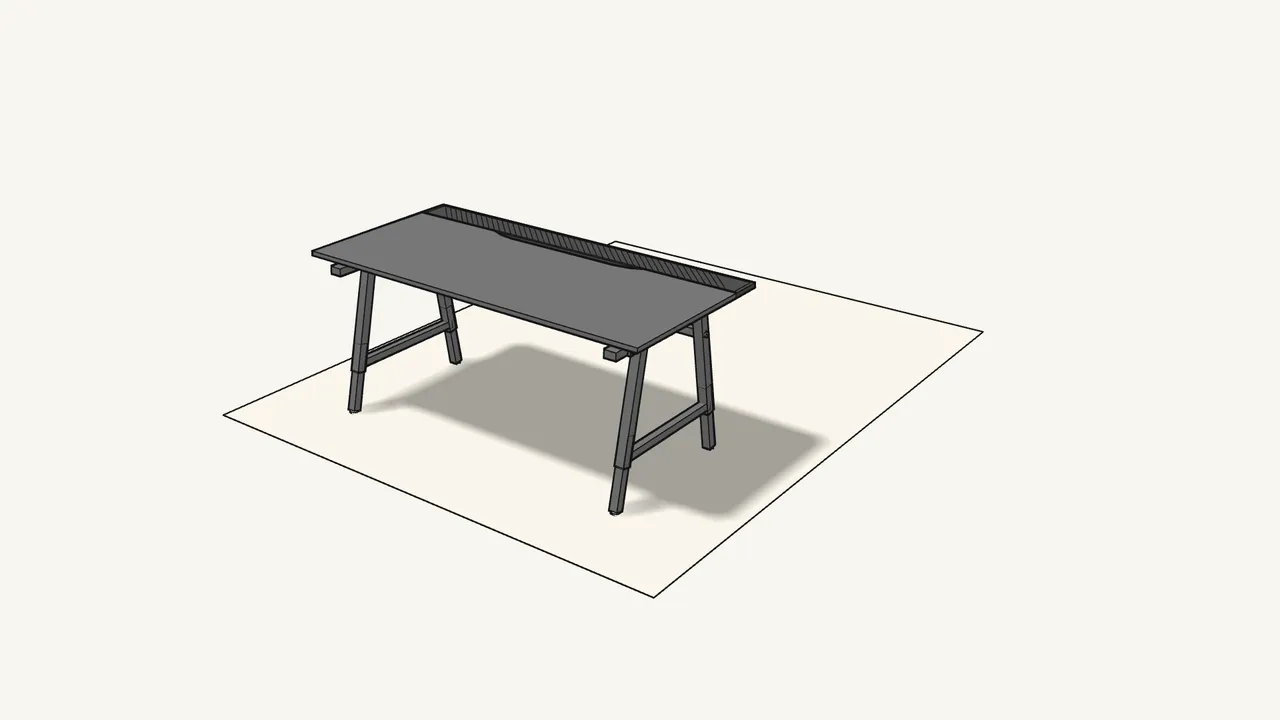
Step 11
Turn the desk upright.
It’s large — get a second person to help.
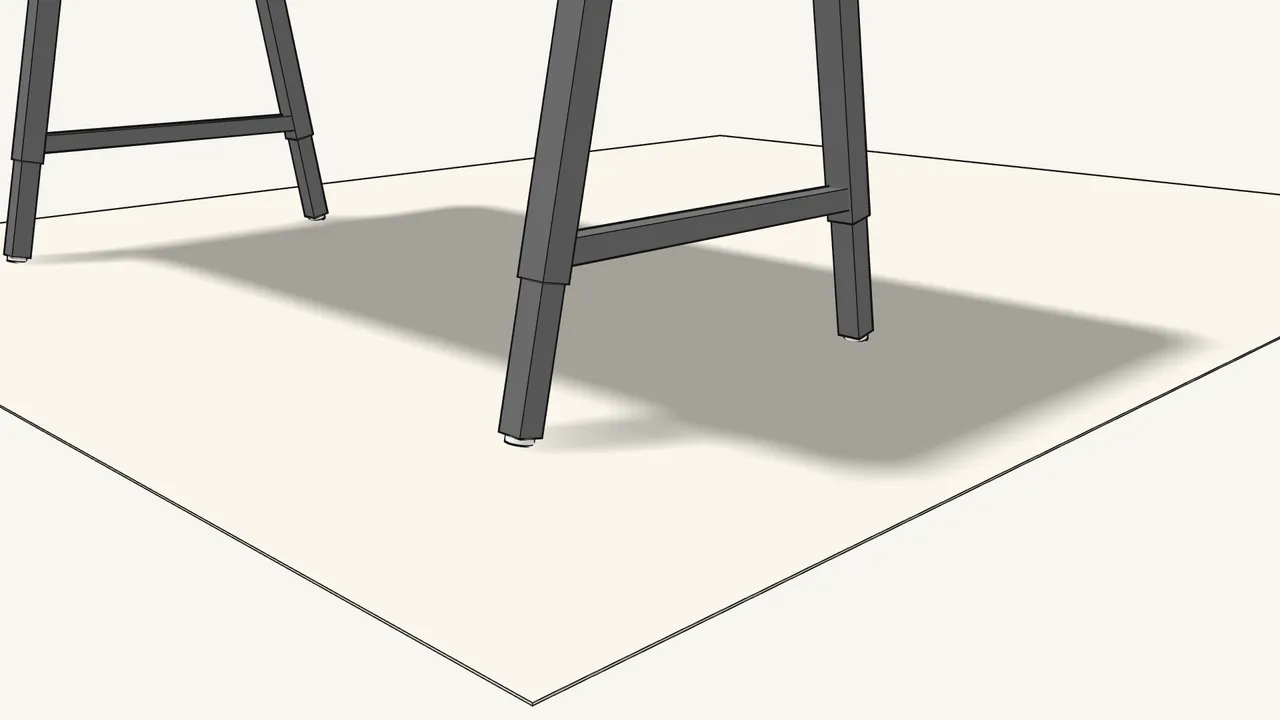
Step 12 · manual step 11
Turn the feet to level the desk on your floor.
Screw them in or out until it stands steady.
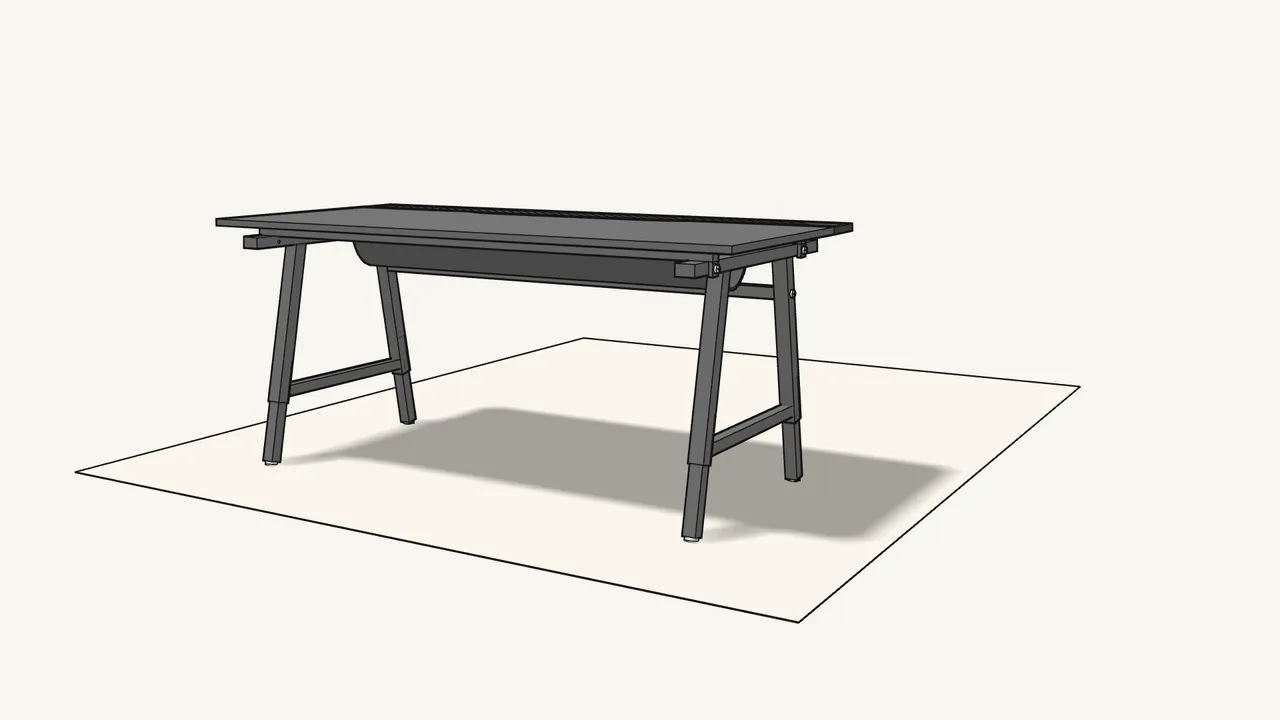
Step 13 · manual step 12
Hang the cable net on the 10 hooks under the desktop.
Tips & safety
- Want the cut-out on the other side? Undo the 7 screws (110078), turn the desktop 180° and screw it back on — manual p. 11.
- Run cables down behind the desktop into the cable net. See manual p. 10.
Official instructions
This guide follows IKEA’s official assembly instructions (AA-2262321-2). Keep the printed manual to hand — if anything differs, the manual is right.



