IKEA · Tables & Desks
How to assemble IKEA TARSELE Extendable Table
Step-by-step IKEA TARSELE Extendable Table assembly: 11 illustrated steps, an animated video, the hardware list and the tools you need — following the official instructions (AA-2664619-1).
- 11 illustrated steps
- 8 steps in the manual
- 1:56 video
- 150/200×80×75 cm
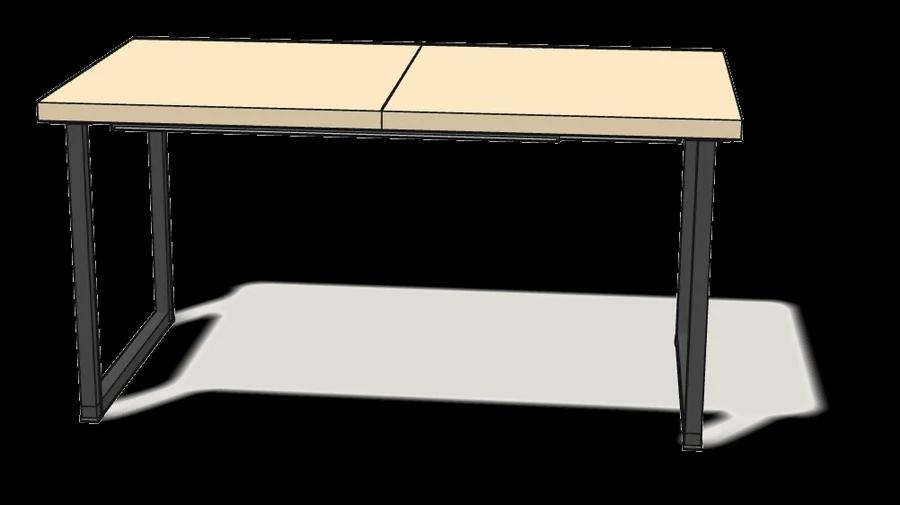
What you need
Tools
- Phillips screwdriver
- Allen key (included)
Hardware in the box
| Part no. (as printed in the manual) | Qty |
|---|---|
| 105100 | 24× |
| 100829 | 24× |
| 108445 | 8× |
| 144262 | 20× |
Step-by-step assembly
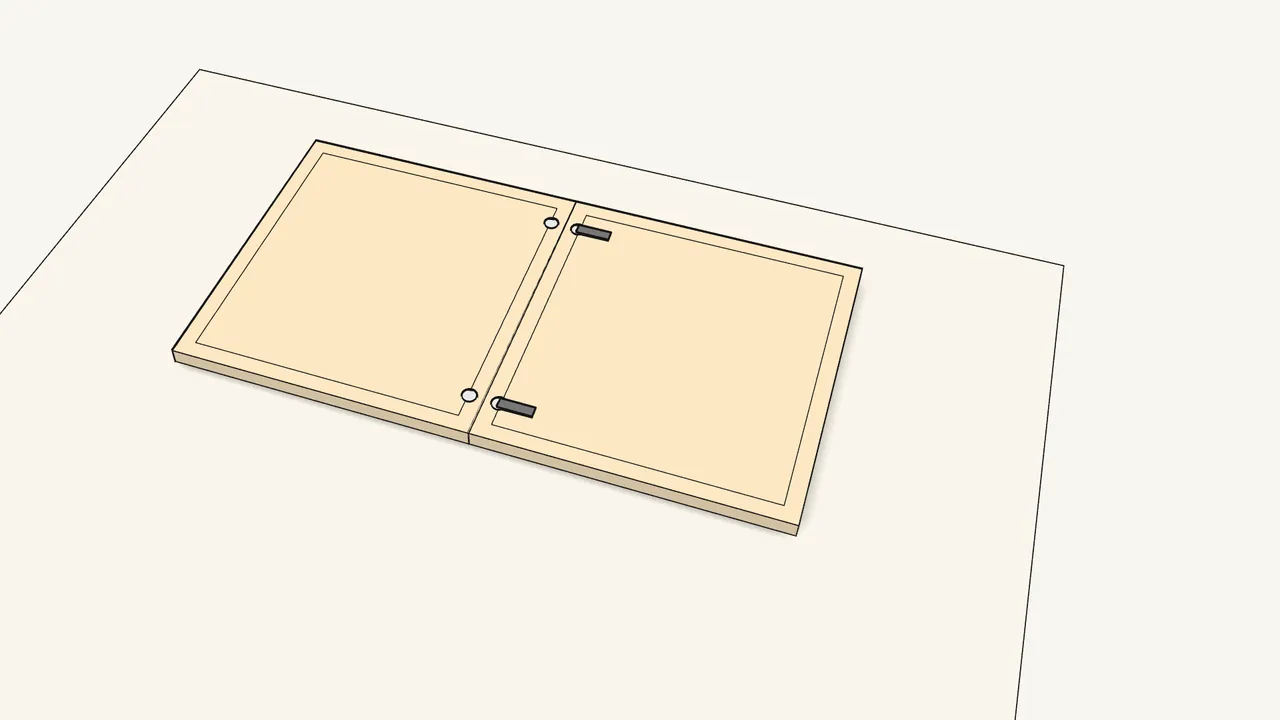
Step 1
Lay both tabletop halves face down on a rug and push them together.
The 4 pins in the joining edges go into the holes.
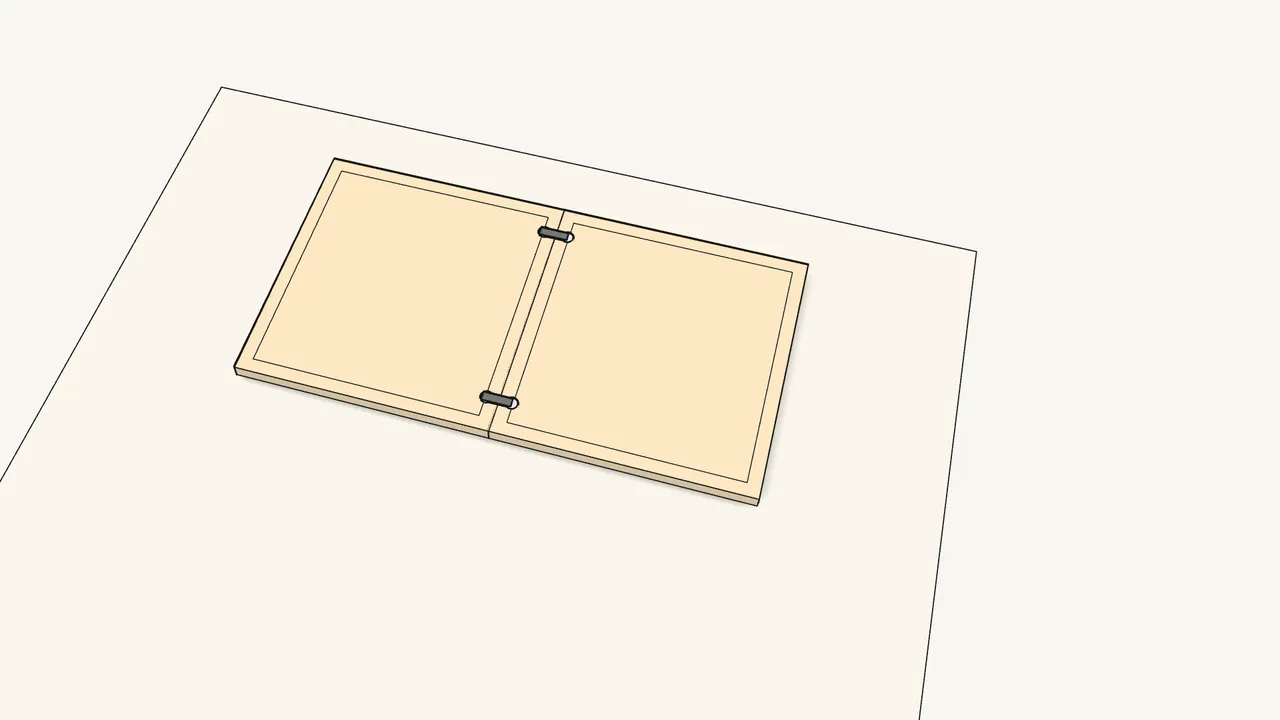
Step 2
Fold the 2 connectors across the joint and press — click!
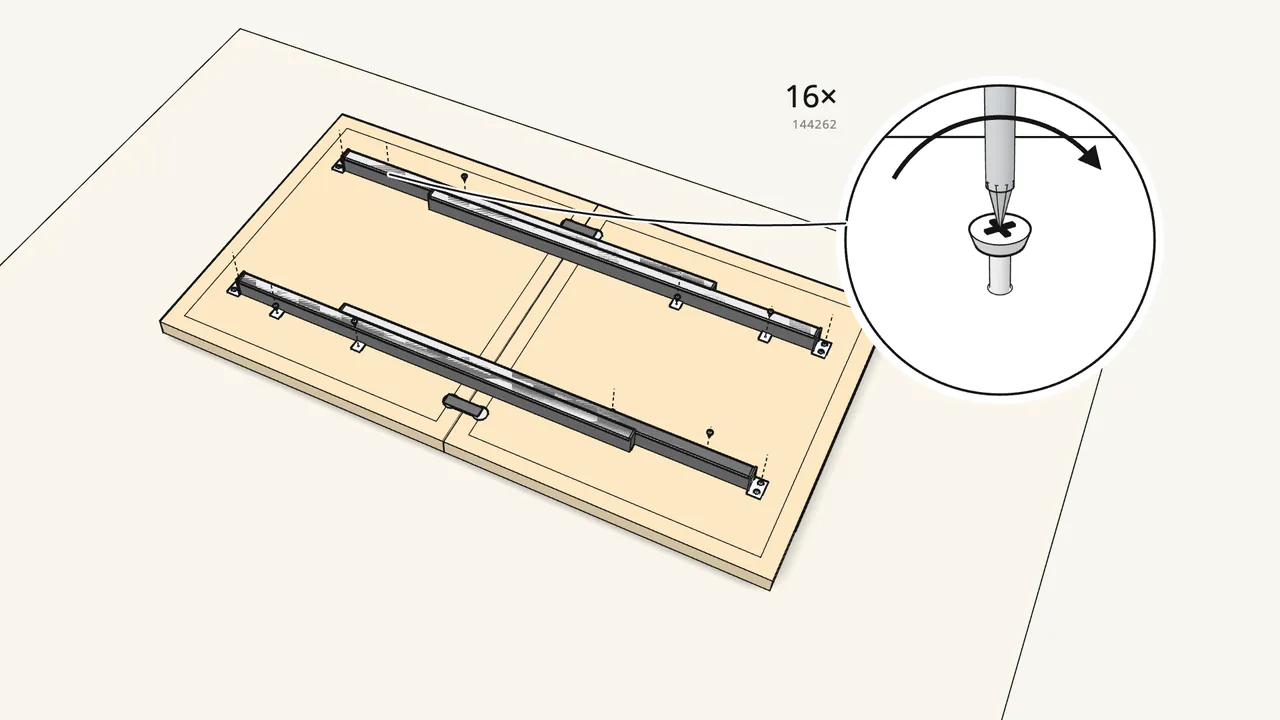
Step 3
Screw the 2 extension rails under the top — 16 screws (144262).
By hand, no power drill. Turn each small tab so its hole lines up with the hole in the top.
Step 4
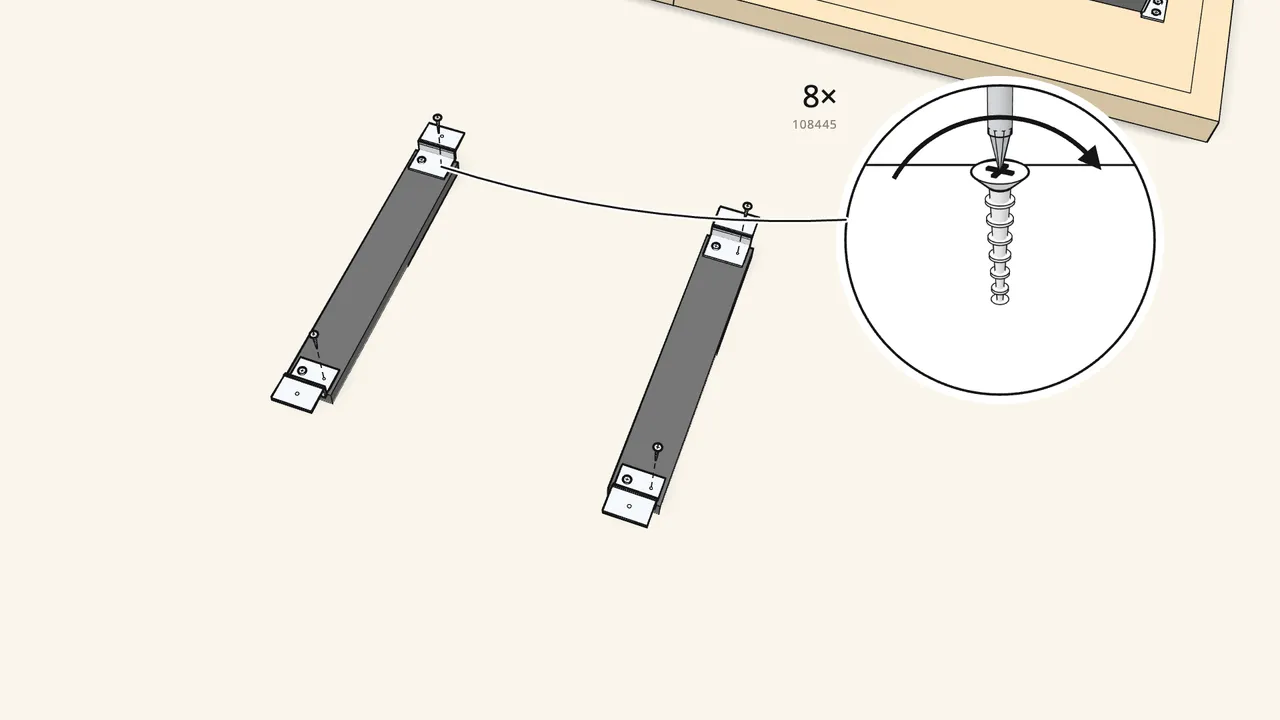
Screw 2 brackets onto each cross rail — 8 screws (108445).
2 screws per bracket.
Step 5
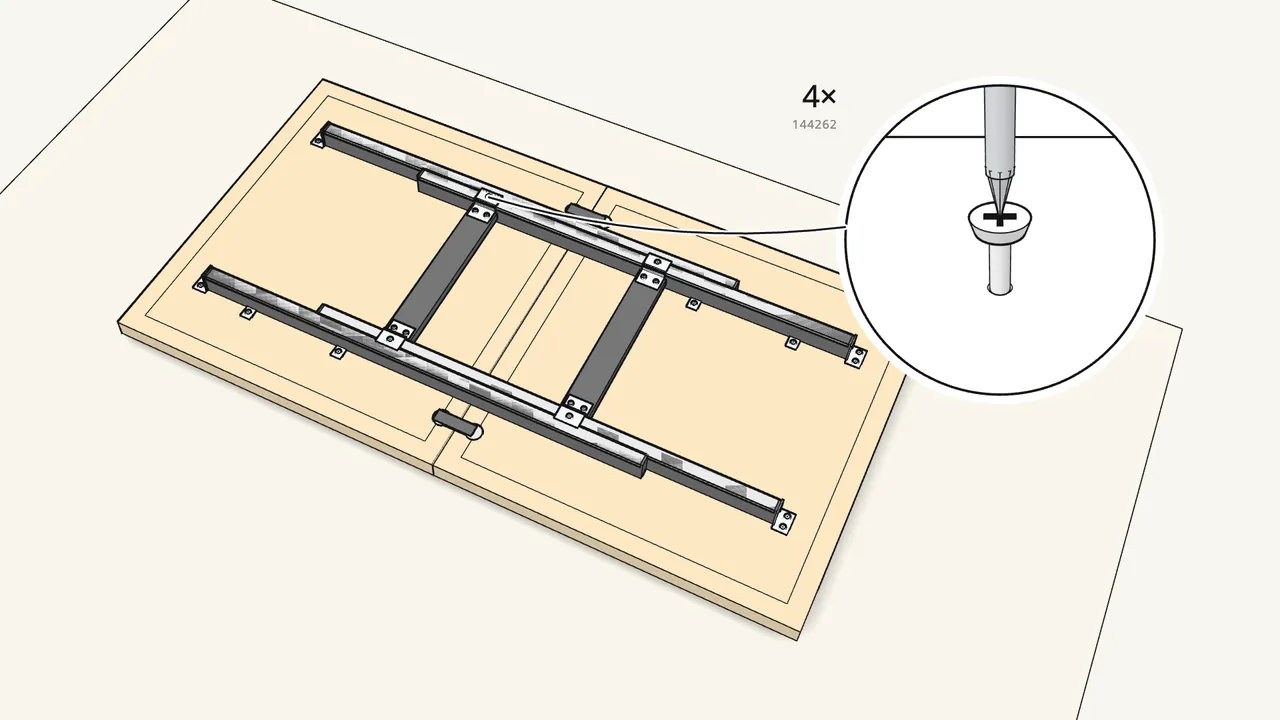
Place the cross rails across the extension rails — 4 screws (144262).
One screw through each bracket.
Step 6
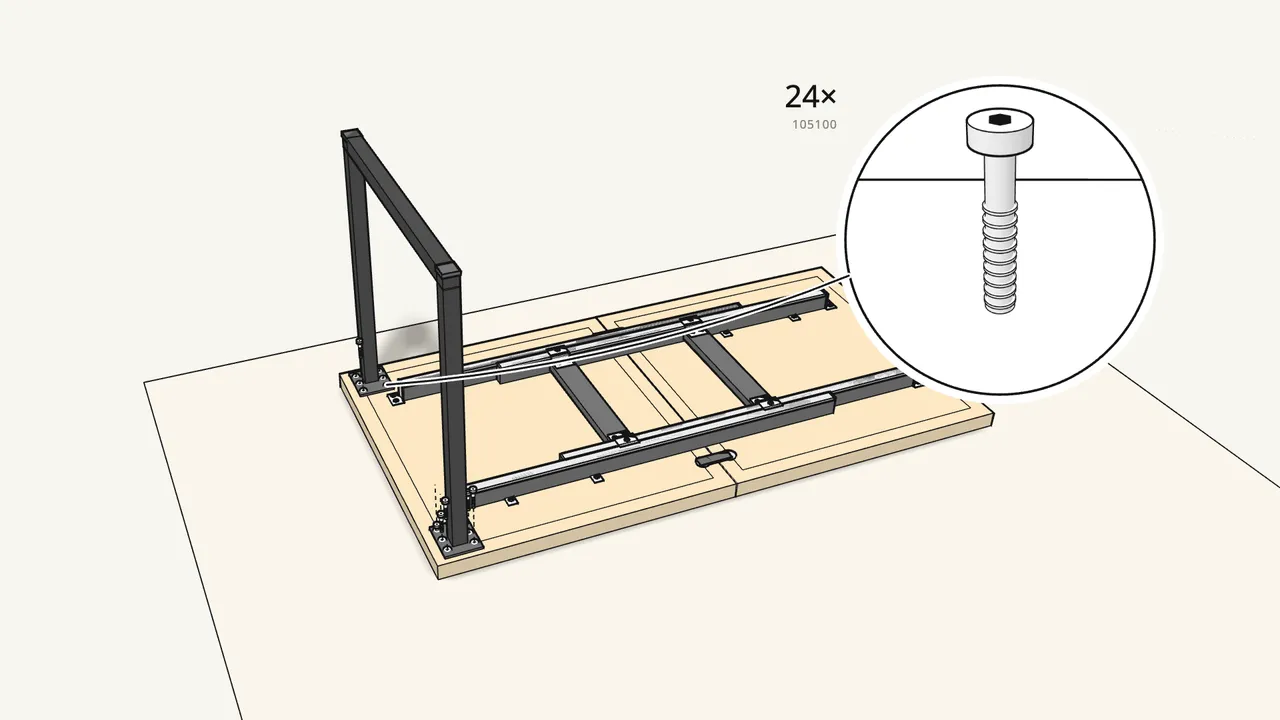
Bolt the first leg frame onto the top — 12 bolts (105100) + washers.
A washer (100829) under every bolt; tighten with the Allen key.
Step 7 · manual step 6
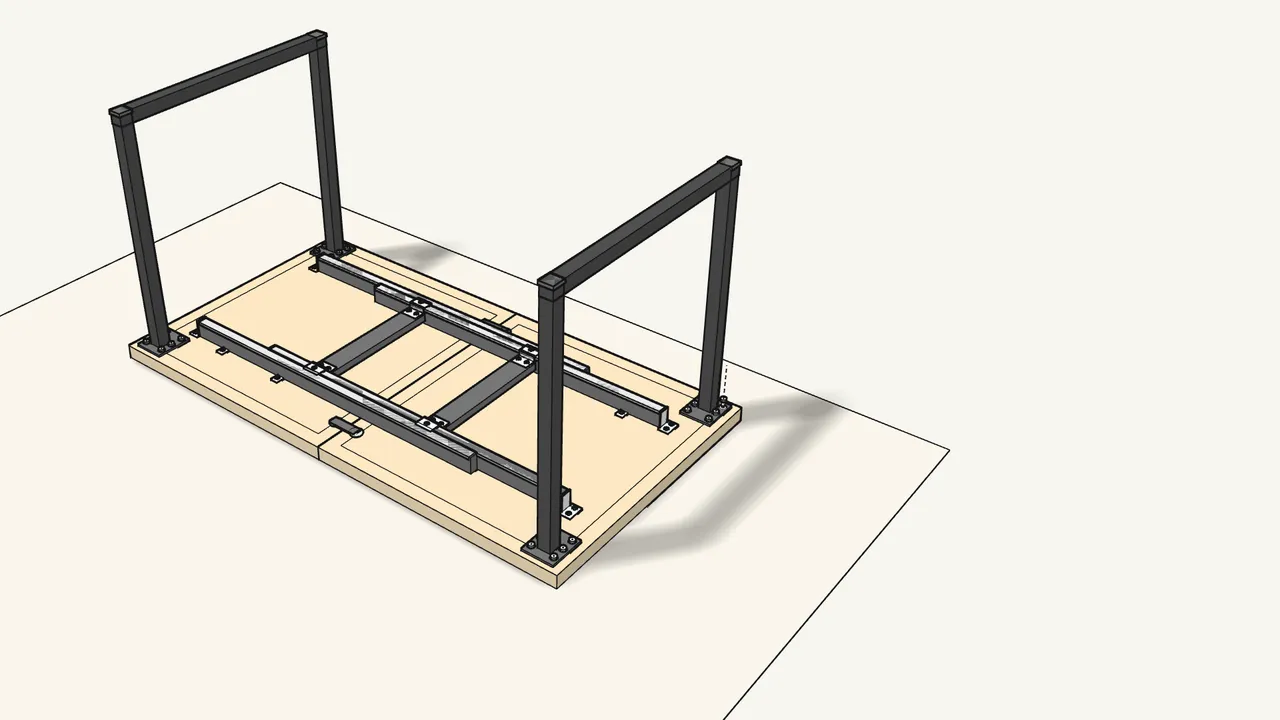
Bolt the second leg frame on the same way.
24 bolts and 24 washers in total.
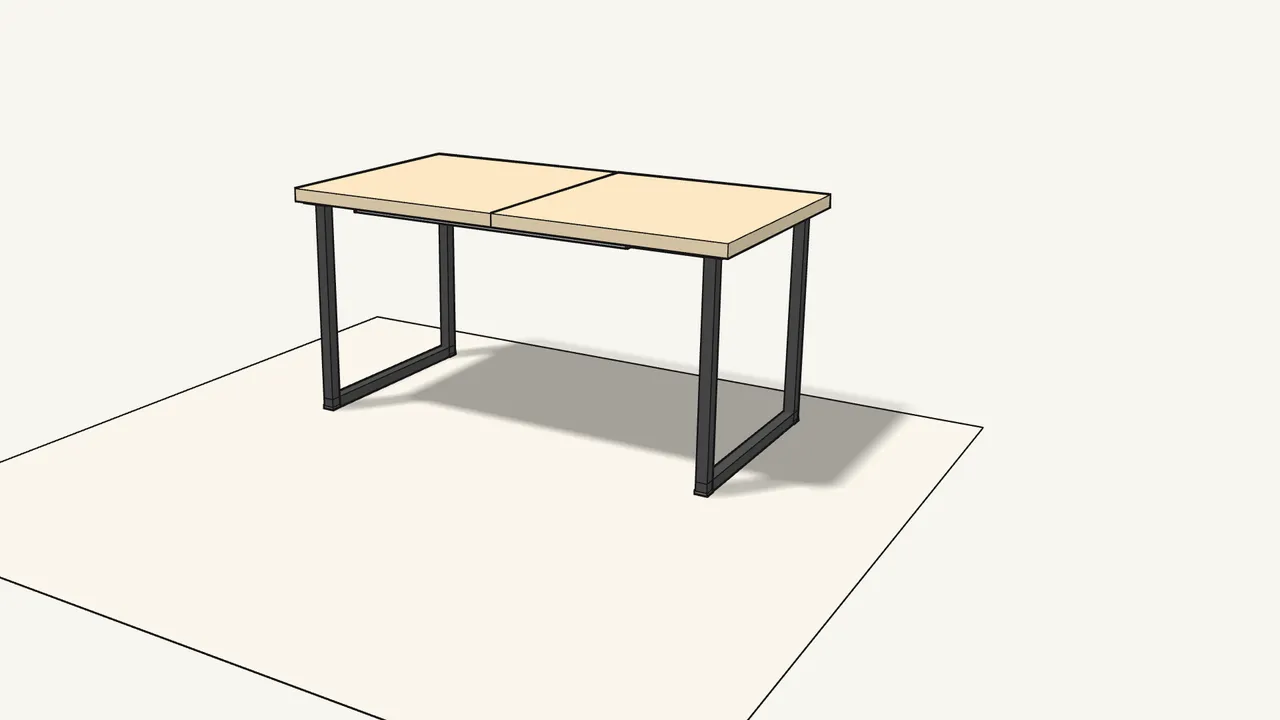
Step 8 · manual step 7
Turn the table over onto its legs.
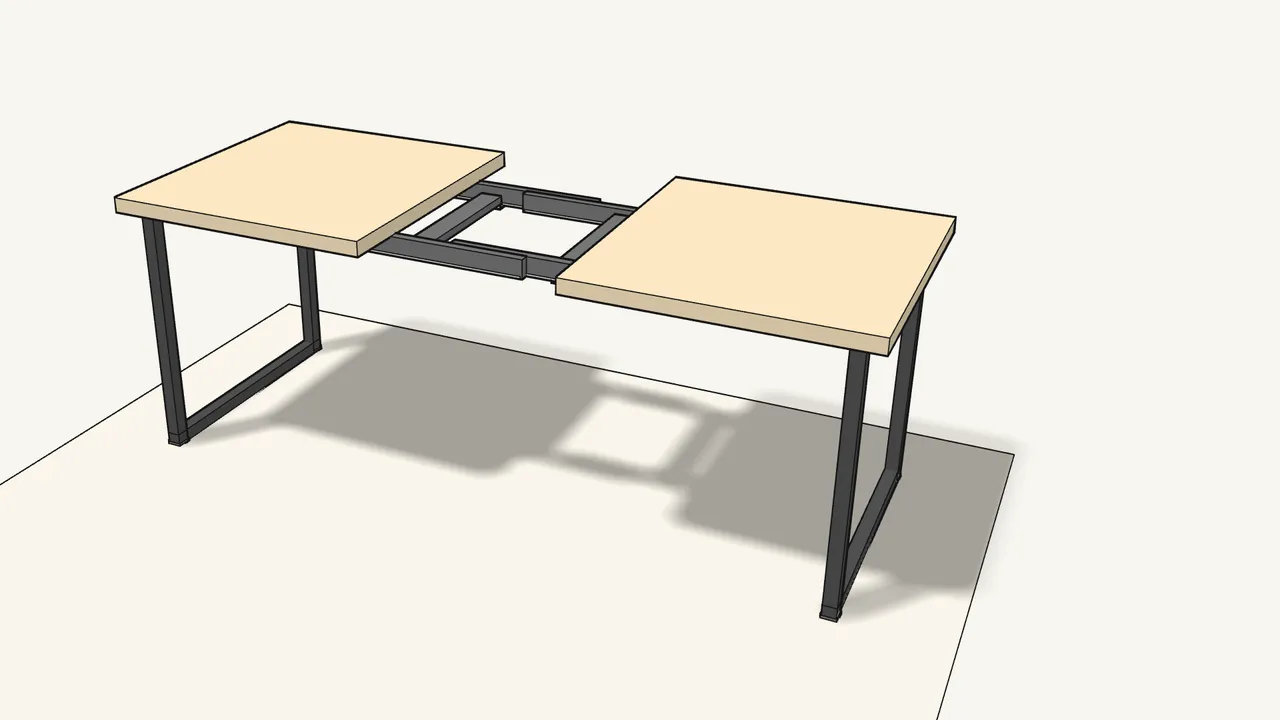
Step 9 · manual step 7
Open the 2 connectors under the joint and pull the halves apart.
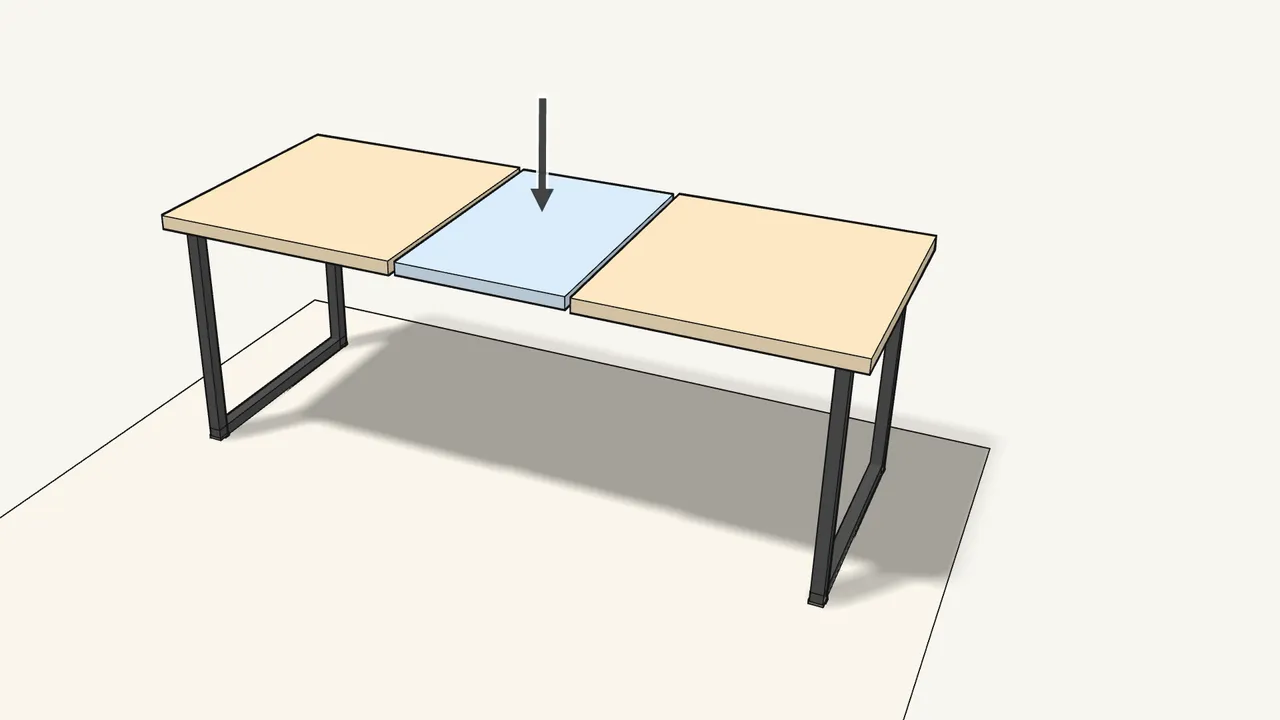
Step 10 · manual step 8
Lower the extension leaf into the opening.
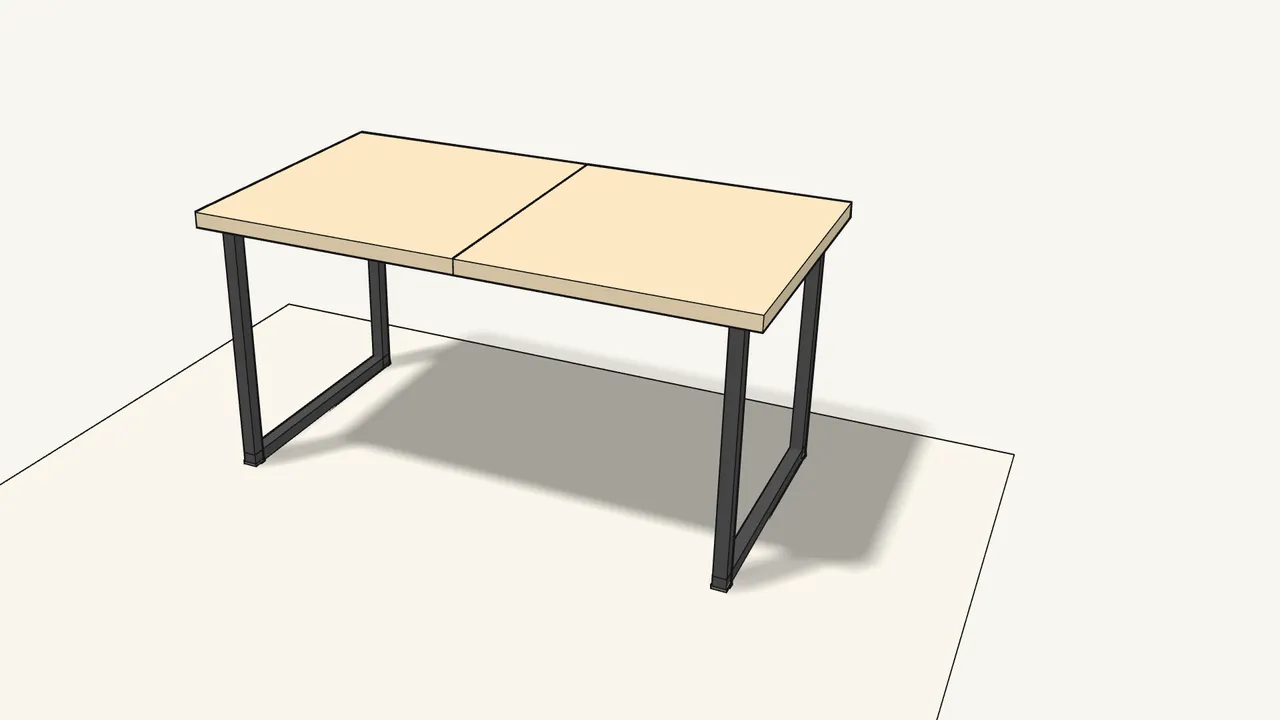
Step 11 · manual step 8
Push the halves together and lock the 2 connectors — click!
The extension leaf is now stored under the tabletop.
Tips & safety
- Extending to 200 cm Open the connectors, pull the halves apart, place the leaf in the gap, push together and lock all 4 connectors — manual, last page.
- Hand tools only The manual shows no power drill for the rail screws (step 3) — tighten them by hand.
Official instructions
This guide follows IKEA’s official assembly instructions (AA-2664619-1). Keep the printed manual to hand — if anything differs, the manual is right.



