IKEA · Tables & Desks
How to assemble IKEA SKRUVBY Side Table
Step-by-step IKEA SKRUVBY Side Table assembly: 13 illustrated steps, an animated video, the hardware list and the tools you need — following the official instructions (AA-2716115-2).
- 13 illustrated steps
- 11 steps in the manual
- 2:03 video
- 40×32×60 cm cm
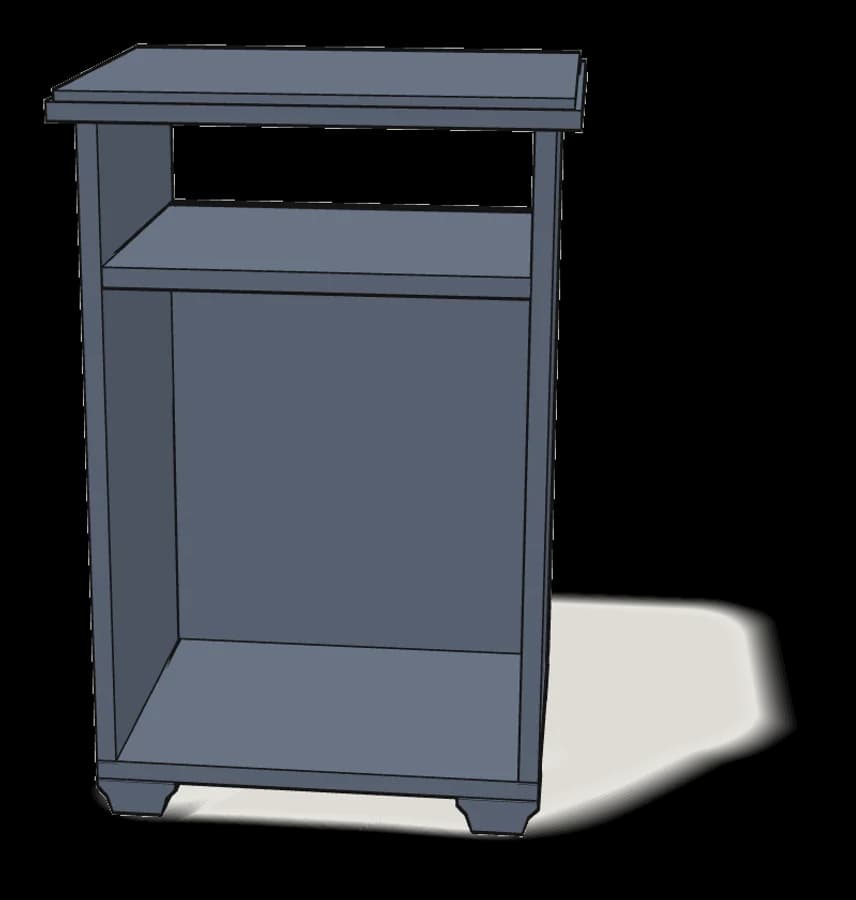
What you need
Tools
- Flat-head screwdriver
- Phillips screwdriver
- Allen key (included)
You’ll need: a flat-head and a Phillips screwdriver. The 2 Allen keys (100001 and 100006) are in the box.
Hardware in the box
| Part no. (as printed in the manual) | Qty |
|---|---|
| 100214 | 4× |
| 100224 | 2× |
| 10047135 | 4× |
| 109021 | 4× |
| 101350 | 4× |
| 101345 | 14× |
| 10047136 | 4× |
| 10092911 | 4× |
Step-by-step assembly
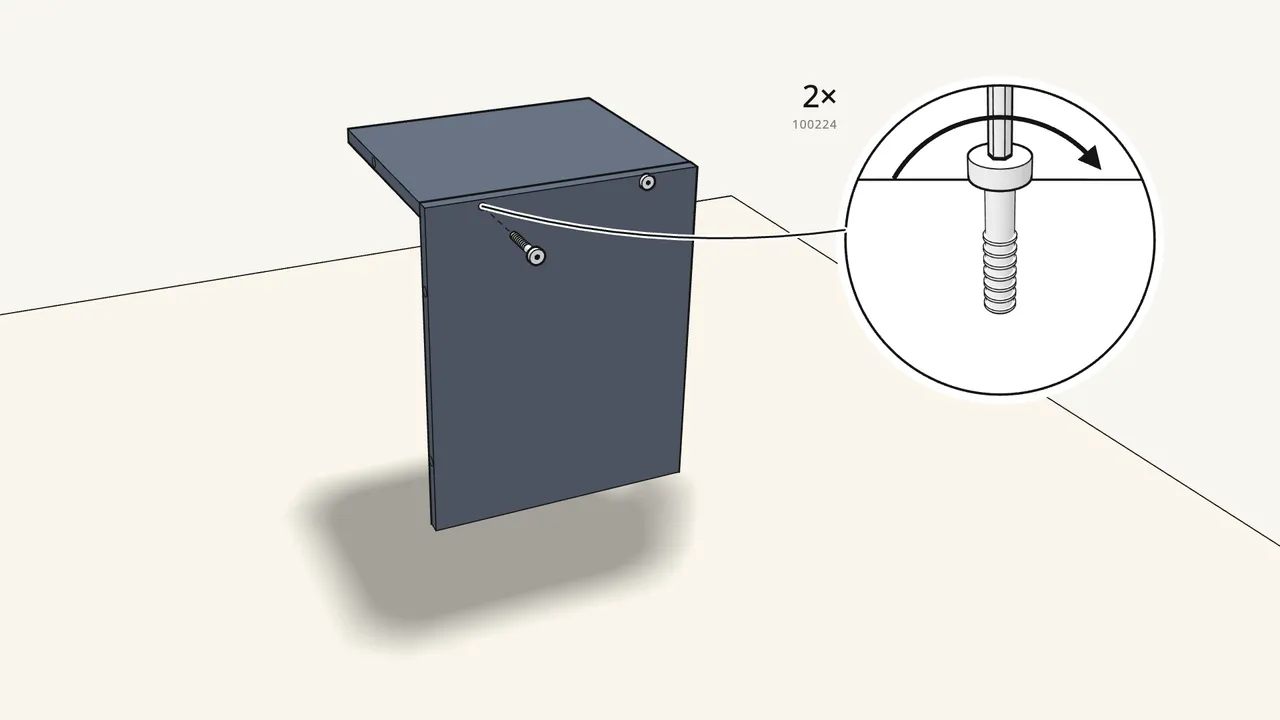
Step 1
Screw the shelf to the back panel with 2 screws (100224).
Through the back panel into the shelf edge — use the small Allen key (100006).
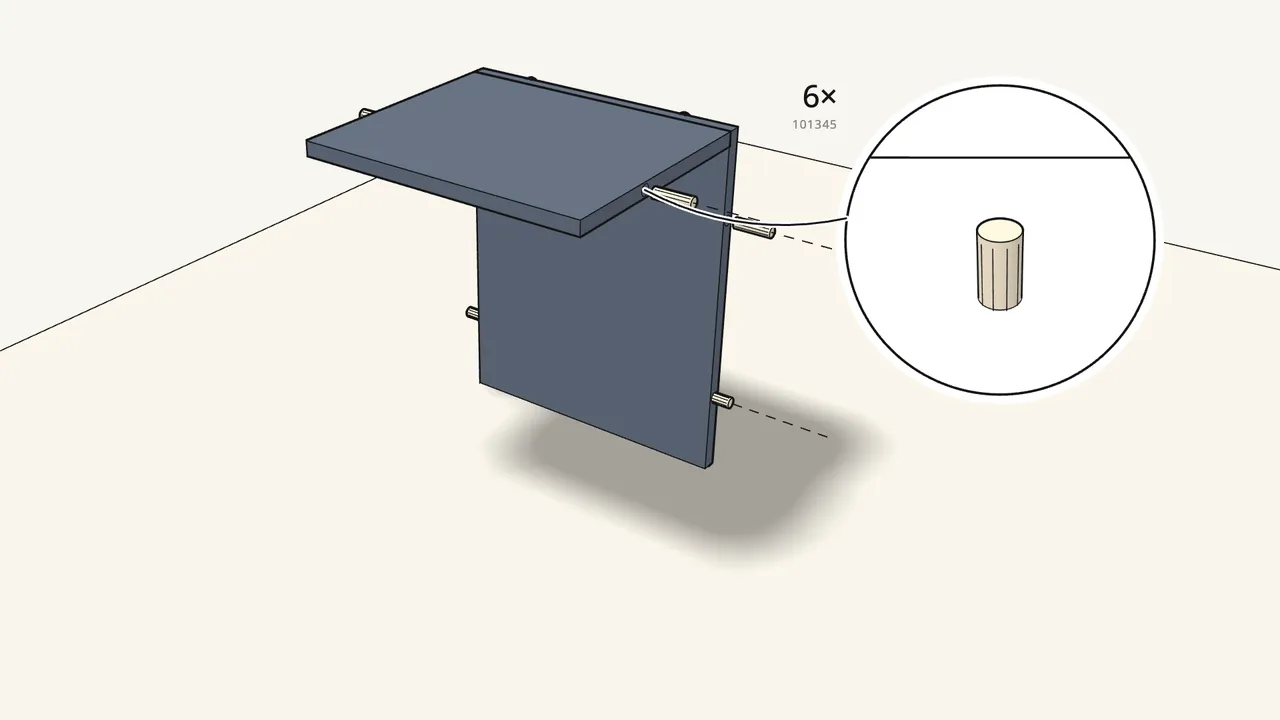
Step 2
Push 6 dowels (101345) into the back panel and the shelf.
Use the slim 101345 dowels here — not the 101350.
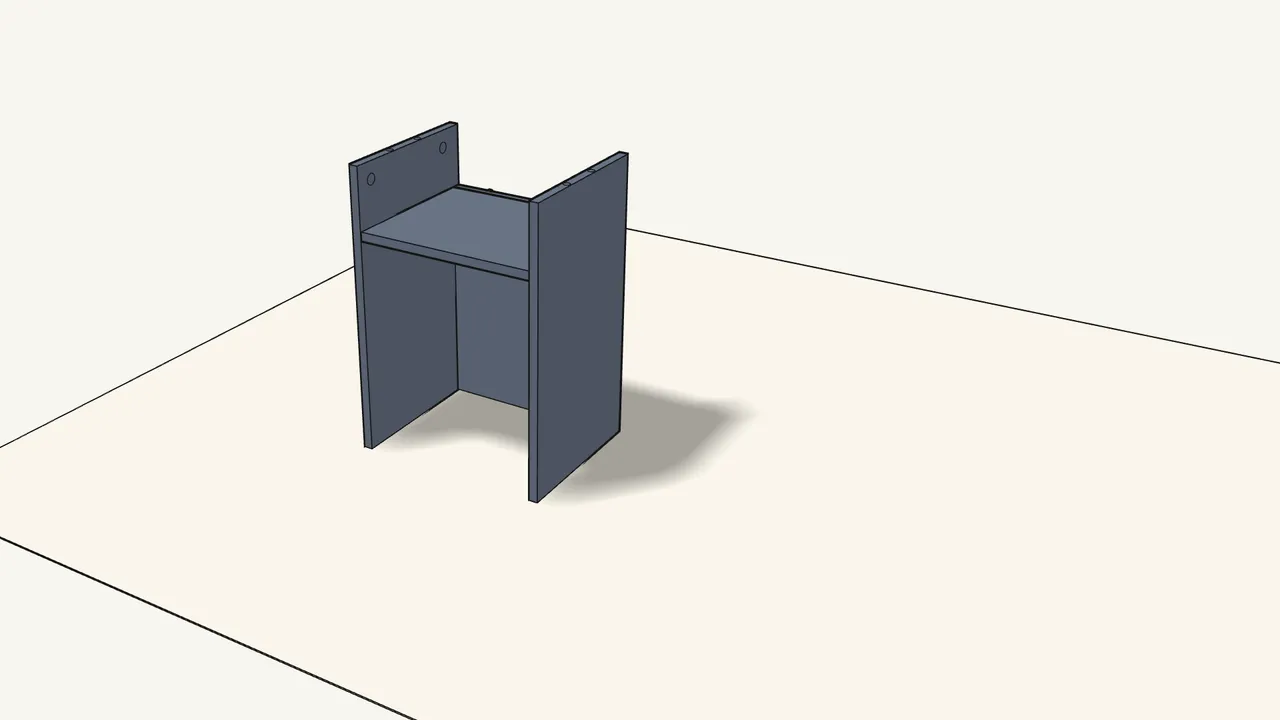
Step 3
Push the two side panels onto the dowels.
One from each side.
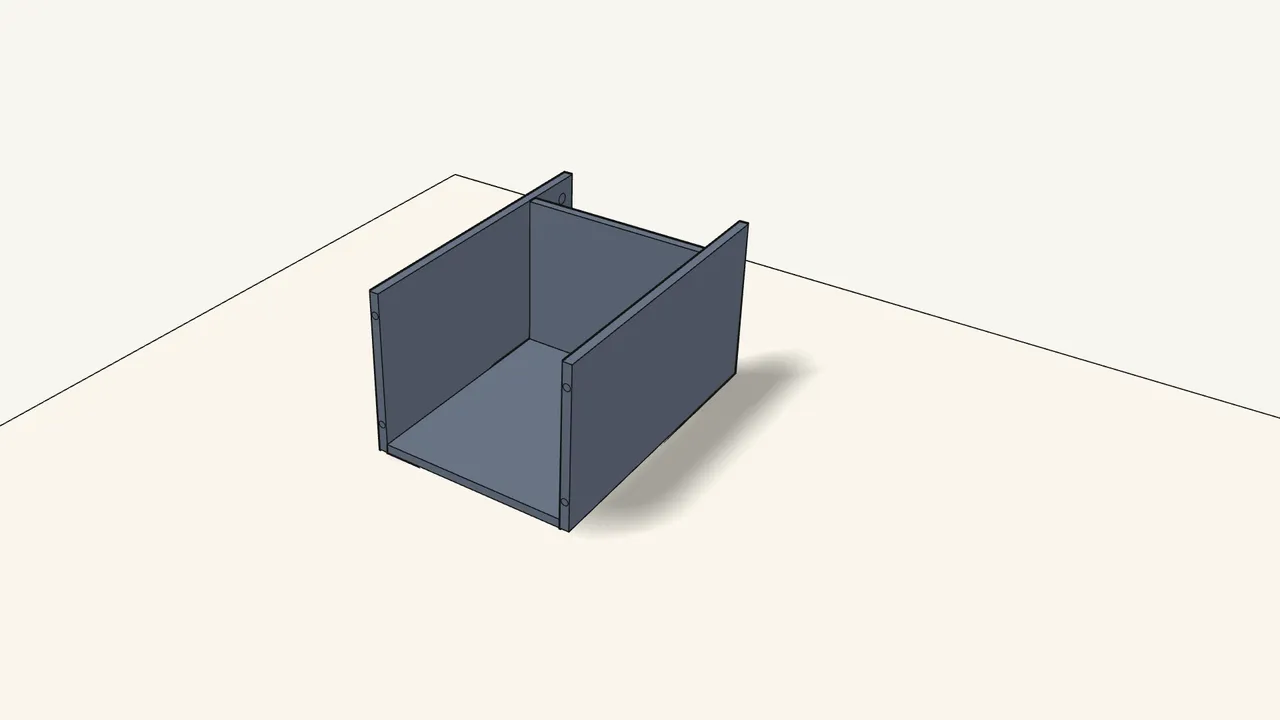
Step 4
Lay the unit down on its back.
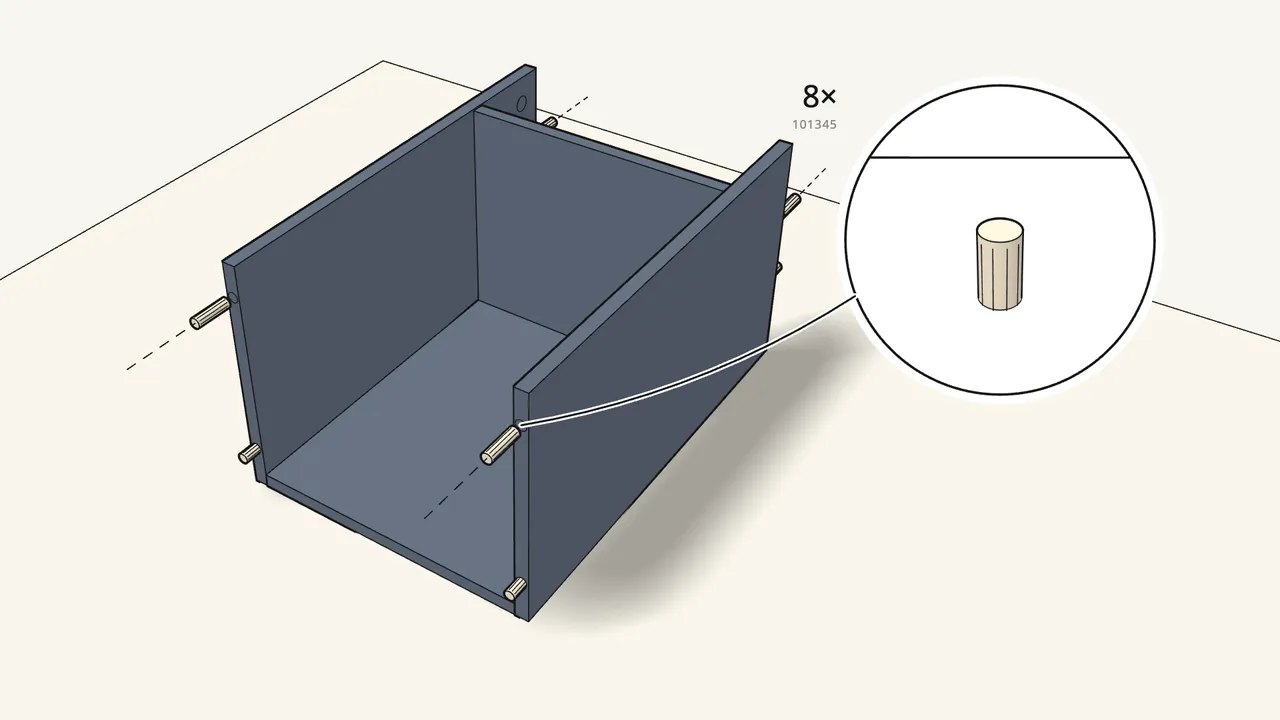
Step 5 · manual step 4
Push 8 dowels (101345) into the ends of the side panels.
2 in each end of both side panels.
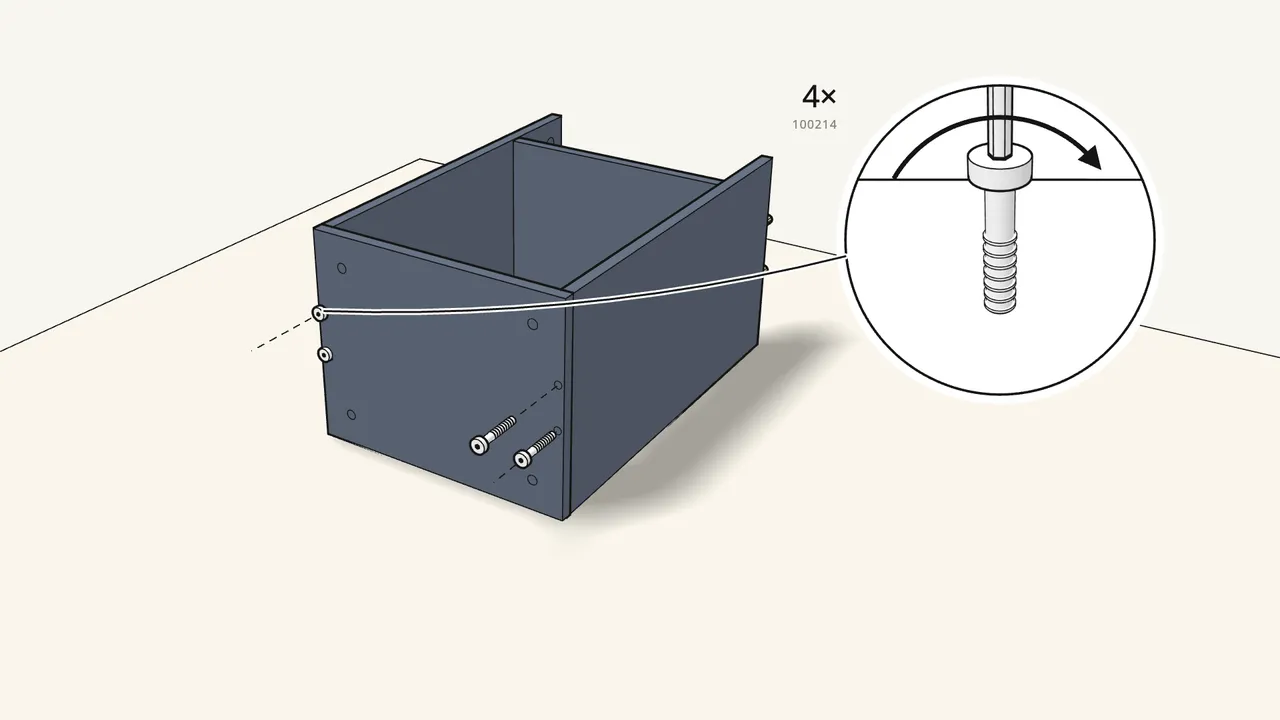
Step 6 · manual step 5
Fit the bottom panel with 4 bolts (100214).
Tighten them with the Z-shaped Allen key (100001).
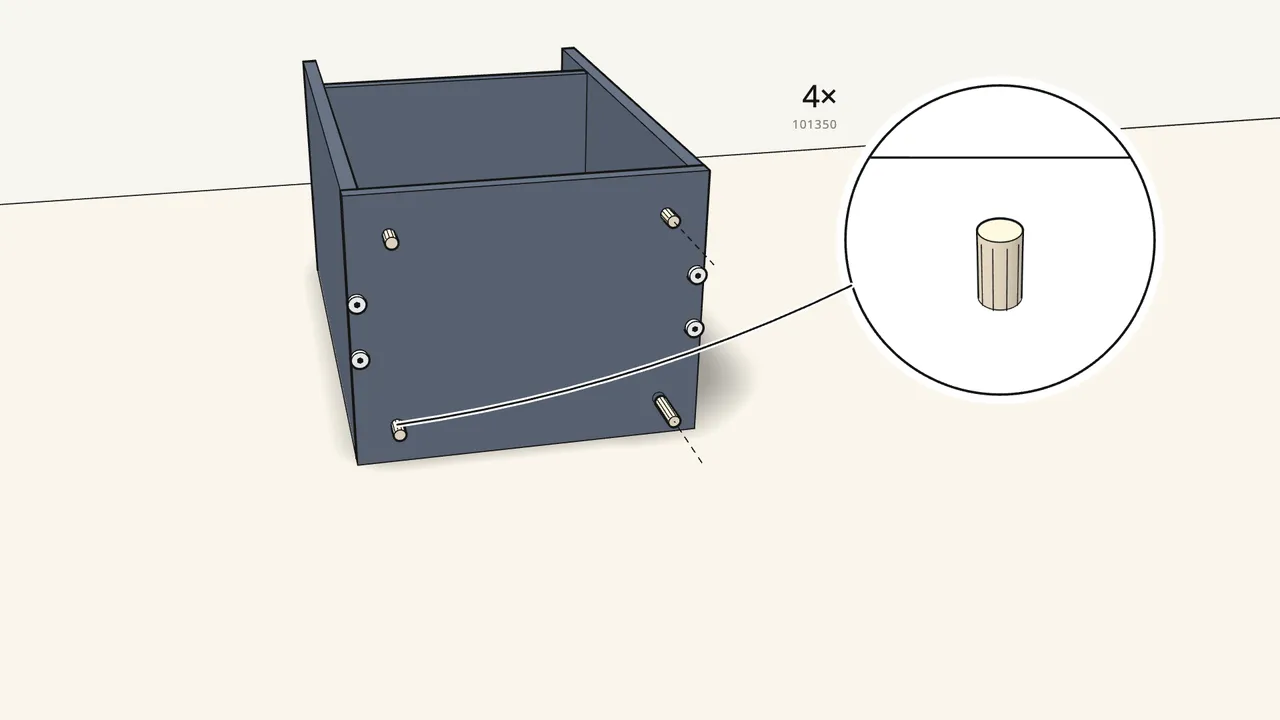
Step 7 · manual step 6
Push 4 large dowels (101350) into the bottom panel.
One near each corner, for the feet.
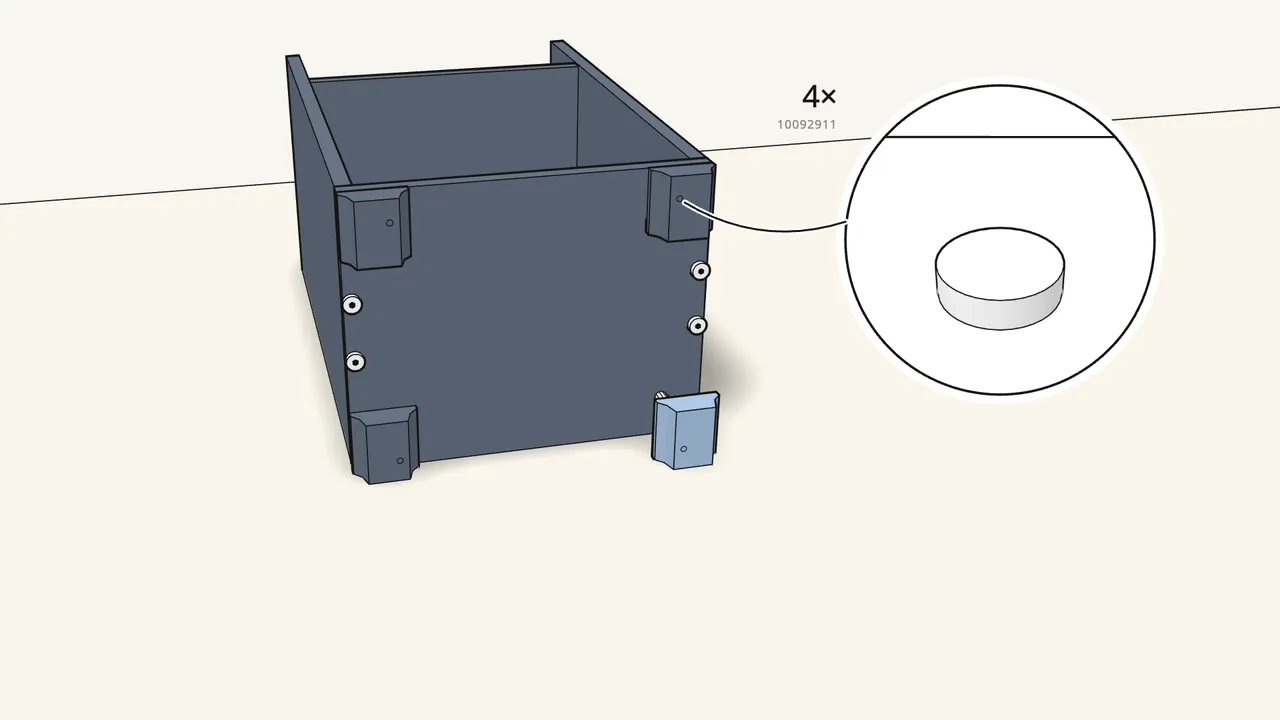
Step 8 · manual step 7
Press the 4 feet onto the dowels.
One in each corner — check which way they face in the manual, step 7.
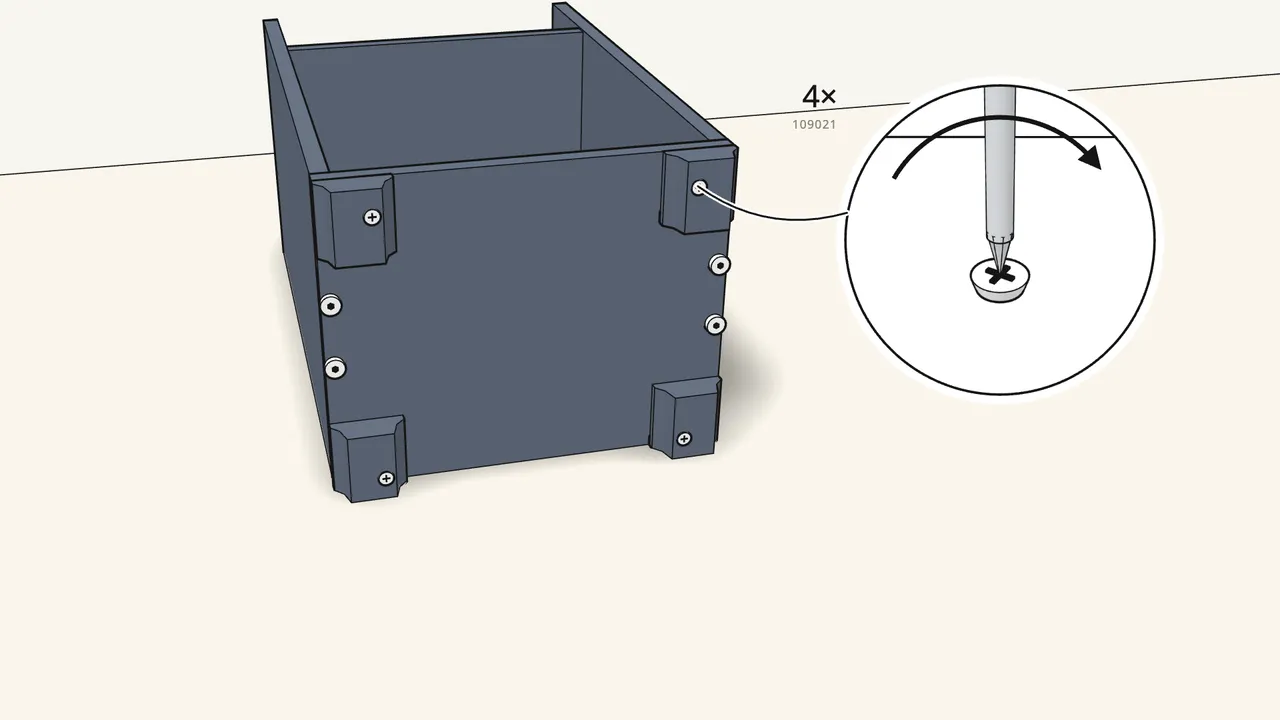
Step 9 · manual step 8
Fix each foot with a screw (109021).
Use the Phillips screwdriver.
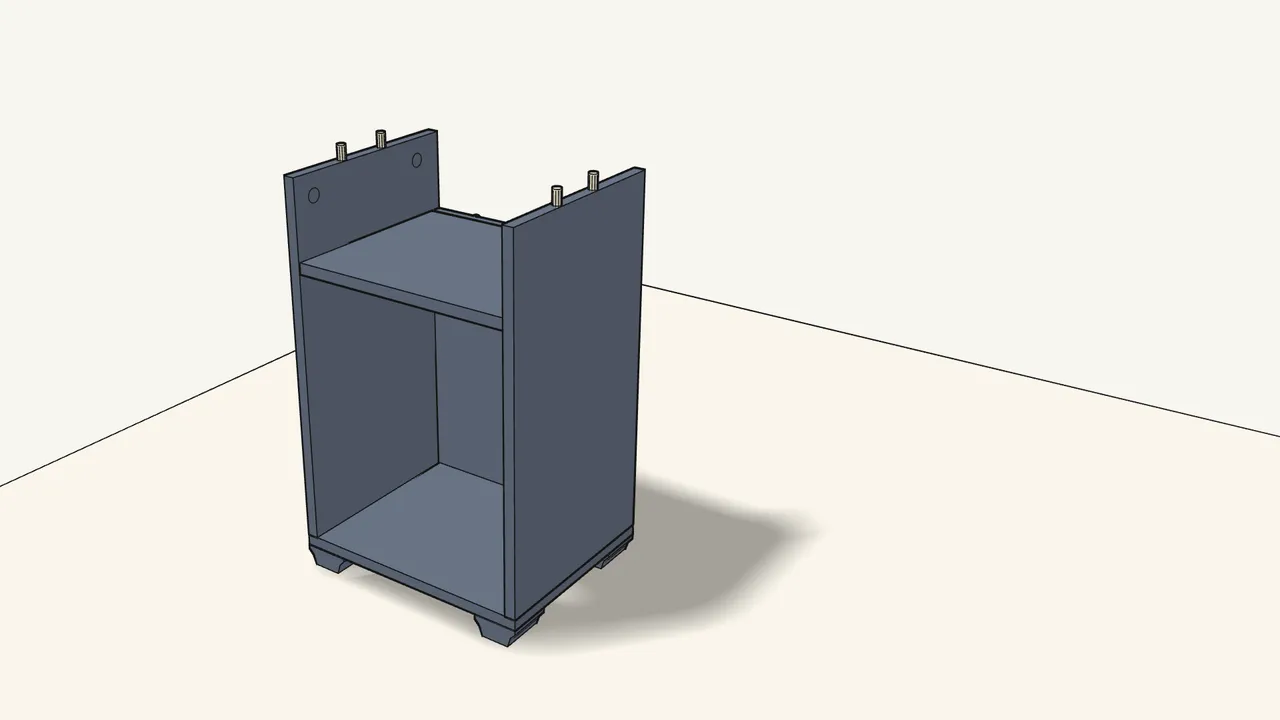
Step 10 · manual step 8
Turn the table upright onto its feet.
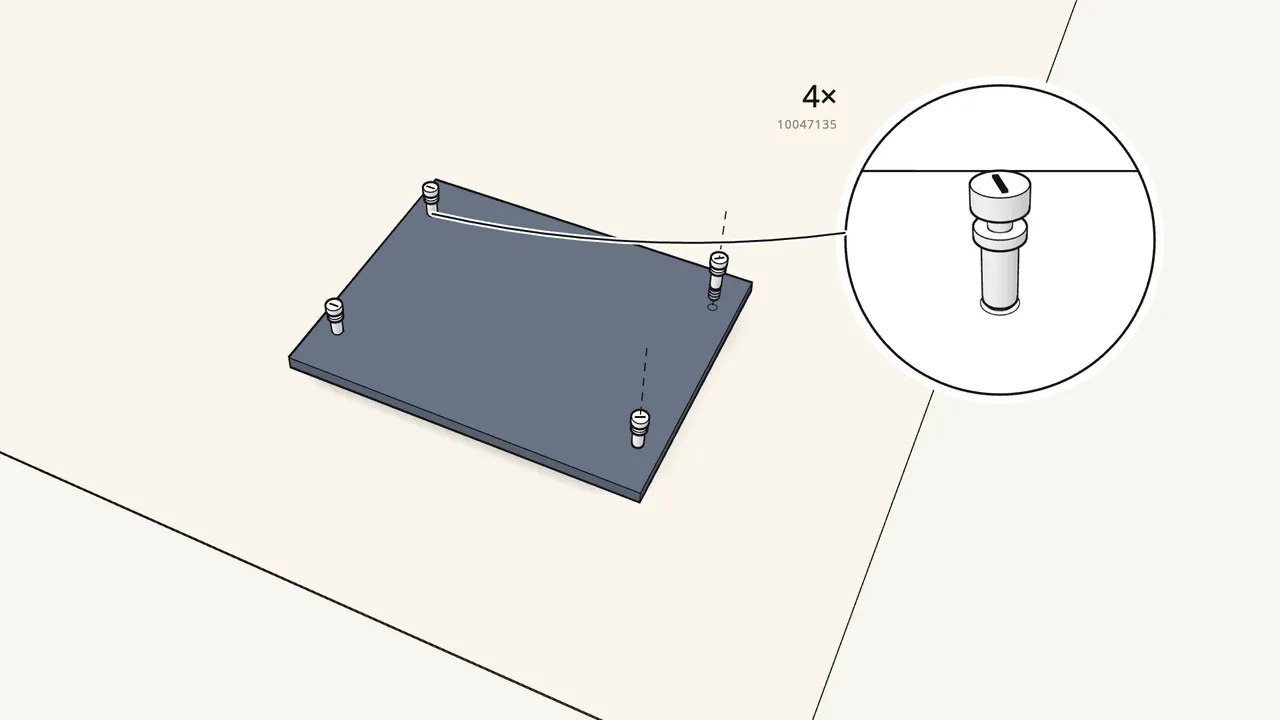
Step 11 · manual step 9
Screw 4 connectors (10047135) into the top by hand.
Underside up, threaded end into the panel, all the way in.
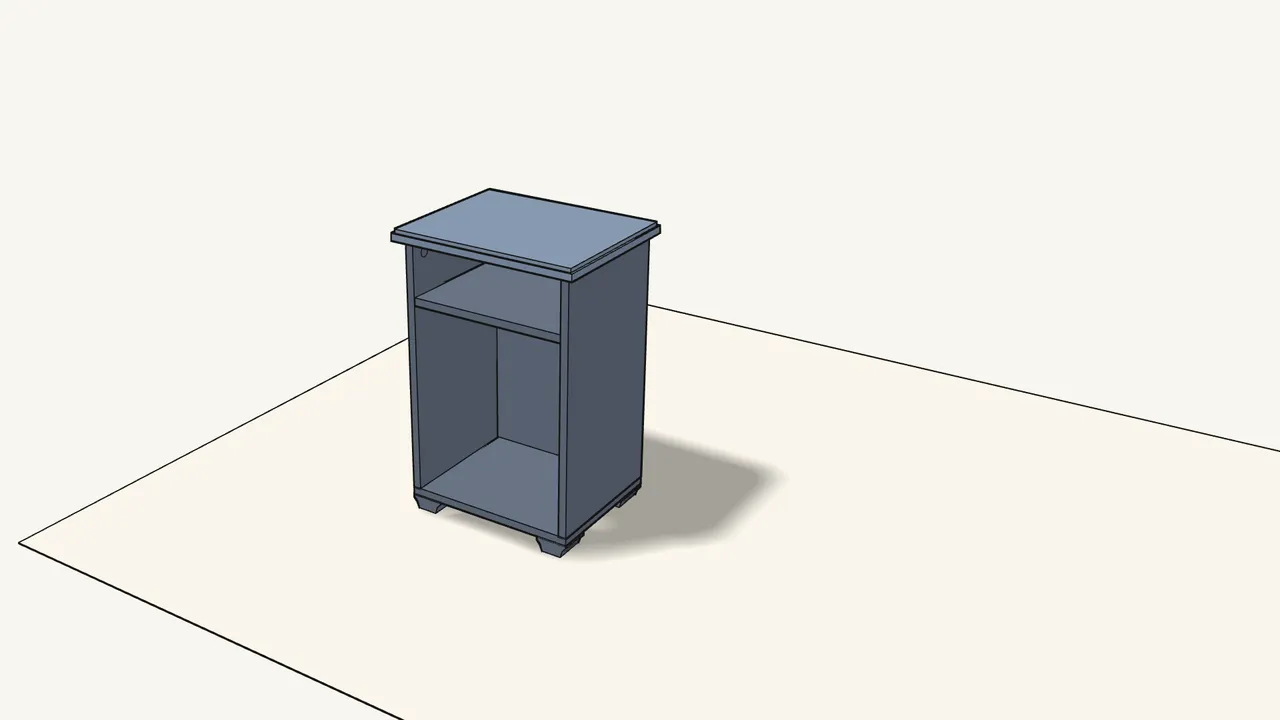
Step 12 · manual step 10
Turn the top over and place it on the side panels.
The connectors and dowels go into the holes in the panel ends.
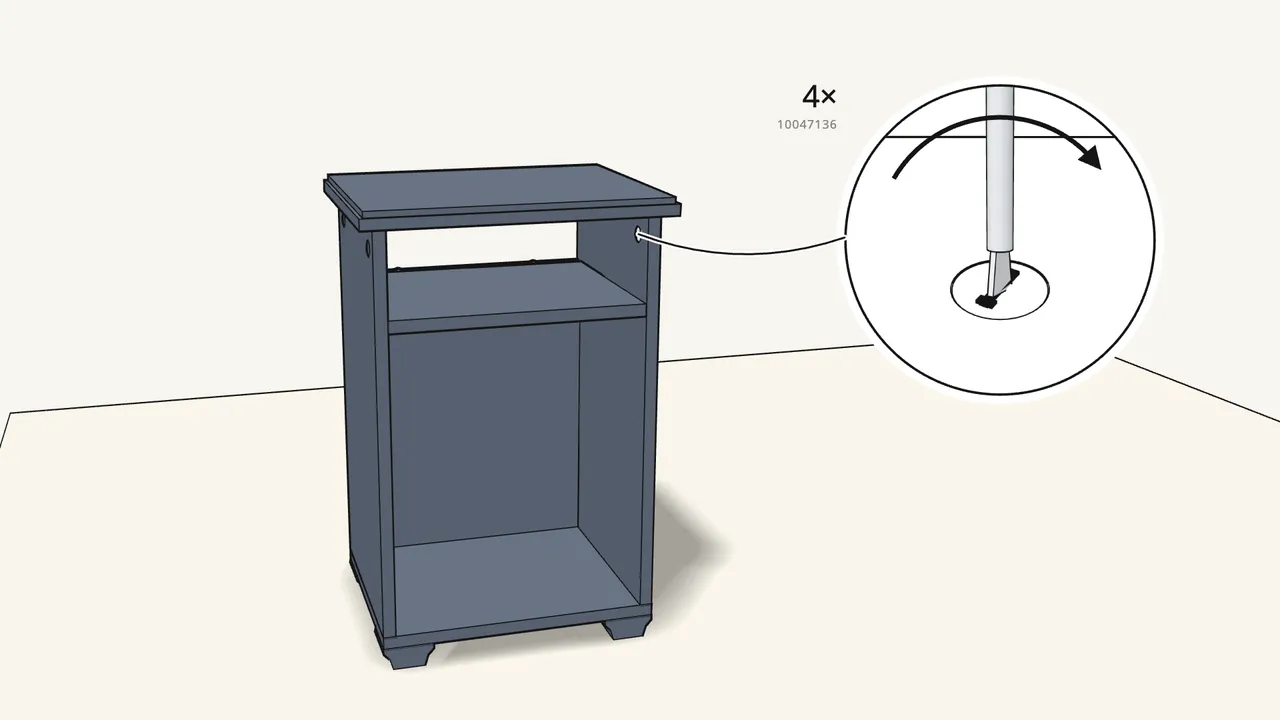
Step 13 · manual step 11
Insert 4 cam locks and turn them clockwise.
Use a flat-head screwdriver — the lock grips the connector.
Tips & safety
- Delicate table — never sit or stand on it. Maximum load on the top: 10 kg (22 lb). Don’t put heavy objects on it.
- Missing a part or not sure? Contact your IKEA store rather than guessing — as the manual shows on page 3.
Official instructions
This guide follows IKEA’s official assembly instructions (AA-2716115-2). Keep the printed manual to hand — if anything differs, the manual is right.



