IKEA · Tables & Desks
How to assemble IKEA RUTER Ironing Board
Step-by-step IKEA RUTER Ironing Board assembly: 7 illustrated steps, an animated video, the hardware list and the tools you need — following the official instructions (AA-2191614-5).
- 7 illustrated steps
- 2 steps in the manual
- 1:37 video
- 108×33×86 cm cm
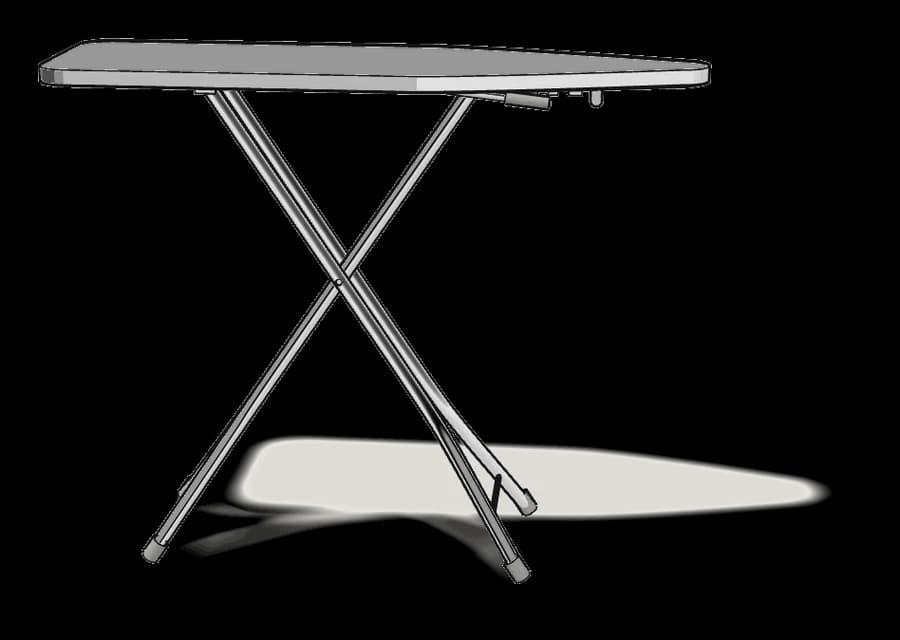
What you need
Tools
No tools needed.
Hardware in the box
See the manual.
Step-by-step assembly
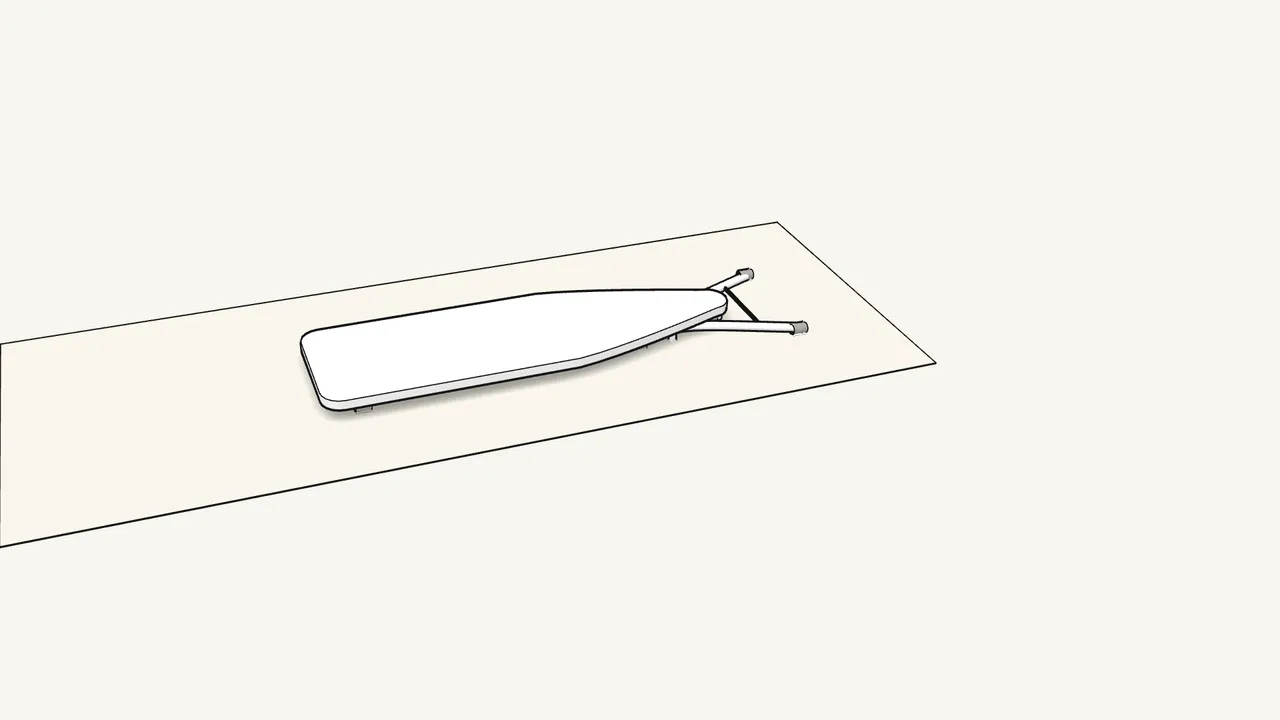
Step 1
RUTER comes folded, with the legs already fitted.
There is nothing to screw together — you only unfold it.
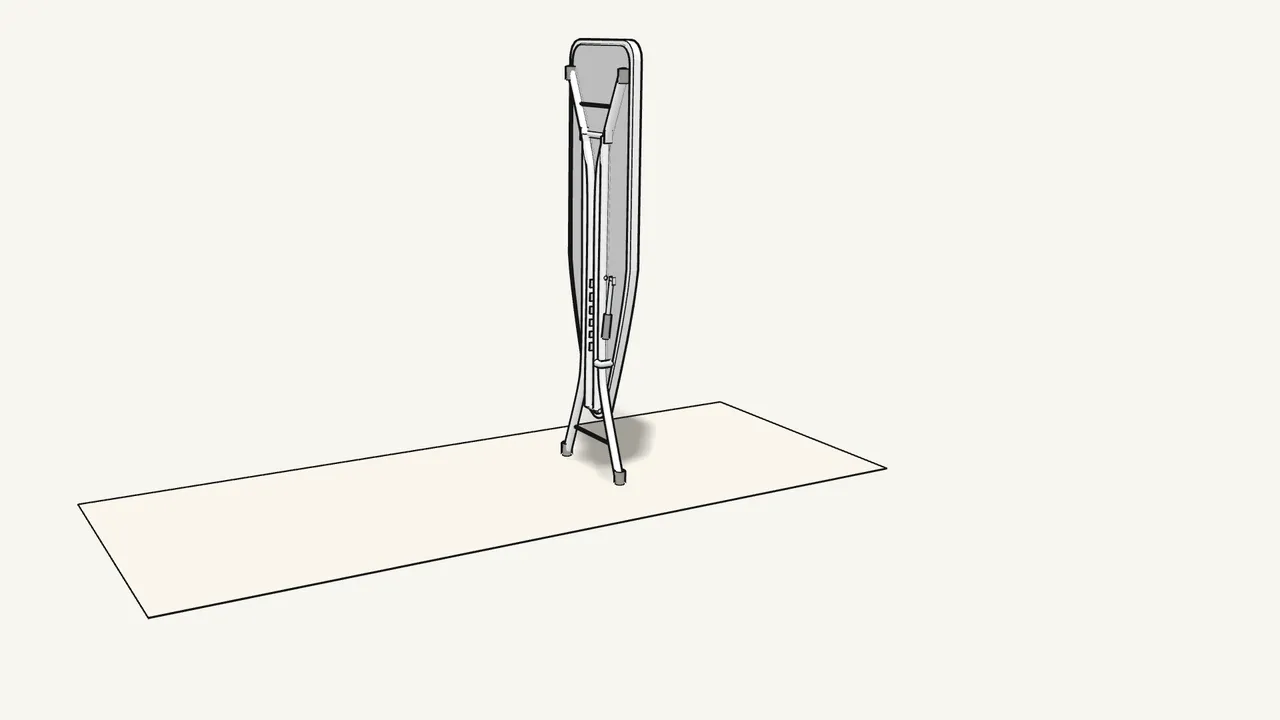
Step 2 · manual step 1
Stand the folded board up on its narrow end.
The pointed end faces down and the feet rest on the floor.
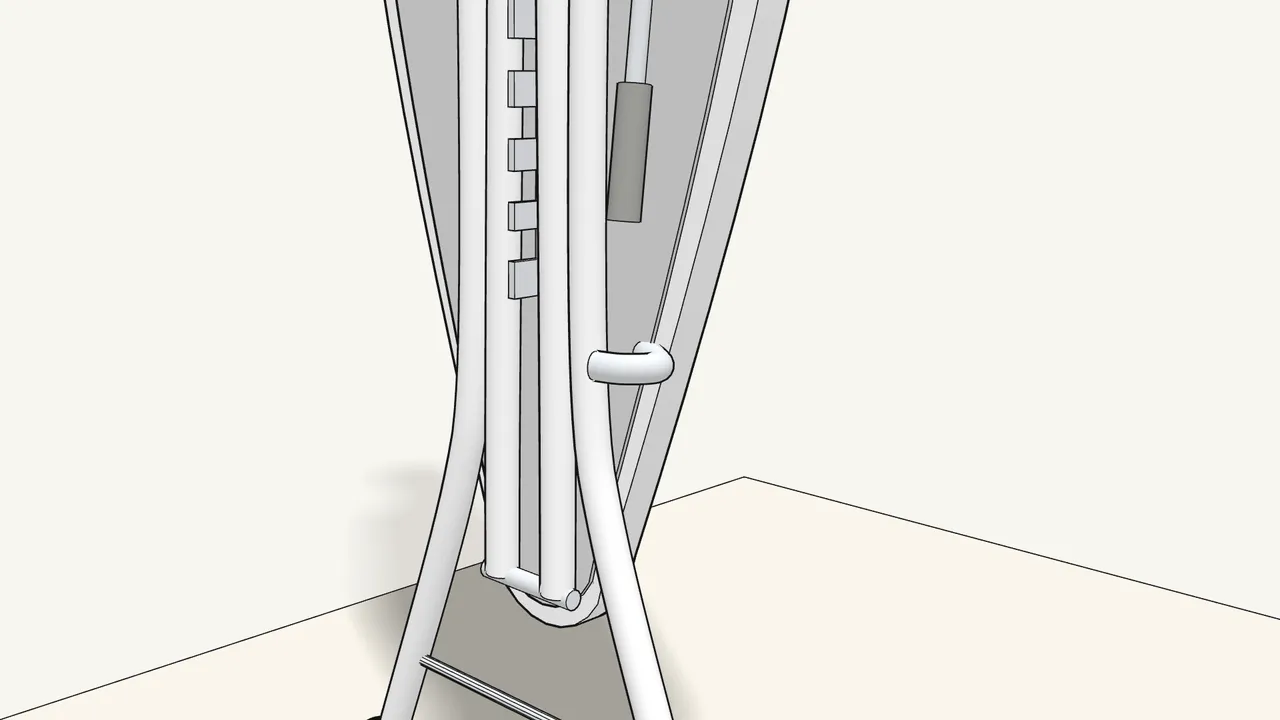
Step 3 · manual step 1
Push the hook aside to free the leg.
Hold the top of the board with your other hand, as in the manual, step 1.
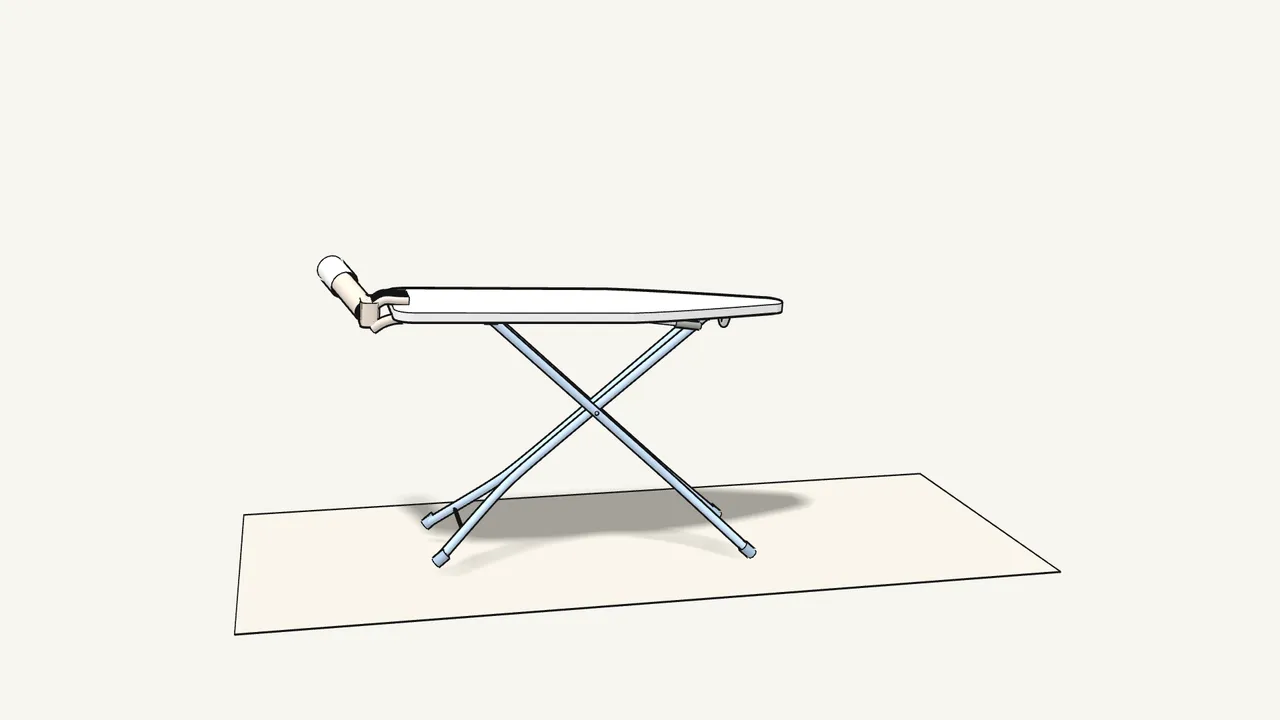
Step 4 · manual step 1
Swing the board down — the legs open.
Keep hold of the board while it lowers.
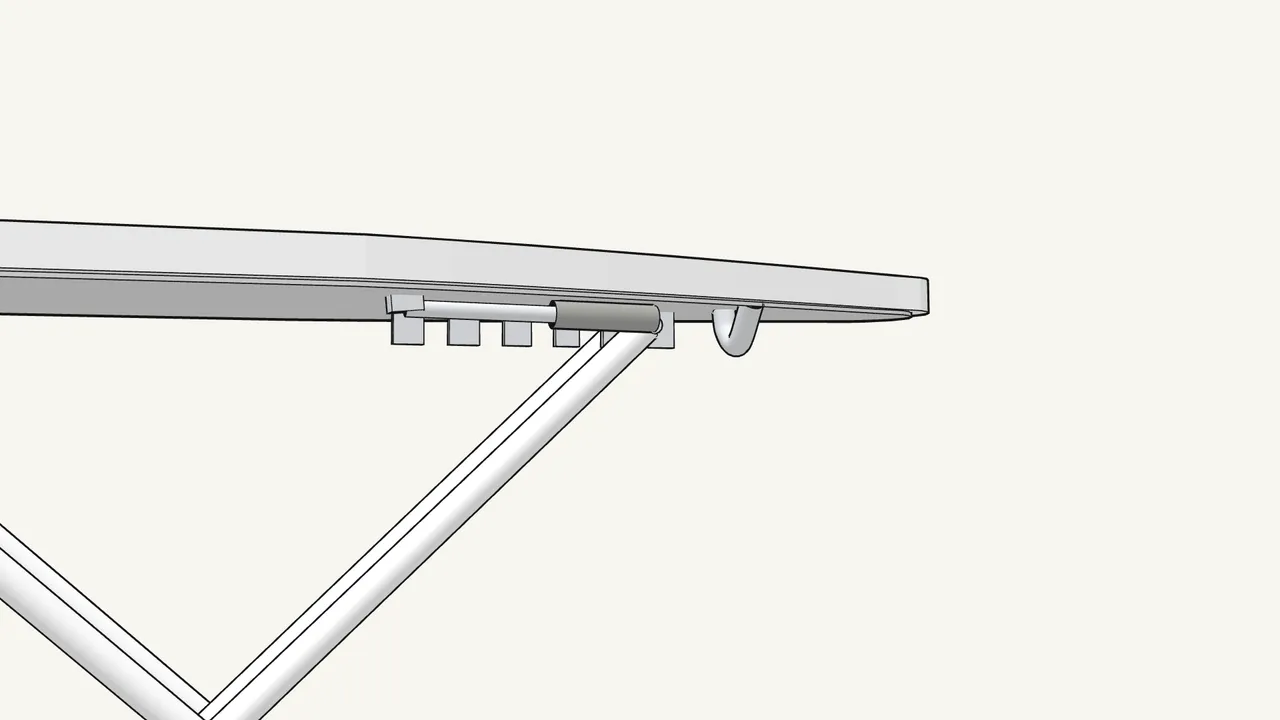
Step 5 · manual step 2
Lift the lever under the board.
It releases the legs so you can change the height.
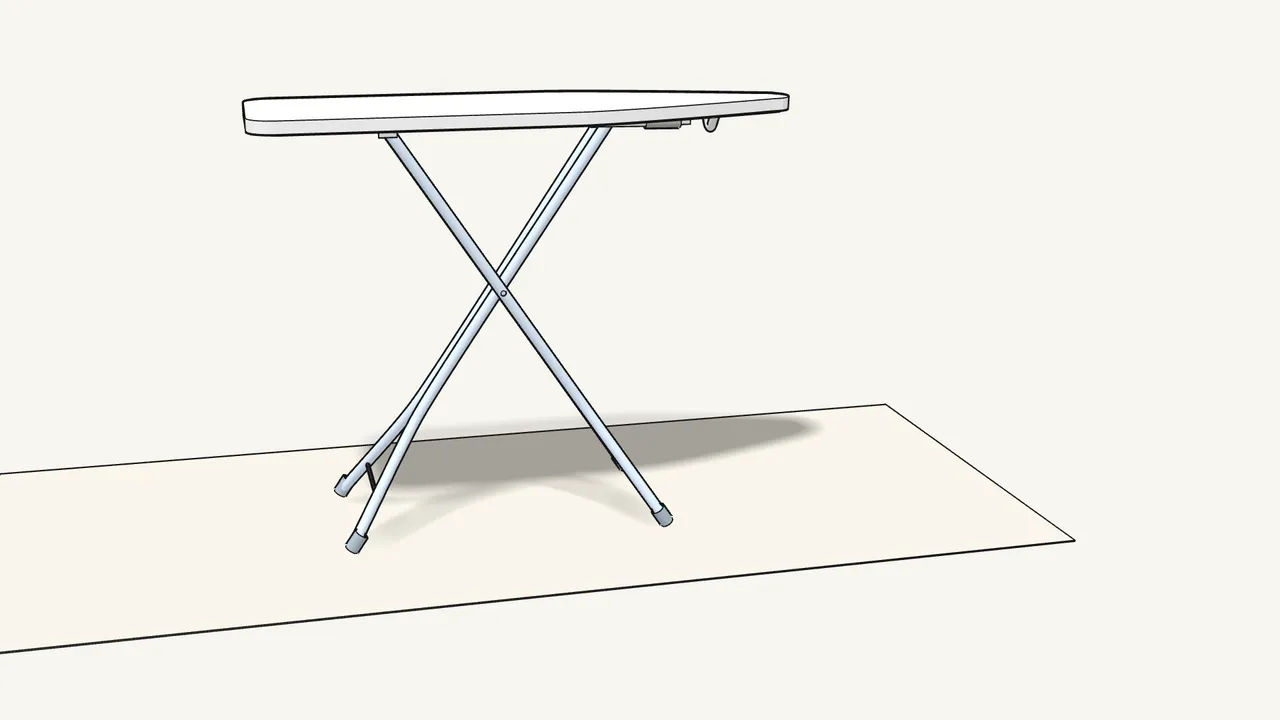
Step 6 · manual step 2
Lift the board to the height you want.
Keep the lever up while the legs slide along the notches.
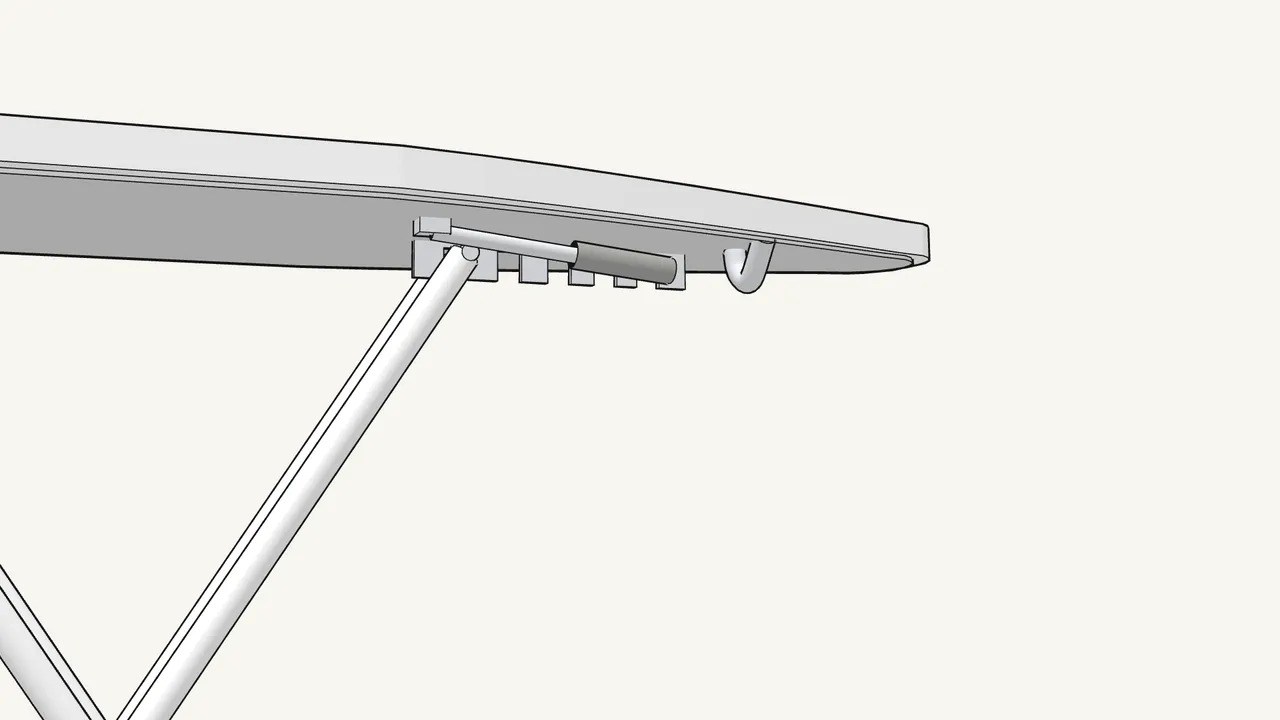
Step 7 · manual step 2
Let go of the lever — the bar must sit in a notch.
Check that it has dropped into place before you start ironing.
Tips & safety
- Never use this board with a steam generator. Keep it out of reach of children, and don’t use it if any part is broken, torn or missing.
- Max load: 2.5 kg wide end, 2 kg pointed end. As shown in the manual, page 10.
- To fold it away: see the manual, pages 11–12. Lift the lever, stand the board on its end, hook the leg back in place, then let go of the lever.
Official instructions
This guide follows IKEA’s official assembly instructions (AA-2191614-5). Keep the printed manual to hand — if anything differs, the manual is right.



