IKEA · Tables & Desks
How to assemble IKEA ROSENTORP Extendable Table
Step-by-step IKEA ROSENTORP Extendable Table assembly: 22 illustrated steps, an animated video, the hardware list and the tools you need — following the official instructions (AA-2407577-1).
- 22 illustrated steps
- 31 steps in the manual
- 3:29 video
- 110/155×110×75 cm
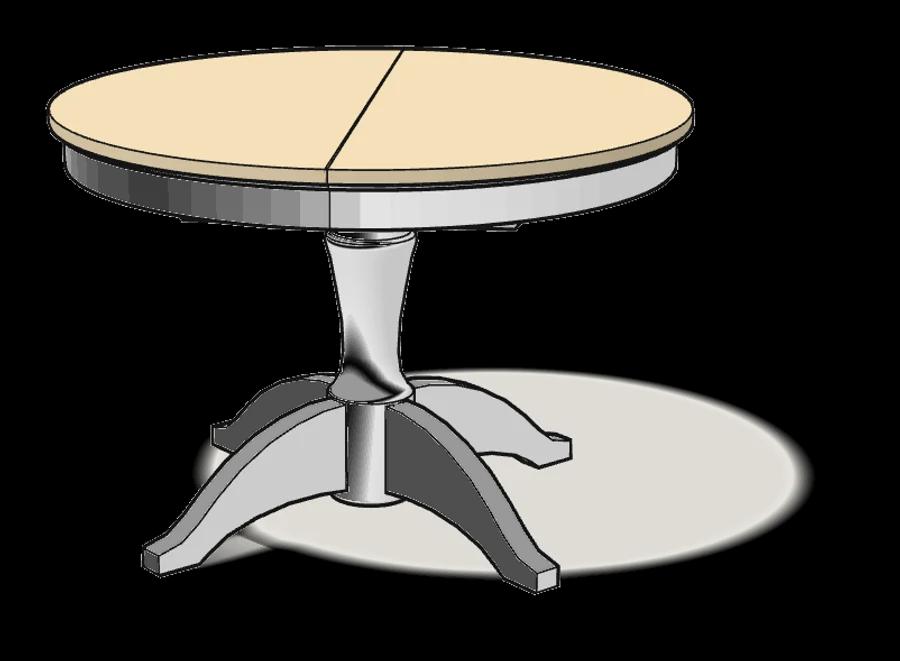
What you need
Tools
- Flat-head screwdriver
- Phillips screwdriver
- Hammer
Hardware in the box
| Part no. (as printed in the manual) | Qty |
|---|---|
| 100041 | 4× |
| 100037 | 2× |
| 114671 | 2× |
| 101367 | 10× |
| 101359 | 2× |
| 104859 | 6× |
| 104864 | 2× |
| 10103956 | 4× |
| 107624 | 8× |
| 105307 | 28× |
| 100843 | 4× |
| 100850 | 8× |
| 114670 | 2× |
| 131375 | 4× |
Step-by-step assembly
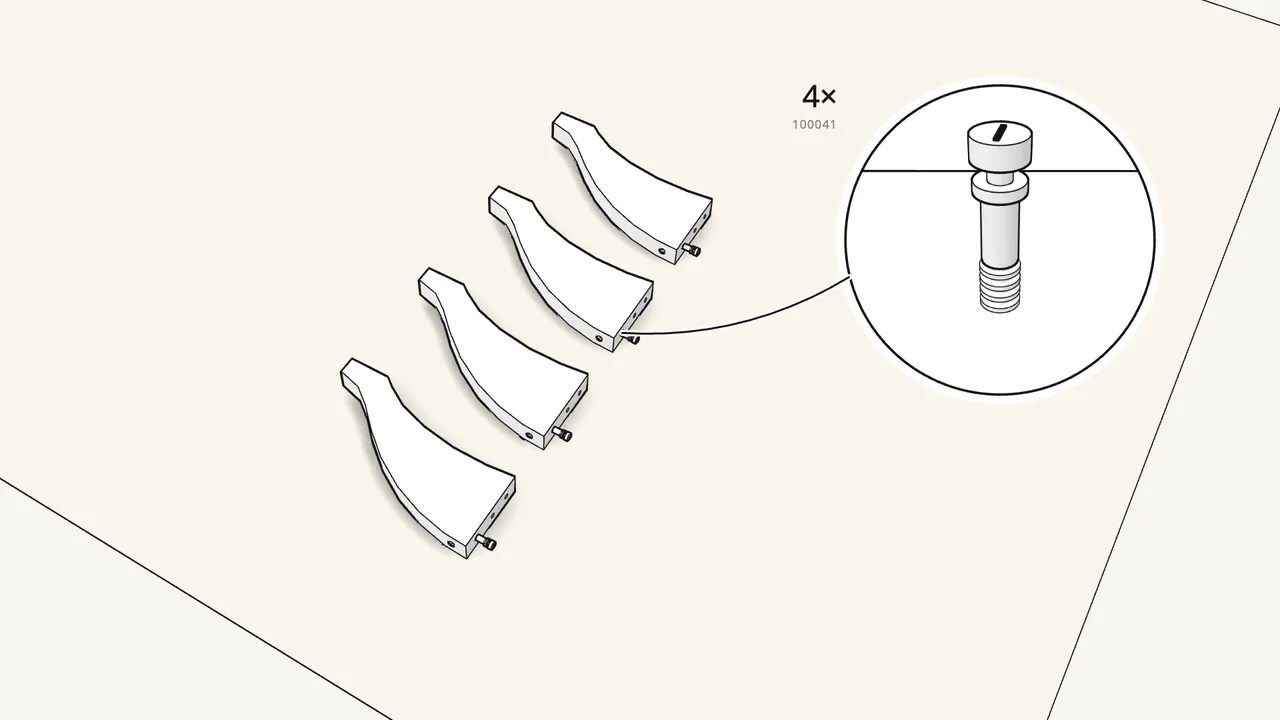
Step 1
Push a cross dowel (104859) into each leg, then screw in a long rod.
Use the long rods (100041), not the short 100037. Lay the 4 legs on a rug.
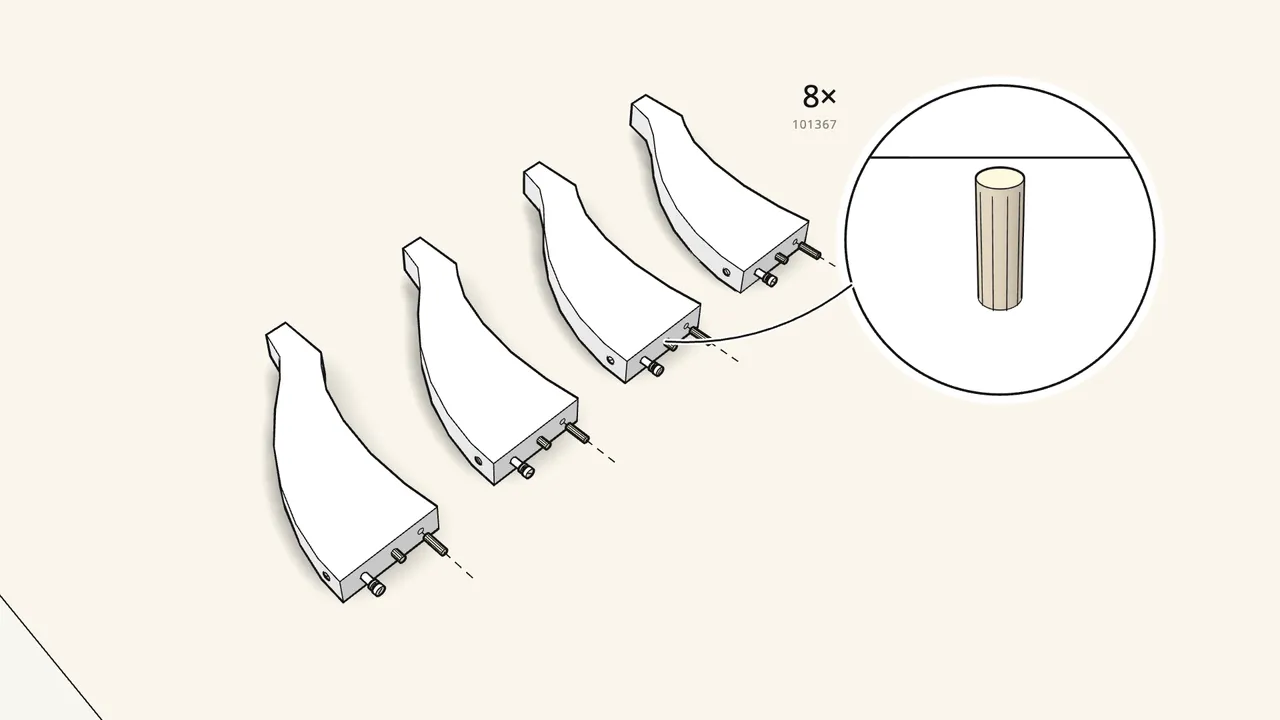
Step 2
Tap 2 dowels (101367) into the end of each leg.
8 dowels in total — use the hammer.
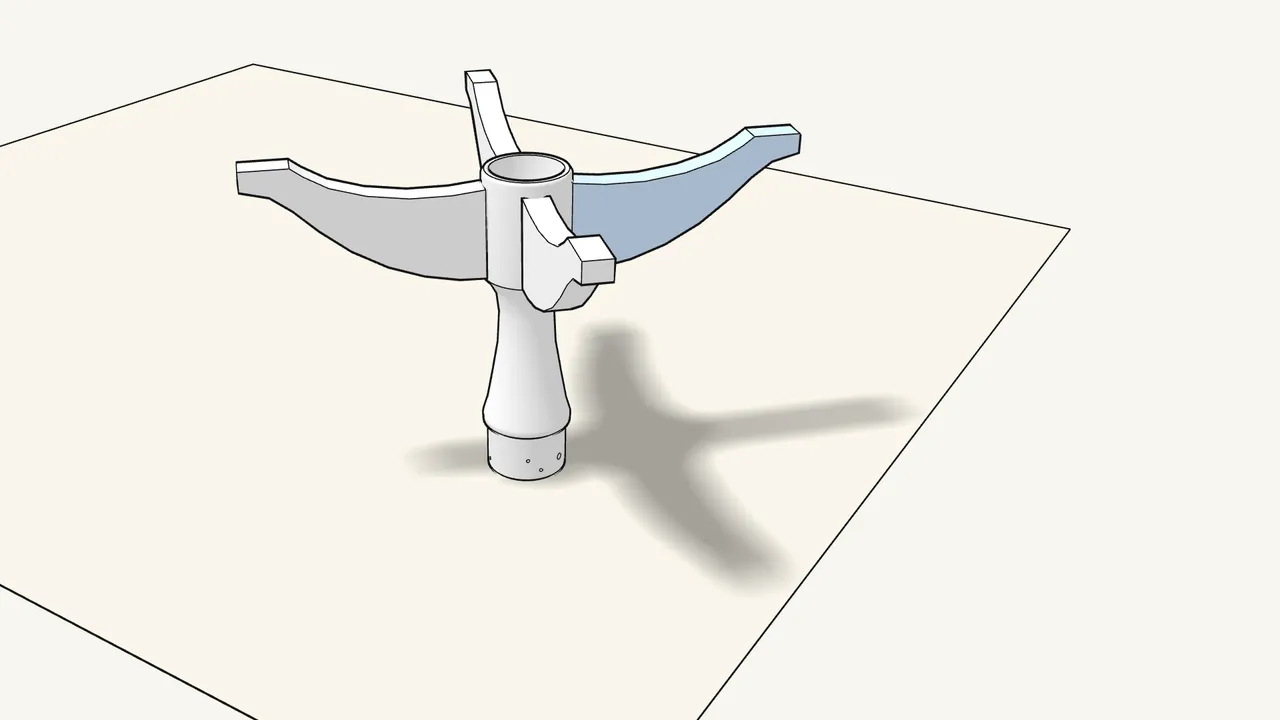
Step 3
Fit the 4 legs onto the hub of the upside-down column.
The rod and dowels of each leg go into the holes in the hub.
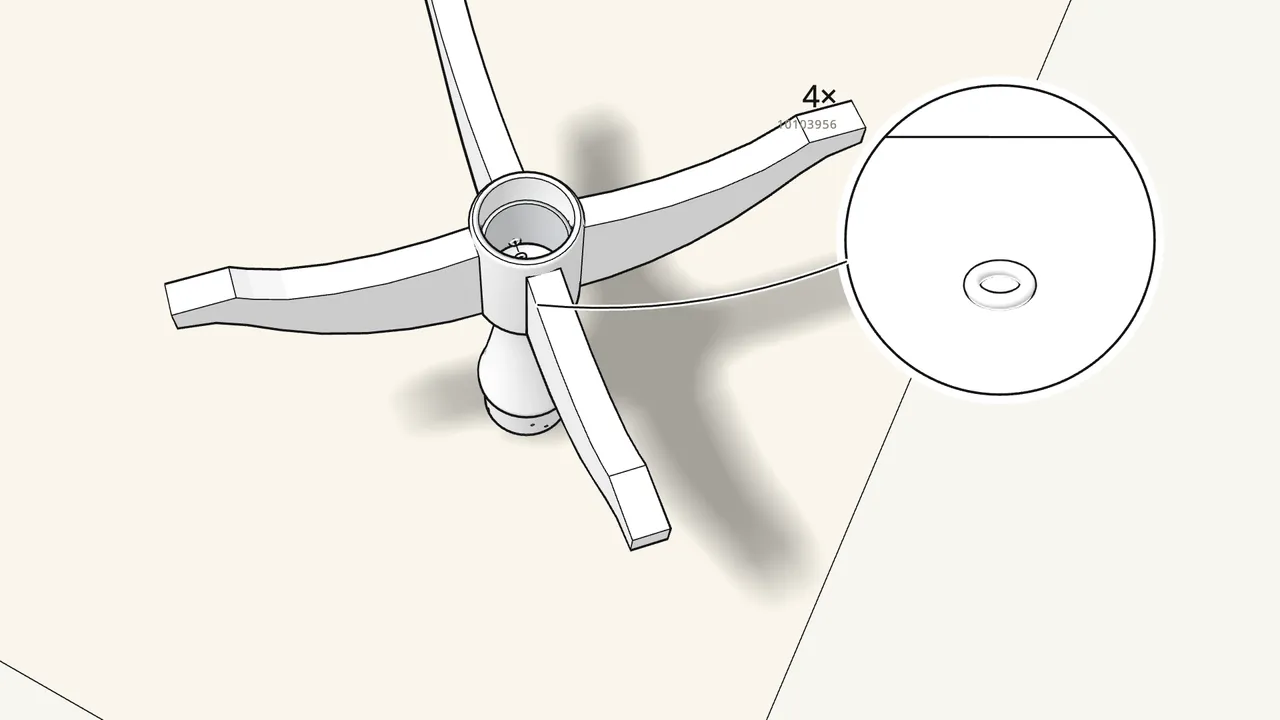
Step 4 · manual step 3
Drop the ring (10108231) into the hub, then fit a washer and nut on each rod.
Spring washer (100843) + nut (10103956); tighten with the spanner (128632).
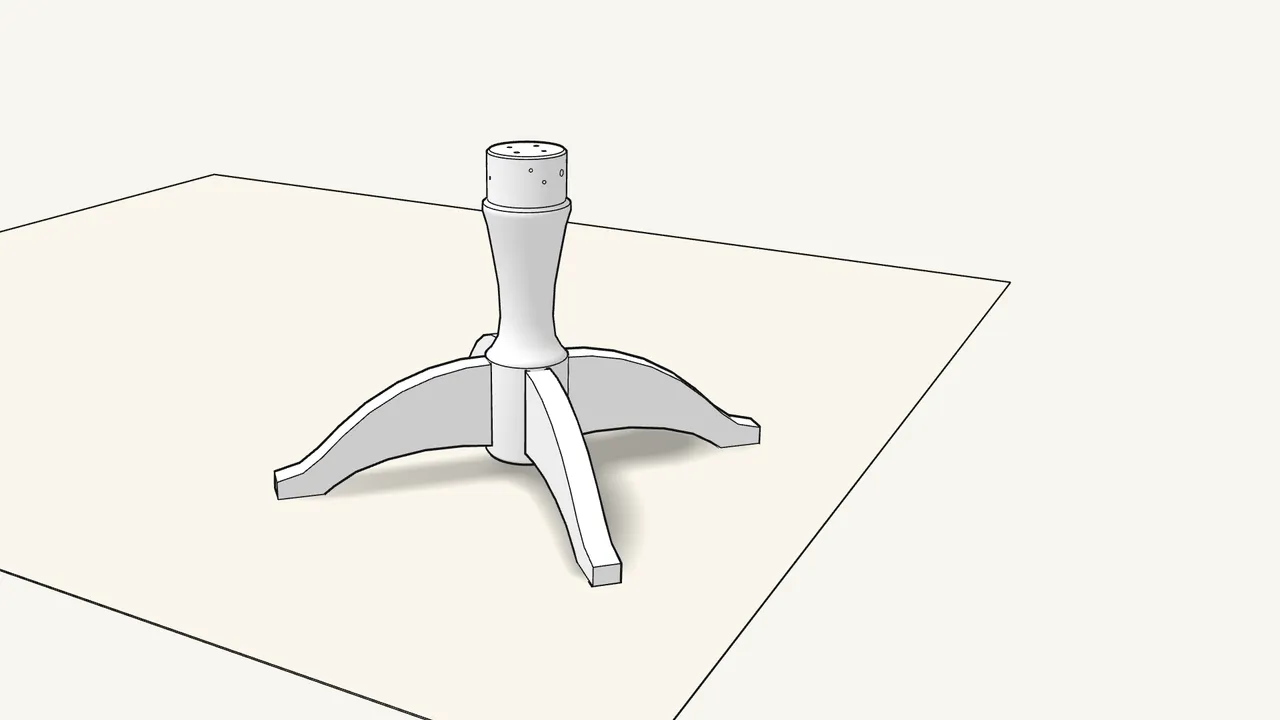
Step 5 · manual step 3
Turn the base over onto its legs.
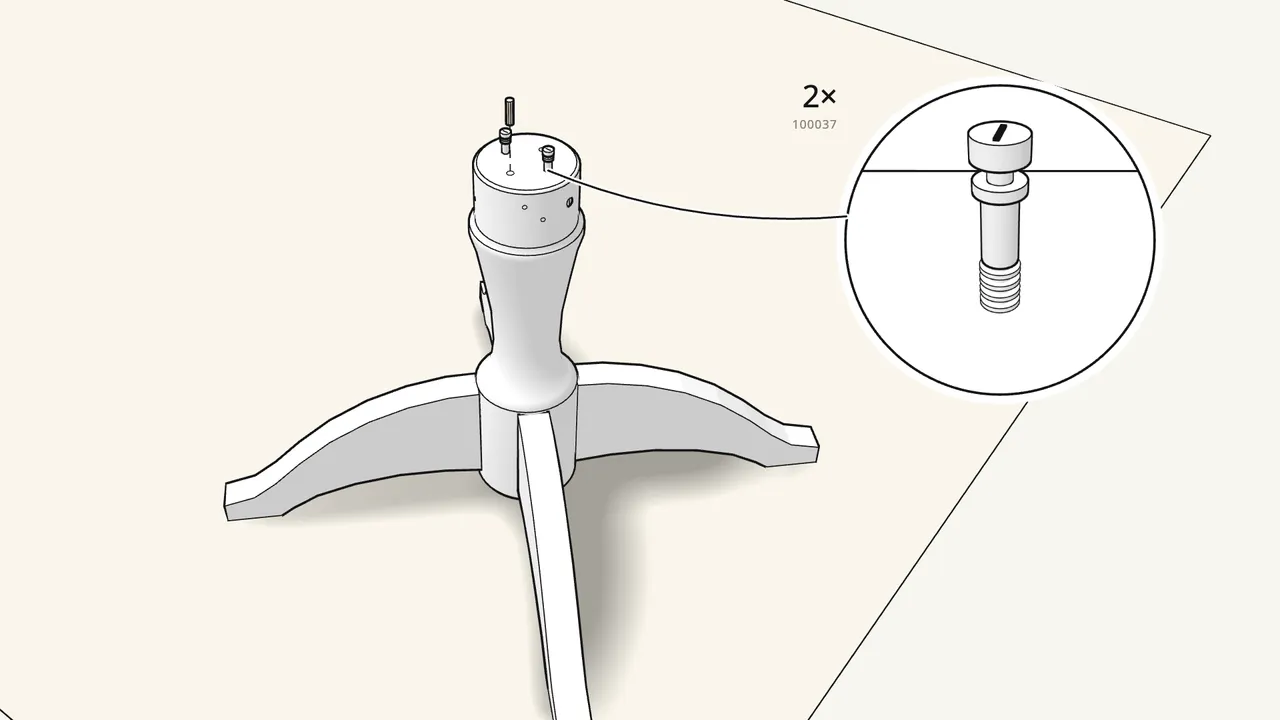
Step 6 · manual step 4–5
Fit 2 cross dowels (104859) and 2 short rods (100037) into the column top.
Then push in 2 dowels (101367) next to the rods.
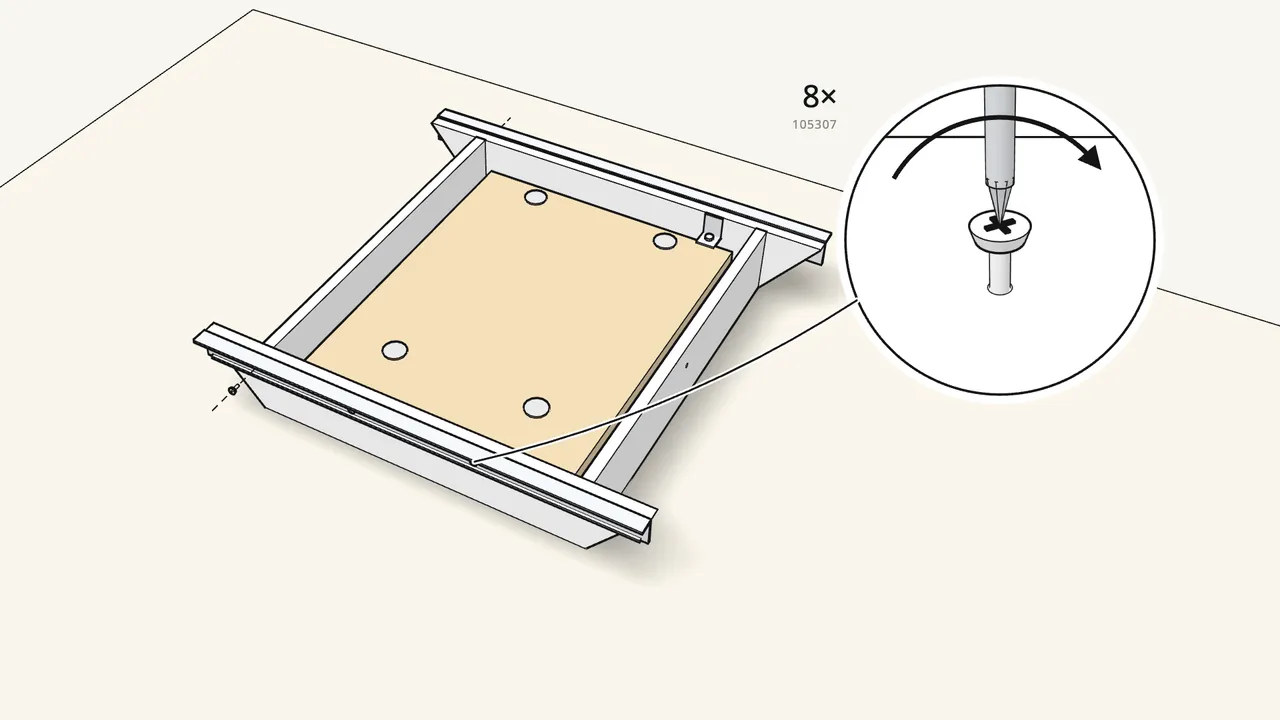
Step 7 · manual step 6–7
Screw a slide (10108610) to each side of the frame.
2 screws (105307) each, then pull the slide open and add 2 more.
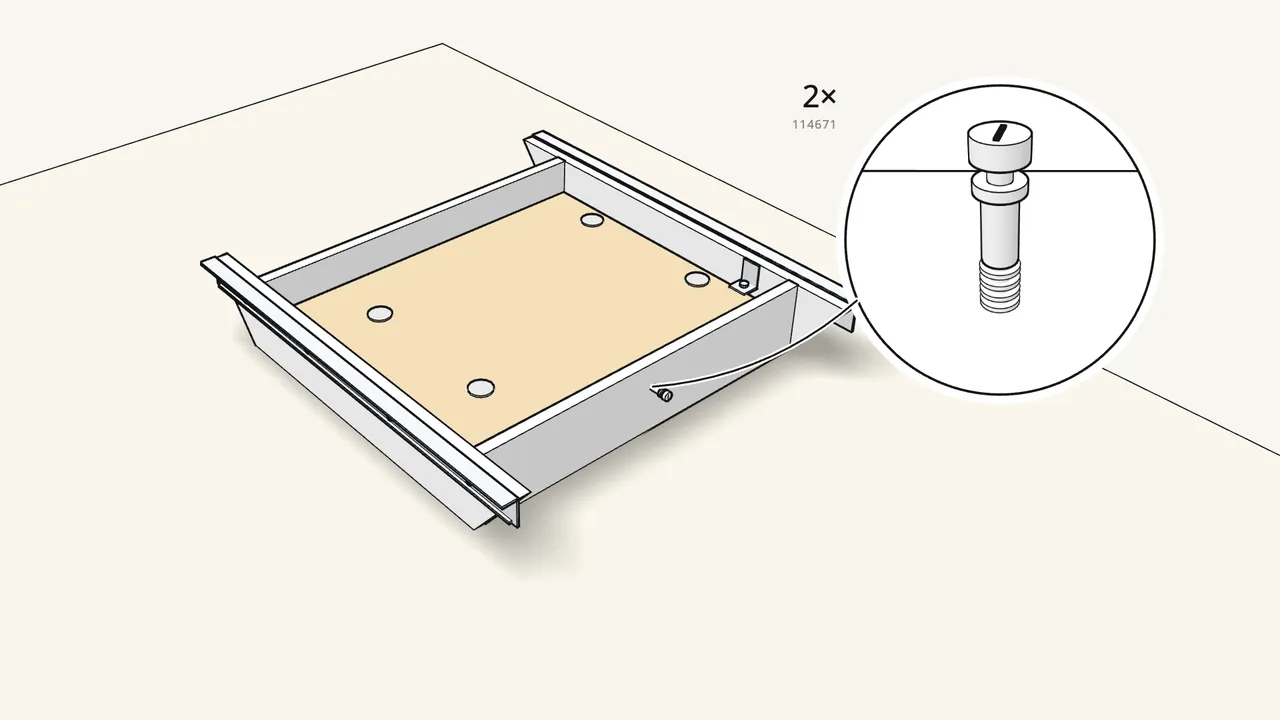
Step 8
Screw a cam dowel (114671) into each end of the frame.
Push the slides closed first.
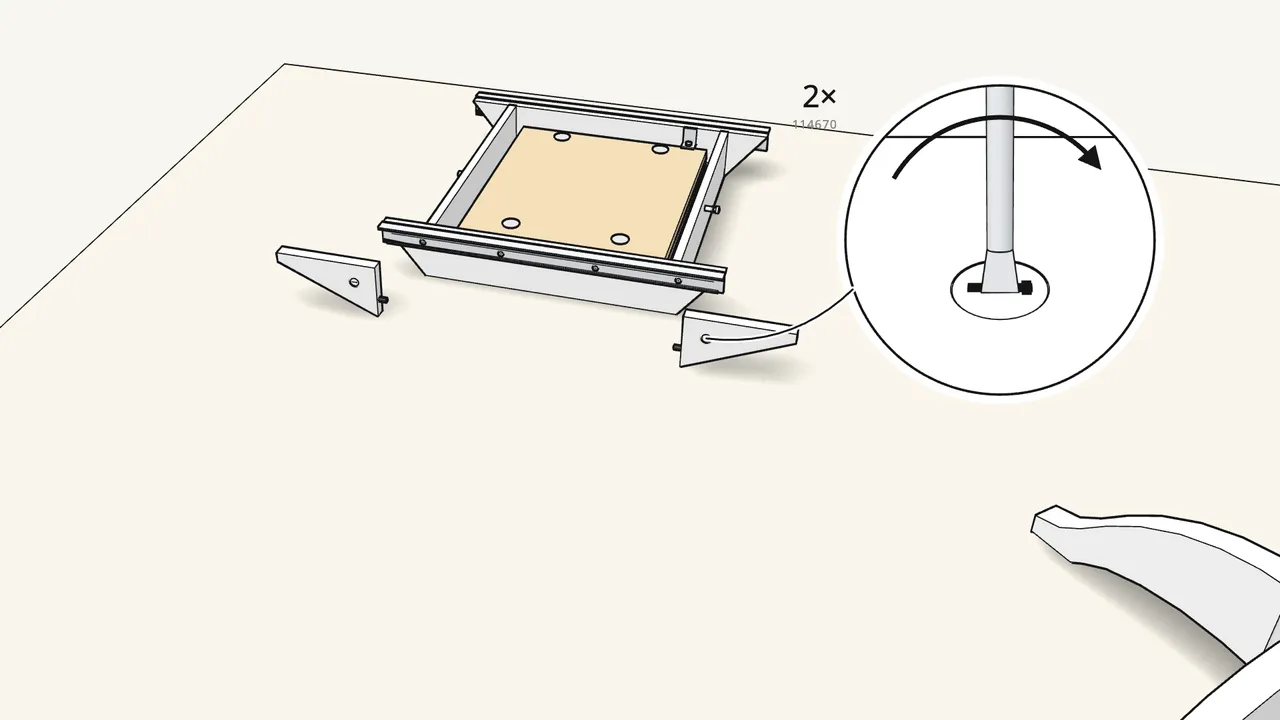
Step 9 · manual step 9–10
Push a dowel (101359) and a cam lock (114670) into each support.
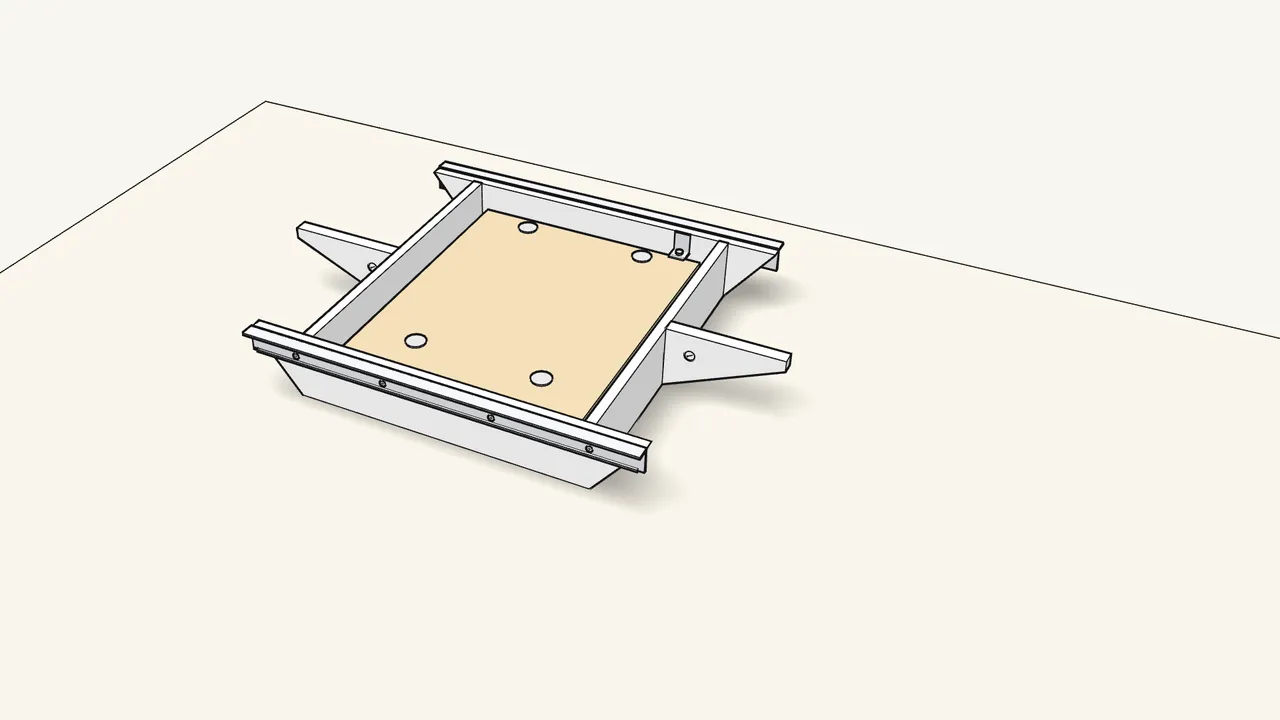
Step 10 · manual step 11–12
Fit the 2 supports onto the ends of the frame and lock the cam locks.
Turn them with the Allen key (100049).
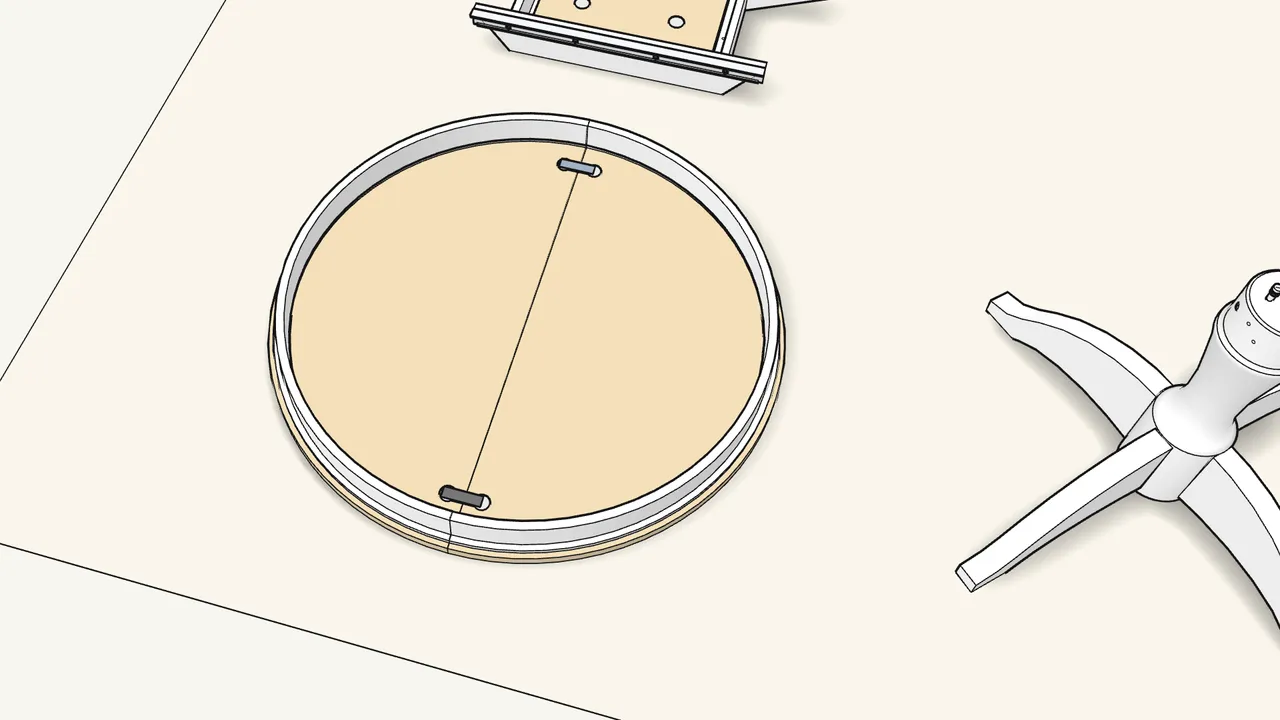
Step 11 · manual step 13
Lay the two tabletop halves face down and push them together.
Then fold the 2 locks across the join until they click.
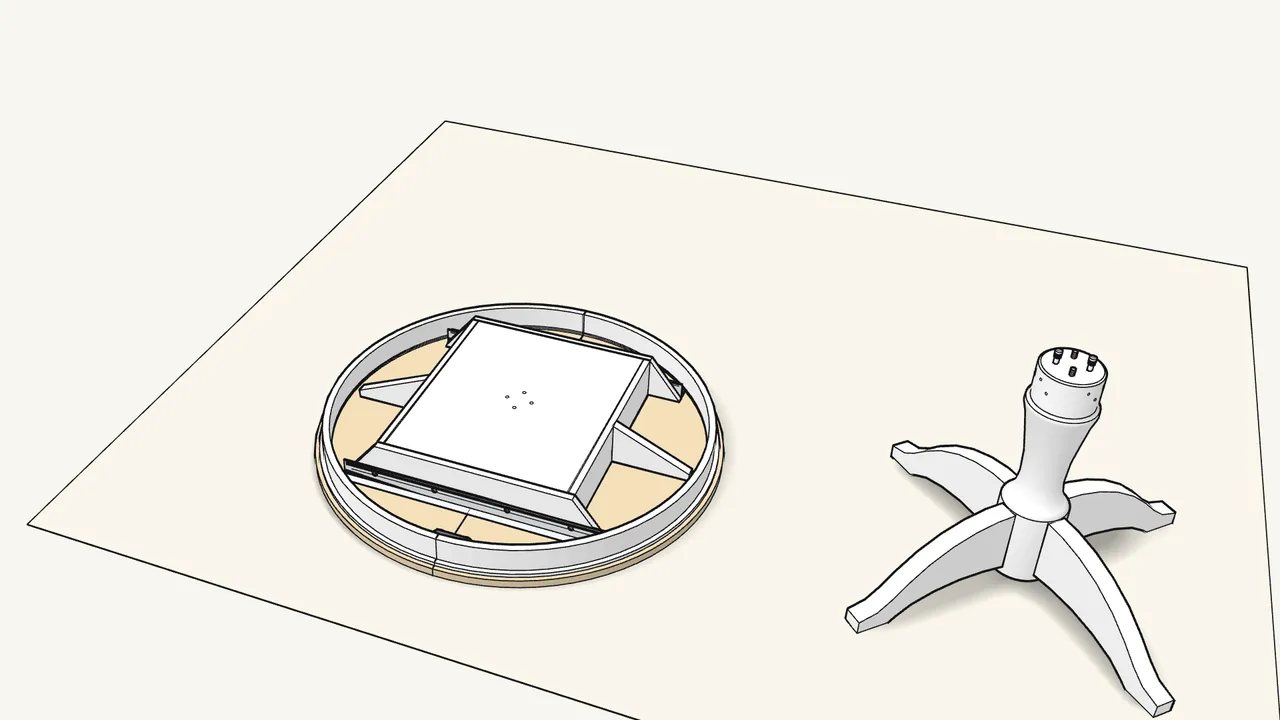
Step 12 · manual step 14
Turn the frame over and lower it onto the tabletop.
Keep your hands out from under the supports.
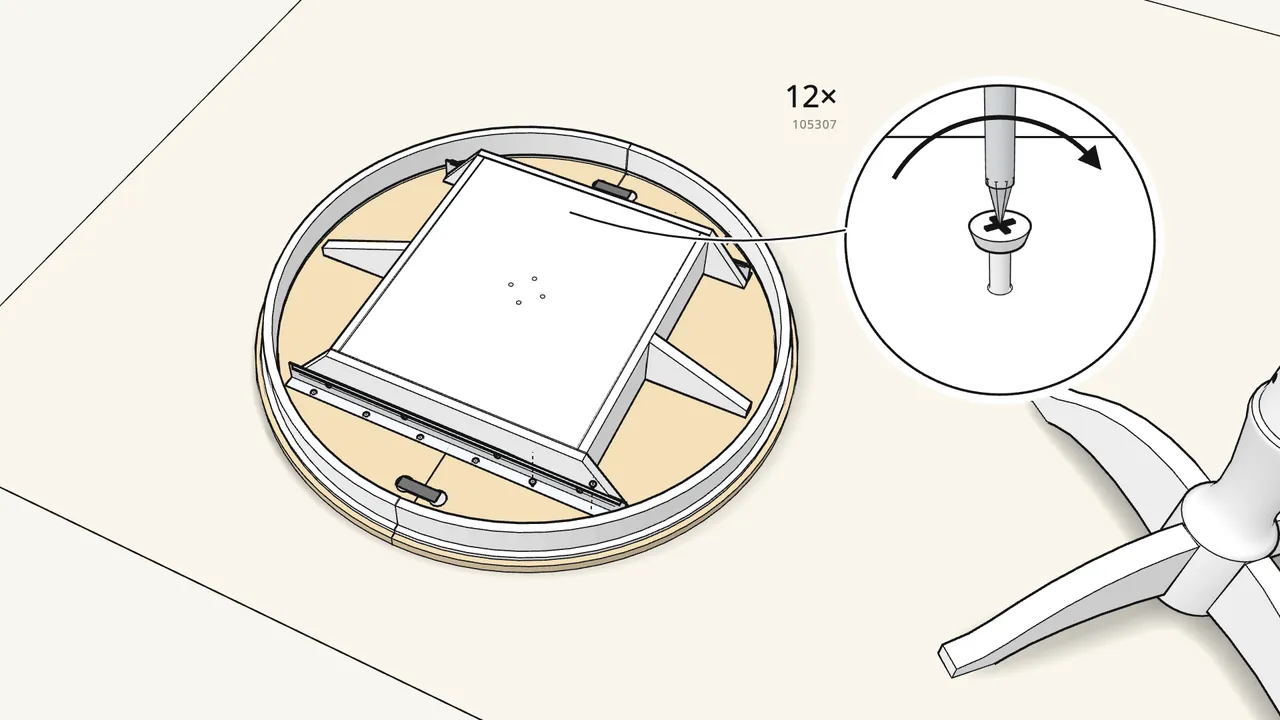
Step 13 · manual step 15
Screw the slides to the top with 12 screws (105307).
6 along each slide — Phillips screwdriver.
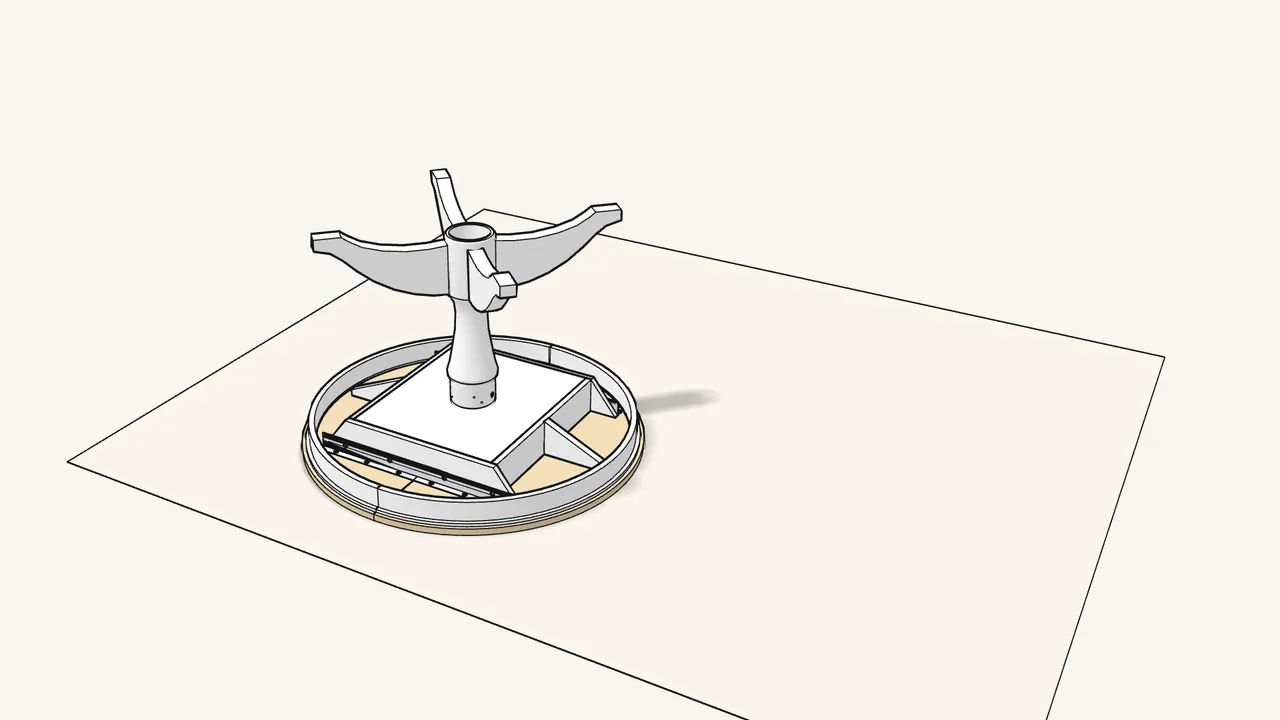
Step 14 · manual step 16
Turn the base upside down and set it onto the frame.
The rods and dowels go into the holes. Check the hole positions — manual step 16.
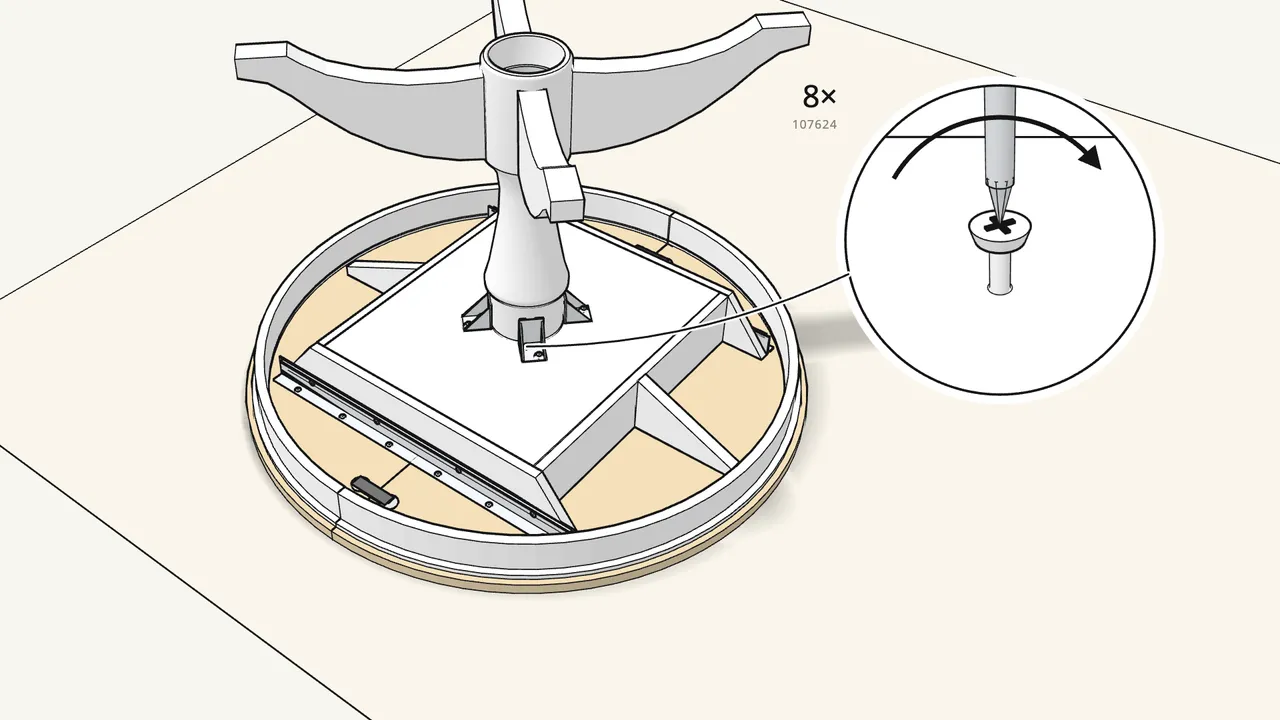
Step 15 · manual step 17–18
Fix the column with 4 angle brackets (131375).
2 screws (107624) + toothed washers (100850) into the frame, 2 screws (105307) into the column.
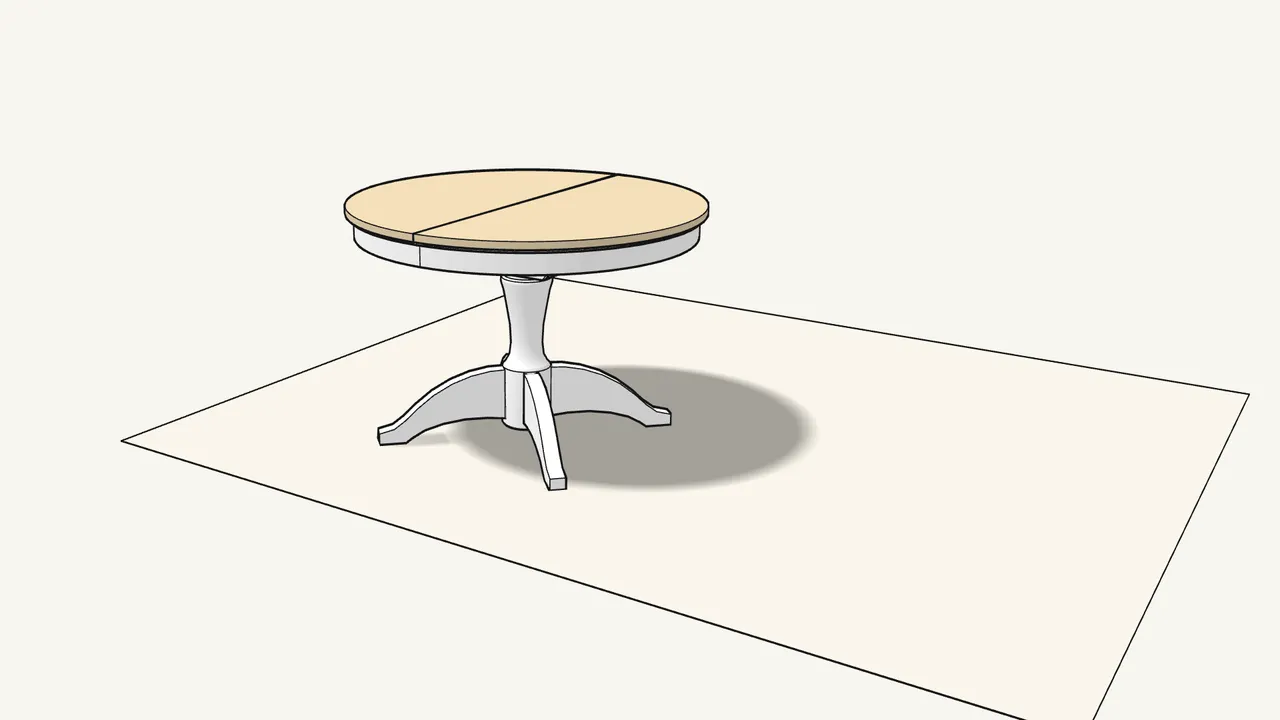
Step 16 · manual step 19
Turn the table over — with two people.
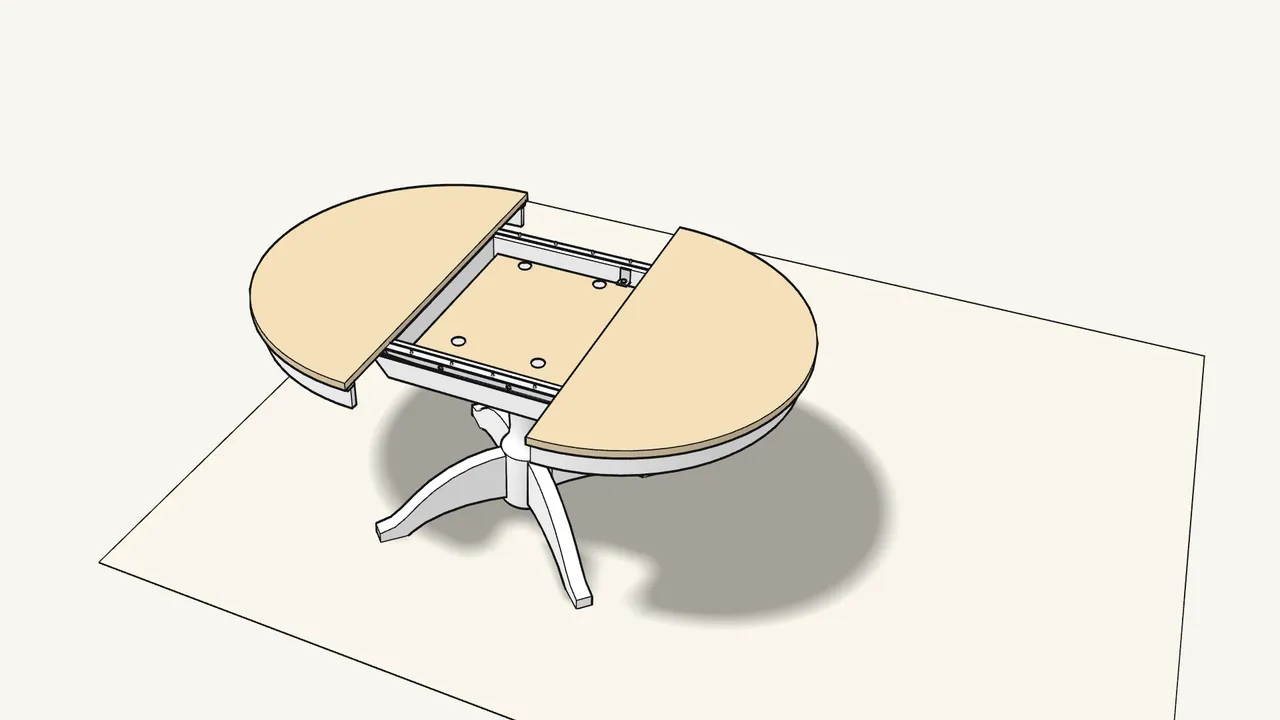
Step 17 · manual step 20–21
Open the 2 locks under the top and pull the halves apart.
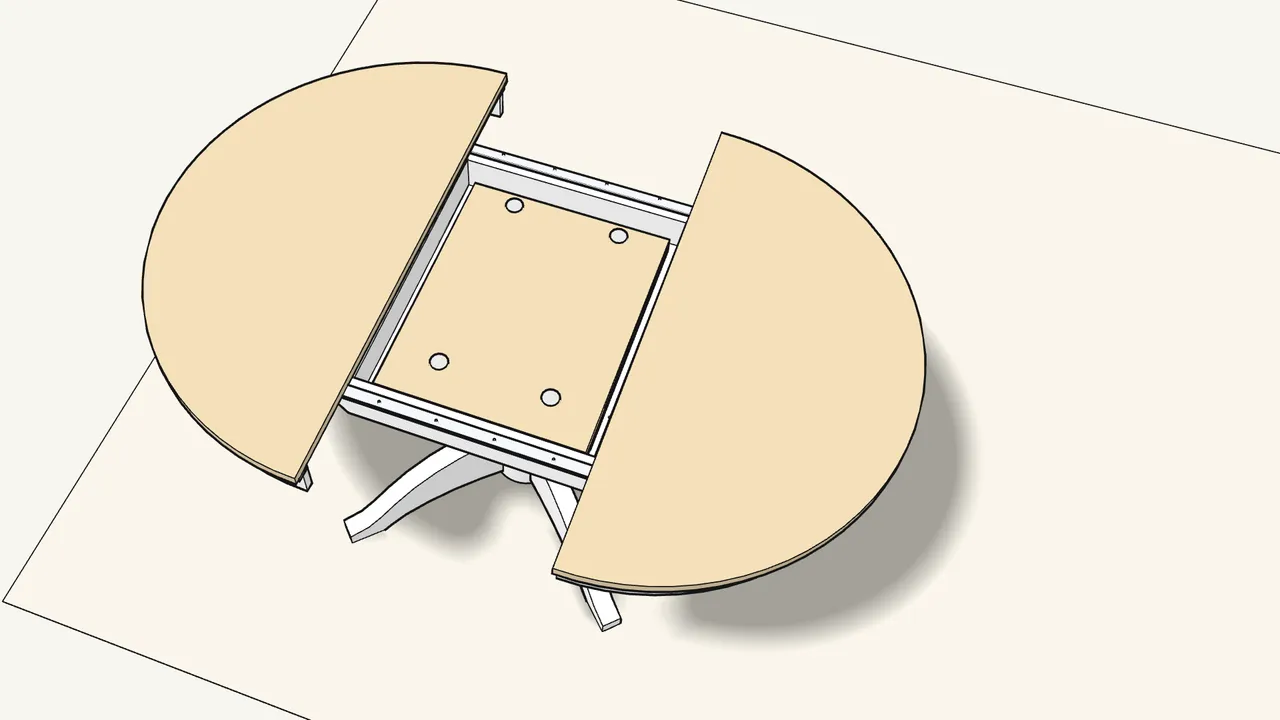
Step 18 · manual step 22
Remove the transport screw and bracket and throw them away.
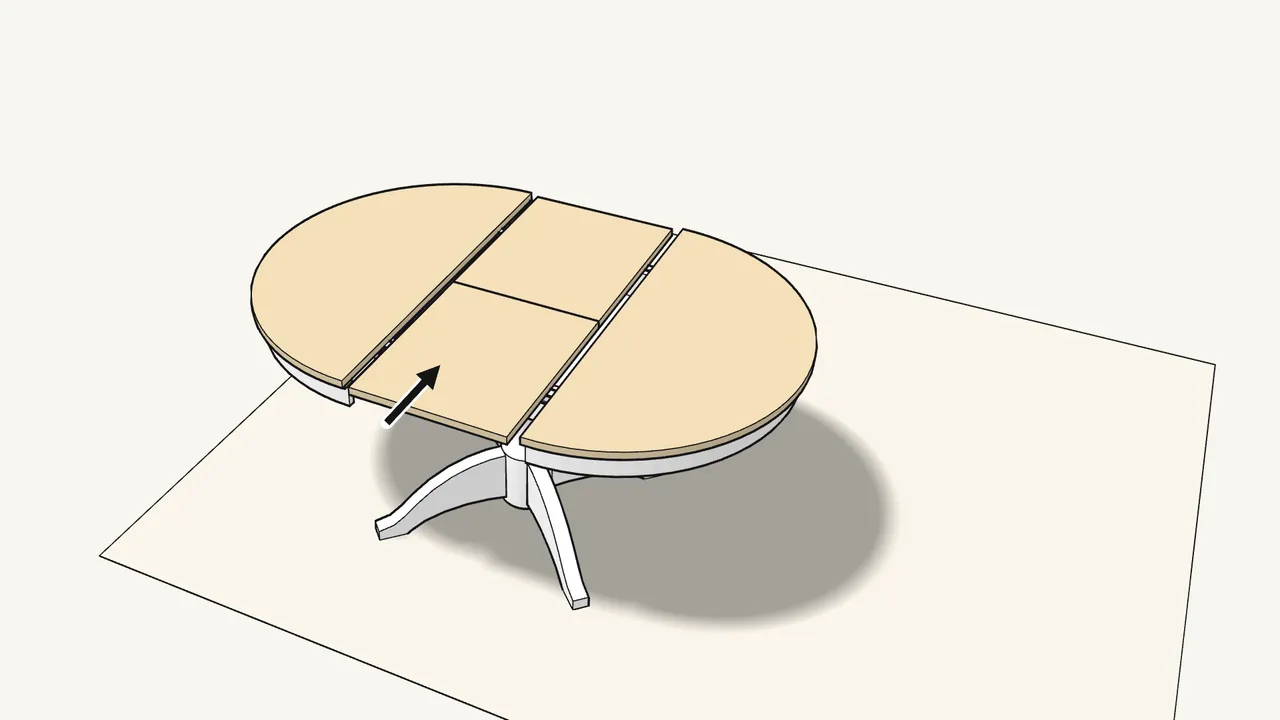
Step 19 · manual step 23–25
Flip the folded leaf out of the frame, unfold it and push it into place.
Step 20 · manual step 26–28
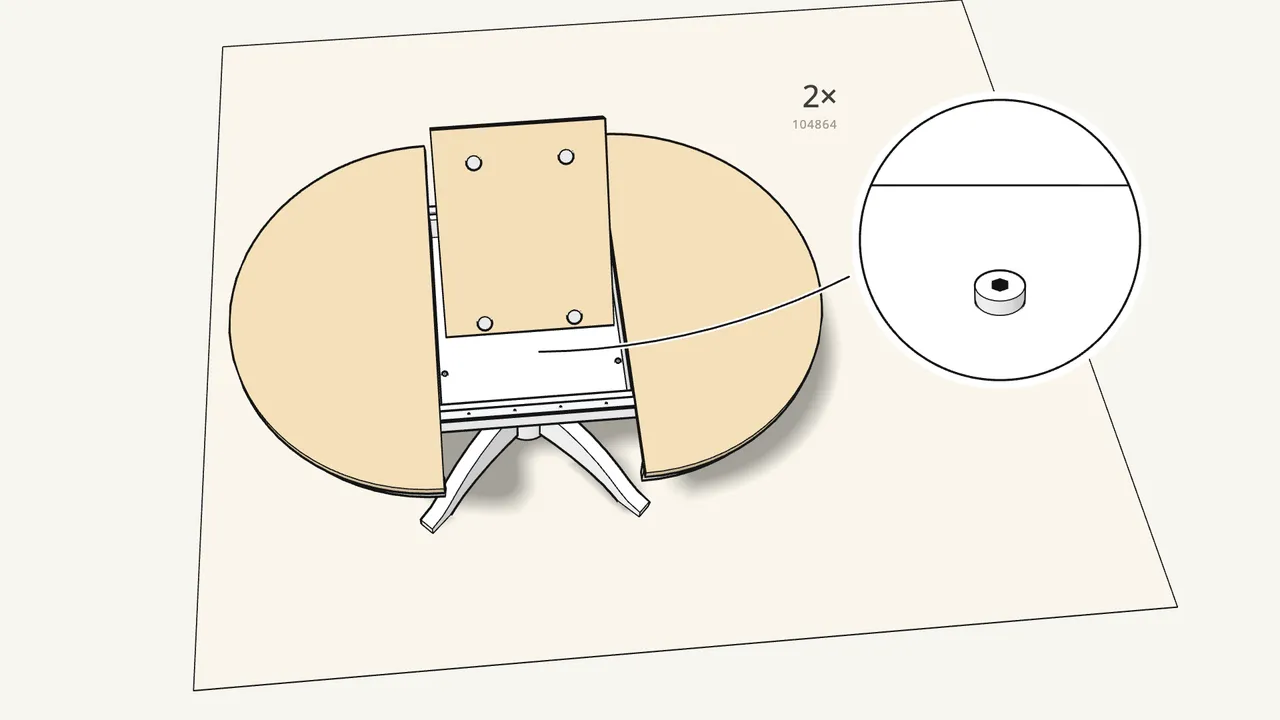
Fold the leaf up again and screw in the 2 stops (104864).
Use the small Allen key (100002). Then lower and unfold the leaf again.
Step 21 · manual step 29–31
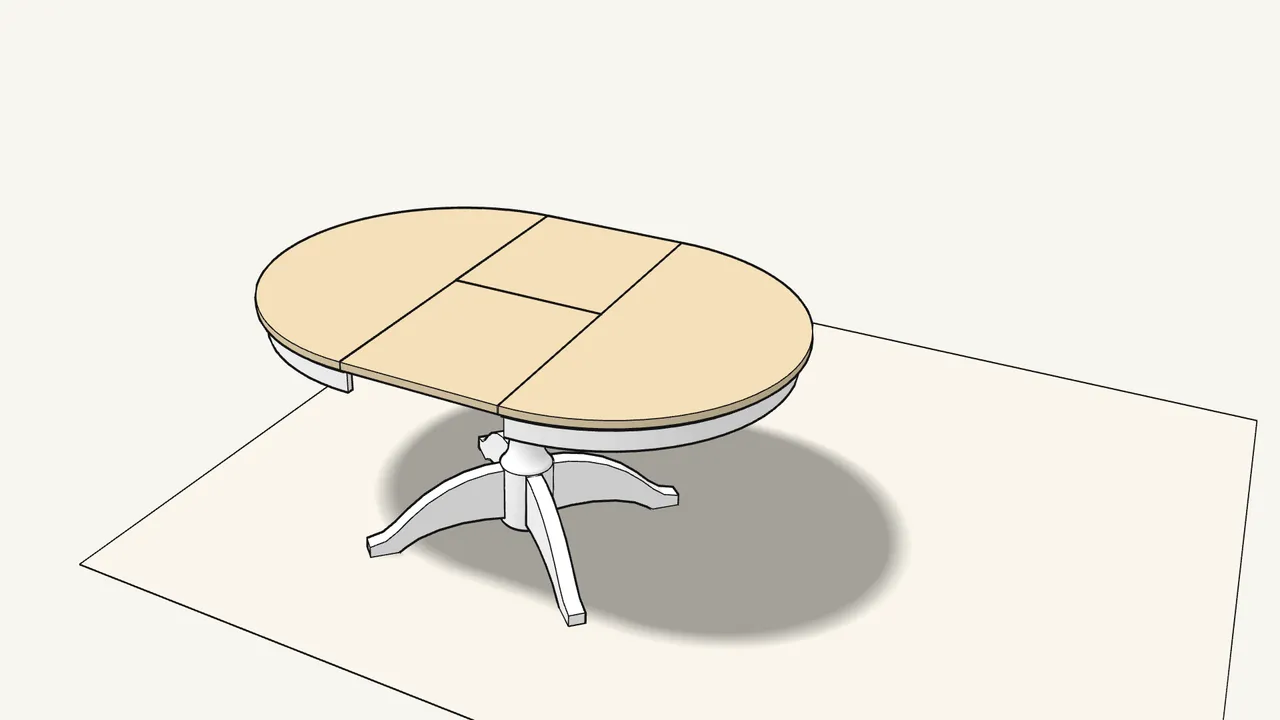
Push the ends against the leaf and close the 4 locks.
Click the catches under the leaf first (manual step 29). Now it’s 155 cm long.
Step 22
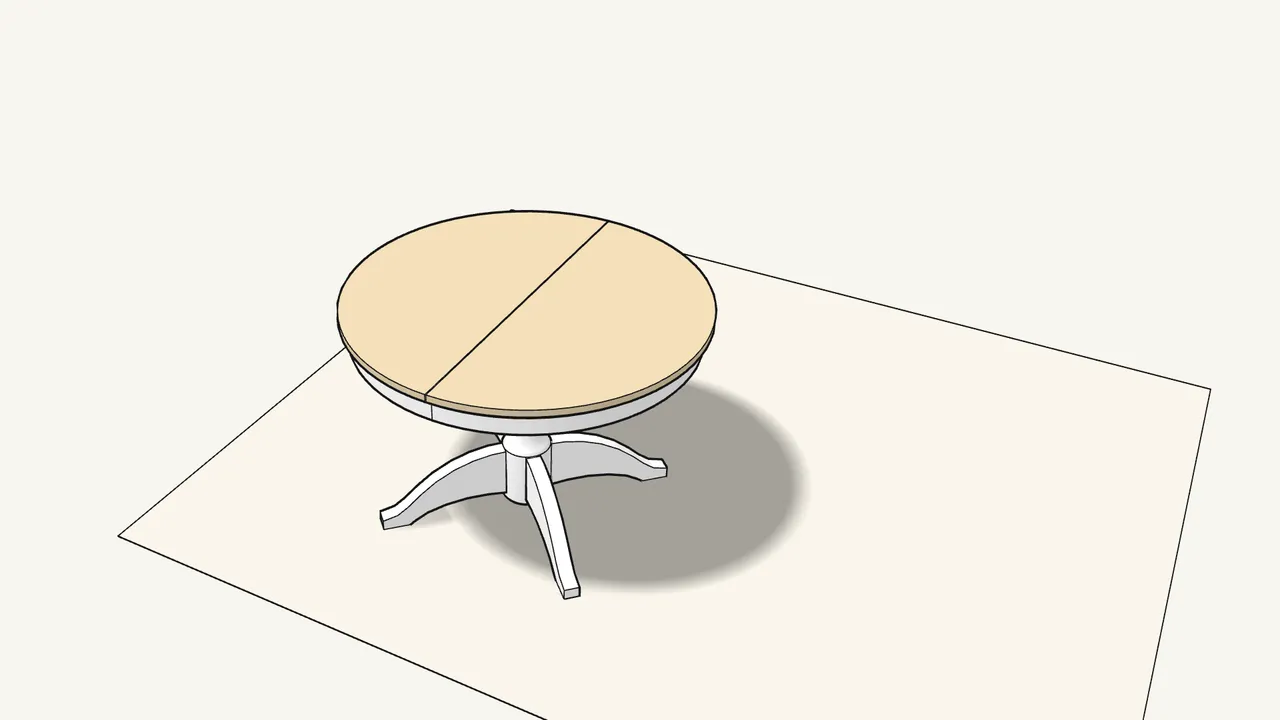
To make it round again:
Open the locks, pull the ends apart, fold the leaf back into the frame and push the halves together (manual, last page).
Tips & safety
- Turn the table over with two people. The manual shows two people lifting it upright in step 19 — it is heavy and awkward.
- Always close the locks under the top. Lock them every time you extend or shorten the table — manual steps 31 and the last page.
Official instructions
This guide follows IKEA’s official assembly instructions (AA-2407577-1). Keep the printed manual to hand — if anything differs, the manual is right.



