IKEA · Tables & Desks
How to assemble IKEA PINNTORP Gateleg Table
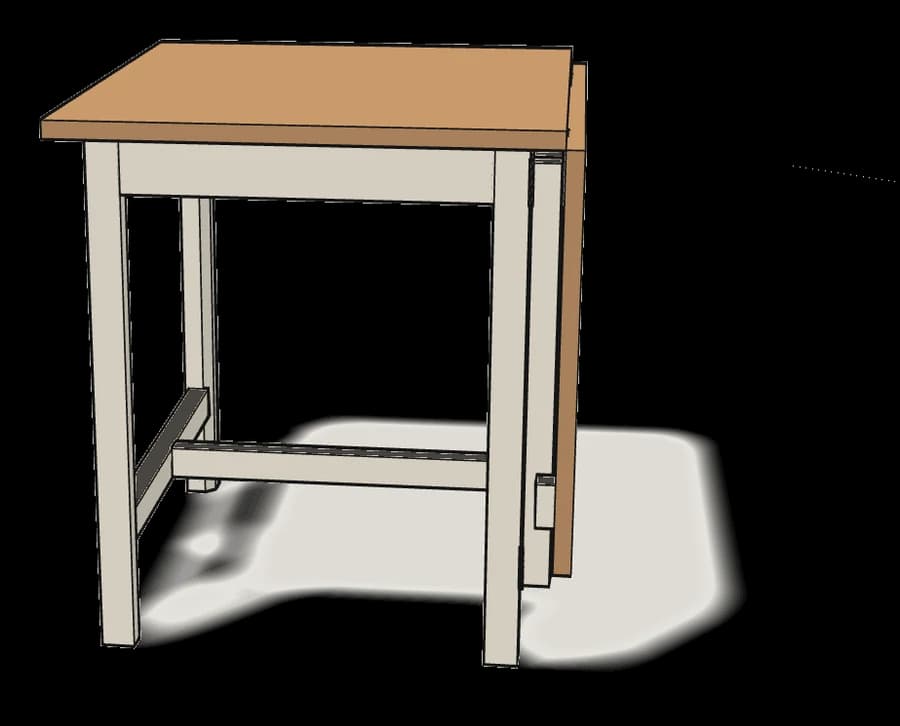
Step-by-step IKEA PINNTORP Gateleg Table assembly: 22 illustrated steps, an animated video, the hardware list and the tools you need — following the official instructions (AA-2300739-2).
- 22 illustrated steps
- 17 steps in the manual
- 3:27 video
- 67/124×75×75 cm
What you need
Tools
- Flat-head screwdriver
- Phillips screwdriver
- Allen key (included)
- Spanner (included)
Hardware in the box
| Part no. (as printed in the manual) | Qty |
|---|---|
| 100325 | 16× |
| 109049 | 1× |
| 101350 | 4× |
| 117494 | 2× |
| 114418 | 1× |
| 10056782 | 10× |
| 123275 | 6× |
| 131360 | 8× |
| 100843 | 8× |
| 100712 | 8× |
| 100507 | 6× |
| 110912 | 4× |
| 100033 | 8× |
| 101352 | 4× |
| 120171 | 4× |
Step-by-step assembly
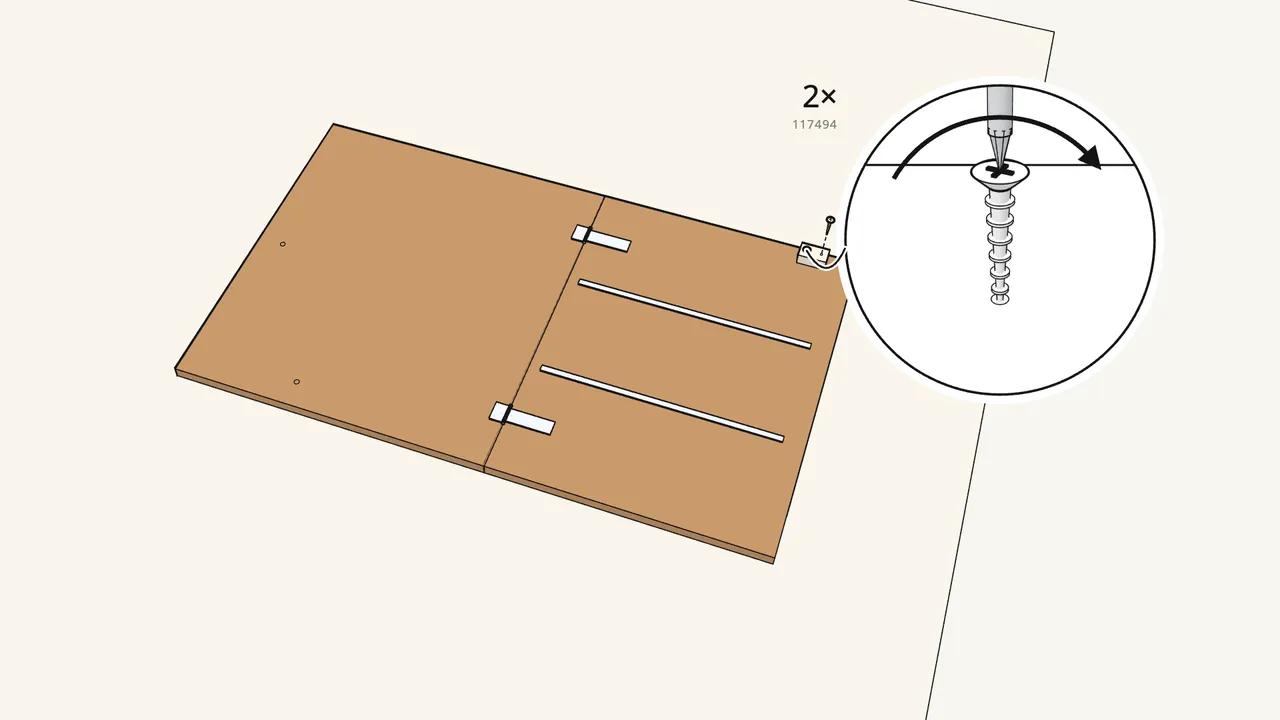
Step 1
Lay the top face down on a rug. Screw the block onto the leaf.
2 screws (117494) — Phillips screwdriver.
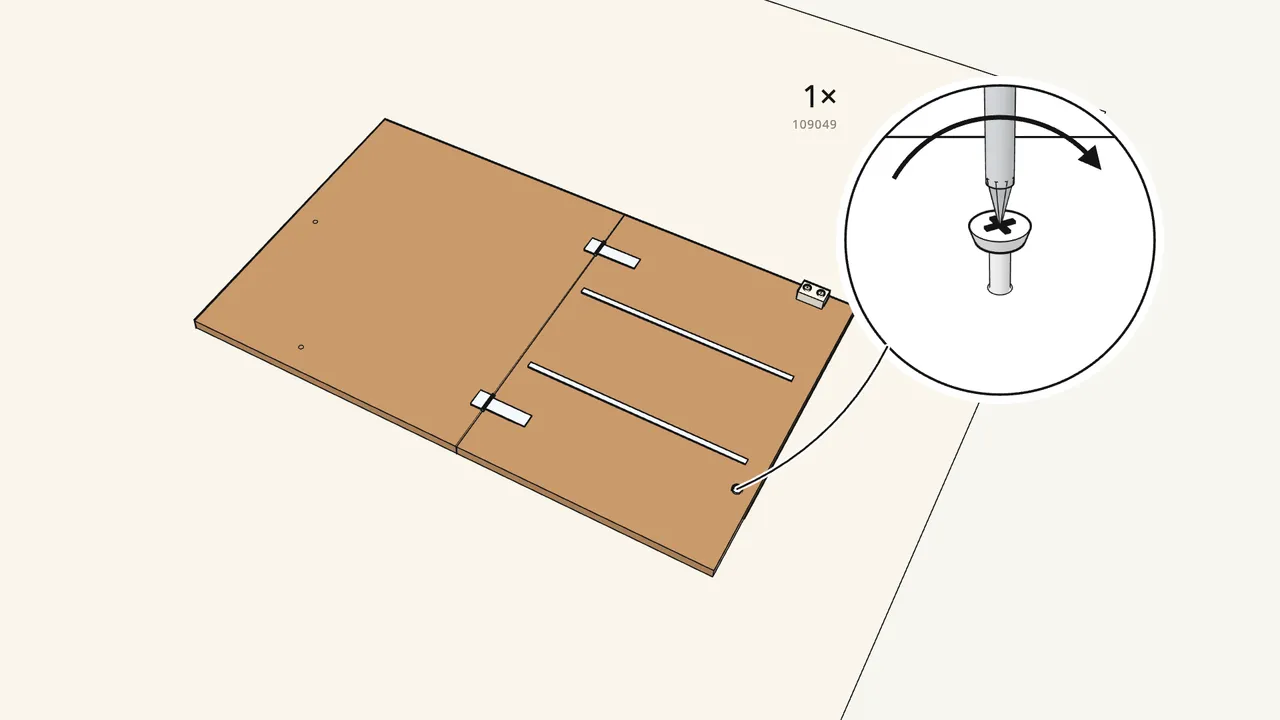
Step 2
Screw the bumper (114418) onto the leaf.
1 screw (109049).
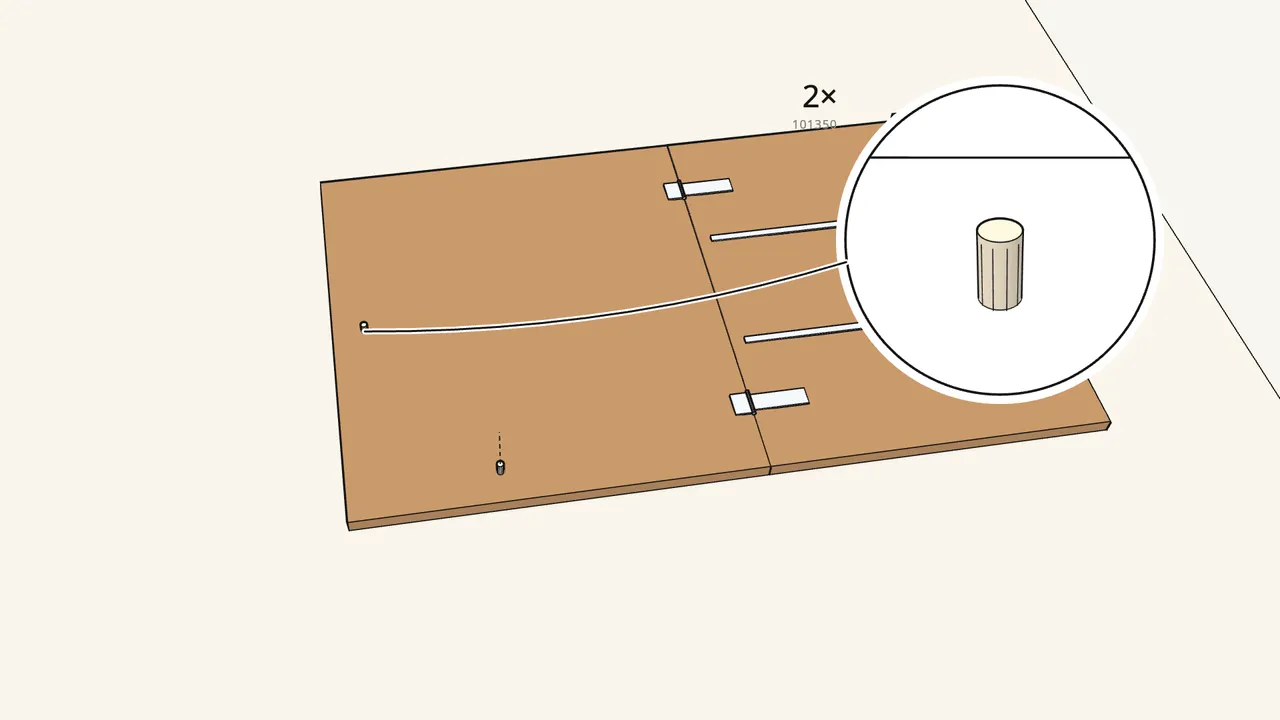
Step 3
Push 2 dowels (101350) into the holes in the fixed top.
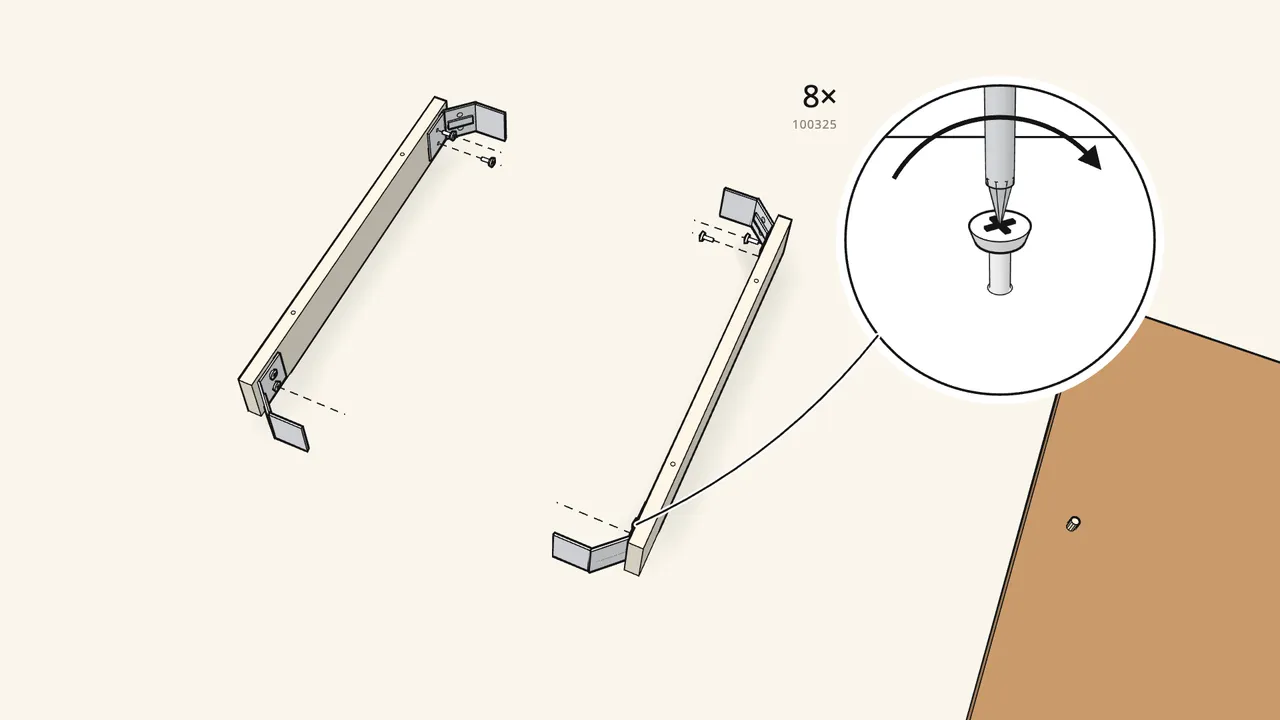
Step 4
Screw 2 corner brackets (120171) onto each of 2 rails.
2 screws (100325) per bracket. Check the hole pattern — manual, step 4.
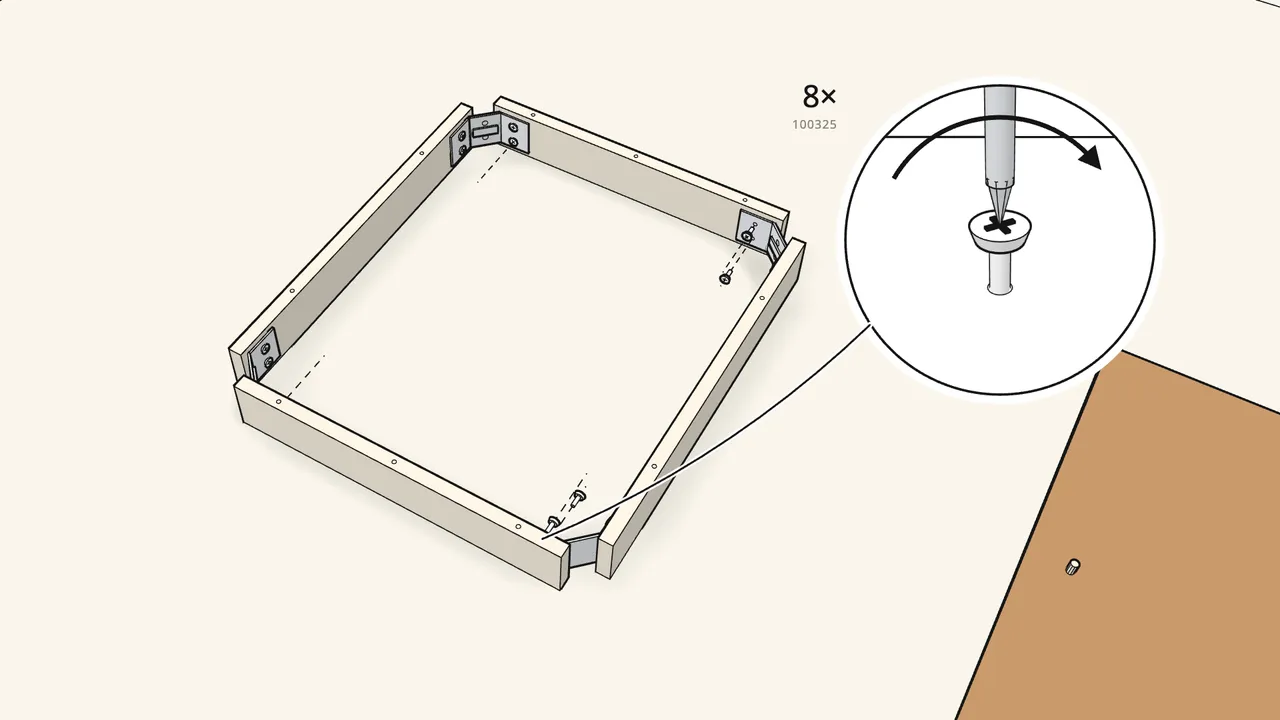
Step 5
Screw the other 2 rails onto the brackets.
2 screws (100325) per bracket — 8 in all.
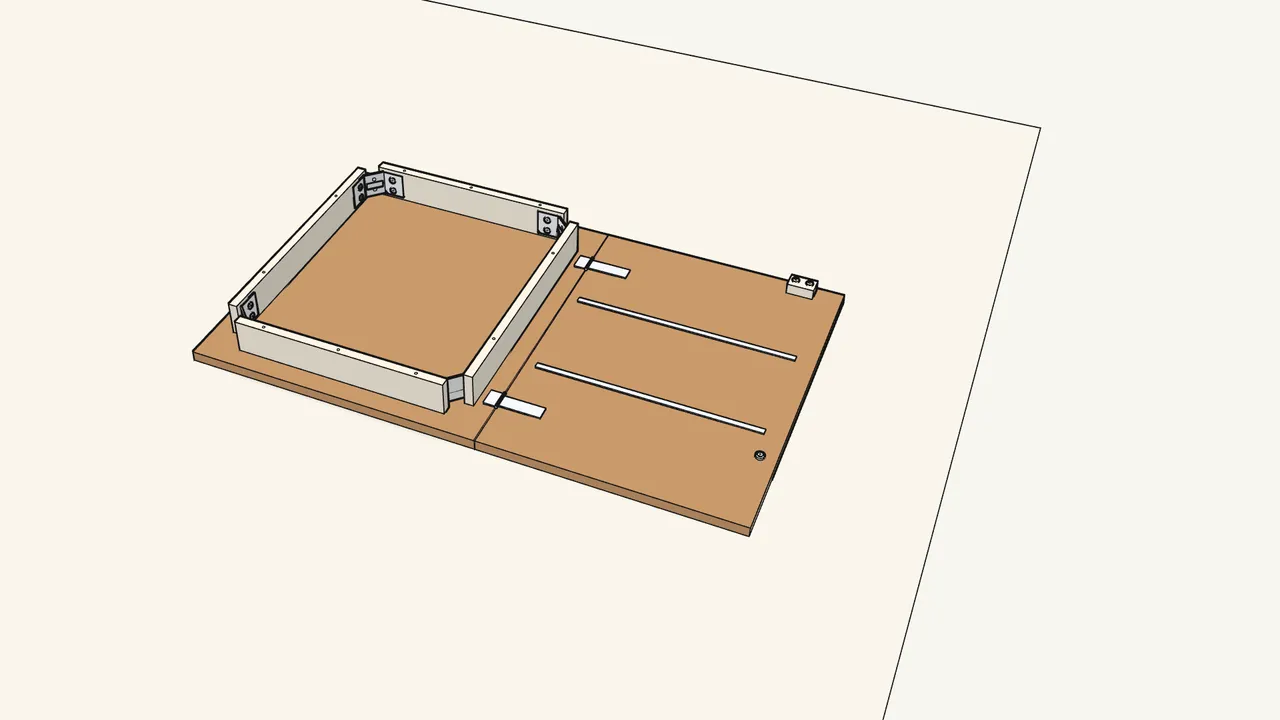
Step 6
Place the frame on the fixed top, onto the 2 dowels.
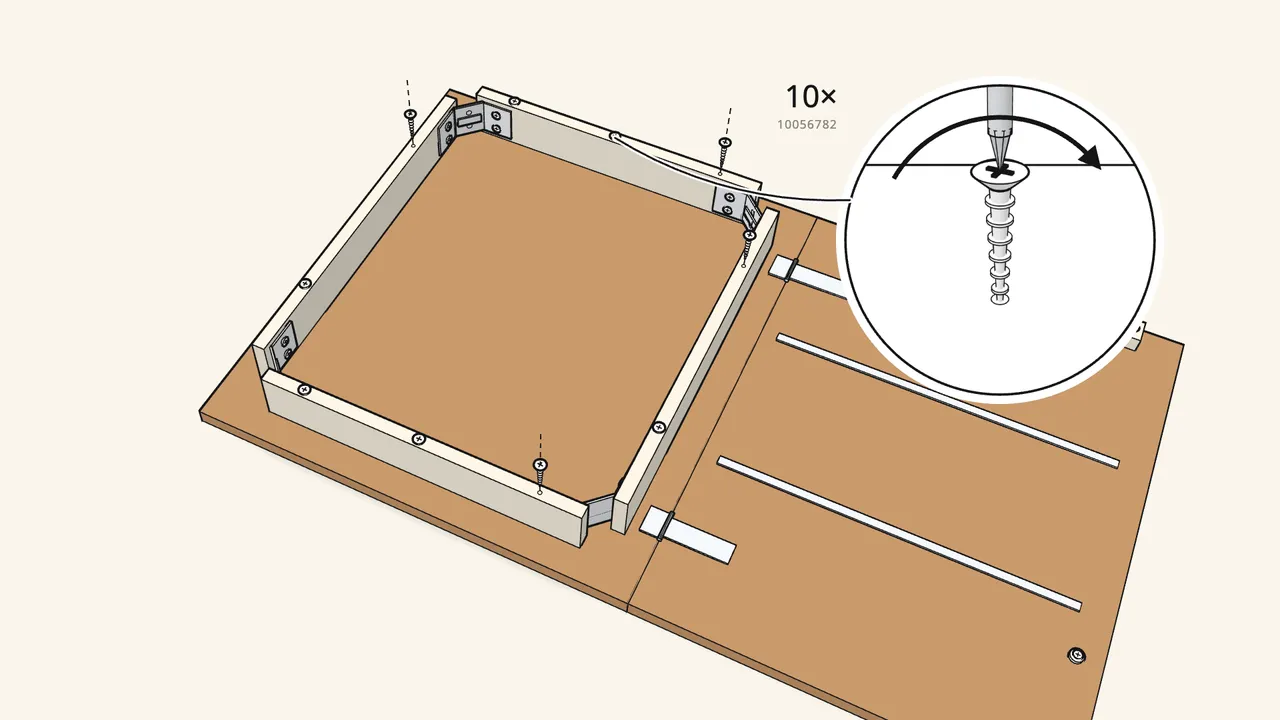
Step 7 · manual step 6
Fix the frame to the top with 10 screws (10056782).
Phillips screwdriver.
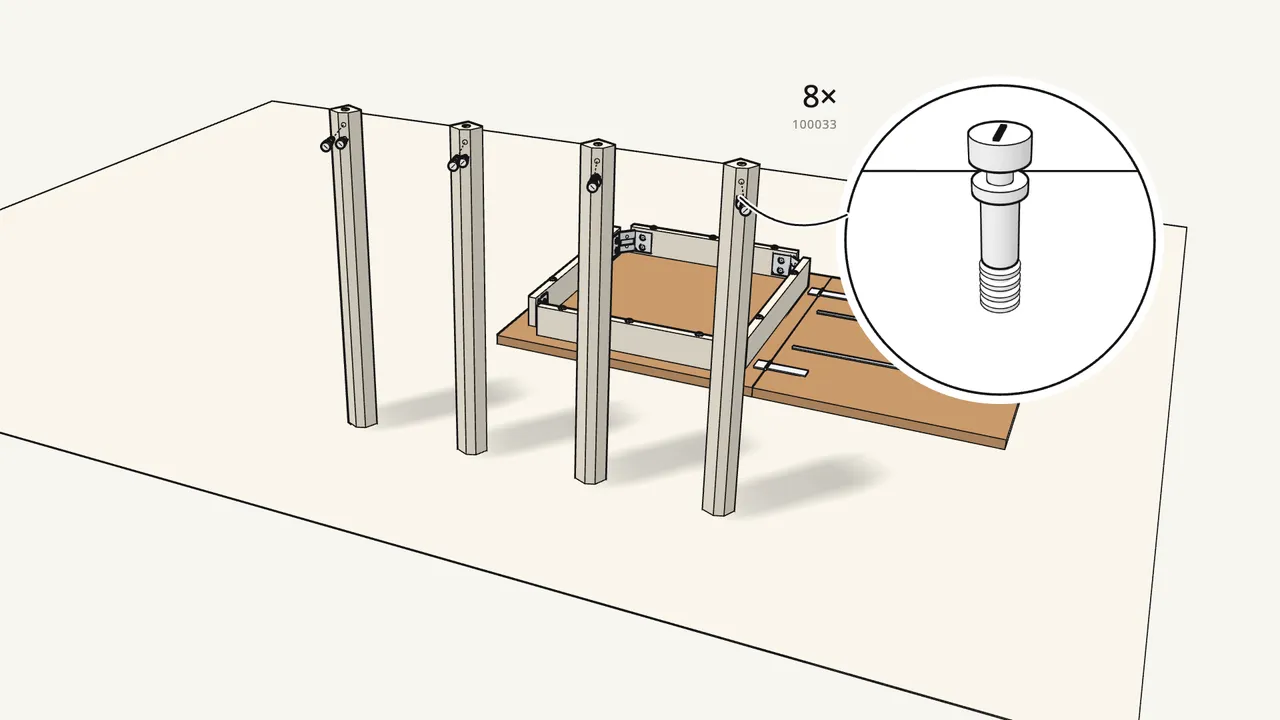
Step 8 · manual step 7
Push a cross dowel (110912) into the top of each leg.
Then screw 2 hanger bolts (100033) into each leg — 8 in all.
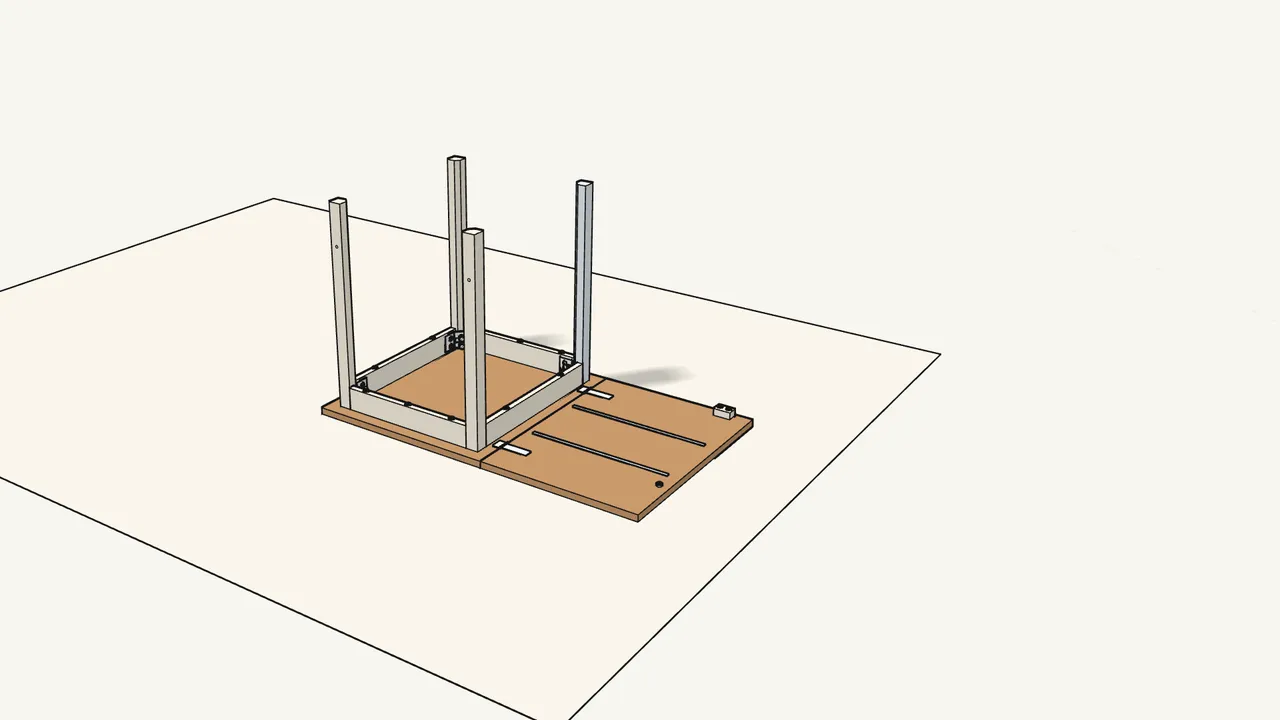
Step 9 · manual step 8
Fit a leg into each corner, bolts through the bracket.
The legs are marked L1, L2, L2, L3 — place them as in step 8.
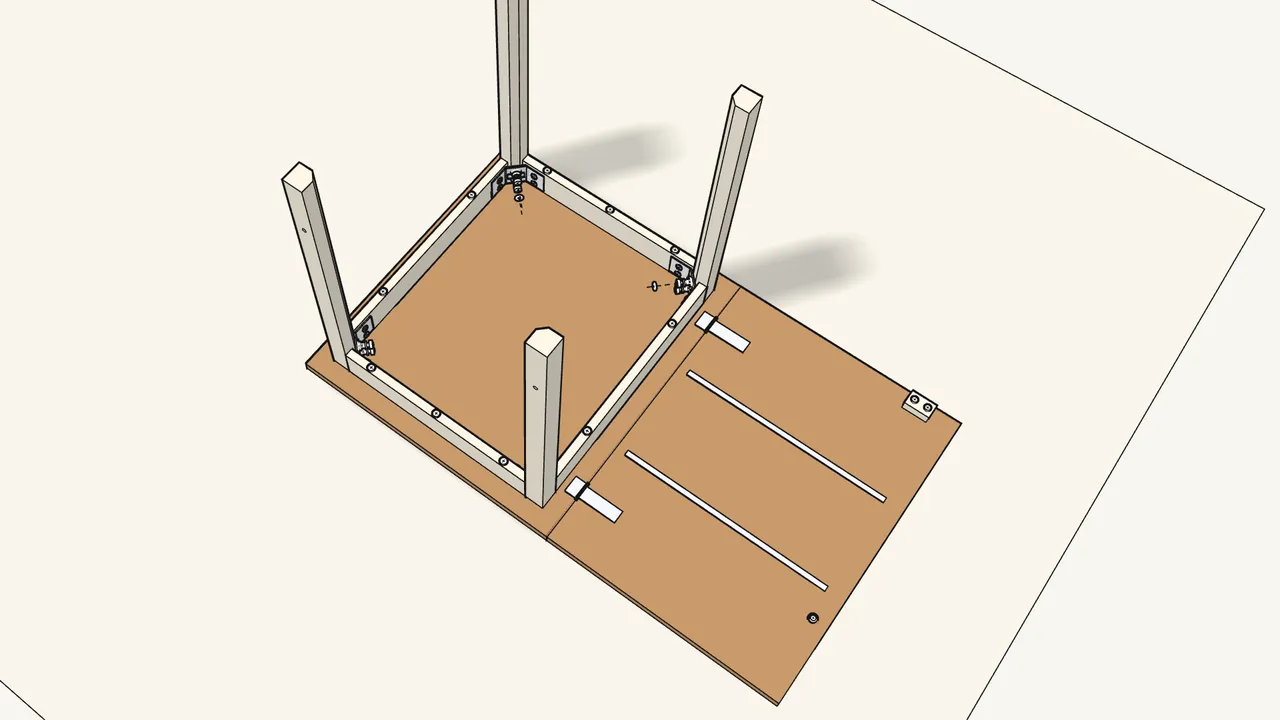
Step 10 · manual step 8
Add a spring washer (100843) and a nut (100712) to each bolt.
Tighten by hand for now.
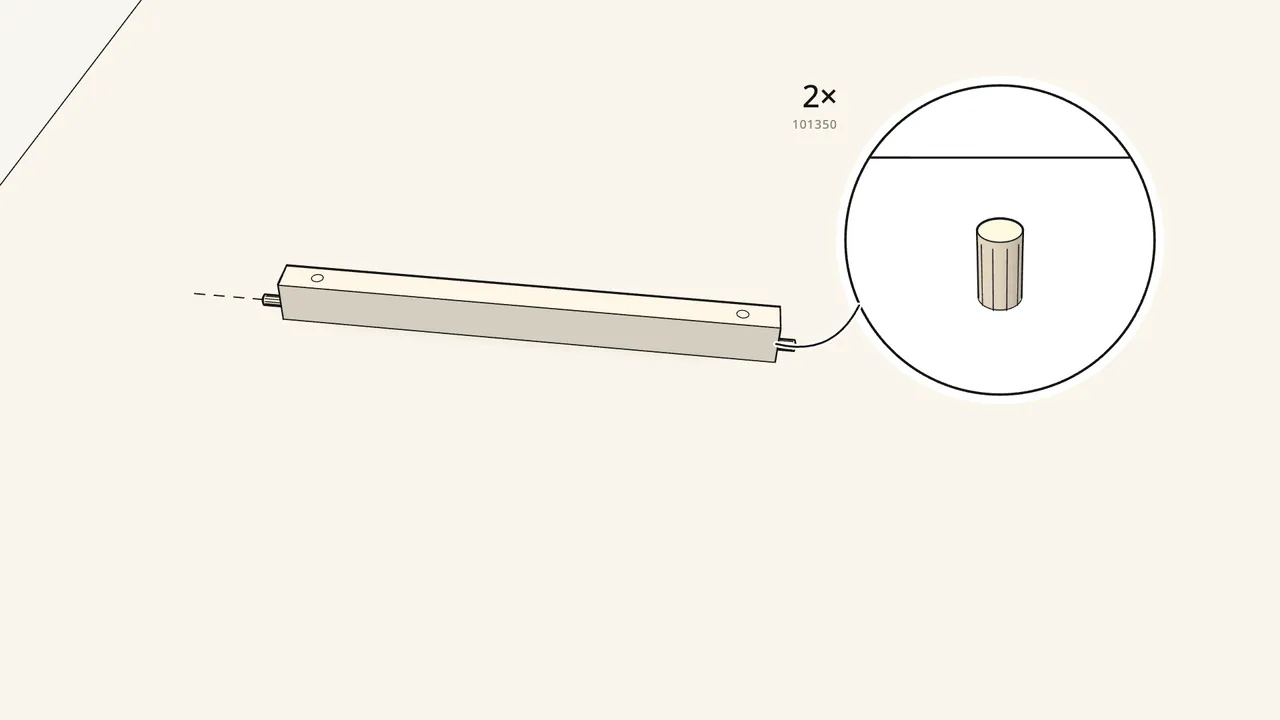
Step 11 · manual step 9
Push 2 dowels (101350) into the ends of the centre stretcher.
Check which way it faces — manual, step 9.
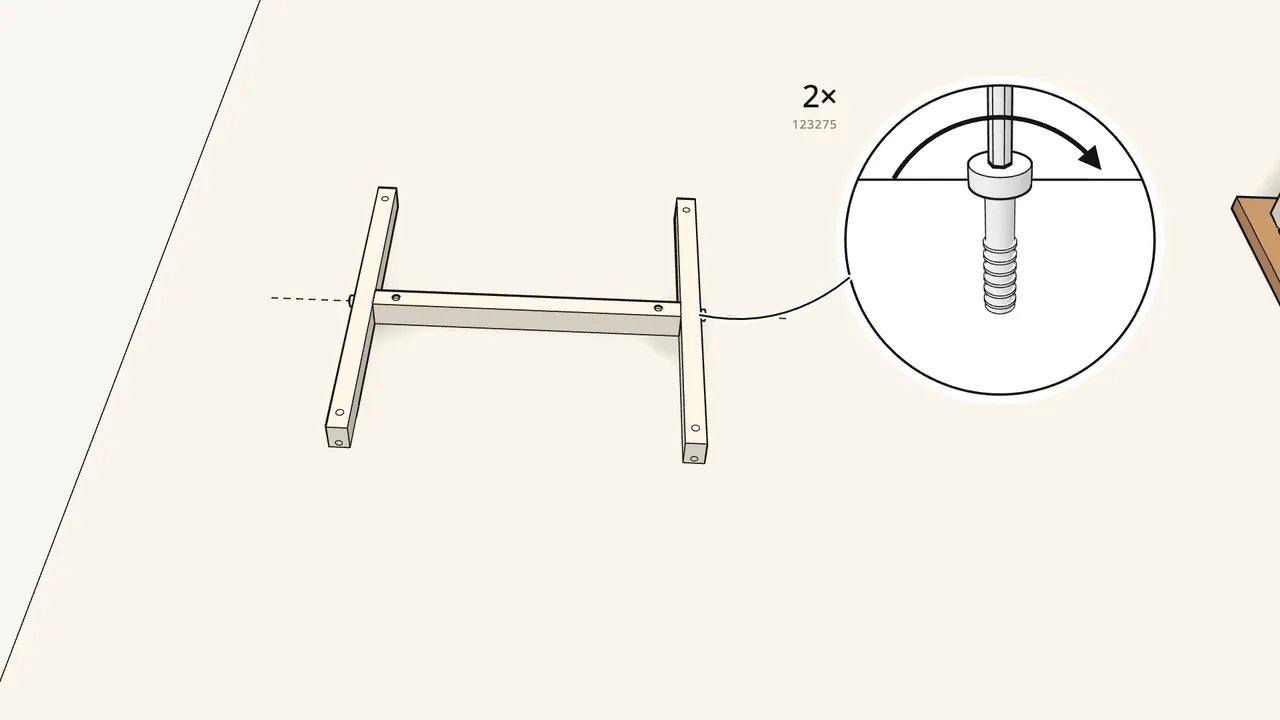
Step 12 · manual step 10
Join the side stretchers with 2 bolts (123275).
Drop 2 barrel nuts (100507) into the centre stretcher; tighten with the Allen key.
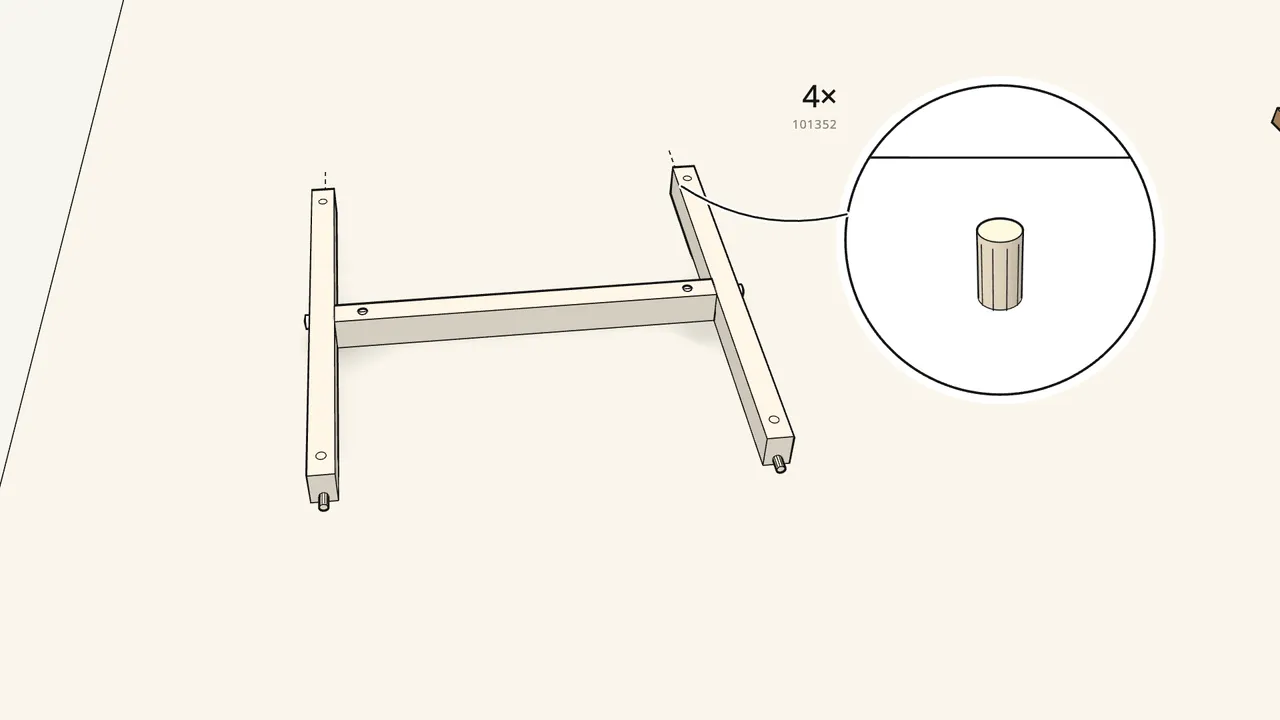
Step 13 · manual step 11
Push 4 dowels (101352) into the ends of the side stretchers.
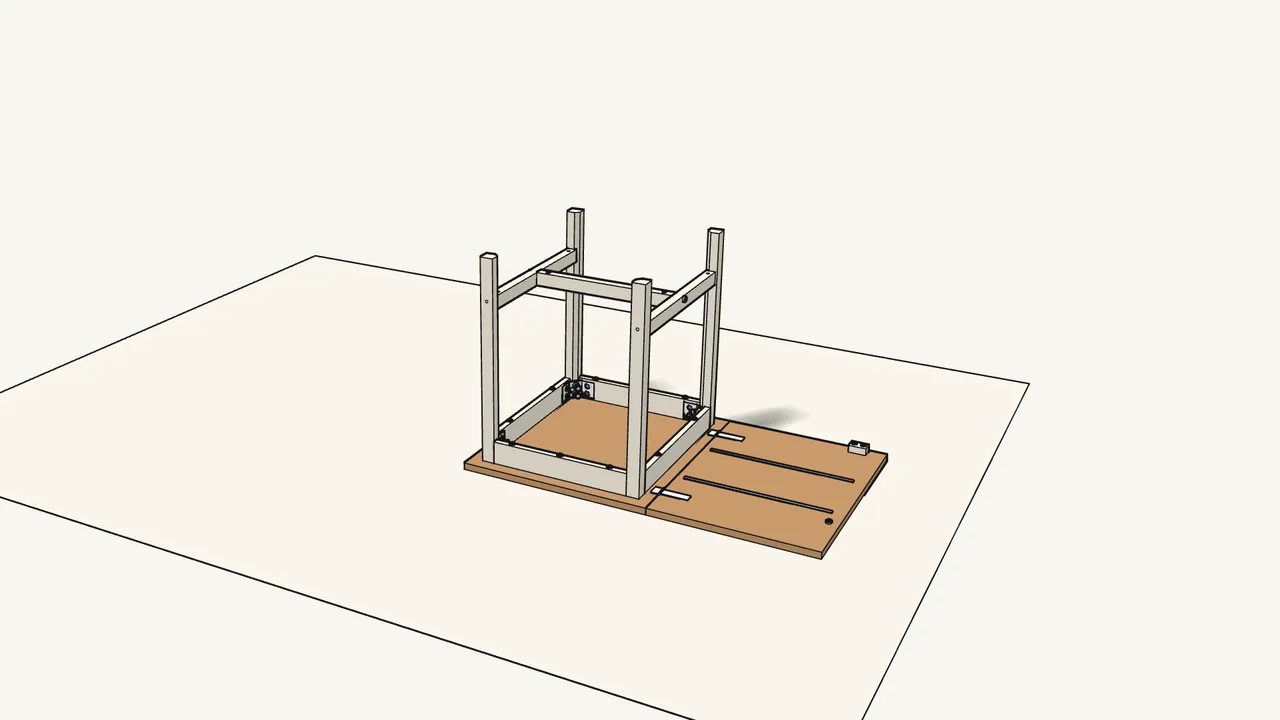
Step 14 · manual step 12
Fit the stretcher frame between the legs — two people.
Press it down so the dowels go into the legs.
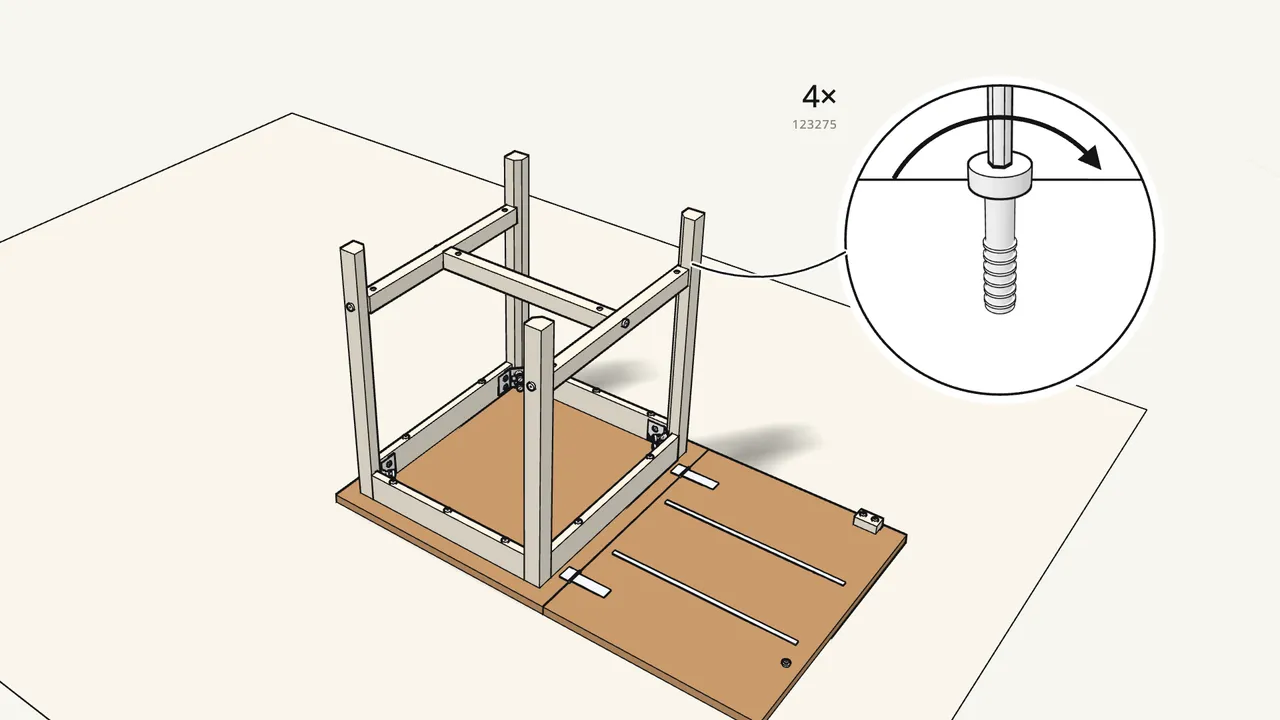
Step 15 · manual step 13
Insert 4 barrel nuts (100507) and 4 bolts (123275).
The bolts go through the legs into the stretchers — Allen key.
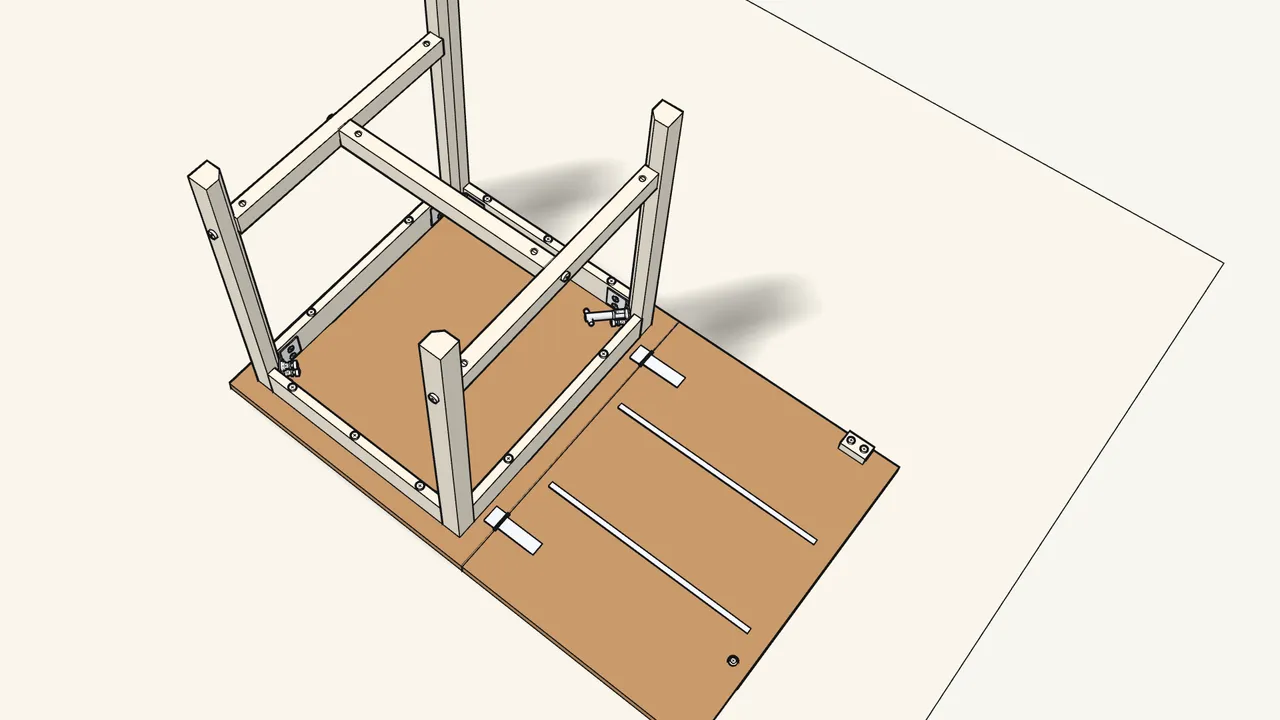
Step 16 · manual step 14
Tighten the 8 nuts with the box spanner (120202).
The legs must sit flush against the brackets — check the manual, step 14.
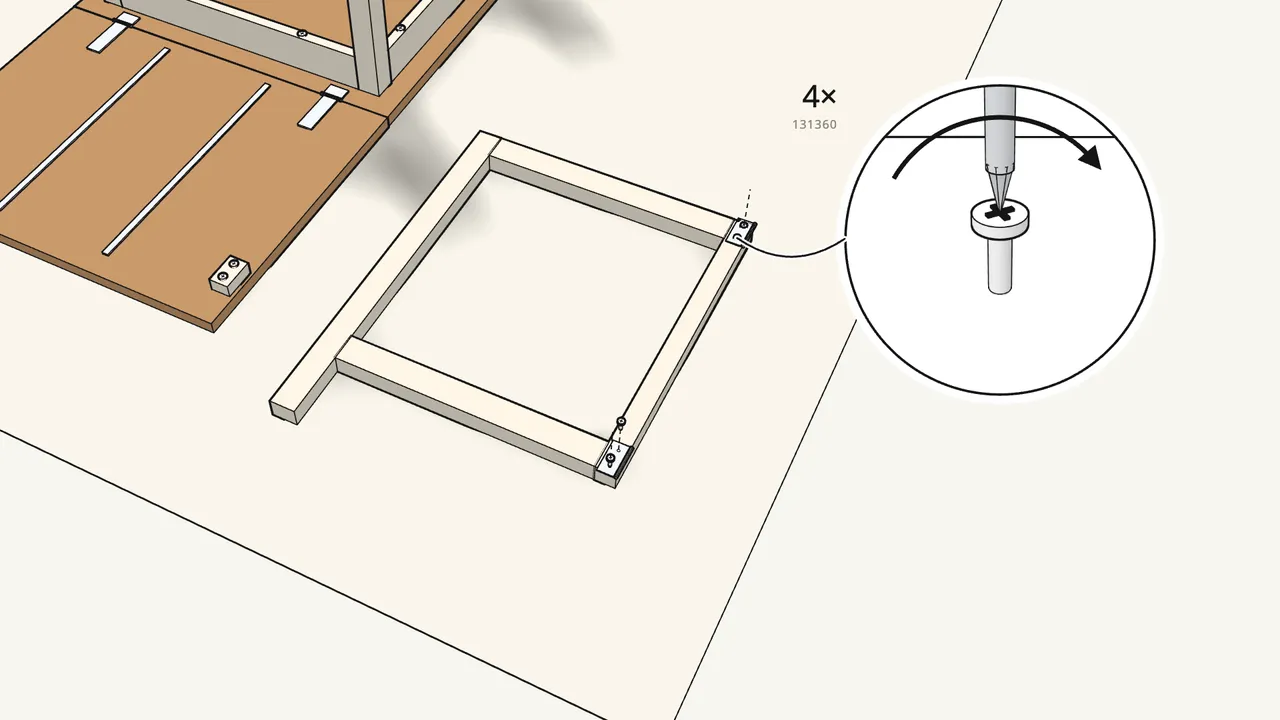
Step 17 · manual step 15
Screw the 2 hinges (109111) onto the gate.
2 screws (131360) per hinge.
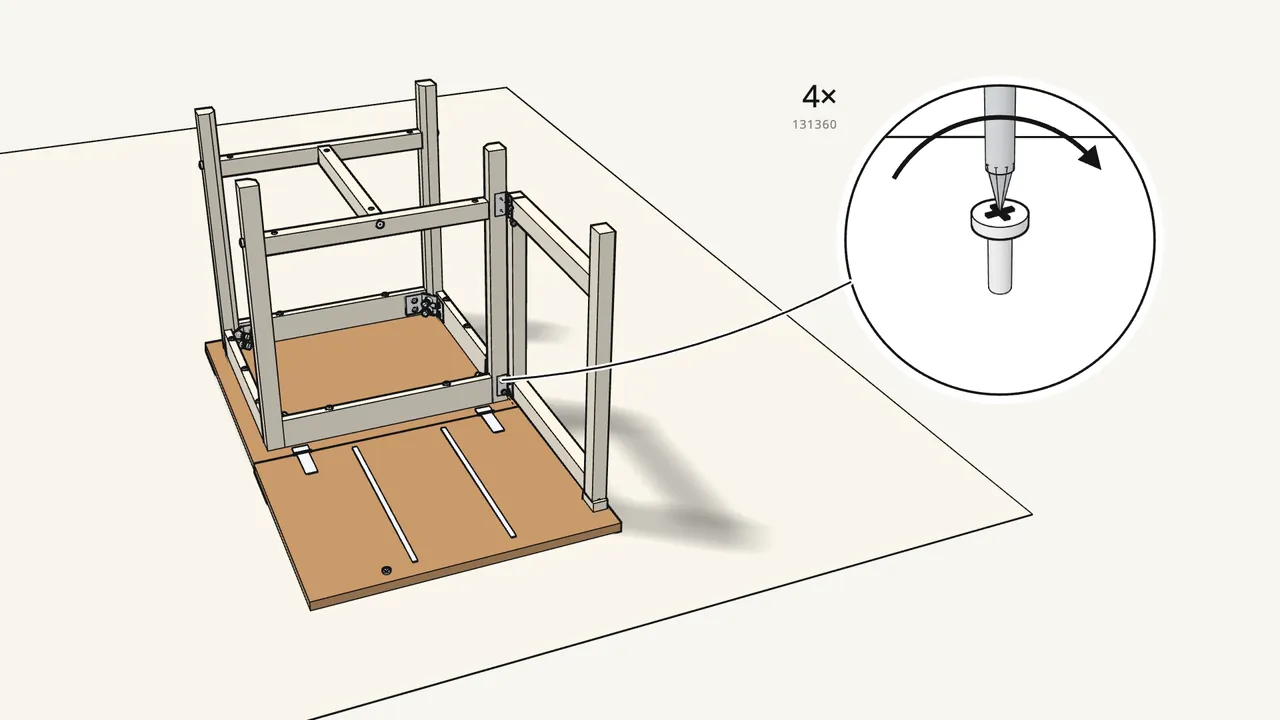
Step 18 · manual step 16
Screw the gate onto the leg next to the leaf.
2 screws (131360) per hinge.
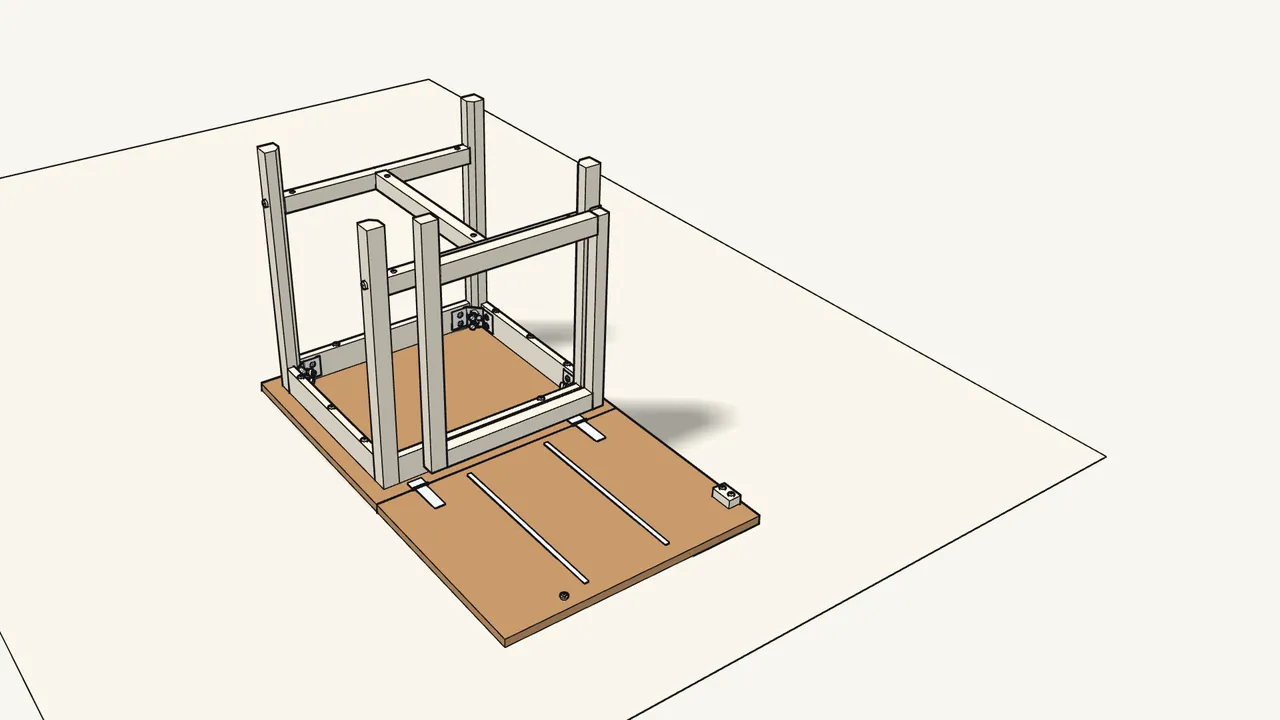
Step 19 · manual step 16
Fold the gate in against the frame.
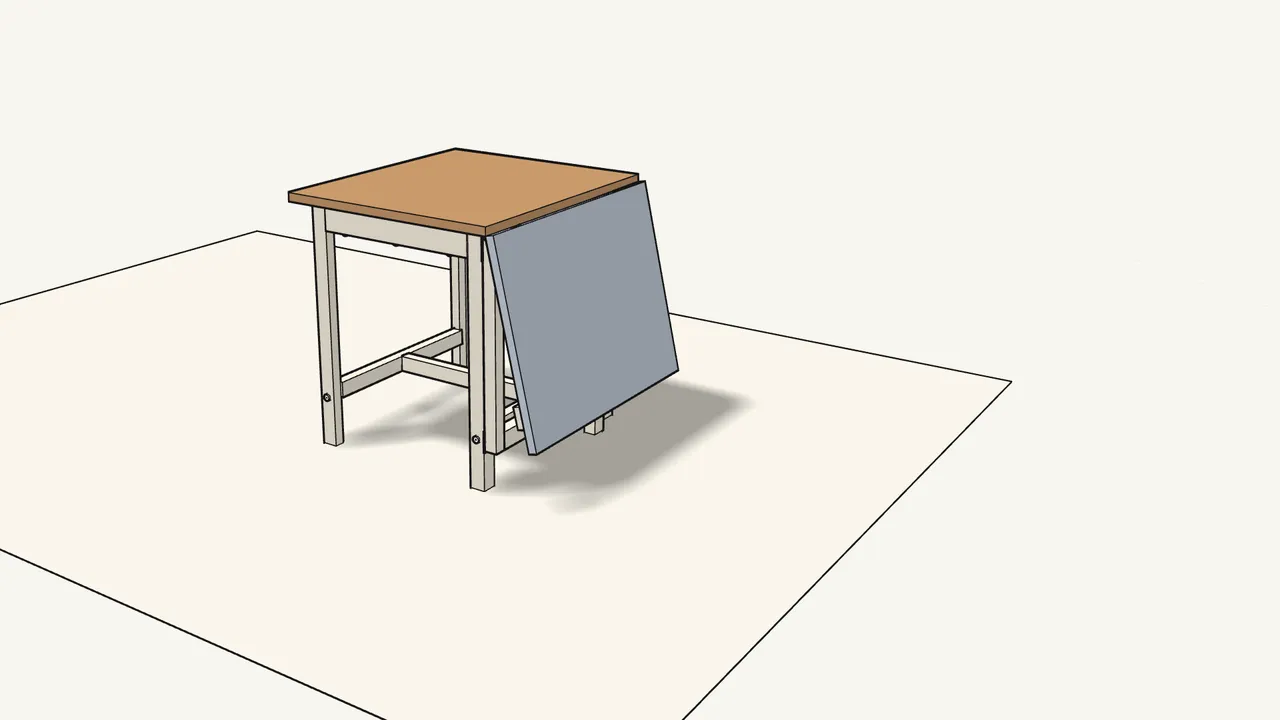
Step 20 · manual step 17
Turn the table over — two people.
Let the leaf hang down.
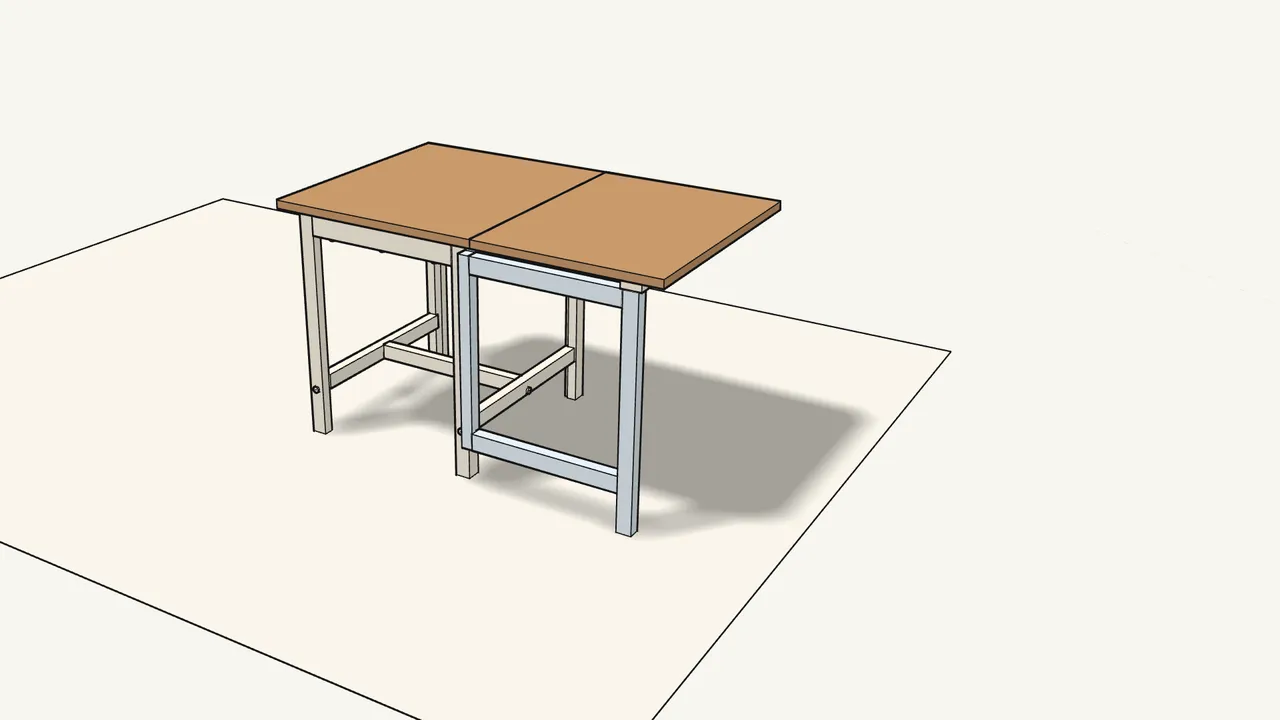
Step 21 · manual step 17
Raise the leaf and swing the gate leg out under it.
The top of the gate leg goes under the block. Leaf up: 124 cm.
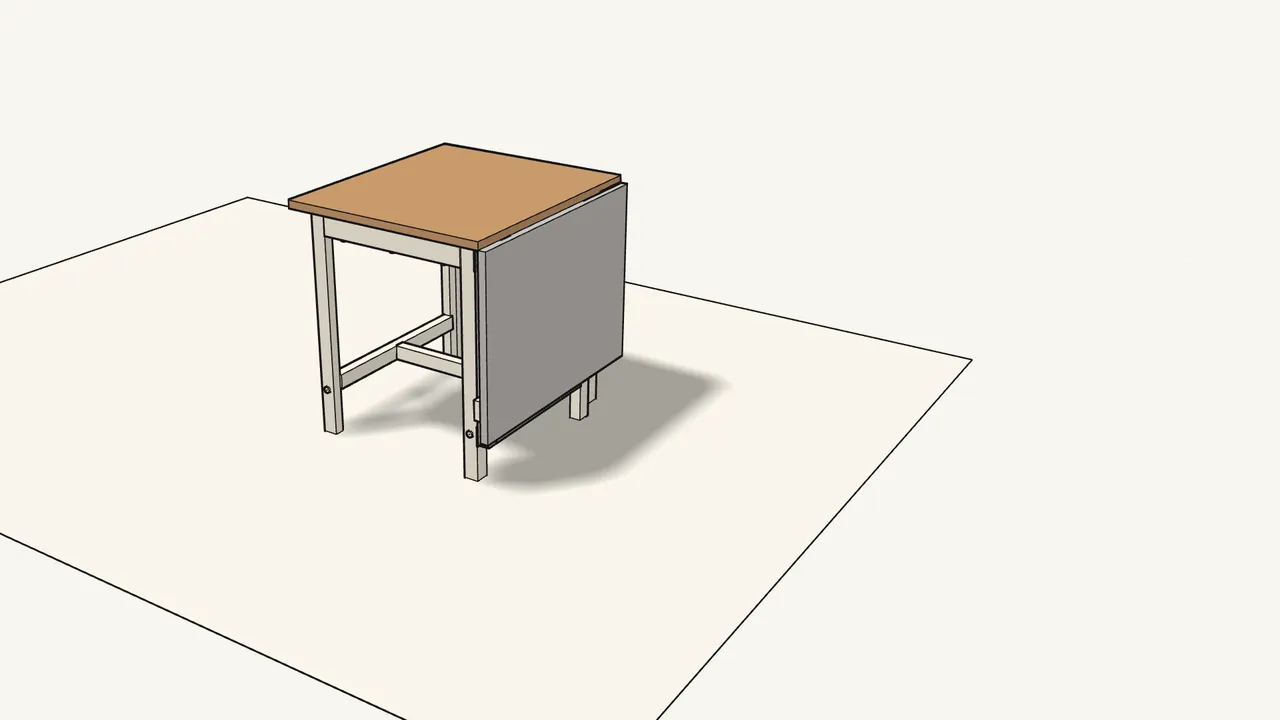
Step 22
To fold: swing the gate leg back in, then lower the leaf.
Mind your fingers at the hinge. Leaf down: 67 cm.
Tips & safety
- Assemble with two people. The manual shows two people — especially for fitting the stretchers and turning the table over.
- Mind your fingers. Hold the leaf by its edge when you raise or lower it — the hinge gap can pinch (manual, last page).
Official instructions
This guide follows IKEA’s official assembly instructions (AA-2300739-2). Keep the printed manual to hand — if anything differs, the manual is right.



