IKEA · Tables & Desks
How to assemble IKEA MARIEDAMM Table
Step-by-step IKEA MARIEDAMM Table assembly: 12 illustrated steps, an animated video, the hardware list and the tools you need — following the official instructions (AA-2521672-2).
- 12 illustrated steps
- 9 steps in the manual
- 2:12 video
- 105×105×75 cm cm
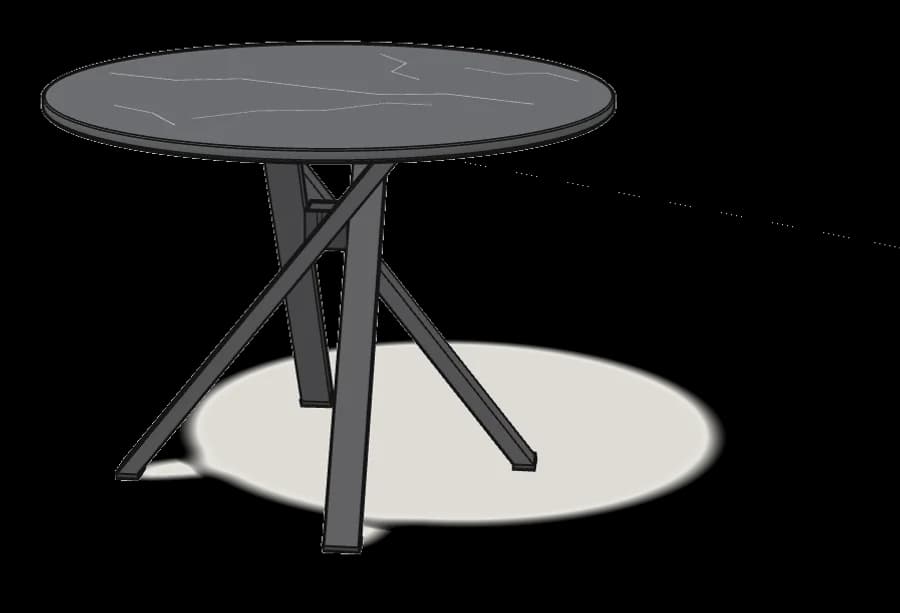
What you need
Tools
- Allen key (included)
You’ll need: just the Allen key (100092) — it’s in the box.
Hardware in the box
| Part no. (as printed in the manual) | Qty |
|---|---|
| 105100 | 8× |
| 10108714 | 16× |
| 100831 | 16× |
| 10082299 | 4× |
| 10082323 | 4× |
Step-by-step assembly
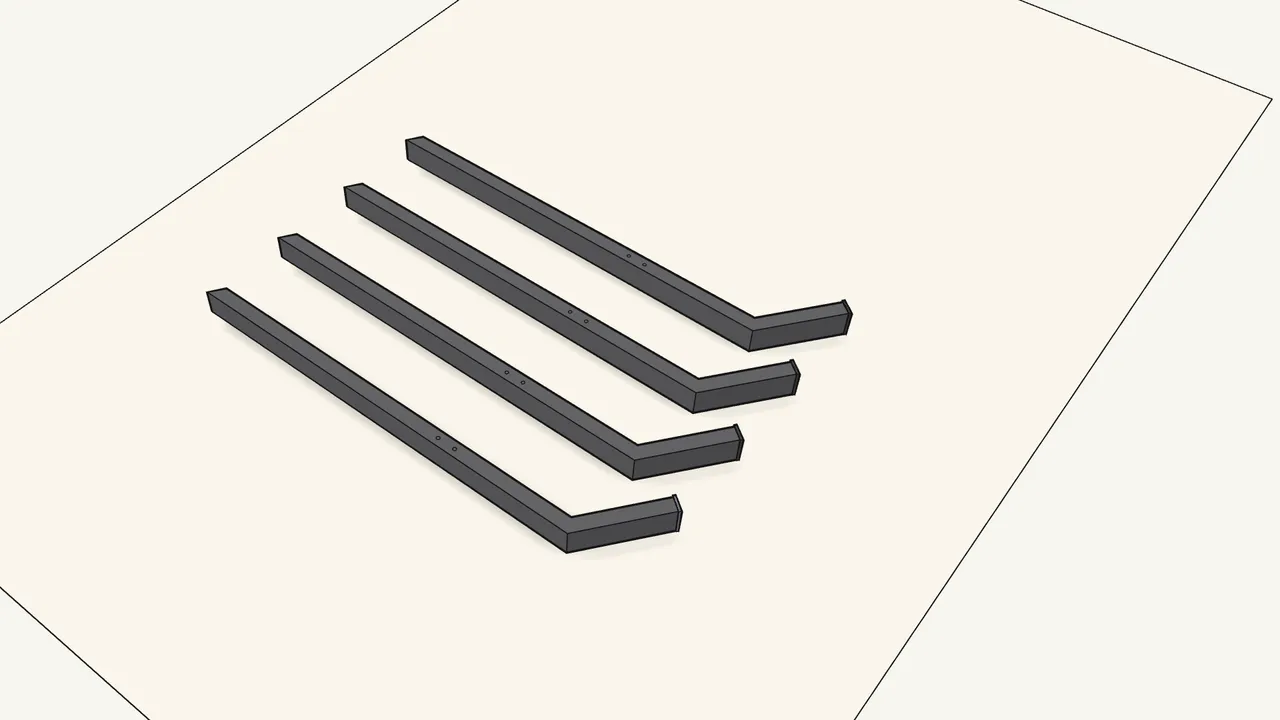
Step 1
Push a flat end cap (10082323) into the short end of each leg.
Lay the 4 legs on a rug. Repeat for all 4 legs.
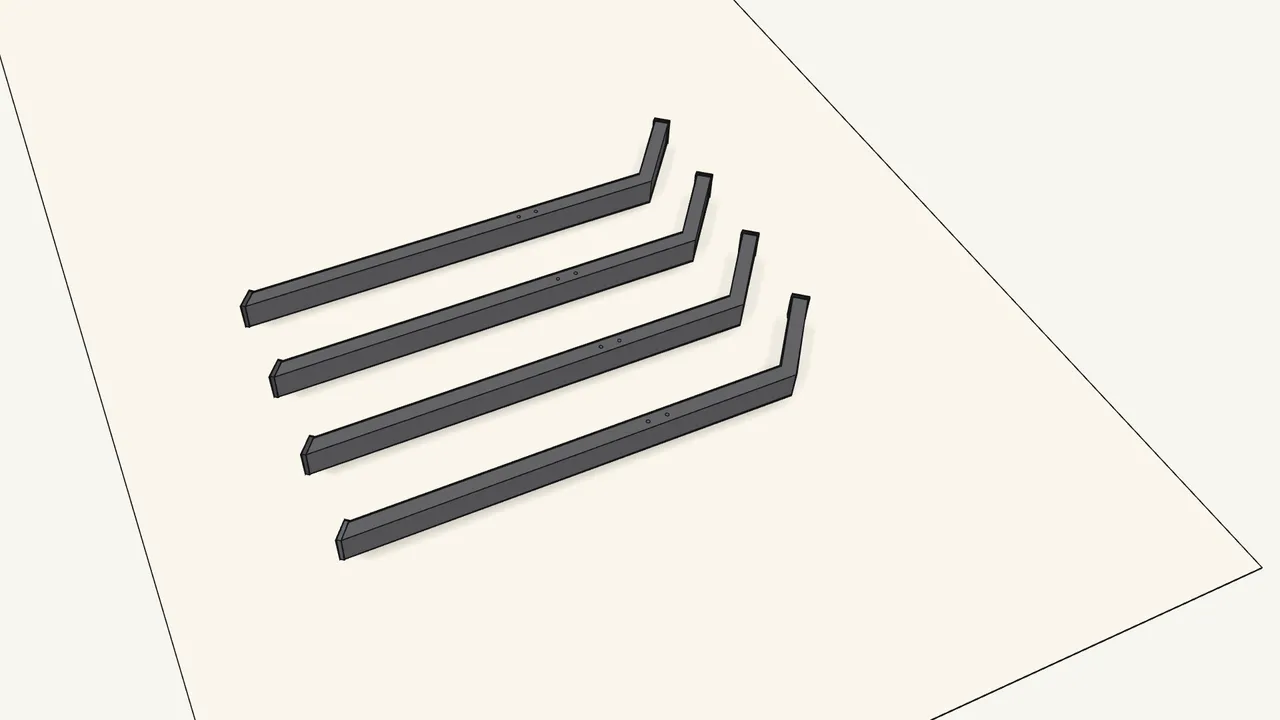
Step 2
Push a floor cap (10082299) into the long end of each leg.
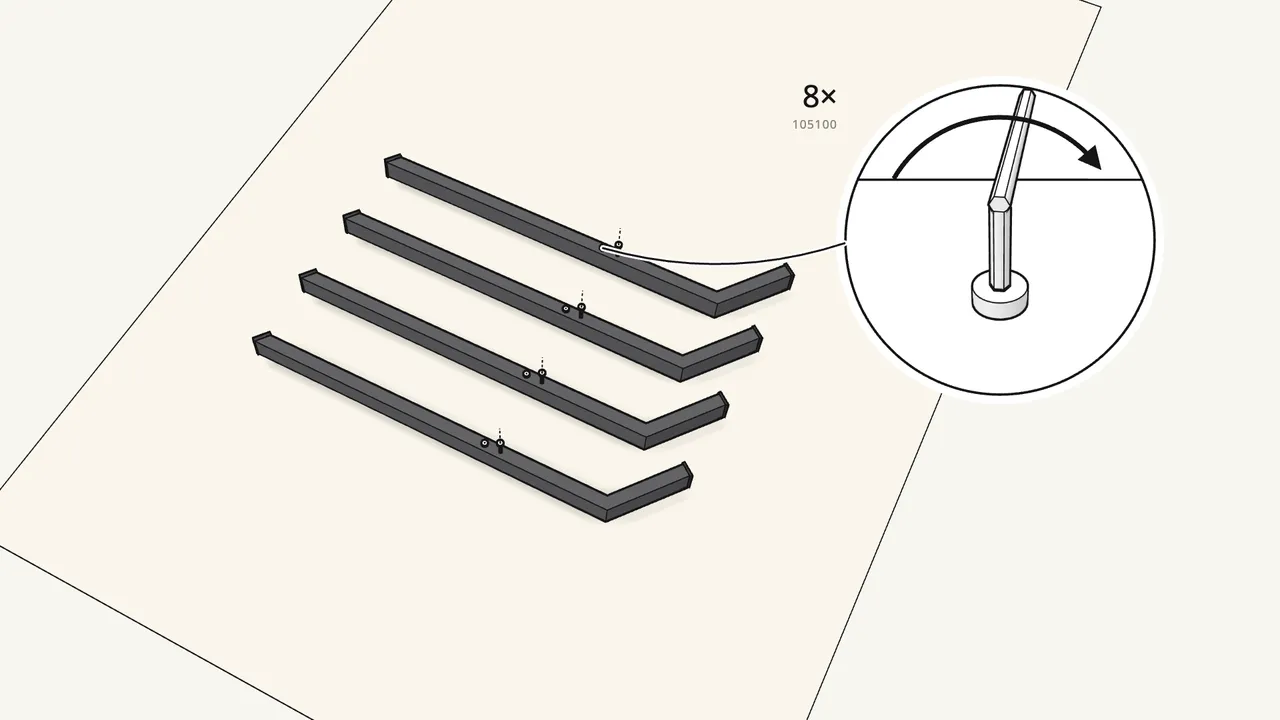
Step 3
Screw 2 bolts (105100) into each leg — don’t tighten them.
Use the Allen key. Leave a gap under the bolt heads.
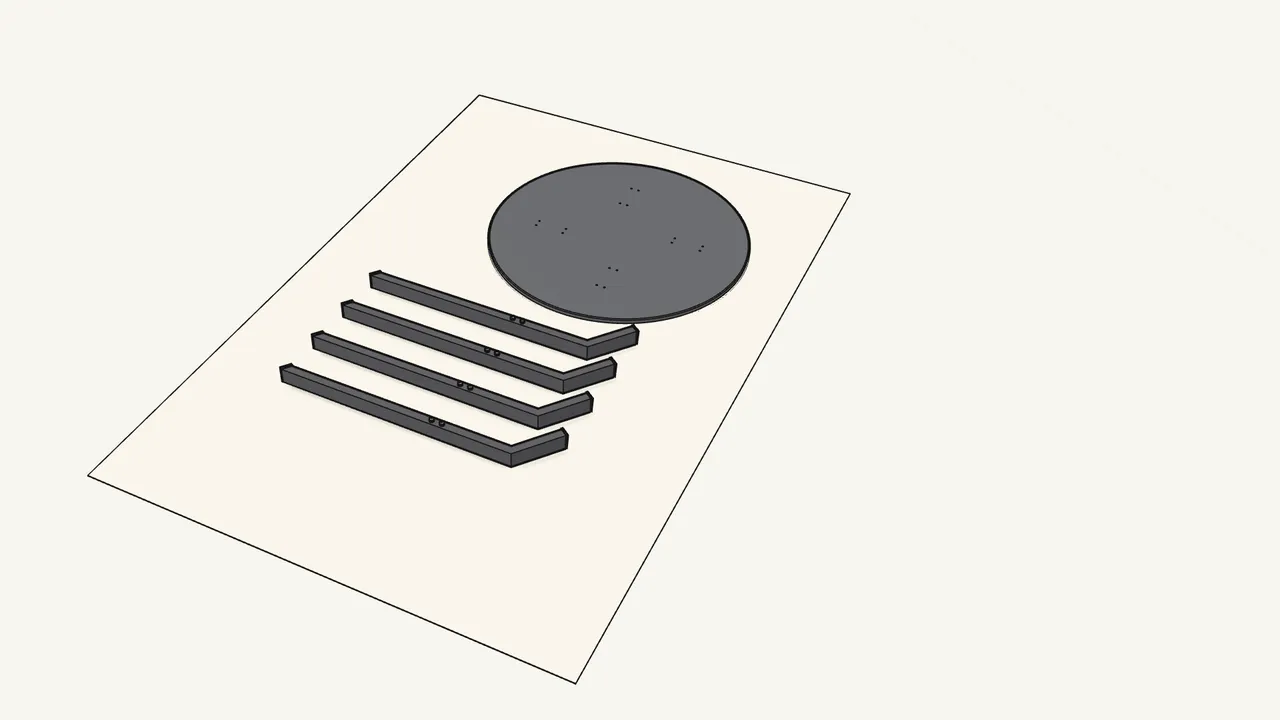
Step 4
Lay the tabletop face-down on the rug.
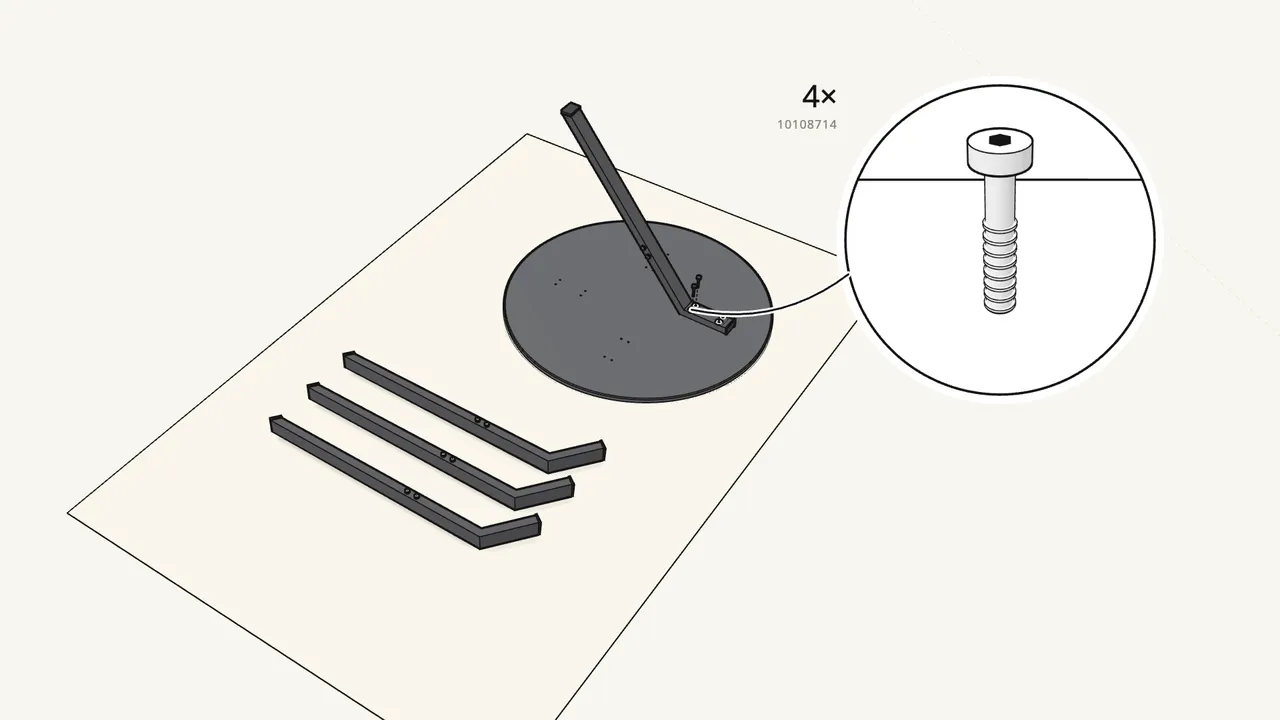
Step 5 · manual step 4
Fix the first leg with 4 bolts (10108714) and 4 washers (100831).
Don’t tighten fully yet. One person holds the leg.
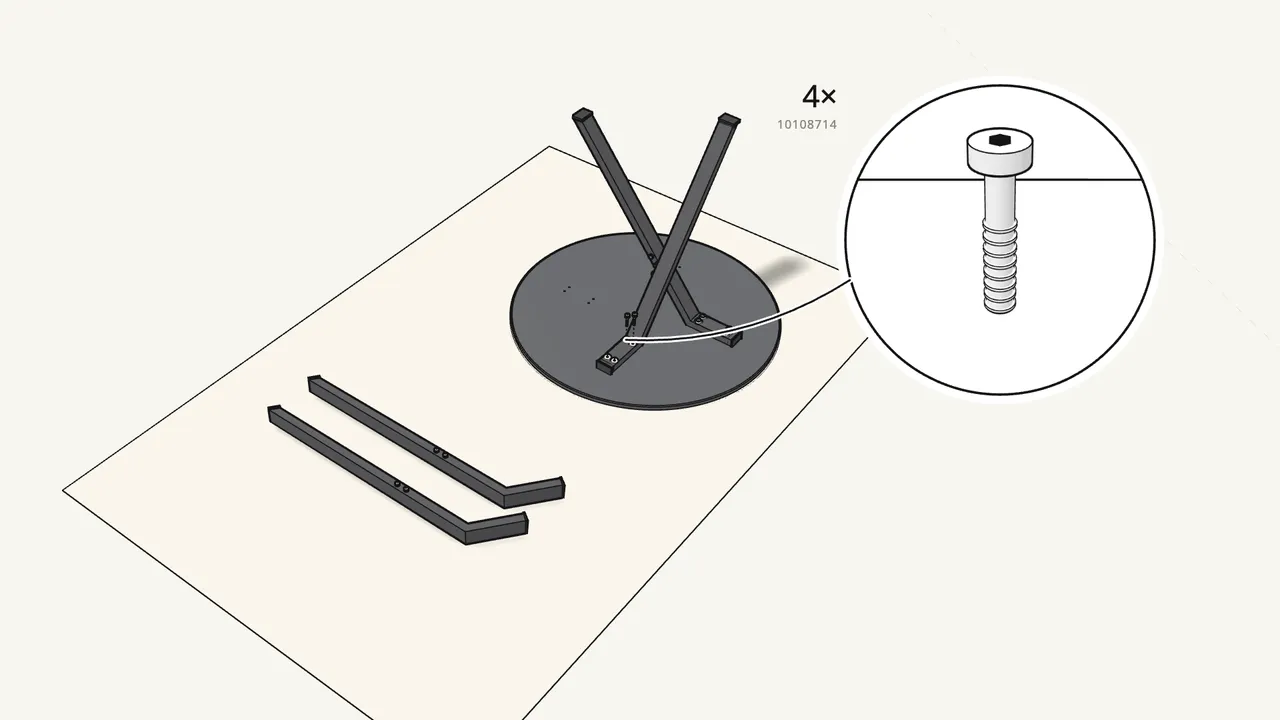
Step 6 · manual step 5
Fix the second leg the same way.
4 bolts (10108714) and 4 washers (100831) — not fully tightened.
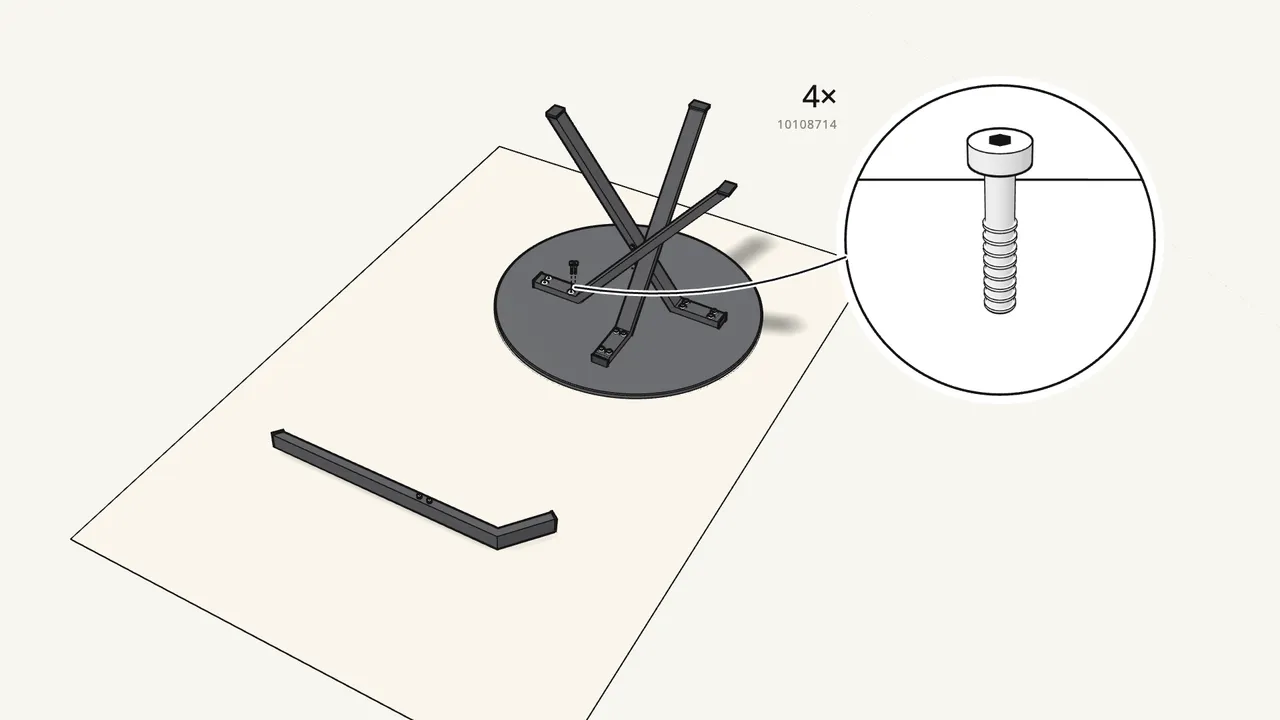
Step 7 · manual step 6
Fix the third leg the same way.
4 bolts (10108714) and 4 washers (100831) — not fully tightened.
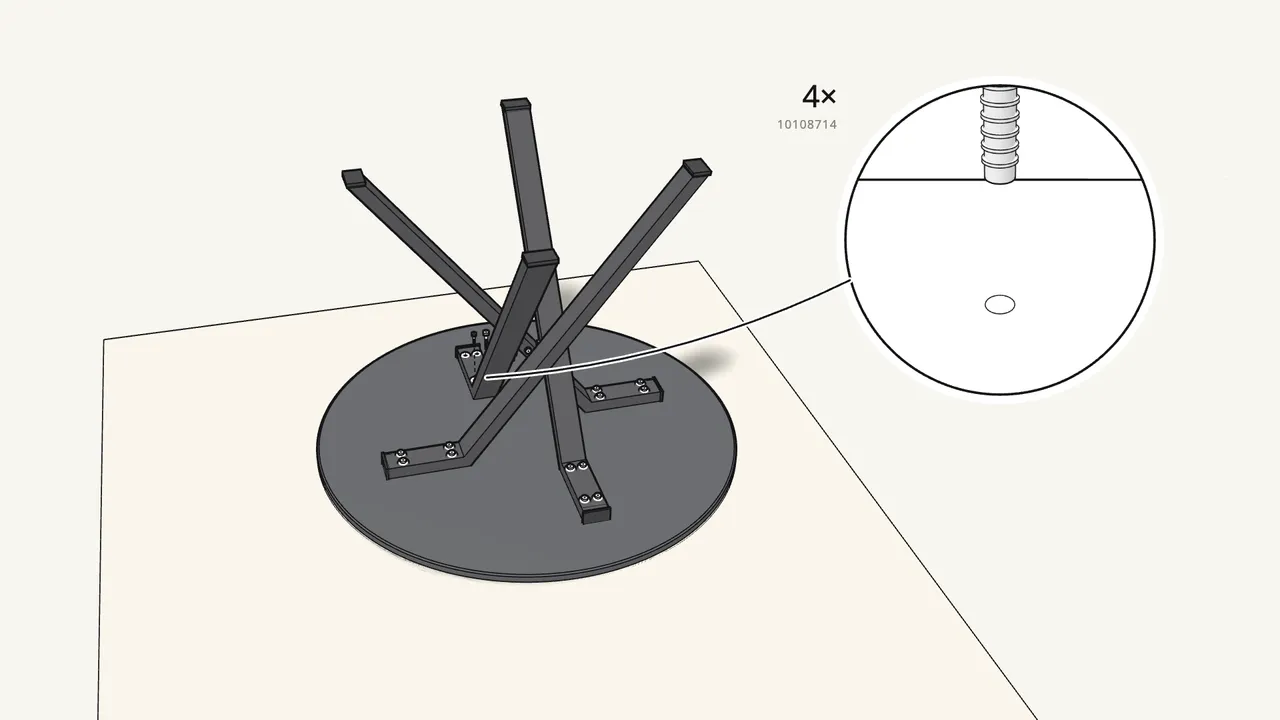
Step 8 · manual step 7
Fix the last leg the same way.
Thread it in between the other legs (see the manual, step 7). Don’t tighten fully yet.
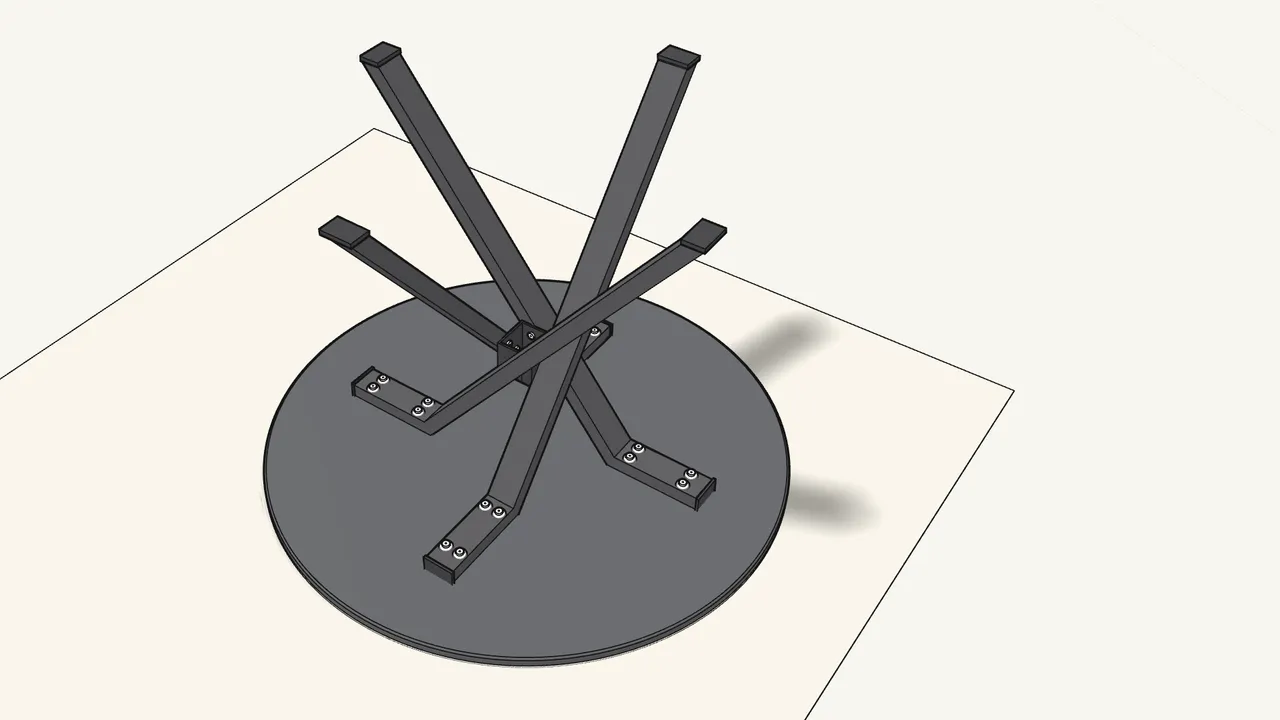
Step 9 · manual step 8
Drop the connector (10082452) over the crossing.
The bolt heads slide into the slots in its sides.
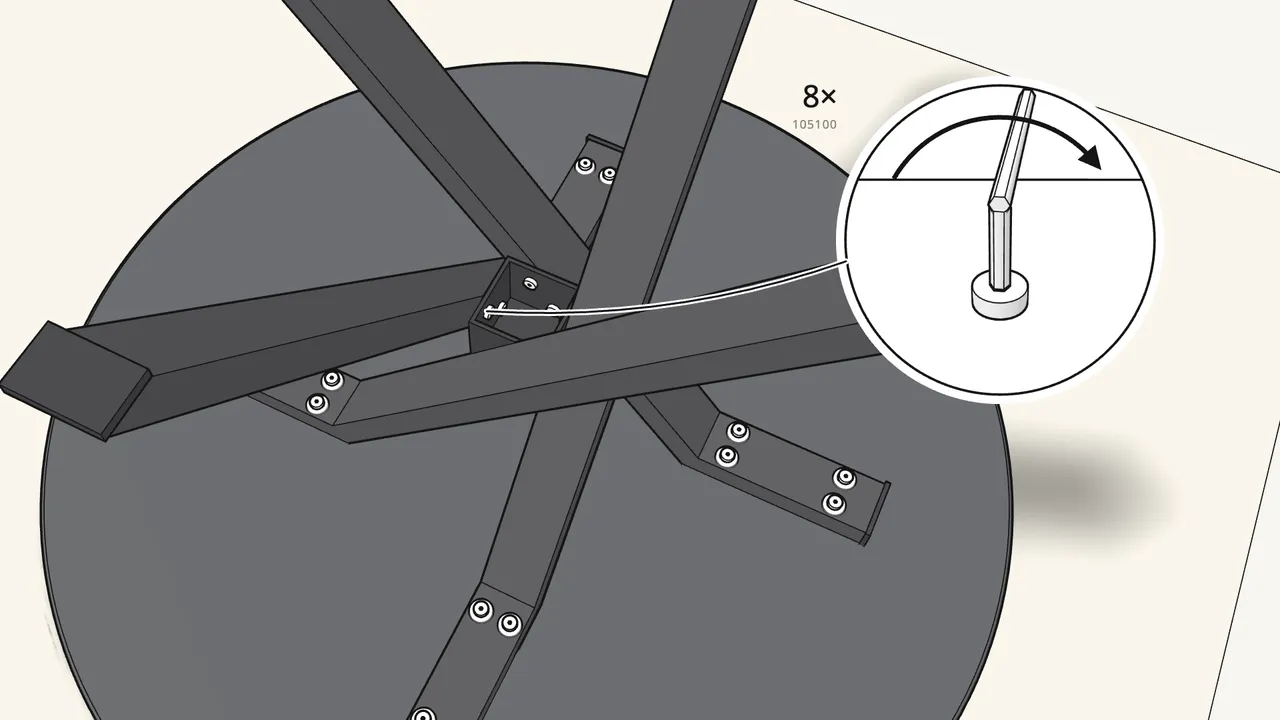
Step 10 · manual step 8
Tighten the 8 bolts inside the connector.
Use the Allen key.
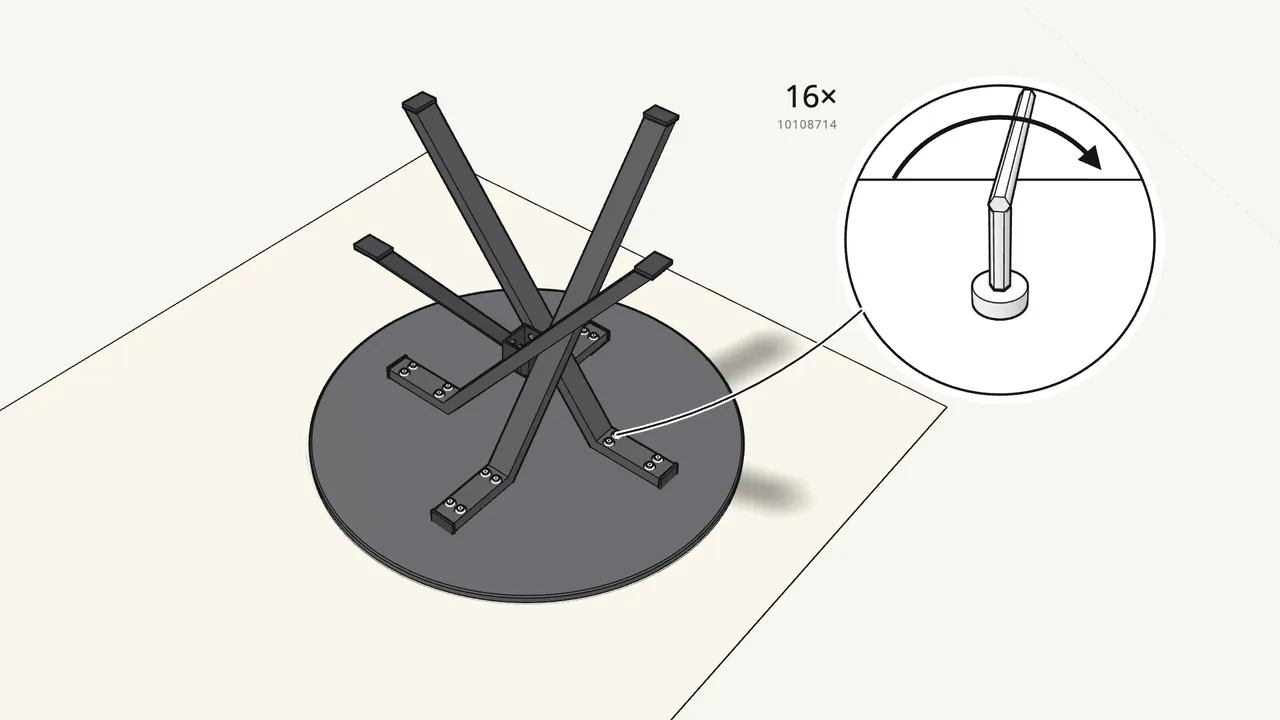
Step 11 · manual step 9
Now tighten all 16 bolts in the tabletop fully.
No gap under the washers.
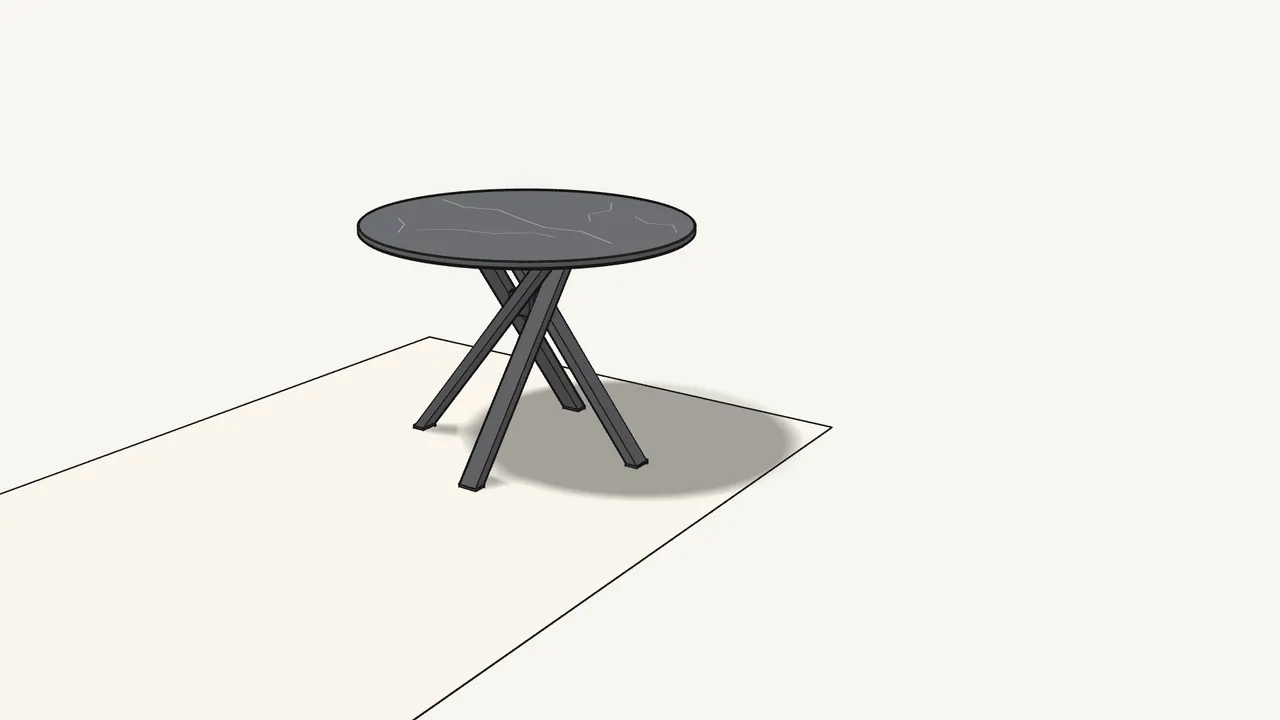
Step 12 · manual step 9
Turn the table over — with two people.
Tips & safety
- Assemble with two people. The manual shows one person holding each leg while the other fits the bolts, and two people turning the table over.
- Missing a part or not sure? The manual says: contact your IKEA store before you continue.
Official instructions
This guide follows IKEA’s official assembly instructions (AA-2521672-2). Keep the printed manual to hand — if anything differs, the manual is right.



