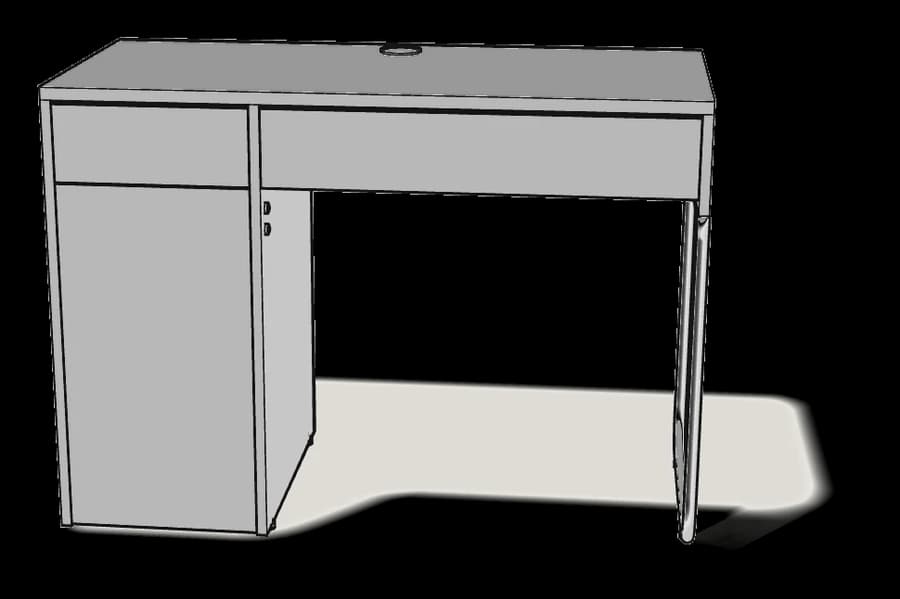
IKEA · Tables & Desks
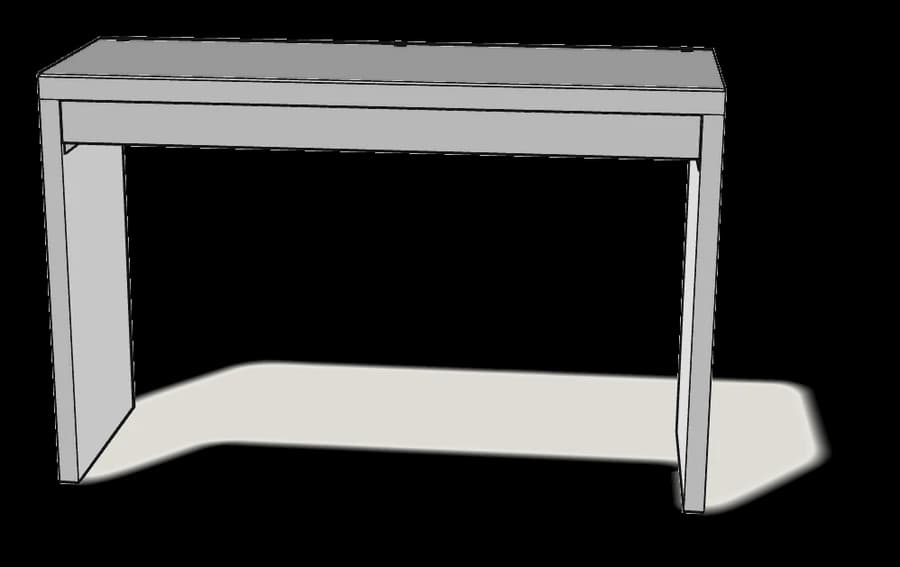
How to Assemble IKEA MALM Dressing Table
Step-by-step IKEA MALM dressing table assembly: 25 illustrated steps, an animated video, the hardware list and the tools you need — following the official instructions (AA-2635064-1).
- 25 illustrated steps
- 21 steps in the manual
- 3:27 video
- 120×41×78 cm
What you need
Tools
- Flat-head screwdriver
- Phillips screwdriver
- Hammer
- Spanner (included)
- Drill (for wall fixing)
Hardware in the box
| Part no. (as printed in the manual) | Qty |
|---|---|
| 114334 | 4× |
| 110519 | 4× |
| 101353 | 2× |
| 101345 | 2× |
| 118331 | 2× |
| 110630 | 2× |
| 100349 | 4× |
| 109558 | 2× |
| 110678 | 4× |
| 114254 | 4× |
| 122998 | 4× |
| 109560 | 3× |
| 10003193 | 3× |
| 153548 | 4× |
| 106989 | 2× |
| 109049 | 2× |
| 100823 | 4× |
| 109048 | 2× |
| 121714 | 2× |
Step-by-step assembly
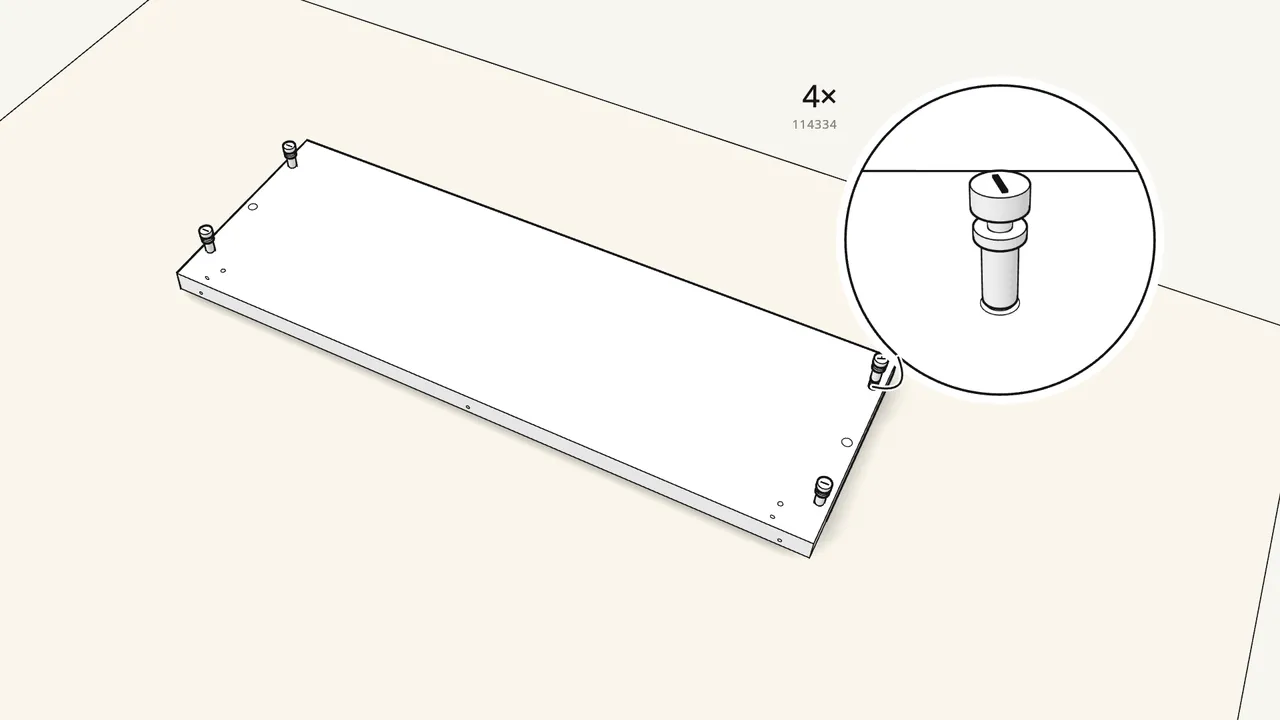
Step 1
Screw 4 hanger bolts (114334) into the long panel.
Lay it upside down on the rug. Tighten with the spanner (113453).
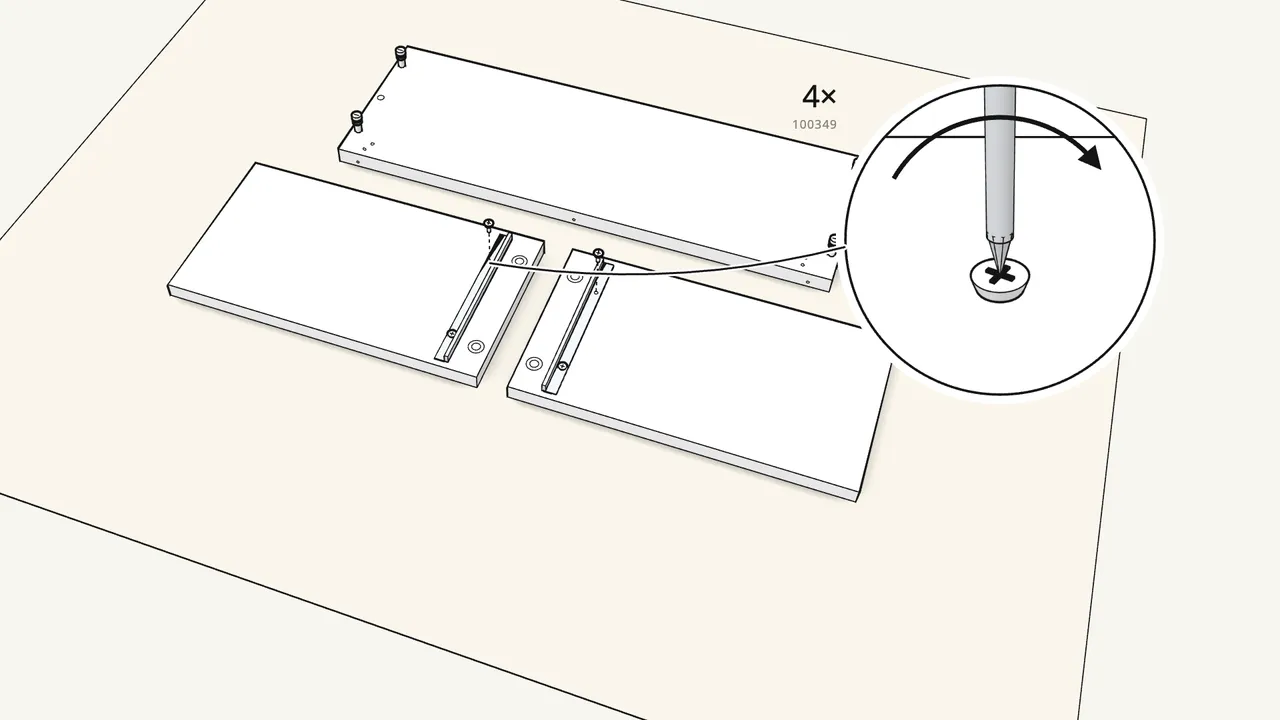
Step 2
Screw the drawer runners onto the two side panels.
2 screws (100349) per runner.
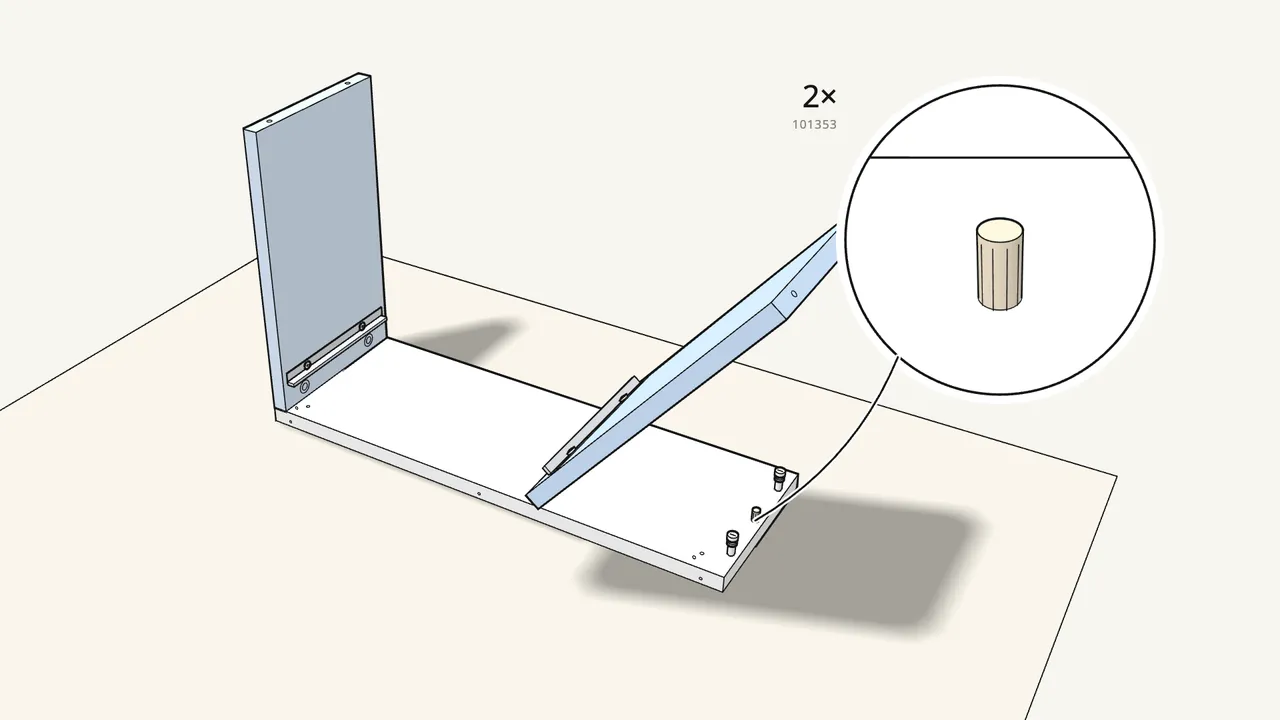
Step 3
Push 2 dowels (101353) in, then stand the sides on the bolts.
Use the long dowels 101353, not 101345.
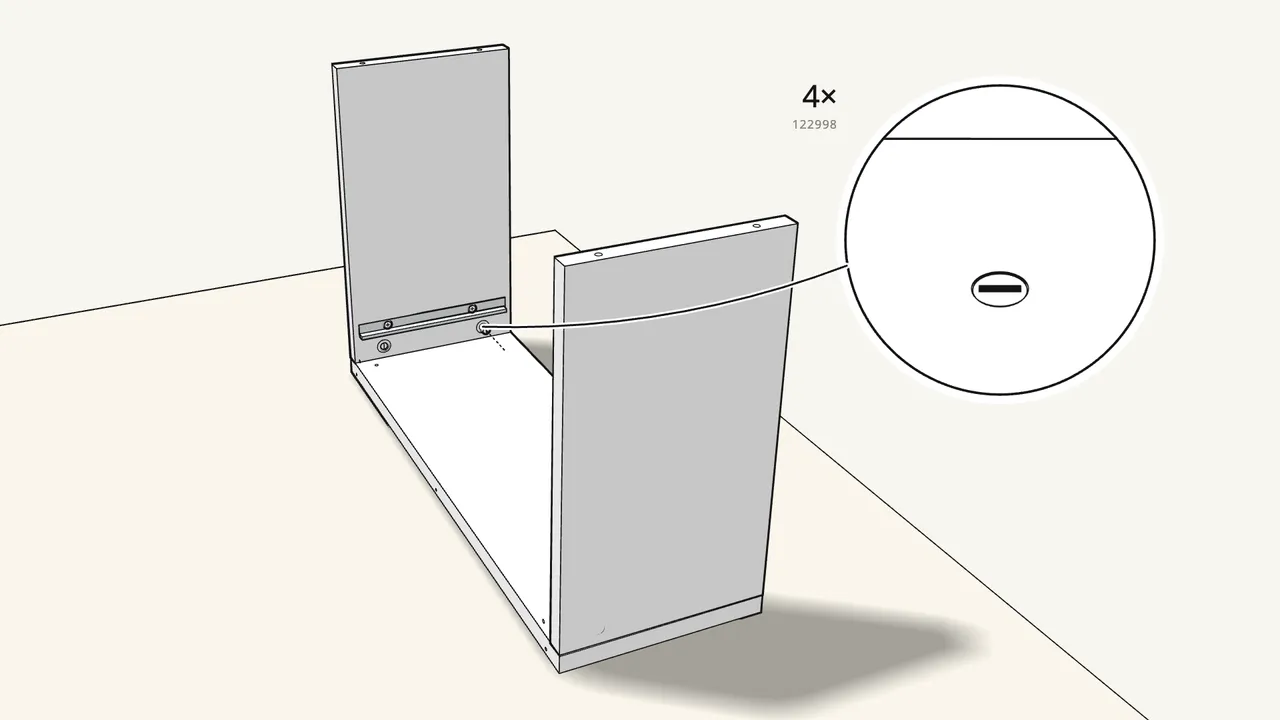
Step 4
Push a fitting (122998) over each bolt through the round holes.
4 in total, 2 in each side panel.
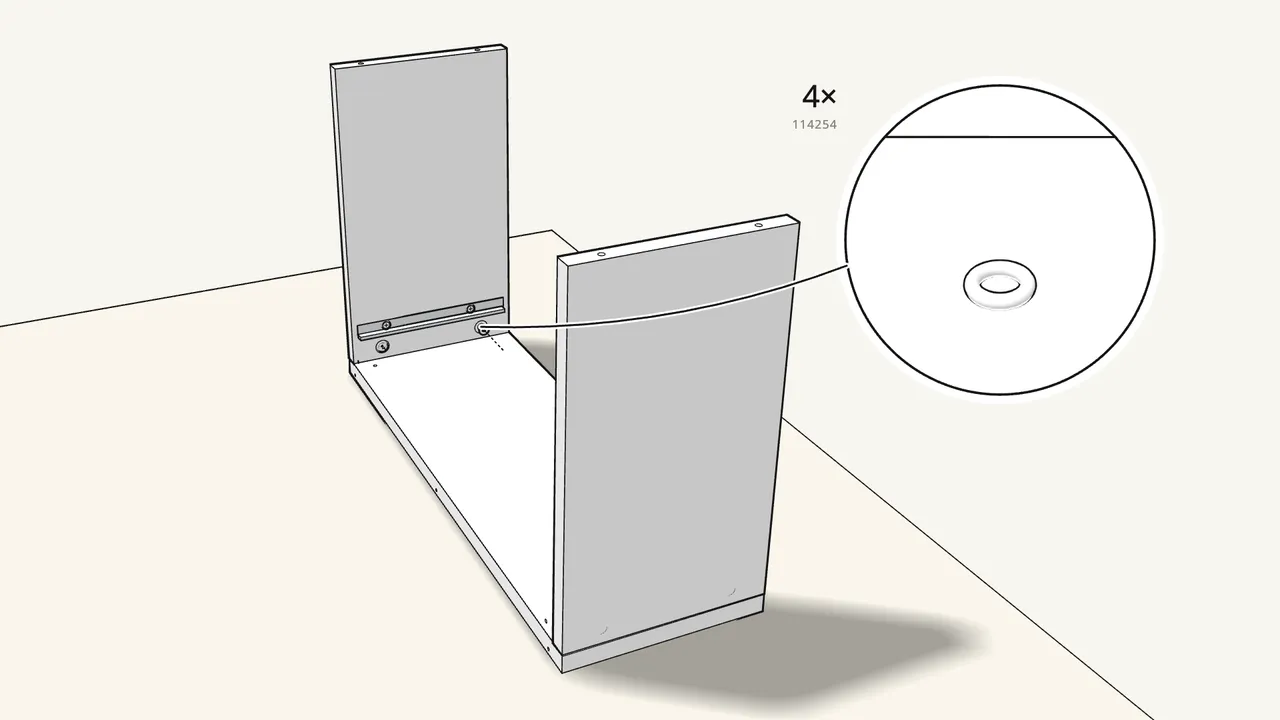
Step 5 · manual step 4
Screw on a nut (114254) and tighten it with the spanner.
Do all 4.
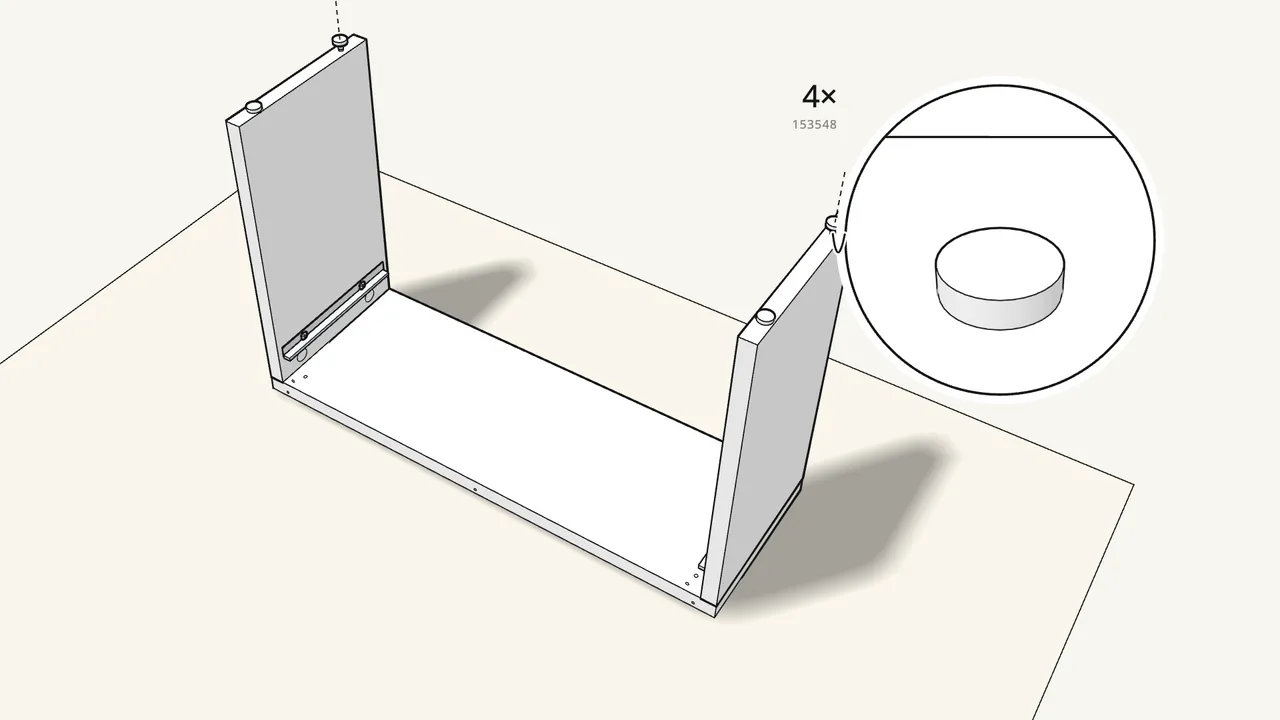
Step 6 · manual step 5
Tap 4 glides (153548) into the ends of the side panels.
Use the hammer.
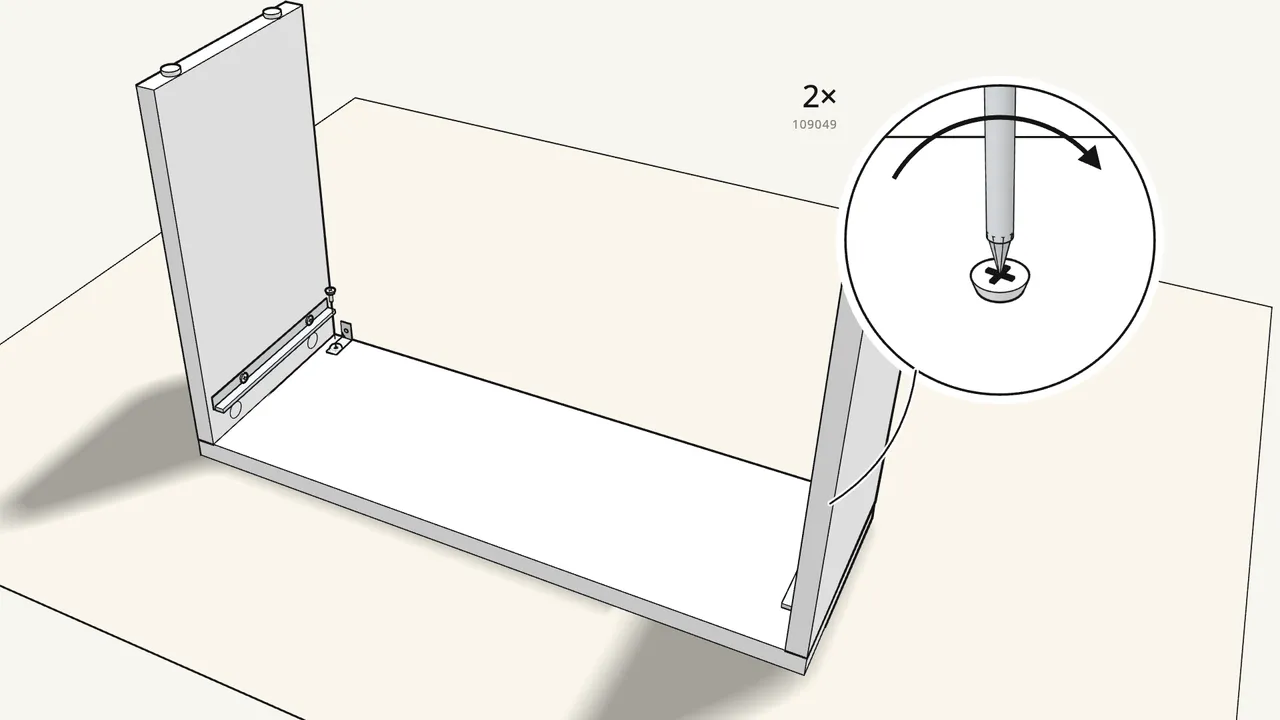
Step 7 · manual step 6
Screw the 2 wall brackets (106989) under the long panel.
Screw 109049 with washer 100823, at the back corners.
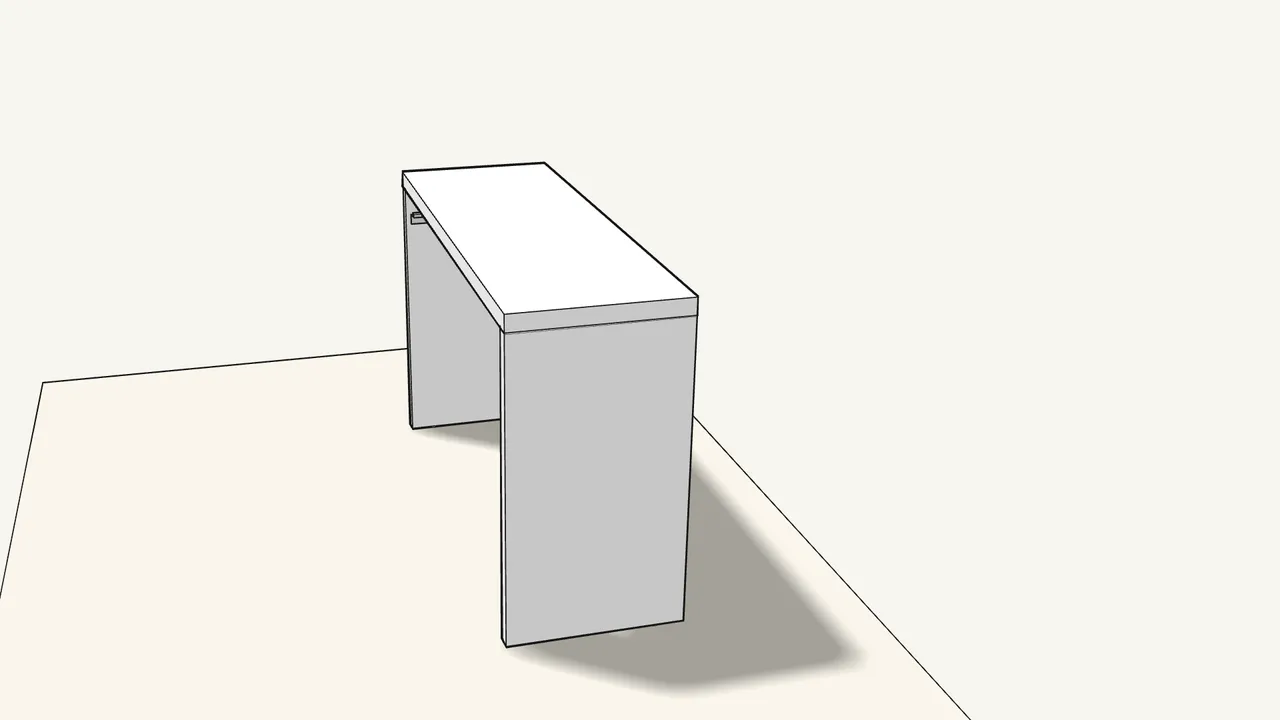
Step 8 · manual step 6
Turn the table over onto its feet.

Step 9 · manual step 7
Lay the glass top (10066373) onto the long panel.
Line up its holes along the back edge.
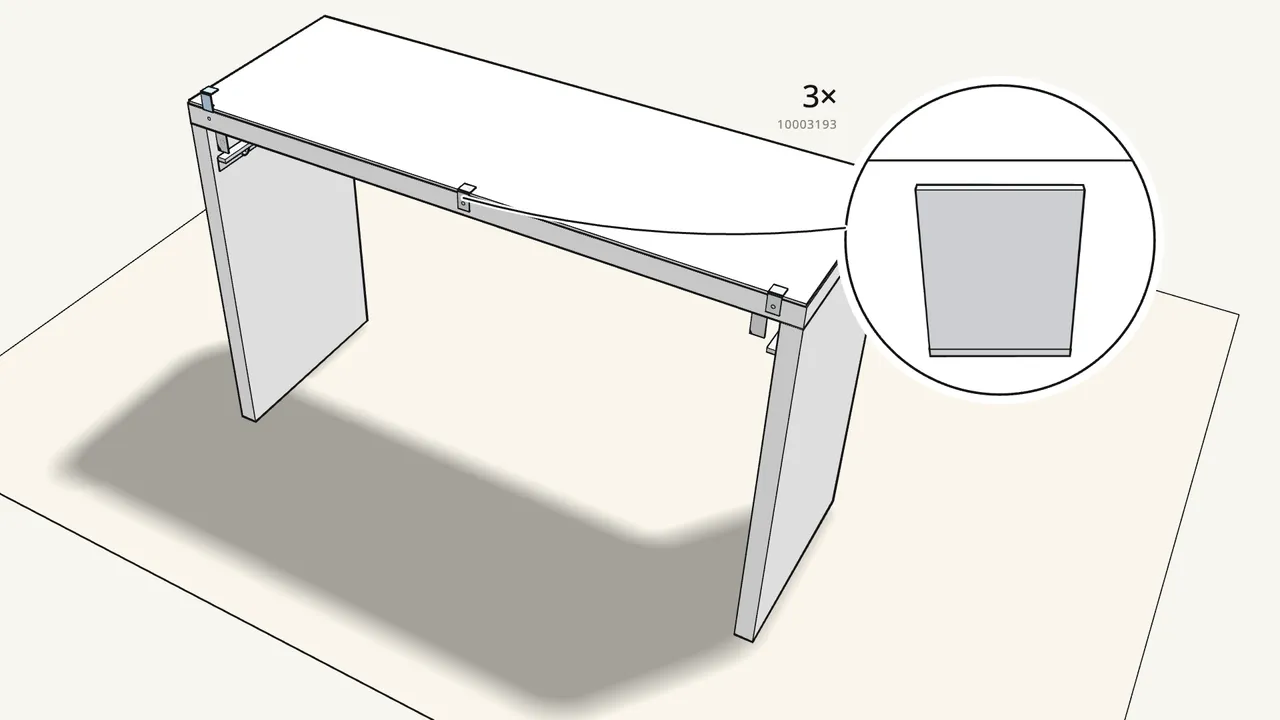
Step 10 · manual step 8
Fit 3 clips (10003193) over the back edge of the glass.
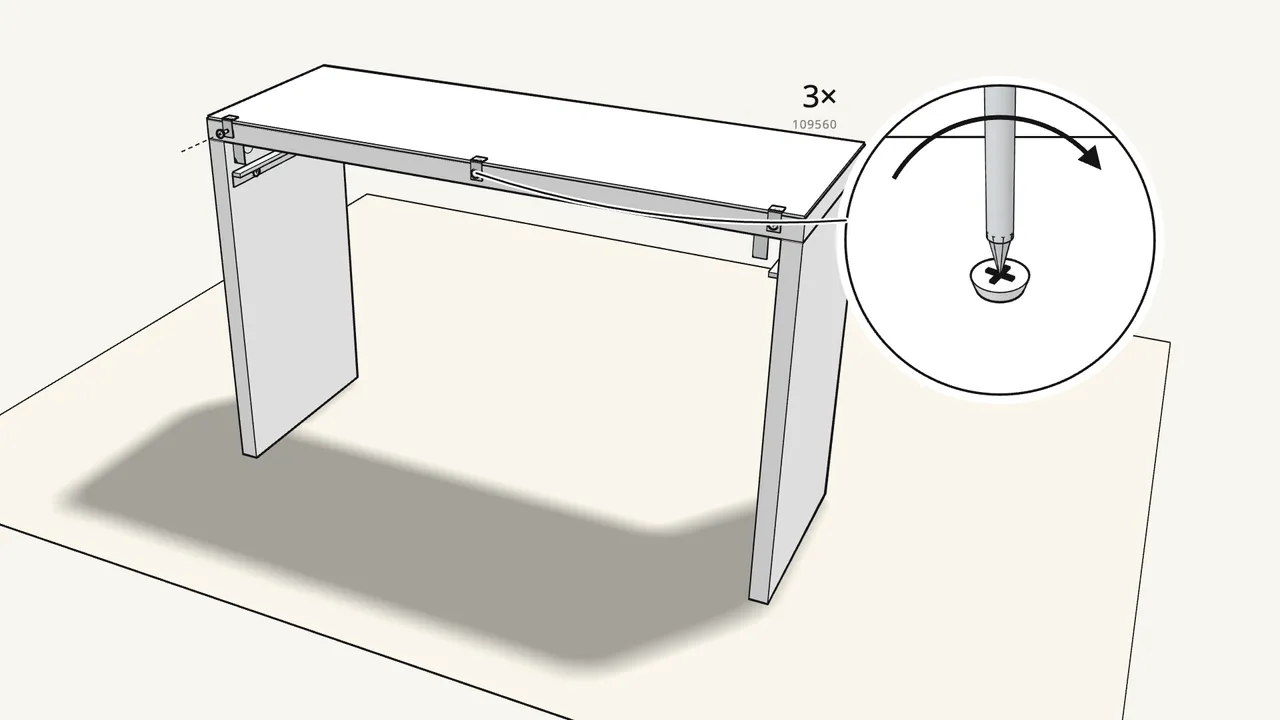
Step 11 · manual step 9
Fix each clip with a screw (109560).
Then turn the table around.
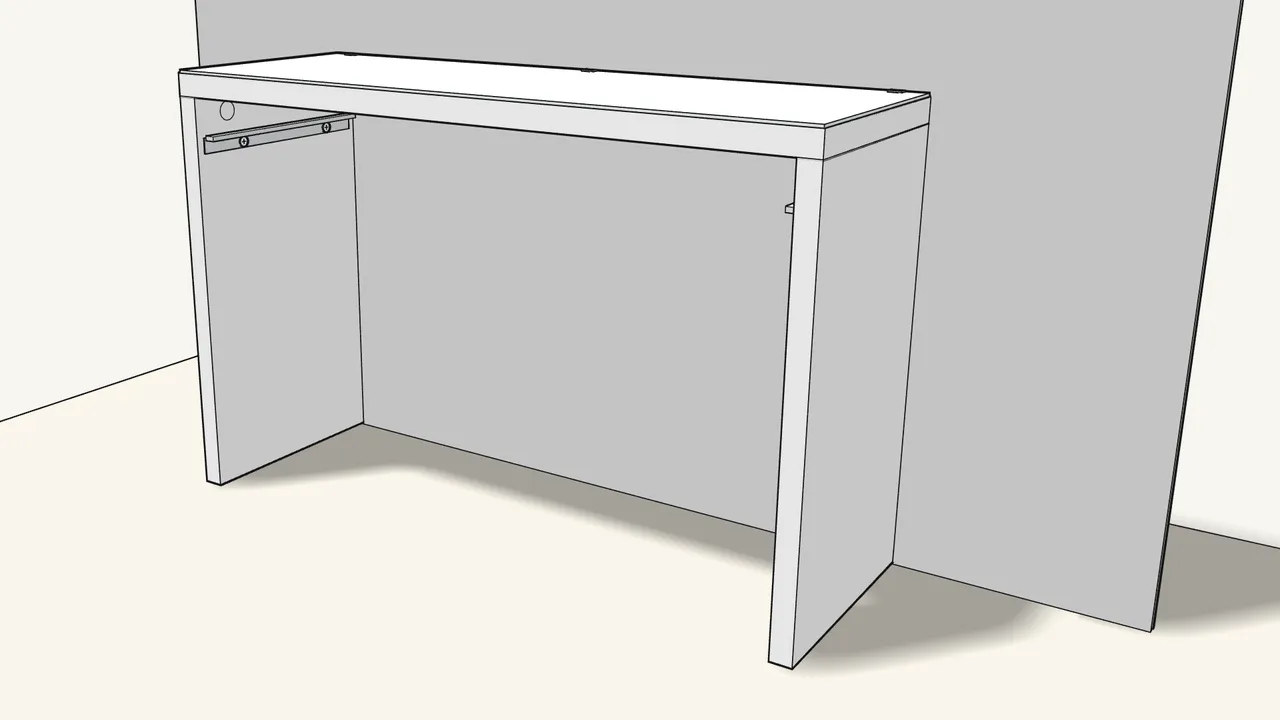
Step 12 · manual step 10
Place the table against the wall.
Mark through the 2 bracket slots with a pencil.
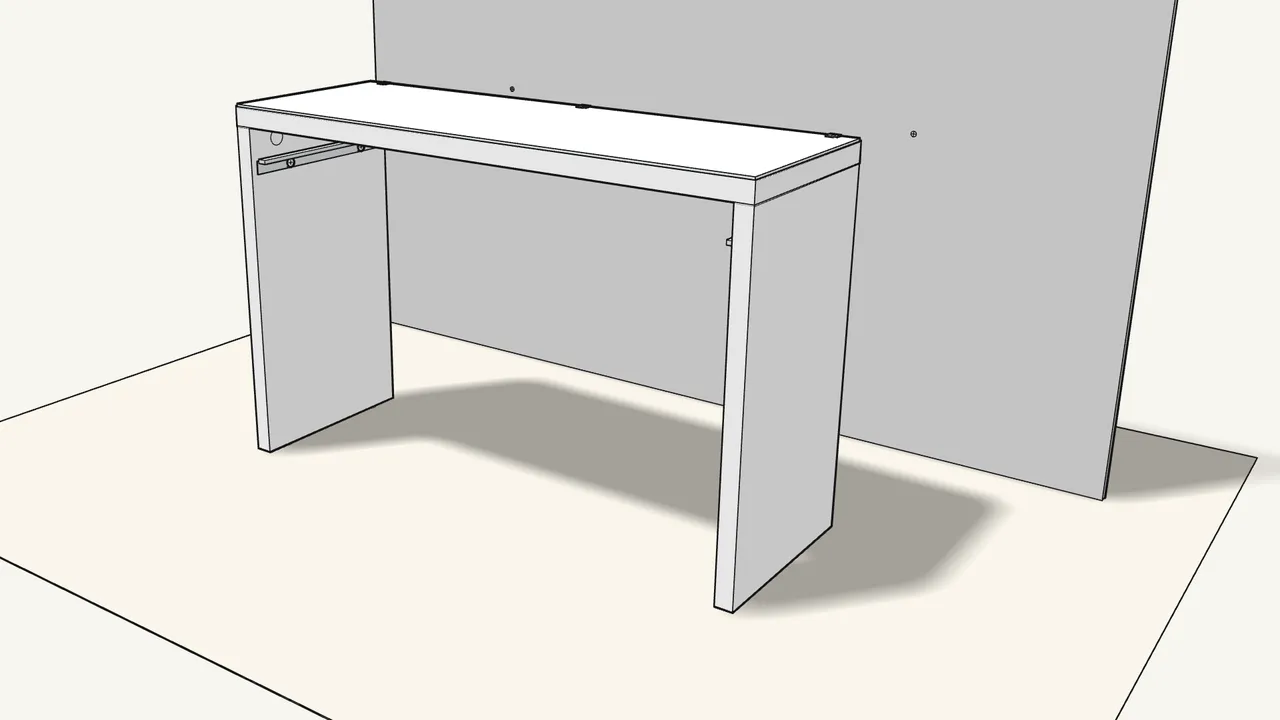
Step 13 · manual step 11
Move the table away and drill at the marks.
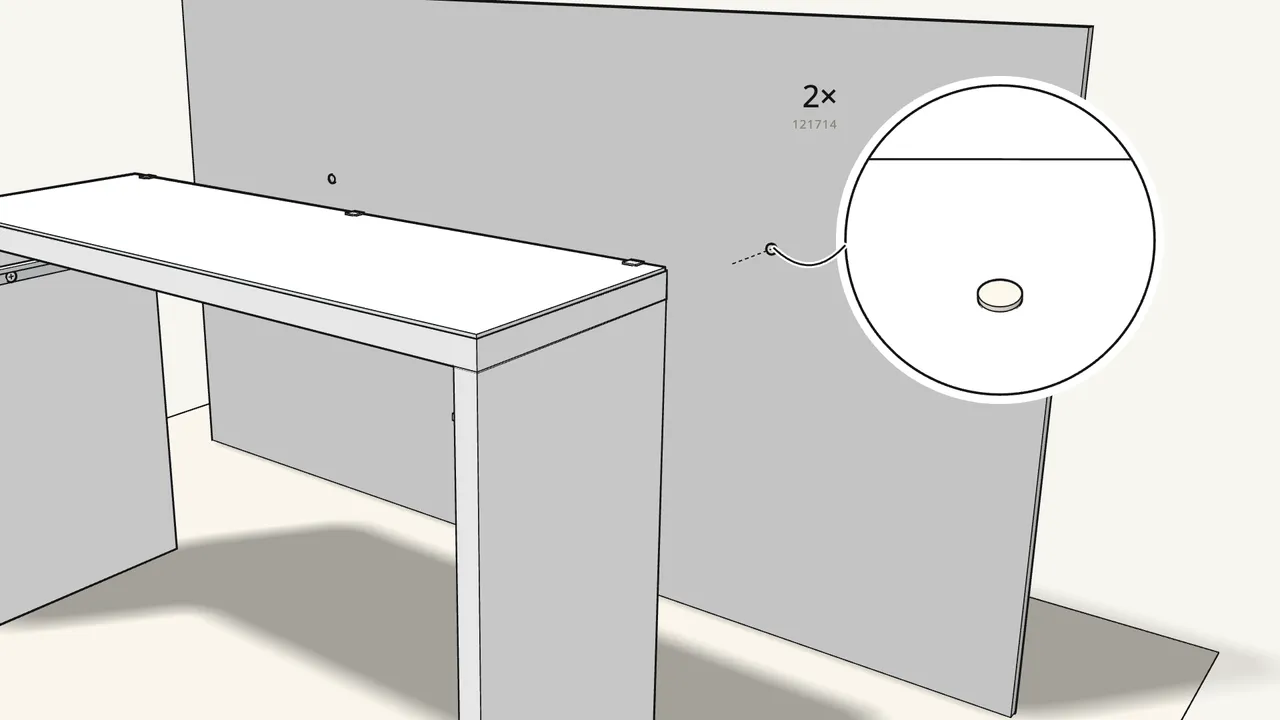
Step 14 · manual step 12
Fit wall plugs (121714) if your wall needs them.
Right fixing depends on the wall (manual p. 16–17). Unsure? Get advice.
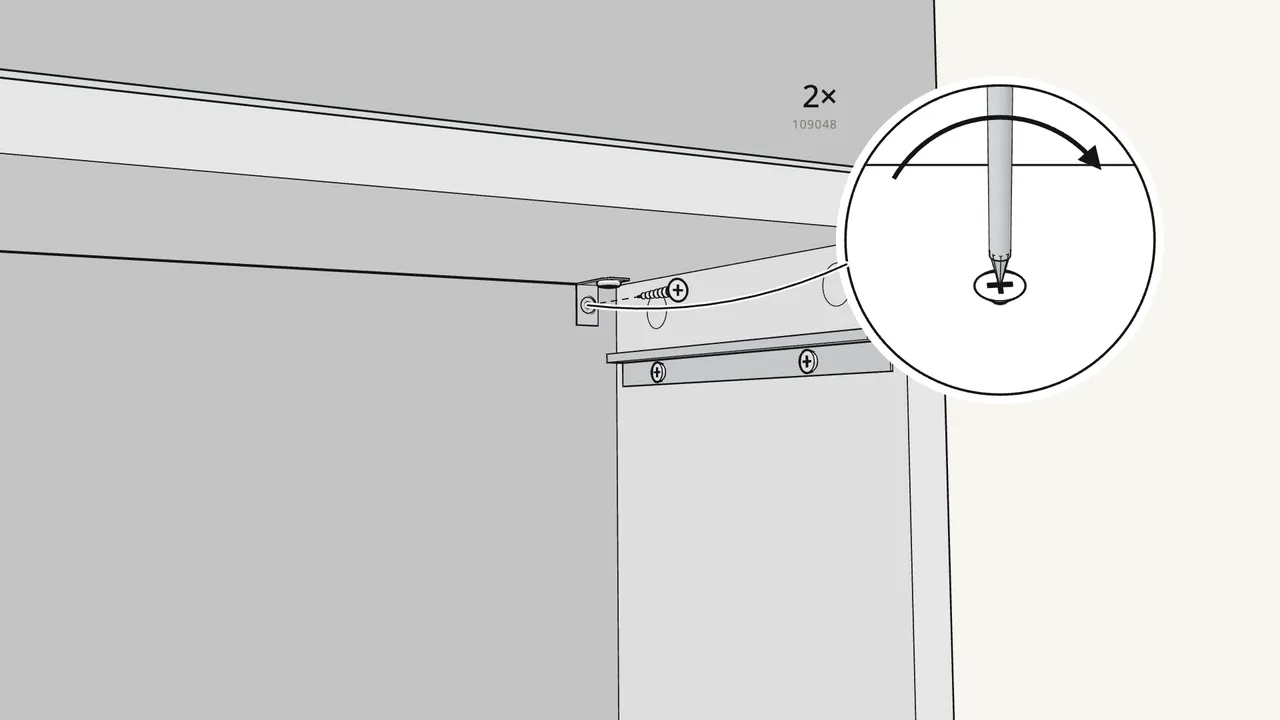
Step 15 · manual step 13
Push it back and screw the brackets to the wall.
Screws 109048 with washers 100823. Then re-tighten 109049.
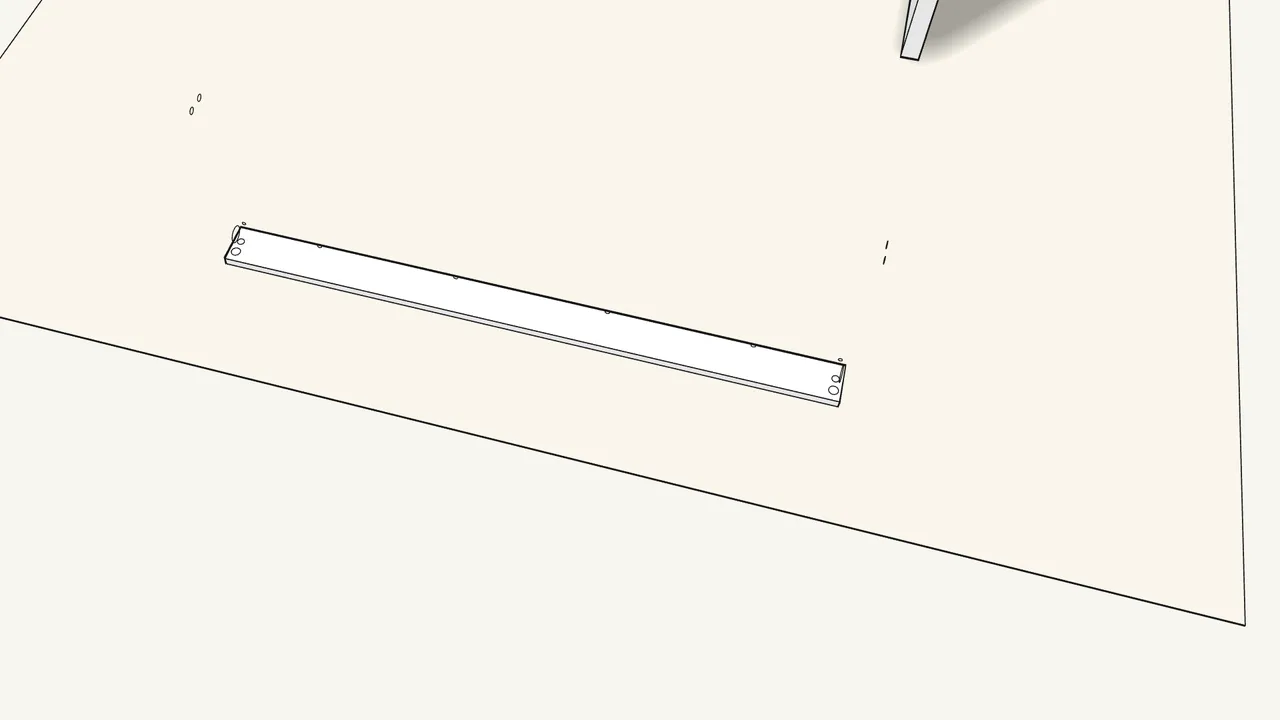
Step 16
Now the drawer.
Lay the drawer front face-down on the rug.
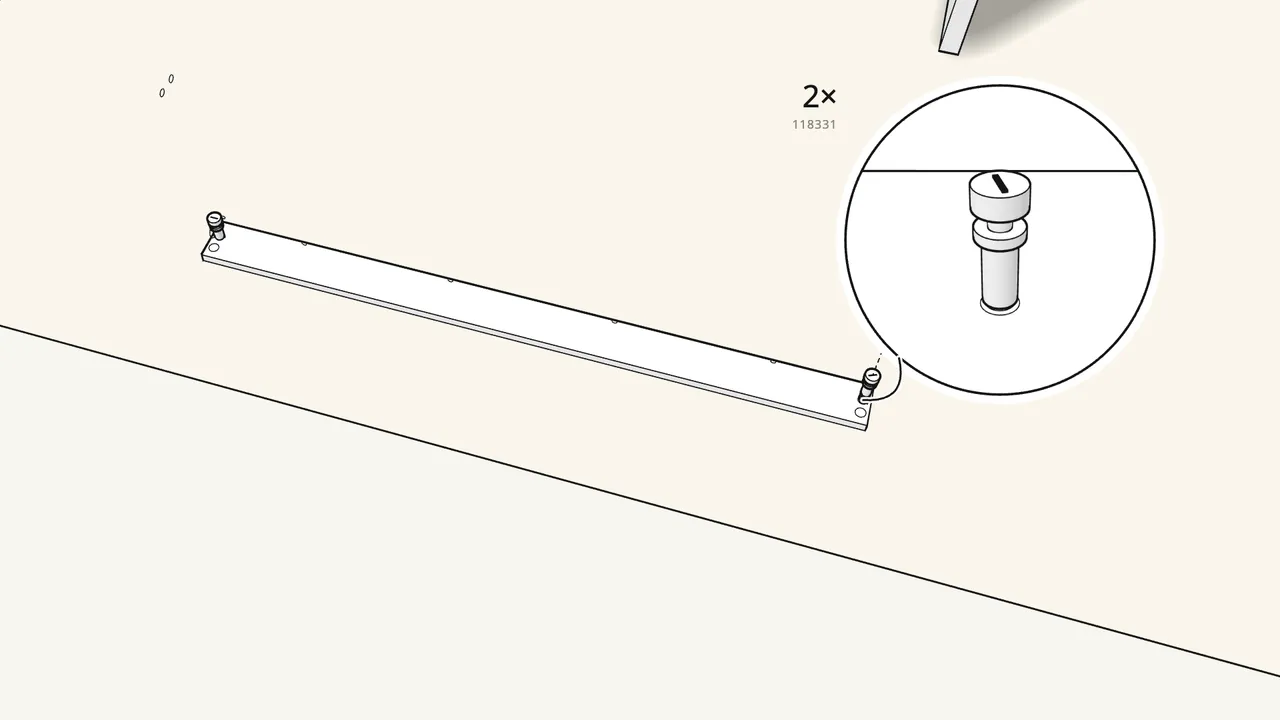
Step 17 · manual step 14
Screw 2 cam bolts (118331) into the drawer front.
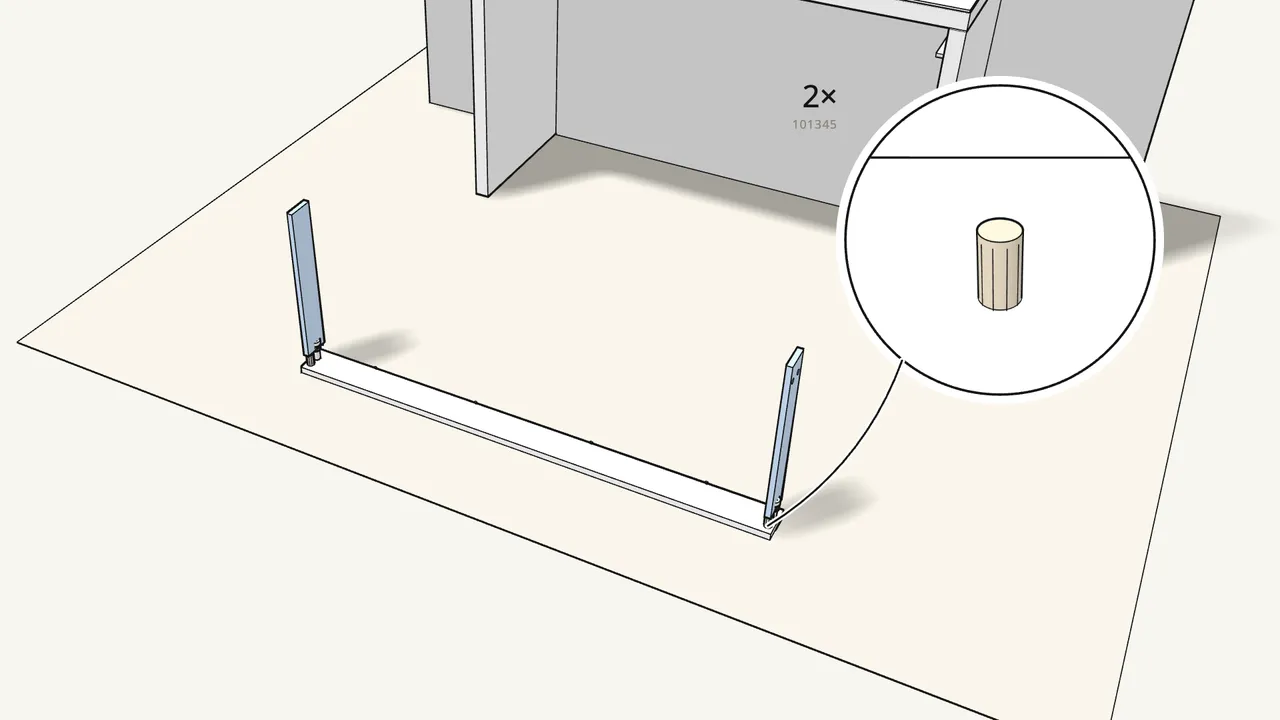
Step 18 · manual step 15
Push in 2 dowels (101345) and fit the drawer sides.

Step 19 · manual step 16
Insert 2 cam locks (110630) and turn them to lock.
Use the flat-head screwdriver.
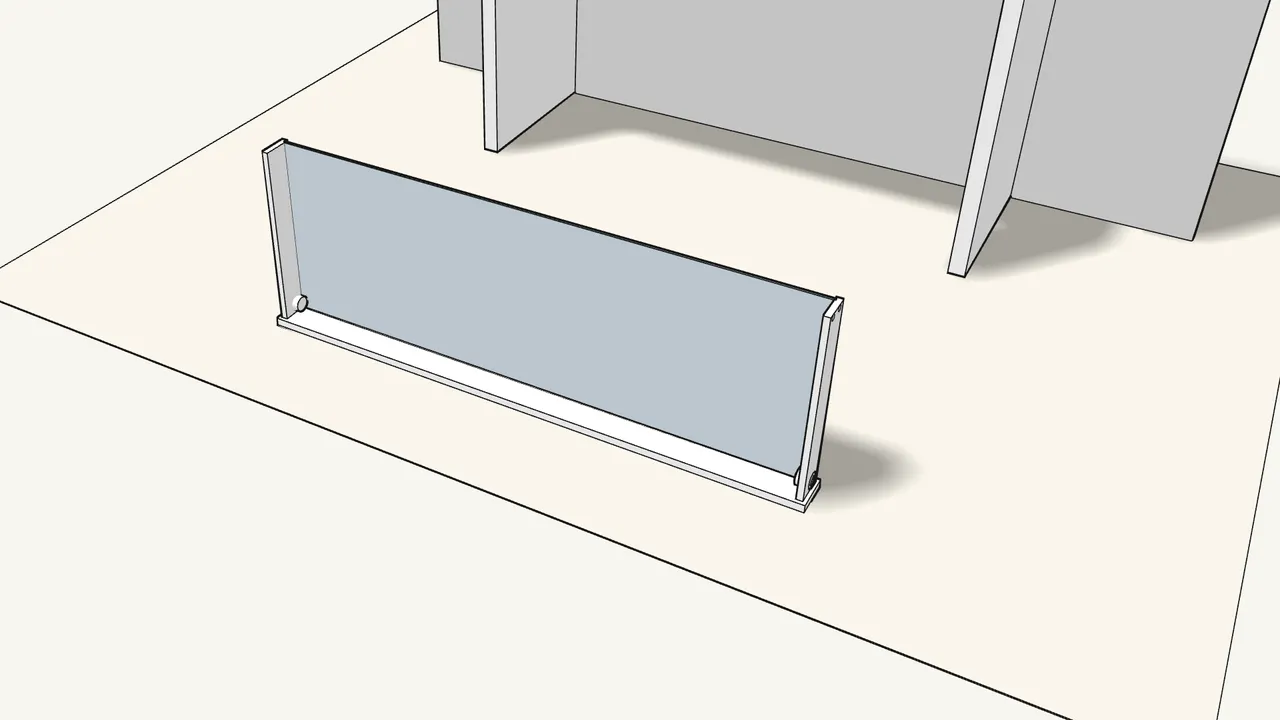
Step 20 · manual step 17
Slide the drawer bottom into the grooves.
Push it all the way to the front.
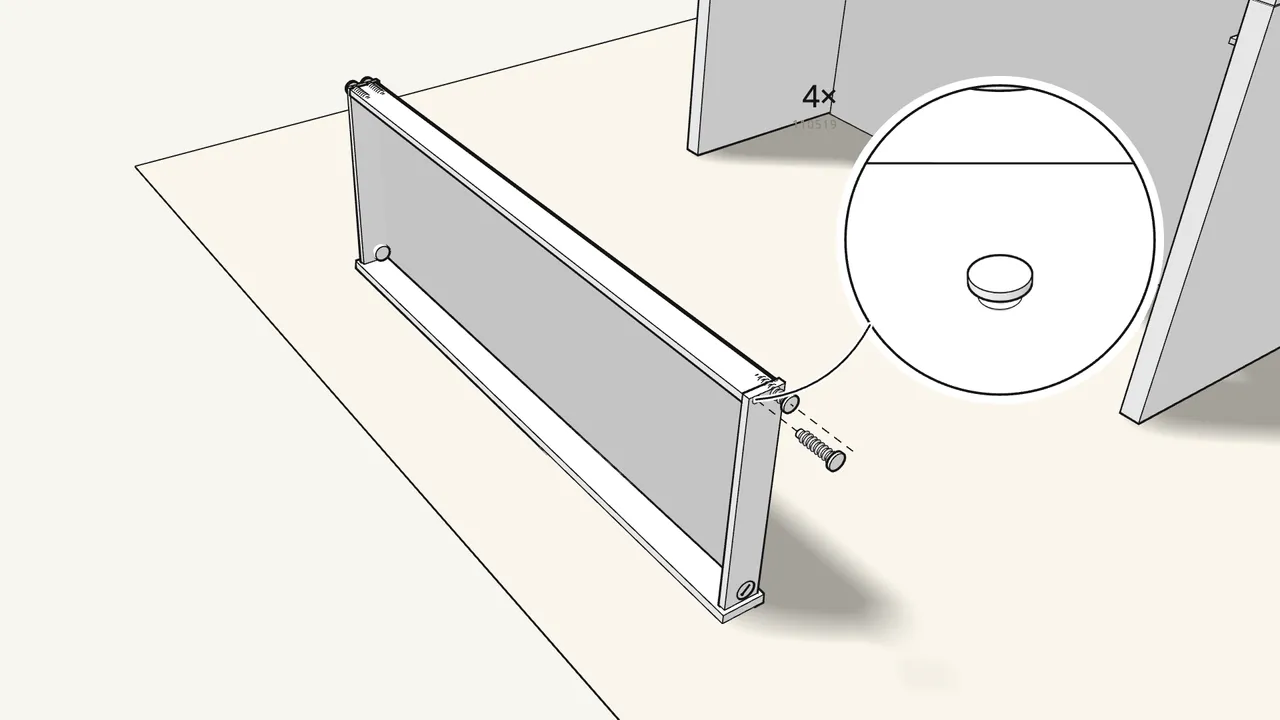
Step 21 · manual step 18
Fit the back and tap in 4 screw dowels (110519).
2 on each side, with the hammer.
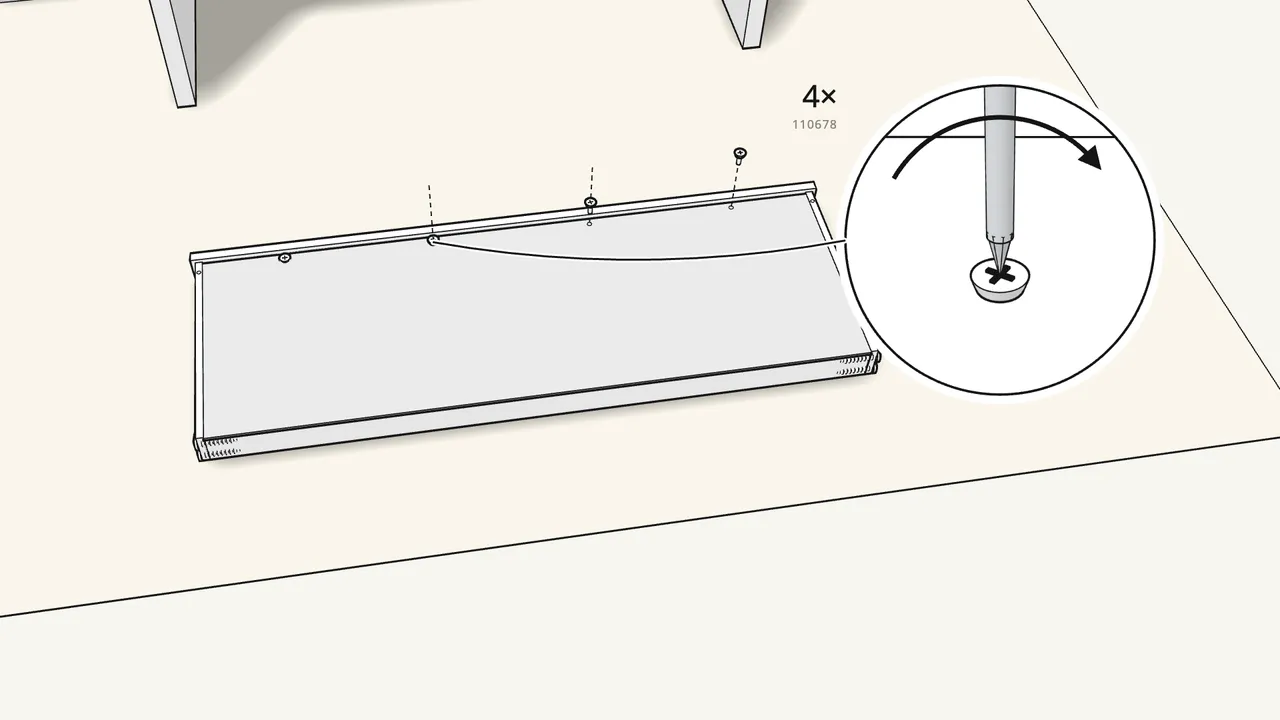
Step 22 · manual step 19
Turn the drawer over and screw in 4 fittings (110678).
Along the joint between bottom and front.
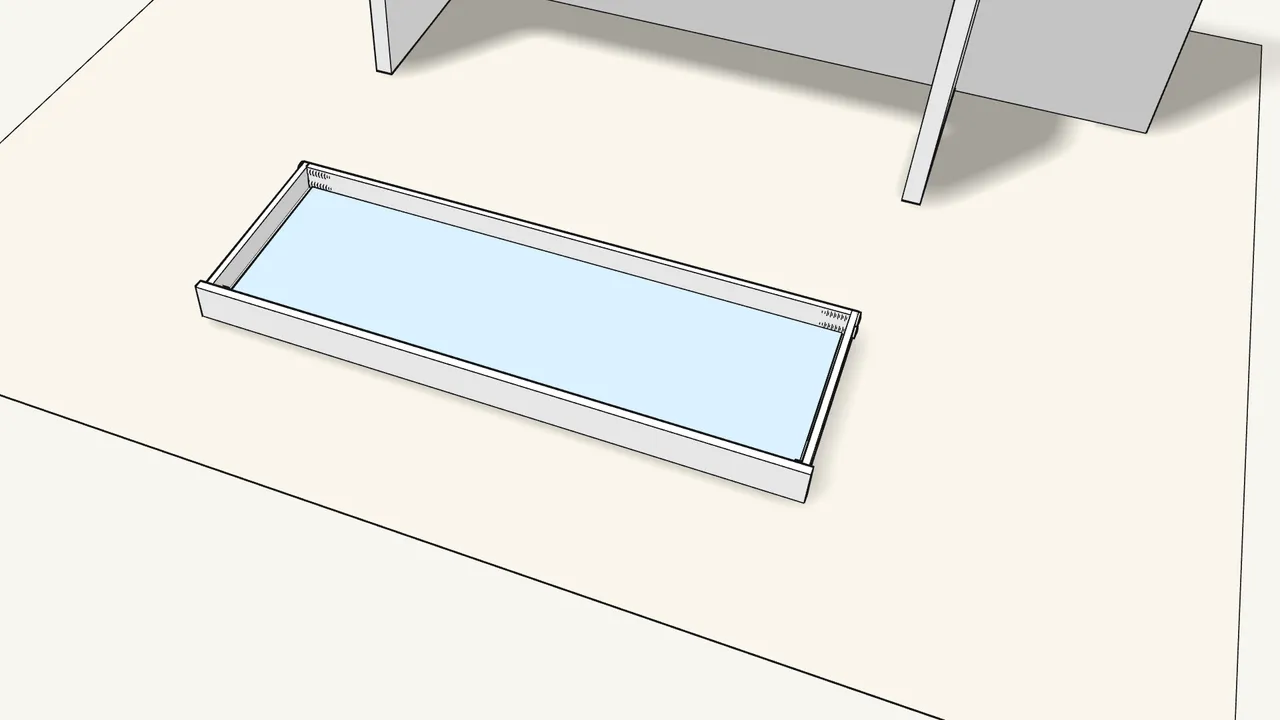
Step 23 · manual step 19
Turn it upright and lay the mat inside.
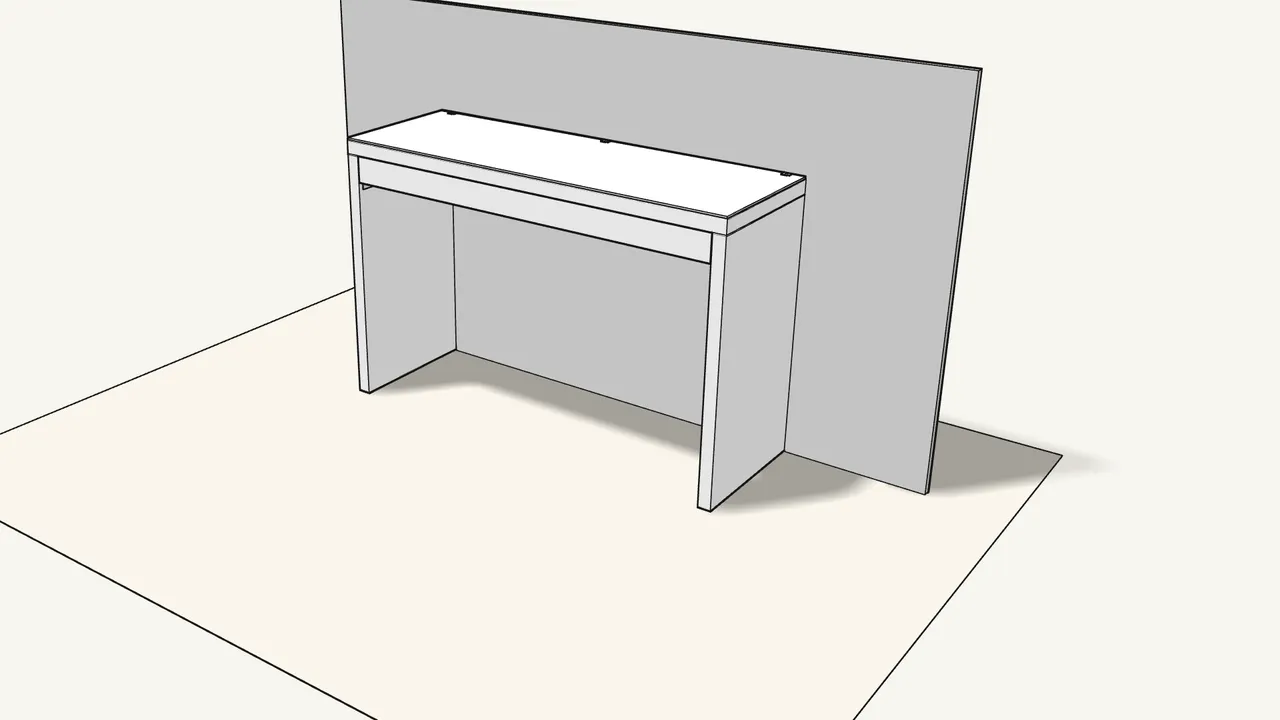
Step 24 · manual step 20
Place the drawer on the runners and push it in.
Hook it on at the back, then press the front down until it clicks.
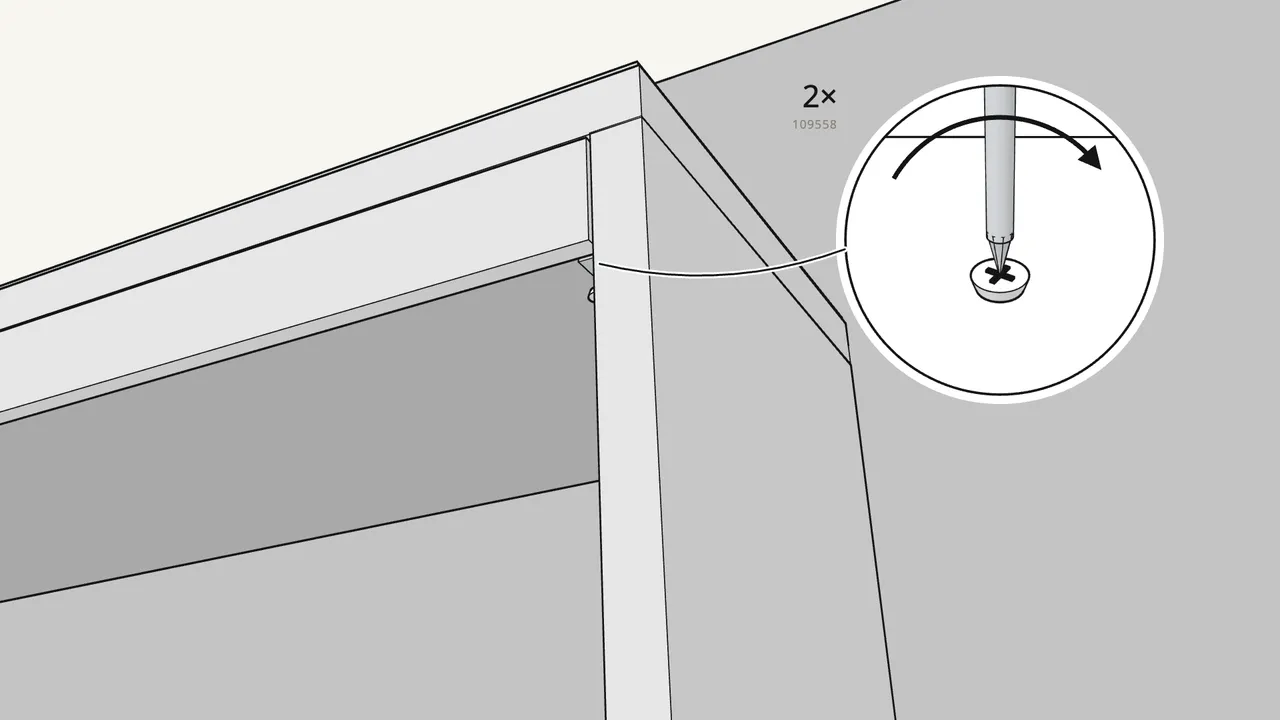
Step 25 · manual step 21
Fix the drawer to the runners with 2 screws (109558).
Screw up from underneath, at the front.
Tips & safety
- Always fix the table to the wall. Use the tip-over restraint in the pack (manual steps 10–13).
- Drawer front not level? Turn the adjuster at the front of each runner to raise or lower it.
Official instructions
This guide follows IKEA's official assembly instructions (AA-2635064-1). Keep the printed manual to hand — if anything differs, the manual is right.