IKEA · Tables & Desks
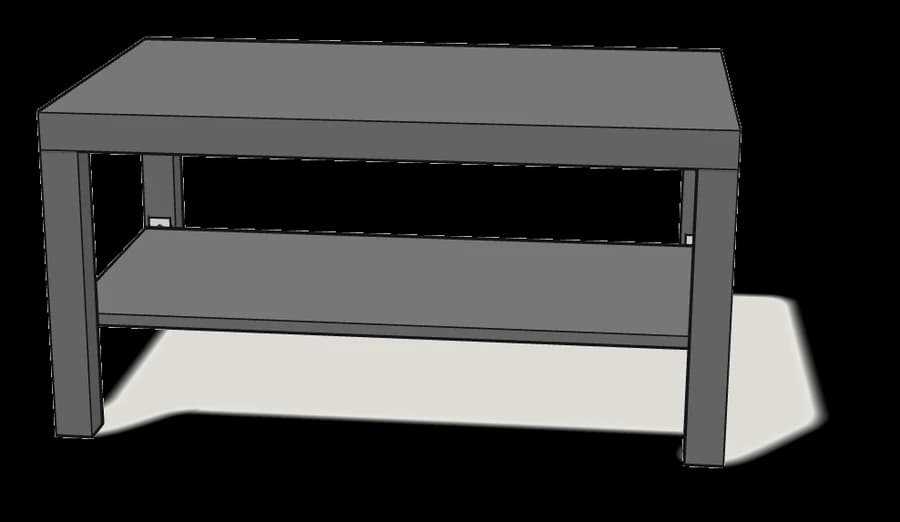
How to Assemble IKEA LISABO Table
Step-by-step IKEA LISABO table assembly: 7 illustrated steps, an animated video, the hardware list and the tools you need — following the official instructions (AA-1970558-4).
- 7 illustrated steps
- 3 steps in the manual
- 1:24 video
- 140×78×74 cm
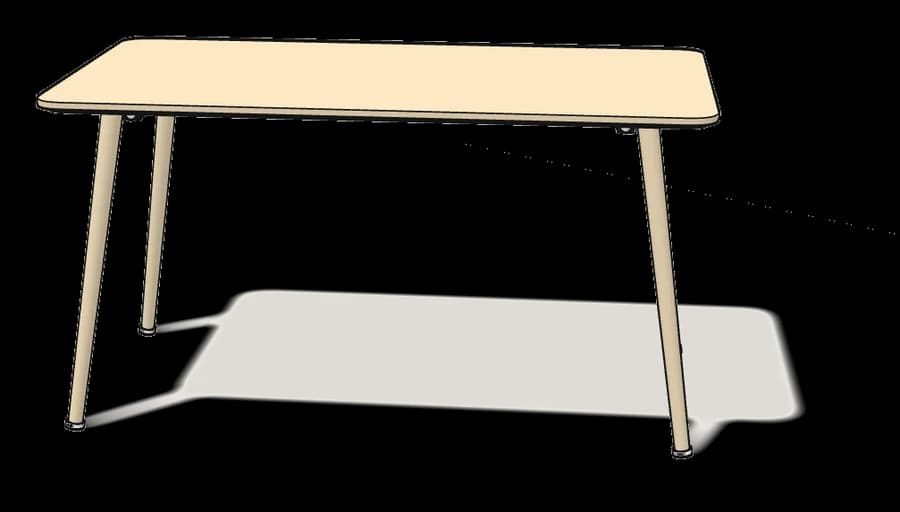
What you need
Tools
- Hammer
Hardware in the box
| Part no. (as printed in the manual) | Qty |
|---|---|
| 159426 | 4× |
| 153552 | 4× |
Step-by-step assembly
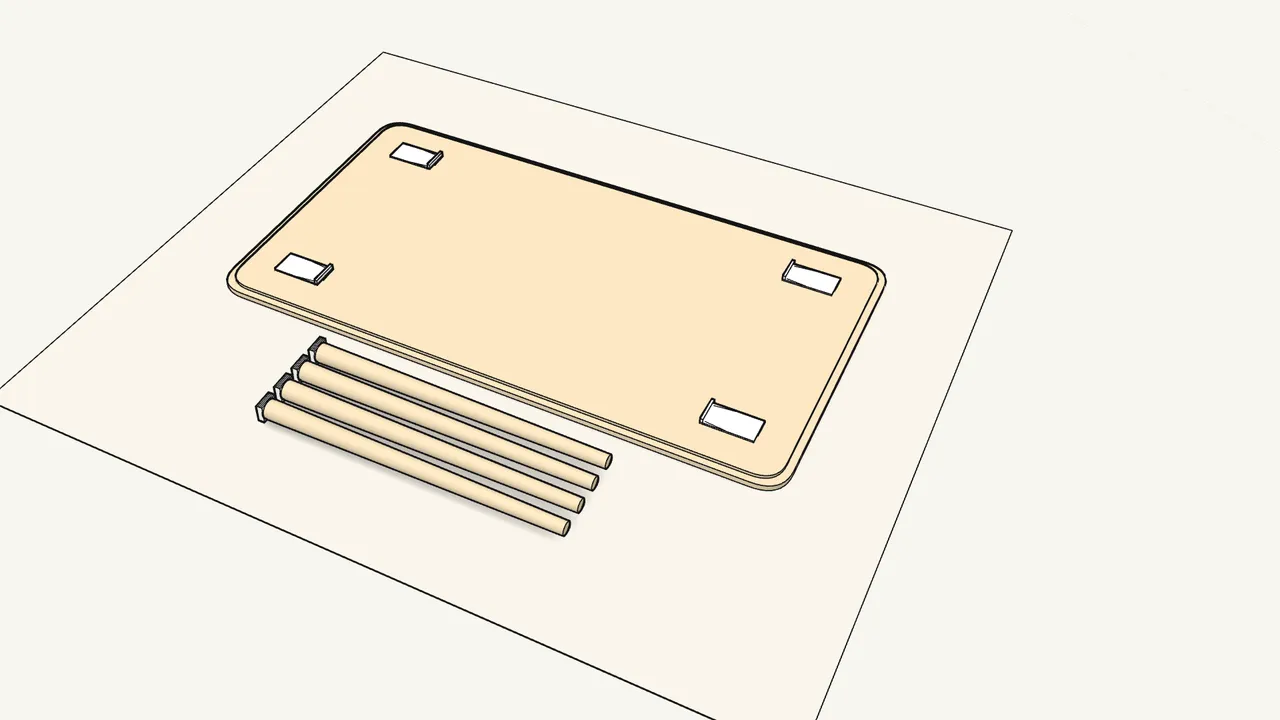
Step 1
Lay the tabletop upside down on a rug.
The fittings for the legs are already on the underside.
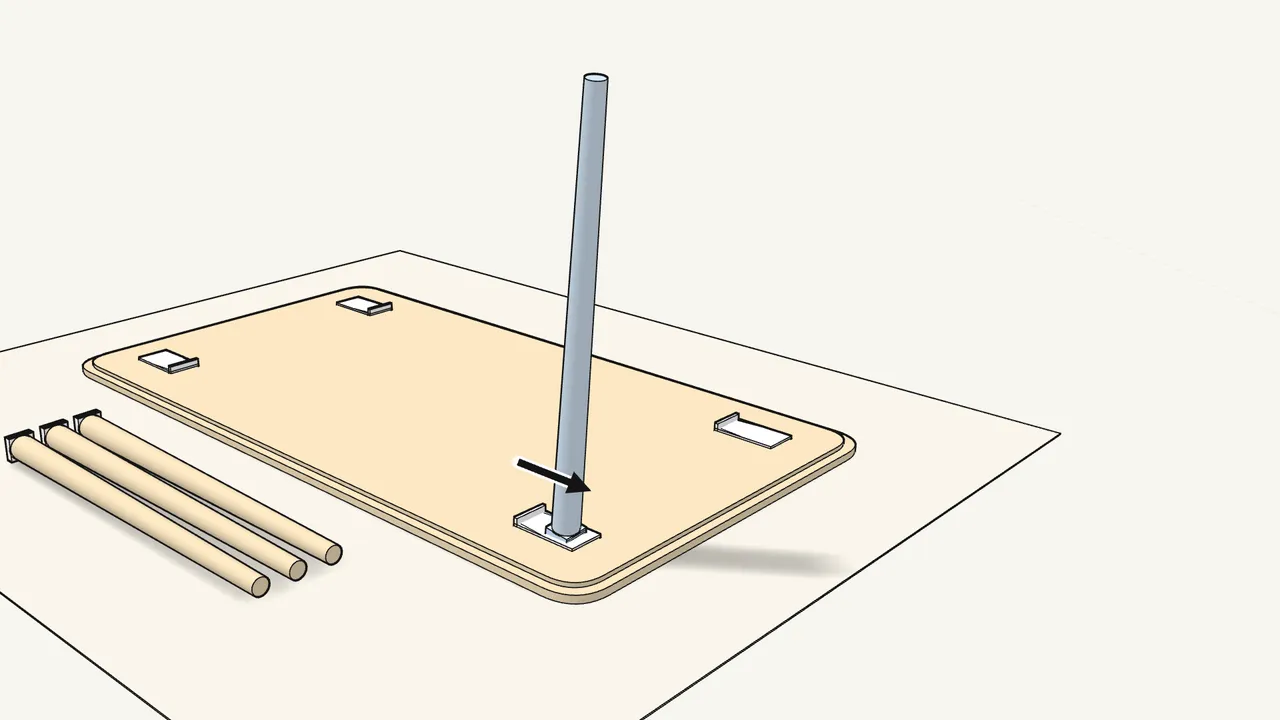
Step 2 · manual step 1
Place a leg on its fitting, then slide it along.
Push it in the direction of the arrow until it stops.
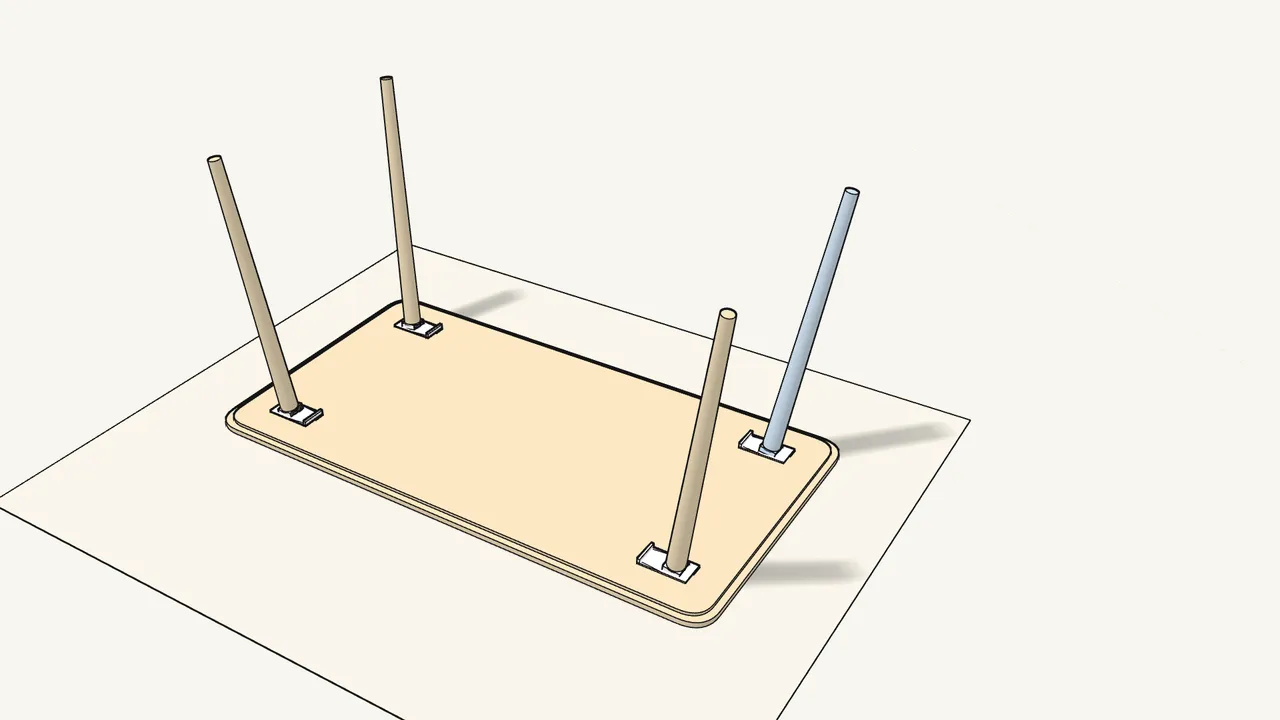
Step 3 · manual step 1
Fit the other 3 legs the same way.
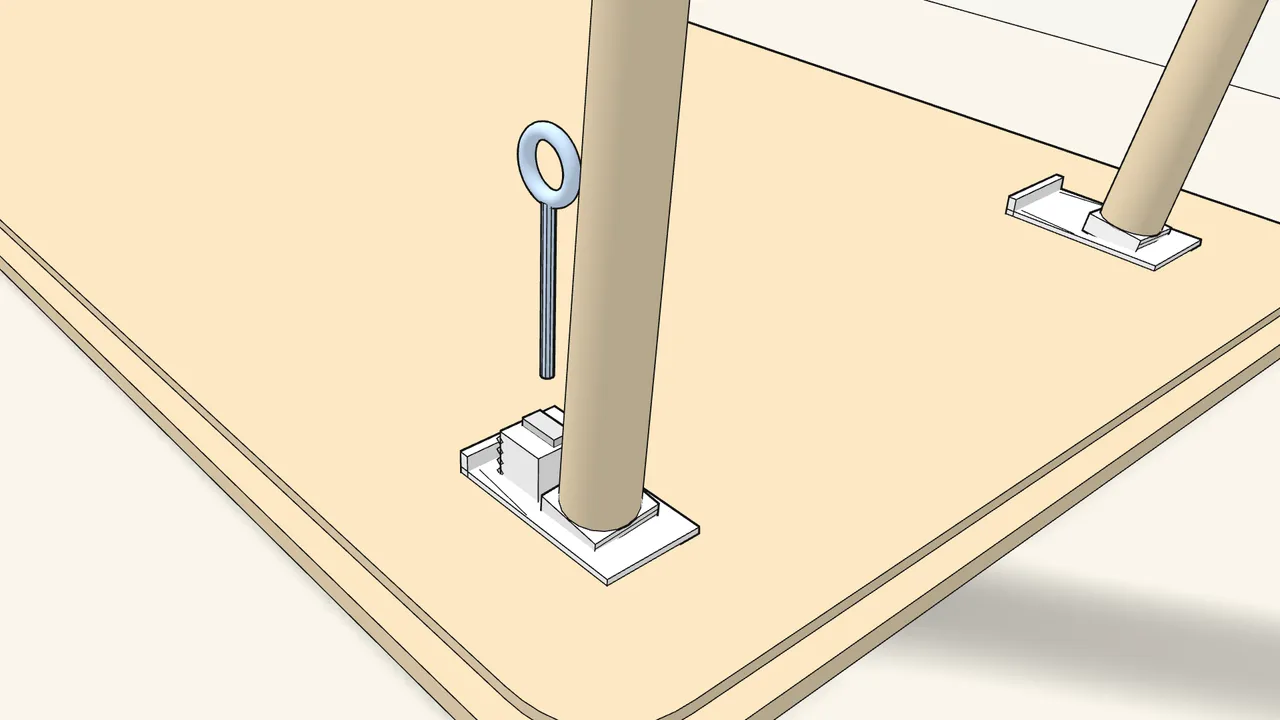
Step 4 · manual step 2
Put a lock wedge (159426) in beside the leg and press it down.
First with a finger, then with the included tool (105657). Mind the orientation — see manual, step 2.
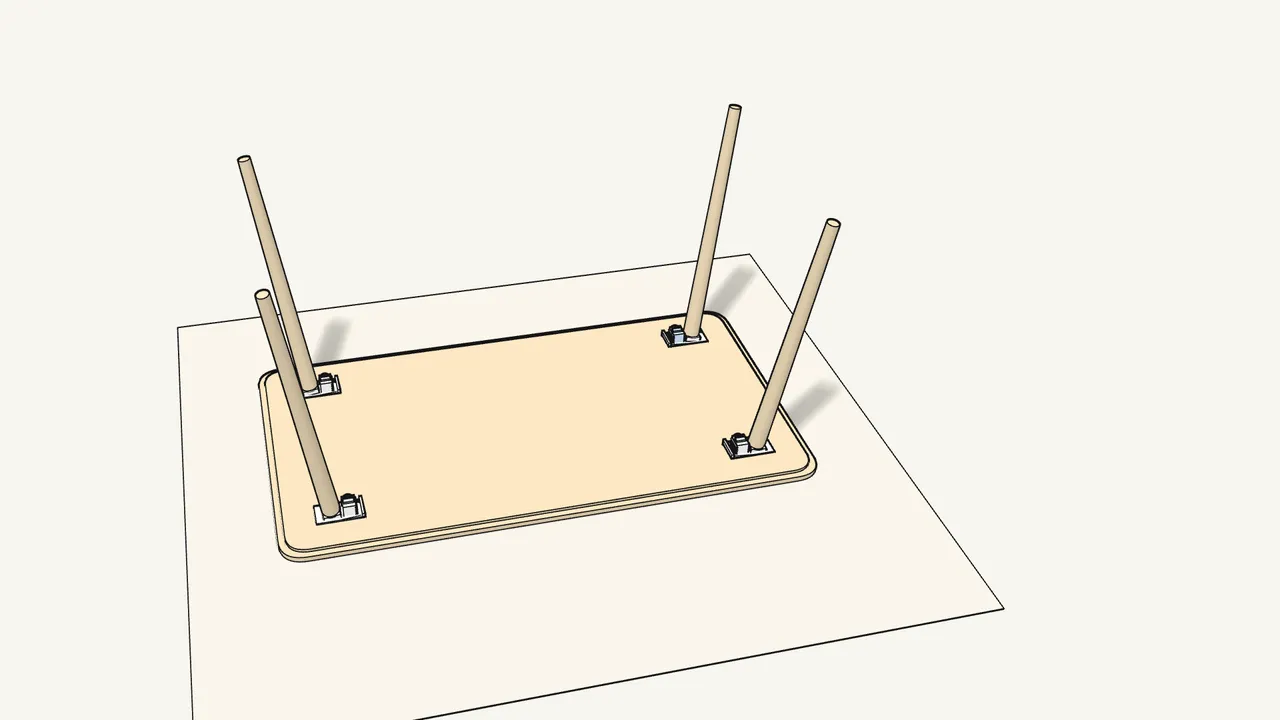
Step 5 · manual step 2
Lock the other 3 legs the same way.
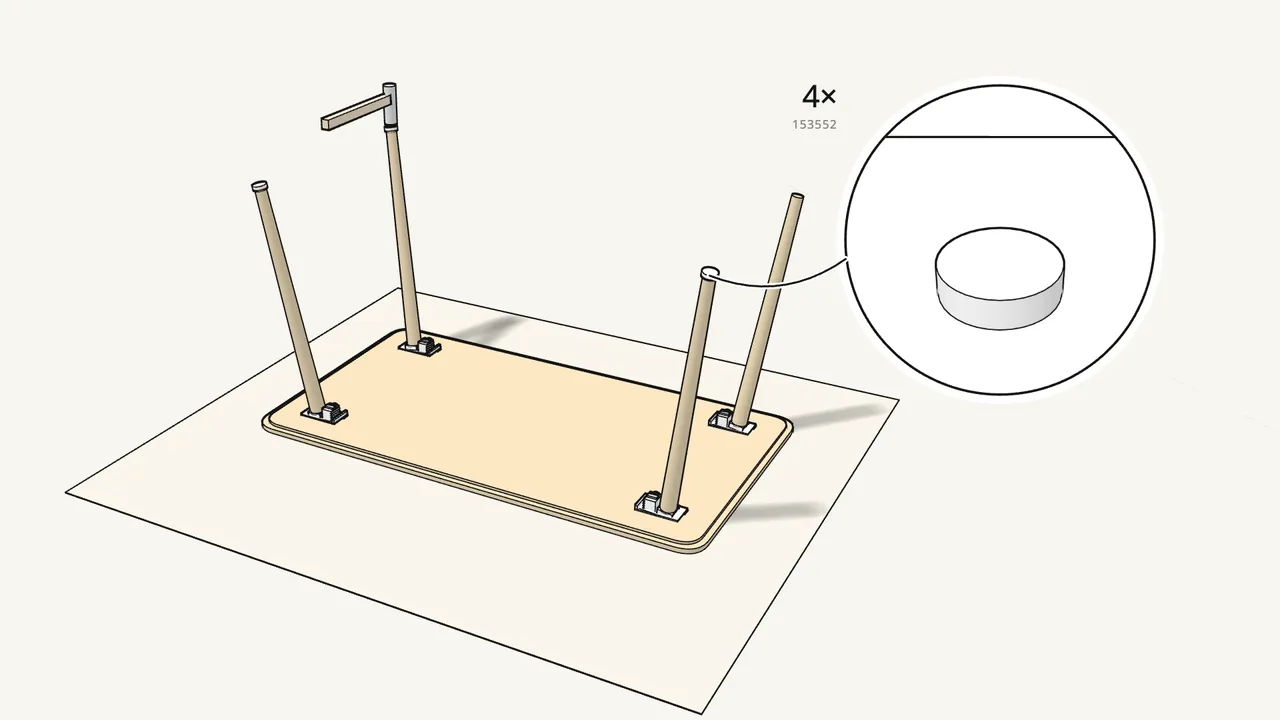
Step 6 · manual step 3
Tap a glide (153552) into the end of each leg.
Use a hammer.
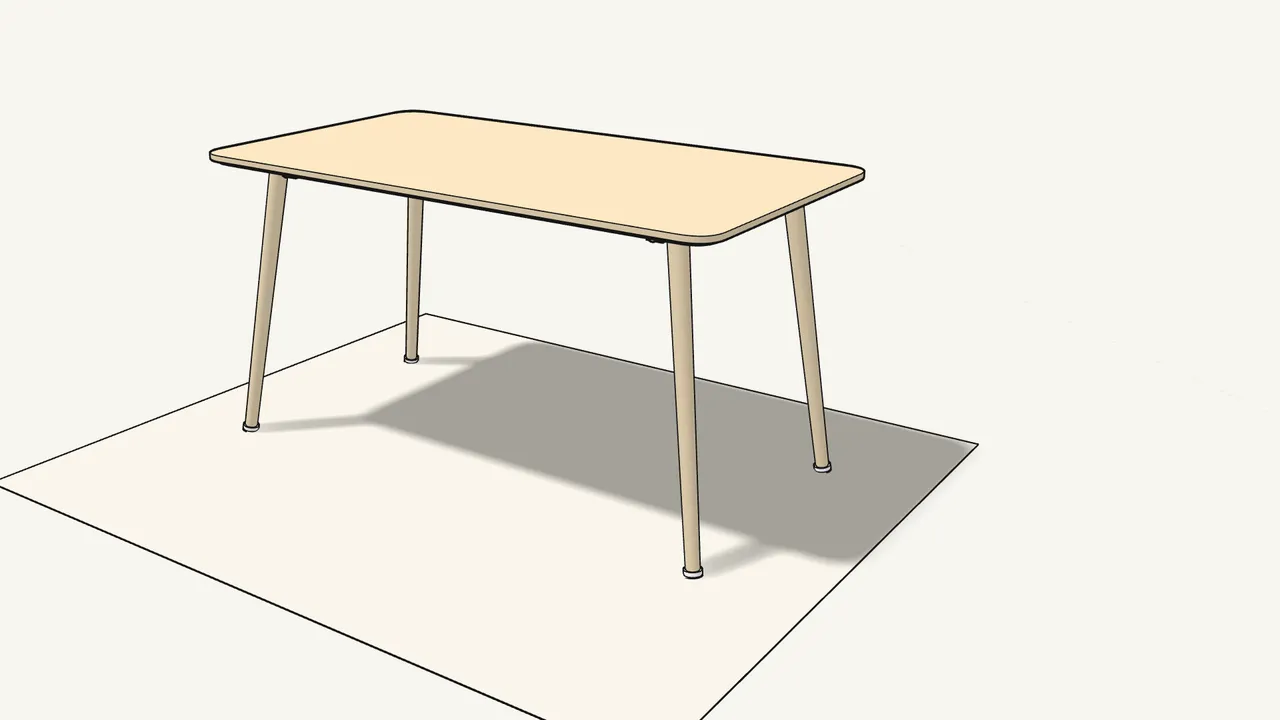
Step 7
Turn the table upright.
Tips & safety
- Assemble on a soft surface. The manual warns: on a hard floor the tabletop can get damaged — use a rug or the flattened box.
Official instructions
This guide follows IKEA's official assembly instructions (AA-1970558-4). Keep the printed manual to hand — if anything differs, the manual is right.