IKEA · Tables & Desks
How to assemble IKEA KNARREVIK Nightstand
Step-by-step IKEA KNARREVIK Nightstand assembly: 12 illustrated steps, an animated video, the hardware list and the tools you need — following the official instructions (AA-2547698-1).
- 12 illustrated steps
- 6 steps in the manual
- 1:51 video
- 42×34×52 cm cm
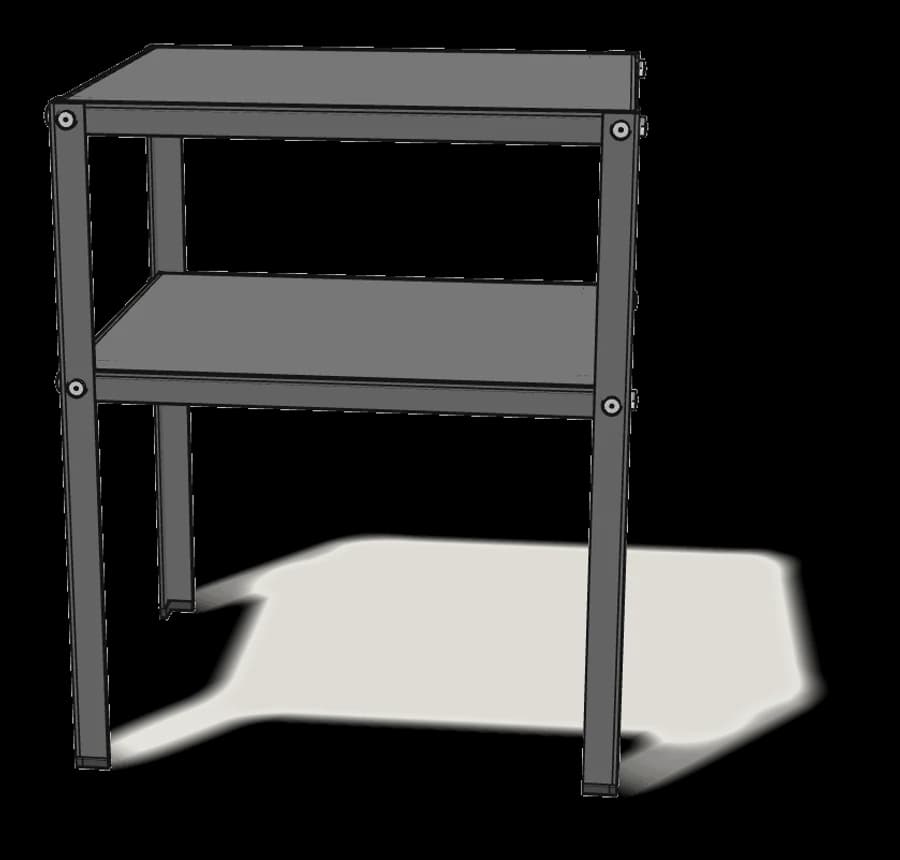
What you need
Tools
- Allen key (included)
You’ll need: the Allen key (100006) — it’s included.
Hardware in the box
| Part no. (as printed in the manual) | Qty |
|---|---|
| 10118490 | 16× |
Step-by-step assembly
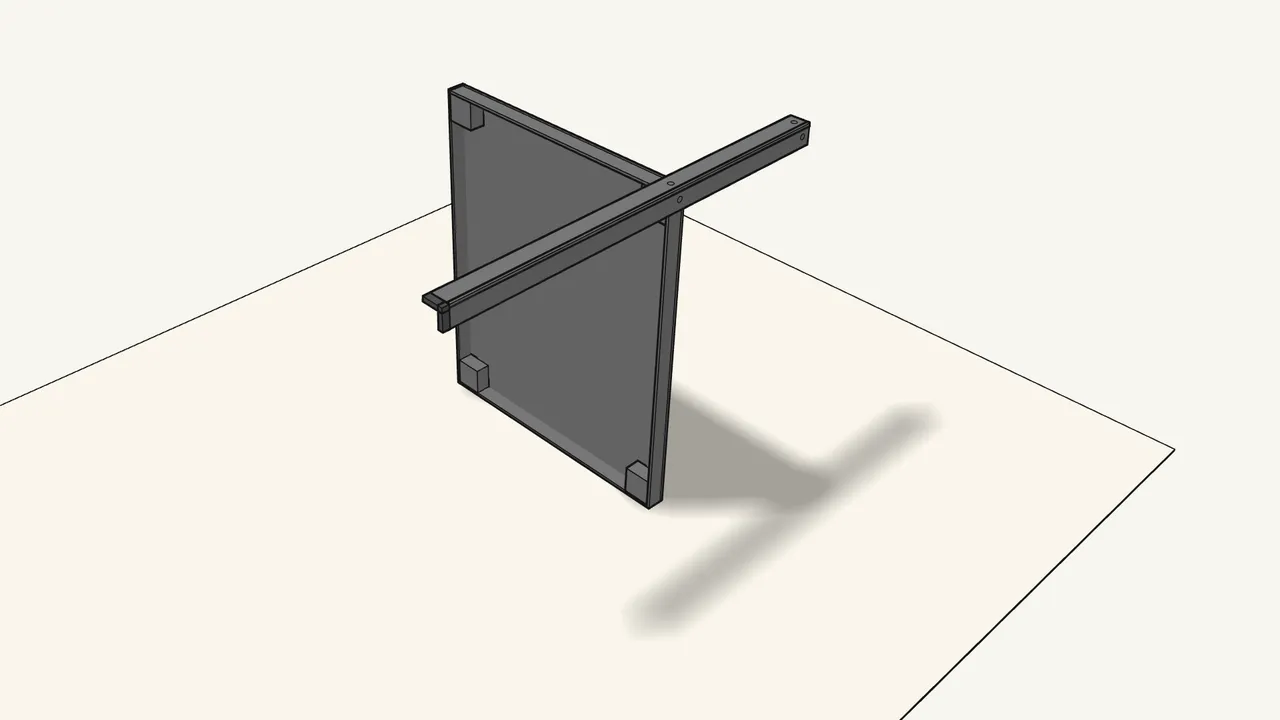
Step 1
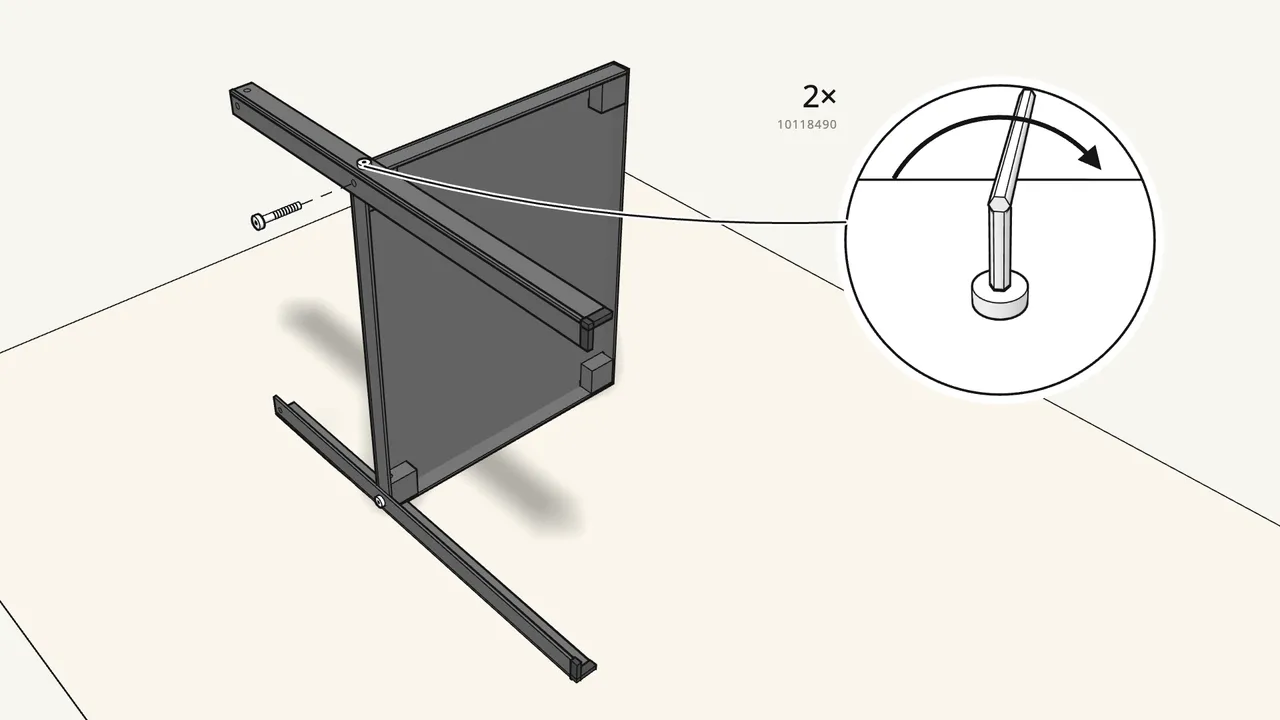
Stand the shelf on its side and lay a leg across its corner.
The middle holes of the leg line up with the shelf; the foot end points away from it.
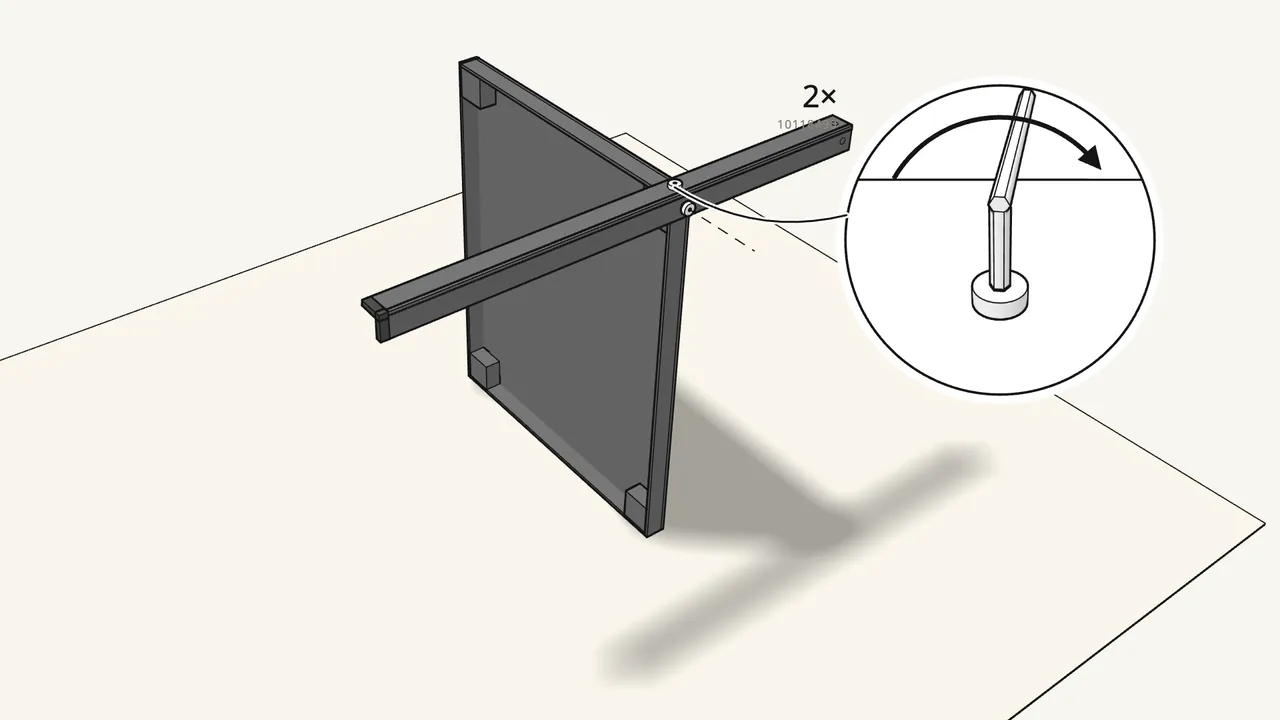
Step 2 · manual step 1
Fit 2 screws (10118490) with the Allen key.
One from the top, one from the side. Don’t tighten them fully yet.
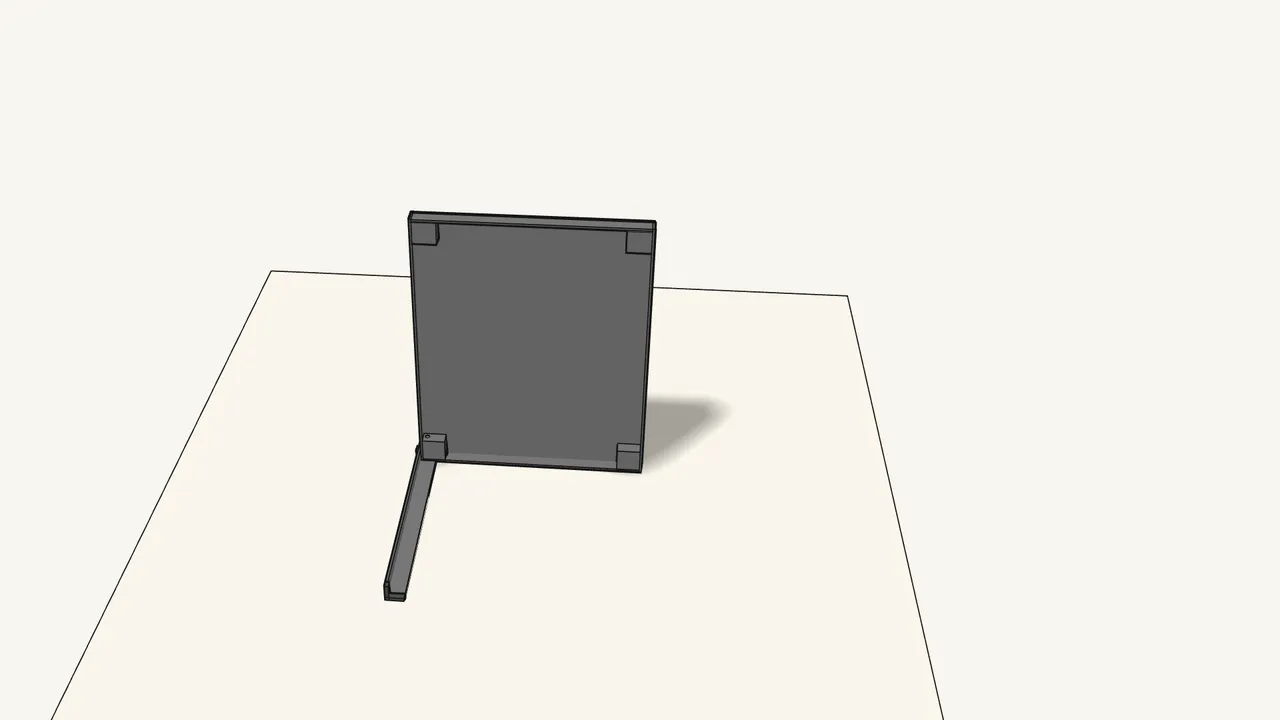
Step 3 · manual step 1
Turn the shelf over.
Step 4 · manual step 2
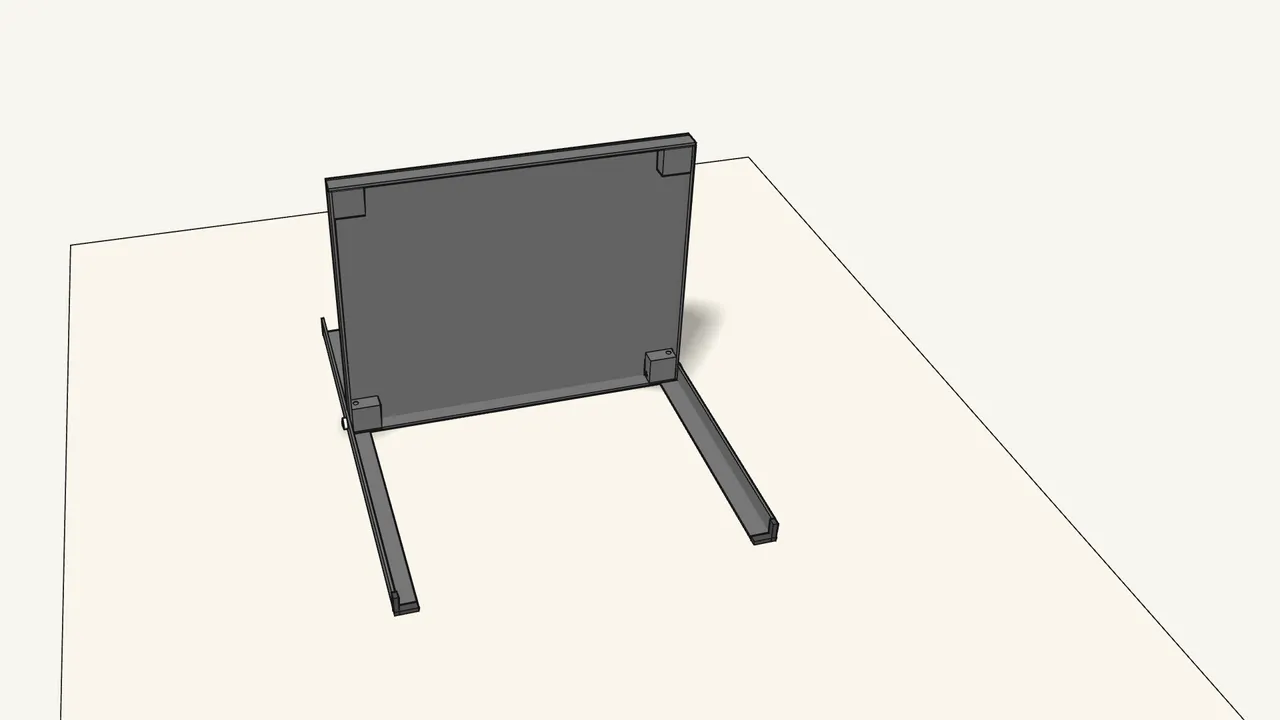
Lay the second leg on the same edge and fit 2 screws.
Again one from the top and one from the side — not fully tight yet.
Step 5 · manual step 2
Tip it over so both legs lie on the floor.
Step 6 · manual step 3
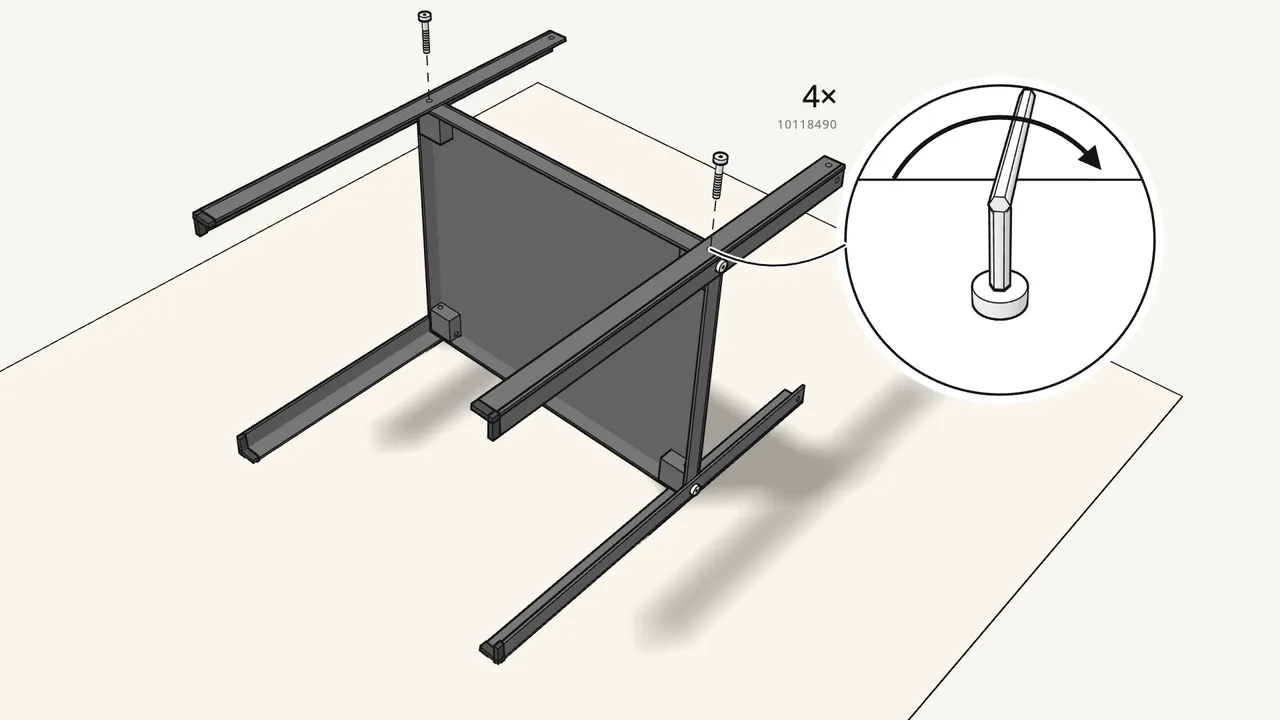
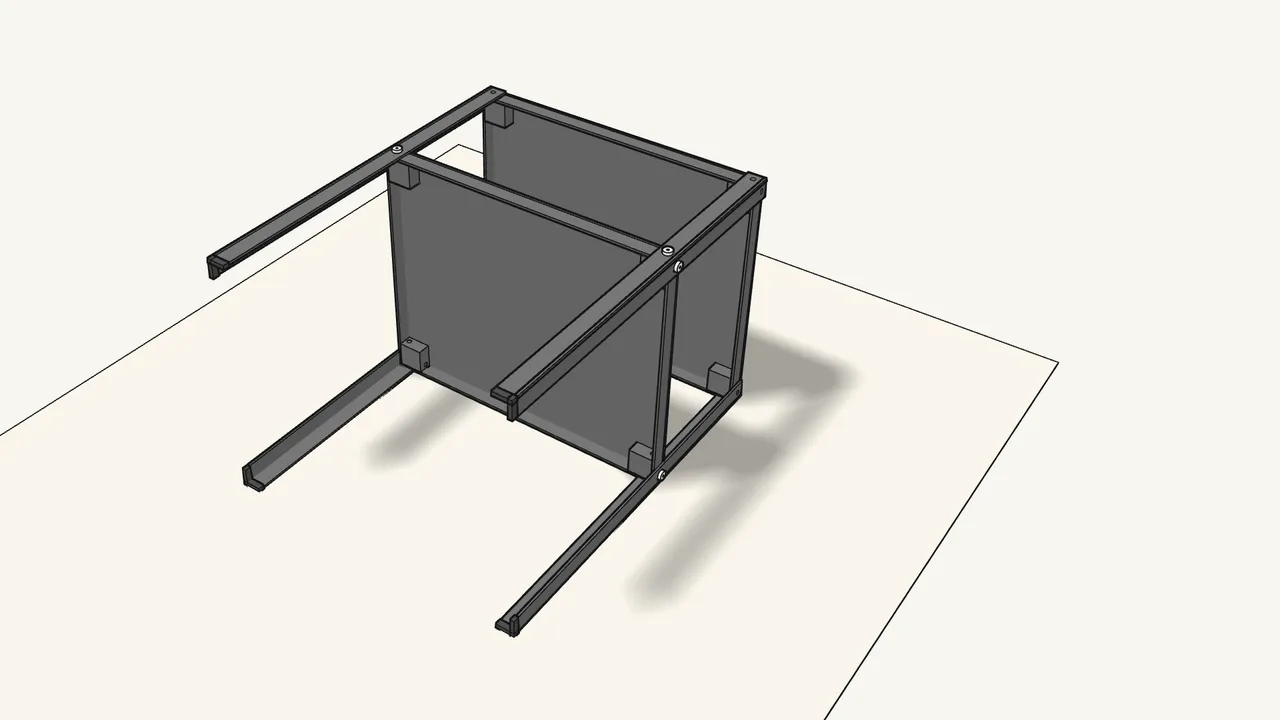
Lay the other 2 legs on top and fit 4 screws.
2 screws per leg, one from the top and one from the side. Don’t tighten yet.
Step 7 · manual step 3
Slide the top in between the ends of the legs.
Its rim faces the shelf; line up the holes at the leg ends.
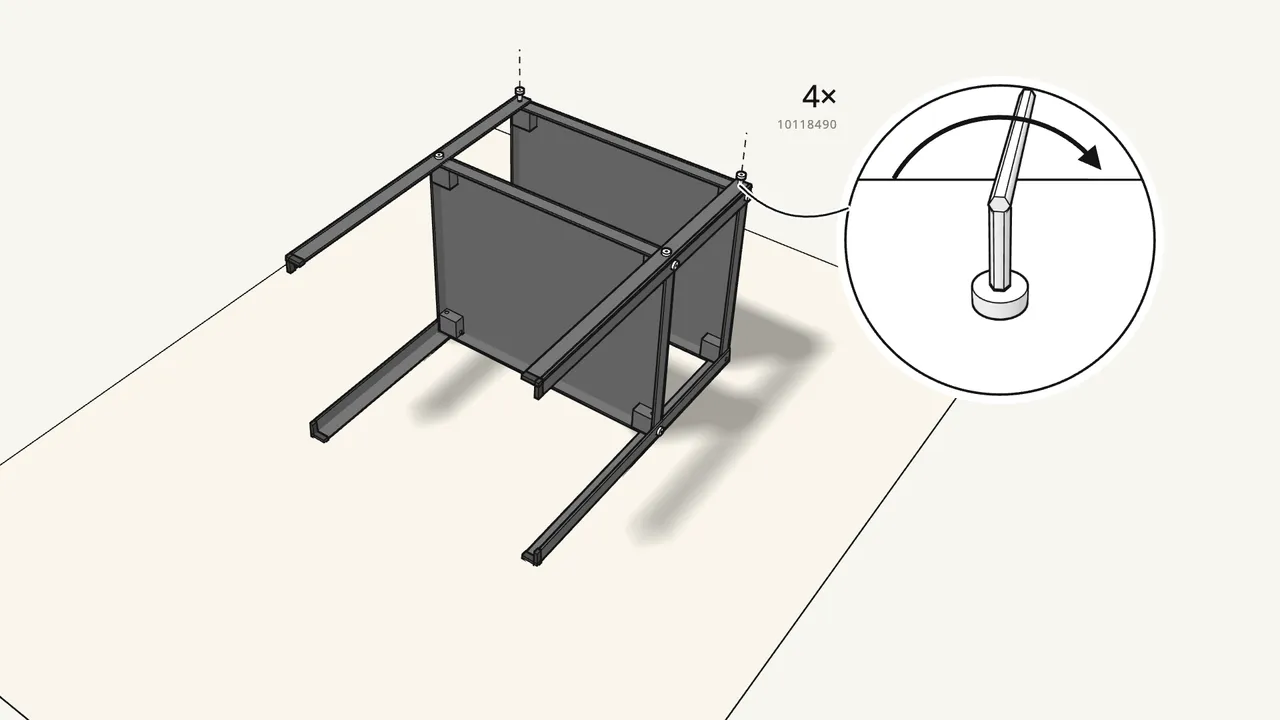
Step 8 · manual step 4
Screw the top to the 2 upper legs — 4 screws.
Leave them slightly loose for now.
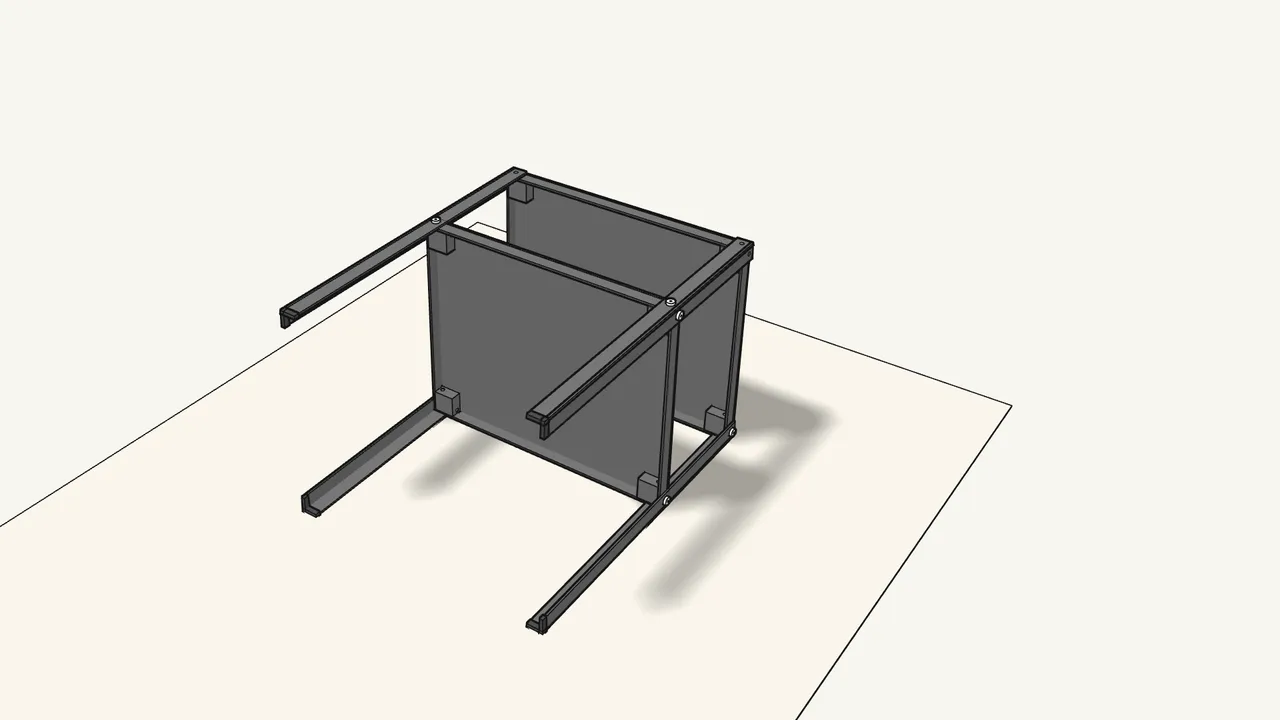
Step 9 · manual step 4
Turn the nightstand over.
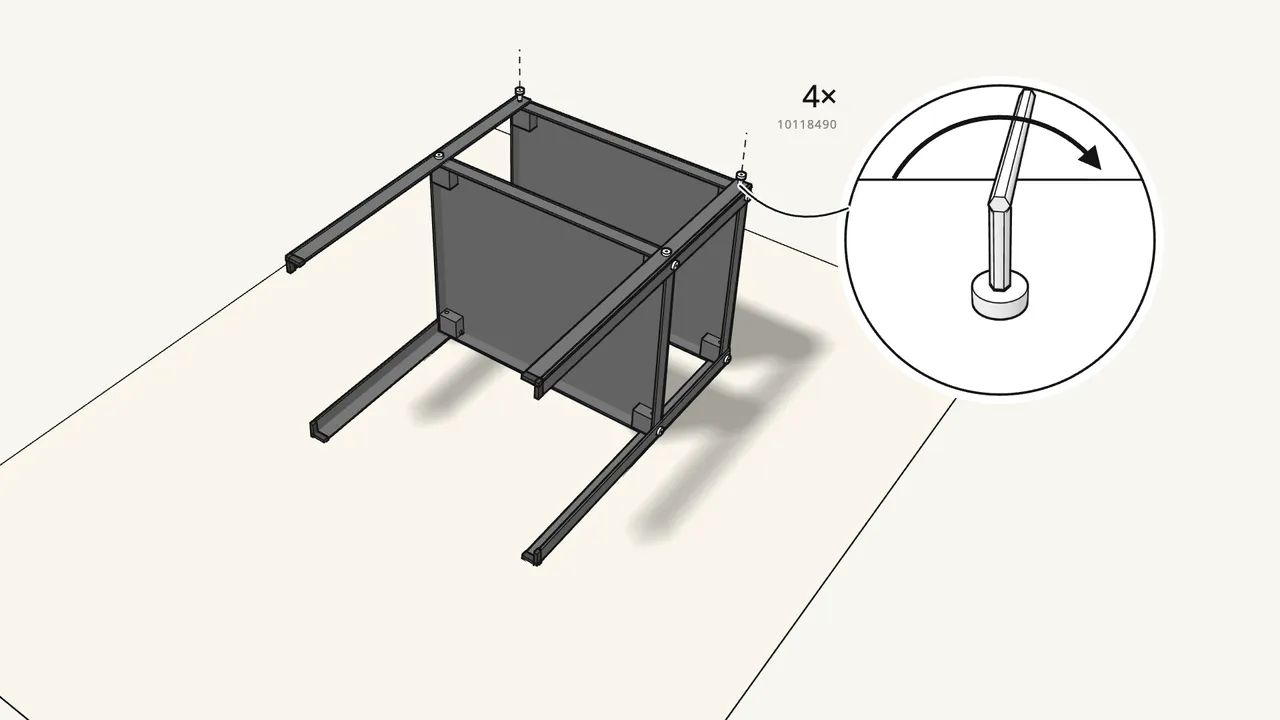
Step 10 · manual step 5
Fit the last 4 screws into the top.
2 per leg, still not fully tight.
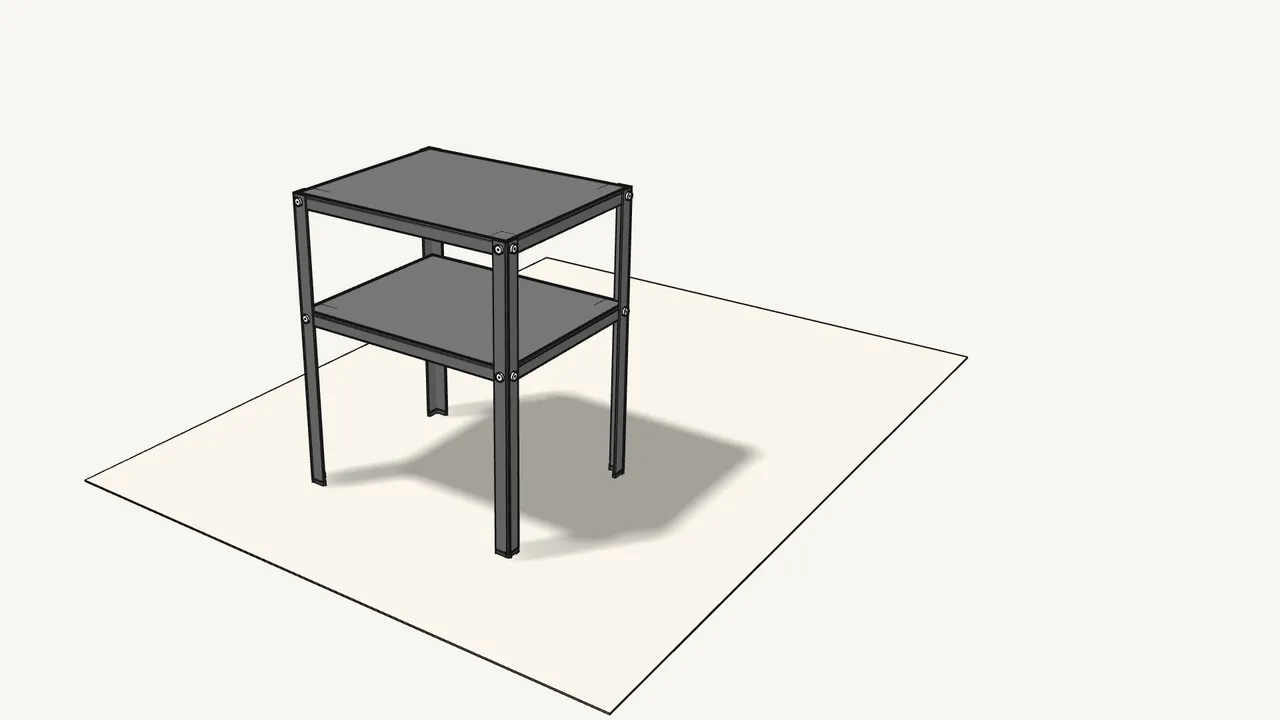
Step 11 · manual step 5
Stand the nightstand upright.
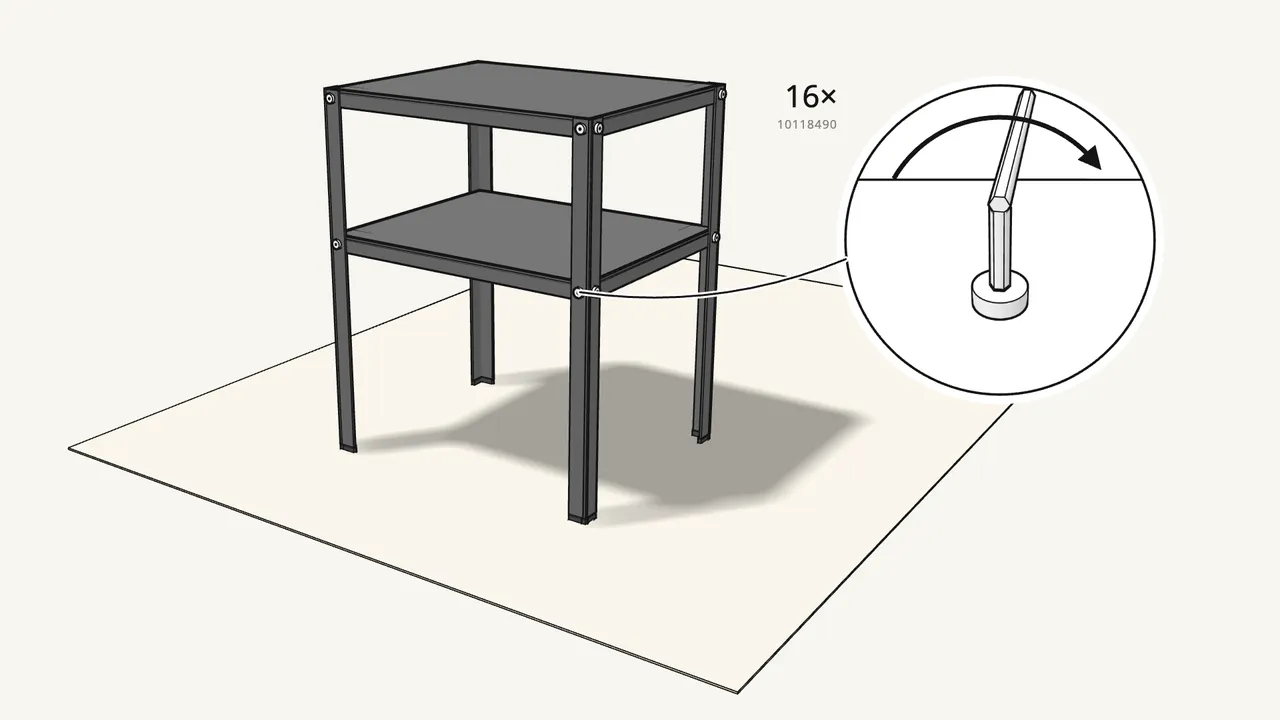
Step 12 · manual step 6
Check the legs are square, then tighten all 16 screws.
Use the Allen key. The legs must stand straight, not slanted.
Tips & safety
- Delicate table — do not sit on it. The manual warns: KNARREVIK is not made to be sat or stood on.
- Maximum load 10 kg (22 lb). Do not place heavy objects on it.
Official instructions
This guide follows IKEA’s official assembly instructions (AA-2547698-1). Keep the printed manual to hand — if anything differs, the manual is right.



