IKEA · Tables & Desks
How to assemble IKEA FREDDE Gaming Desk
Step-by-step IKEA FREDDE Gaming Desk assembly: 25 illustrated steps, an animated video, the hardware list and the tools you need — following the official instructions (AA-2508156-1).
- 25 illustrated steps
- 42 steps in the manual
- 3:29 video
- 140 (185 with side shelves)×74×146 cm cm
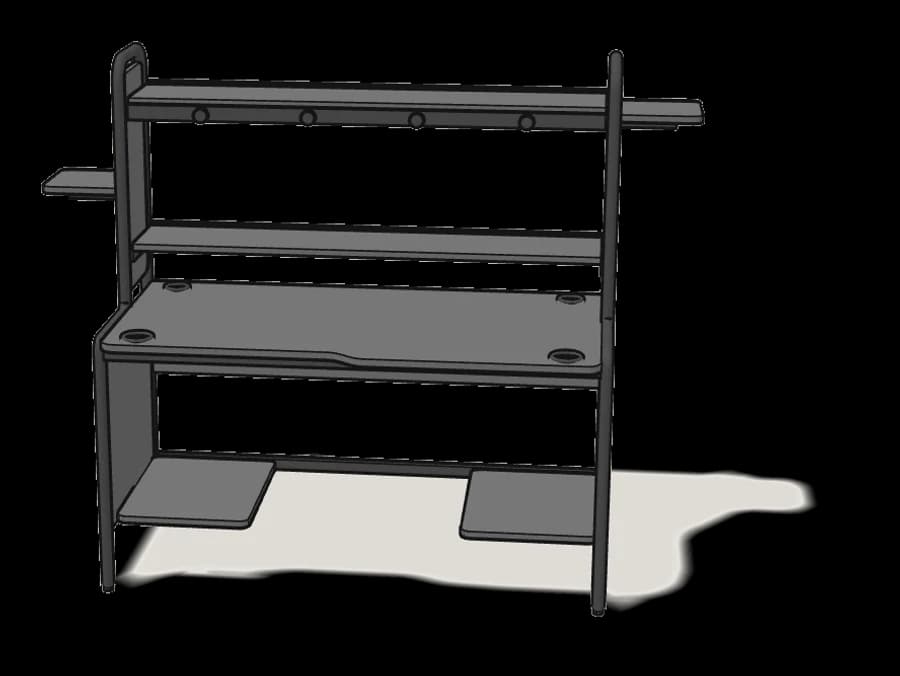
What you need
Tools
- Flat-head screwdriver
- Phillips screwdriver
- Hammer
- Allen key (included)
You’ll need: a flat-blade and a Phillips screwdriver, a hammer and the 3 Allen keys in the pack (100001, 108490).
Hardware in the box
| Part no. (as printed in the manual) | Qty |
|---|---|
| 107603 | 2× |
| 100214 | 6× |
| 118331 | 5× |
| 100498 | 12× |
| 106986 | 4× |
| 101350 | 2× |
| 100413 | 4× |
| 100181 | 4× |
| 111322 | 2× |
| 109067 | 2× |
| 109560 | 12× |
| 102534 | 17× |
| 130549 | 4× |
| 128985 | 2× |
| 128409 | 4× |
| 123602 | 2× |
| 126873 | 2× |
Step-by-step assembly
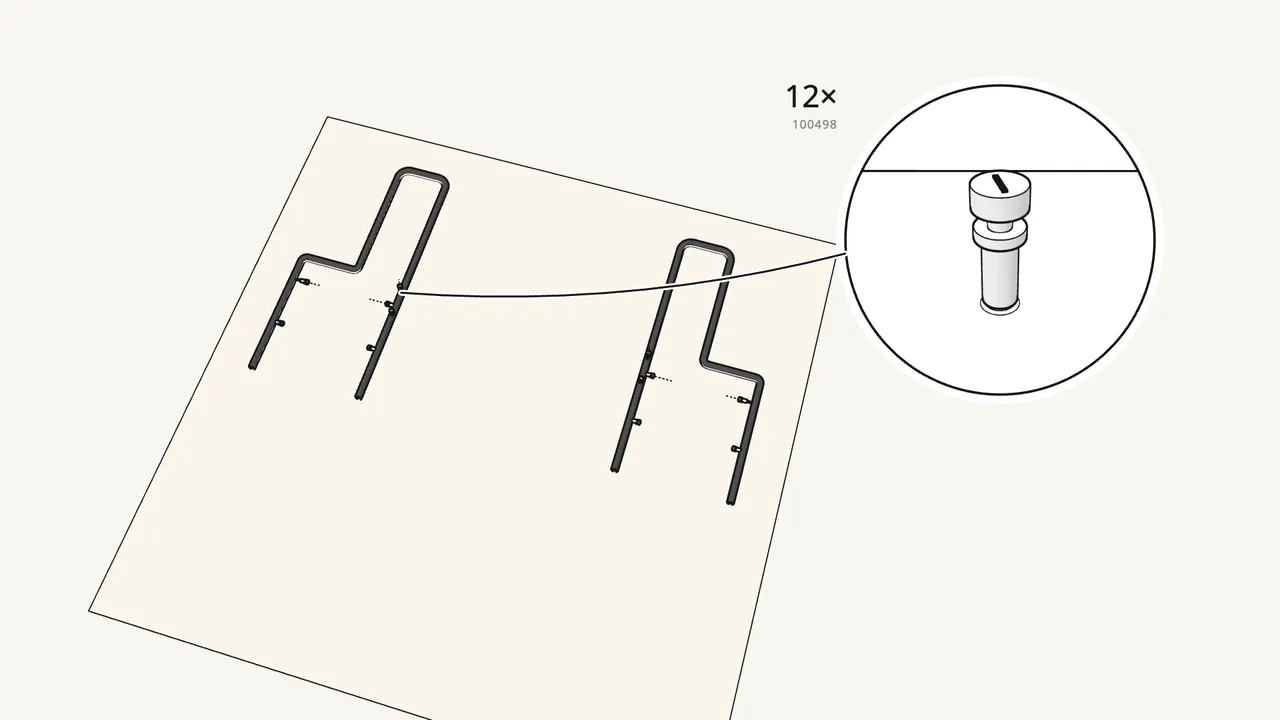
Step 1
Screw 12 cam bolts (100498) into the two side frames.
6 in each frame, with the Phillips screwdriver.
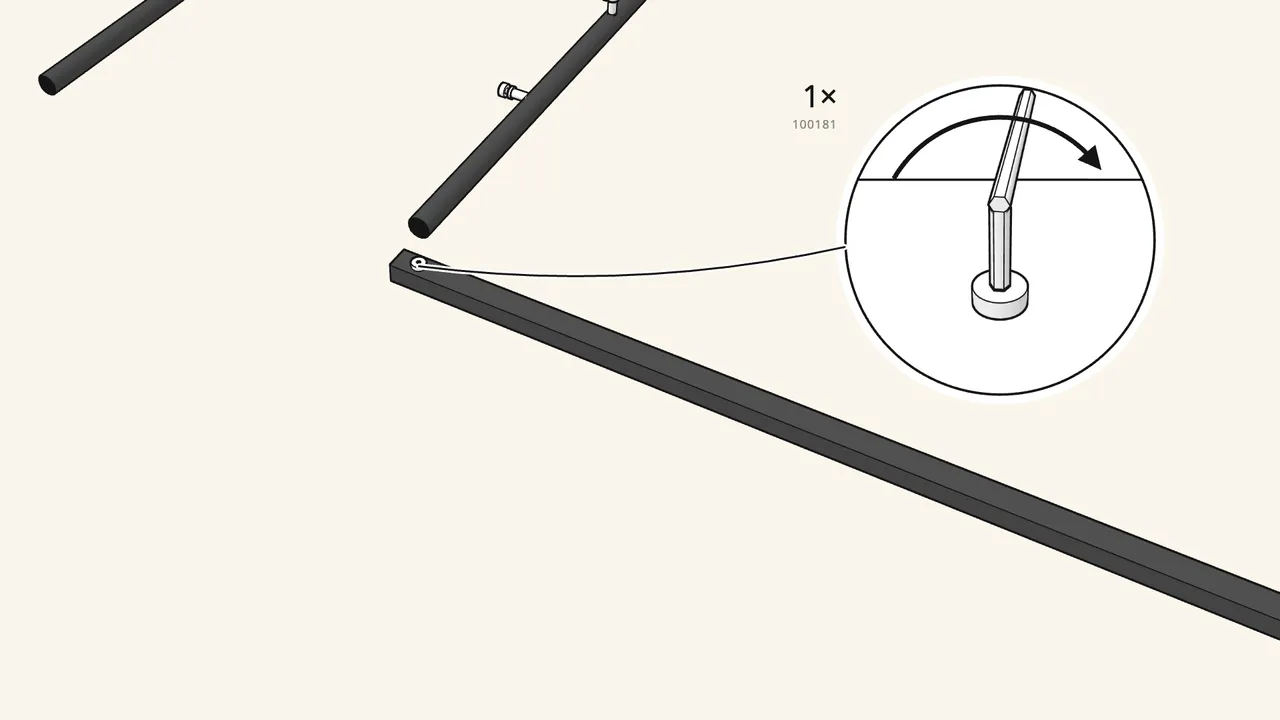
Step 2
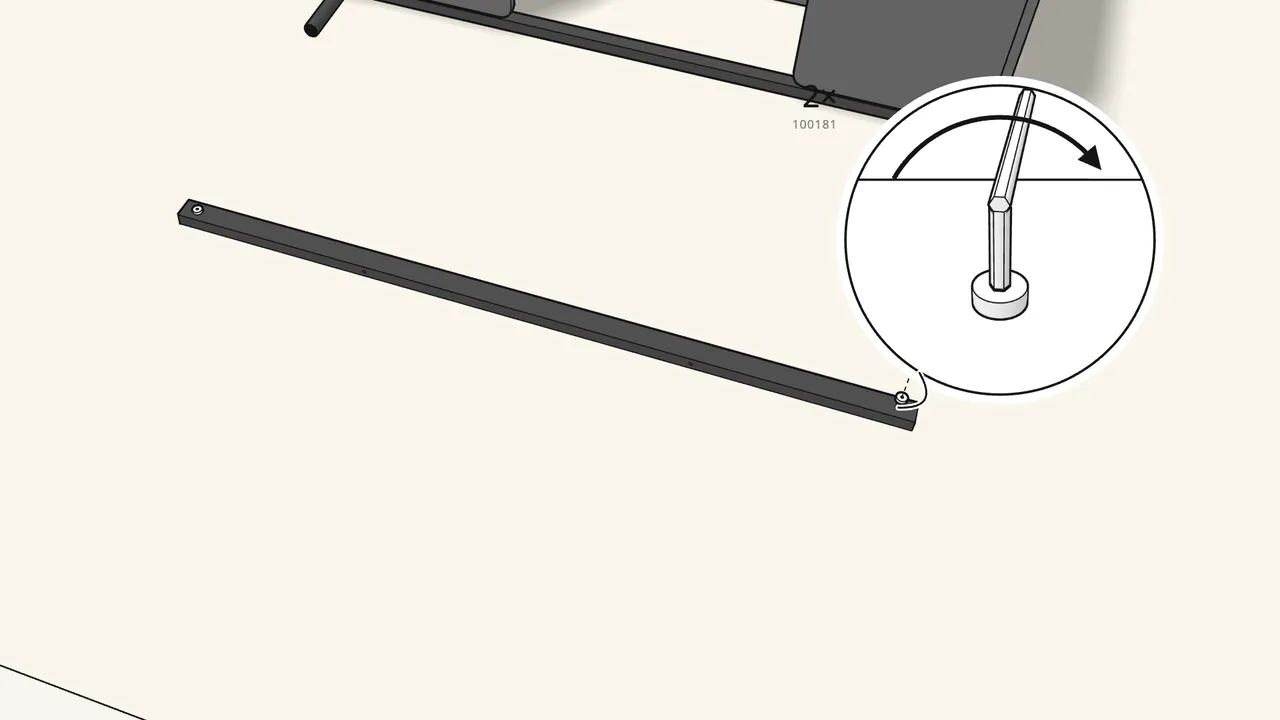
Drop a bolt (100181) into one end of the bottom rail.
Slide it along until the thread sticks out of the end.
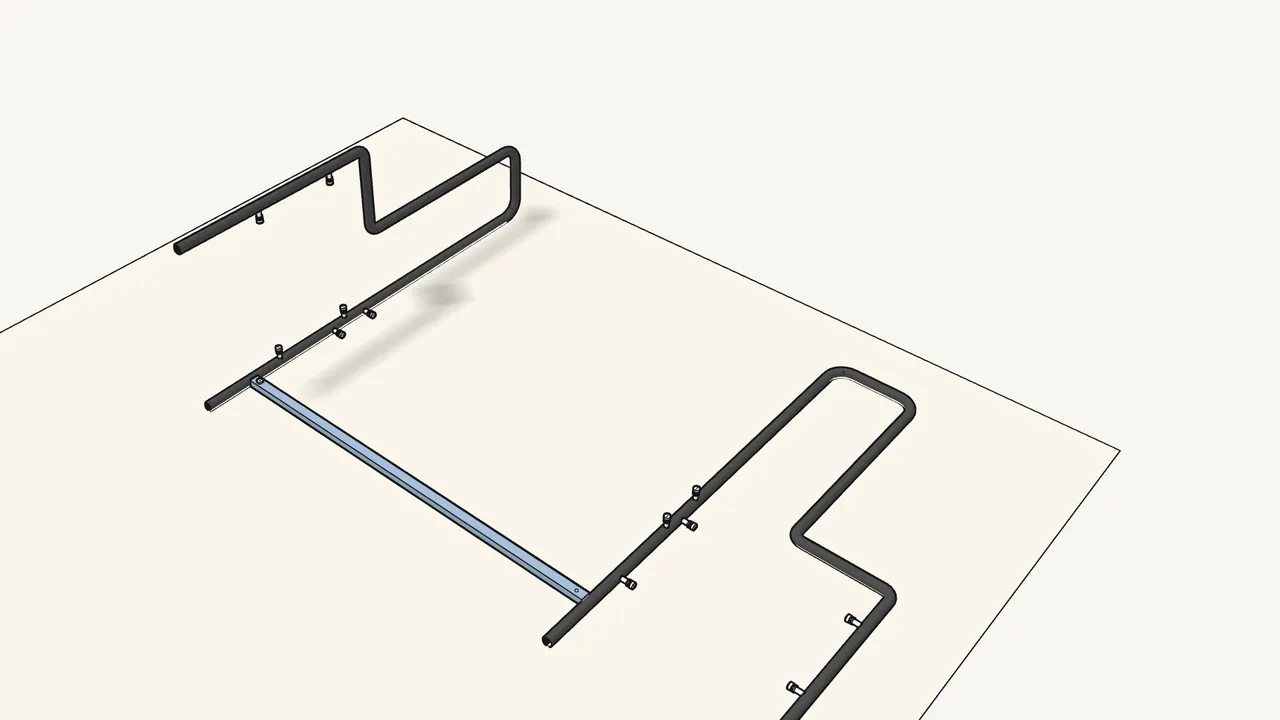
Step 3
Fit the rail to one side frame and turn the frame up.
Step 4
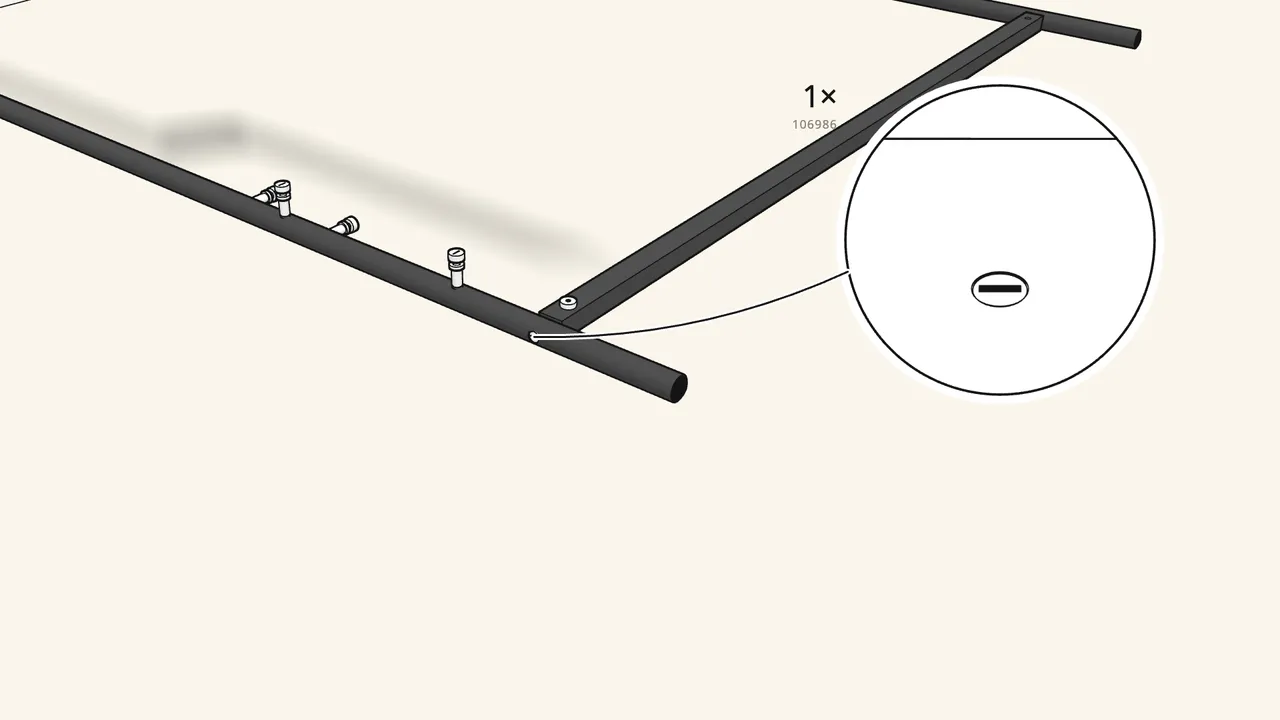
Push a barrel nut (106986) through the frame and tighten it.
It screws onto the rail’s bolt.
Step 5 · manual step 5–6
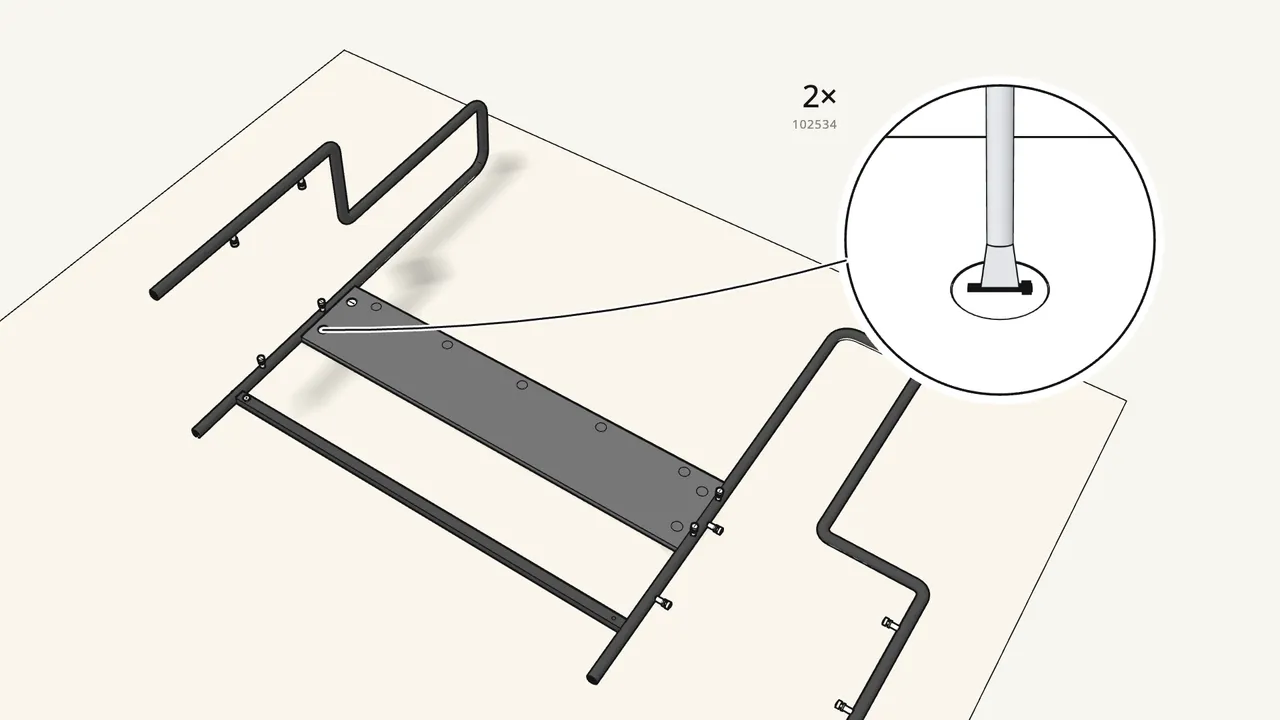
Slide the back panel onto the bolts and lock 2 cam locks.
Turn the cam locks clockwise with the flat screwdriver.
Step 6 · manual step 7
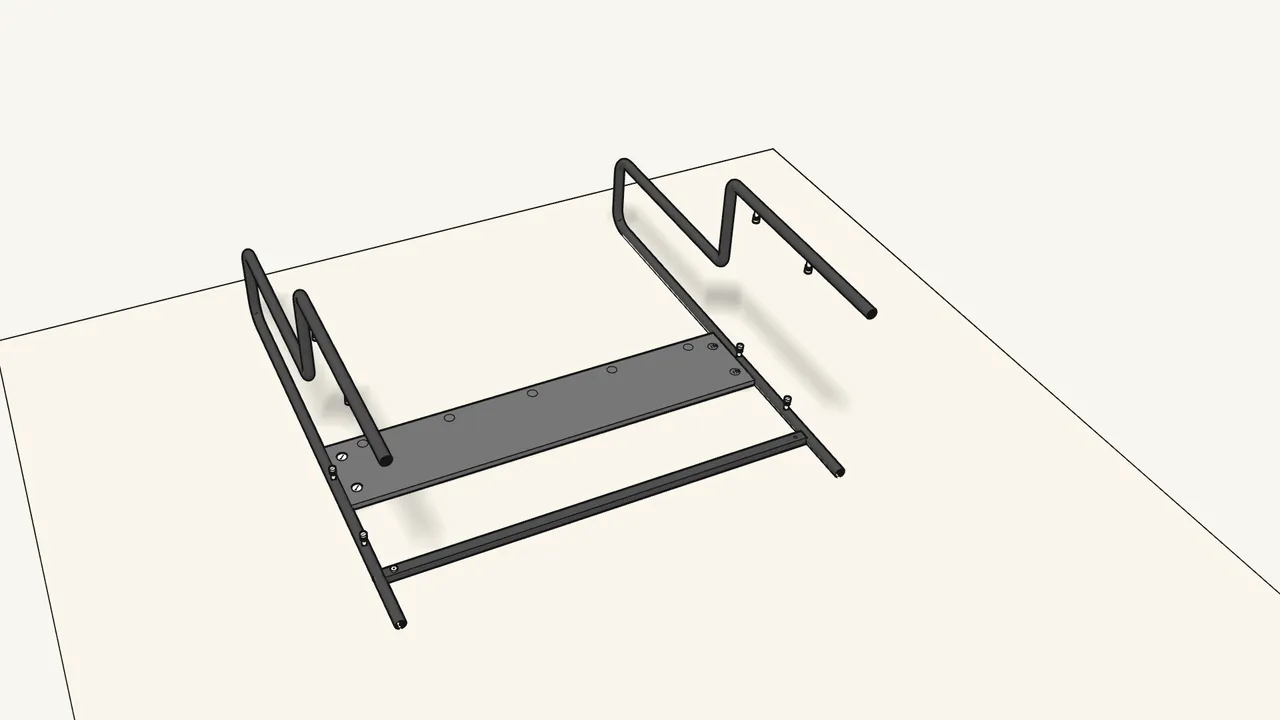
Fit the second side frame onto the rail and the back panel.
Step 7 · manual step 8–9
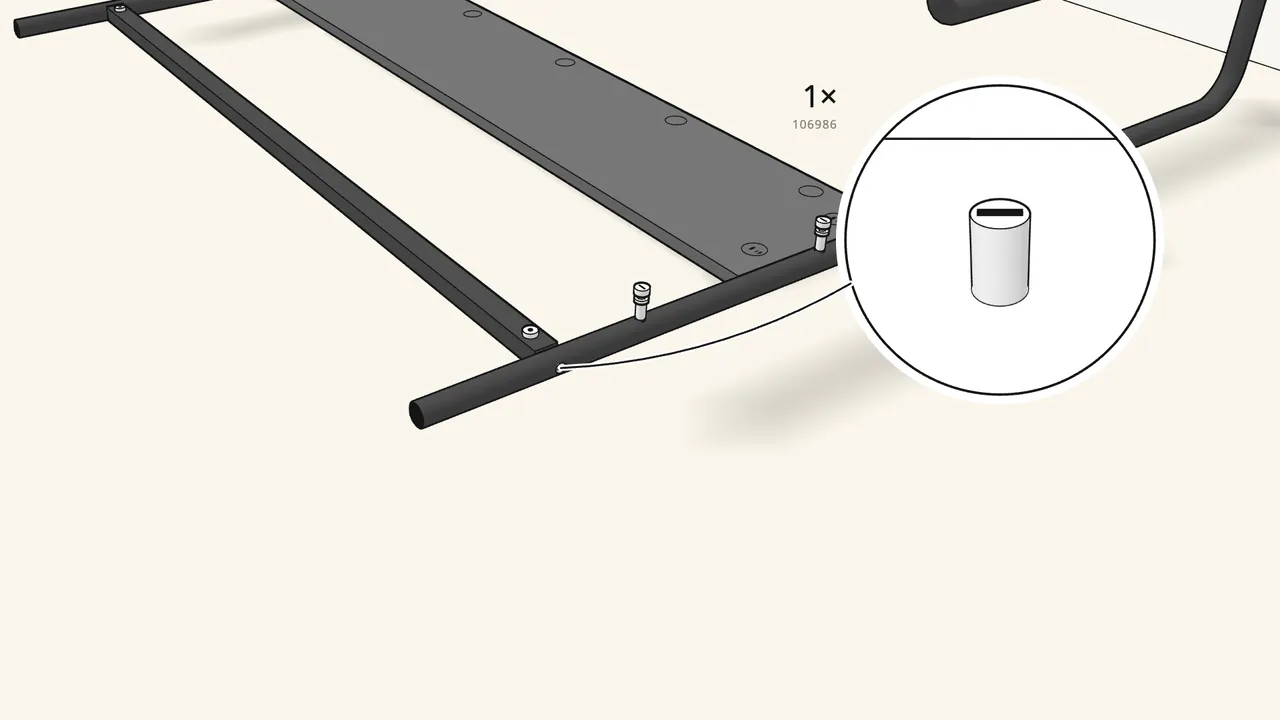
Drop in a bolt (100181) and fix it with a barrel nut (106986).
Same as the first end of the rail.
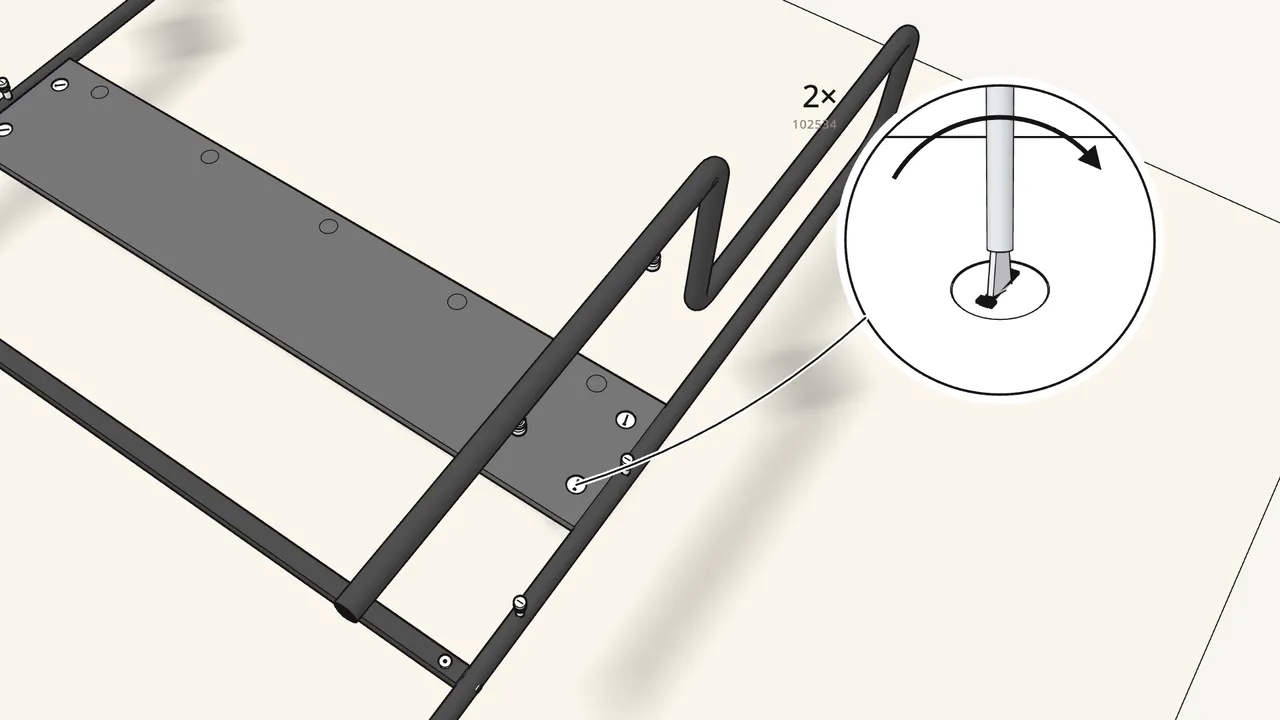
Step 8 · manual step 10–11
Lock the other end of the back panel with 2 cam locks.
First check the rail is turned as in step 10.
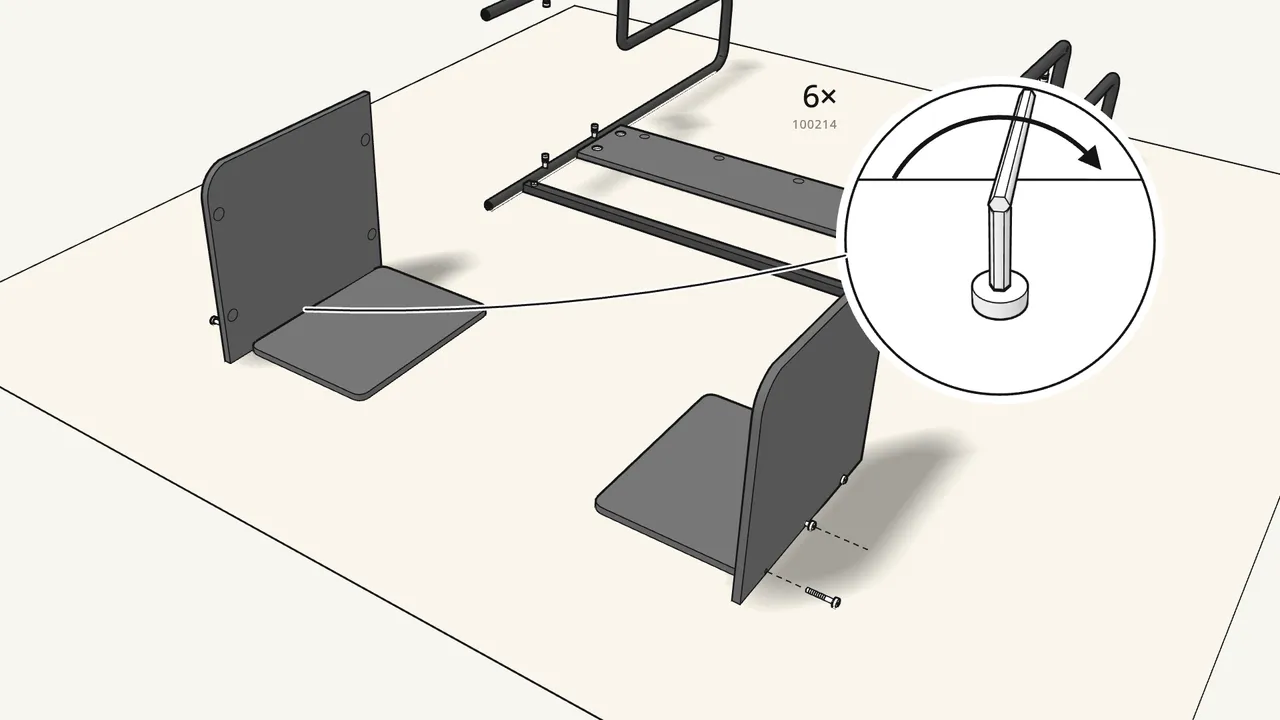
Step 9 · manual step 12
Join each shelf to its side panel with 3 screws (100214).
Use the Allen key 100001. The two units are mirror images.
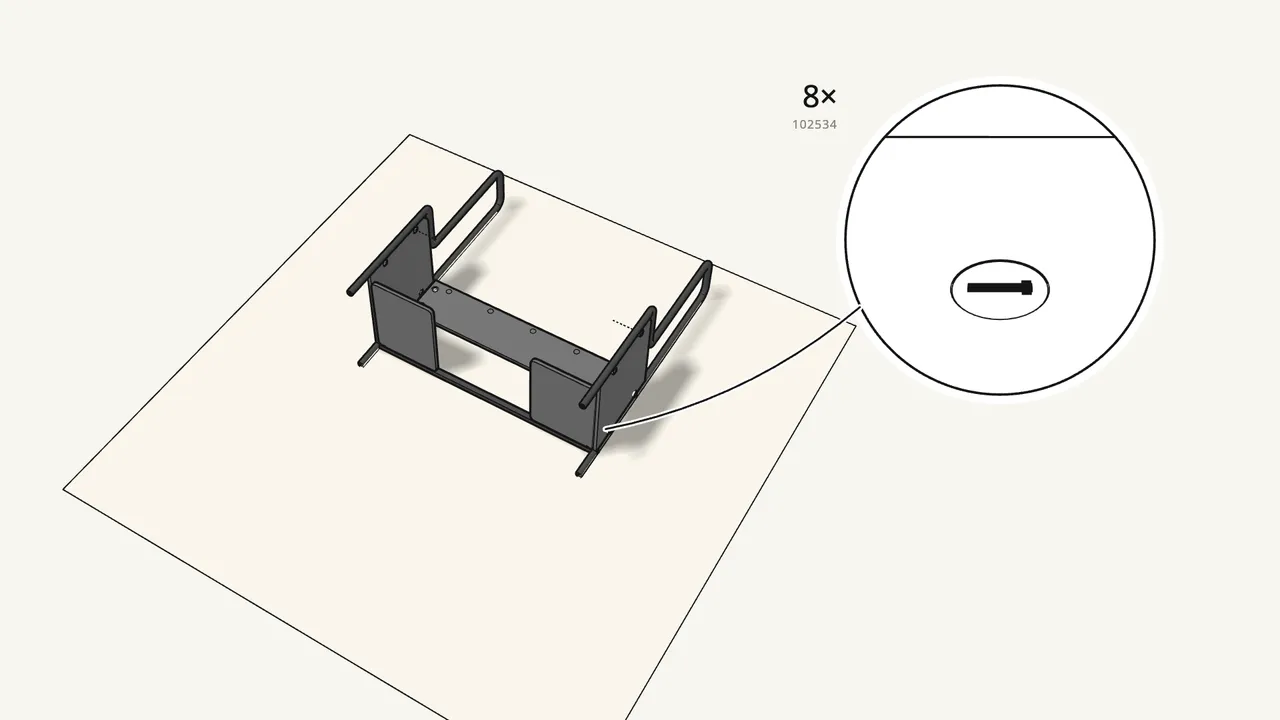
Step 10 · manual step 13–14
Fit both units onto the frames and lock 8 cam locks.
Lift the frame tube a little to get the panel onto the bolts.
Step 11 · manual step 15
Put 2 bolts (100181) and 2 nut plates (128985) into the front rail.
Check which way the plates face — see the insets in step 15.
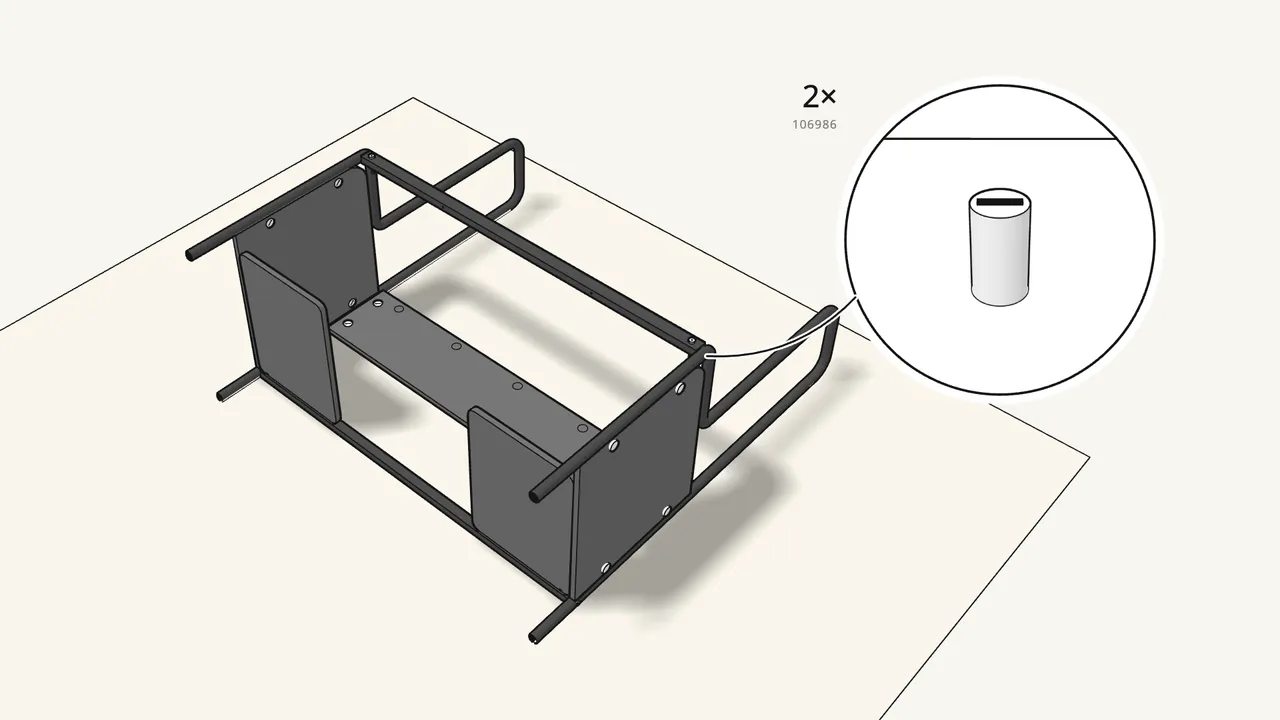
Step 12 · manual step 16–18
With a helper, fit the rail between the front legs.
Fix it with 2 barrel nuts (106986) and tighten with both Allen keys 108490.
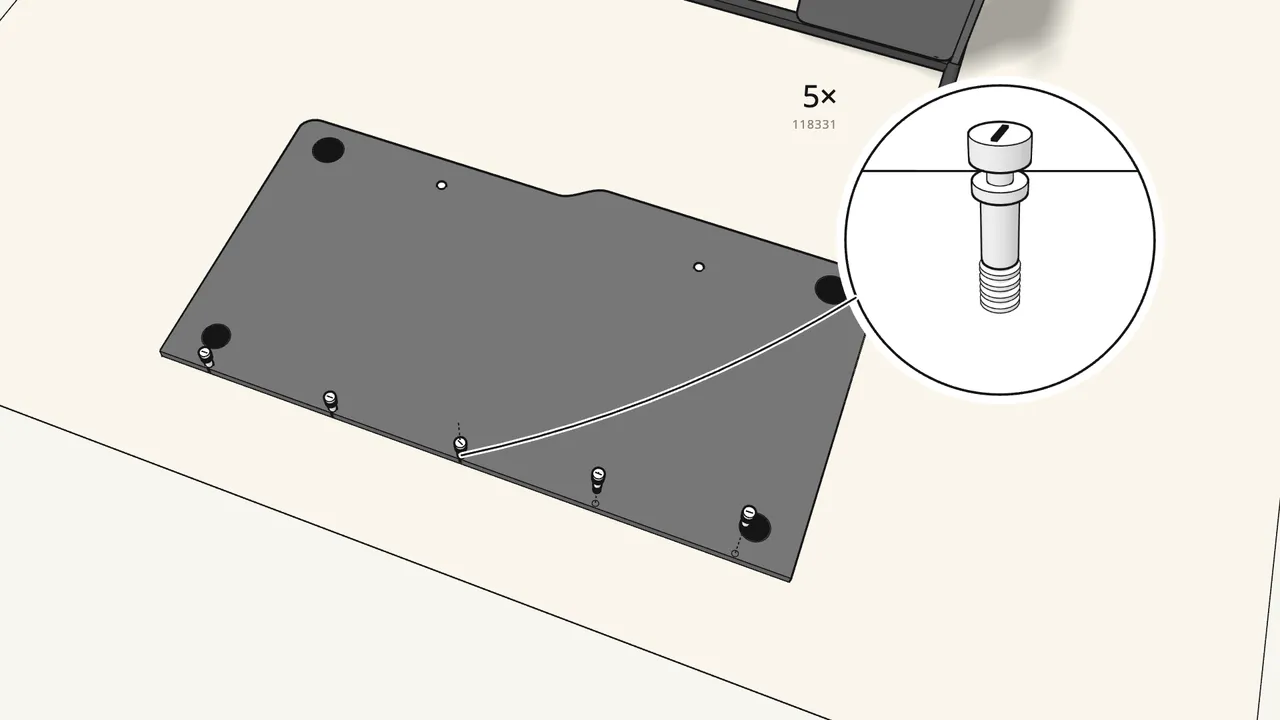
Step 13 · manual step 19–20
Hammer in 2 inserts (111322), then screw in 5 cam bolts (118331).
Desktop face-down on the rug.
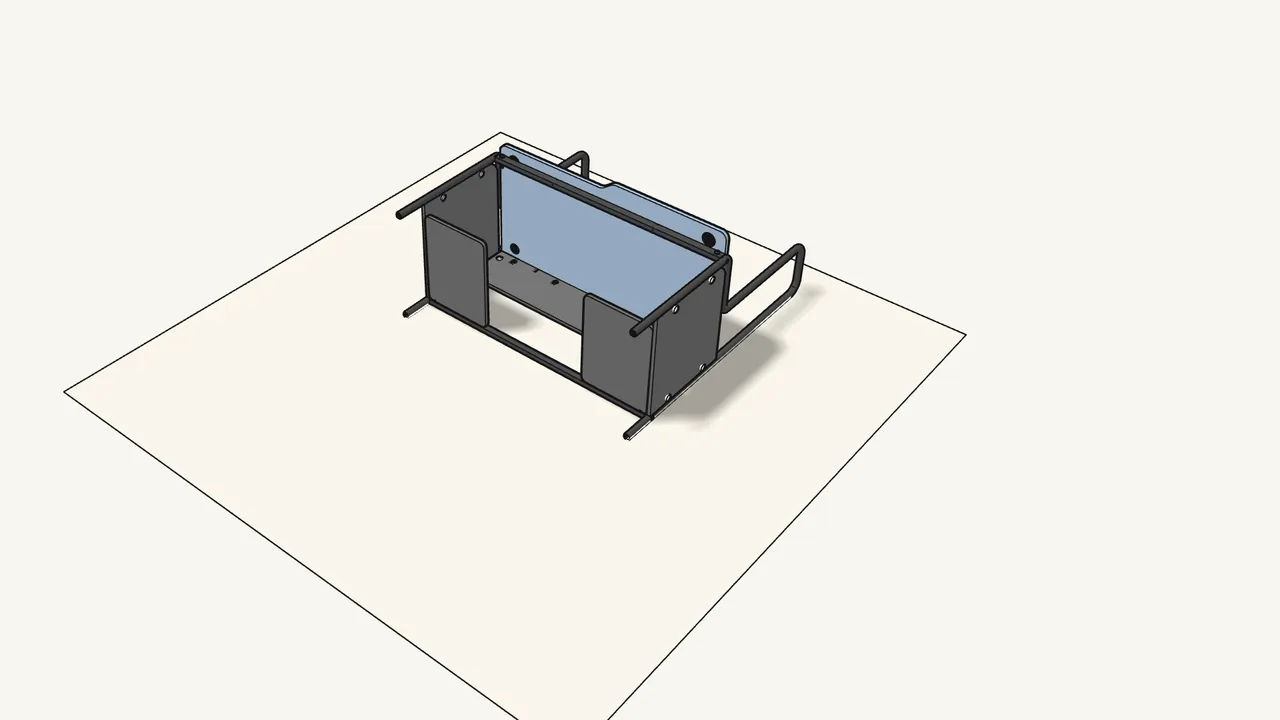
Step 14 · manual step 21
Push in 2 dowels (101350), then lay the desktop in place.
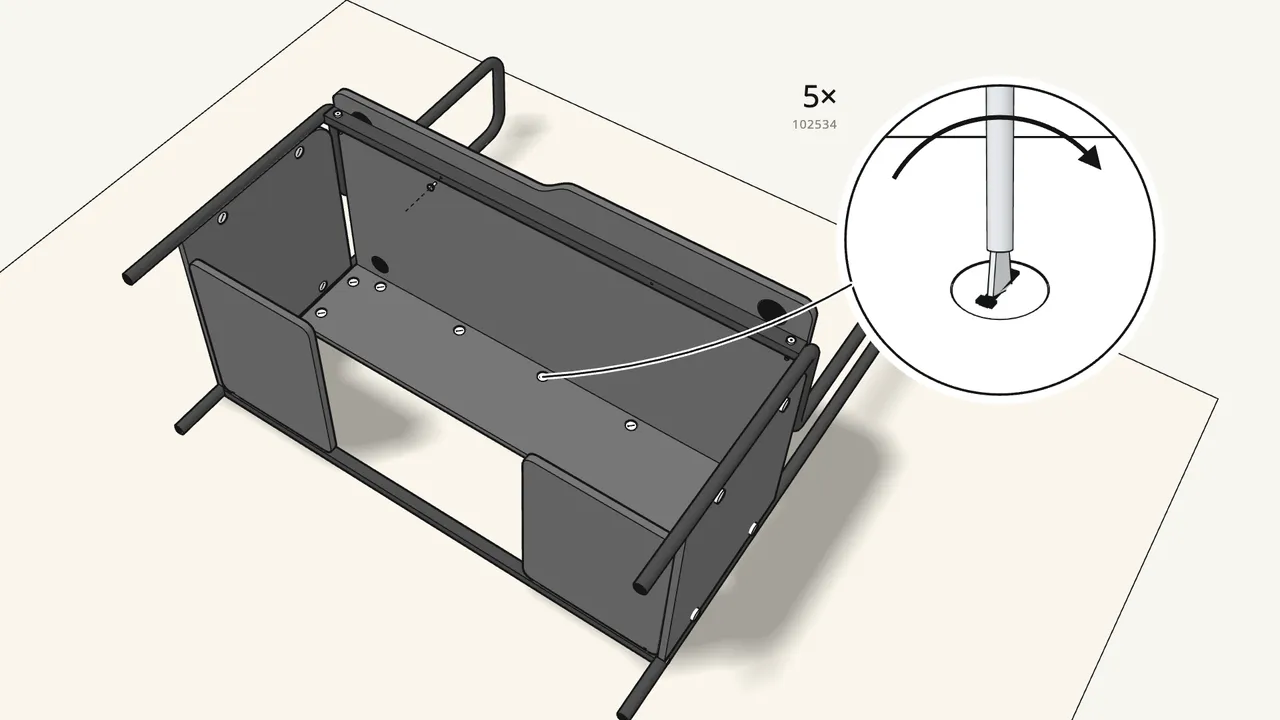
Step 15 · manual step 22–23
Lock the desktop with 5 cam locks, then add 2 screws (109067).
Phillips screwdriver for the screws — see step 23 for where they go.
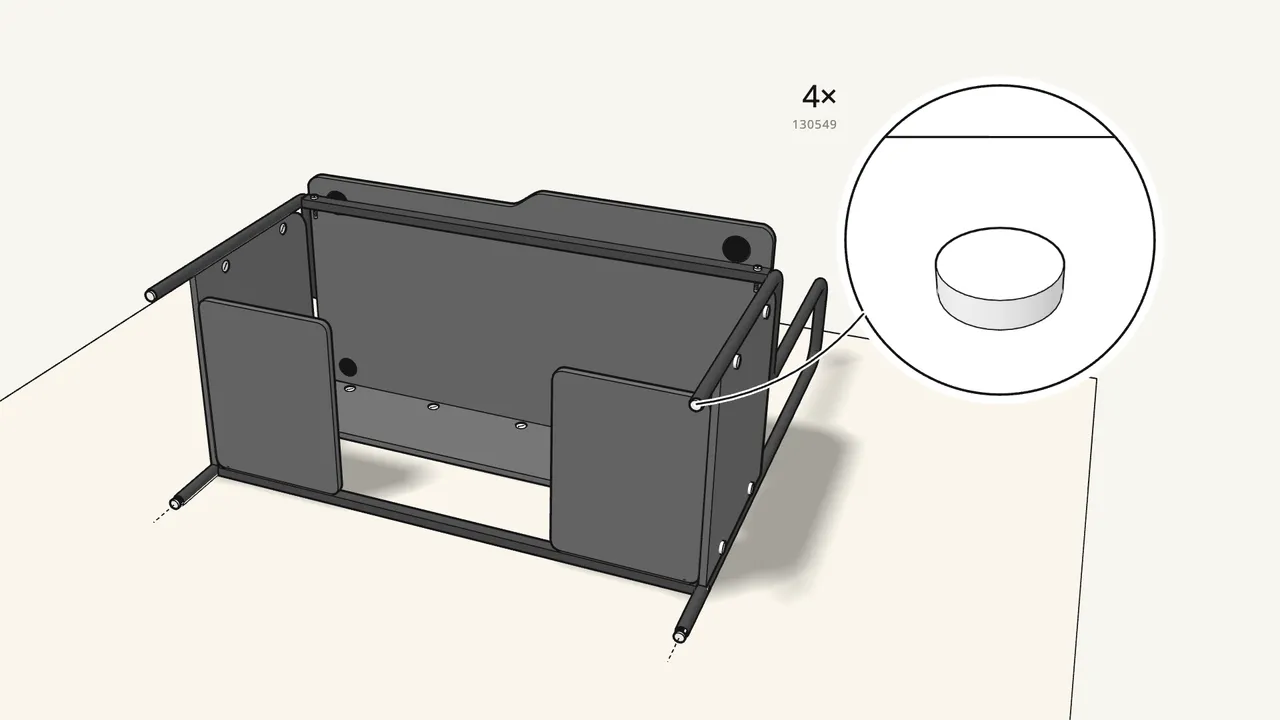
Step 16 · manual step 24
Press the 4 end caps (130549) into the ends of the legs.
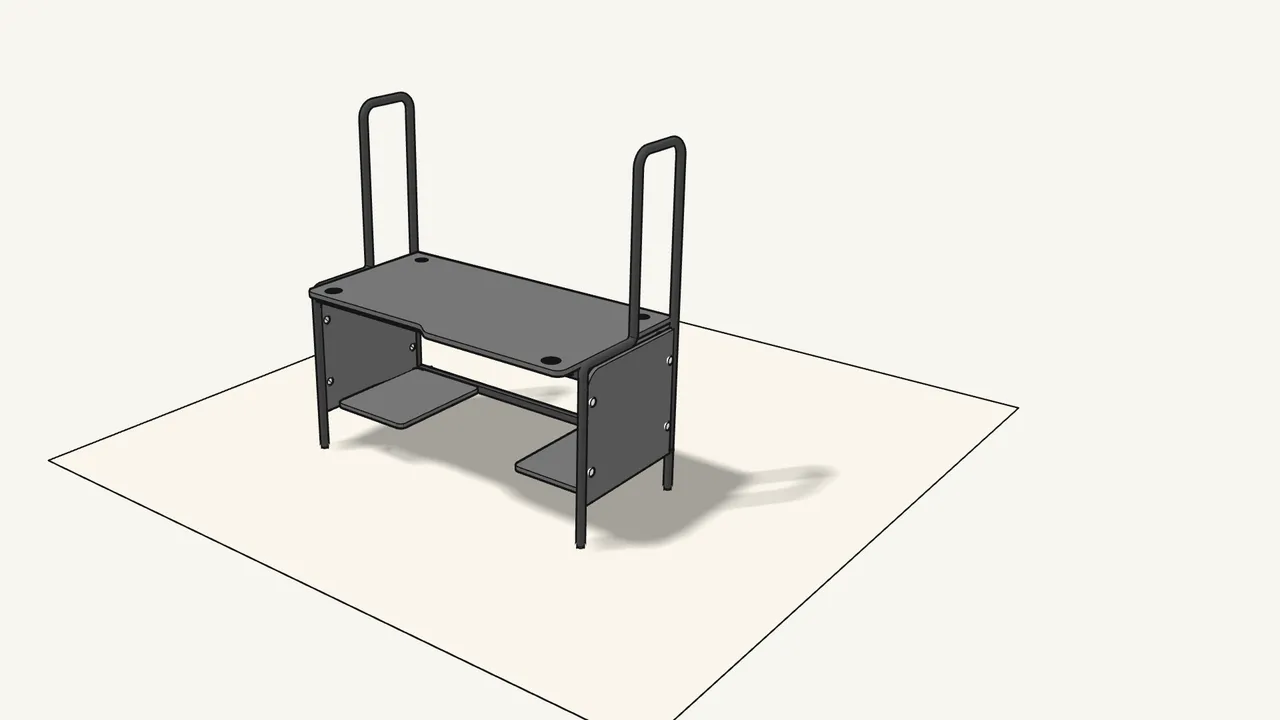
Step 17 · manual step 25
With a helper, tip the desk upright.
It’s big and heavy — lift it together.
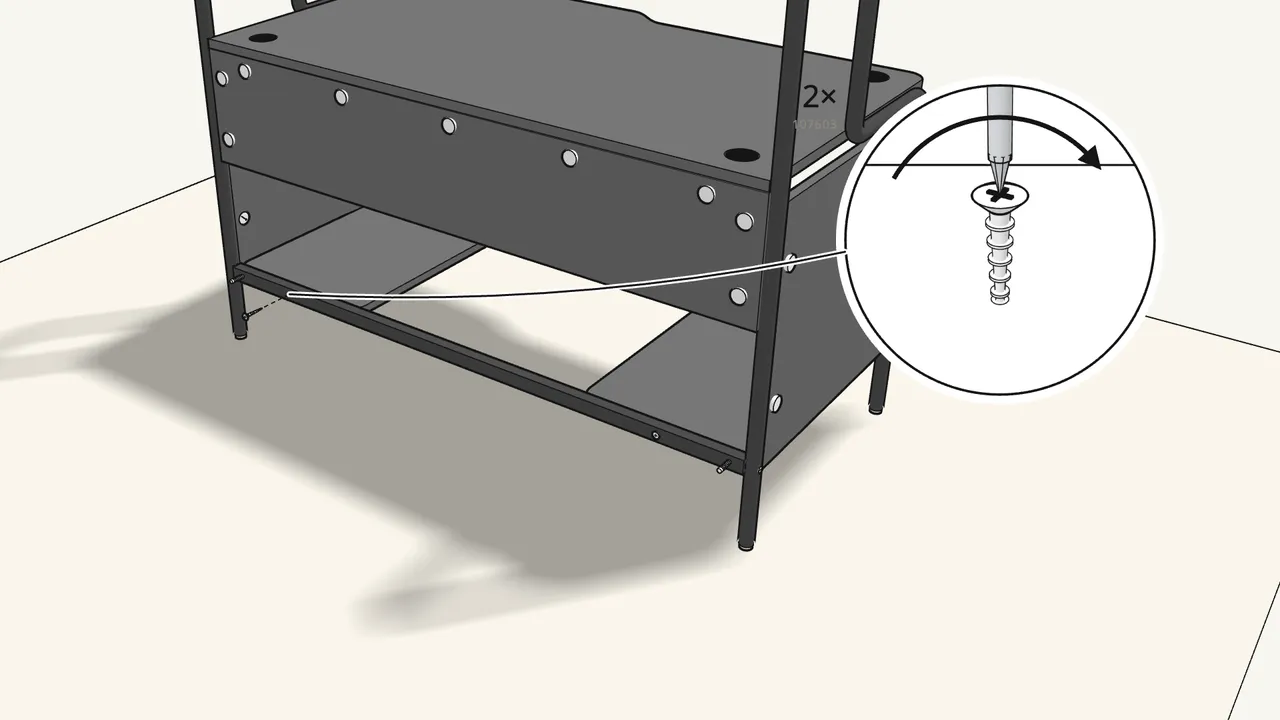
Step 18 · manual step 25–26
Re-tighten the bottom rail, then add 2 screws (107603).
Both Allen keys 108490, then the Phillips screwdriver — see step 26.
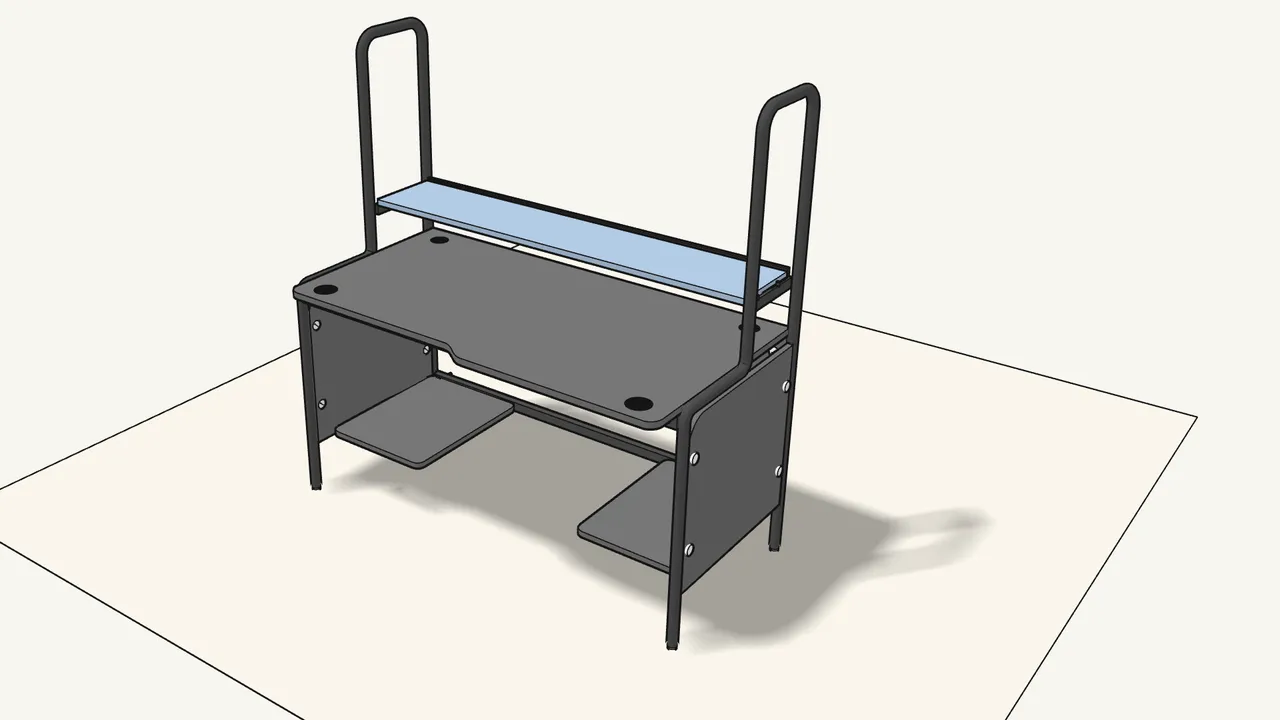
Step 19 · manual step 27–29
Hook in 2 brackets, add the rail and lay on the middle shelf.
Check which way the brackets go — see the box in step 27.
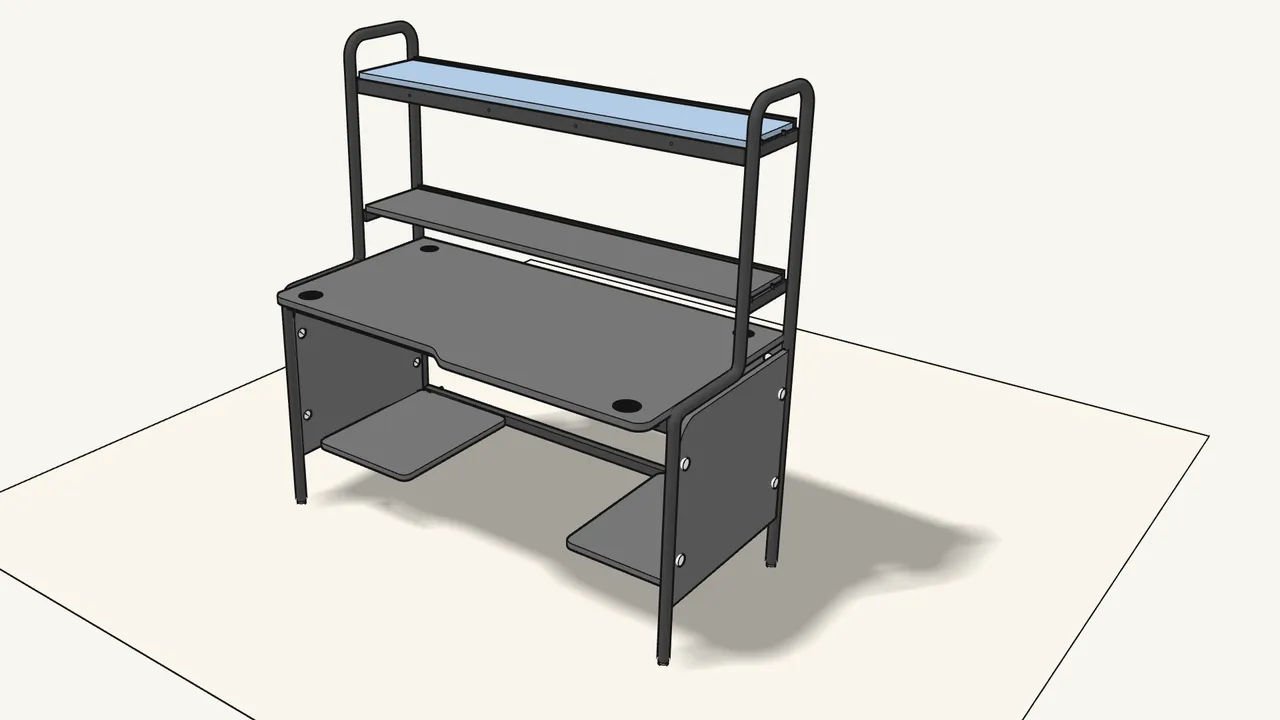
Step 20 · manual step 30–33
Hook in 2 higher brackets, the 2 rails and the top shelf.
The rail with the holes goes at the front — see the box before step 31.
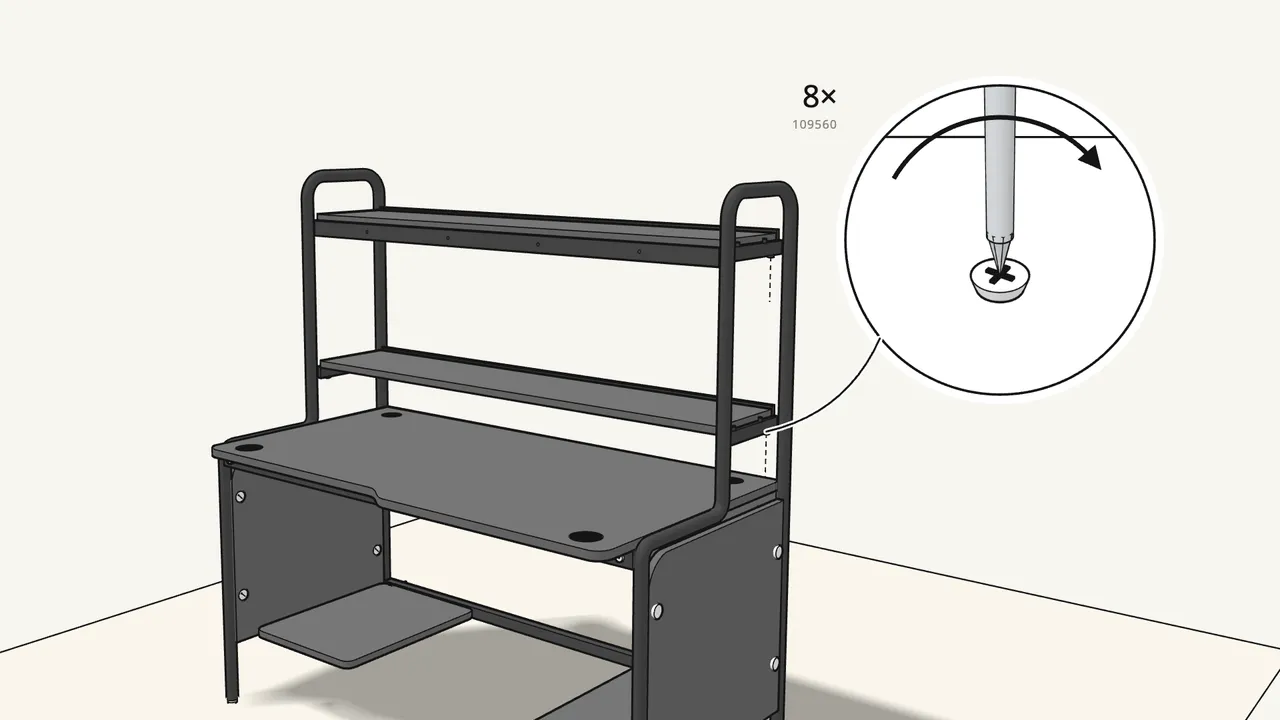
Step 21 · manual step 34
Fix both shelves to the brackets with 8 screws (109560).
Screw up through the brackets with the Phillips screwdriver.
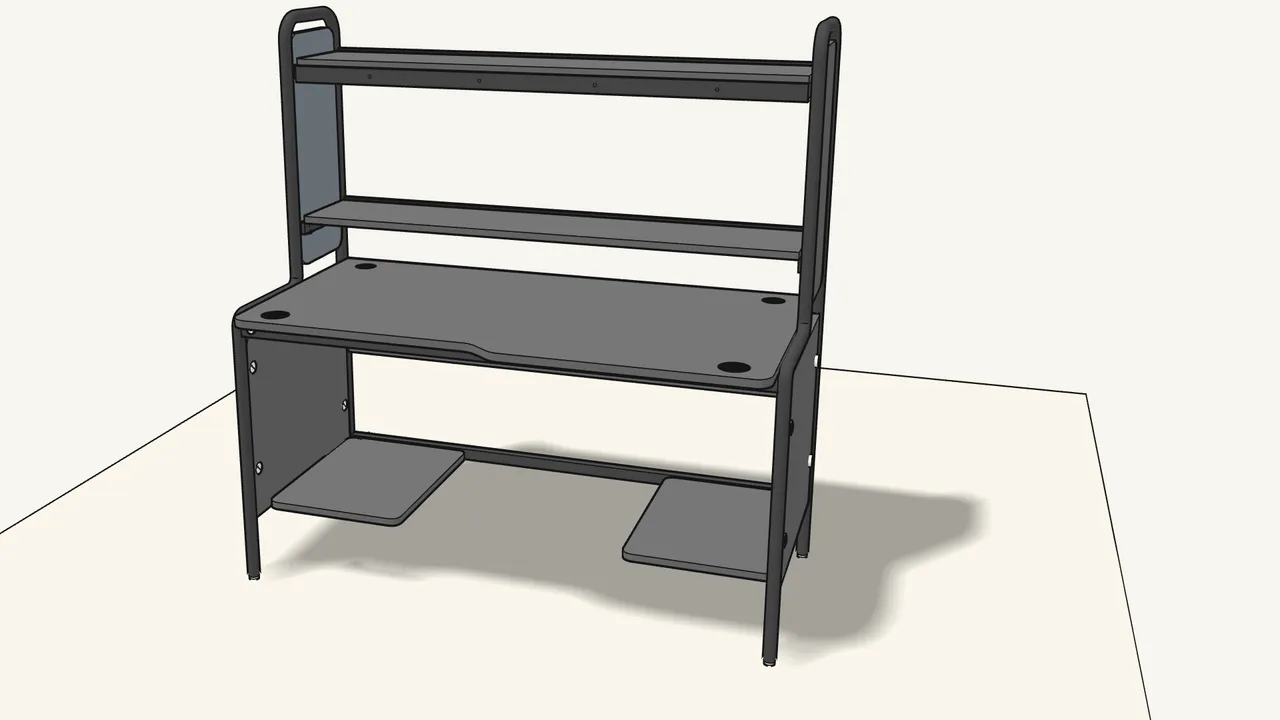
Step 22 · manual step 35–36
Hook a side panel into each tall end frame.
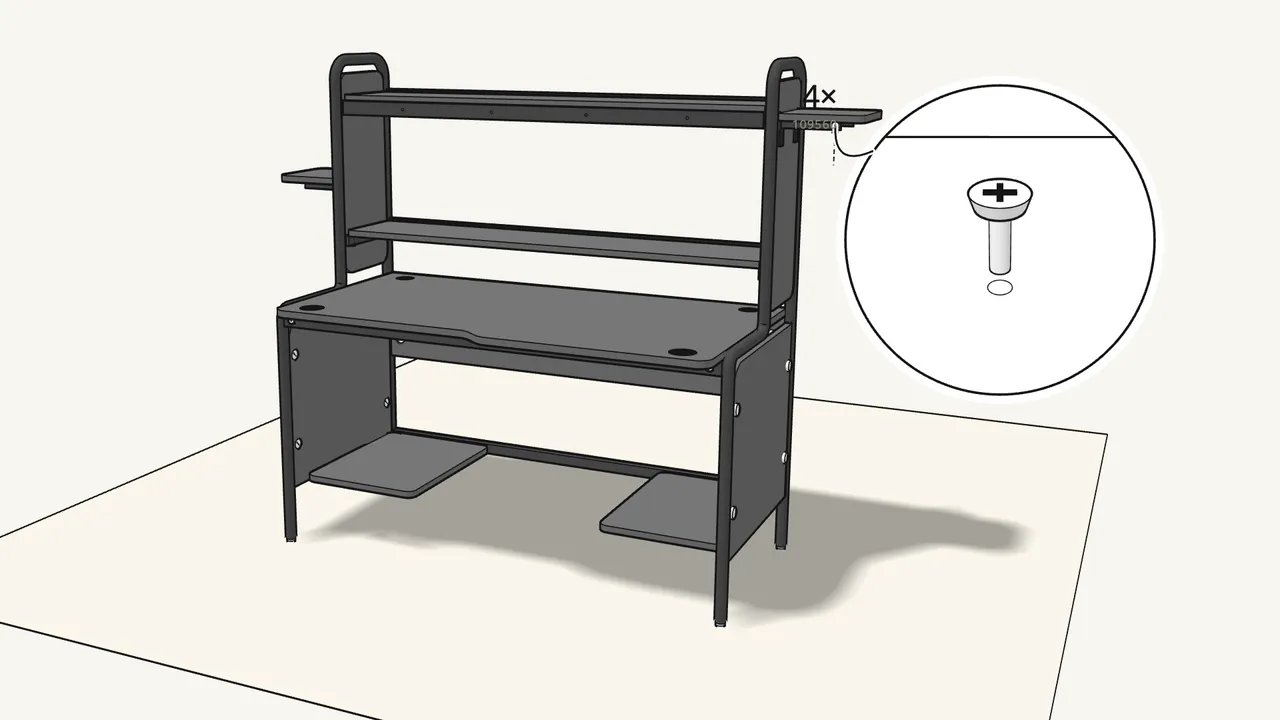
Step 23 · manual step 37–39
Hook in 4 small brackets, lay on the 2 side shelves, screw them on.
4 screws (109560) from below.
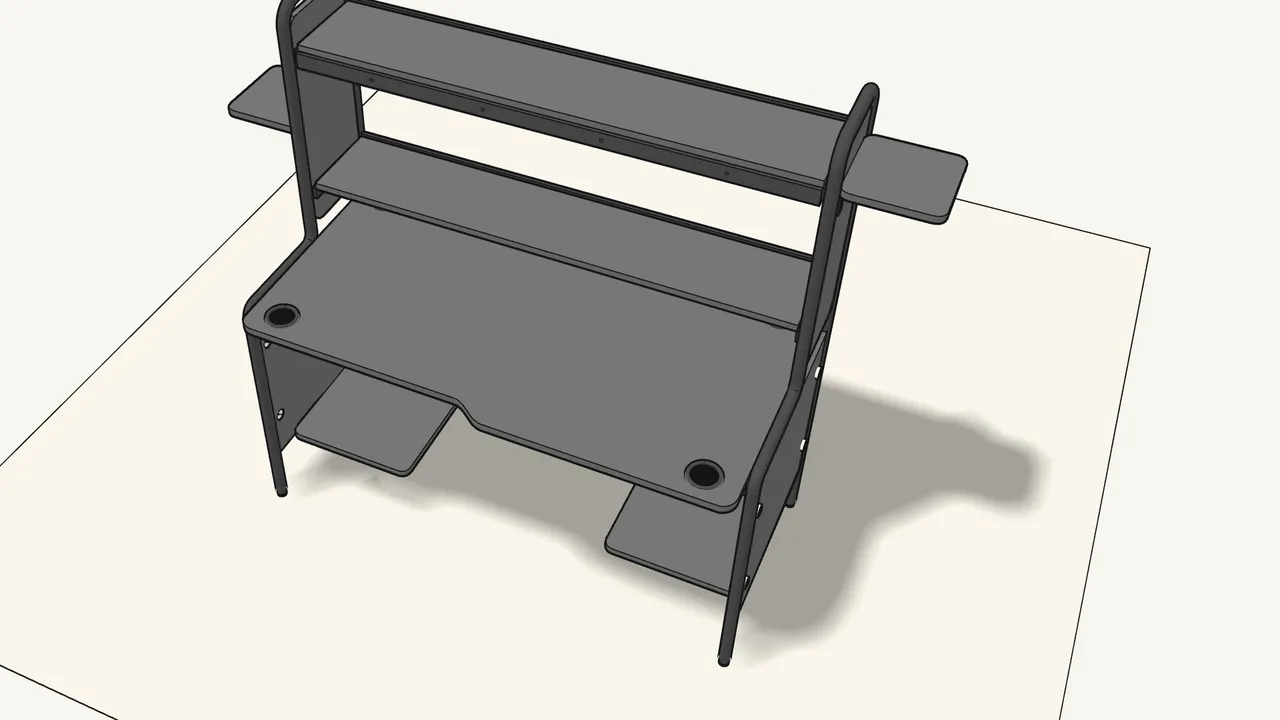
Step 24 · manual step 40–41
Press the 4 grommets into the cable holes in the desktop.
The 2 smaller ones (123602) at the back, the 2 bigger ones (126873) at the front.
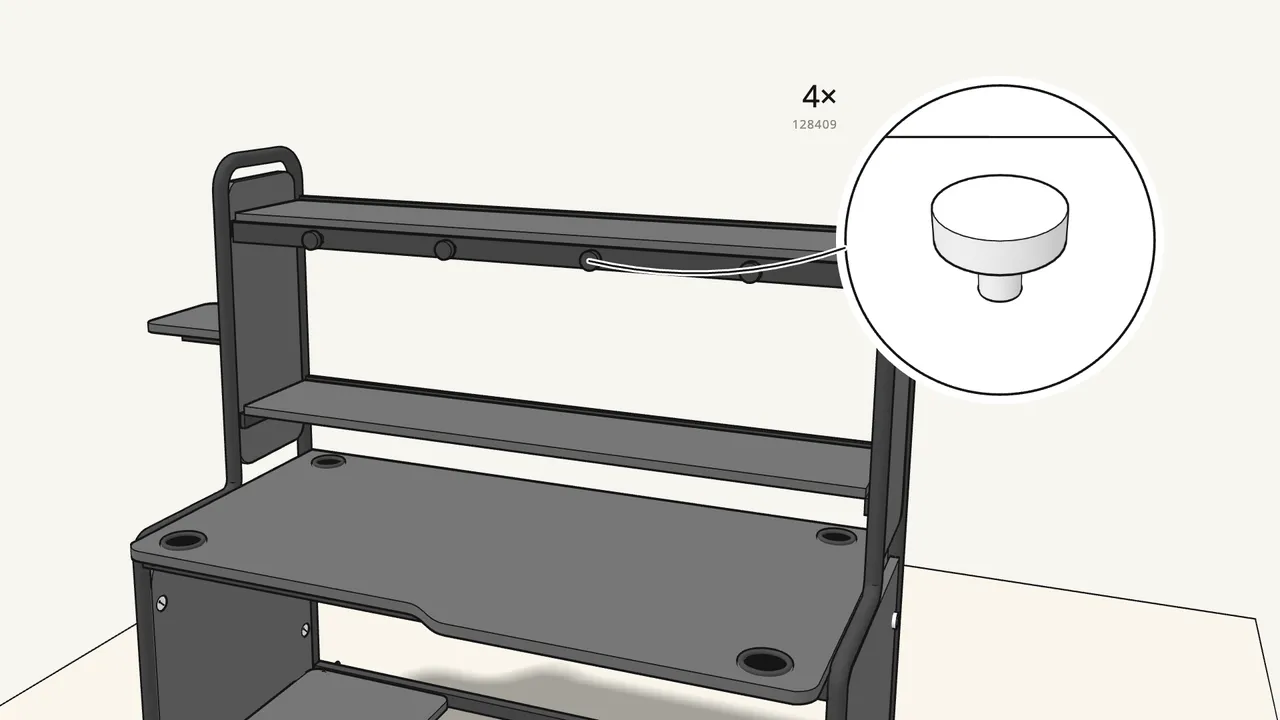
Step 25 · manual step 42
Screw the 4 hooks (128409) onto the front rail.
Each with a screw (100413) from behind the rail.
Tips & safety
- Get a helper. The manual shows two people for fitting the front rail (step 16) and for tipping the desk upright.
- Side shelves: outside or inside the end frames. The small brackets hook into whichever slots you like — see the boxes on manual p. 29.
Official instructions
This guide follows IKEA’s official assembly instructions (AA-2508156-1). Keep the printed manual to hand — if anything differs, the manual is right.



