IKEA · Tables & Desks
How to assemble IKEA DOCKSTA Table
Step-by-step IKEA DOCKSTA Table assembly: 14 illustrated steps, an animated video, the hardware list and the tools you need — following the official instructions (AA-2168035-9).
- 14 illustrated steps
- 11 steps in the manual
- 2:13 video
- 103×103×75 cm
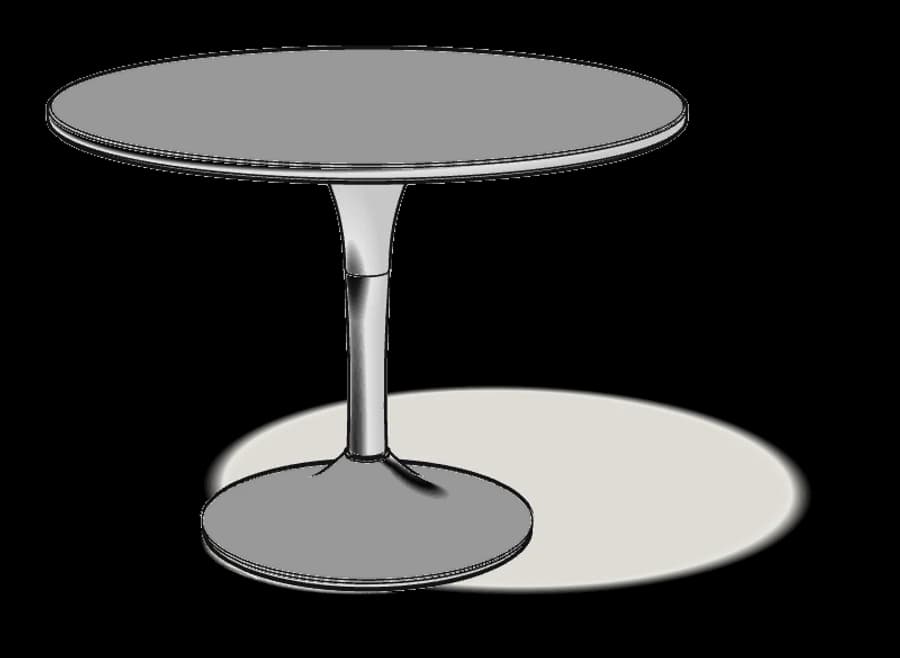
What you need
Tools
- Hammer
- Allen key (included)
You’ll need: a hammer and an adjustable spanner (not in the box). The Allen key (108490) is included.
Hardware in the box
| Part no. (as printed in the manual) | Qty |
|---|---|
| 100181 | 6× |
| 121212 | 4× |
| 100850 | 6× |
| 100778 | 1× |
| 110737 | 1× |
| 10042799 | 8× |
Step-by-step assembly
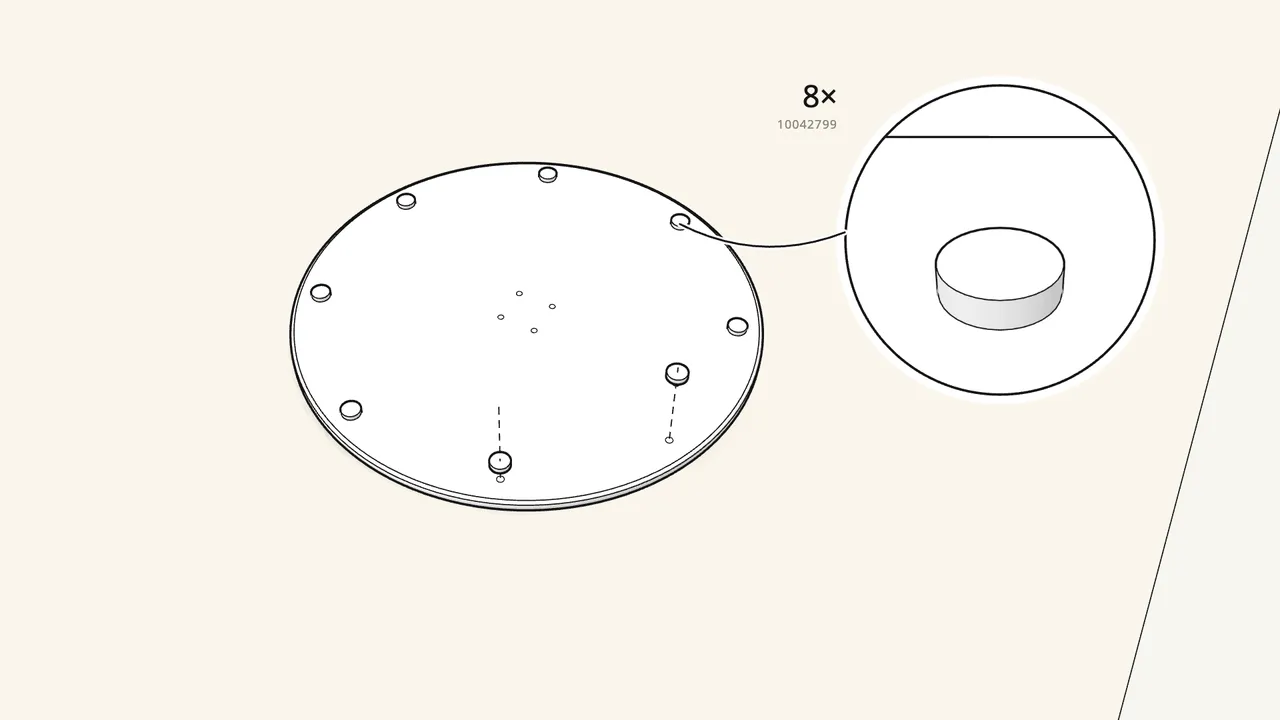
Step 1
Tap the 8 glides into the holes under the base plate.
Lay the plate upside down on a rug and use a hammer.
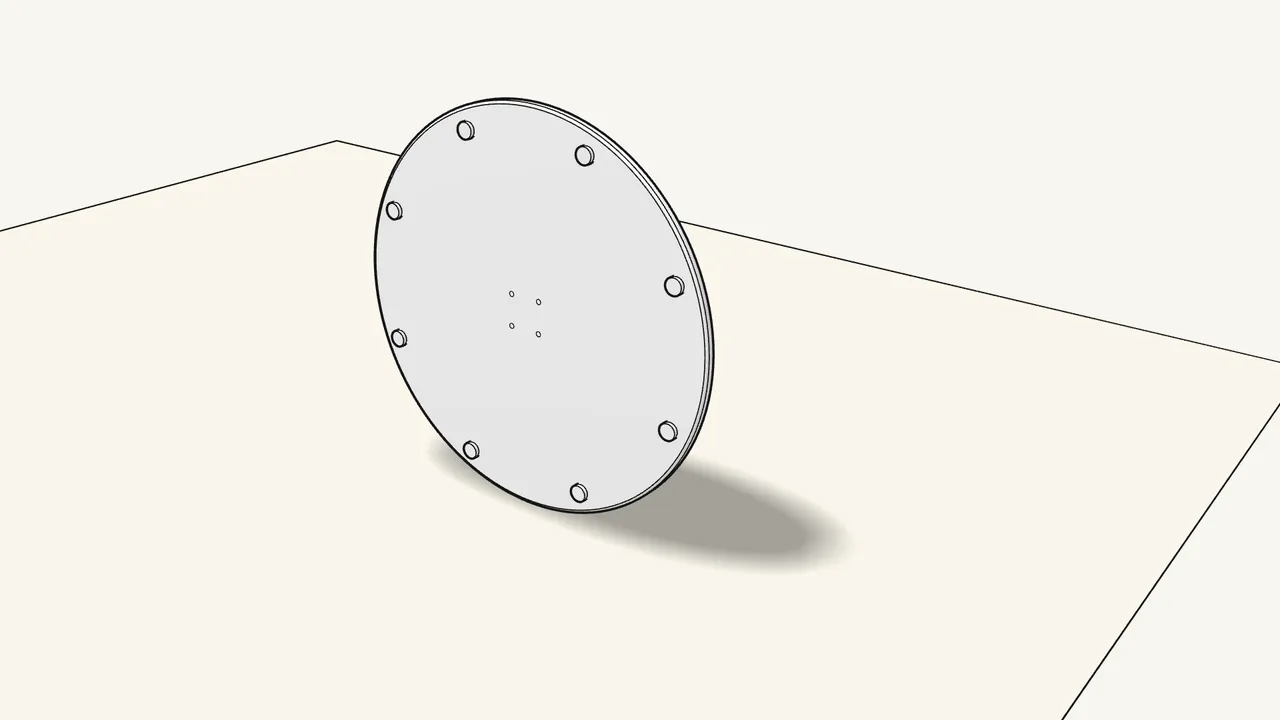
Step 2
Stand the base plate on its edge.
Two people make this easier.
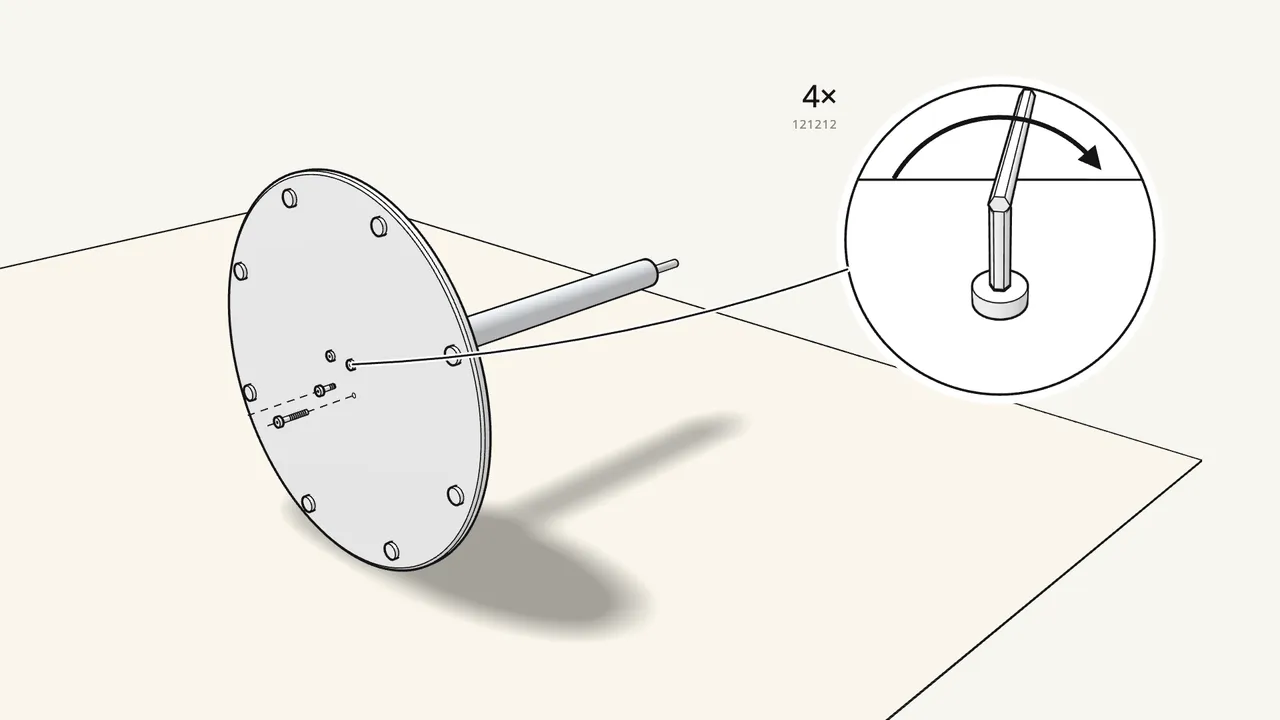
Step 3 · manual step 2
Bolt the column to the base plate with 4 bolts (121212).
Tighten them with the Allen key.
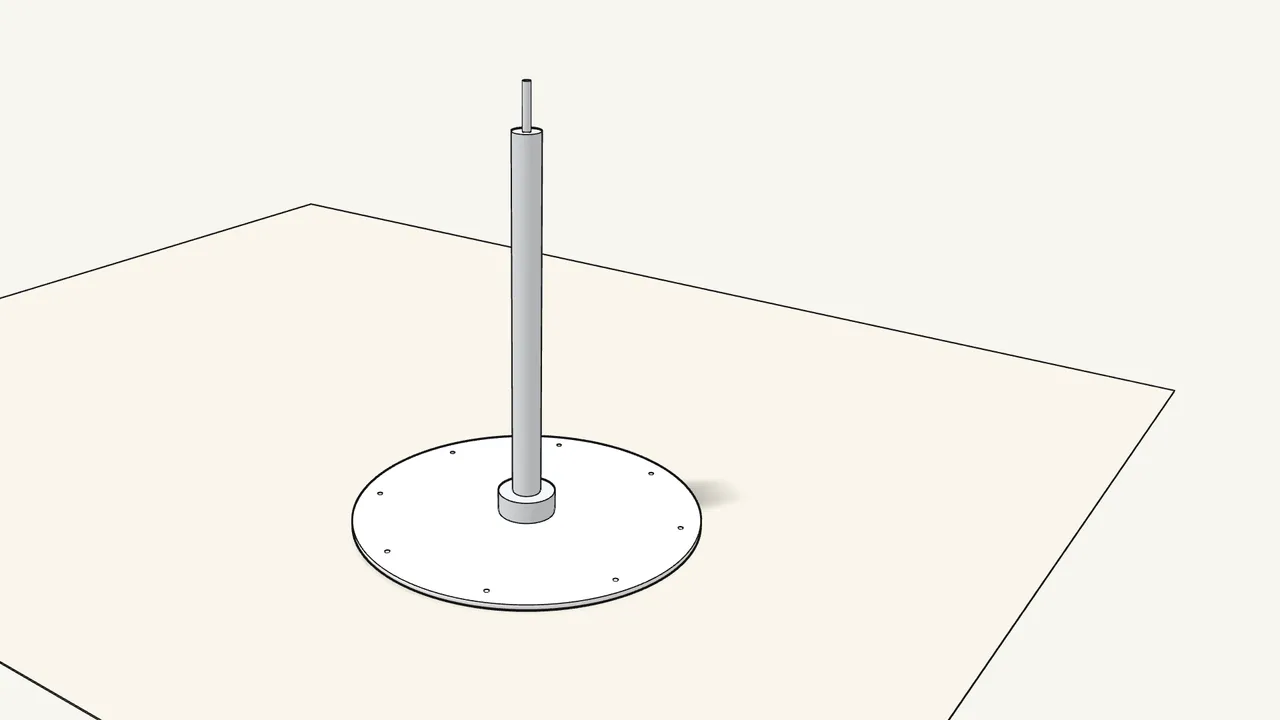
Step 4 · manual step 2
Stand the base upright.
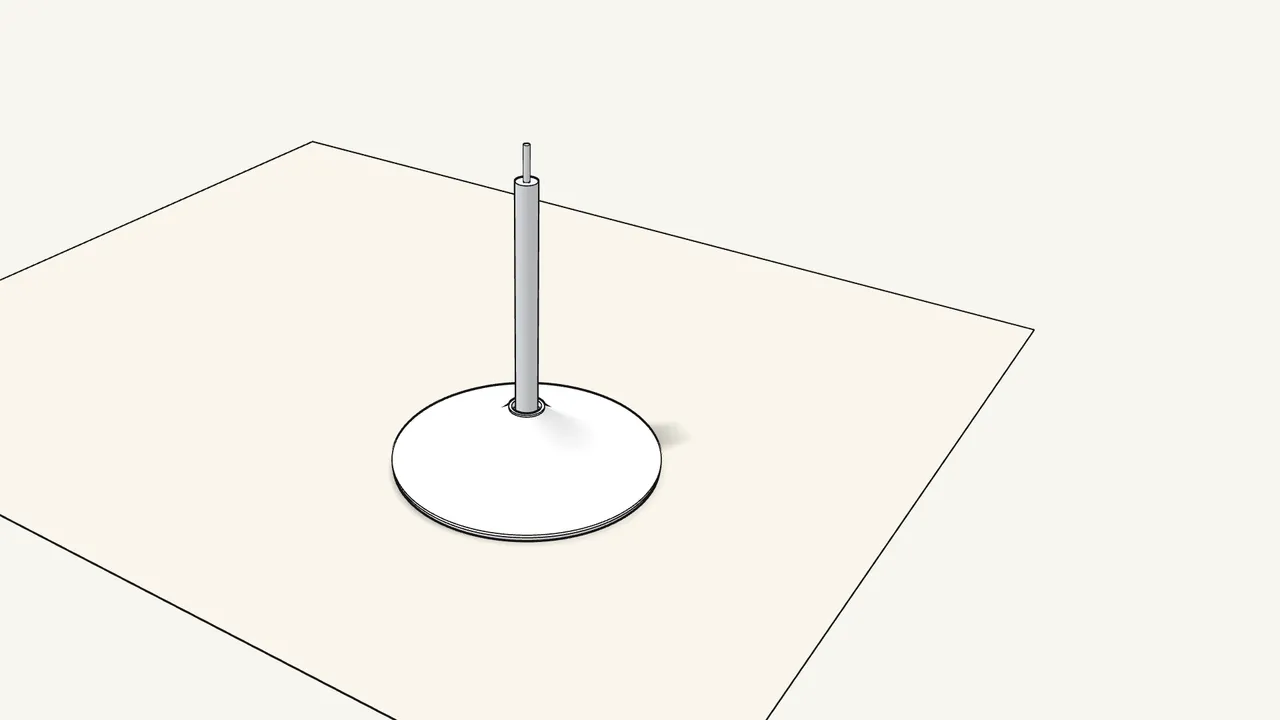
Step 5 · manual step 3
Lower the base cover over the column onto the plate.
Collar facing up (see the manual, step 3).
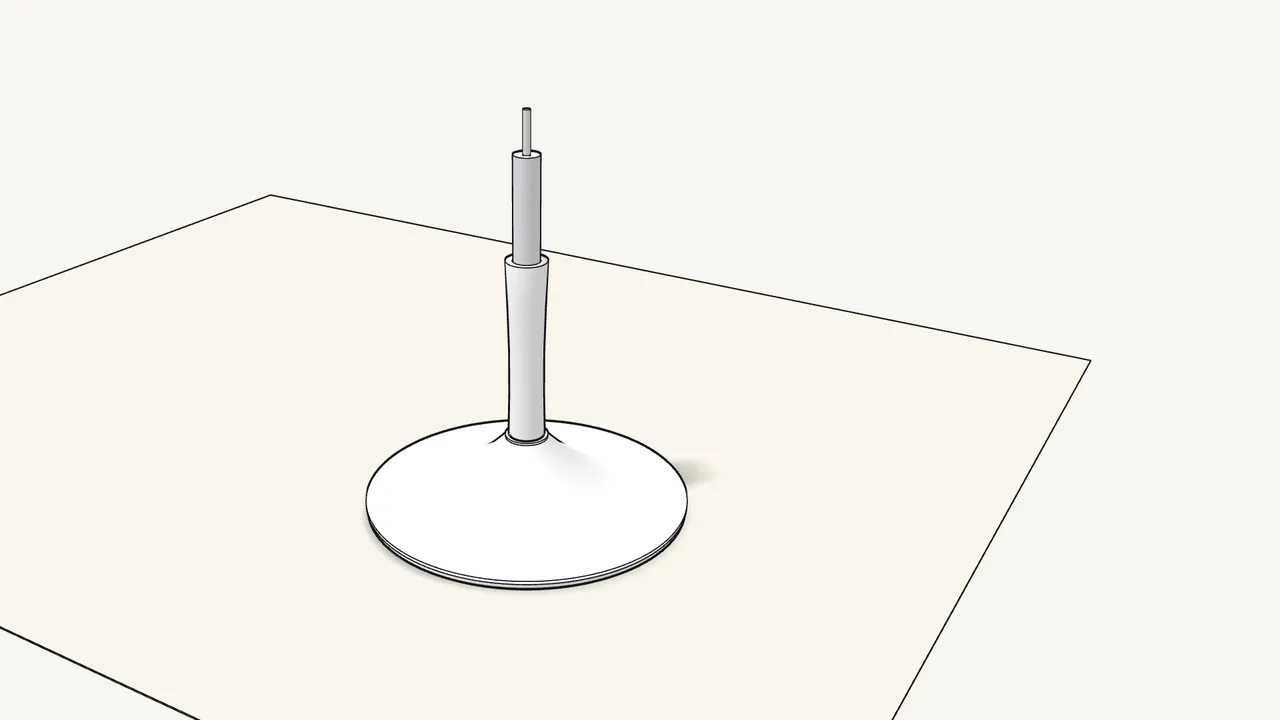
Step 6 · manual step 4
Slide the column cover down over the column.
Narrow end down — it sits in the collar of the base cover.
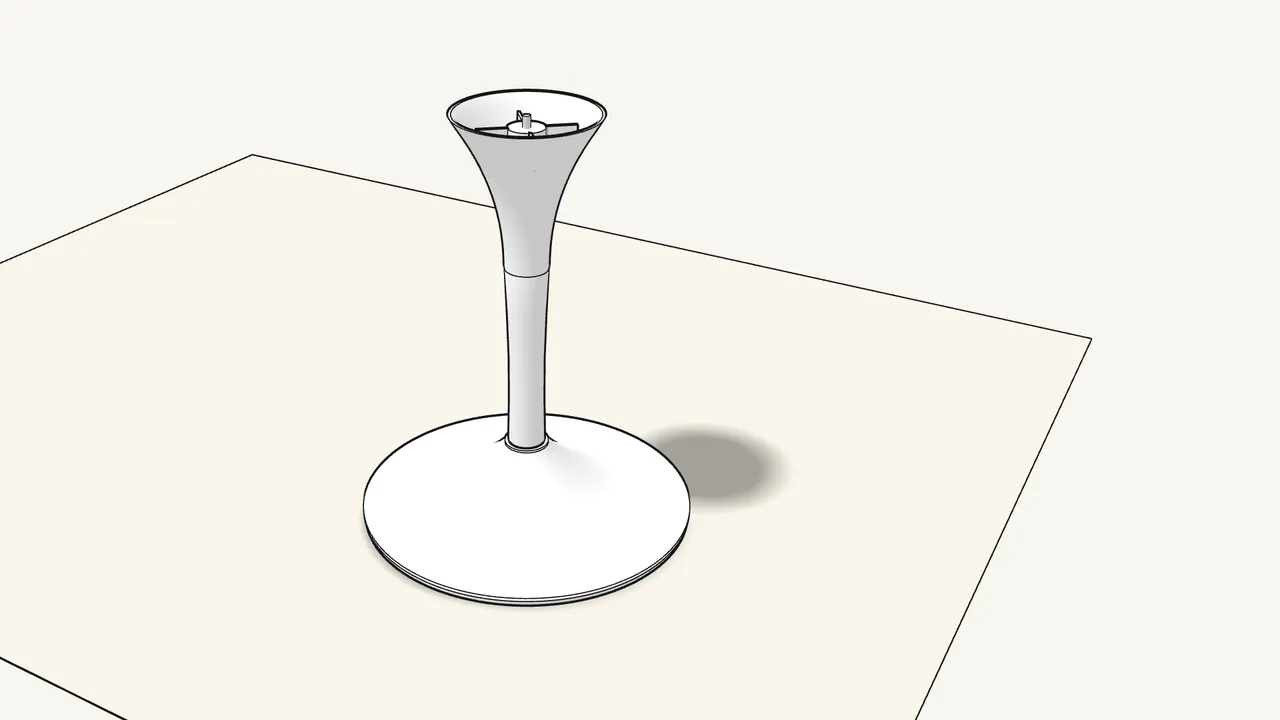
Step 7 · manual step 5
Put the flared top part onto the column.
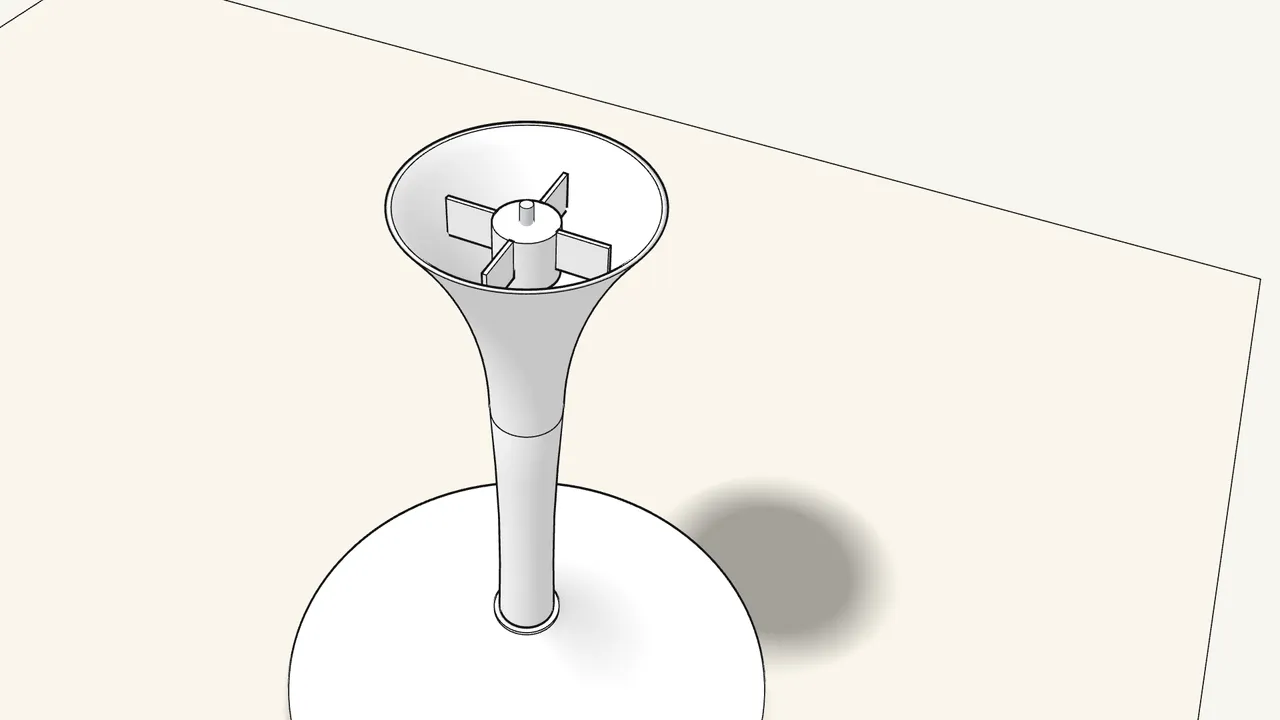
Step 8 · manual step 6
Turn the top part until its holes line up.
See the manual, step 6 for the alignment.
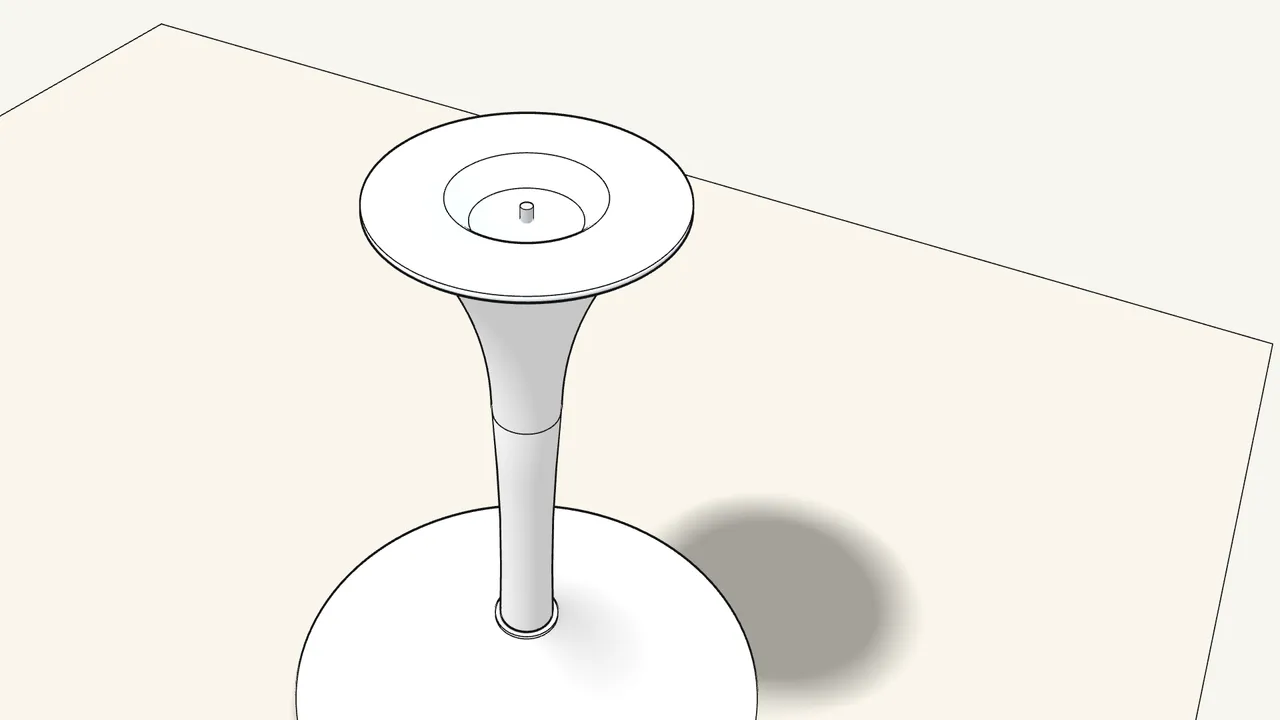
Step 9 · manual step 7
Place the top plate on it, lining up the holes.
Check the notches at the edge (see the manual, step 7).
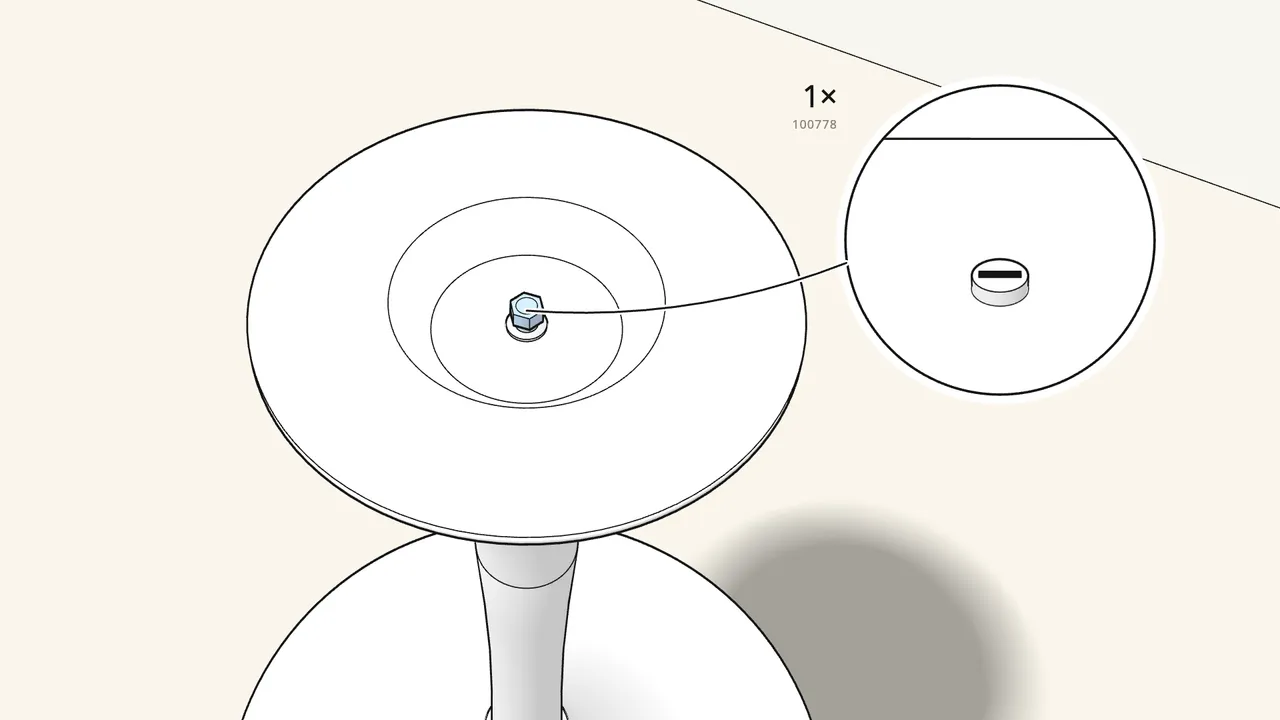
Step 10 · manual step 8
Fit the washer (110737) and the nut (100778) on the stud.
Tighten the nut with the adjustable spanner.
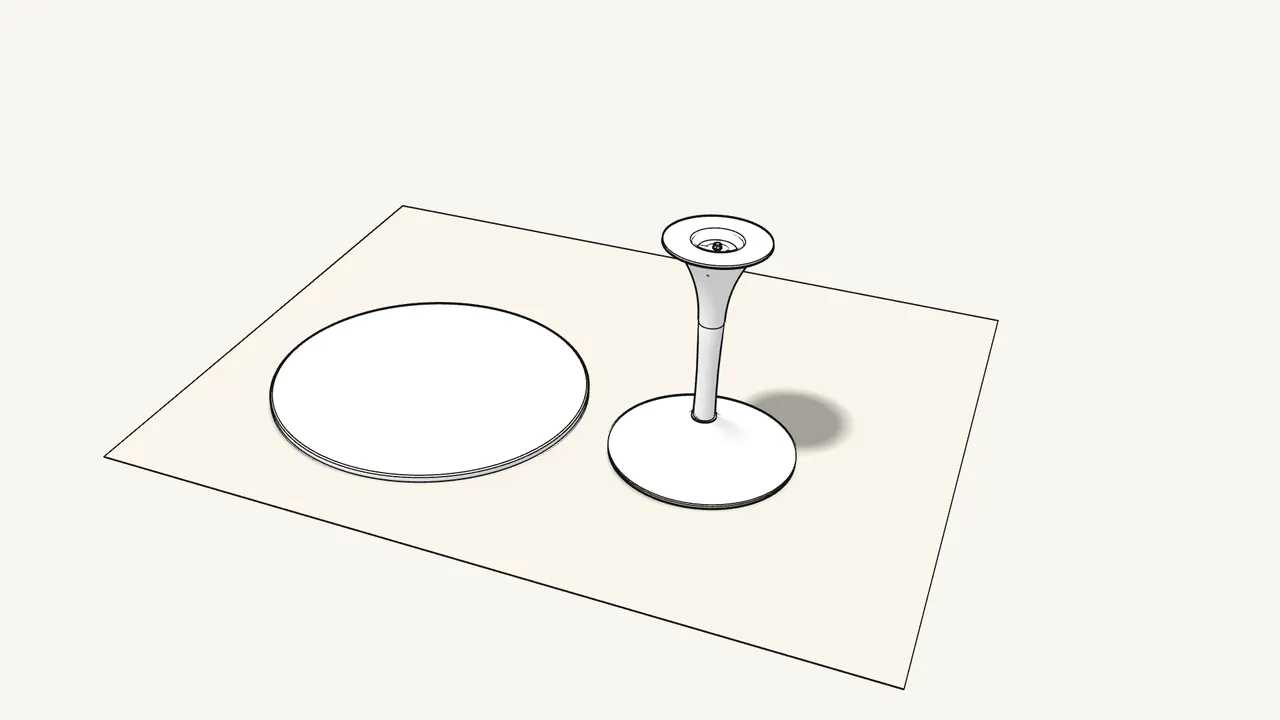
Step 11 · manual step 9
Lay the tabletop face-down on the rug.
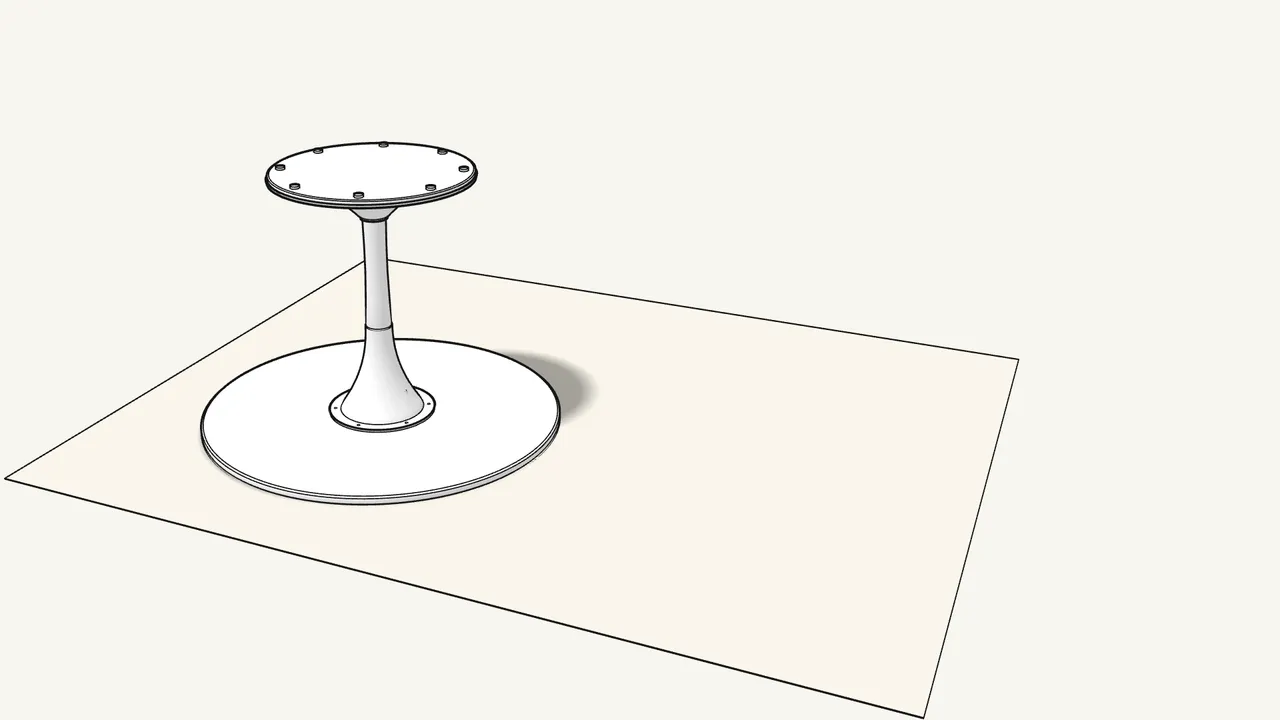
Step 12 · manual step 9
Turn the underframe upside down onto the tabletop.
Two people make this easier.
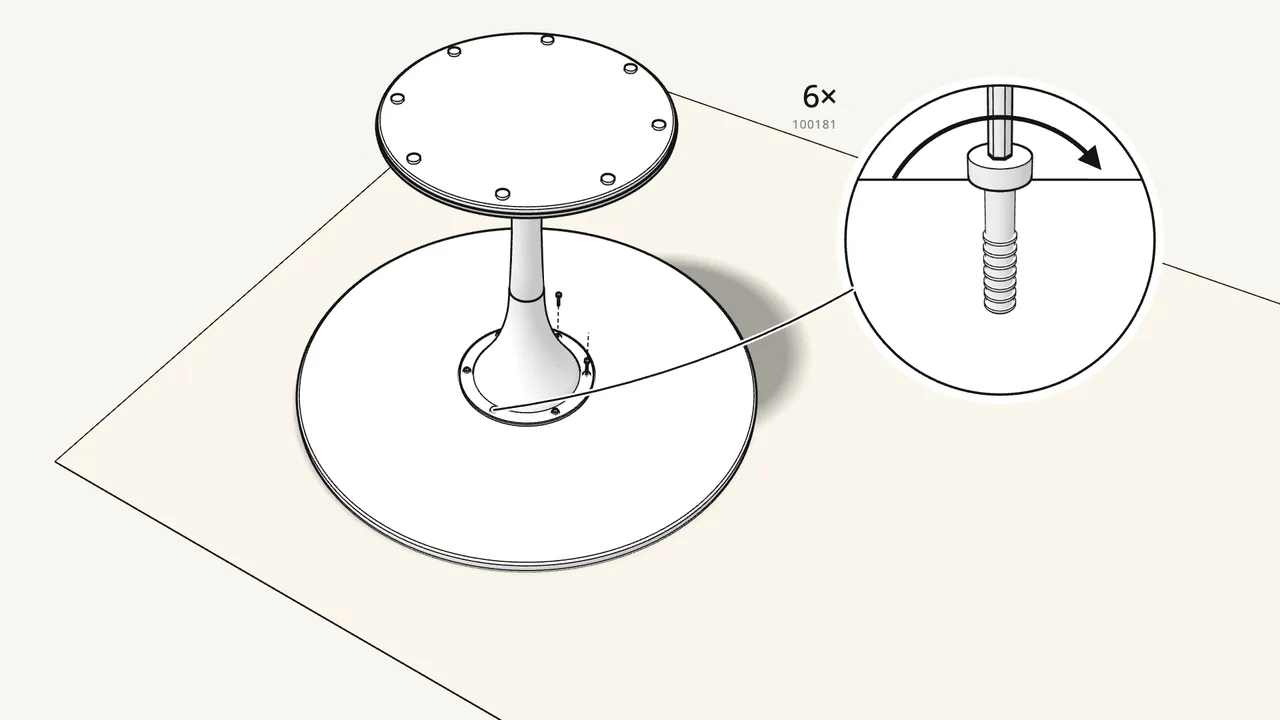
Step 13 · manual step 10
Fix it with 6 bolts (100181) and 6 lock washers (100850).
Tighten all 6 with the Allen key (108490).
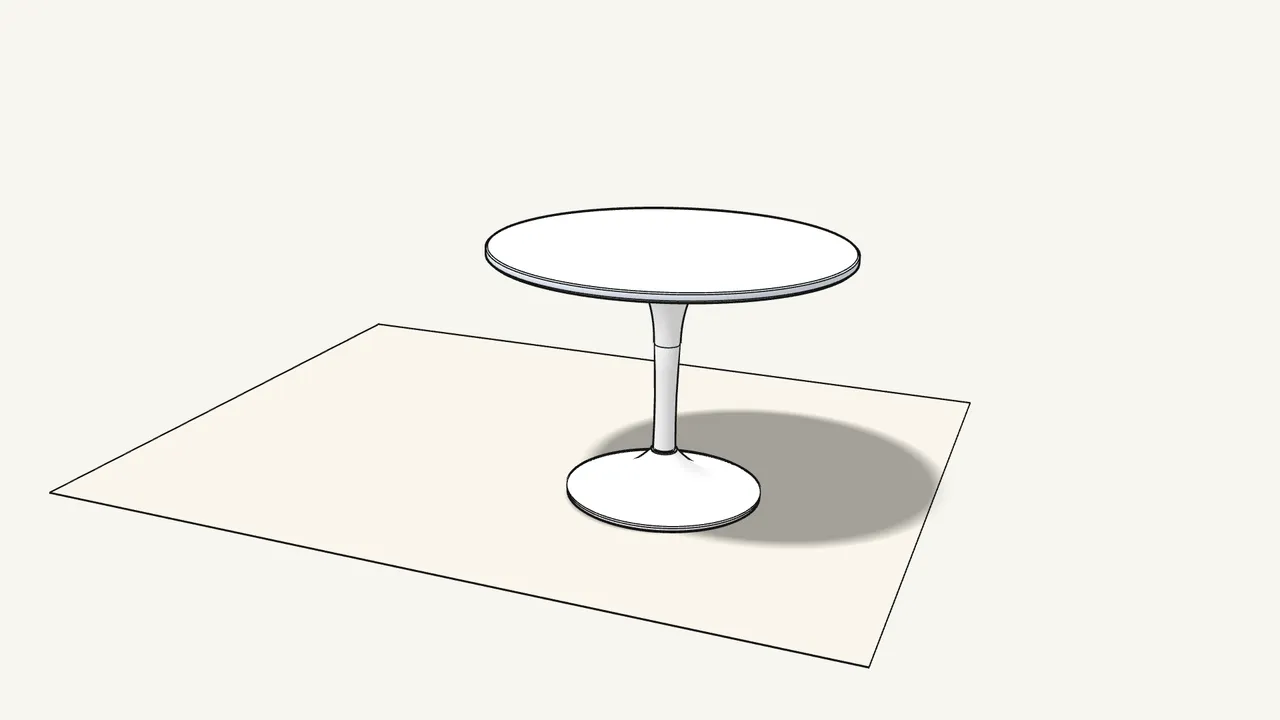
Step 14 · manual step 11
Turn the table the right way up.
Two people: lift it by the tabletop.
Tips & safety
- Get help for steps 2, 9 and 11. The manual shows two people handling the base and turning the table.
- Missing a part or not sure? The manual says: contact your IKEA store before you continue.
Official instructions
This guide follows IKEA’s official assembly instructions (AA-2168035-9). Keep the printed manual to hand — if anything differs, the manual is right.



