IKEA · Tables & Desks
How to assemble IKEA BOLLSIDAN Laptop Stand
Step-by-step IKEA BOLLSIDAN Laptop Stand assembly: 7 illustrated steps, an animated video, the hardware list and the tools you need — following the official instructions (AA-2345883-9).
- 7 illustrated steps
- 4 steps in the manual
- 1:33 video
- 68×36×72 cm cm
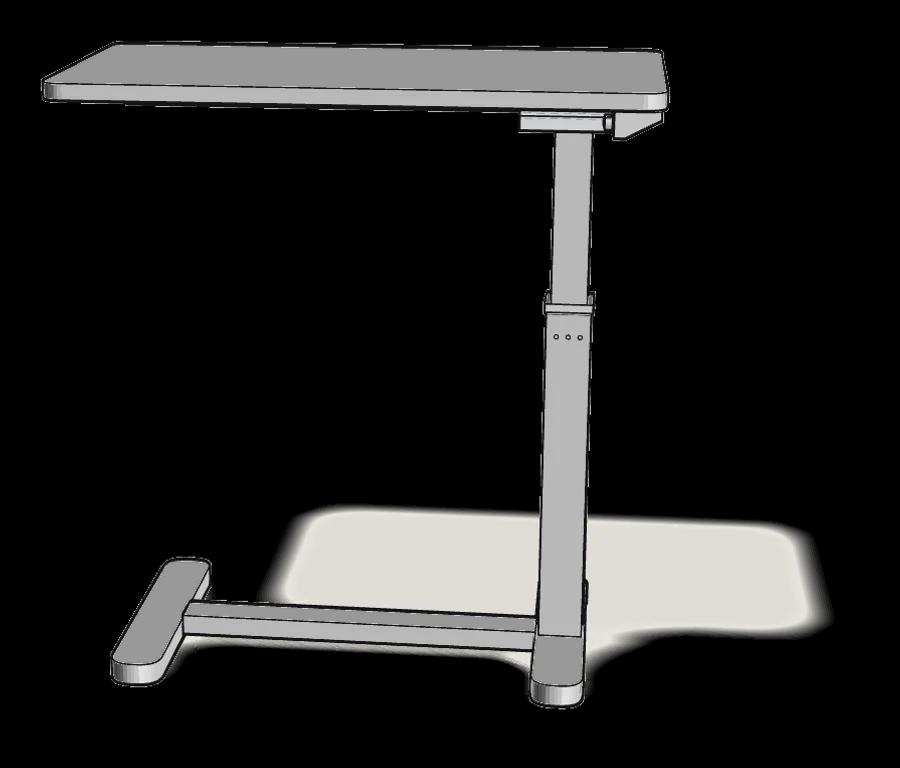
What you need
Tools
- Allen key (included)
You’ll need: only the Allen key (108490). It’s in the box.
Hardware in the box
| Part no. (as printed in the manual) | Qty |
|---|---|
| 106877 | 4× |
| 153714 | 4× |
Step-by-step assembly
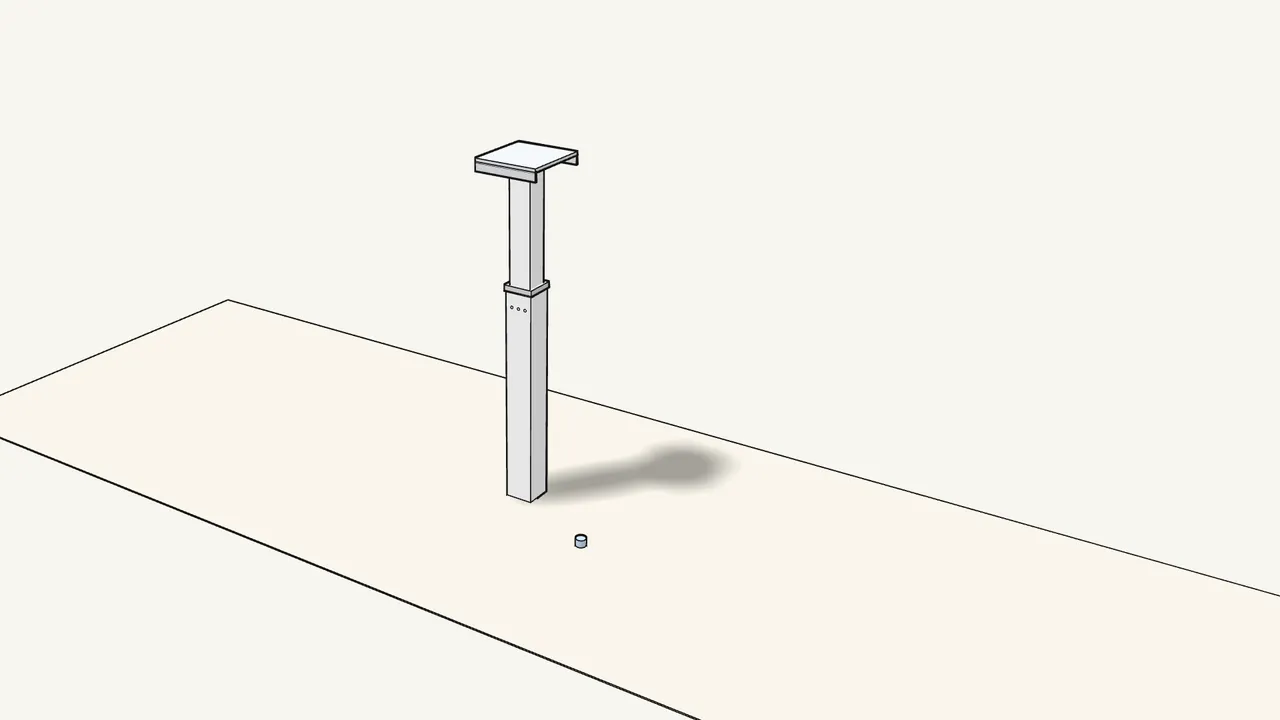
Step 1
Pull the plug out of the plate on top of the column.
Throw it away — it is not used.
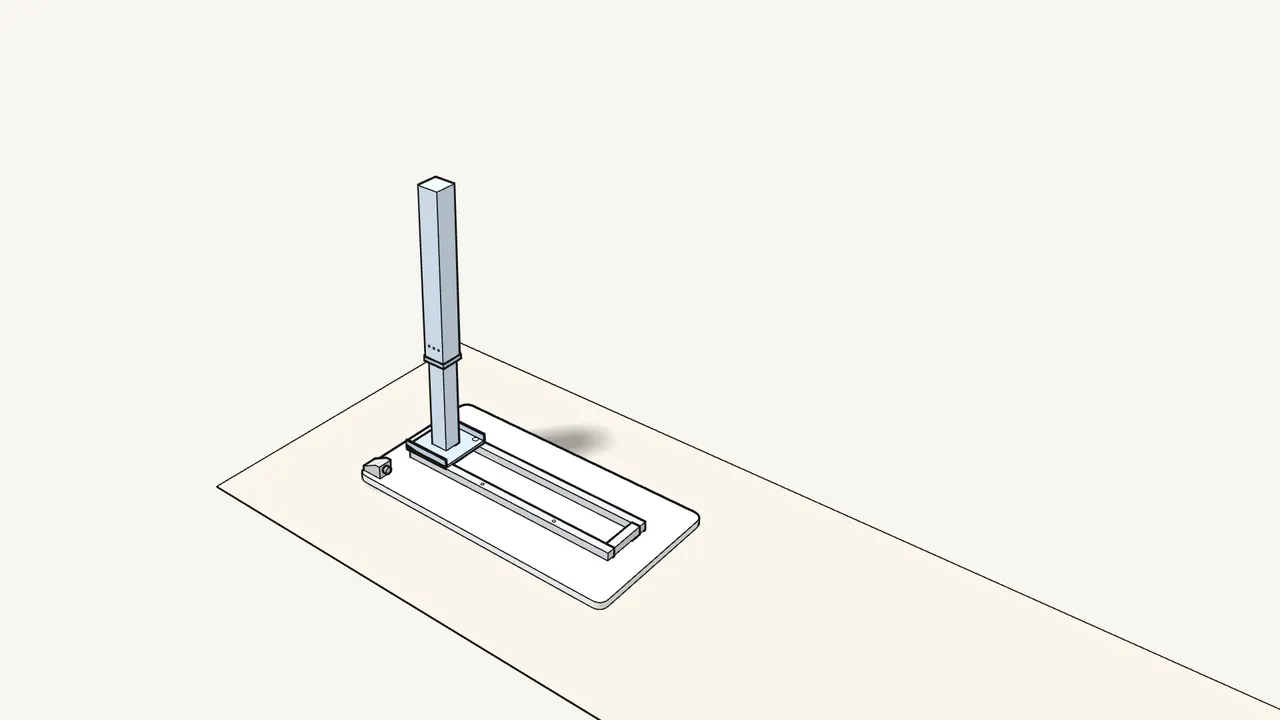
Step 2
Lay the tabletop face-down on the rug.
Then set the column, plate down, onto the frame underneath.
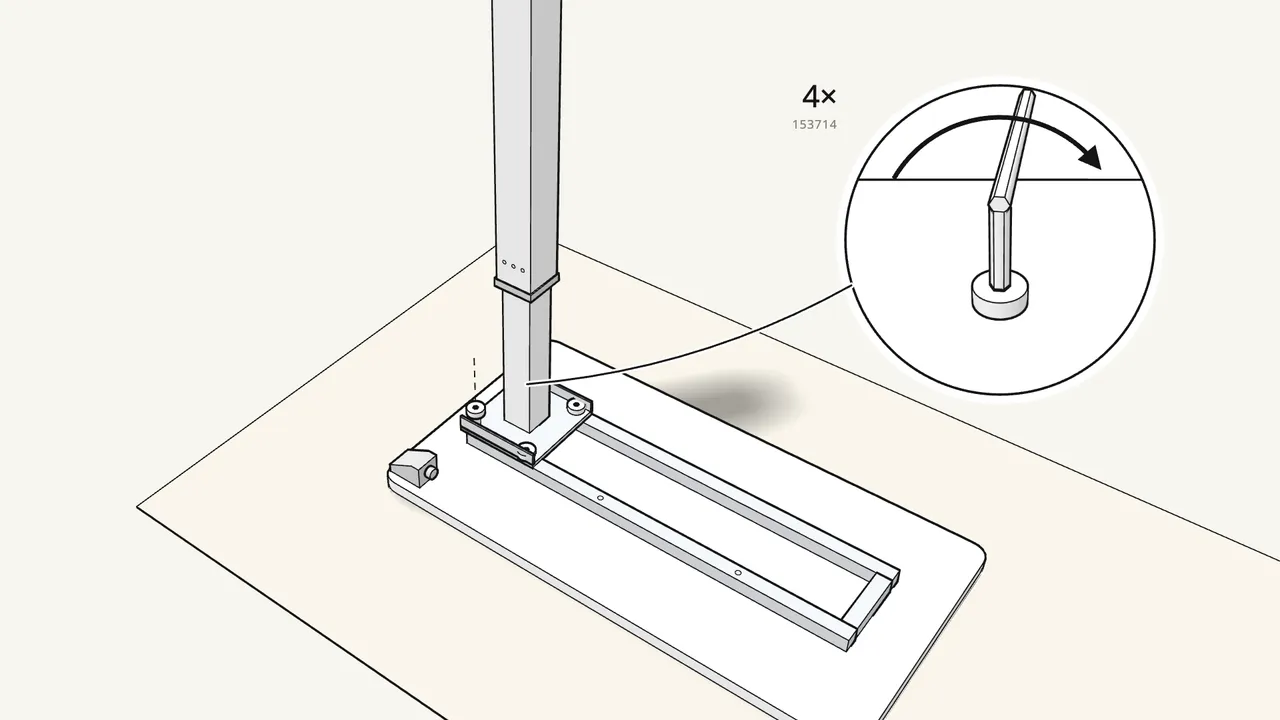
Step 3 · manual step 2
Fix the plate with 4 screws (153714).
Tighten them with the Allen key.
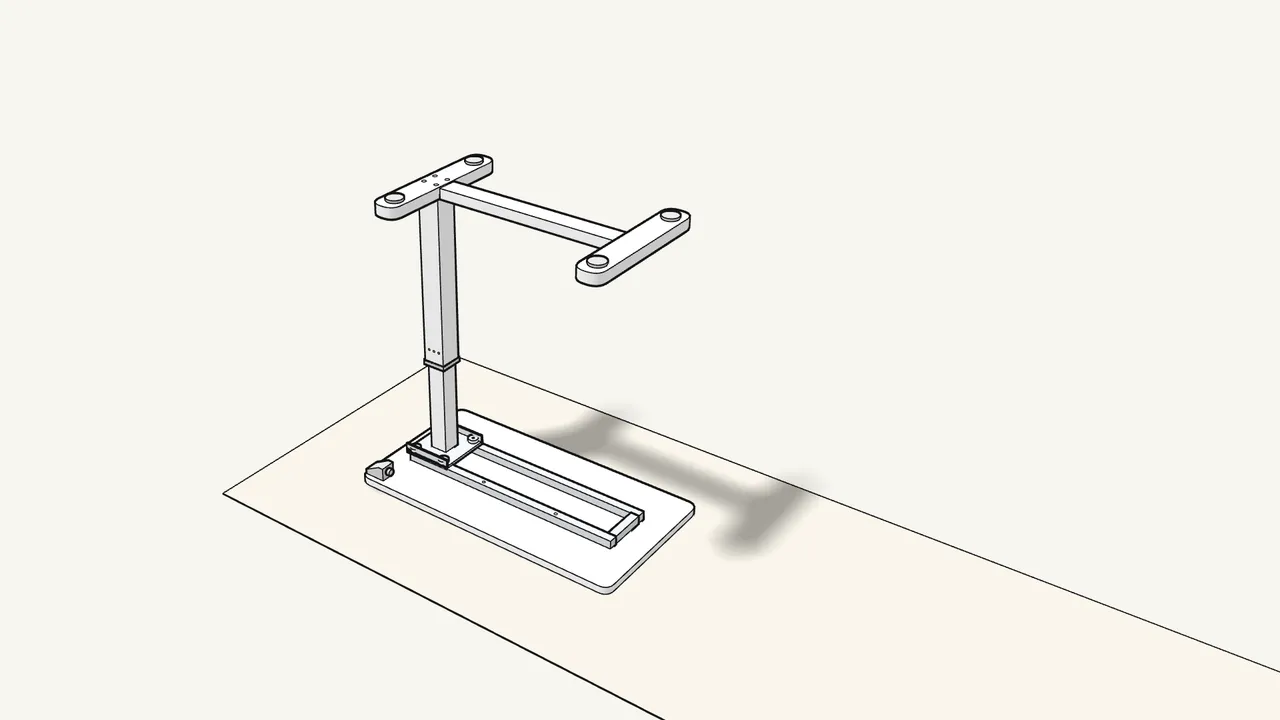
Step 4 · manual step 3
Place the base on the end of the column.
The crossbar runs along the length of the tabletop.
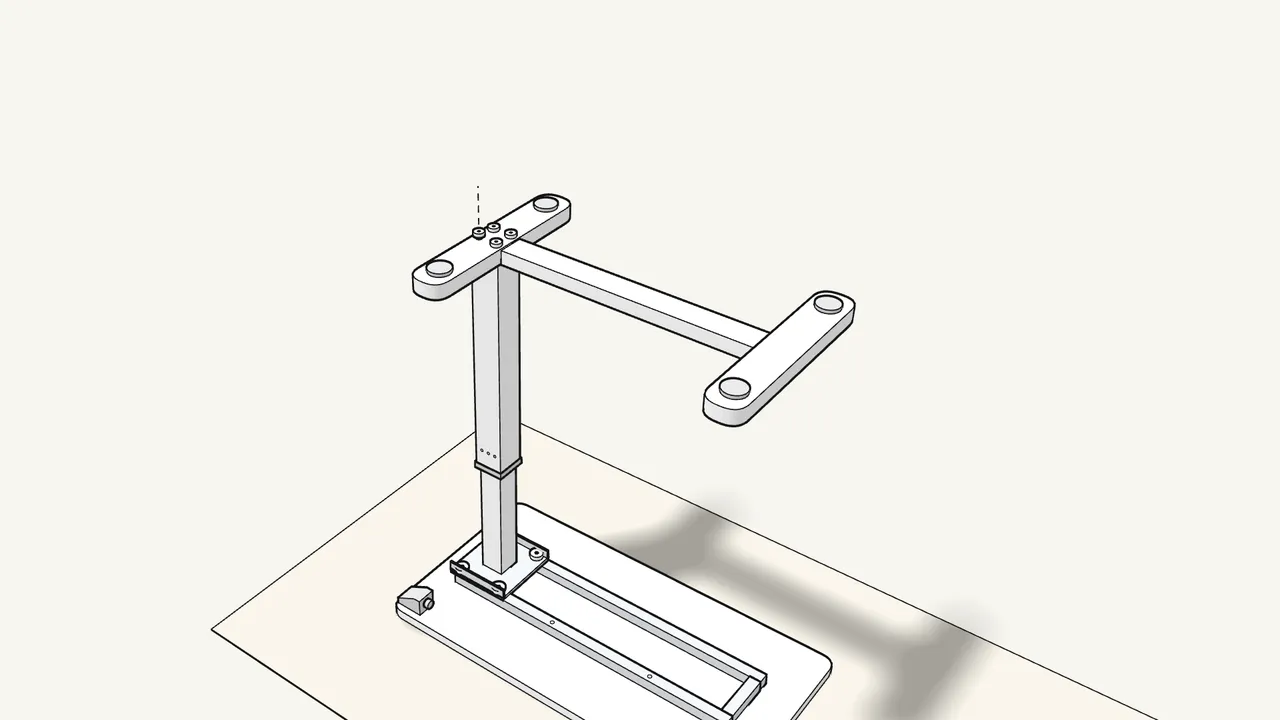
Step 5 · manual step 3
Fix the base with 4 screws (106877).
Tighten them with the Allen key.
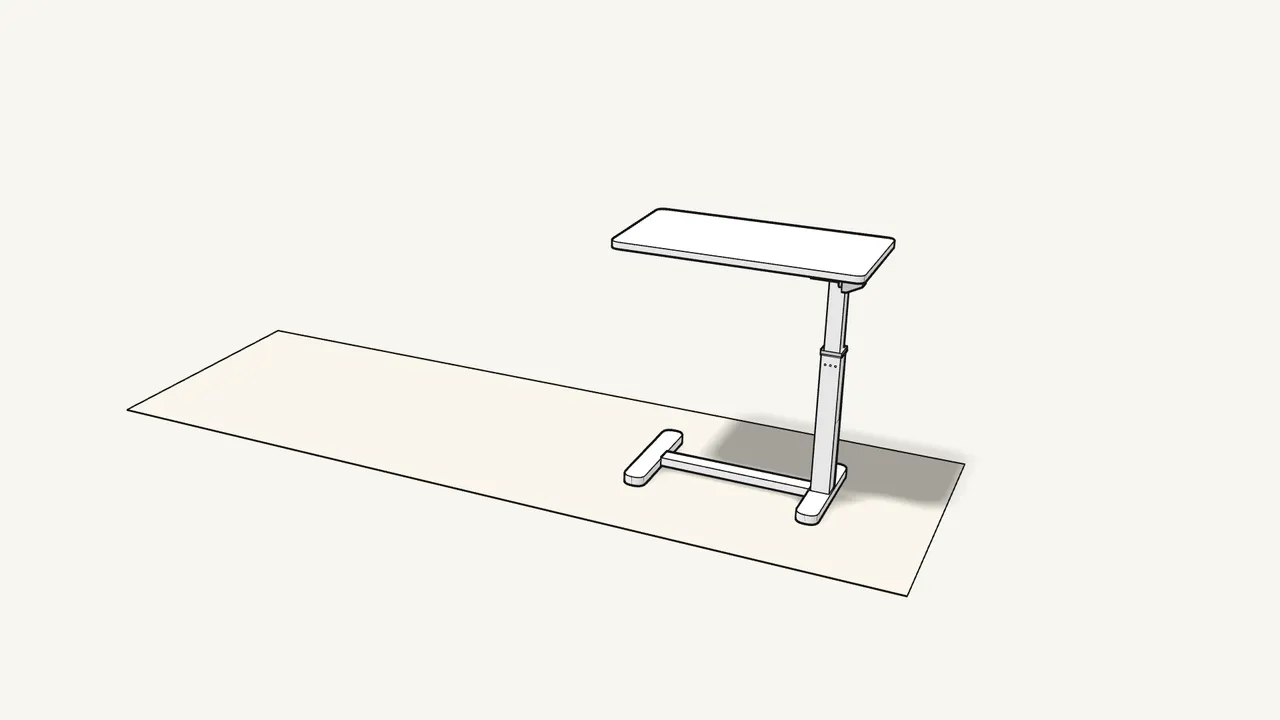
Step 6 · manual step 4
Turn the stand upright.
Tip it over onto its feet — see the manual, step 4.
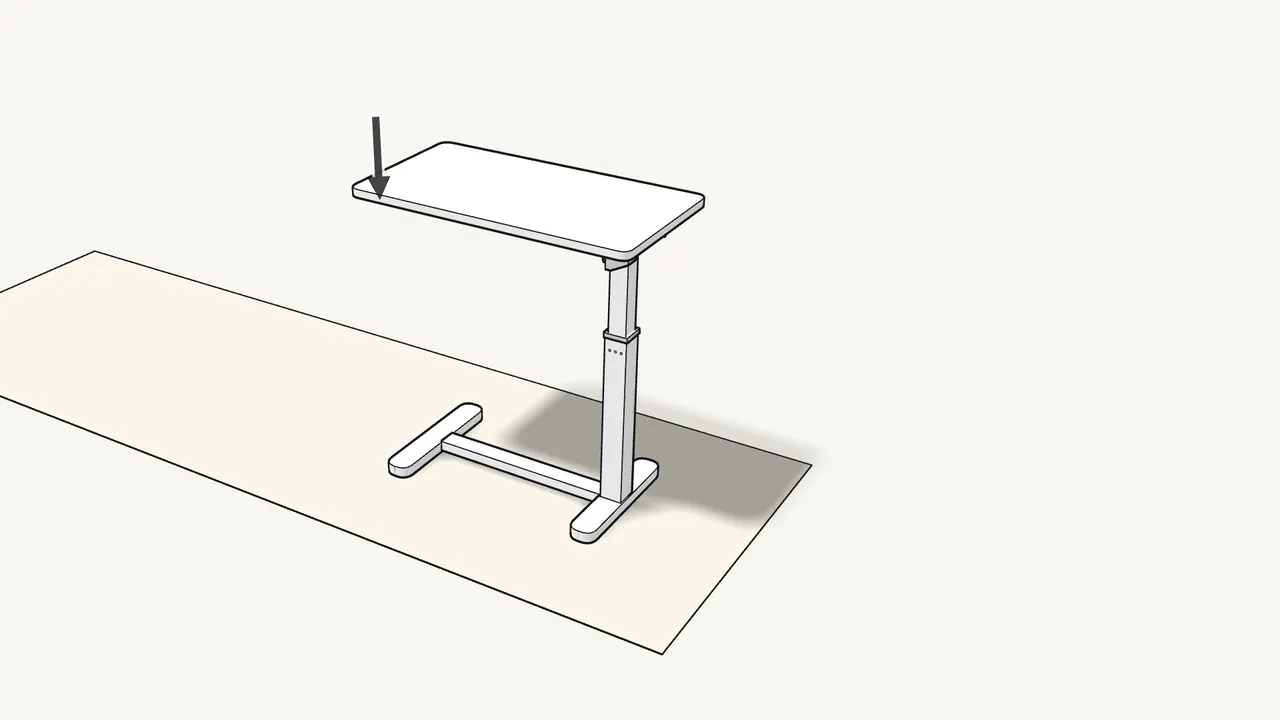
Step 7
To adjust the height, press the lever.
It is under the tabletop. Hold it pressed and lift or push down the tabletop (manual, last page).
Tips & safety
- Maximum load 7 kg (15.4 lb). Spread the weight on the tabletop.
- Do not sit on the laptop stand. Warning from the manual.
Official instructions
This guide follows IKEA’s official assembly instructions (AA-2345883-9). Keep the printed manual to hand — if anything differs, the manual is right.



