IKEA · Beds
How to assemble IKEA VITVAL Loft Bed Frame
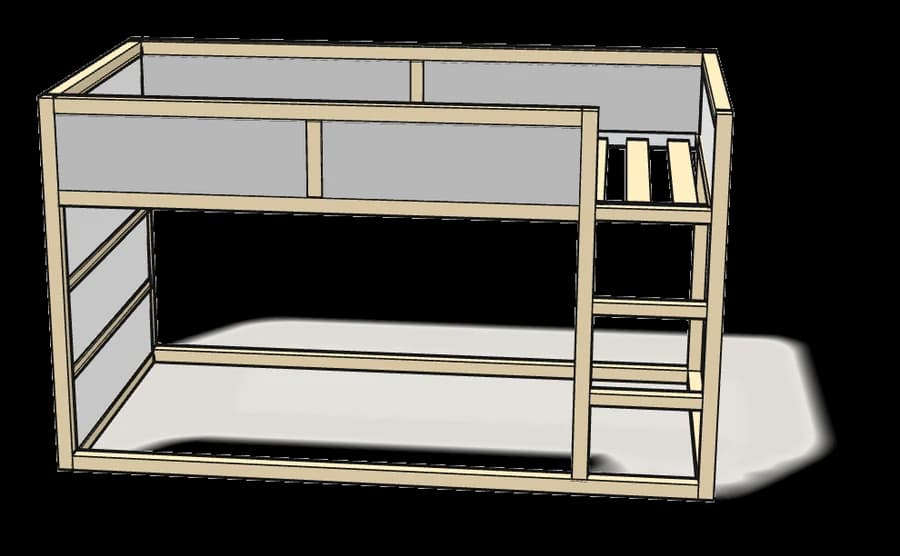
Step-by-step IKEA VITVAL Loft Bed Frame assembly: 24 illustrated steps, an animated video, the hardware list and the tools you need — following the official instructions (AA-2136294-7).
- 24 illustrated steps
- 35 steps in the manual
- 3:18 video
- 207×104×195 cm
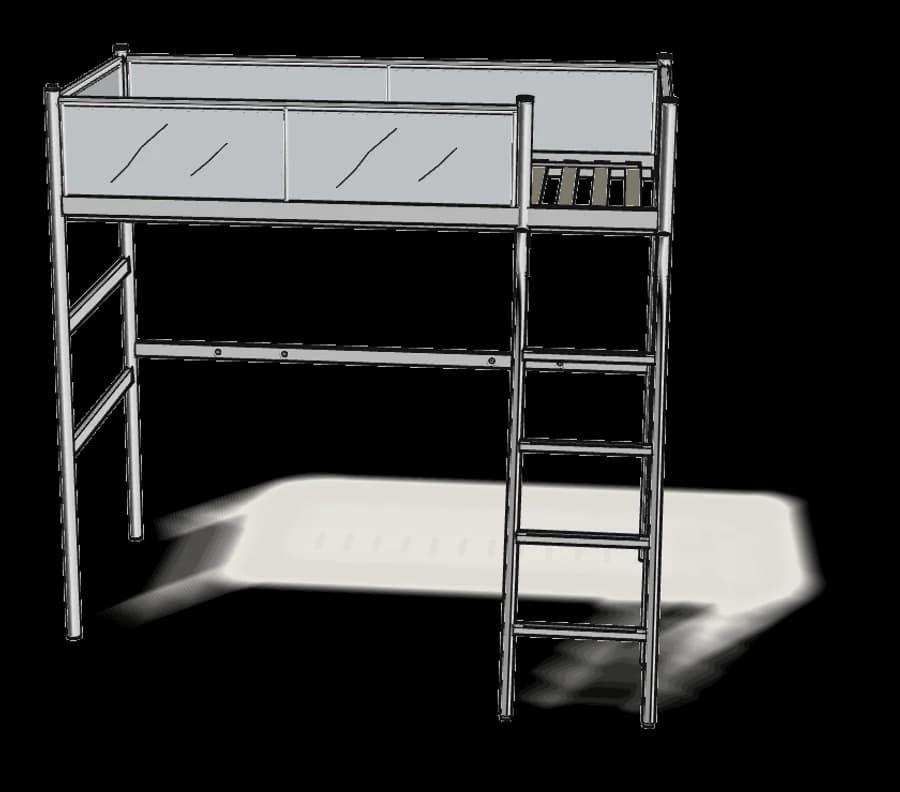
What you need
Tools
- Flat-head screwdriver
- Phillips screwdriver
- Hammer
Hardware in the box
| Part no. (as printed in the manual) | Qty |
|---|---|
| 10004072 | 45× |
| 10003444 | 20× |
| 100602 | 8× |
| 120925 | 30× |
| 117359 | 1× |
| 10004760 | 4× |
| 118832 | 1× |
| 100644 | 1× |
| 121111 | 1× |
| 10129455 | 1× |
| 151636 | 2× |
| 130852 | 2× |
Step-by-step assembly
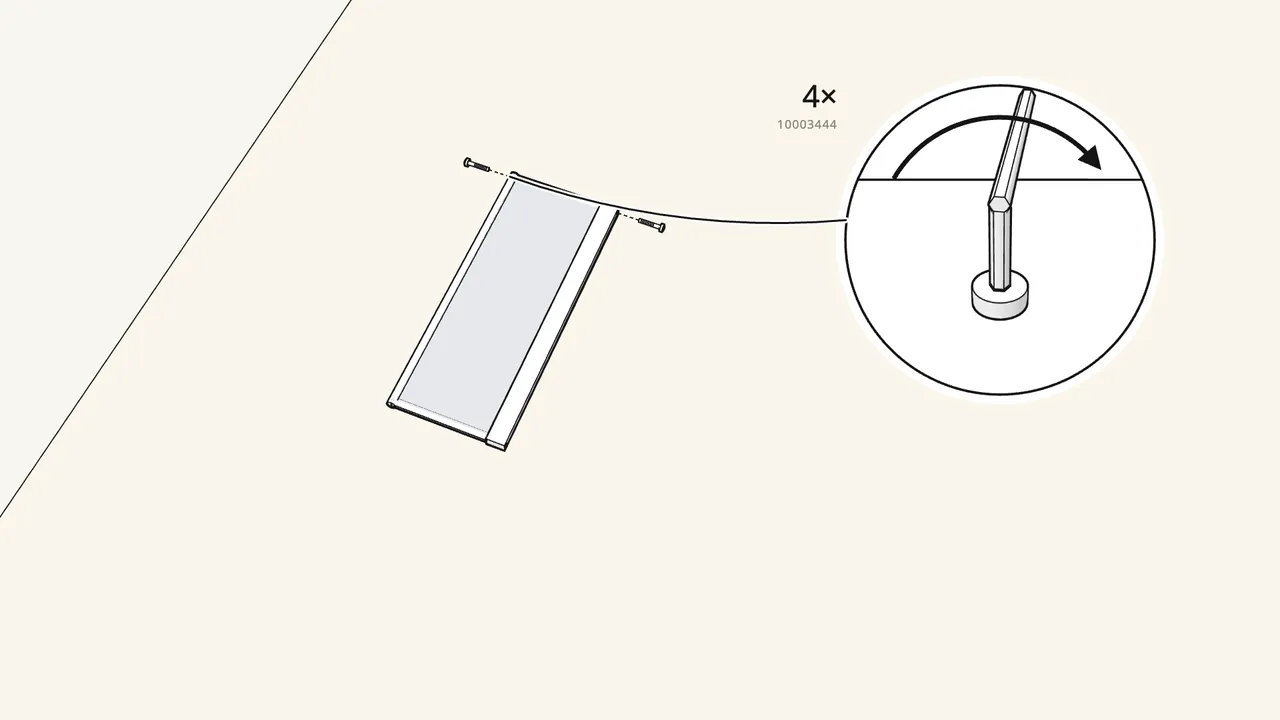
Step 1 · manual step 1–4
Build an end guard: bottom rail, 2 poles, top rod.
Slide them into the hems of the small mesh panel, then 4 screws (10003444).
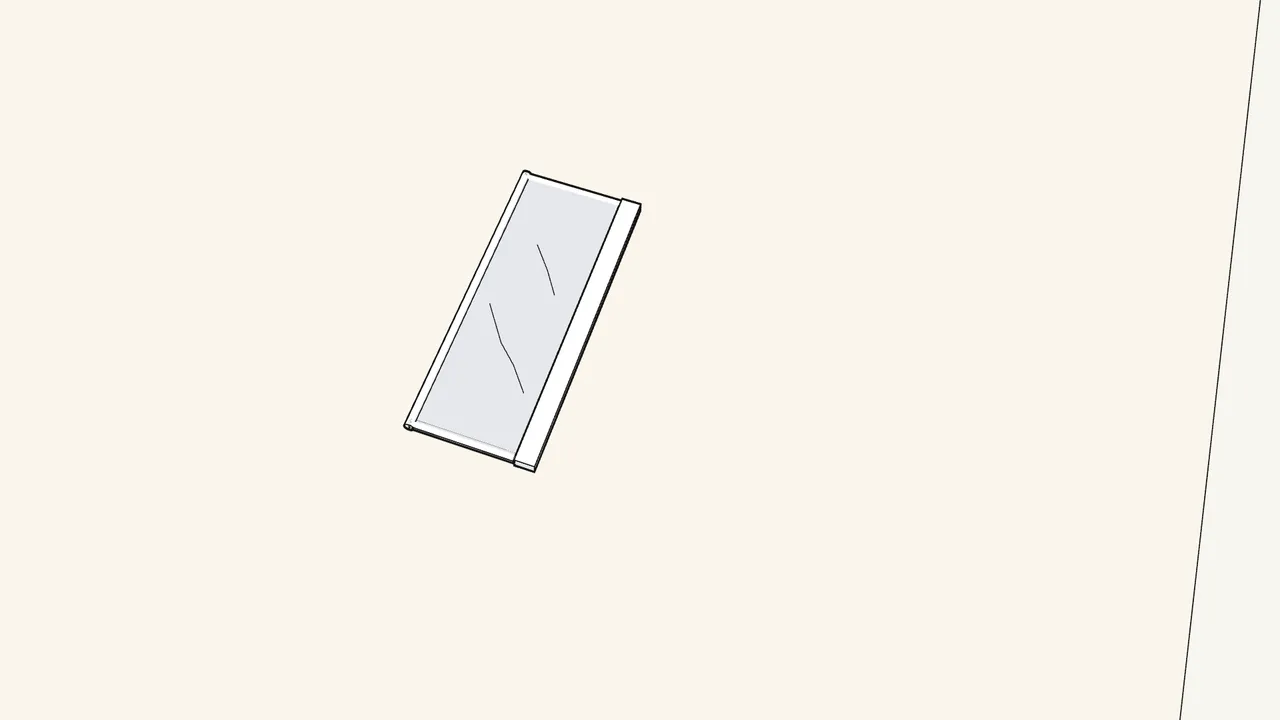
Step 2 · manual step 1–4
Build the second end guard the same way.
Set it aside — it goes on in step 32.
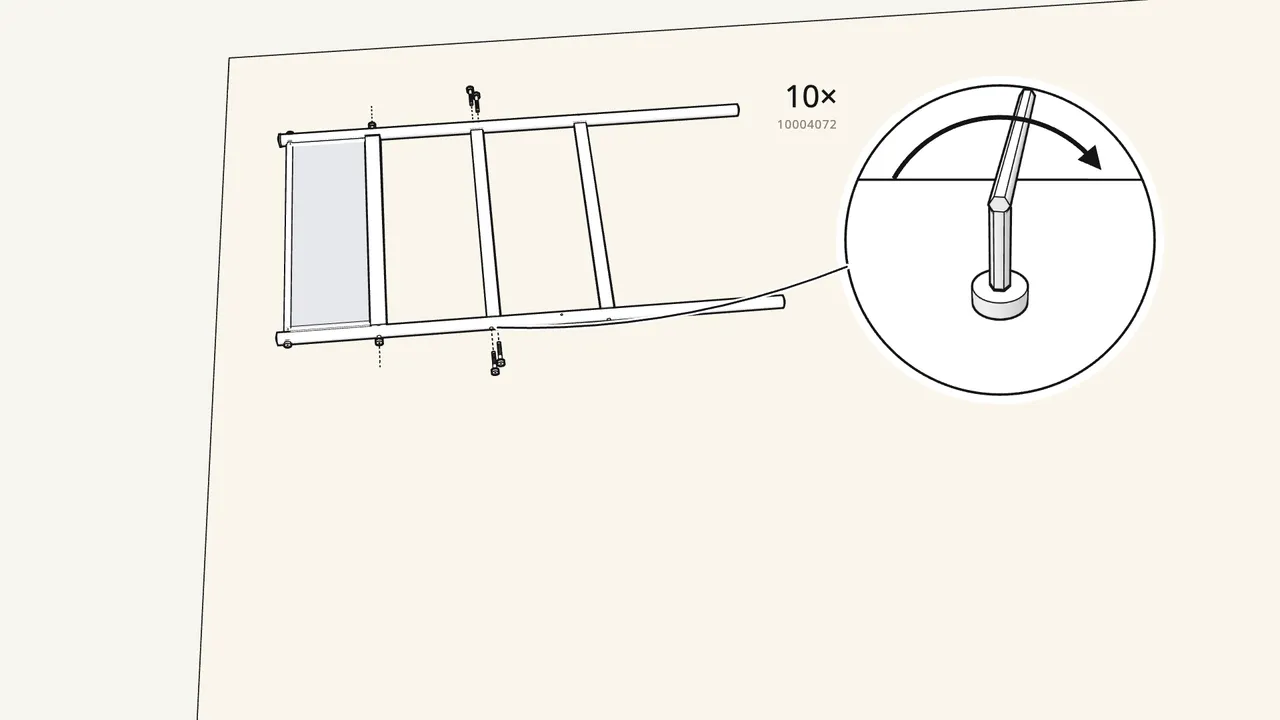
Step 3 · manual step 5
Left end frame: 2 posts, the end guard and 2 rails.
10 connectors (10004072), screwed in with Allen key 100092. Check the post ends — step 5.
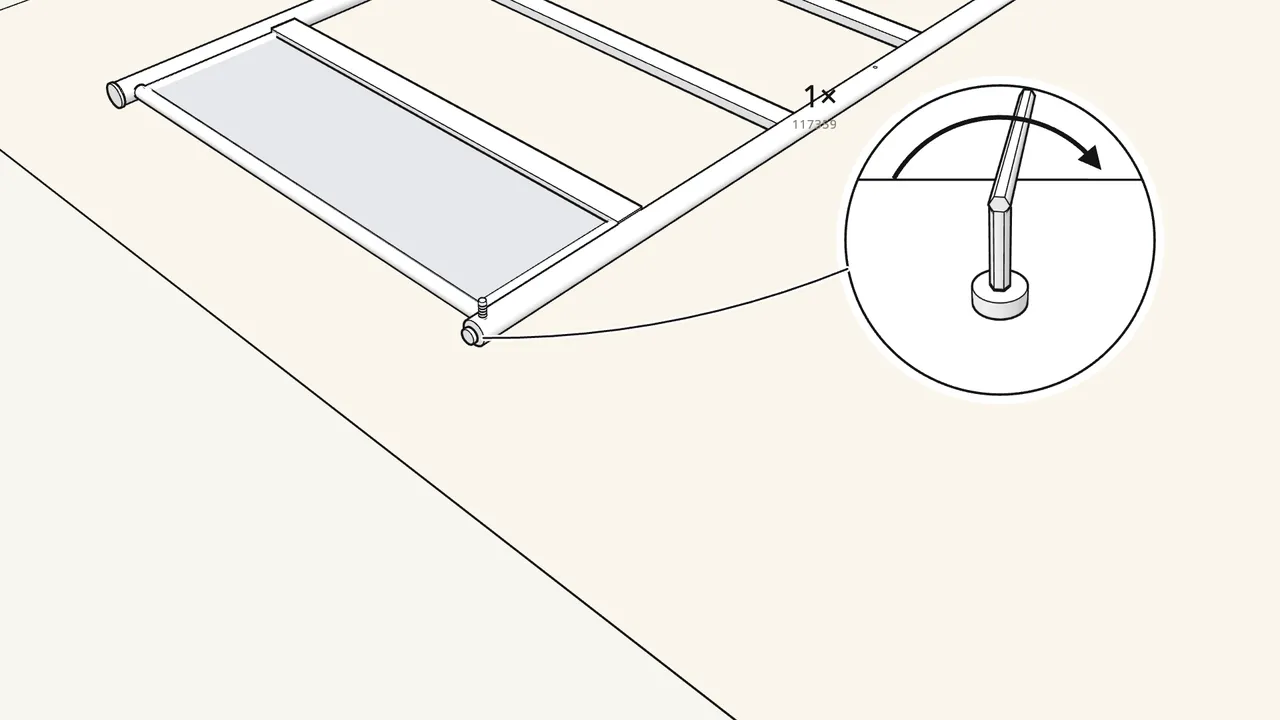
Step 4 · manual step 6
Fit bolt 117359 and tap cap 10129455 into the post top.
Allen key 108490 in the handle 121030; hammer over a piece of wood.
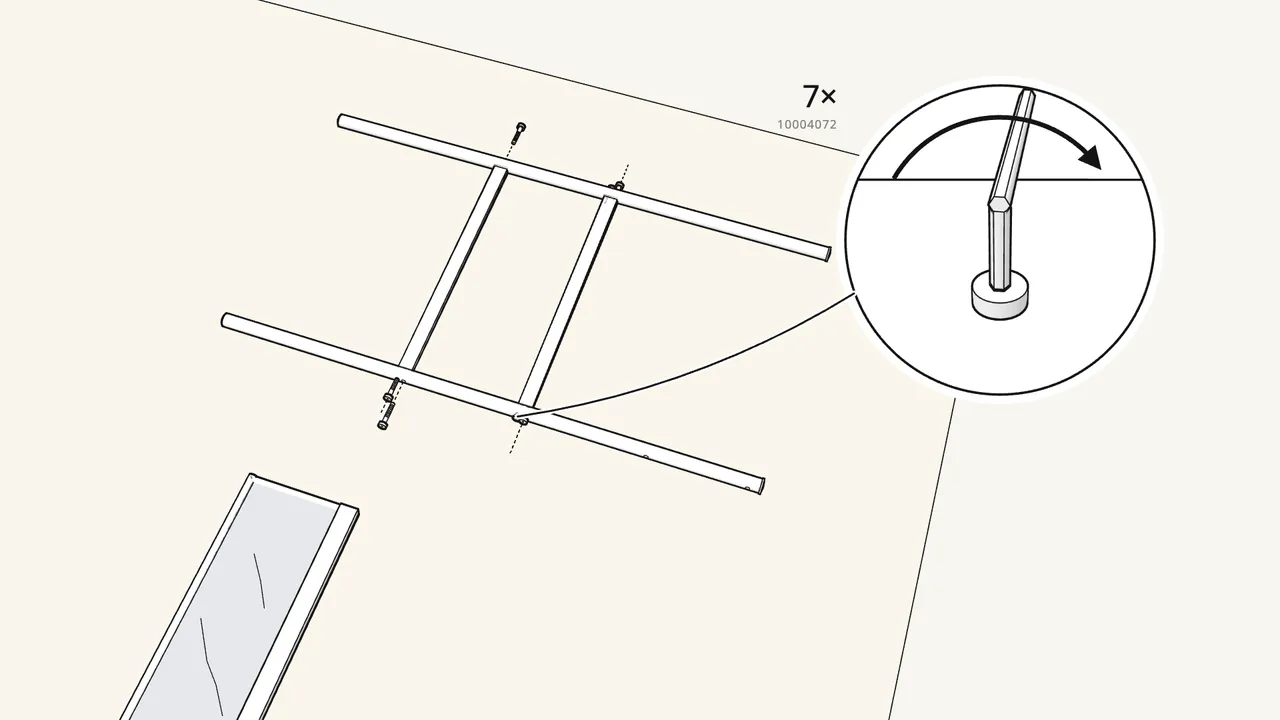
Step 5 · manual step 7
Right end frame: 2 posts and 2 rails.
7 connectors (10004072). Post holes as shown in step 7.
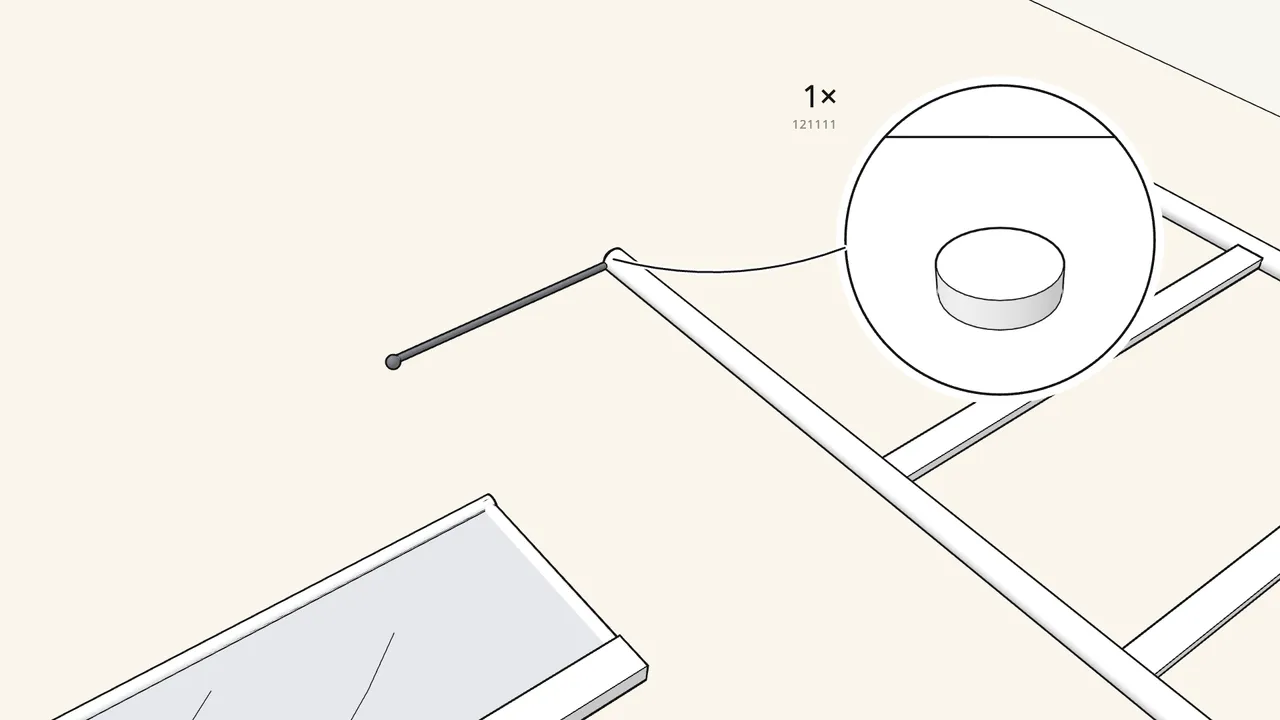
Step 6 · manual step 8–9
Knot the strap (121109) and tap it in with plug 121111.
Knots 43 cm apart. The plug goes in the foot of the front-right post.
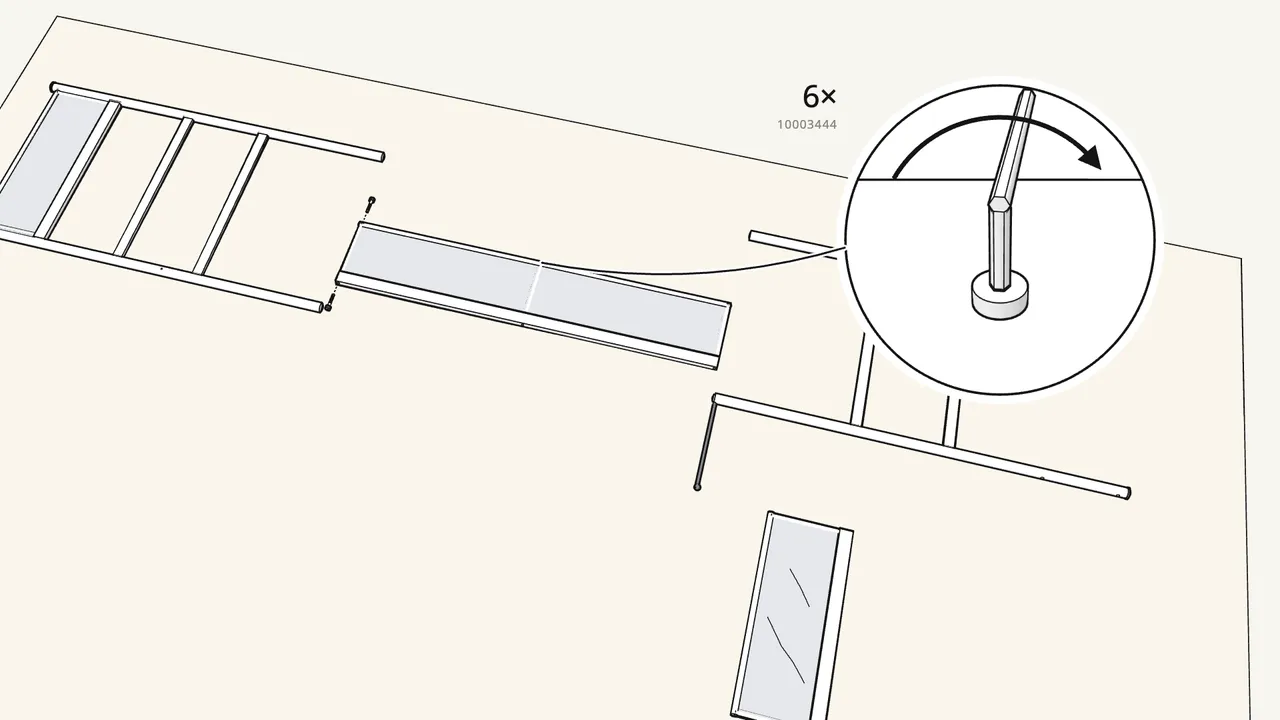
Step 7 · manual step 10–13
Back guard: rail, 3 poles and the long top rod.
Slide them into the large mesh panel, then 6 screws (10003444).
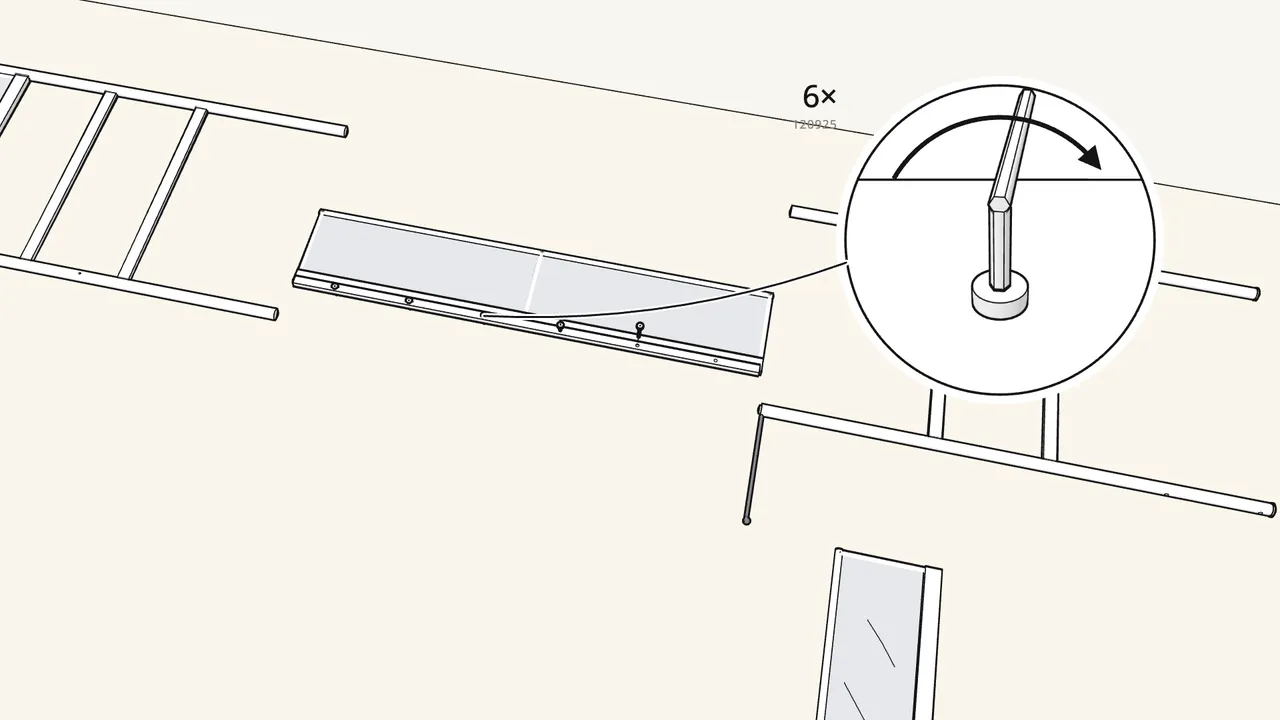
Step 8 · manual step 14
Screw the slat rail to the back guard.
6 bolts (120925). Notches as shown in step 14.
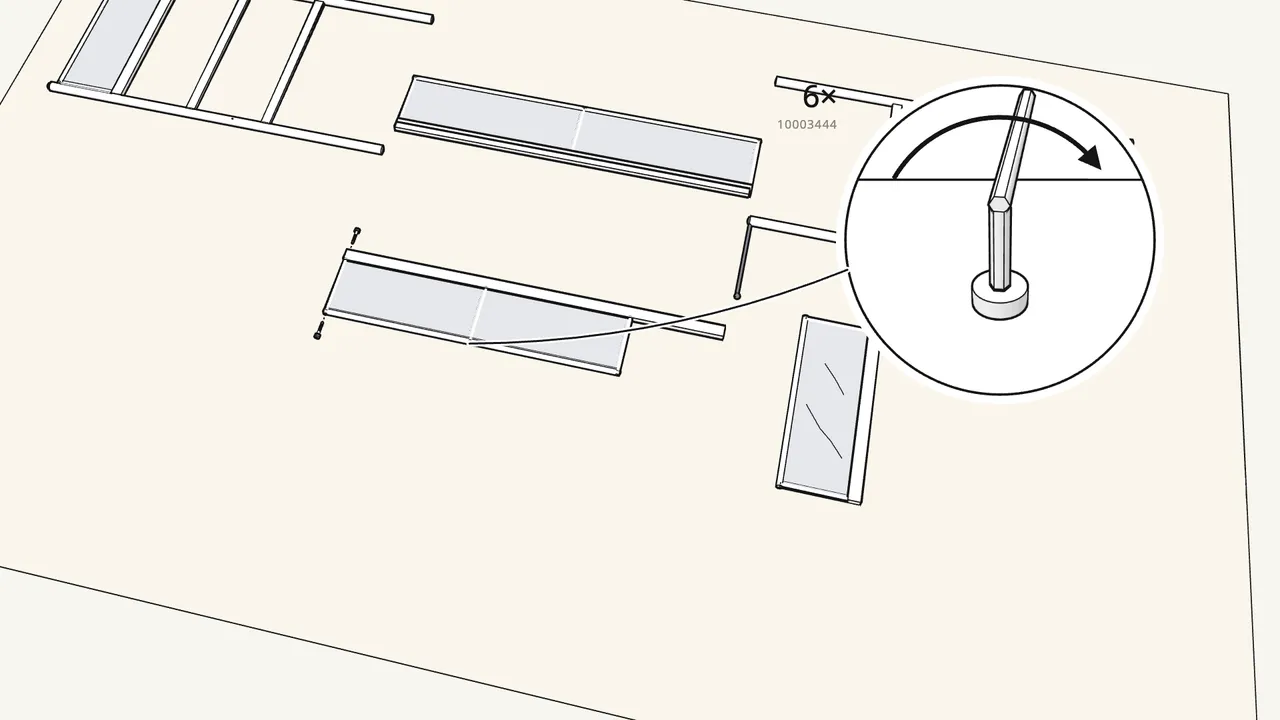
Step 9 · manual step 15–18
Front guard: build it the same way.
Rail, 3 poles, the shorter top rod, then 6 screws (10003444).
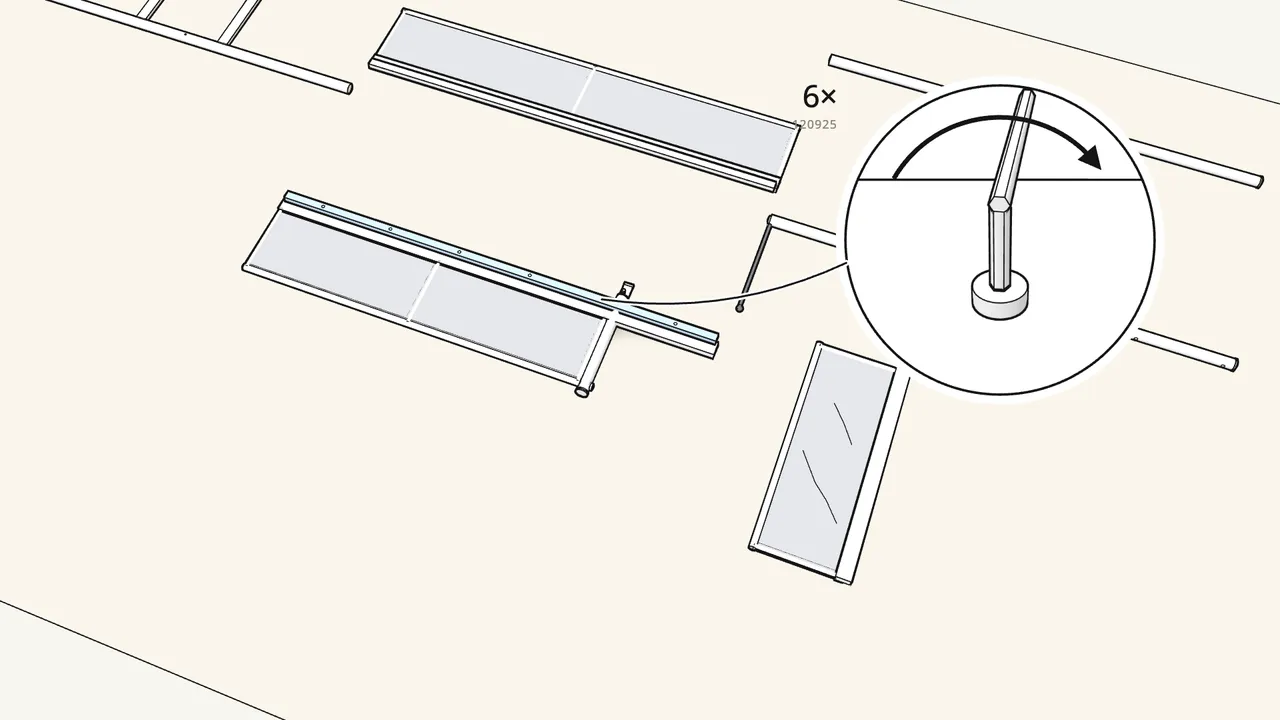
Step 10 · manual step 19–21
Add the short post and the front slat rail.
Bracket on the post (1× 120925), post on the guard (1× 10004072), rail with 6× 120925.
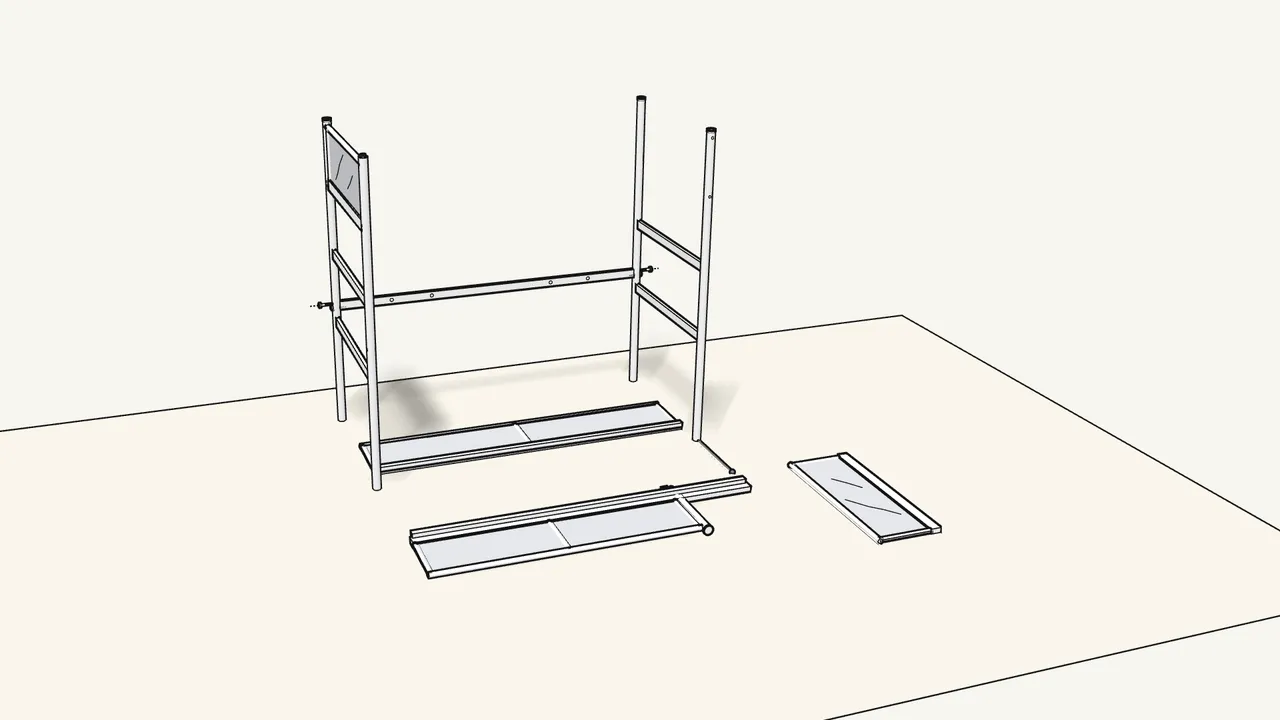
Step 11 · manual step 22
Stand both end frames up and fit the lower back rail.
2 connectors (10004072) at each end.
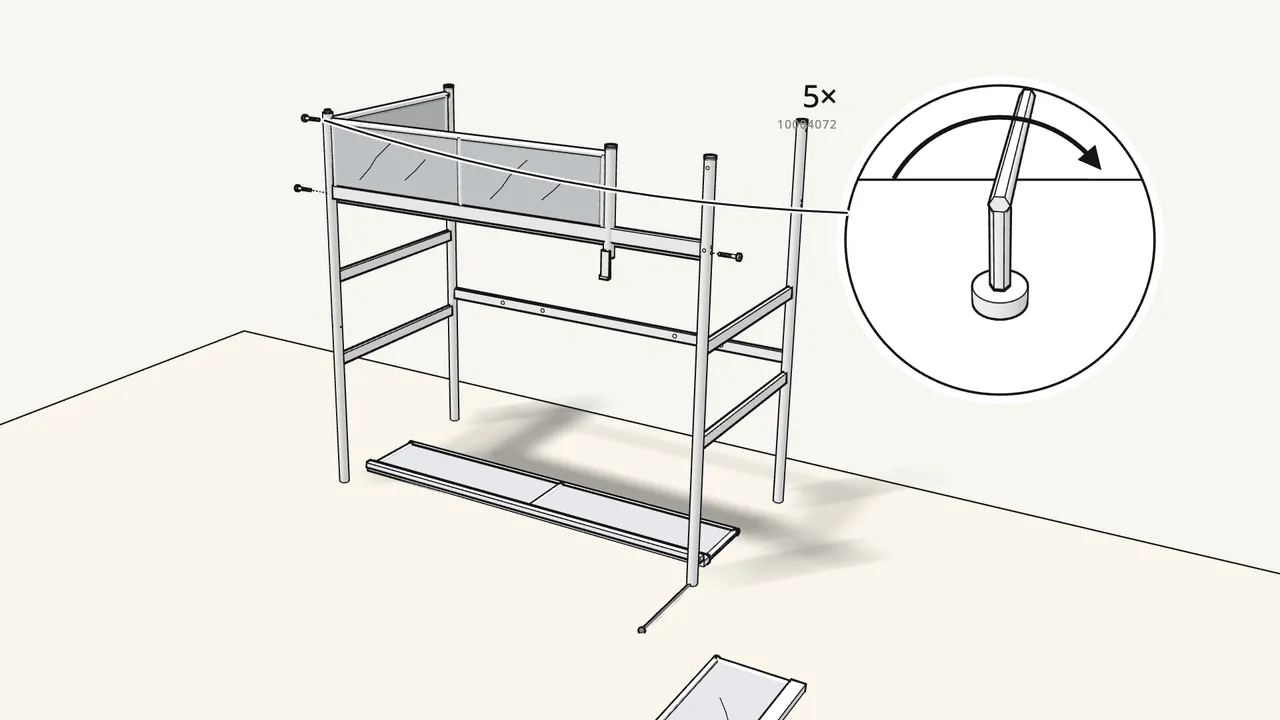
Step 12 · manual step 23
Lift the front guard into place.
Short post on the ladder side. 5 connectors (10004072).
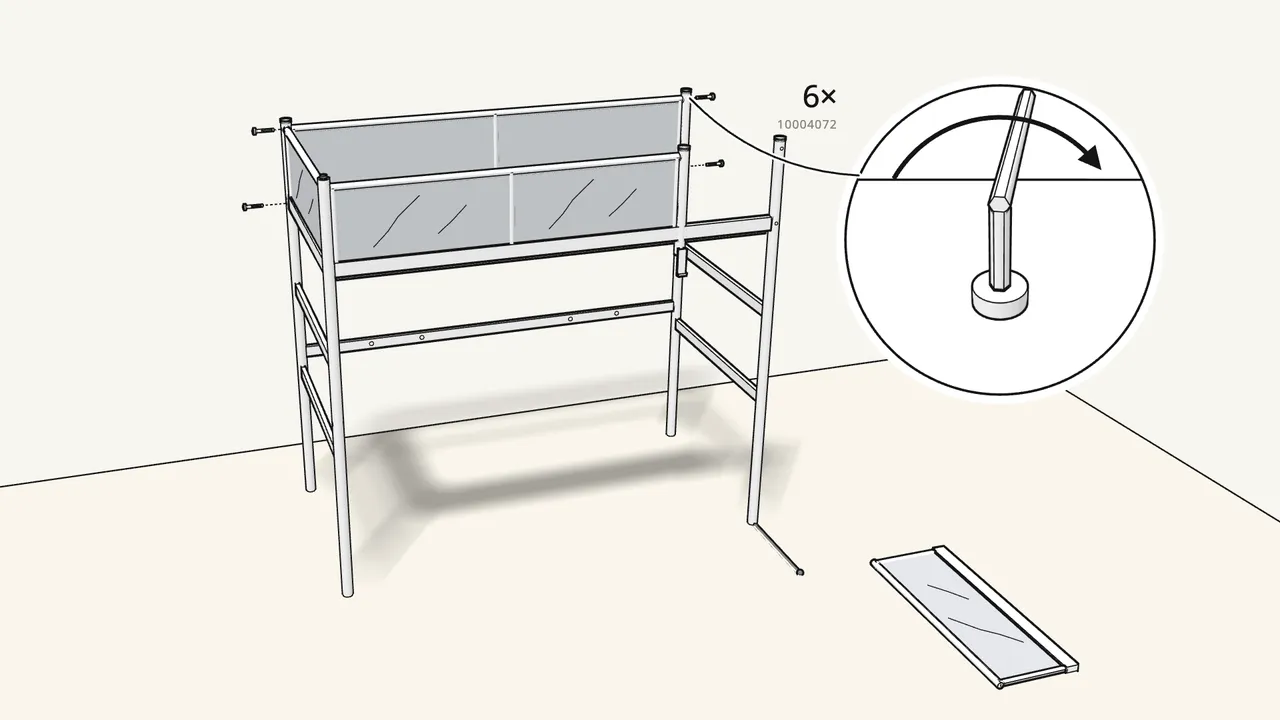
Step 13 · manual step 24
Fit the back guard the same way.
6 connectors (10004072).
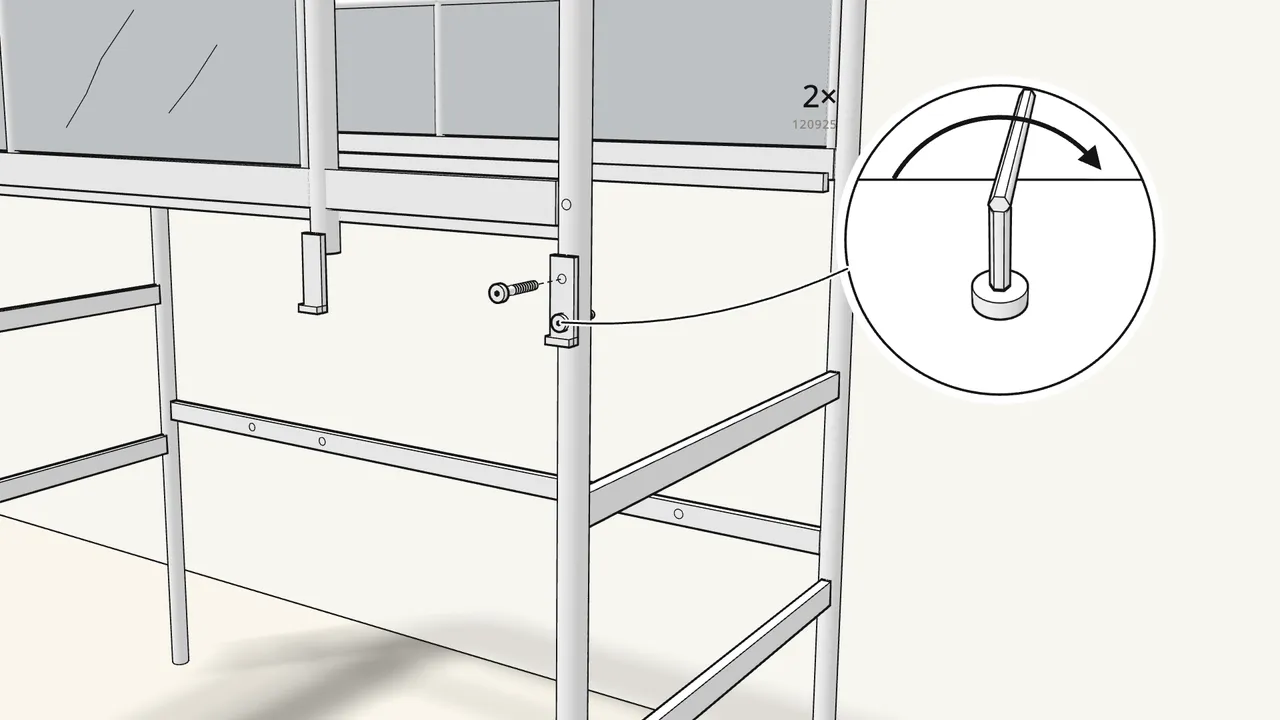
Step 14 · manual step 25
Screw the ladder bracket to the front-right post.
2 bolts (120925).
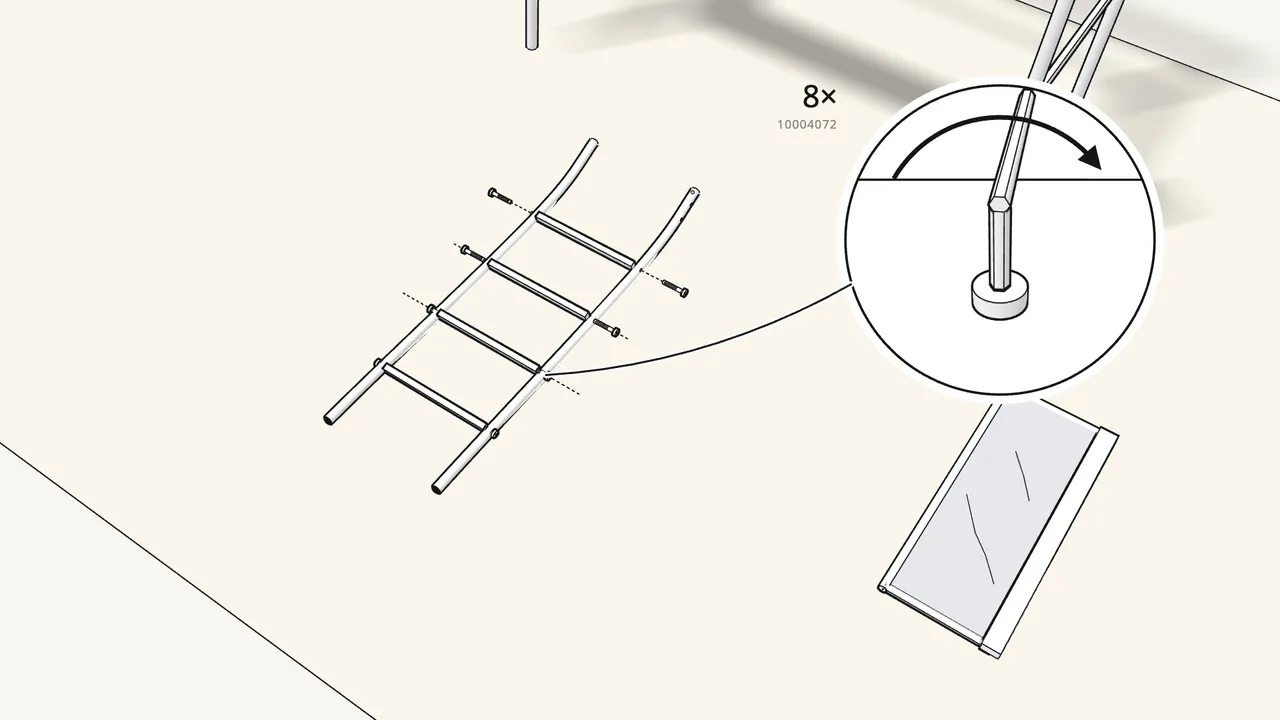
Step 15 · manual step 26
Build the ladder: 4 steps between the two sides.
8 connectors (10004072).
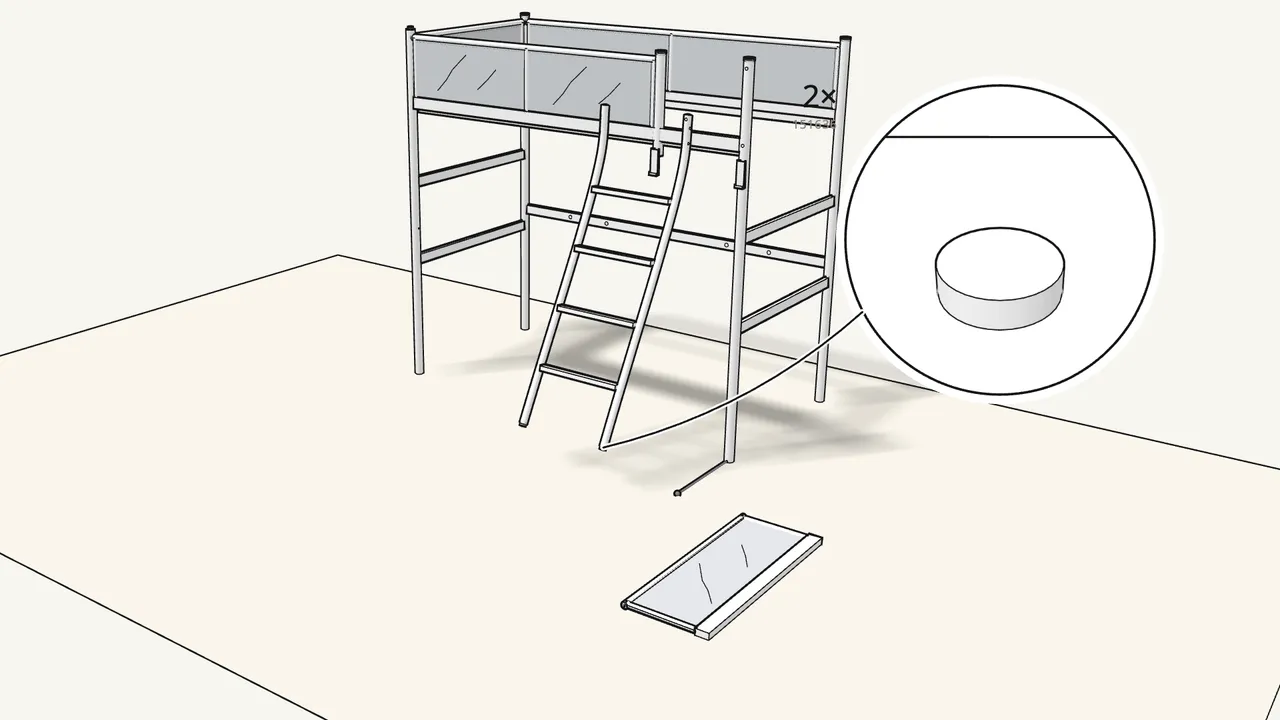
Step 16 · manual step 27
Fit the foot caps (151636) and hook the ladder on.
Tie the strap’s free end in with the right foot cap.
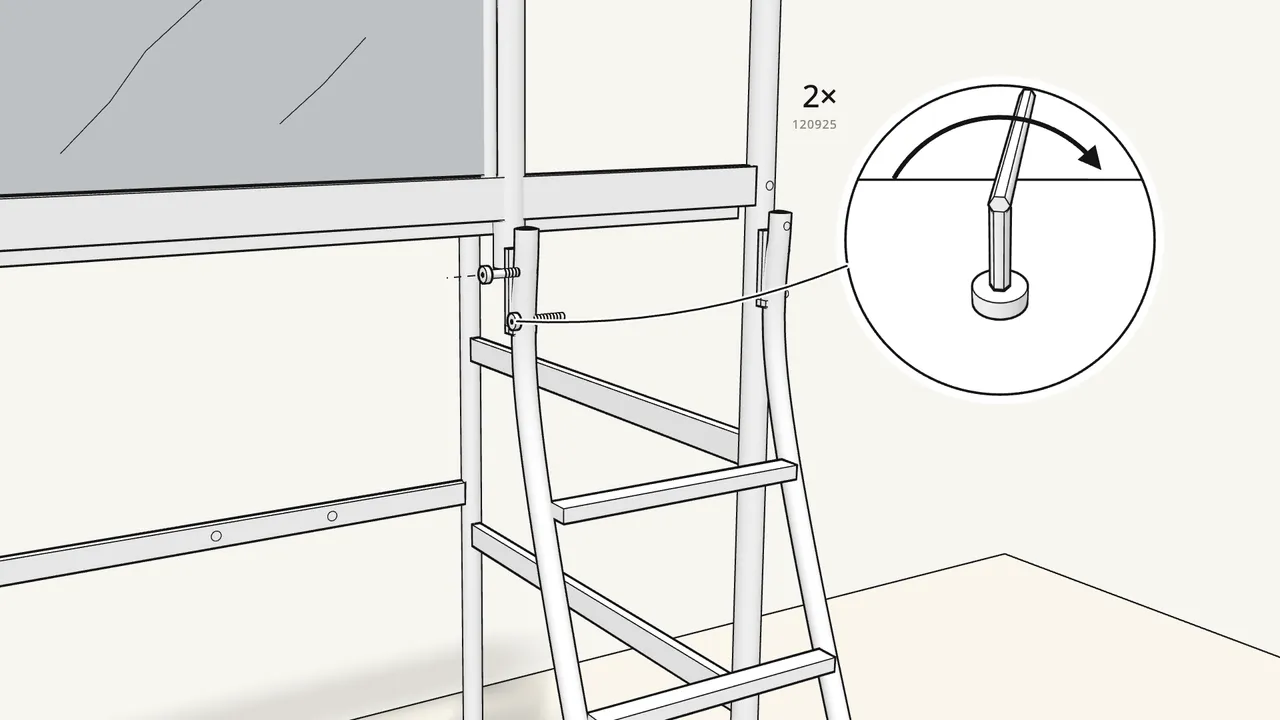
Step 17 · manual step 28
Screw the ladder to the bracket on the short post.
2 bolts (120925).
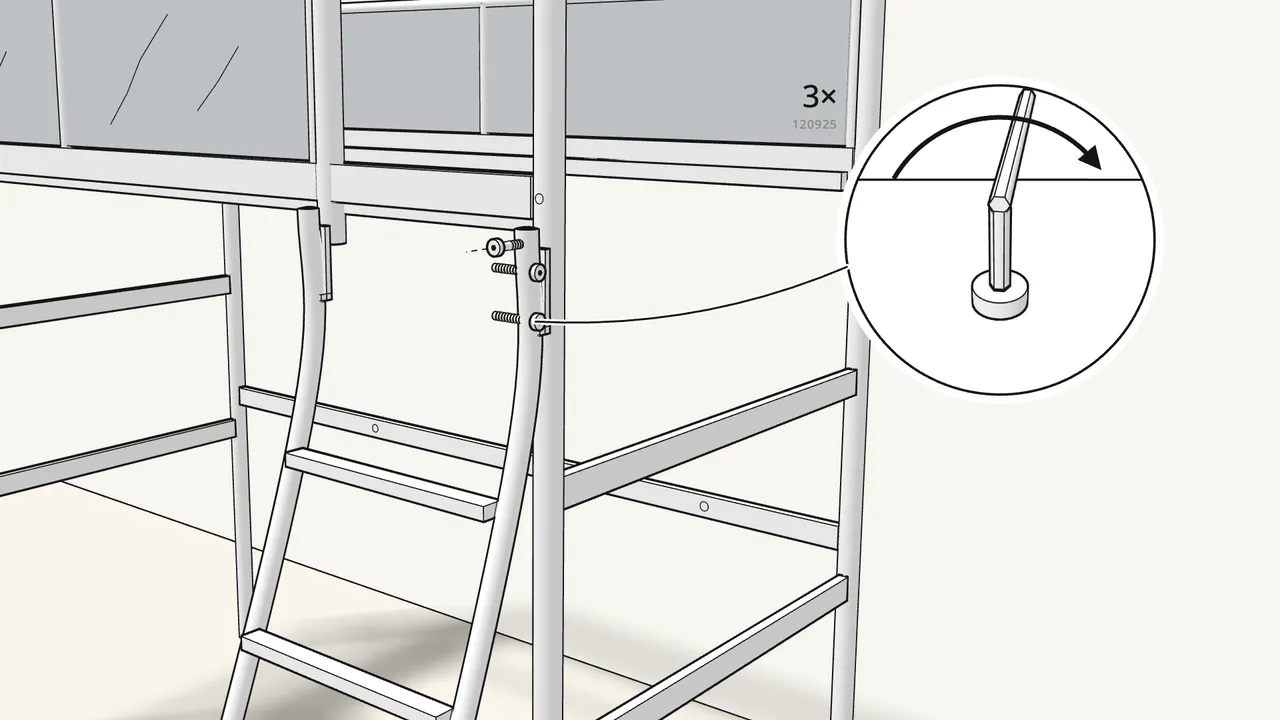
Step 18 · manual step 29
Fix the right side of the ladder to its bracket.
3 bolts (120925) — see step 29.
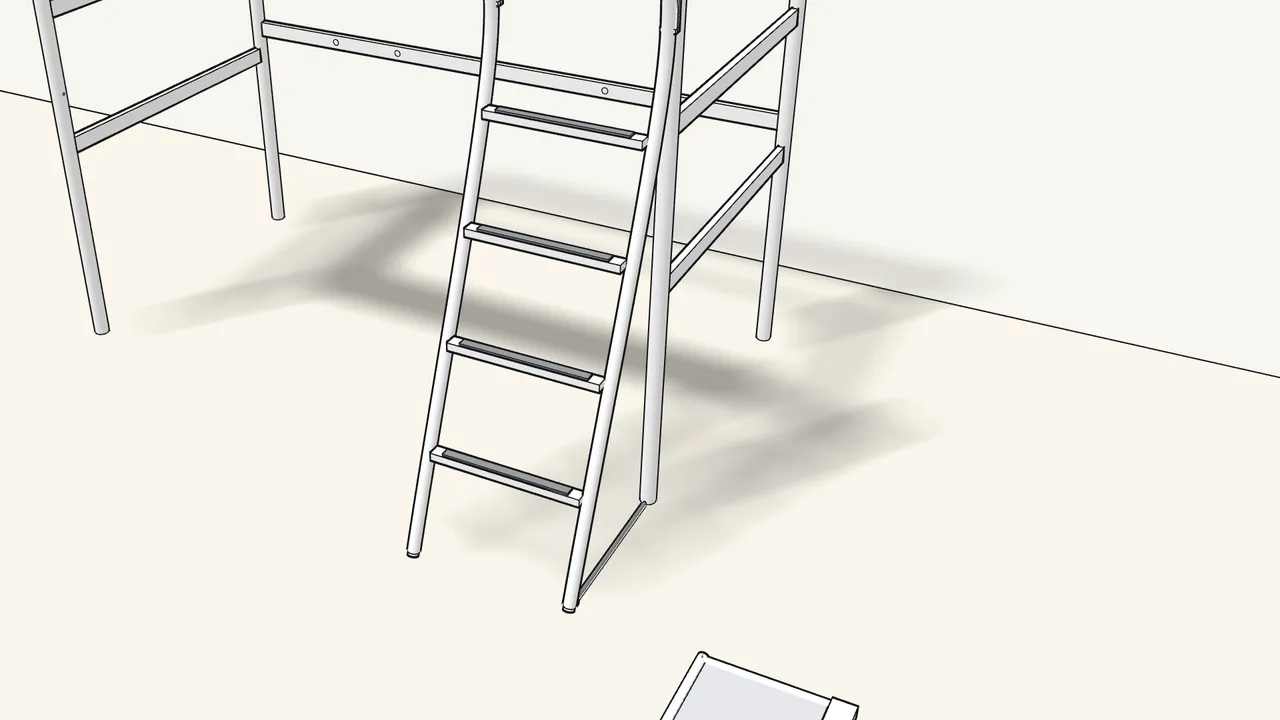
Step 19 · manual step 30
Stick the 4 anti-slip strips (121108) onto the steps.
Peel off the backing paper first.
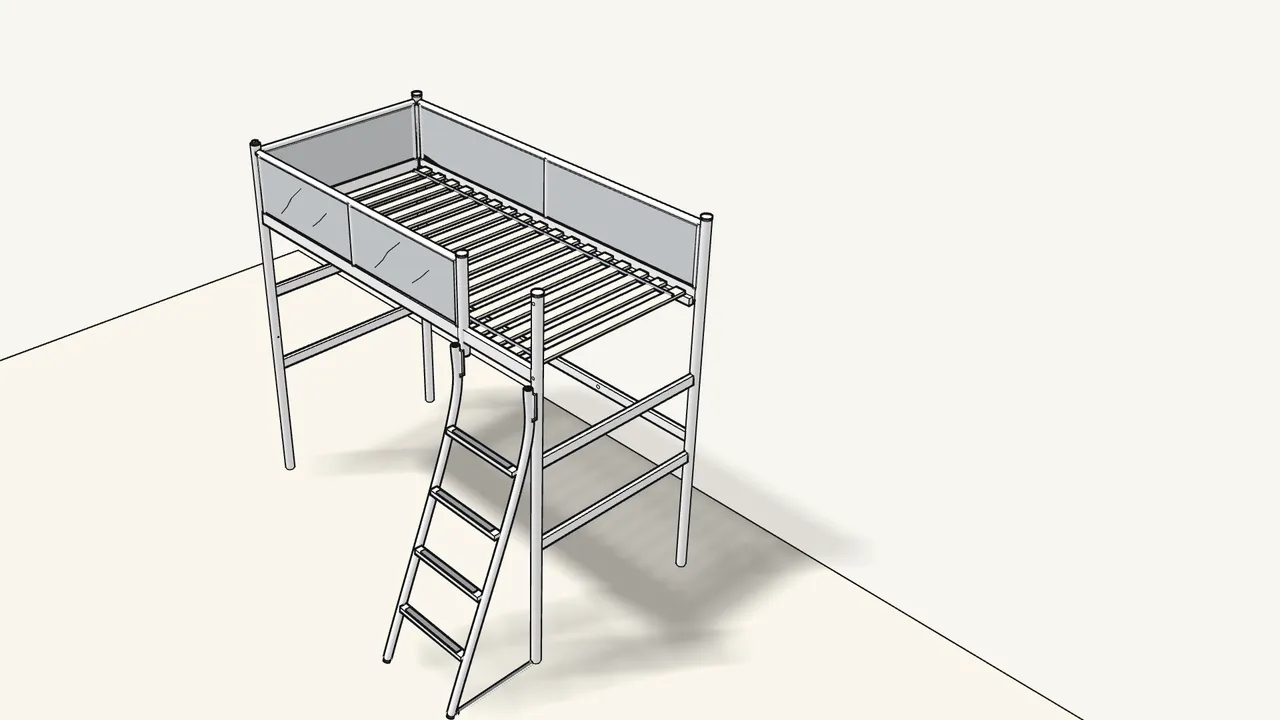
Step 20 · manual step 31
Slide the slatted base in from the open end.
Two people. Slats curve upwards; slat ends go into the rails.
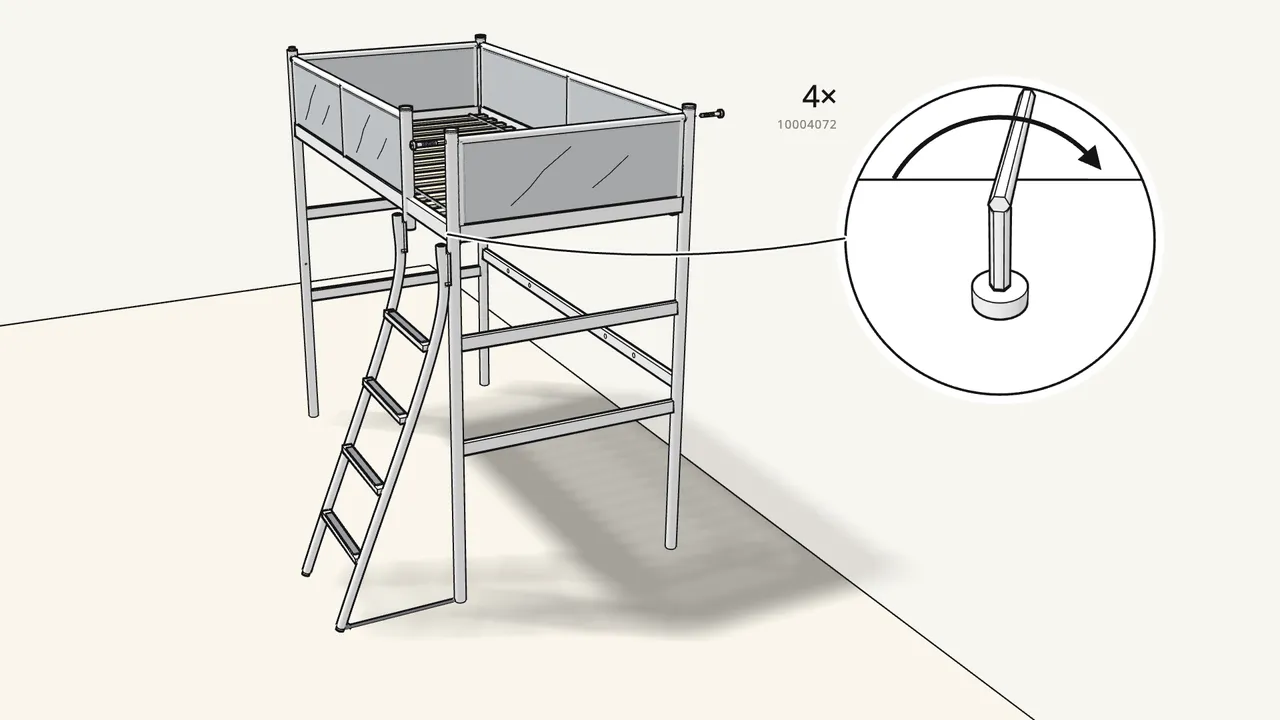
Step 21 · manual step 32
Fit the second end guard over the open end.
4 connectors (10004072).
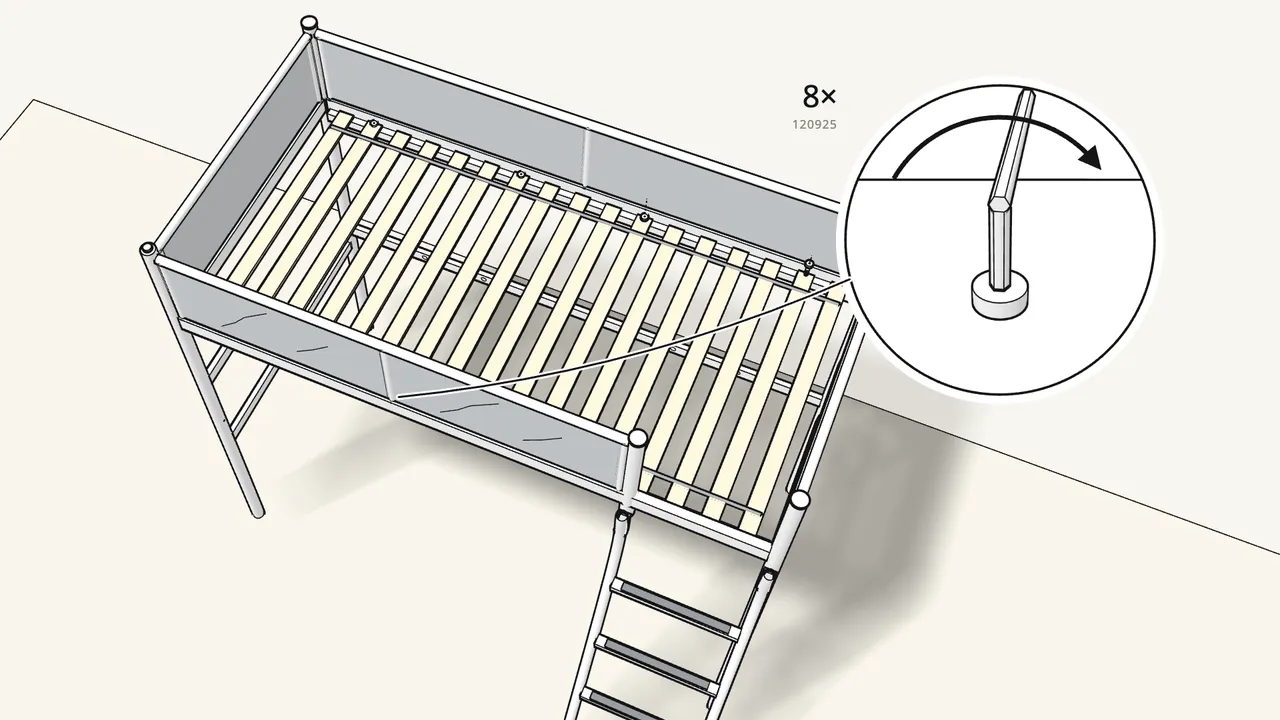
Step 22 · manual step 33
Screw the slatted base to the rails.
8 bolts (120925) from above into sleeves (100602) from below.
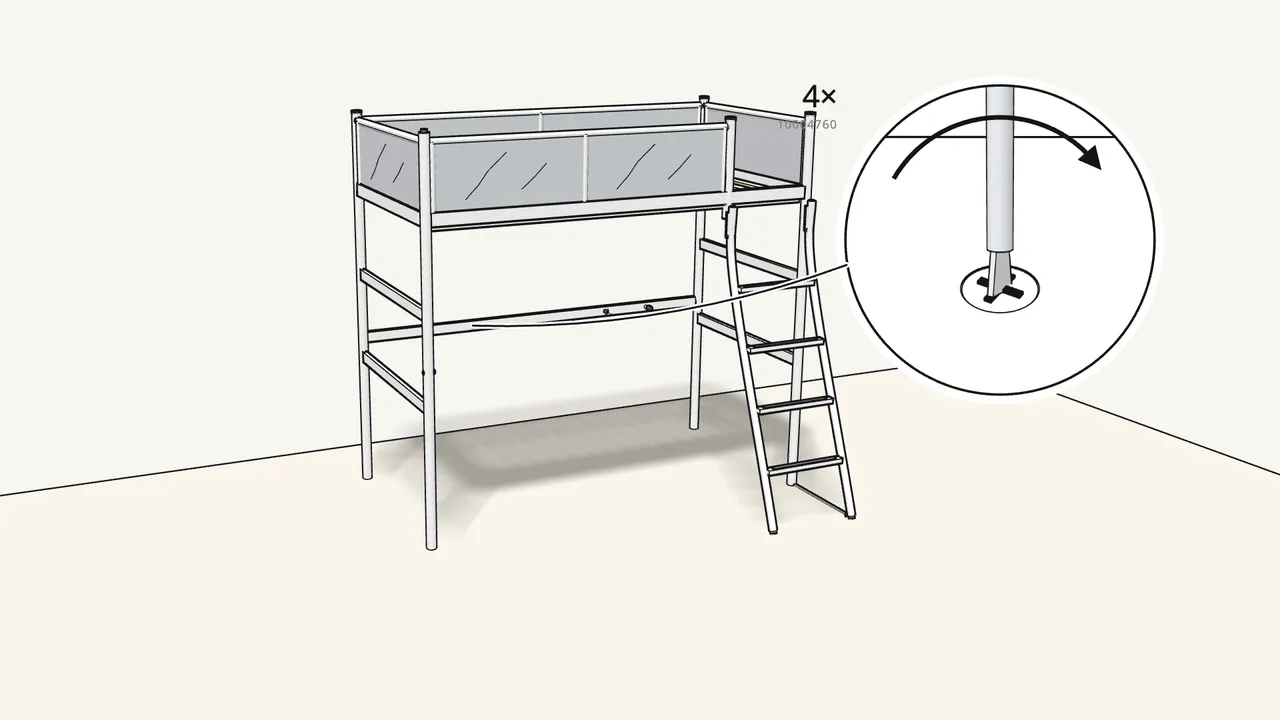
Step 23 · manual step 34–35
No desk or shelf? Plug the unused holes.
Sleeve 100644 + screw 118832 in the front post, then 4 plugs (10004760) — steps 34–35.
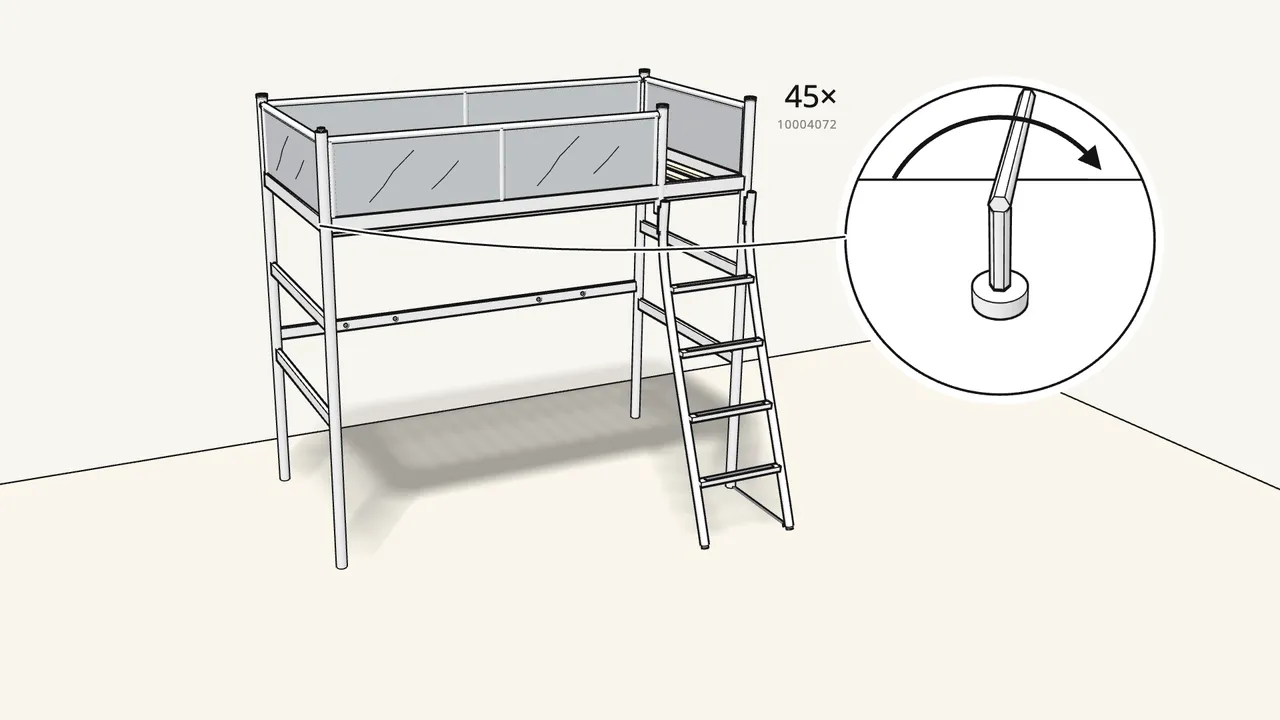
Step 24
Finally, tighten all 45 connectors with the Allen key.
As shown on page 28 of the manual.
Tips & safety
- Fix the bed to the wall. Use the 2 wall brackets (130852) on the back posts. Wall screws and plugs are not included — pick ones that suit your wall.
- Use a 97×189 cm (38¼×74½") mattress. The mattress top must stay below the mark on the guard rail — see page 29 of the manual.
- Adding the VITVAL desk or shelf? Follow its own manual instead of steps 34–35.
Official instructions
This guide follows IKEA’s official assembly instructions (AA-2136294-7). Keep the printed manual to hand — if anything differs, the manual is right.