IKEA · Beds
How to Assemble IKEA HEMNES Daybed Frame with 3 Drawers
Step-by-step IKEA HEMNES daybed frame with 3 drawers assembly: 28 illustrated steps, an animated video, the hardware list and the tools you need — following the official instructions (AA-1917803-6).
- 28 illustrated steps
- 3:32 video
- 88×199×83 (closed; opens to 195 wide) cm

What you need
Tools
- Flat-head screwdriver
- Phillips screwdriver
- Hammer
Hardware in the box
| Part no. (as printed in the manual) | Qty |
|---|---|
| 118331 | 40× |
| 101350 | 34× |
| 110525 | 29× |
| 103430 | 16× |
| 103114 | 24× |
| 116894 | 49× |
| 100347 | 36× |
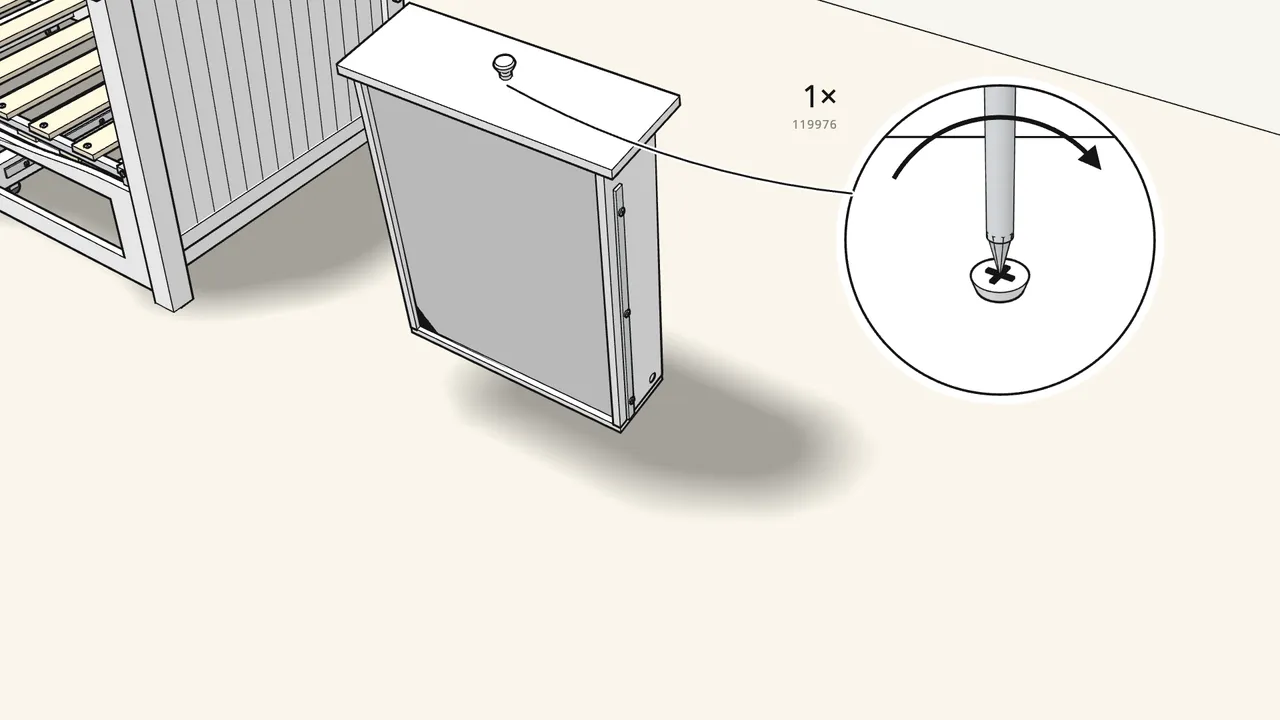
| 119976 | 3× |
| 109049 | 16× |
| 109060 | 4× |
| 104012 | 17× |
| 105236 | 4× |
| 108903 | 4× |
| 153552 | 4× |
| 123660 | 2× |
| 130485 | 2× |
Step-by-step assembly
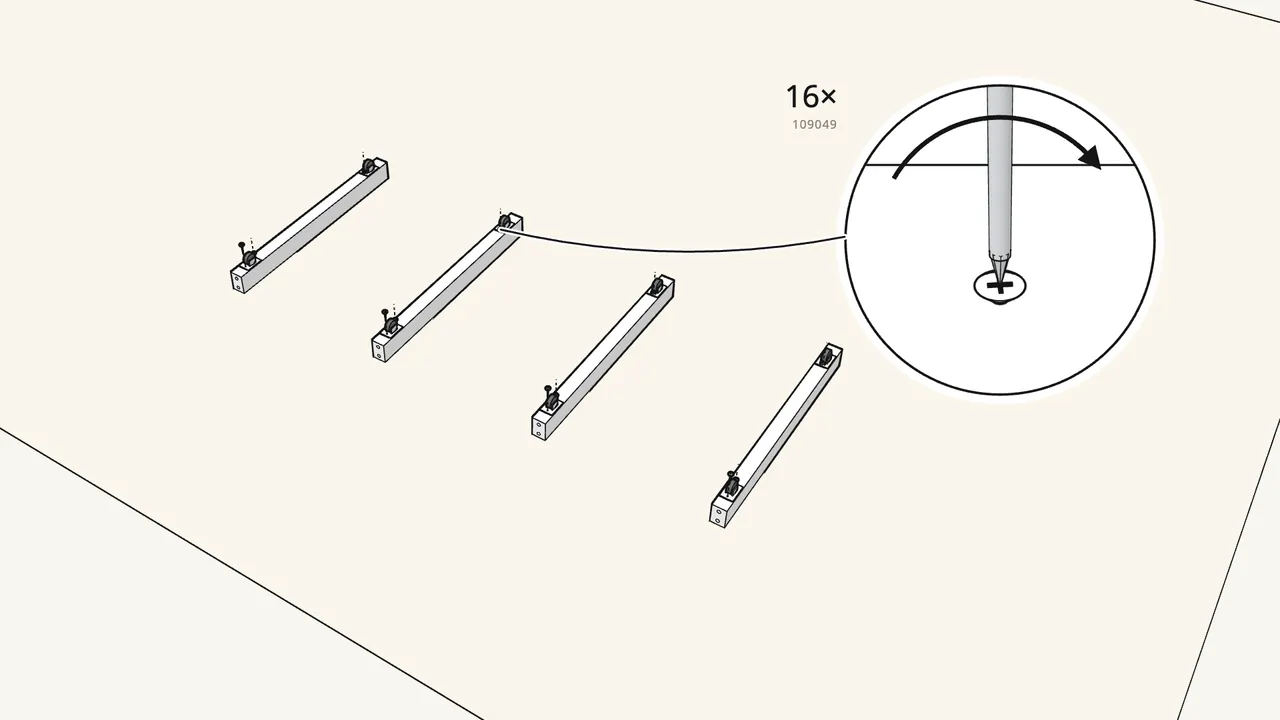
Step 1
Part 1 · pull-out bed. Screw 2 castors under each beam.
8 castors (111401), 16 screws (109049). Beams upside down.
Step 2 · manual step 2–3
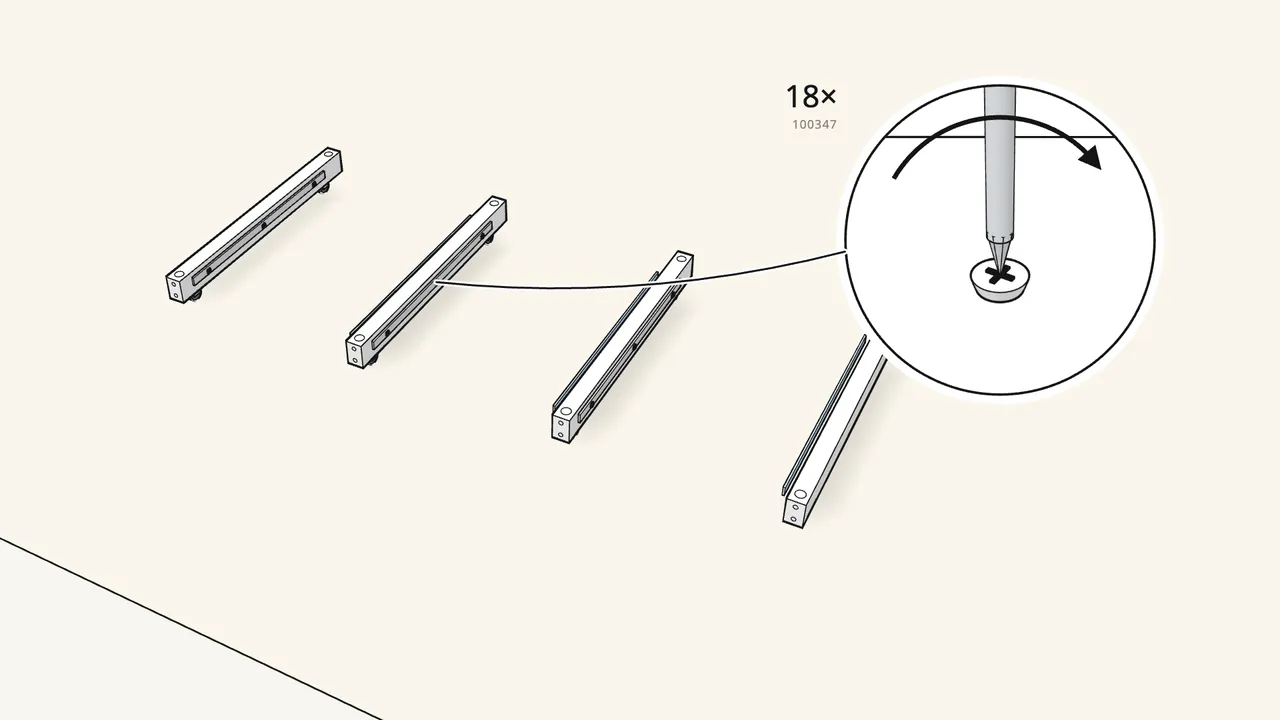
Turn the beams over. Screw on the runners marked CR and CL.
9 screws (100347) per side — not 116894.
Step 3 · manual step 4
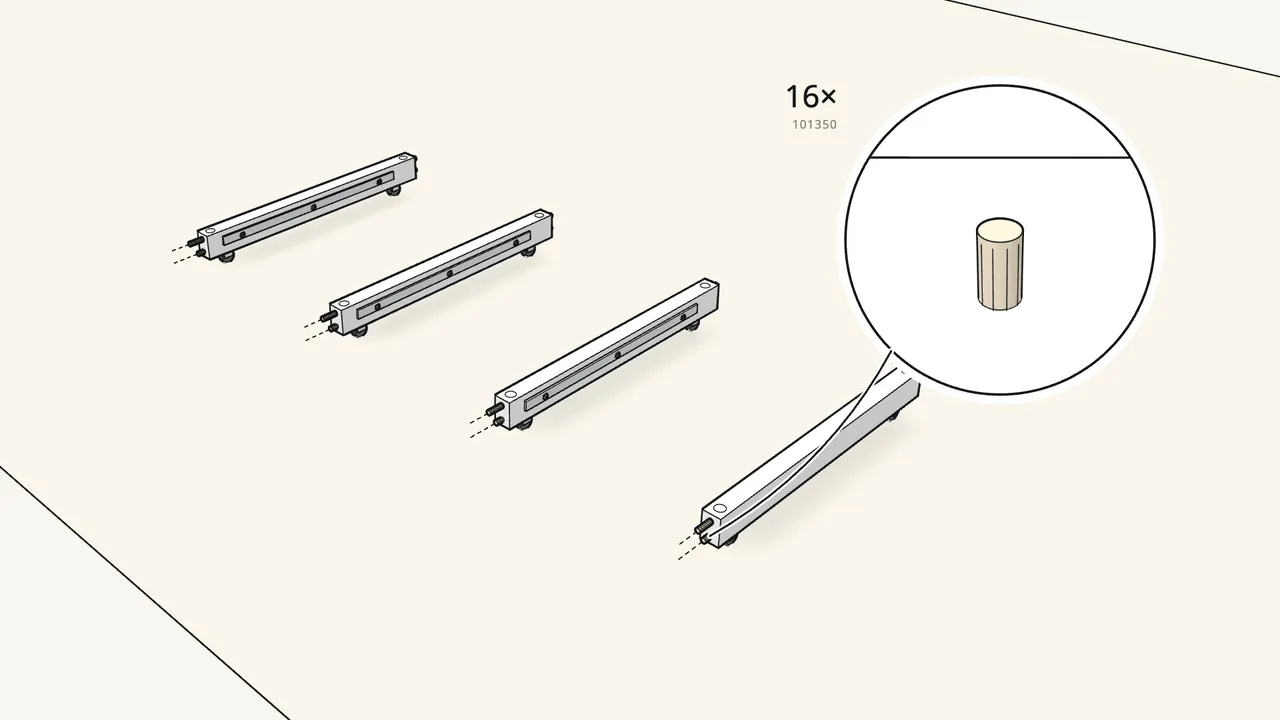
Push 16 dowels (101350) into the ends of the beams.
Two in each end.
Step 4 · manual step 5–7
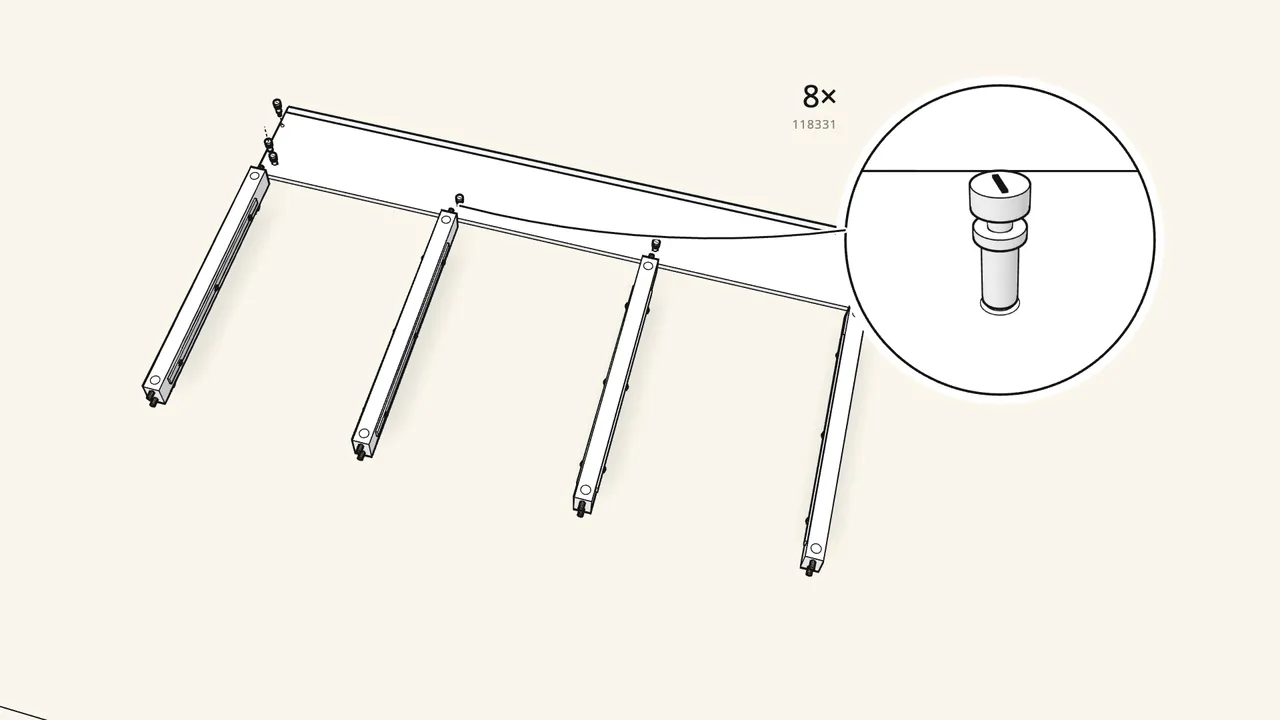
Fit the slat strip and 2 brackets to the long back panel.
Screws 116894. Then screw 8 cam bolts (118331) into the panel.

Step 5 · manual step 8–9
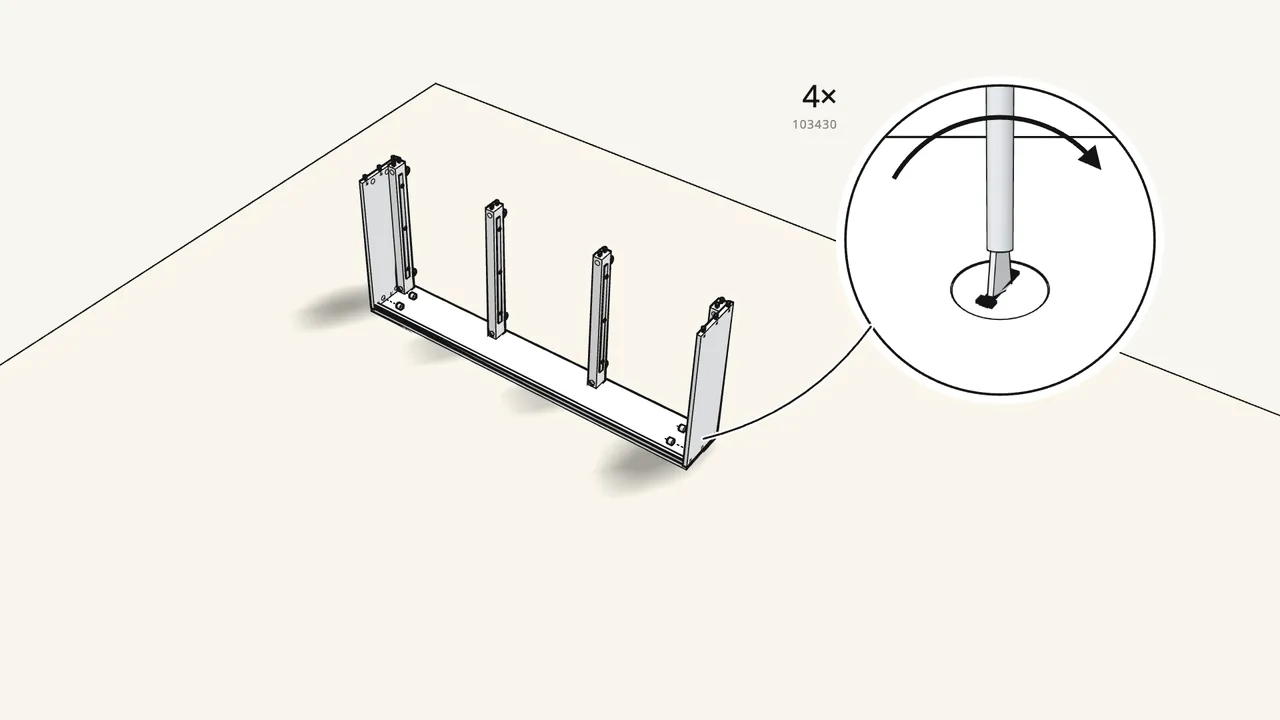
Stand the 4 beams on the back panel. Lock with 4 cam locks.
Cam locks 103430 — turn clockwise with the flat screwdriver.
Step 6 · manual step 10–12
Push 12 dowels into the end panels. Fit them, lock 4 cam locks.
Dowels 101350, cam locks 103430.
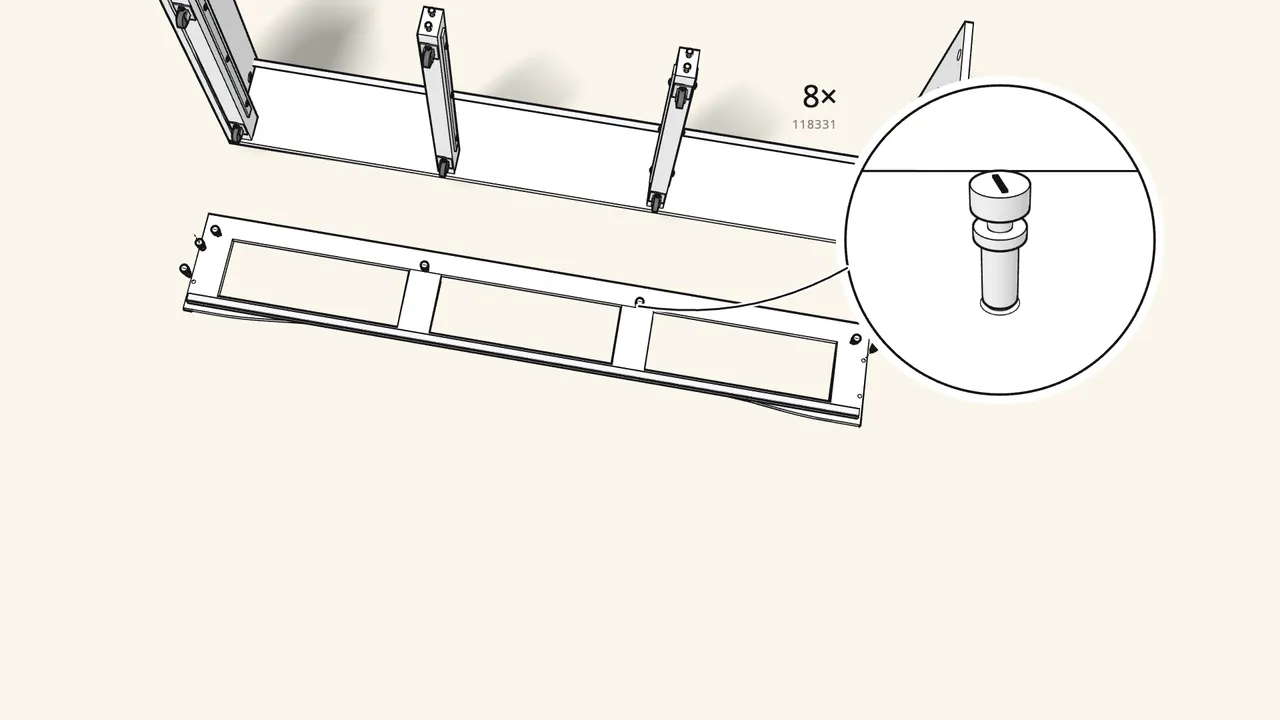
Step 7 · manual step 13–15
Front panel: fit its brackets and slat strip, then 8 cam bolts.
Screws 116894, cam bolts 118331.
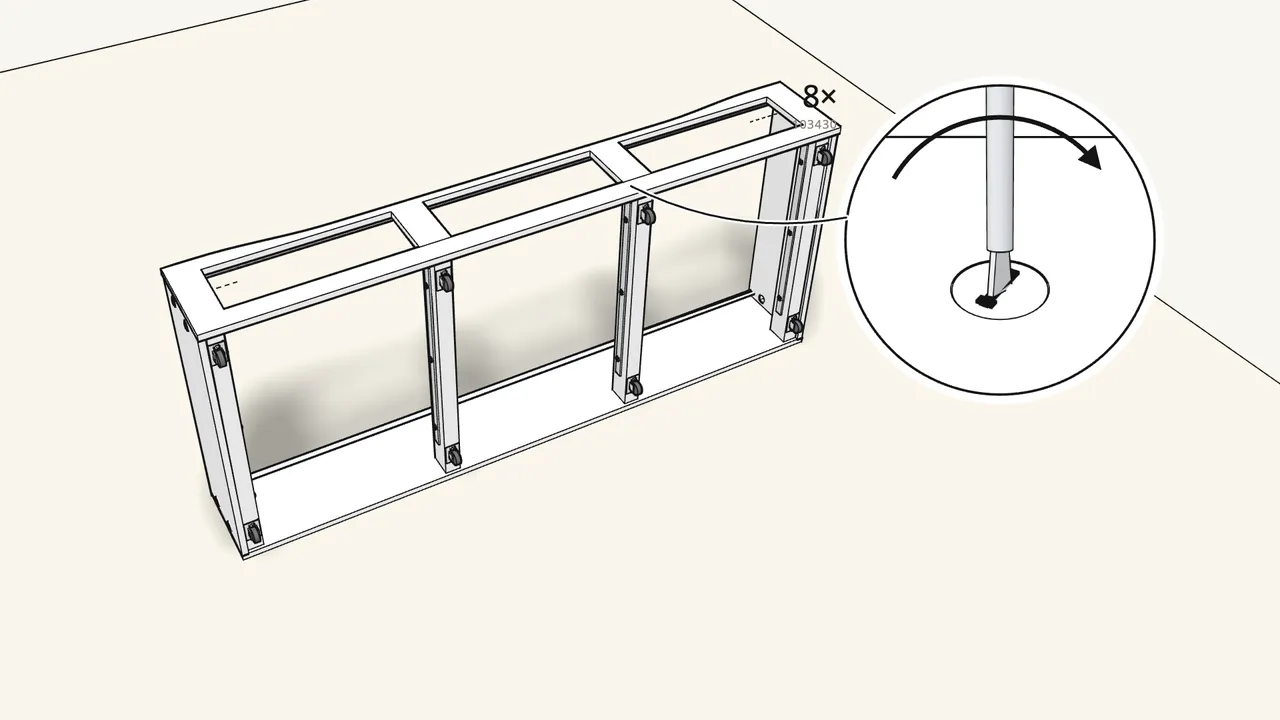
Step 8 · manual step 16–18
Turn the front panel over onto the frame. Lock 8 cam locks.
4 in the end panels, 4 in the beams (103430).

Step 9 · manual step 19
Screw on 3 of the shorter slats: 6 screws (116894).
Use the 12 shorter slats for the pull-out bed.
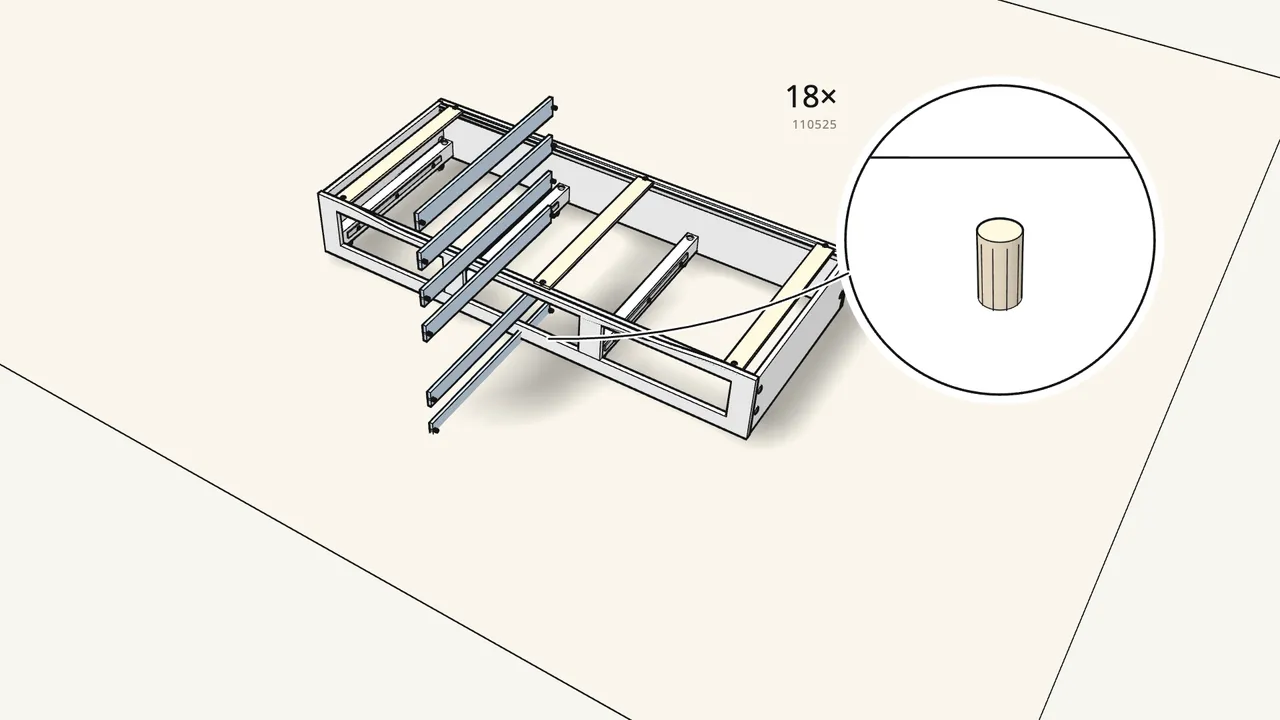
Step 10 · manual step 20–21
Push 18 pins (110525) into 9 slats. Turn the bed upright, lay them in.
The pins go into the holes in the slat strips.
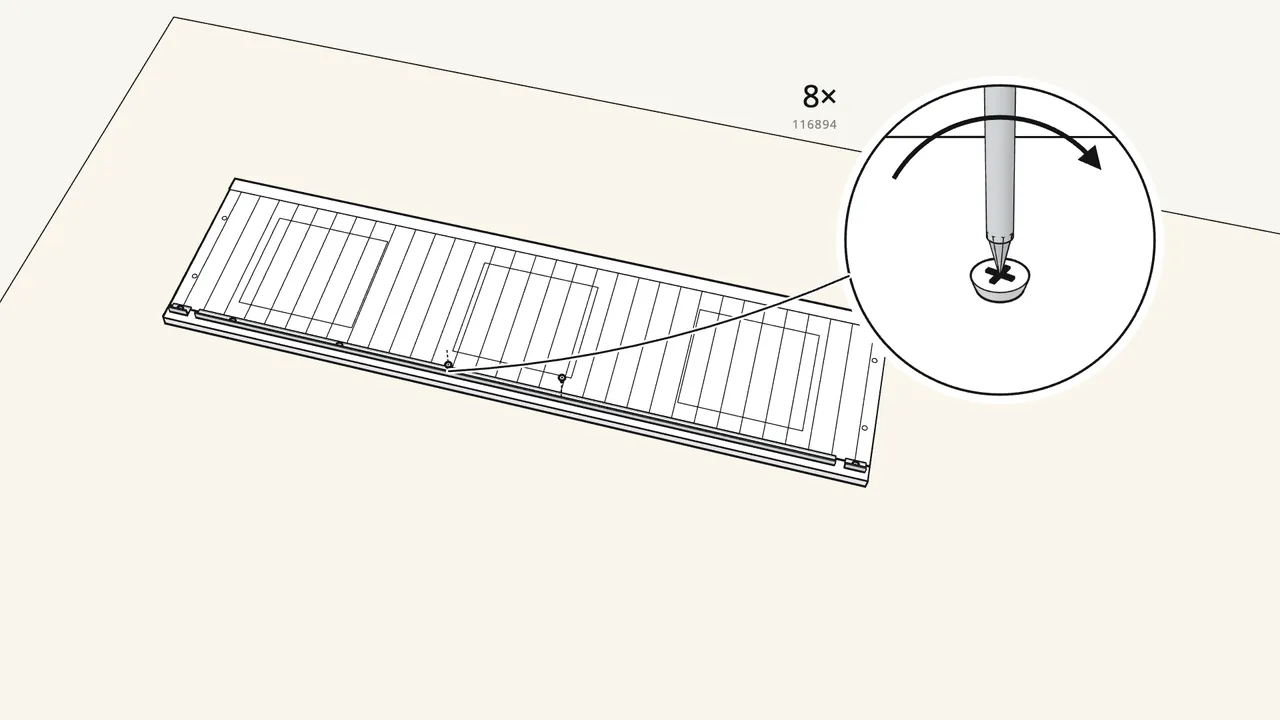
Step 11 · manual step 1–2
Part 2 · frame. Back panel face down: 2 brackets and the slat strip.
8 screws (116894) in total.
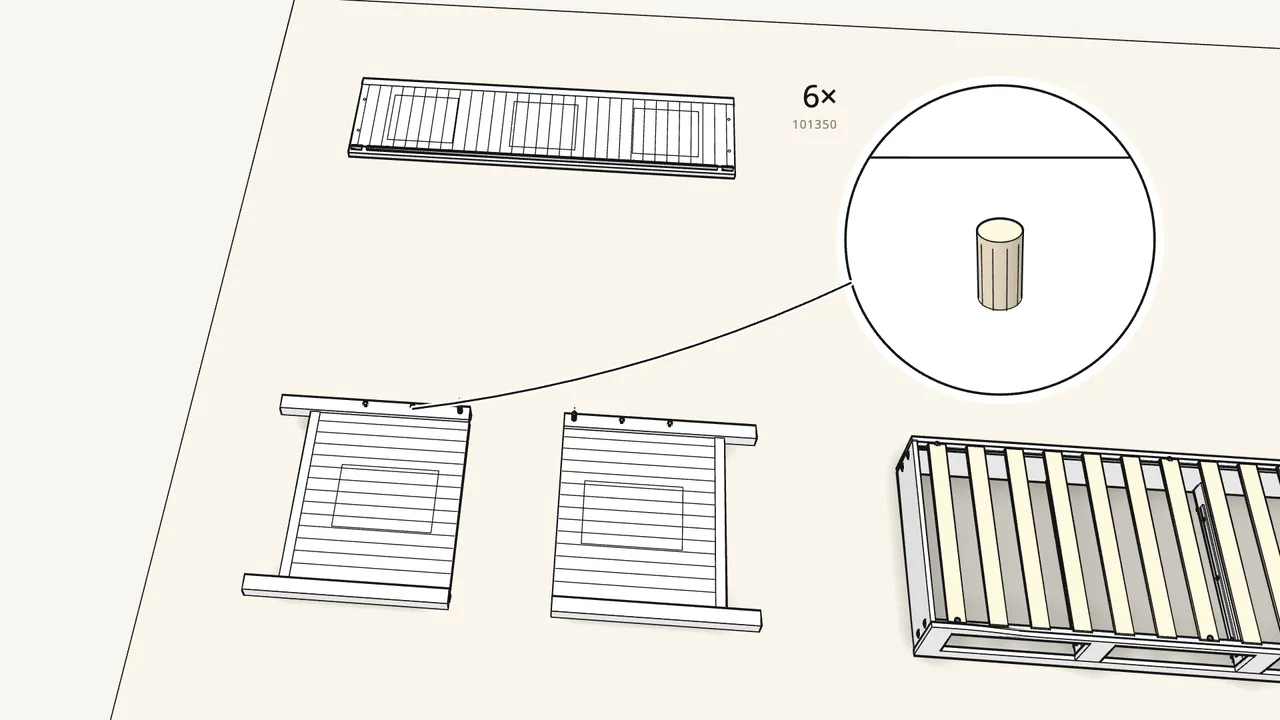
Step 12 · manual step 3
Push 6 dowels (101350) into the two end panels.
3 in each, on the inner side.
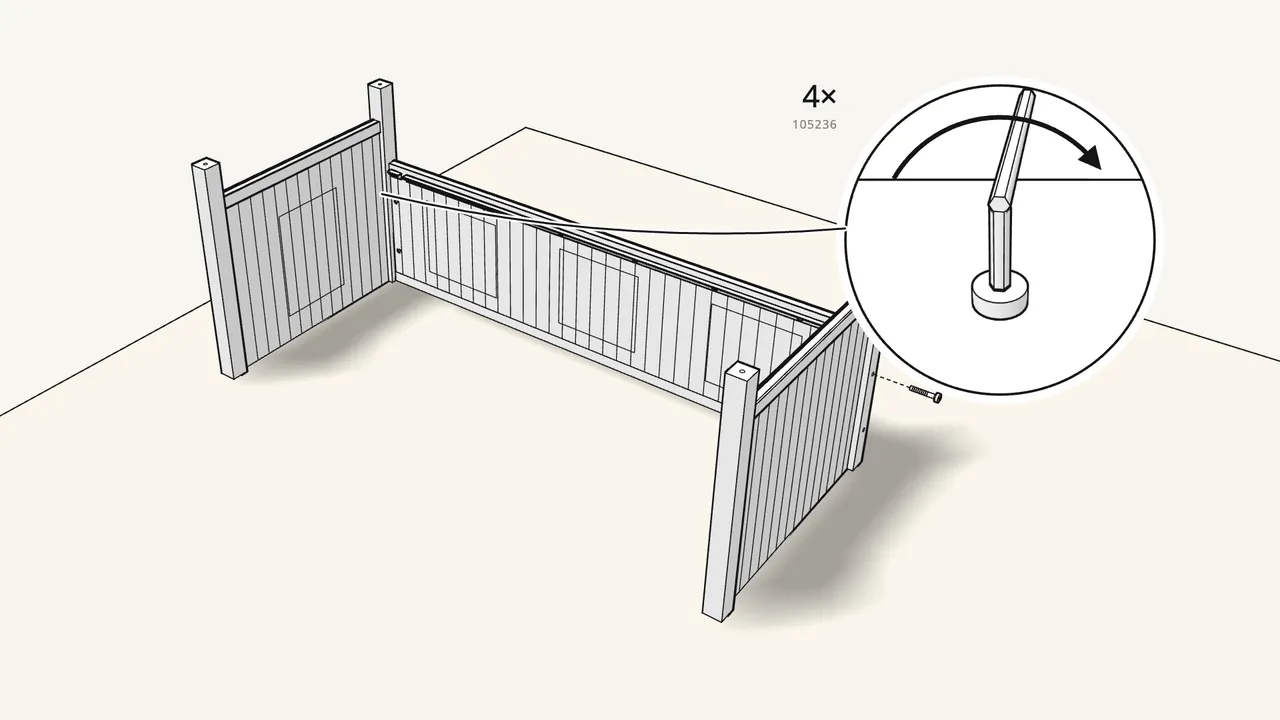
Step 13 · manual step 4
Join ends and back upside down: 4 barrel nuts, 4 bolts.
Barrel nuts 108903, bolts 105236 — tighten with the Allen key (100001).
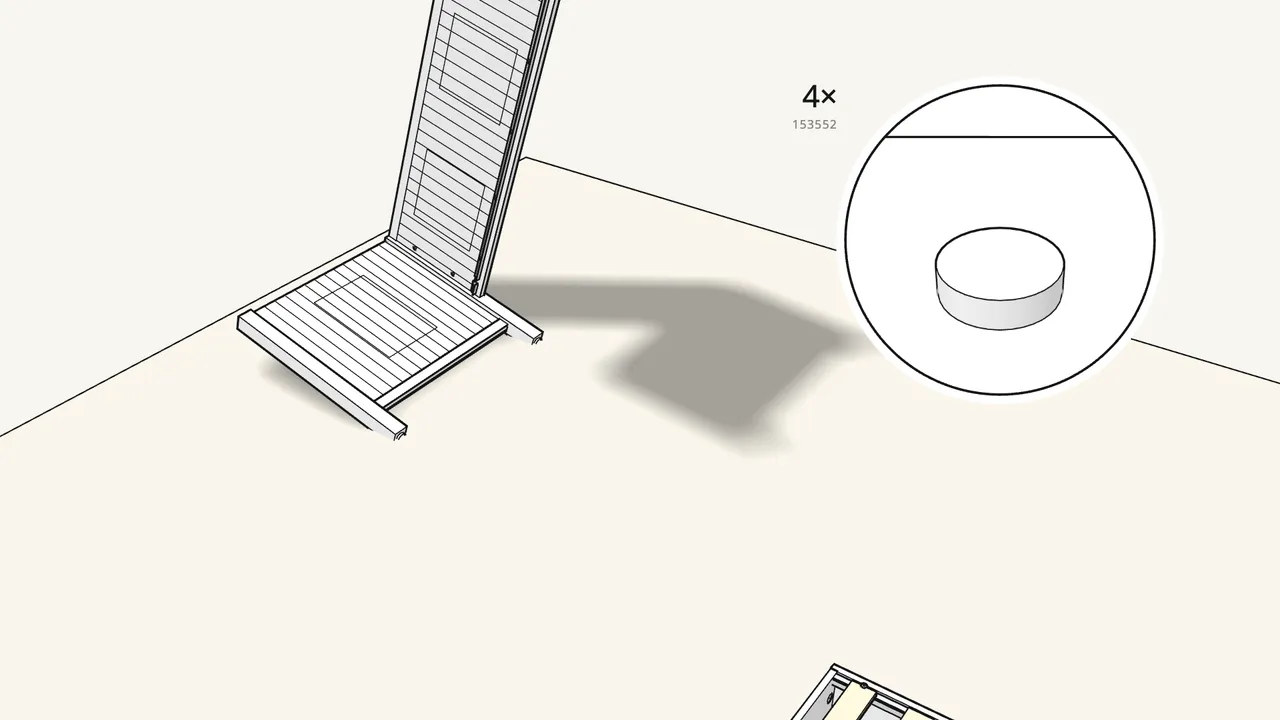
Step 14 · manual step 5
Push 4 glides (153552) onto the leg ends. Turn the frame over.

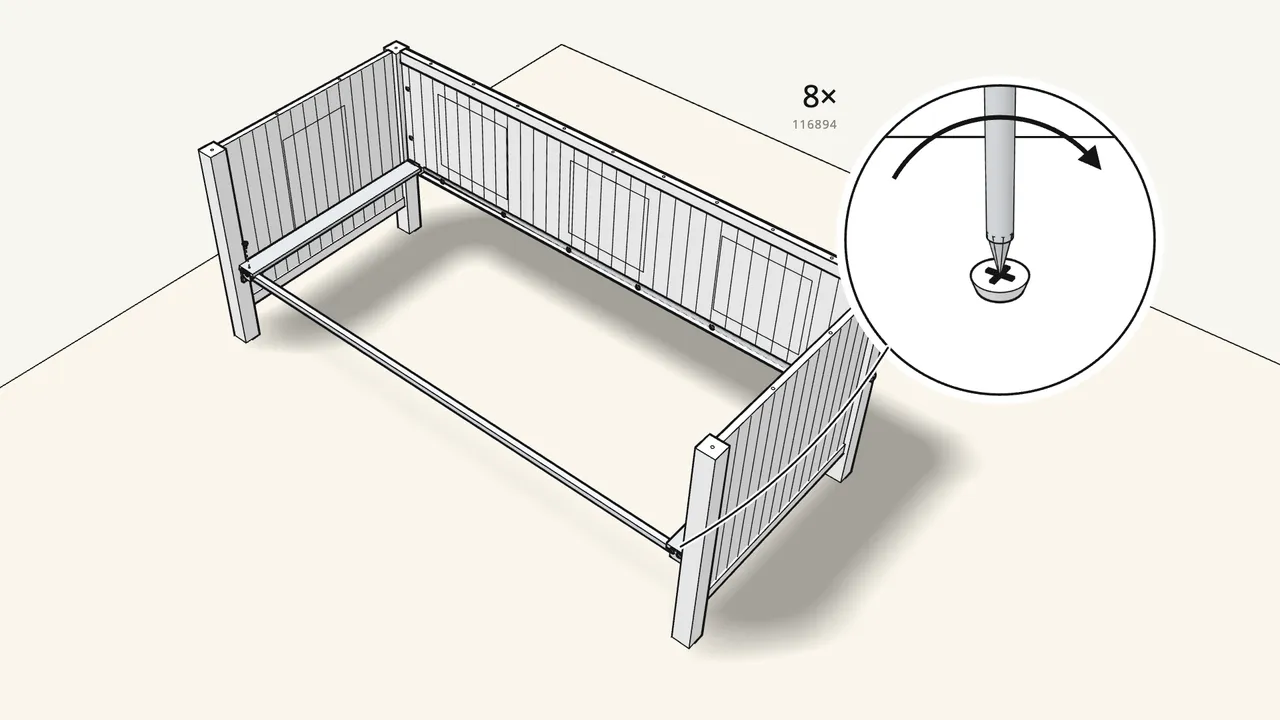
Step 15 · manual step 6
Fit the front rail: 2 fittings (130485), 4 screws (109060).
Phillips screwdriver.
Step 16 · manual step 7–8
Screw a bracket (123660) to 2 slats, then fix them at each end.
Use the 2 marked slats. 116894 screws: 2 per bracket, 2 per slat.
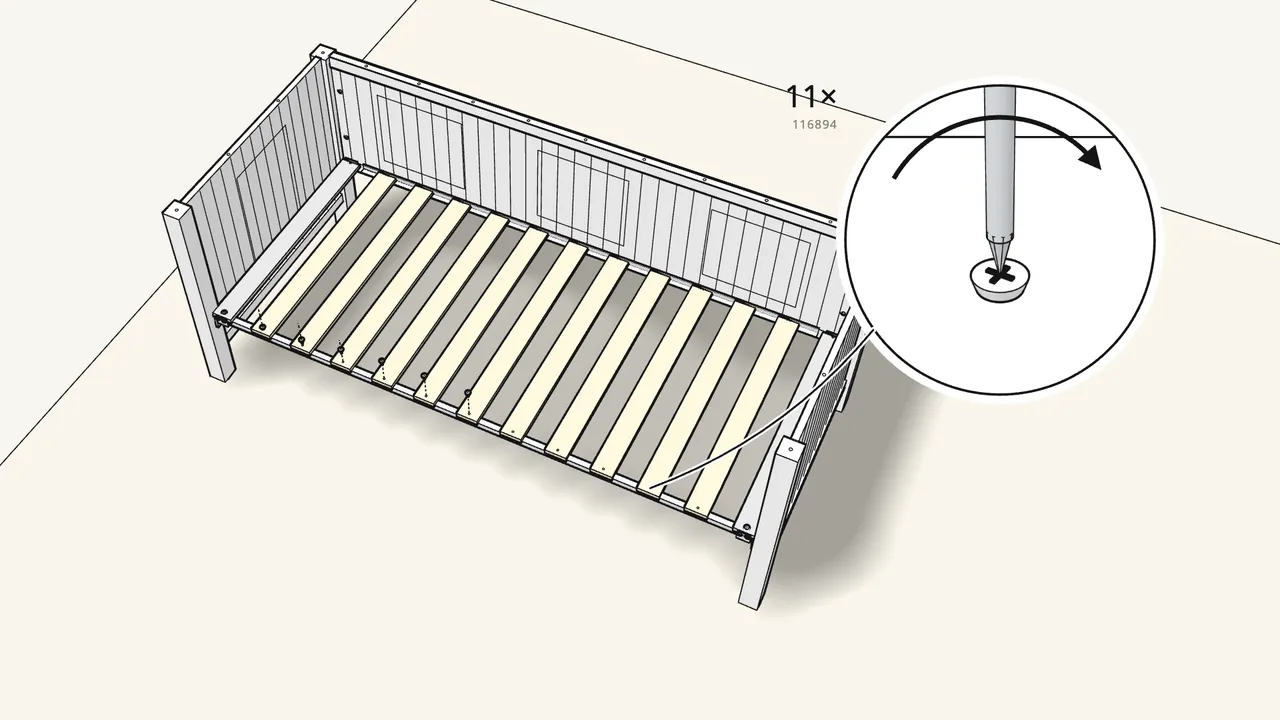
Step 17 · manual step 9–10
Push a pin (110525) into 11 slats. Lay them in, screw the front ends.
Pins into the back strip; 11 screws (116894) into the front rail.
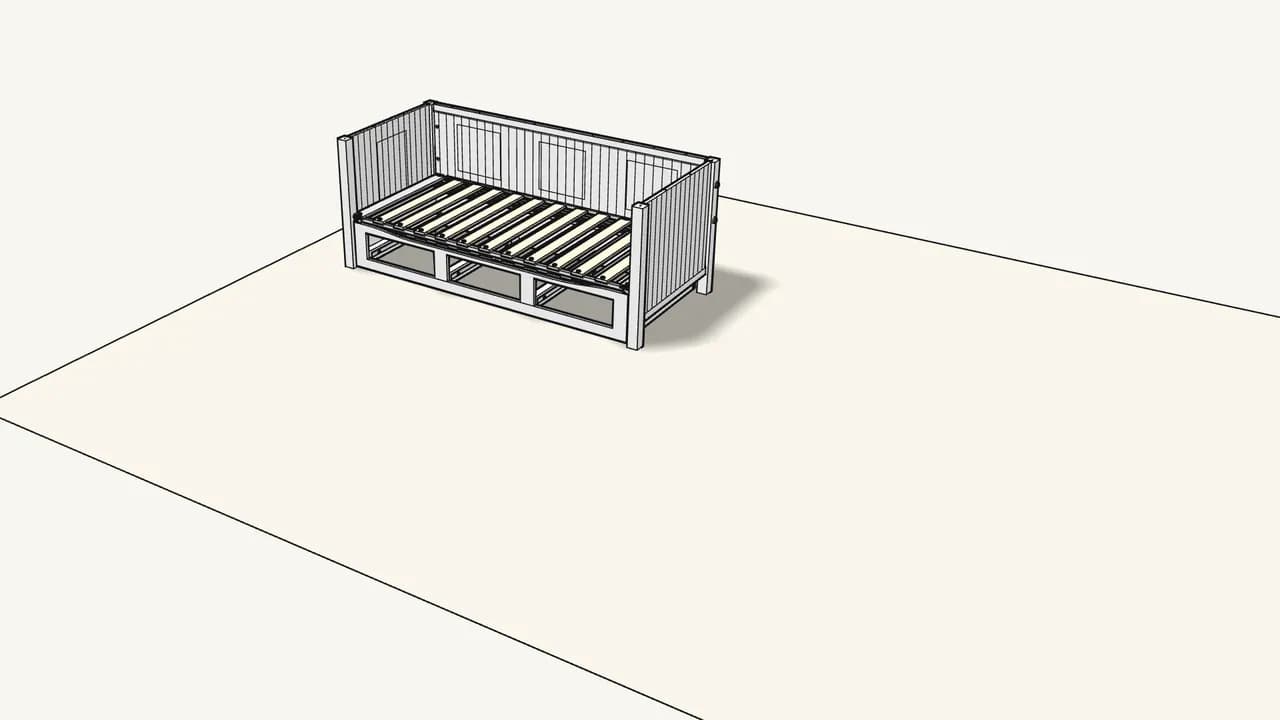
Step 18 · manual step 11
With 2 people: lift the frame, slide the pull-out bed underneath.
Hook it in at 2 points — see the manual, step 11.
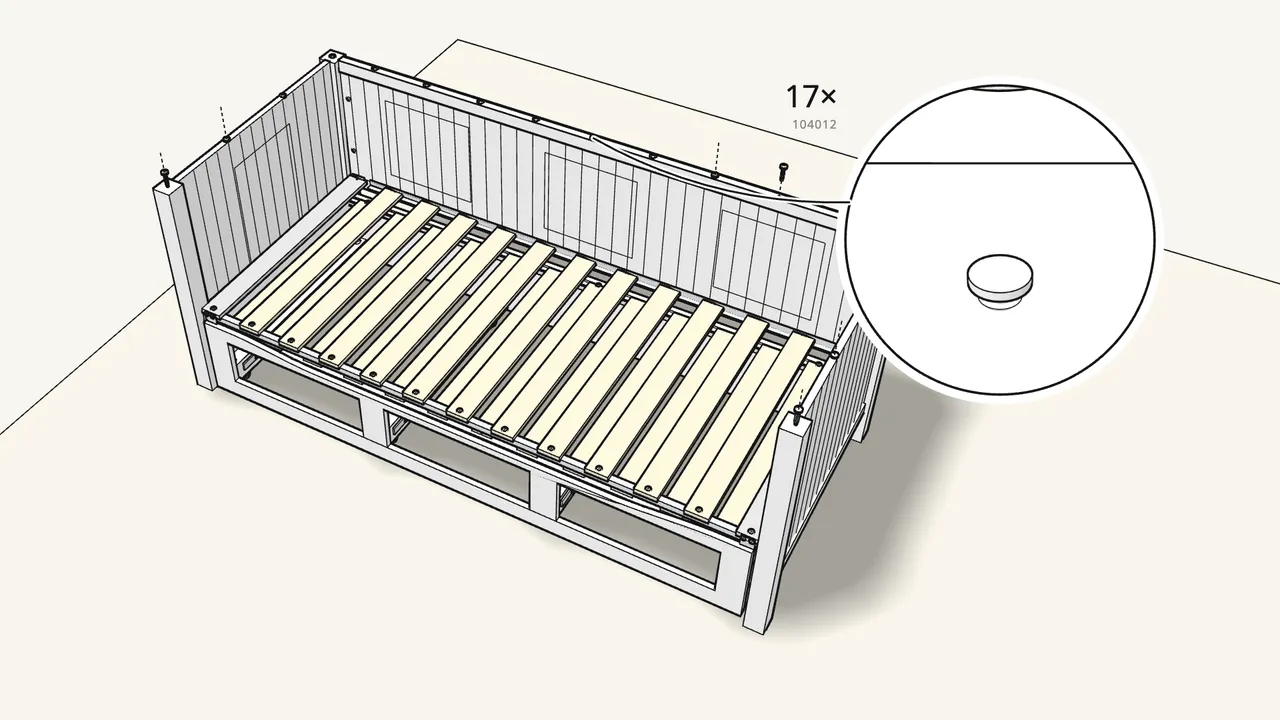
Step 19 · manual step 12
Hammer 17 screw dowels (104012) into the top edges.
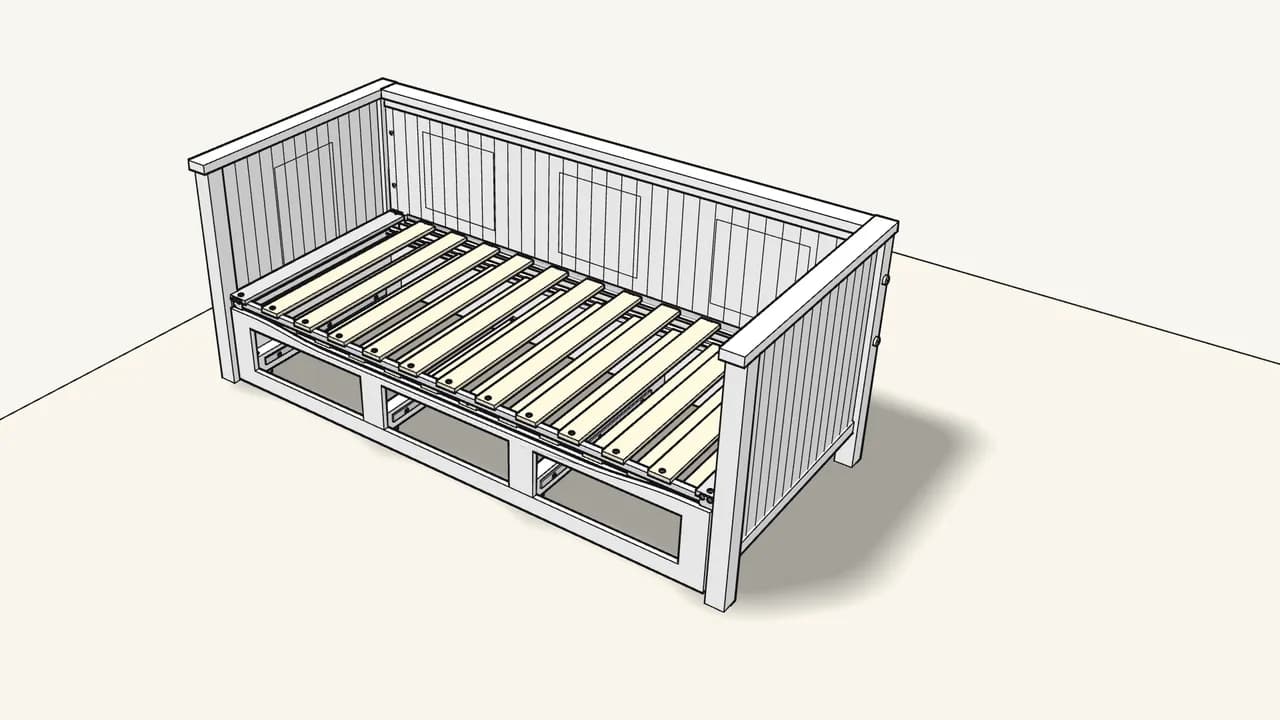
Step 20 · manual step 13–14
Tap the top rails on: back first, then both ends.
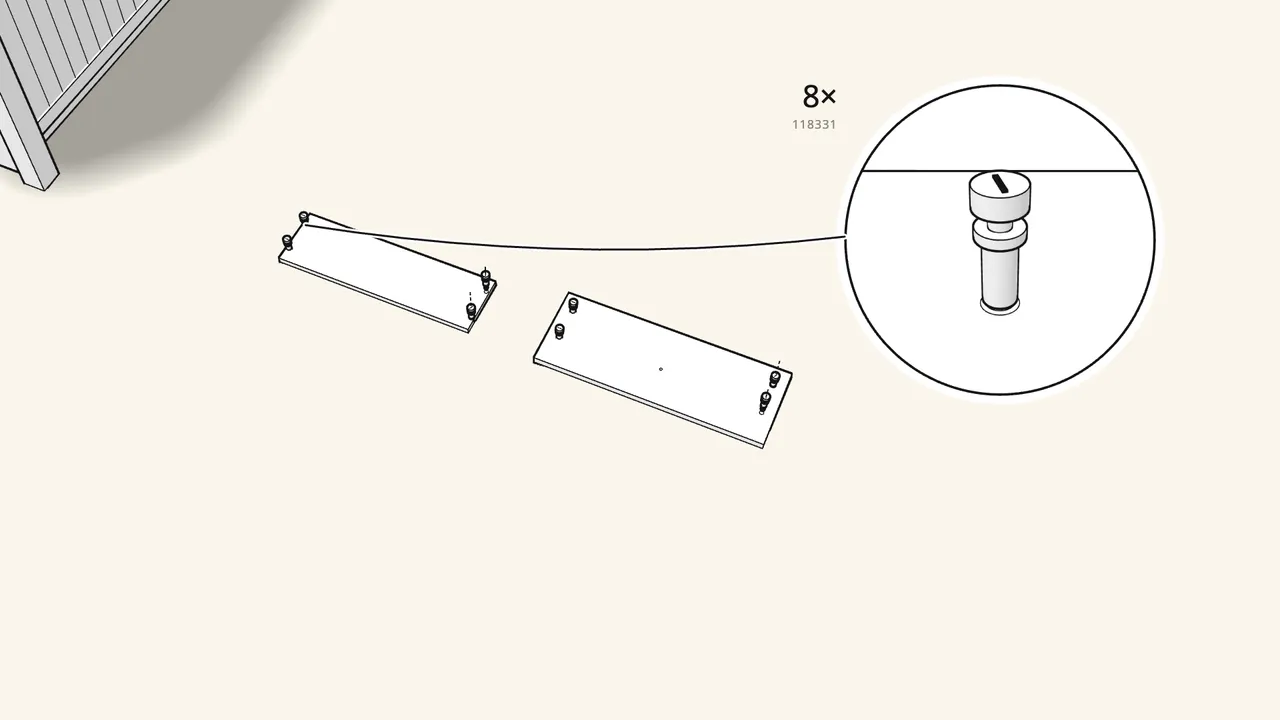
Step 21 · manual step 1
Part 3 · drawers. Screw 8 cam bolts (118331) into back and front.
We build one drawer; the other two are the same.
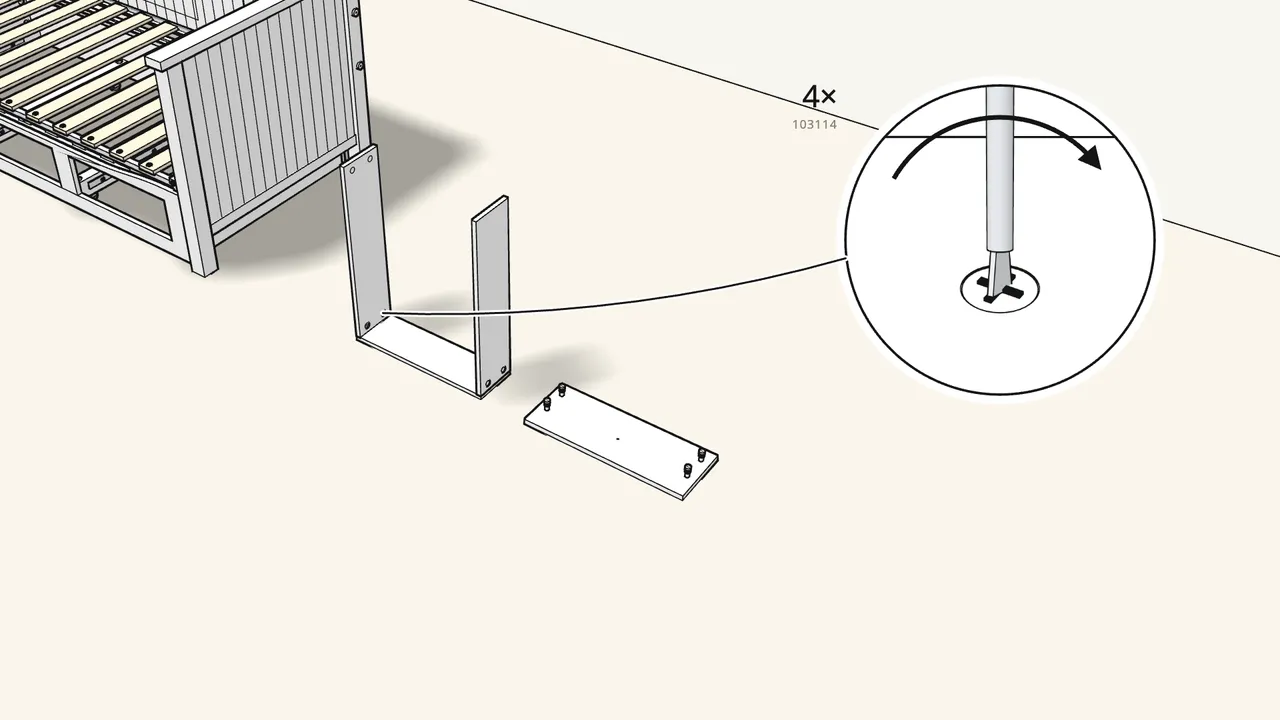
Step 22 · manual step 2–3
Put the sides onto the back. Lock 4 cam locks (103114).
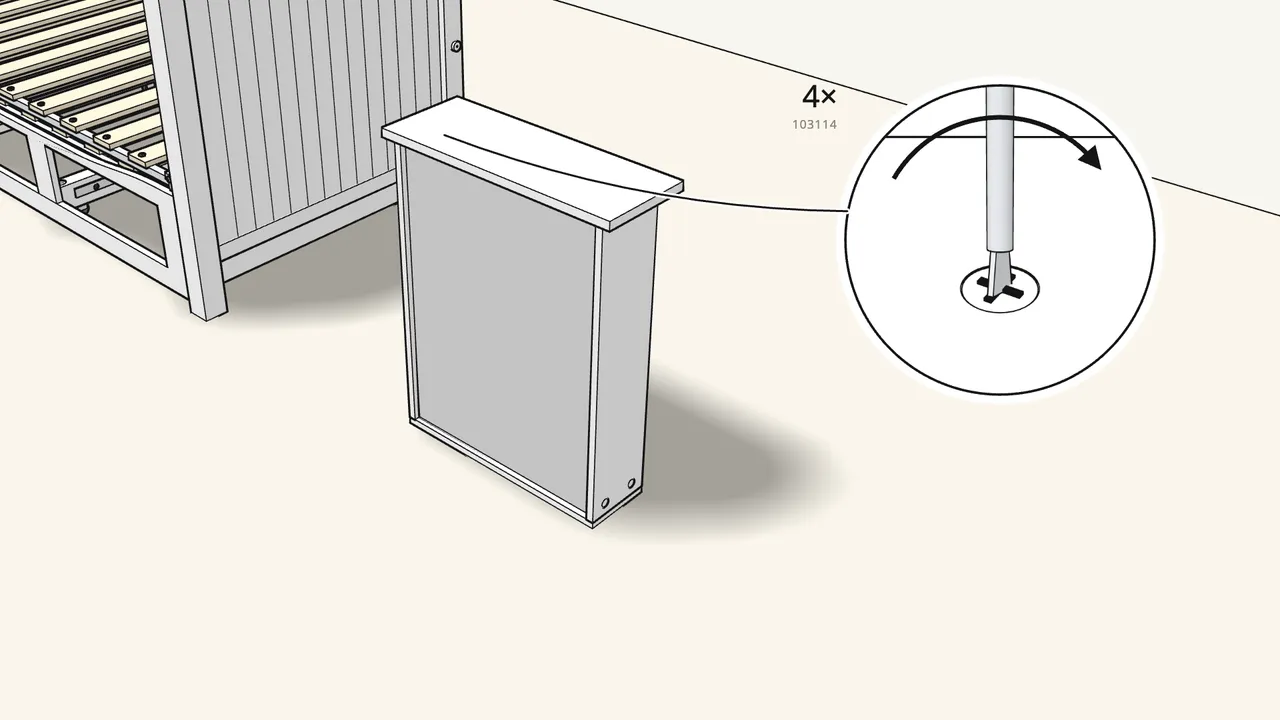
Step 23 · manual step 4–6
Slide in the bottom. Put the front on top, lock 4 cam locks.
Cam locks 103114.
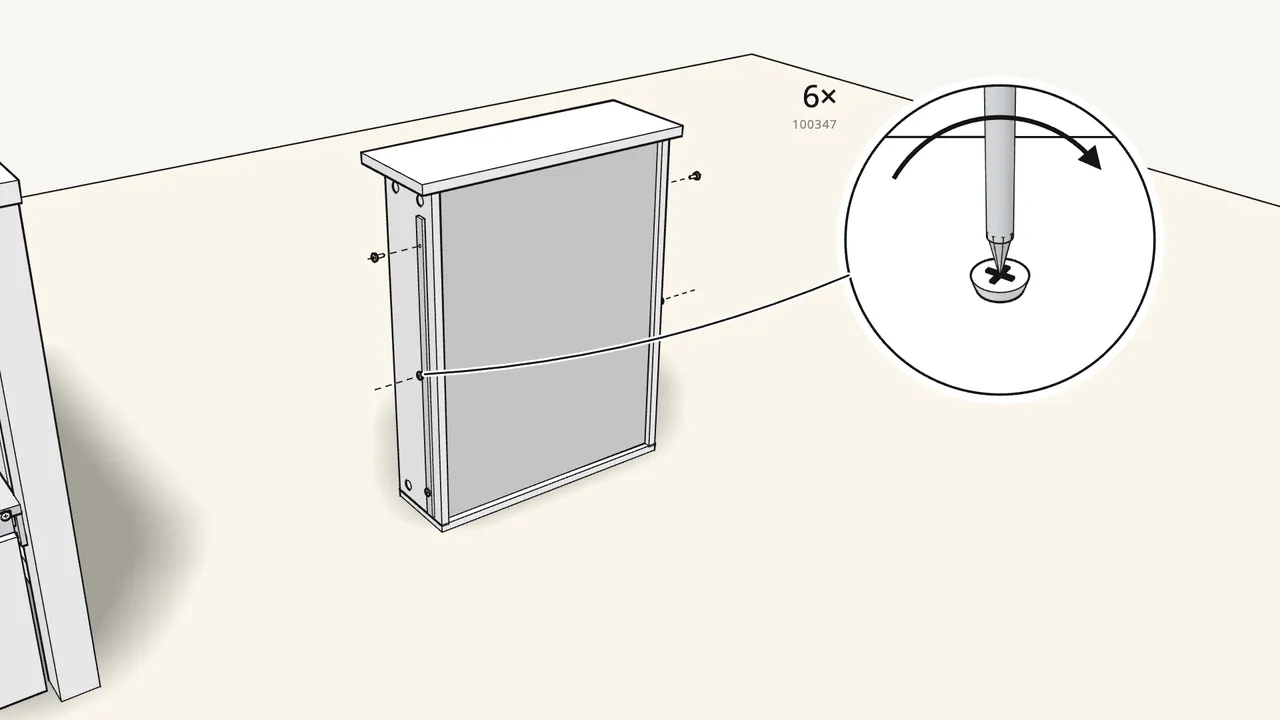
Step 24 · manual step 7
Screw the drawer runners DR and DL to the sides.
3 screws (100347) each — not 116894.
Step 25 · manual step 8
Fit the knob (117615) with its screw (119976). Turn the drawer over.
Step 26 · manual step 1–8
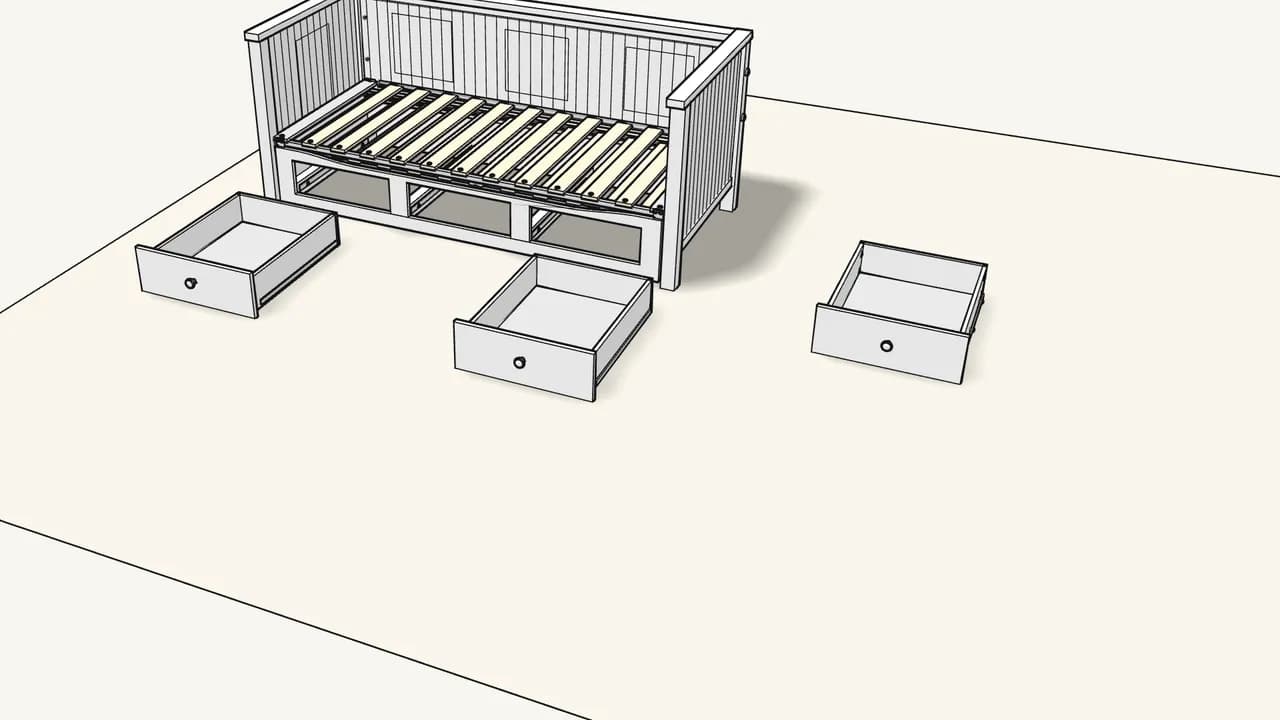
Build the other 2 drawers the same way.
Step 27 · manual step 9
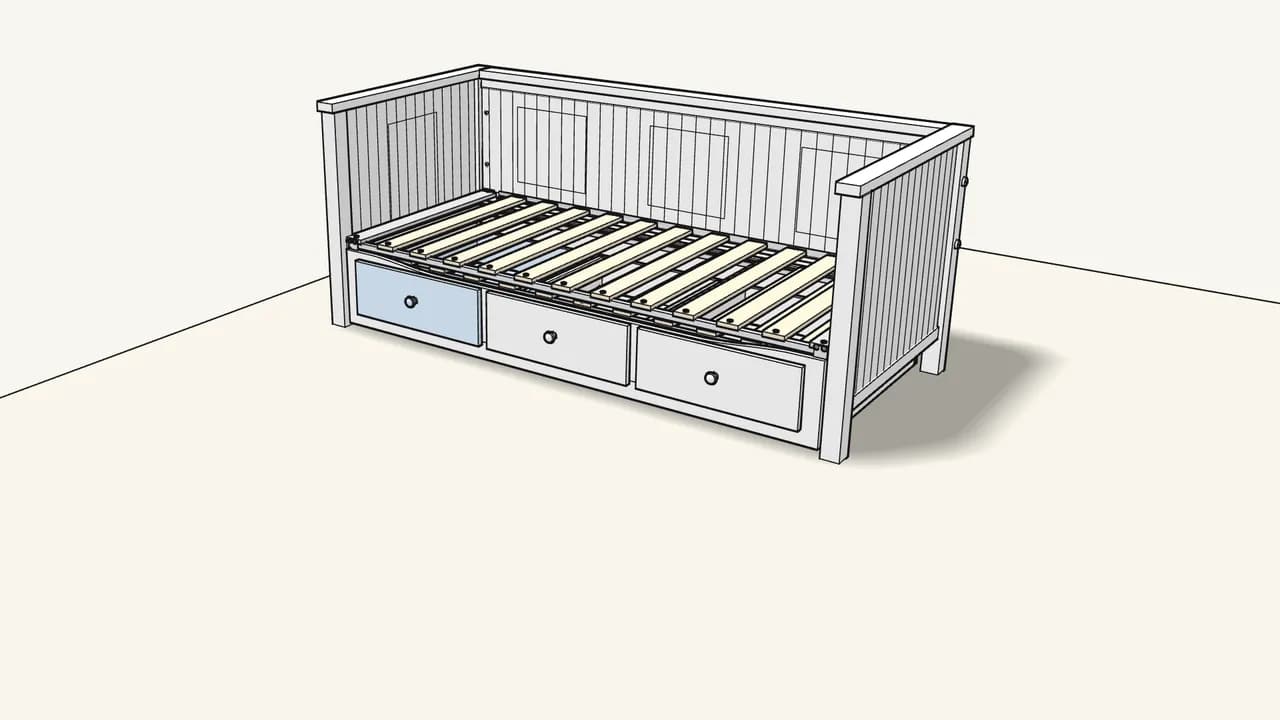
Slide the 3 drawers into the pull-out bed.
Runners onto the runners in the pull-out bed.
Step 28
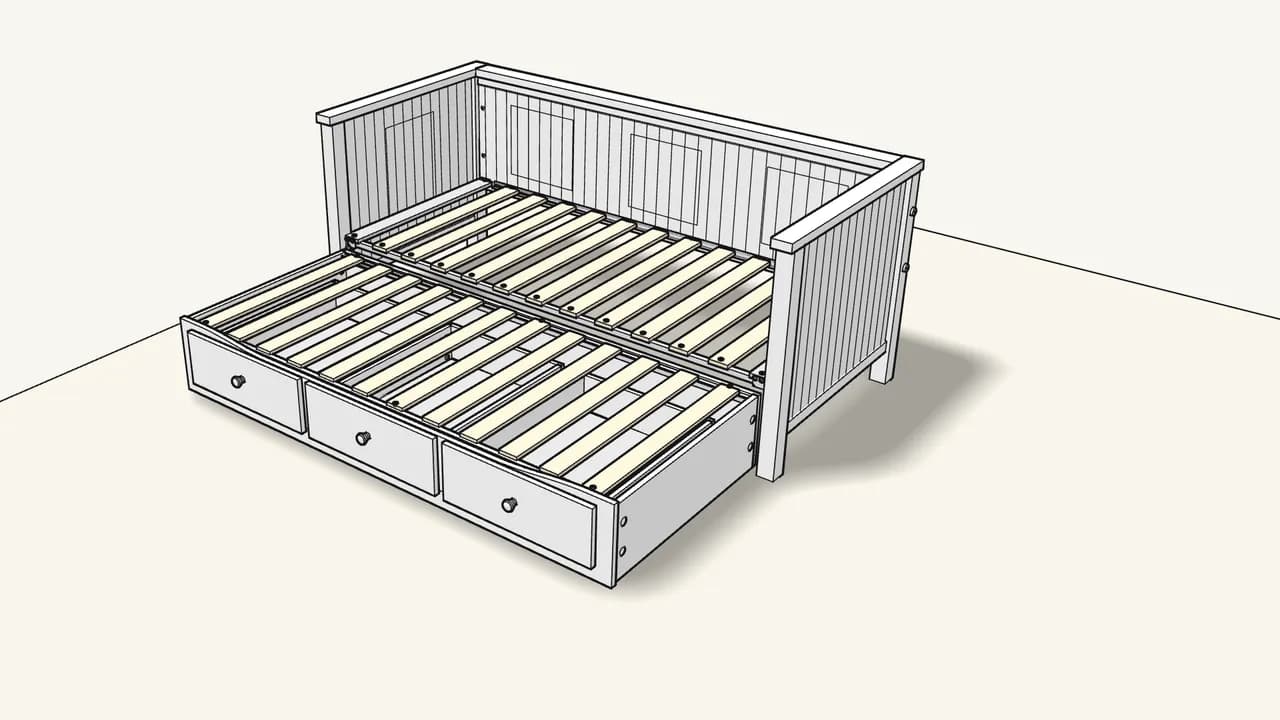
Pull out the lower bed to use it as a double.
Open, the bed is 195 cm deep — see manual p. 35.
Tips & safety
- Stand the whole bed on the rug — not with only its front on it. As shown on manual p. 34.
Official instructions
This guide follows IKEA's official assembly instructions (AA-1917803-6). Keep the printed manual to hand — if anything differs, the manual is right.