IKEA · Beds
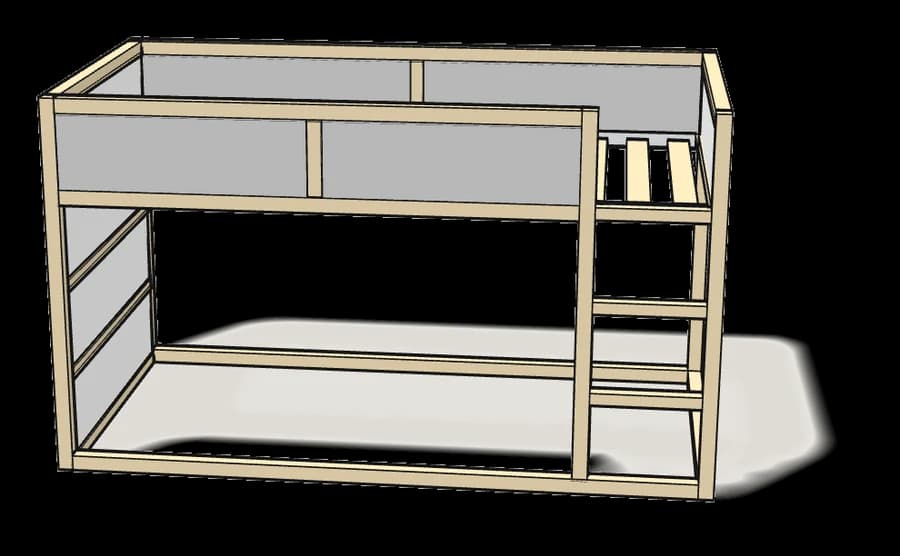
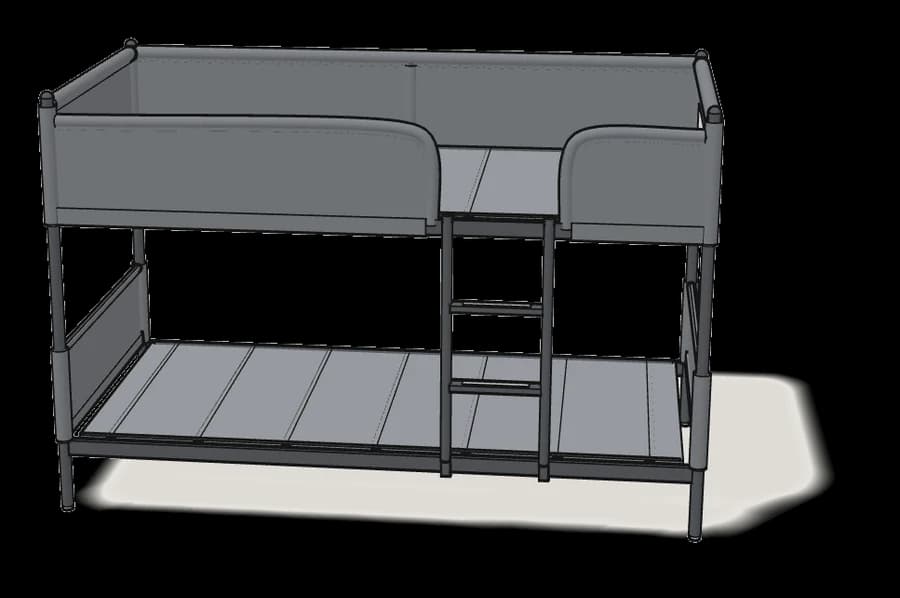
How to Assemble IKEA TUFFING Bunk Bed Frame
Step-by-step IKEA TUFFING bunk bed frame assembly: 21 illustrated steps, an animated video, the hardware list and the tools you need — following the official instructions (AA-1568240-10).
- 21 illustrated steps
- 36 steps in the manual
- 3:19 video
- 200×103×130 cm cm
What you need
Tools
- Phillips screwdriver
- Allen key (included)
Hardware in the box
| Part no. (as printed in the manual) | Qty |
|---|---|
| 100014 | 28× |
| 106986 | 28× |
| 105892 | 28× |
| 100673 | 2× |
| 147722 | 3× |
| 100165 | 2× |
| 117444 | 1× |
| 144549 | 4× |
Step-by-step assembly
Step 1
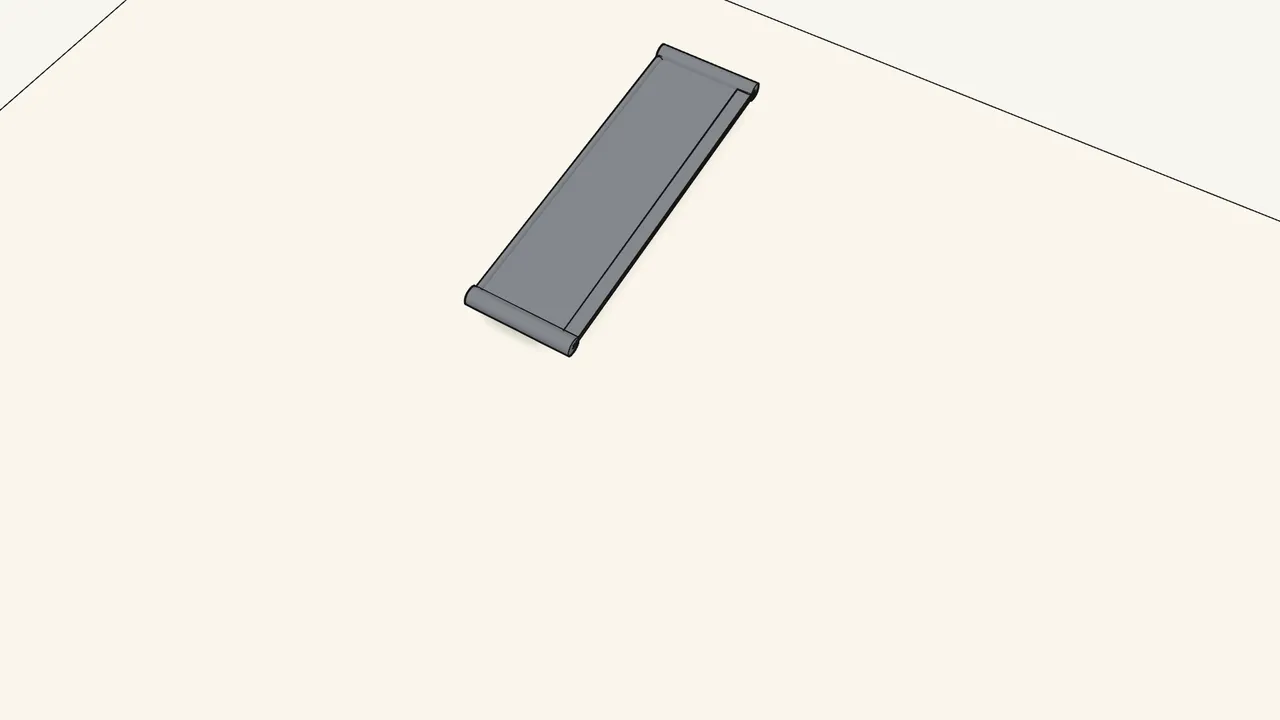
Slide a flat bar and a rod into the hems of a lower end panel.
Flat bar in the bottom hem, rod in the top hem.
Step 2
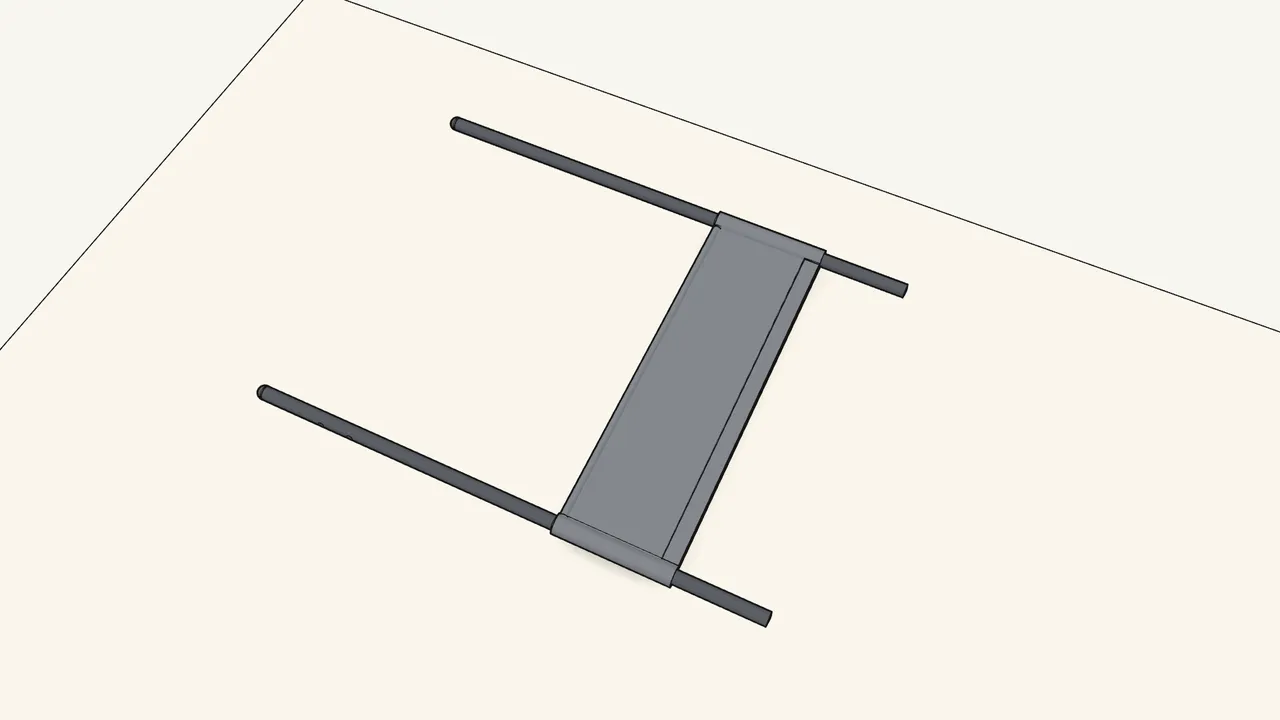
Slide two posts through the side sleeves of the panel.
The end with holes marked 1 and 2 goes next to the panel.
Step 3
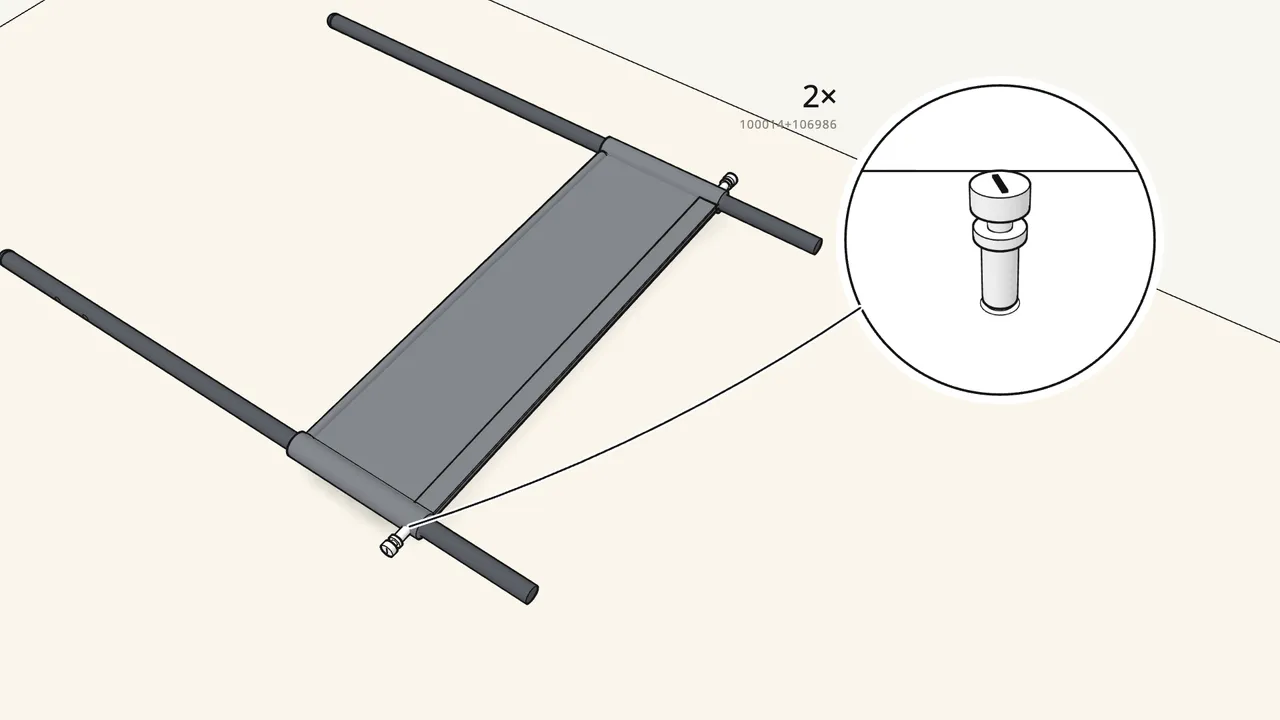
Fix the flat bar to both posts with 2 connectors.
Screw 100014 halfway into 106986, then in by hand — don’t tighten with the key yet.
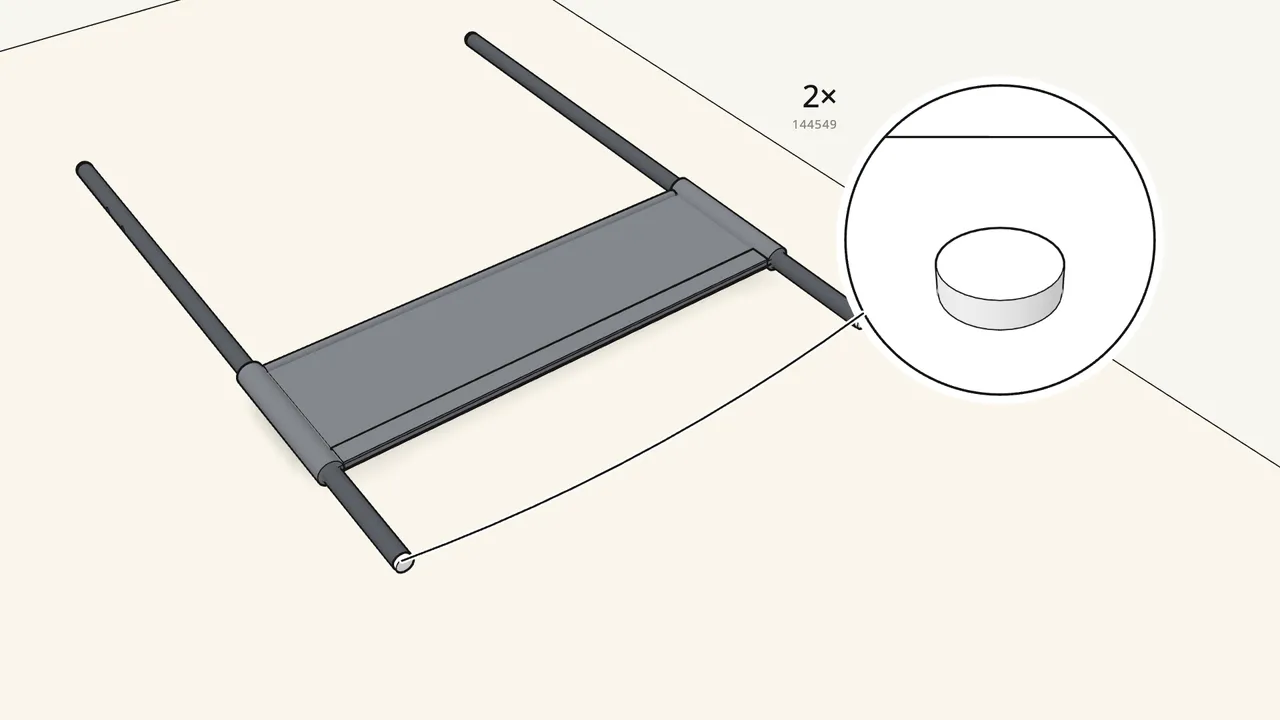
Step 4
Press 2 plugs (144549) into the bottom of the posts.
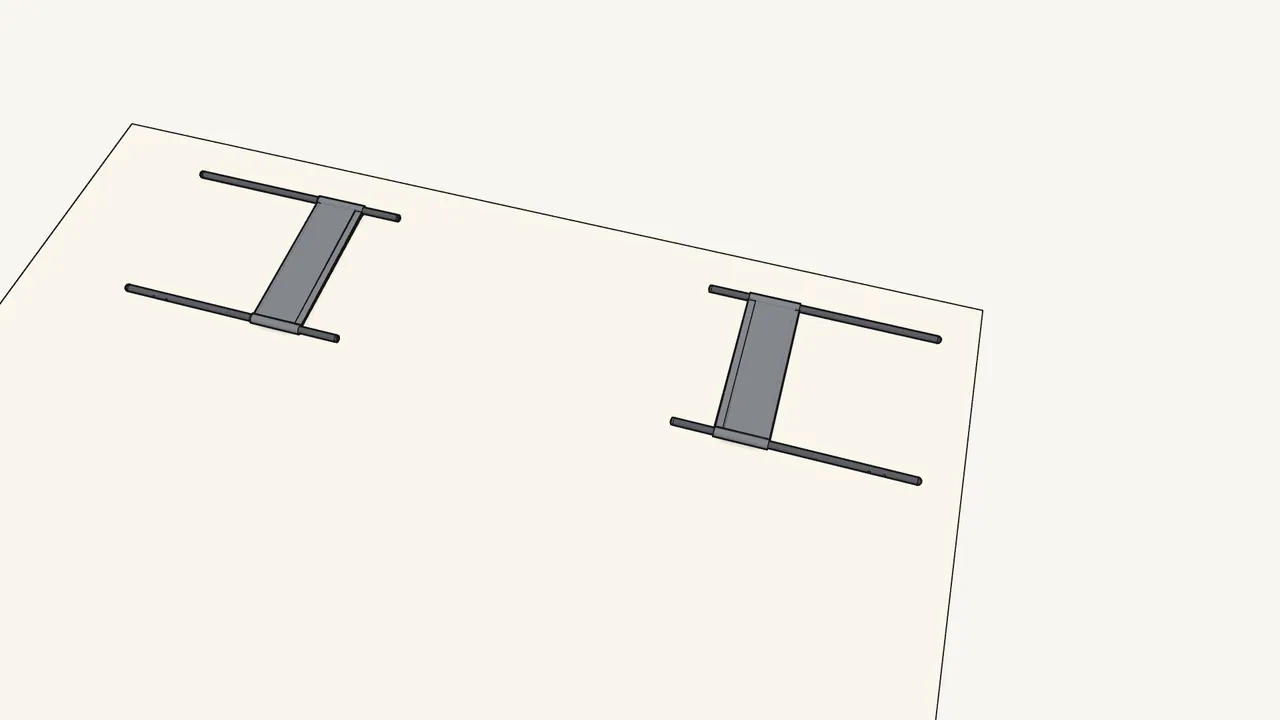
Step 5 · manual step 5–7
Build the second end frame the same way.
Bar and rod, two posts, 2 connectors, 2 plugs.
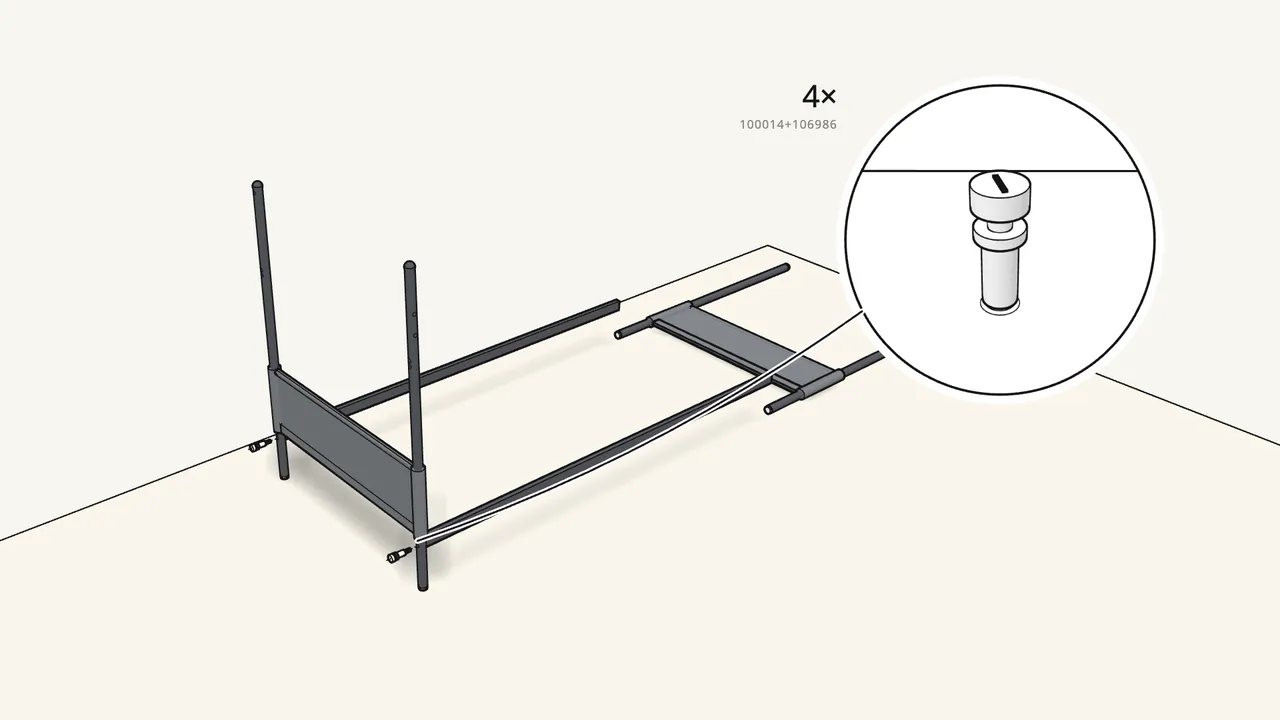
Step 6 · manual step 8
Stand one end frame up and connect rails 1 and 2 to it.
Rail 1 at the front, rail 2 at the back — match the numbers. 4 connectors.
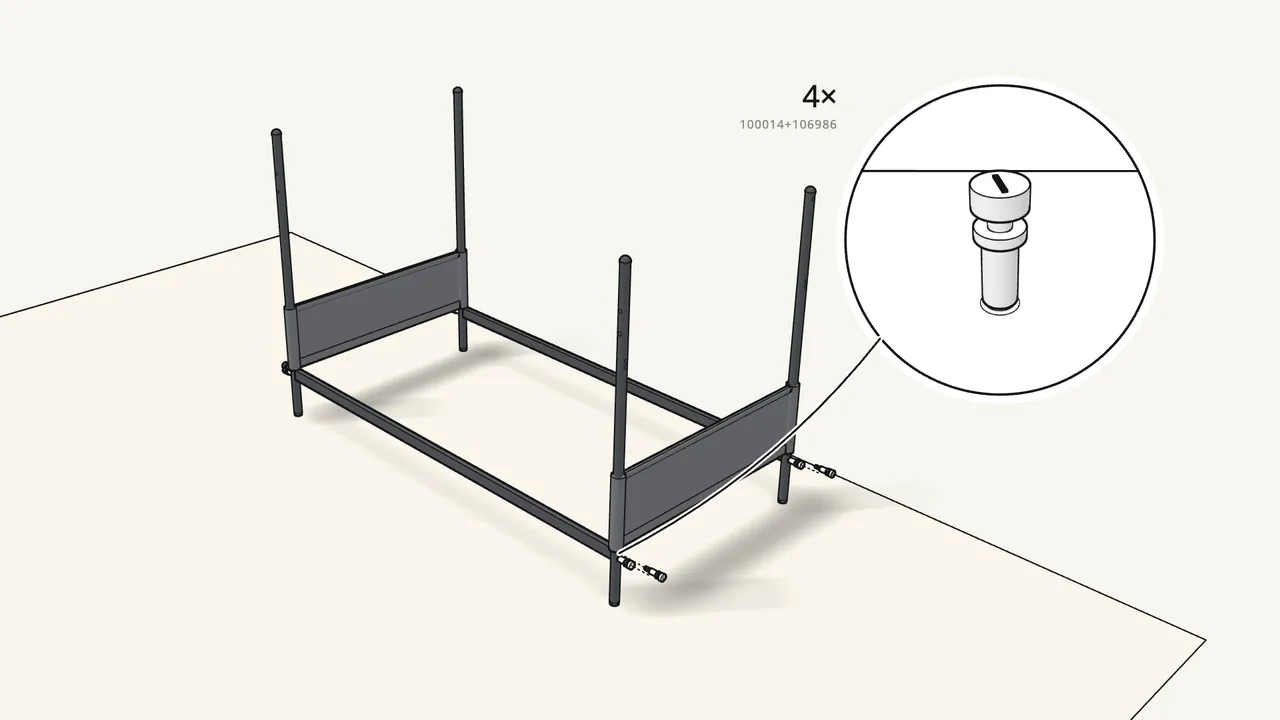
Step 7 · manual step 9
Stand the other end frame up and connect it — 4 connectors.
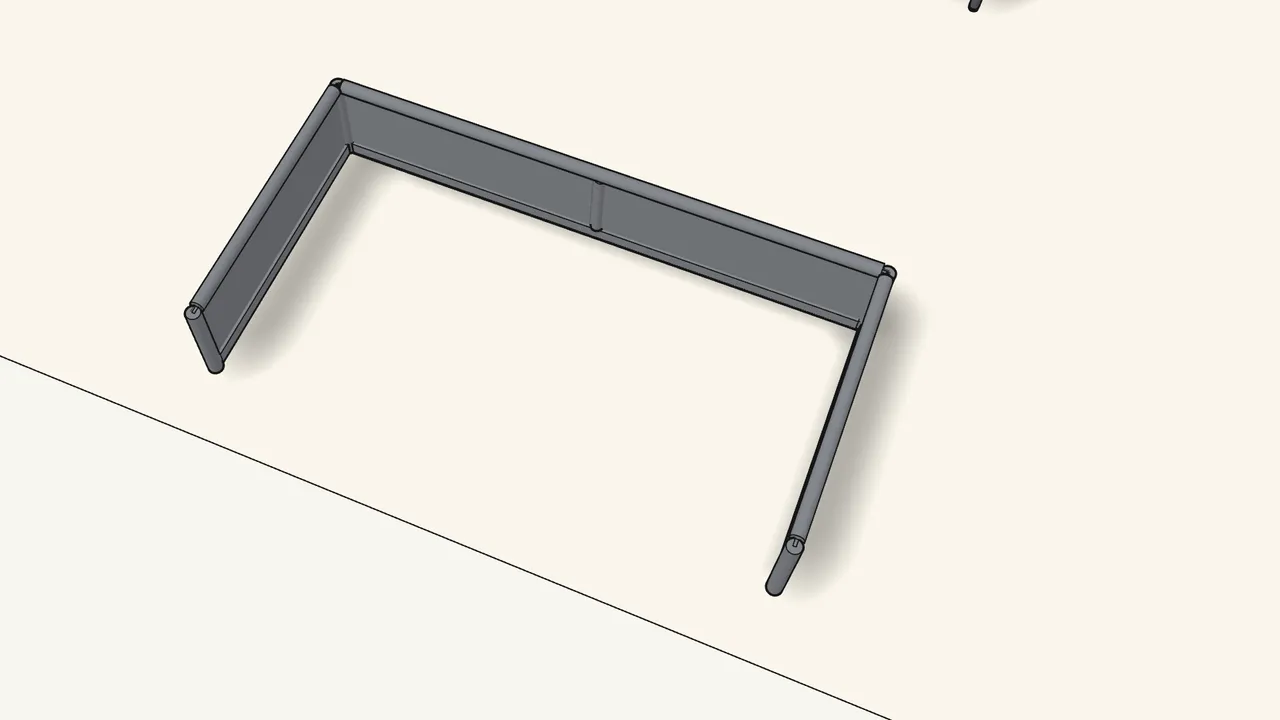
Step 8 · manual step 10
Slide rail 4 into the bottom hem of the large fabric piece.
Check the hole pattern and the warning-label end as shown in step 10.
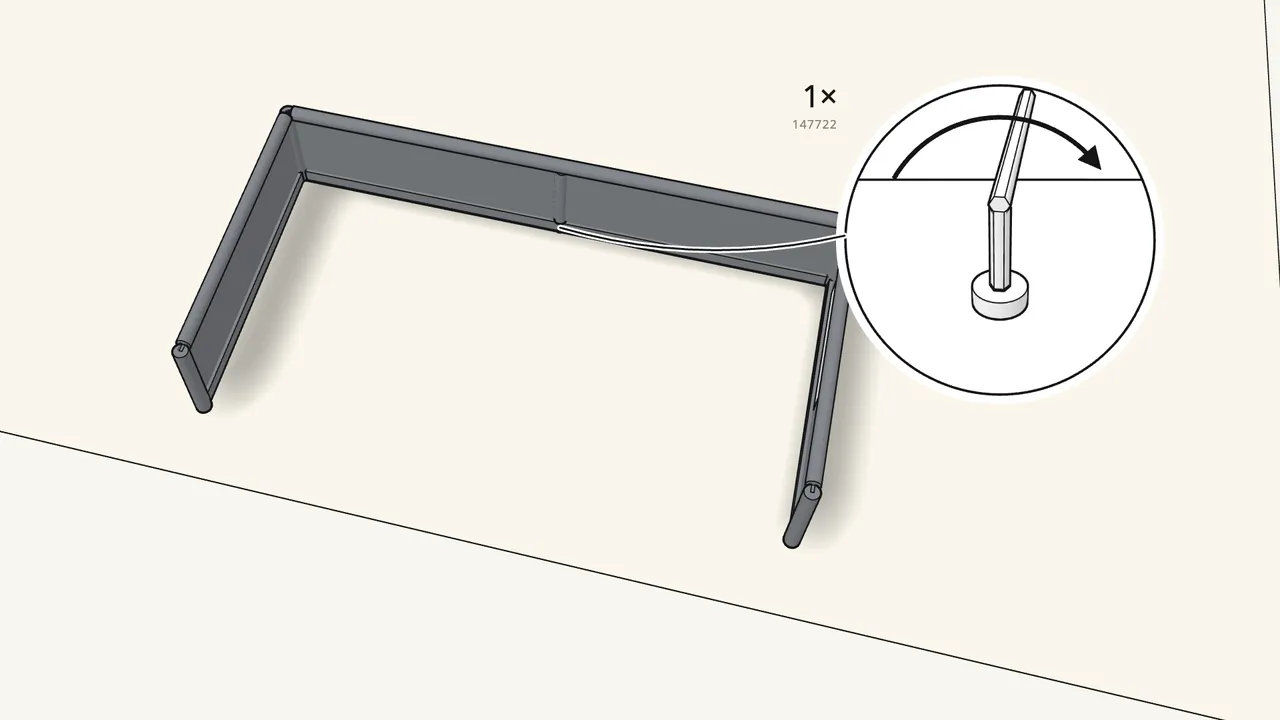
Step 9 · manual step 11
Push the middle post into its pocket and bolt it to rail 4.
1 bolt (147722) from below, with Allen key 100001.
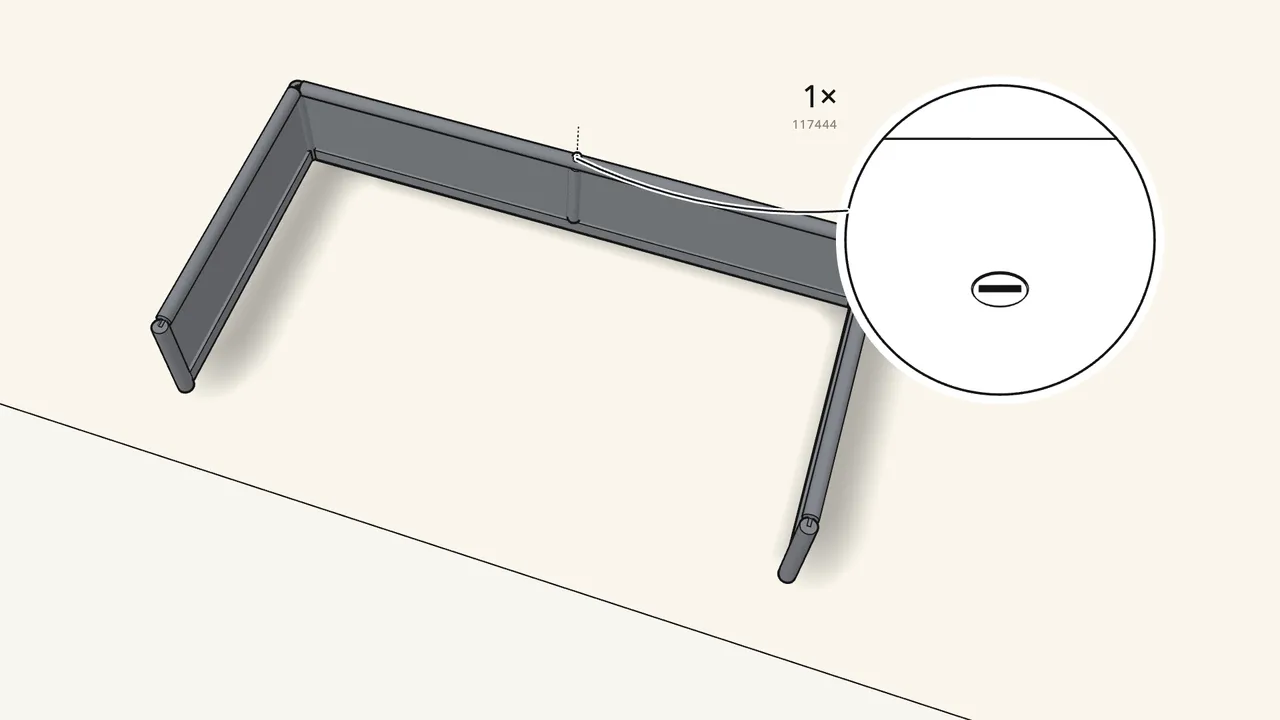
Step 10 · manual step 12–13
Slide the top rail through the top hem and fix it to the post.
Use the 117444 bolt here (not a connector), with key 100002.
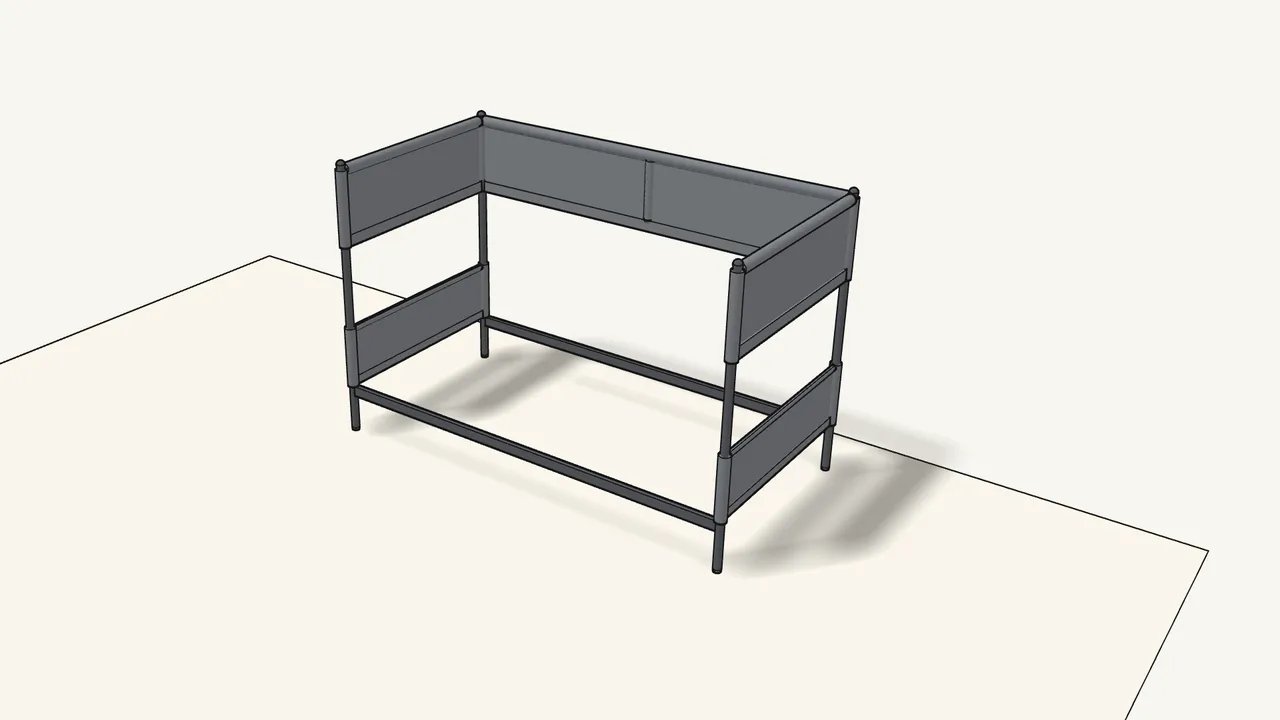
Step 11 · manual step 14
Lift the fabric frame over the four posts and lower it down.
Rail 4 at the back, the warning label at the right-hand end.
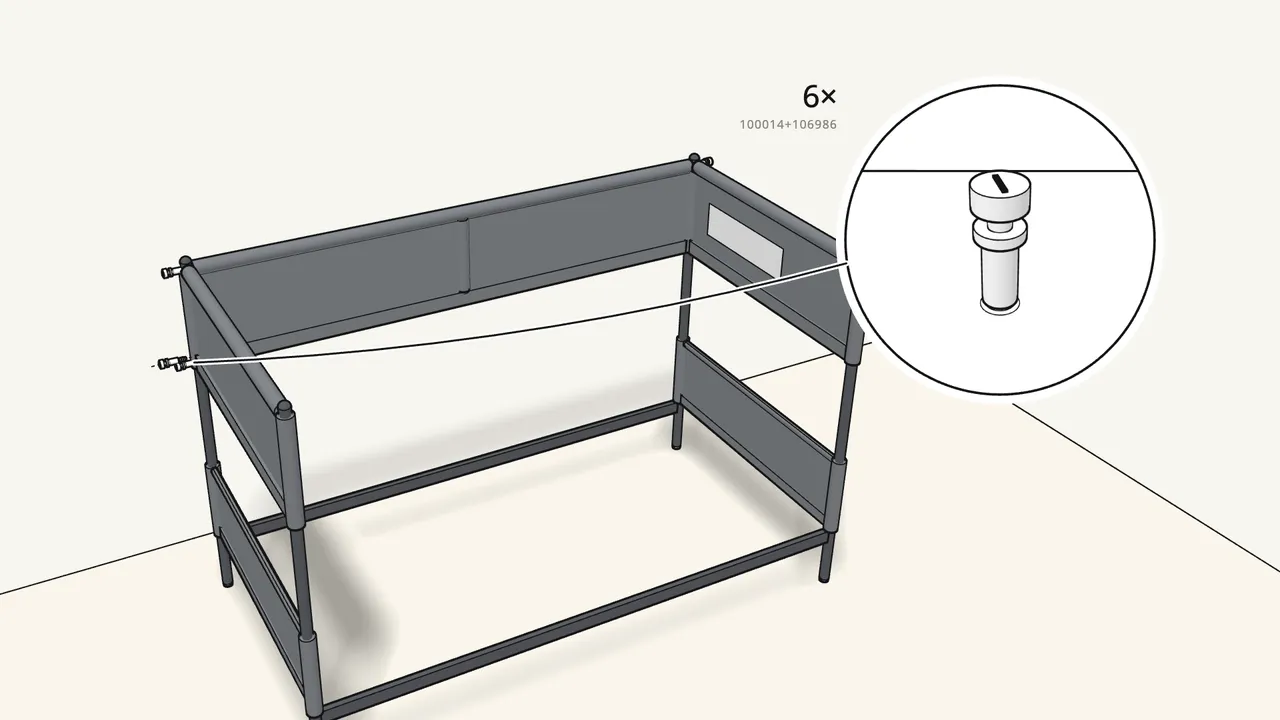
Step 12 · manual step 15
Fix the top rail and rail 4 to both back posts.
Connectors 100014 + 106986, screwed in by hand.
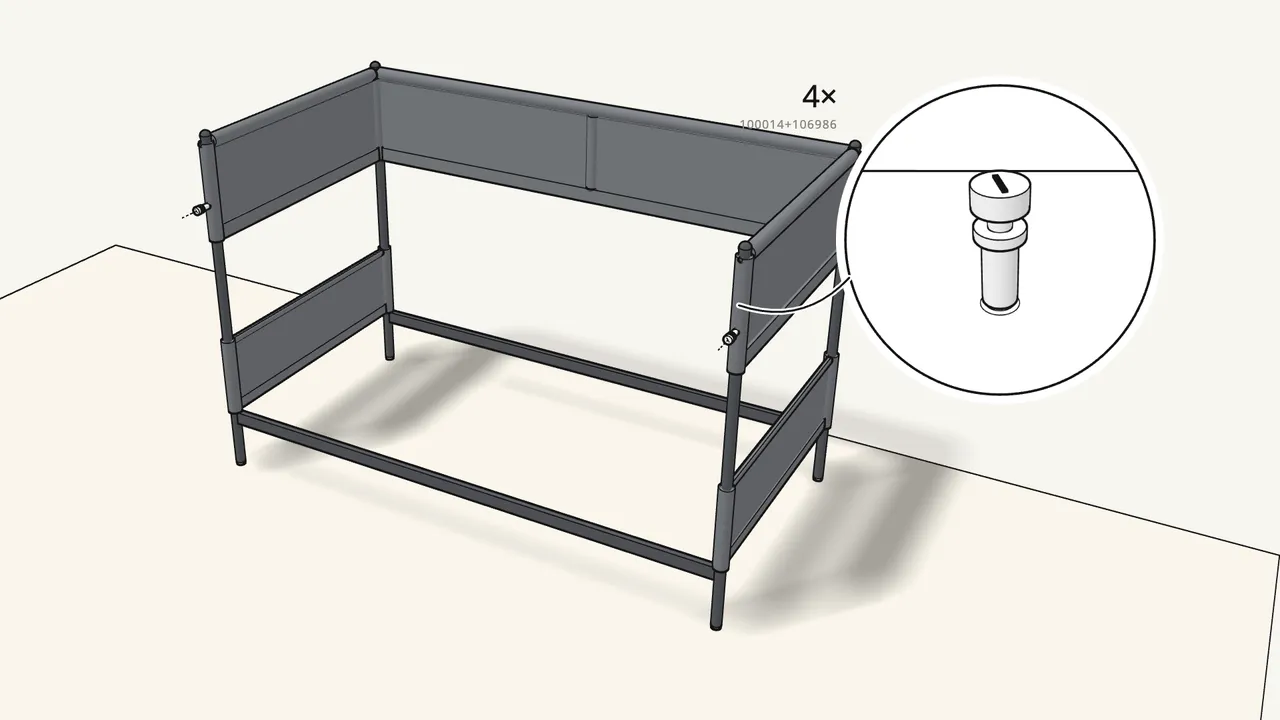
Step 13 · manual step 16–20
Push a rod through the top hem of each end section.
Then fix each end to its front post with 2 connectors. The left end also takes a flat bar — see steps 17–20.
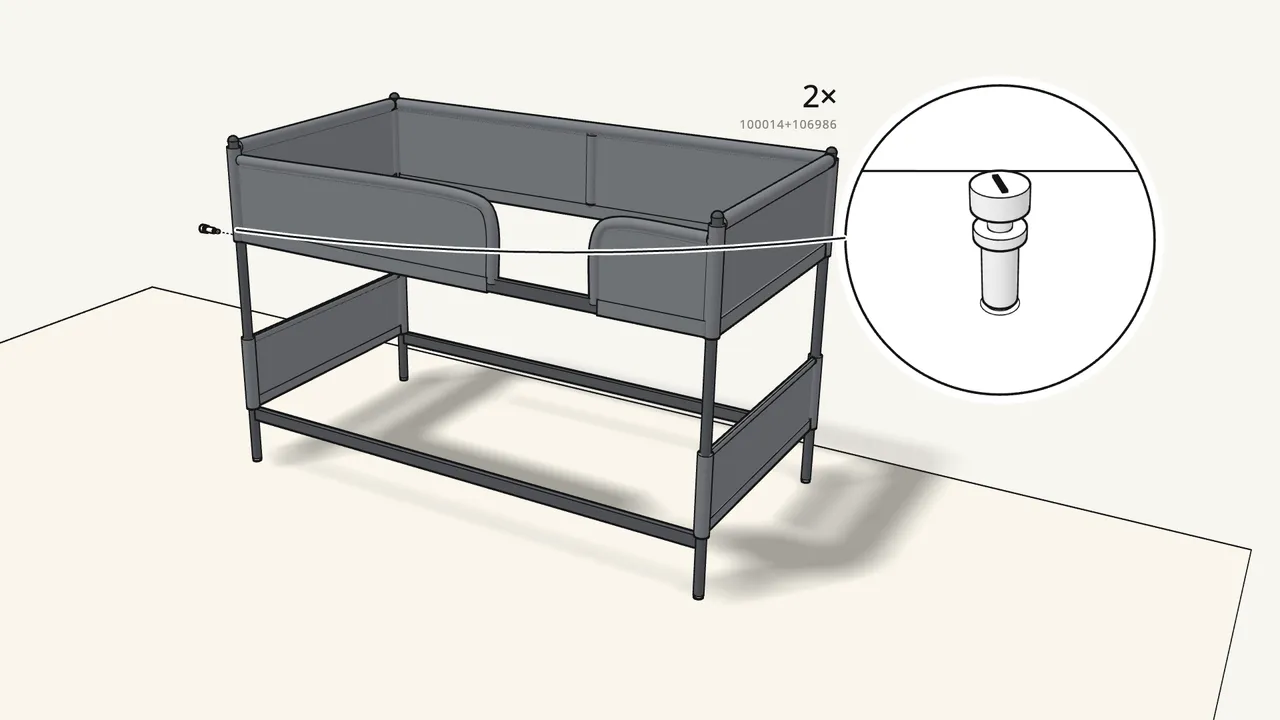
Step 14 · manual step 21–23
Slide rail 3 into the hems of the front guards.
Holes marked 3 match the left front post: fix it there with 2 connectors.
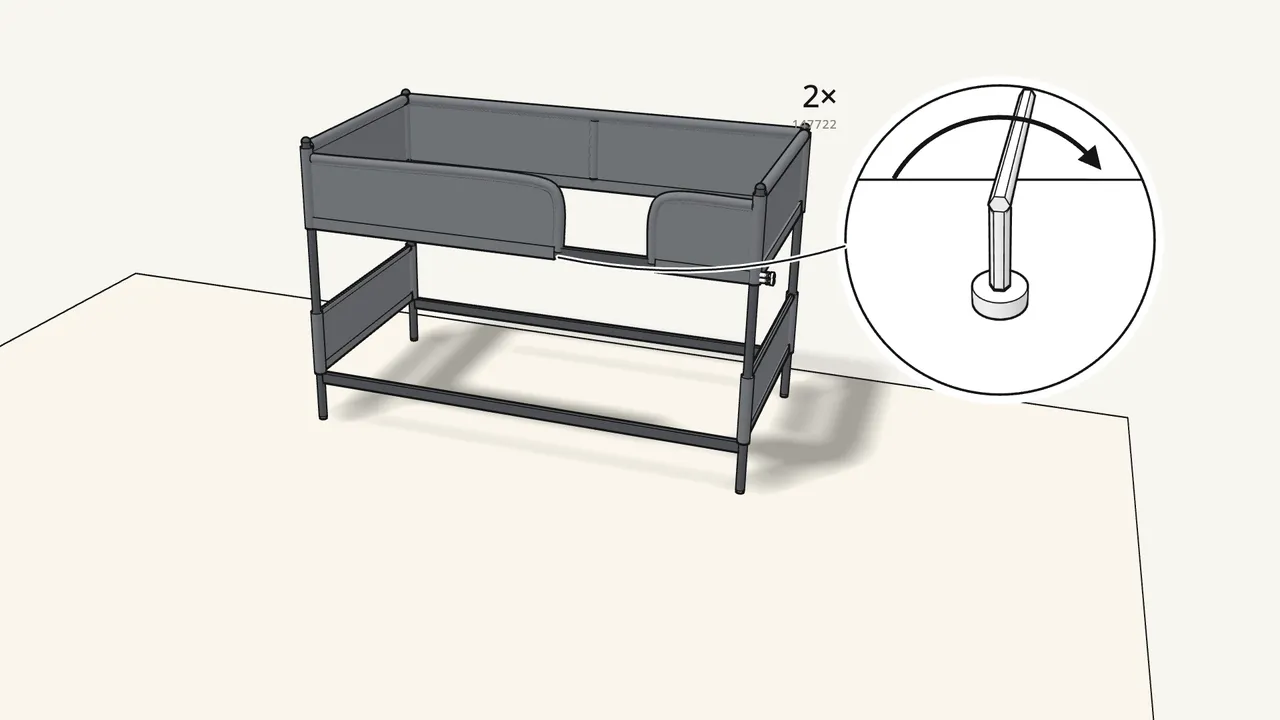
Step 15 · manual step 24–27
Push the bent tubes into the tops of both front guards.
Their ends go down into rail 3. Then 2 connectors at the right front post, and 2 bolts (147722) up through rail 3.
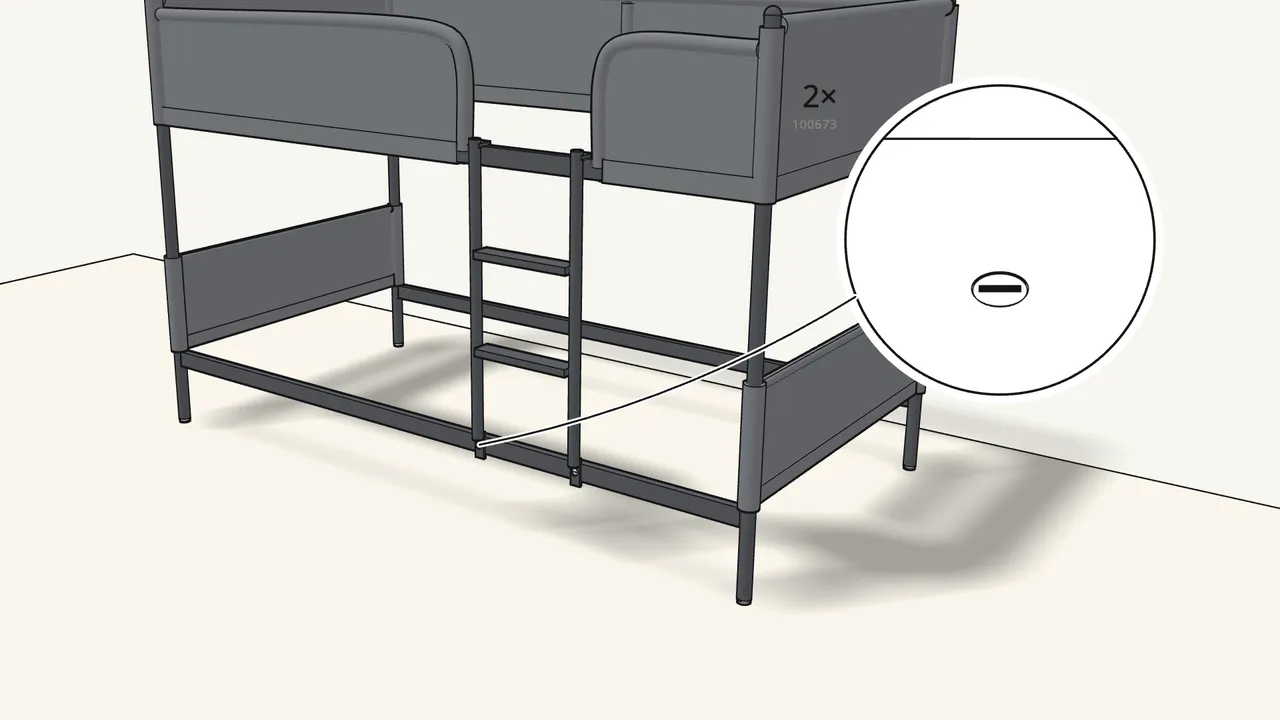
Step 16 · manual step 28
Hook the ladder over rail 3 and fix its feet to rail 1.
2 cap nuts (100673) and 2 bolts (100165), with key 100002.
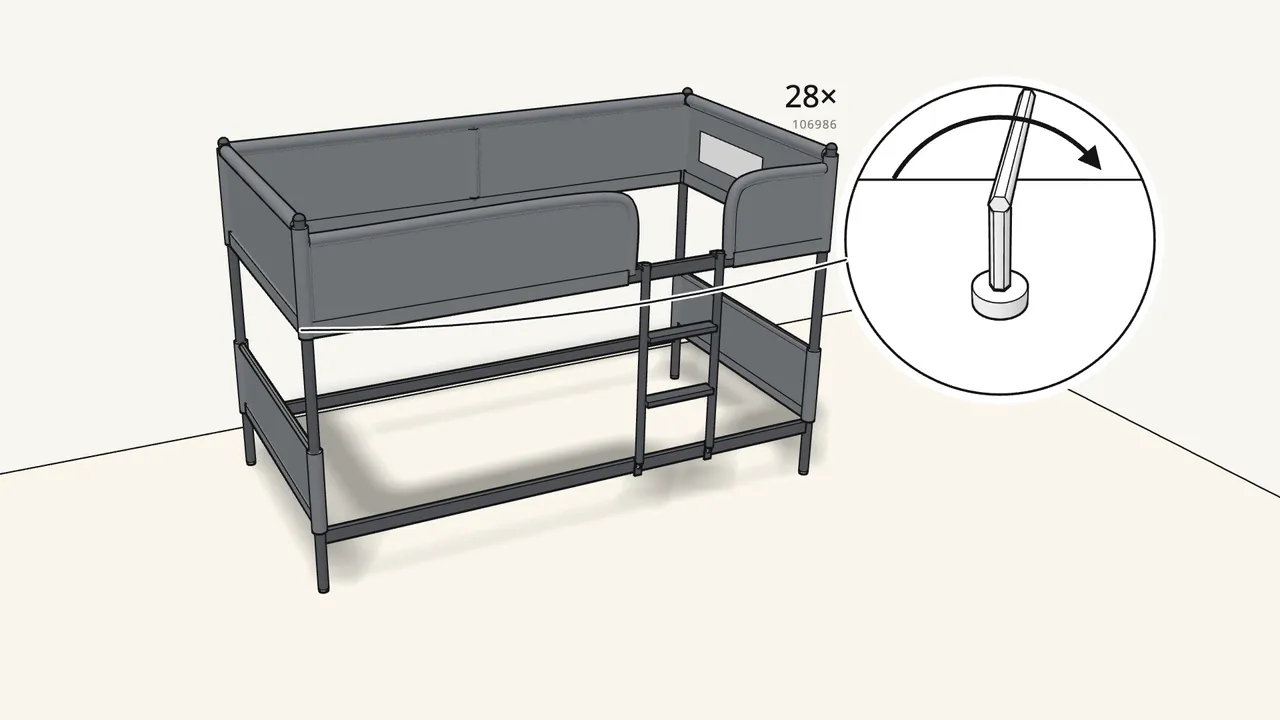
Step 17 · manual step 29
Now tighten all 28 connectors with Allen key 100002.
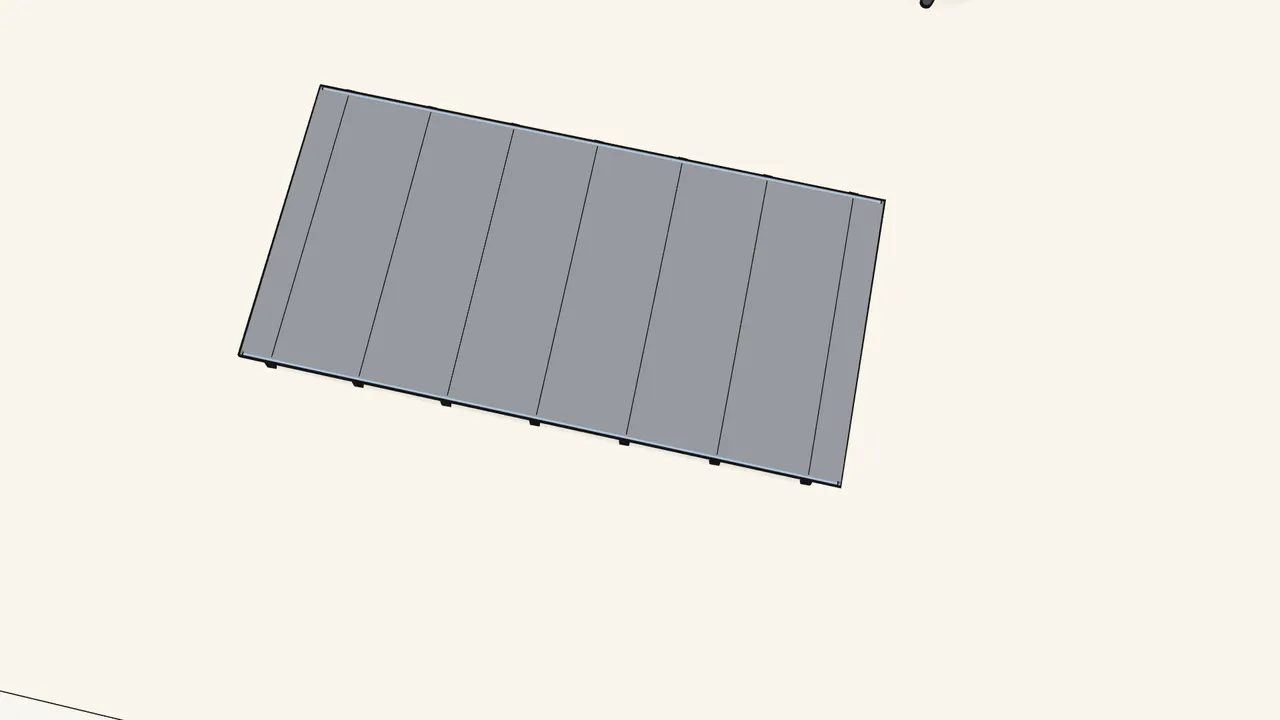
Step 18 · manual step 30–31
Build a base: 7 slats and 2 rods into the fabric.
The arrows printed on the fabric point up.
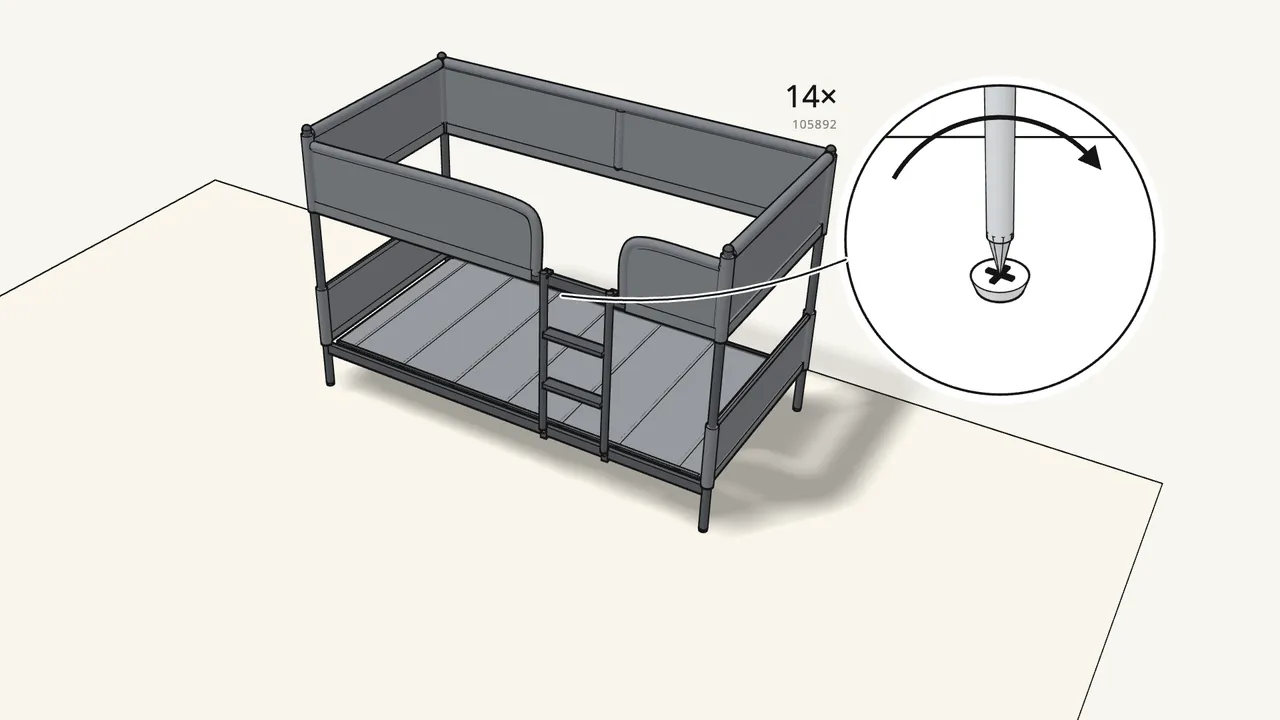
Step 19 · manual step 32–33
Lower the base through the top into the lower bed and screw it to the rails.
14 screws (105892), Phillips screwdriver.
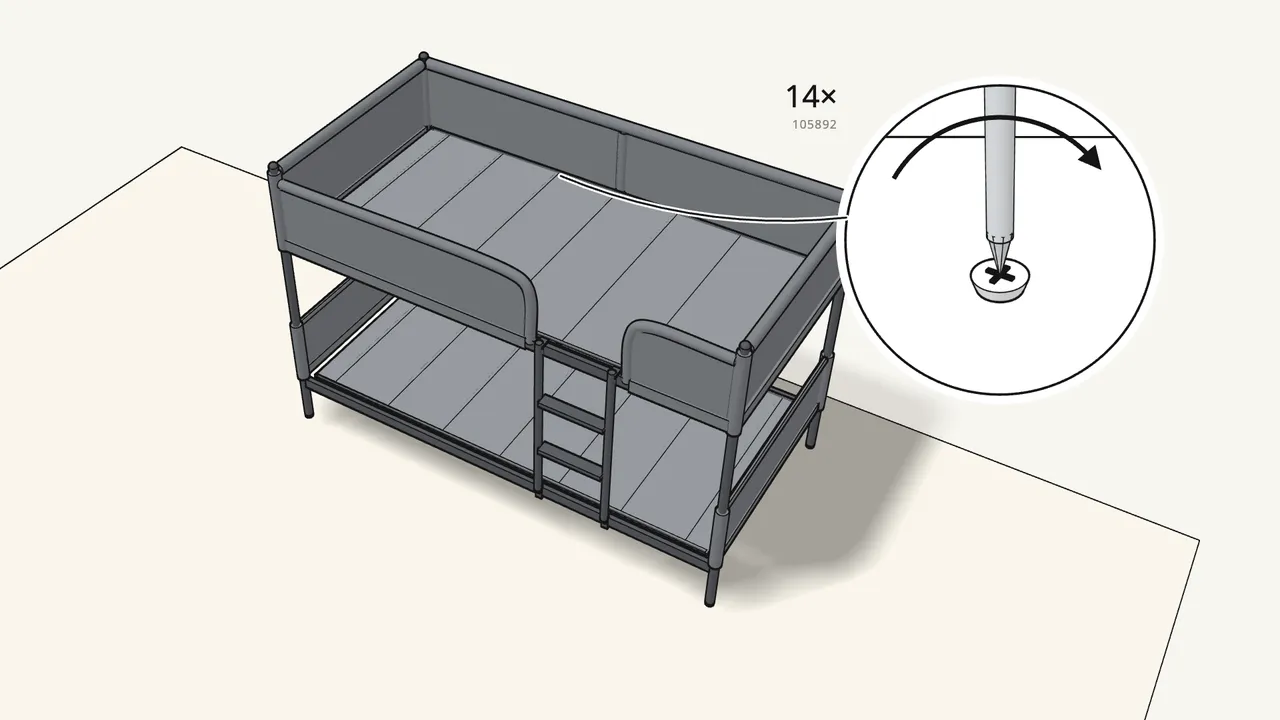
Step 20 · manual step 34–35
Build the second base and screw it into the upper bed.
Another 14 screws (105892).
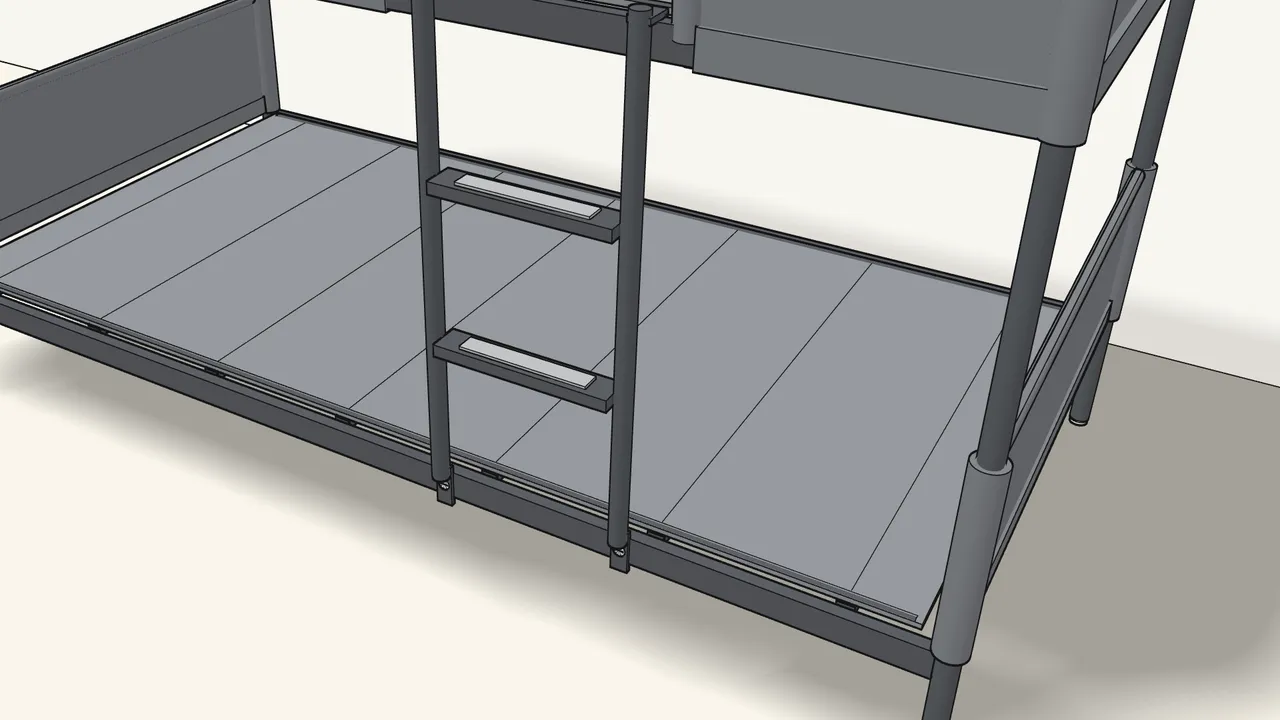
Step 21 · manual step 36
Stick the 2 anti-slip strips (121108) onto the ladder steps.
Tips & safety
- Use a 97×189 cm (38¼×74½") mattress. One for each bed, as shown on the last page of the manual.
- Keep the warning label on the upper bed. It sits on the inside of the right-hand end — read it before use.
- No lower end panels? You can build the lower bed without them: skip to page 13 of the manual.
Official instructions
This guide follows IKEA's official assembly instructions (AA-1568240-10). Keep the printed manual to hand — if anything differs, the manual is right.