IKEA · Beds
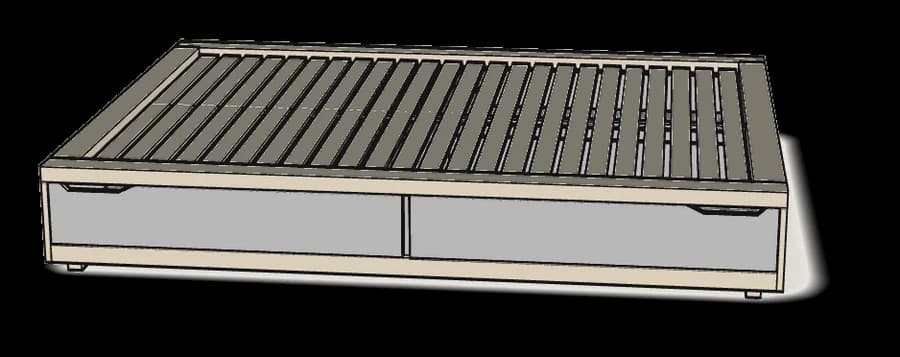
How to assemble IKEA MANDAL Bed Frame with Storage
Step-by-step IKEA MANDAL Bed Frame with Storage assembly: 25 illustrated steps, an animated video, the hardware list and the tools you need — following the official instructions (AA-261173-11).
- 25 illustrated steps
- 40 steps in the manual
- 3:26 video
- 214×166×32 cm
What you need
Tools
- Flat-head screwdriver
- Phillips screwdriver
- Hammer
You’ll need: a flat-head screwdriver, a Phillips screwdriver and a hammer.
Hardware in the box
| Part no. (as printed in the manual) | Qty |
|---|---|
| 123026 | 20× |
| 109572 | 4× |
| 100214 | 8× |
| 118331 | 24× |
| 109504 | 4× |
| 100365 | 48× |
| 105344 | 8× |
| 110630 | 64× |
| 101357 | 2× |
| 101350 | 12× |
| 110519 | 16× |
Step-by-step assembly
Step 1
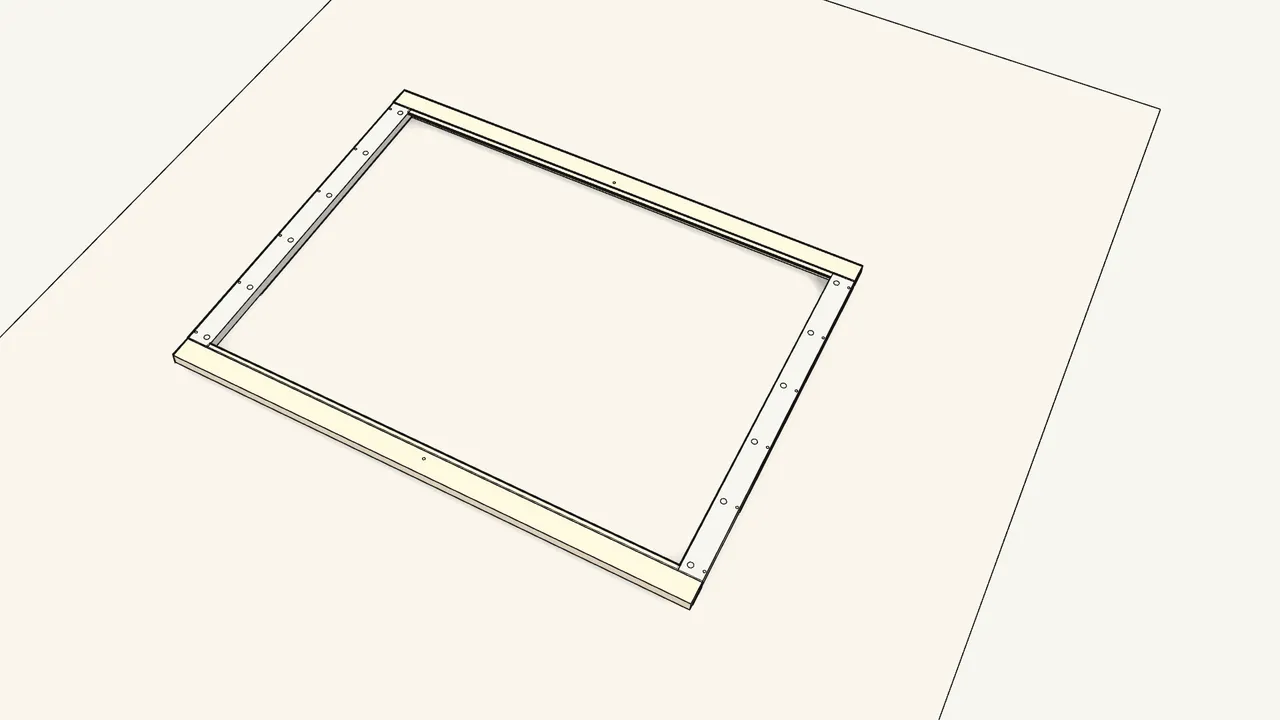
Lay the 4 top-frame pieces on a rug and slide the joints together.
The bed is built upside down — it gets turned over in step 26.
Step 2 · manual step 2–3
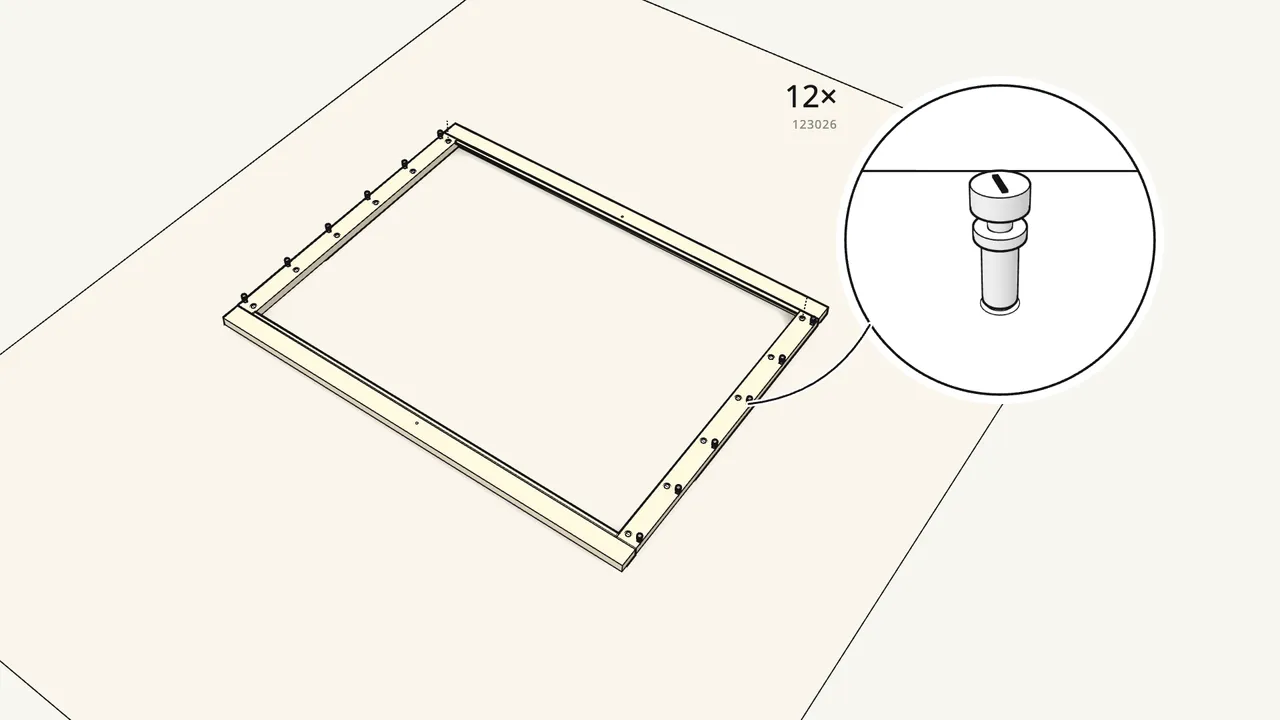
Fit 12 connectors (123026), then lock them with 12 cam locks.
Cam locks 110630 — turn them with the flat-head screwdriver.
Step 3 · manual step 4
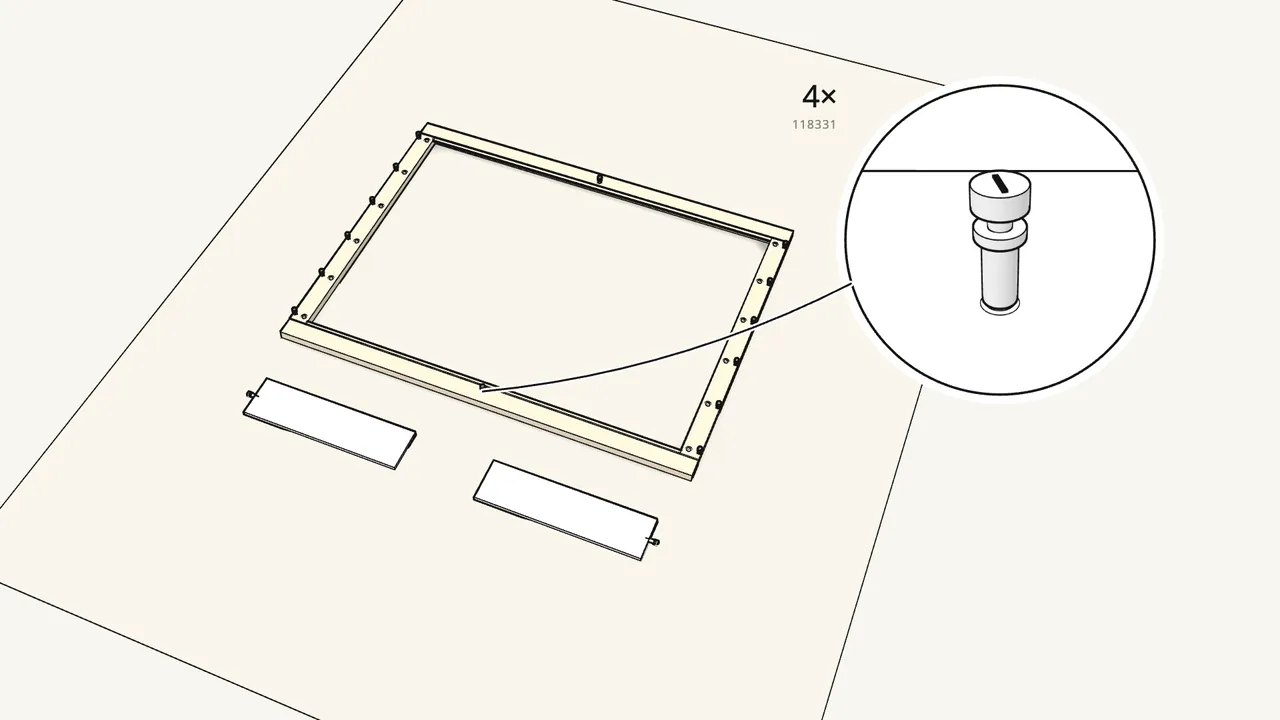
Screw 4 cam bolts (118331) into the frame and the divider halves.
Two go into the middle of the long frame pieces — see the manual, step 4.
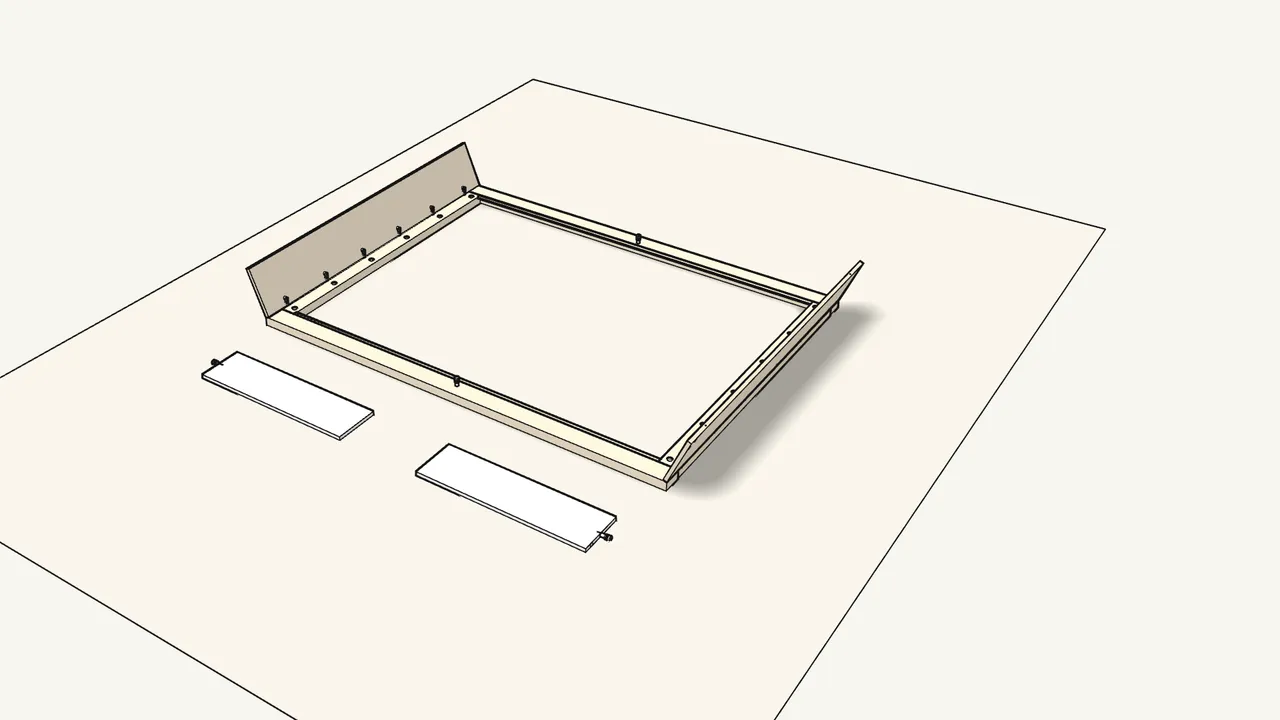
Step 4 · manual step 5
Set both end panels onto the connectors.
6 connectors per panel. Leave the panels leaning outwards for now.
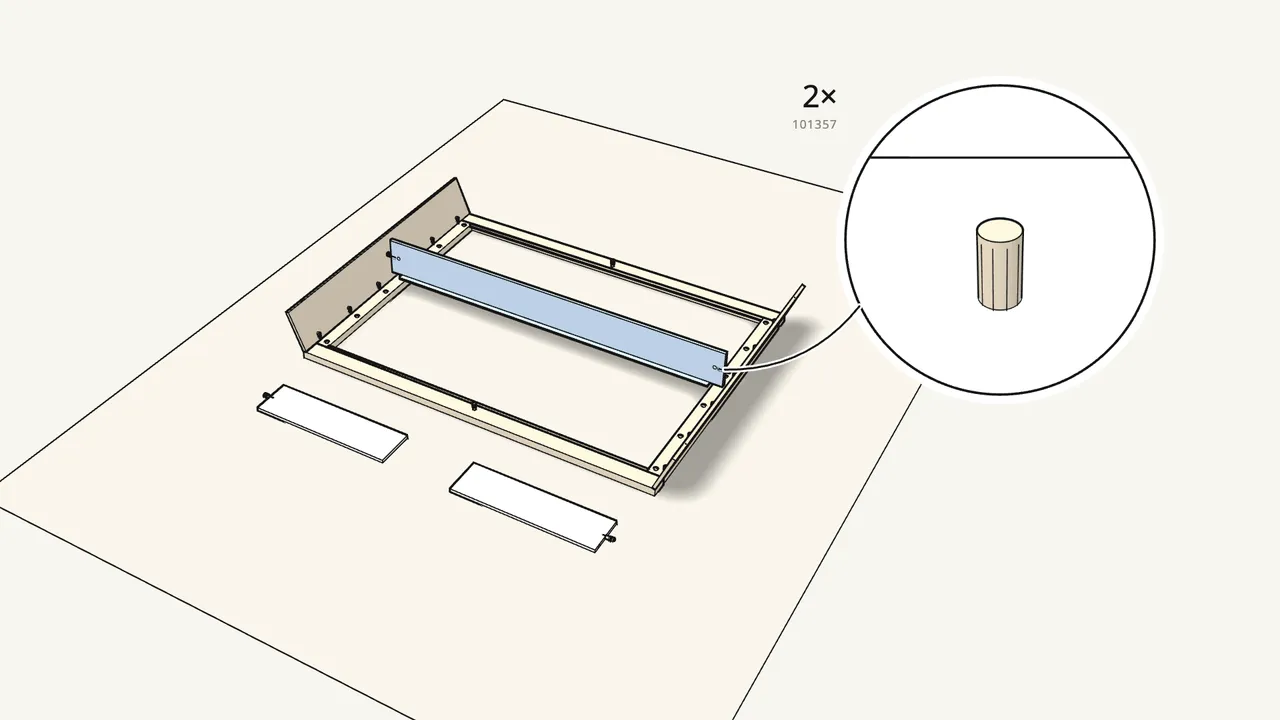
Step 5 · manual step 6
Push 2 dowels (101357) into the centre beam and lay it in.
Use the 101357 dowels here — not 101350.
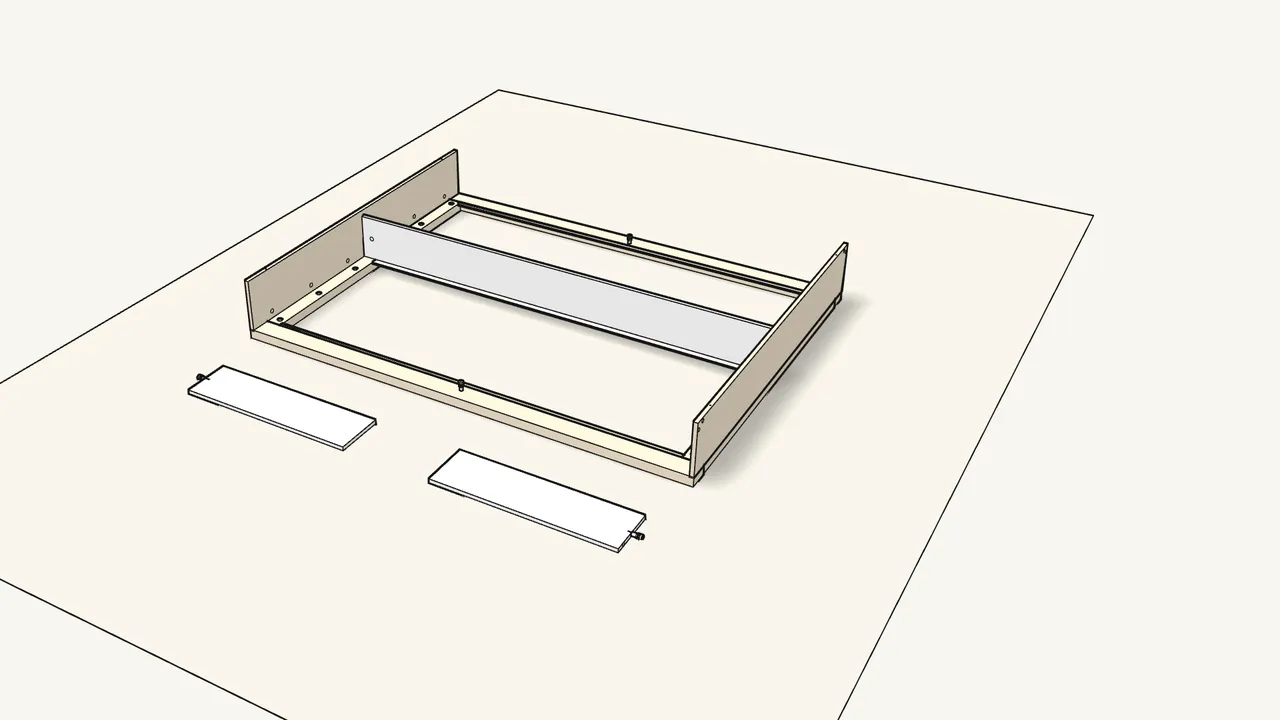
Step 6 · manual step 7
Tilt both end panels up onto the centre beam.
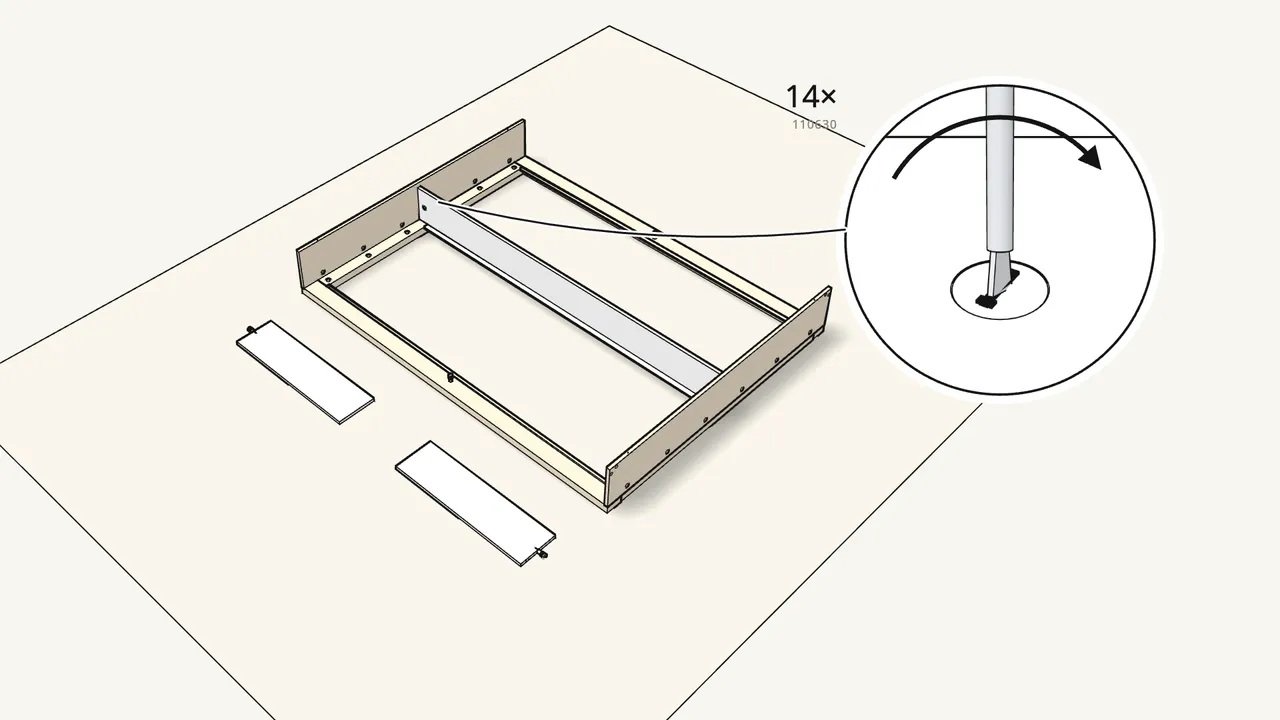
Step 7 · manual step 8
Insert 14 cam locks (110630) and turn them to lock.
Make sure the end panels sit fully down on the frame first.
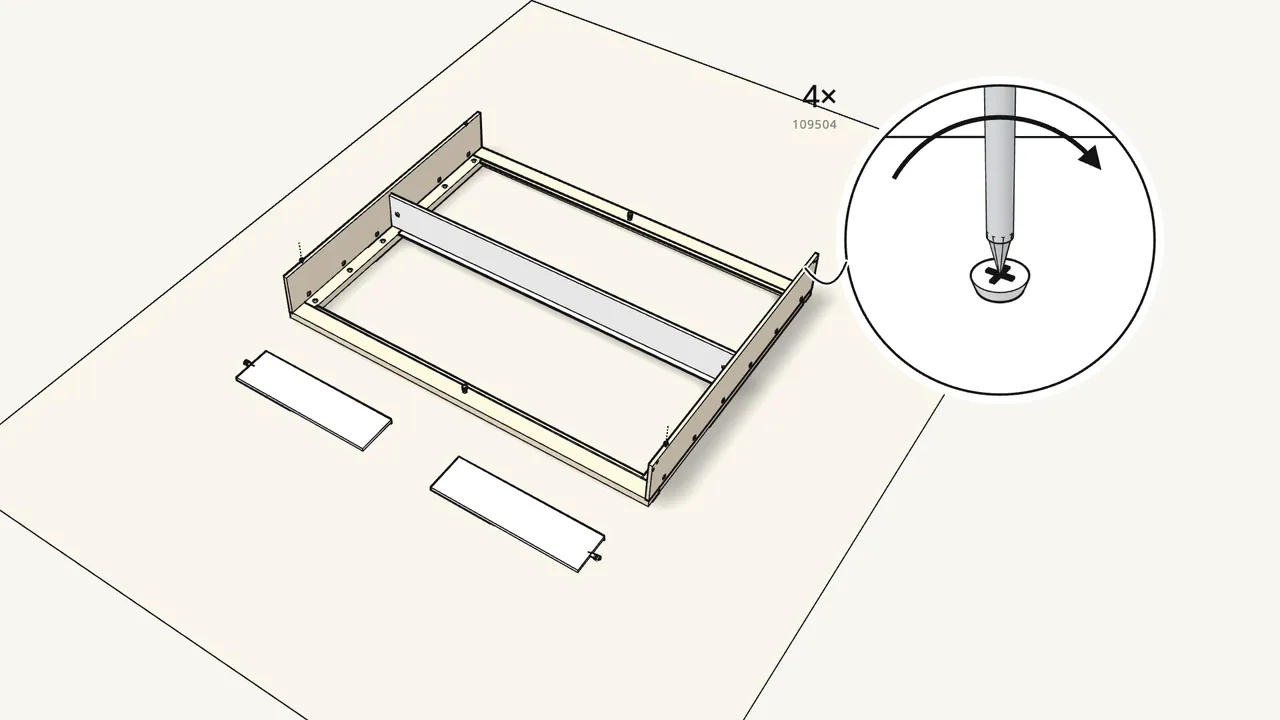
Step 8 · manual step 9
Drive 4 screws (109504) into the end panels.
For the exact positions see the manual, step 9.
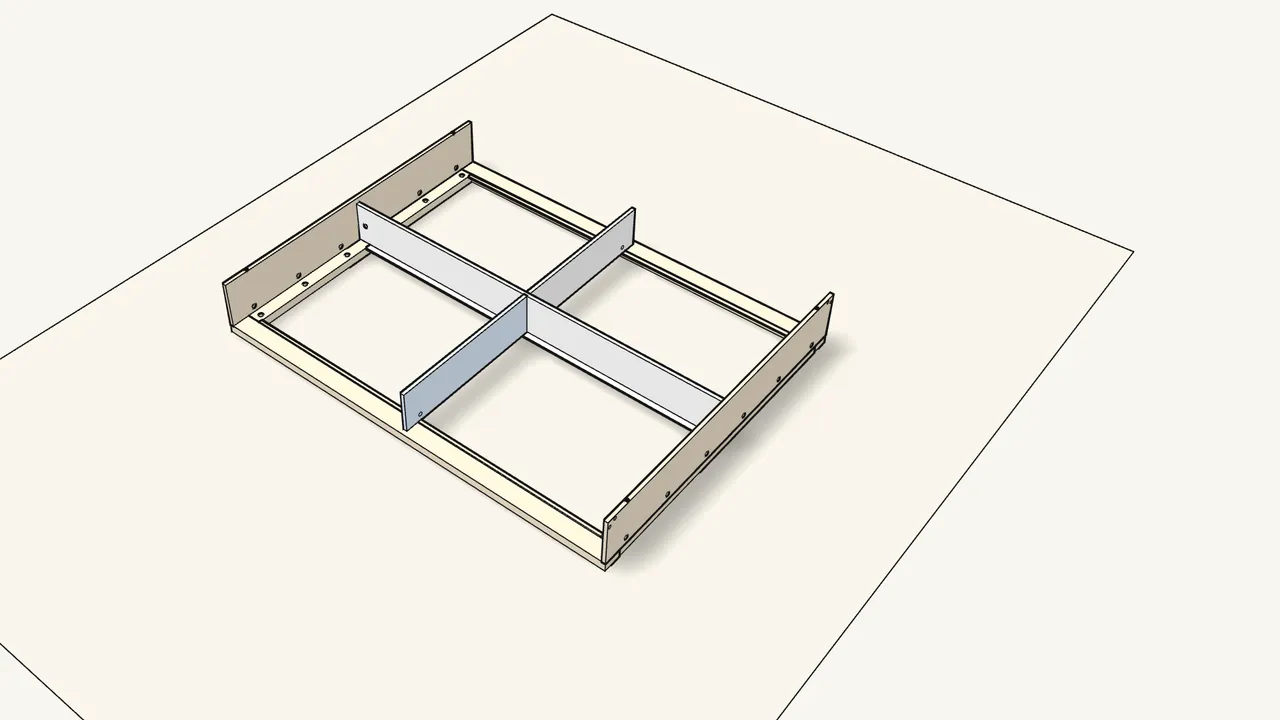
Step 9 · manual step 10–11
Fit the divider halves with 2 dowels (101350), then lock 2 cam locks.
Cam locks 110630, turned with the flat-head screwdriver.
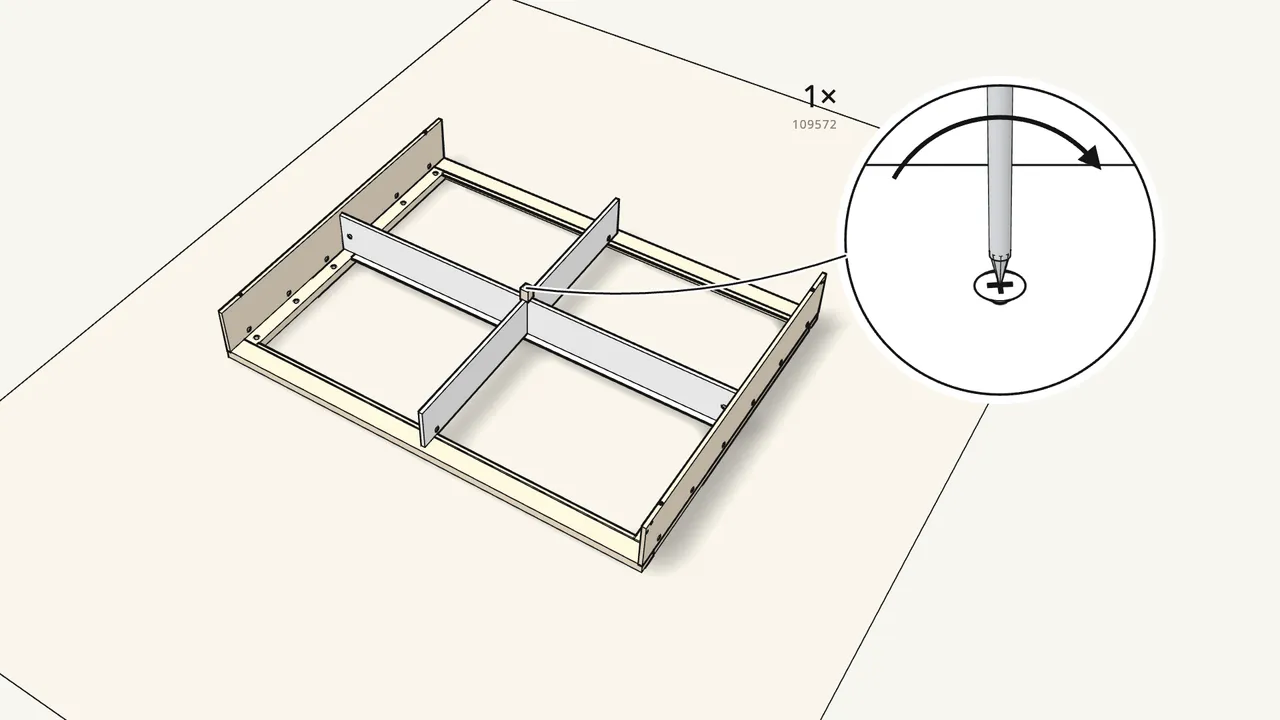
Step 10 · manual step 12
Fit the centre block with a long screw (109572).
It sits where the centre beam and the divider meet.
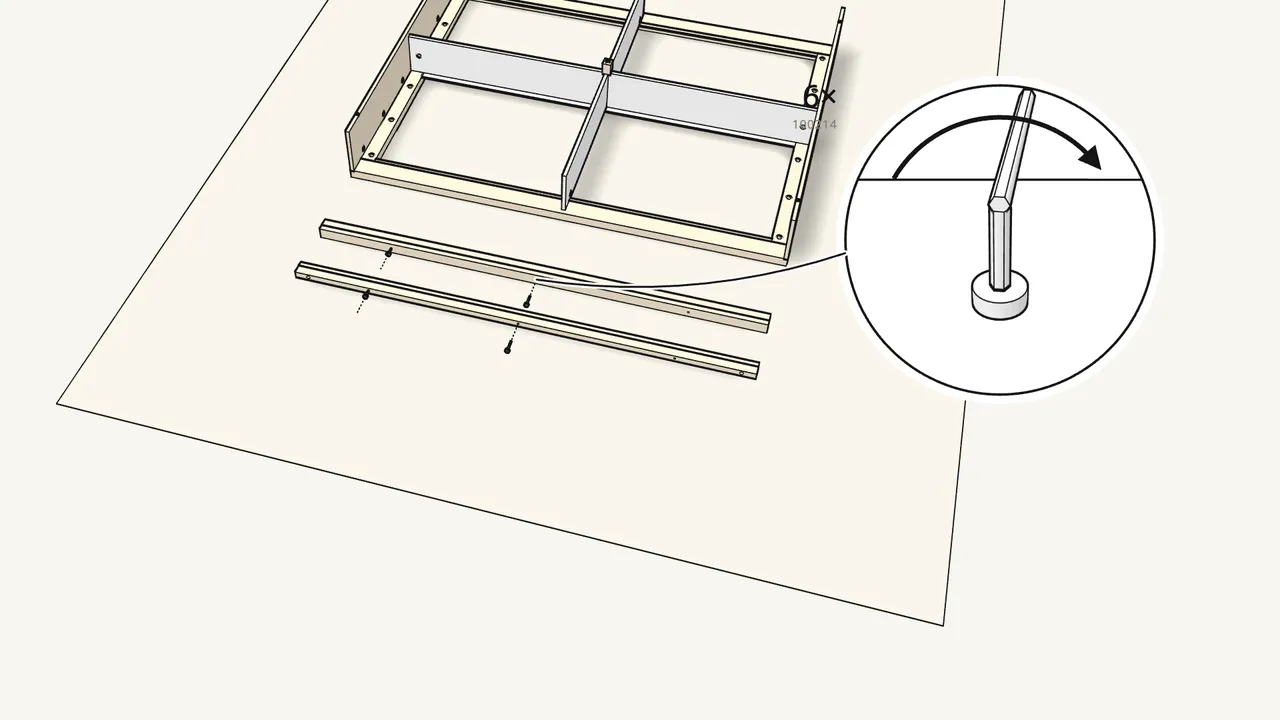
Step 11 · manual step 13–14
Join the 2 base rails: 4 dowels (101350) and 6 screws (100214).
Tighten the screws with the Allen key (100092).
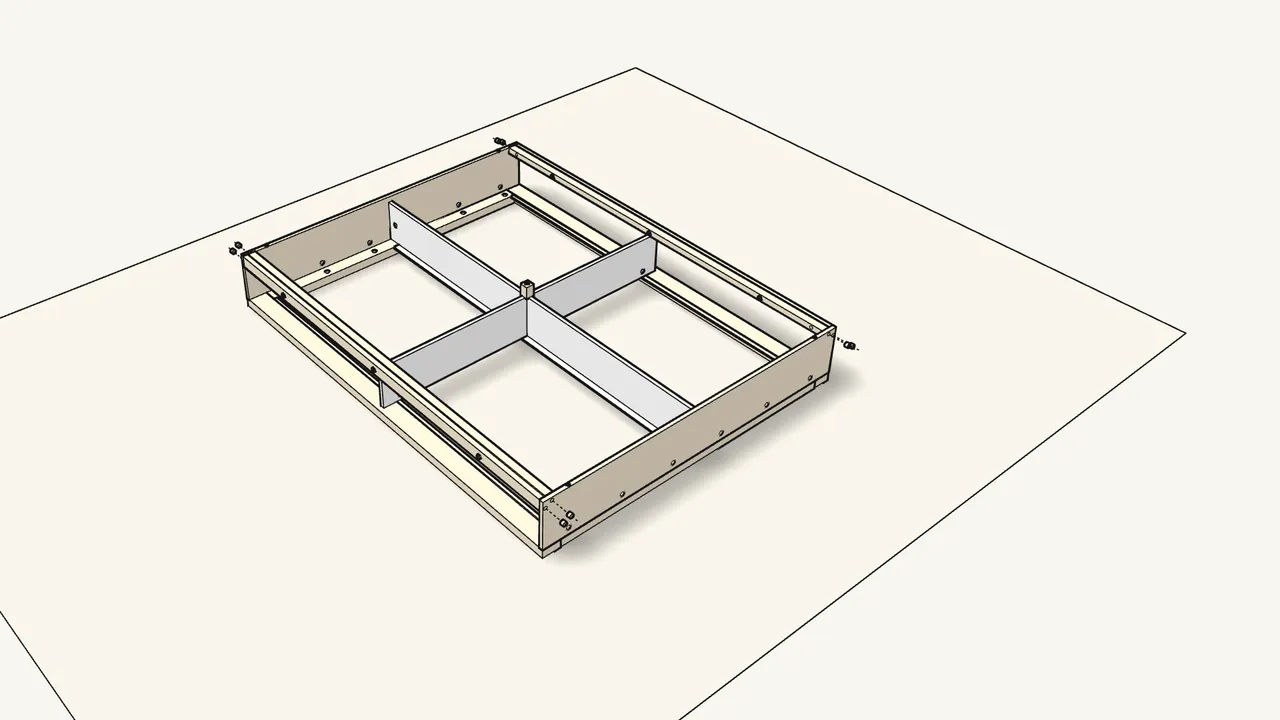
Step 12 · manual step 15–17
Fit 8 connectors (123026) to the rail ends and set the rails on.
Lock them with 8 cam locks (110630) in the end panels.
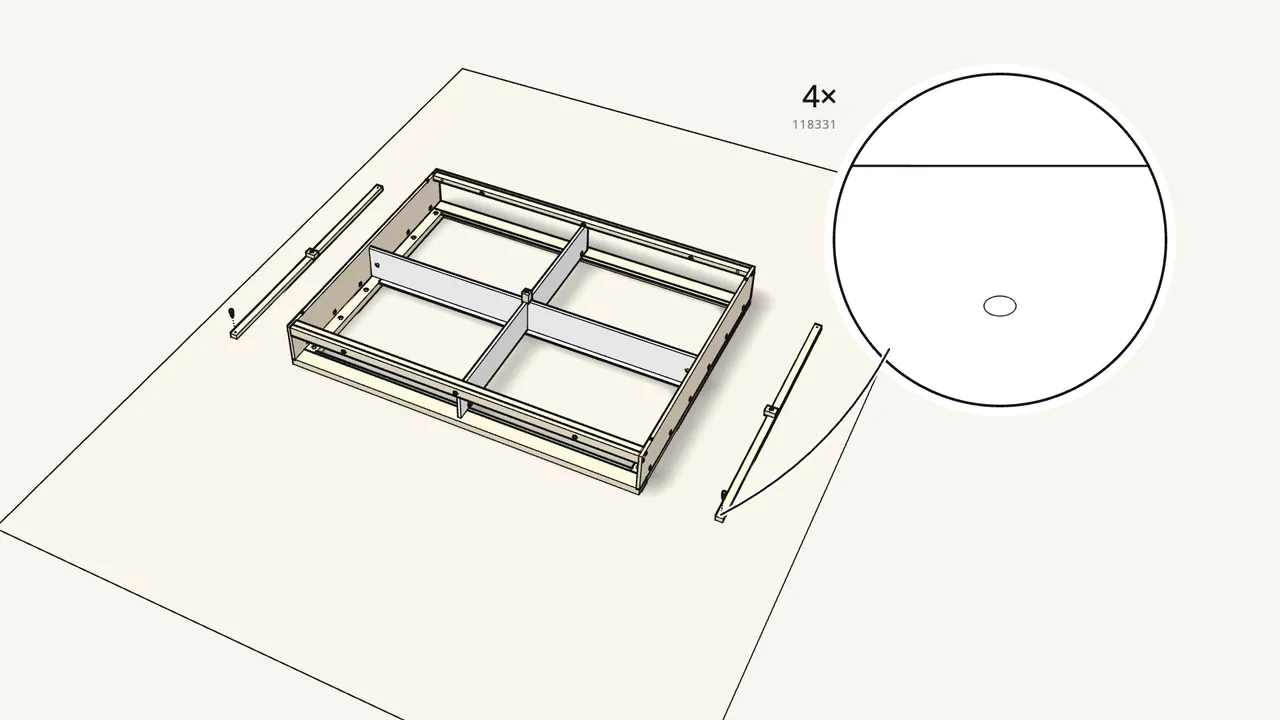
Step 13 · manual step 18–21
Prepare the 2 cross bars: blocks on, then 4 cam bolts (118331).
Each block: 1 dowel (101350) and 1 long screw (109572). 4 dowels also go in the rail ends (step 18).
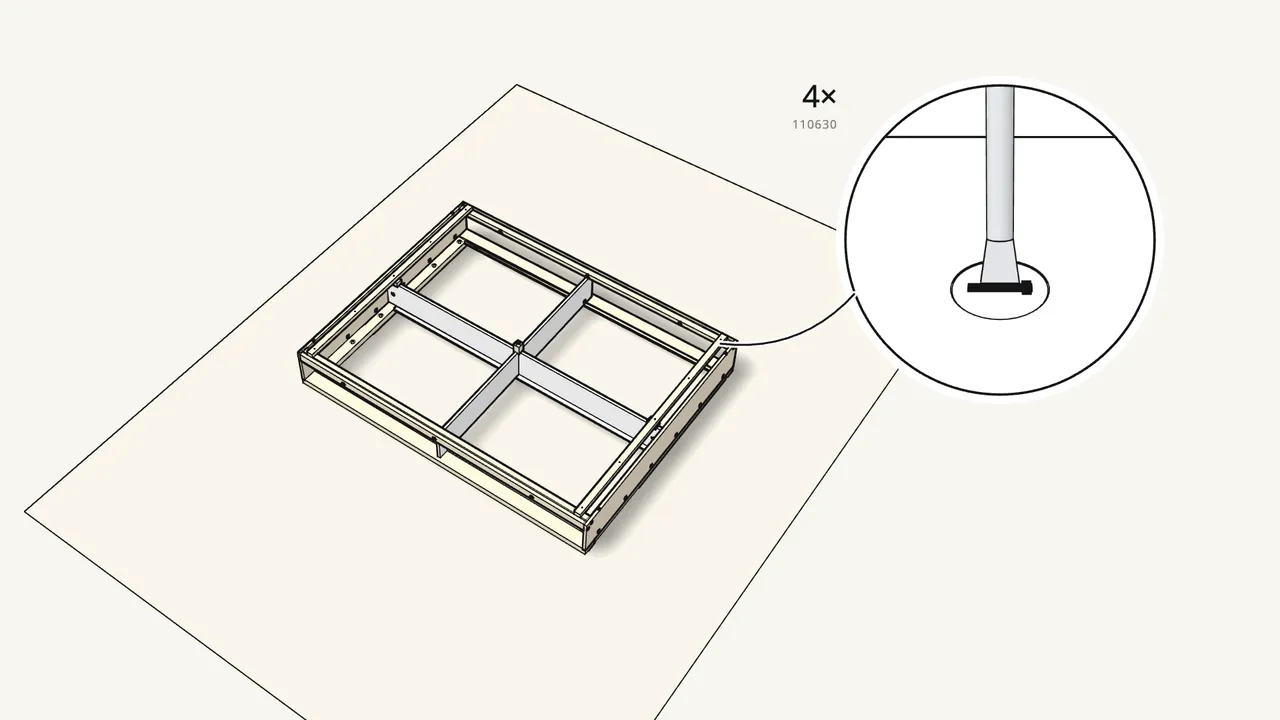
Step 14 · manual step 22–24
Fit the cross bars, lock 4 cam locks, then drive in 2 screws (100214).
Cam locks 110630; the screws go down through the bars into the blocks.
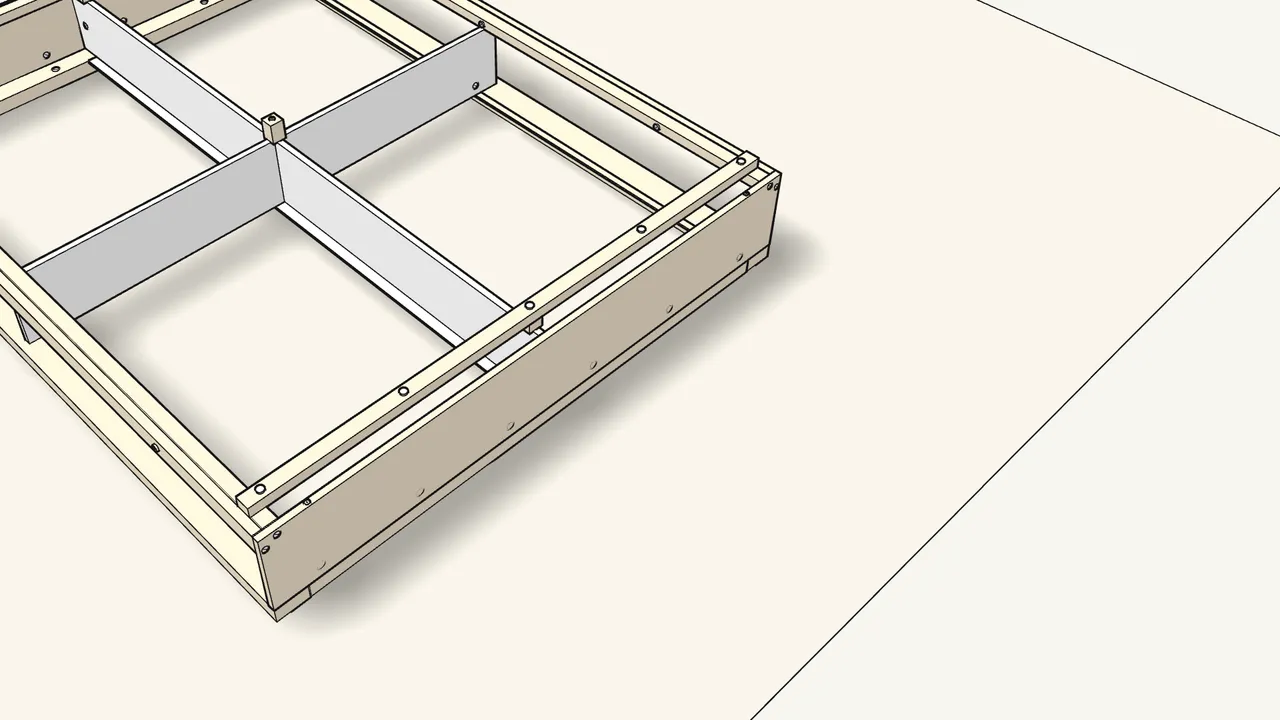
Step 15 · manual step 25
Stick 10 felt pads (119500) under the cross bars.
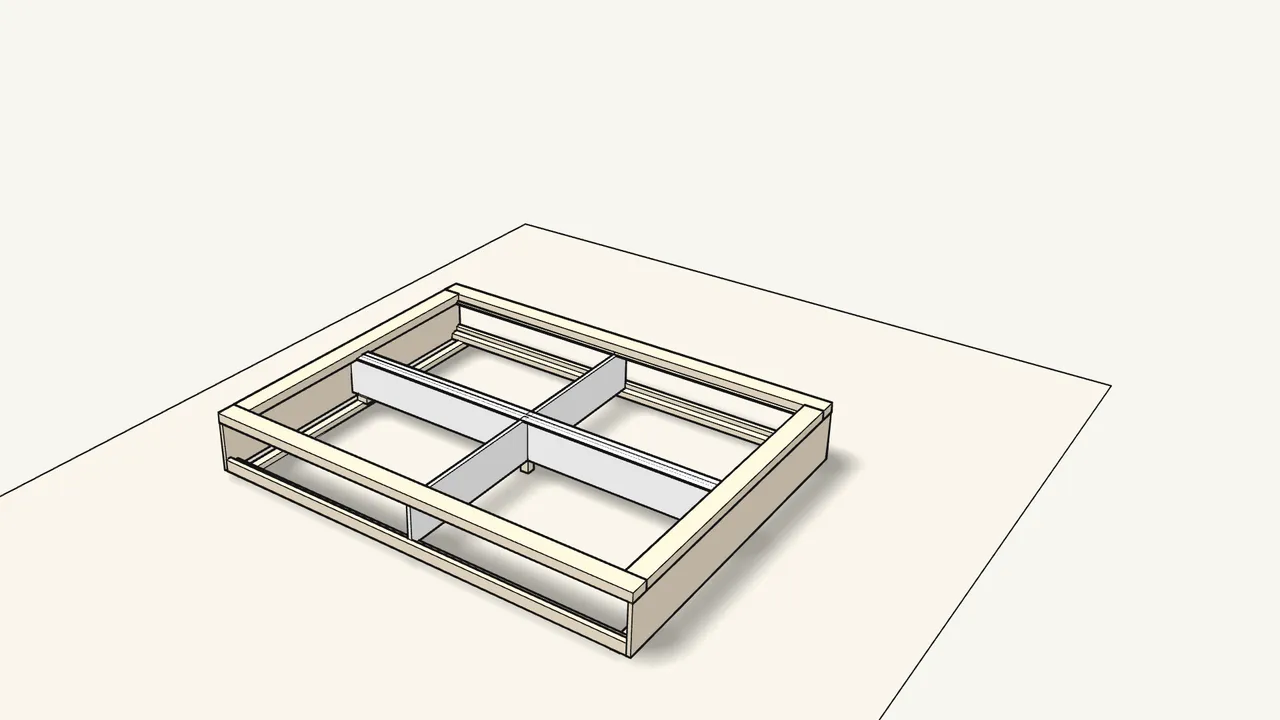
Step 16 · manual step 26
With two people, turn the bed over.
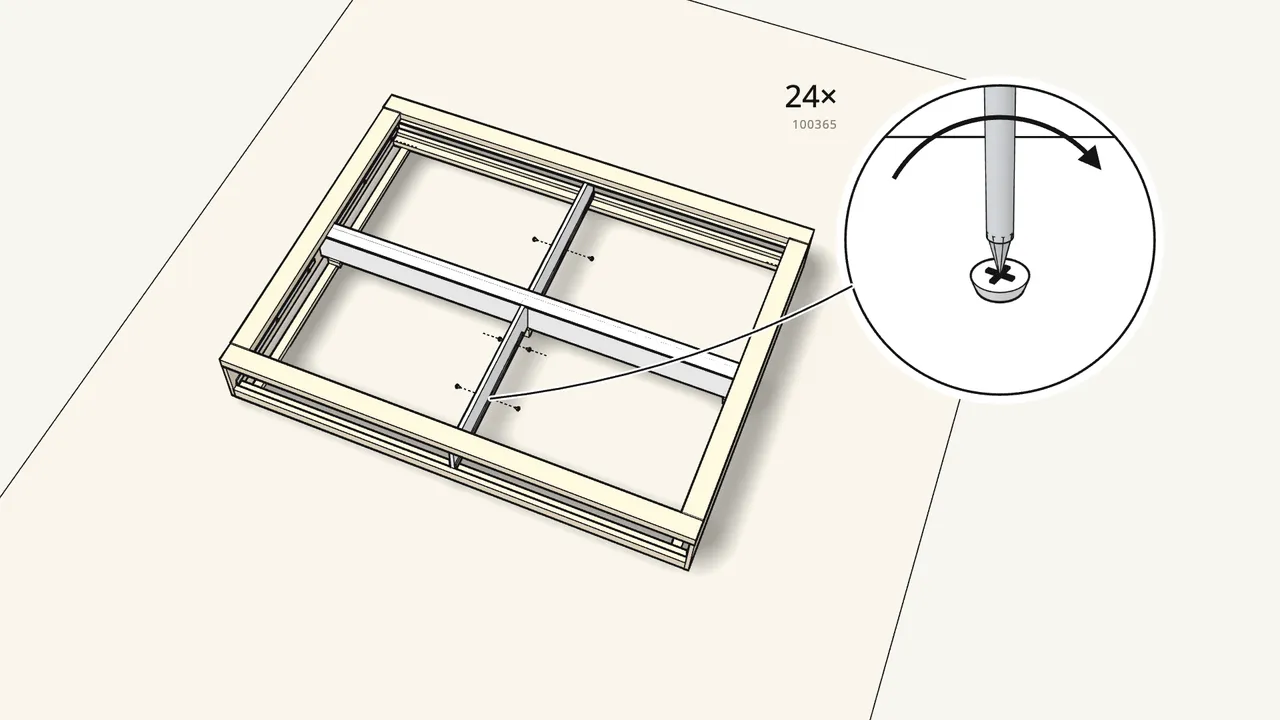
Step 17 · manual step 26–27
Screw the drawer runners (118231) into the 4 bays.
24 screws (100365) — 3 per runner, one runner each side of each bay.
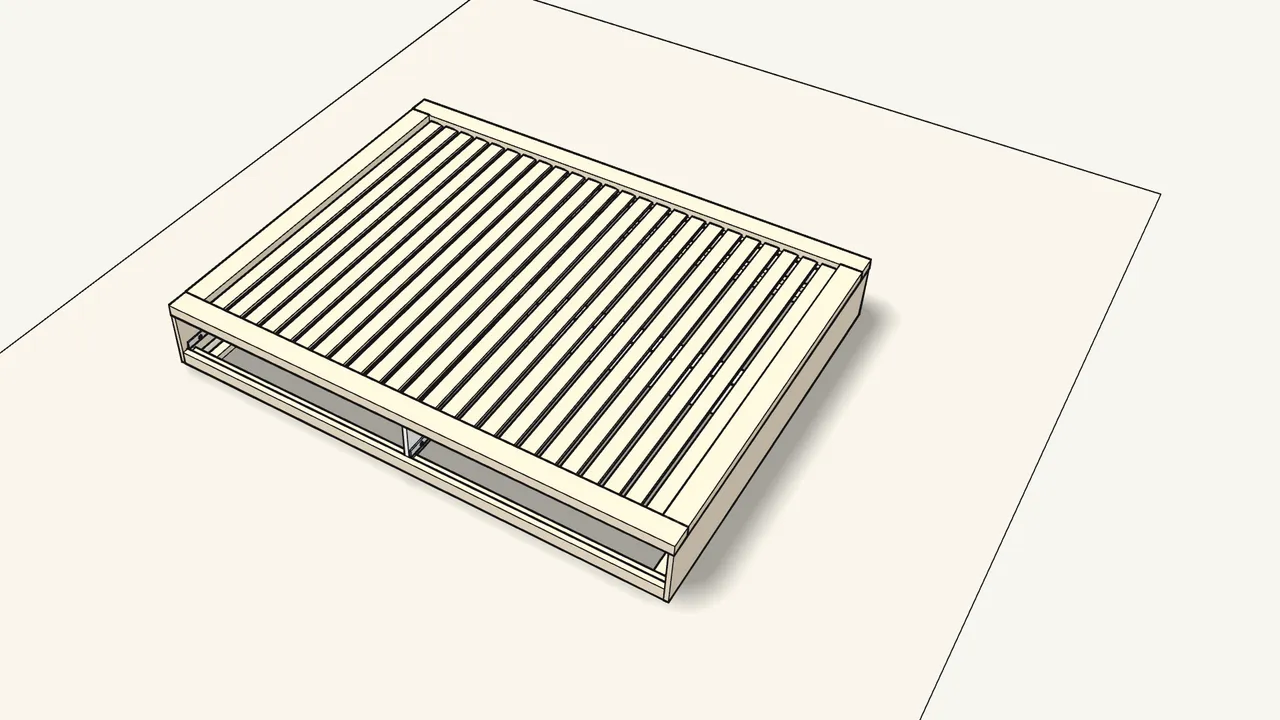
Step 18 · manual step 28–29
Lay in the slats and press their ends into place.
For the 113338 fittings at the slat ends see the manual, step 29.
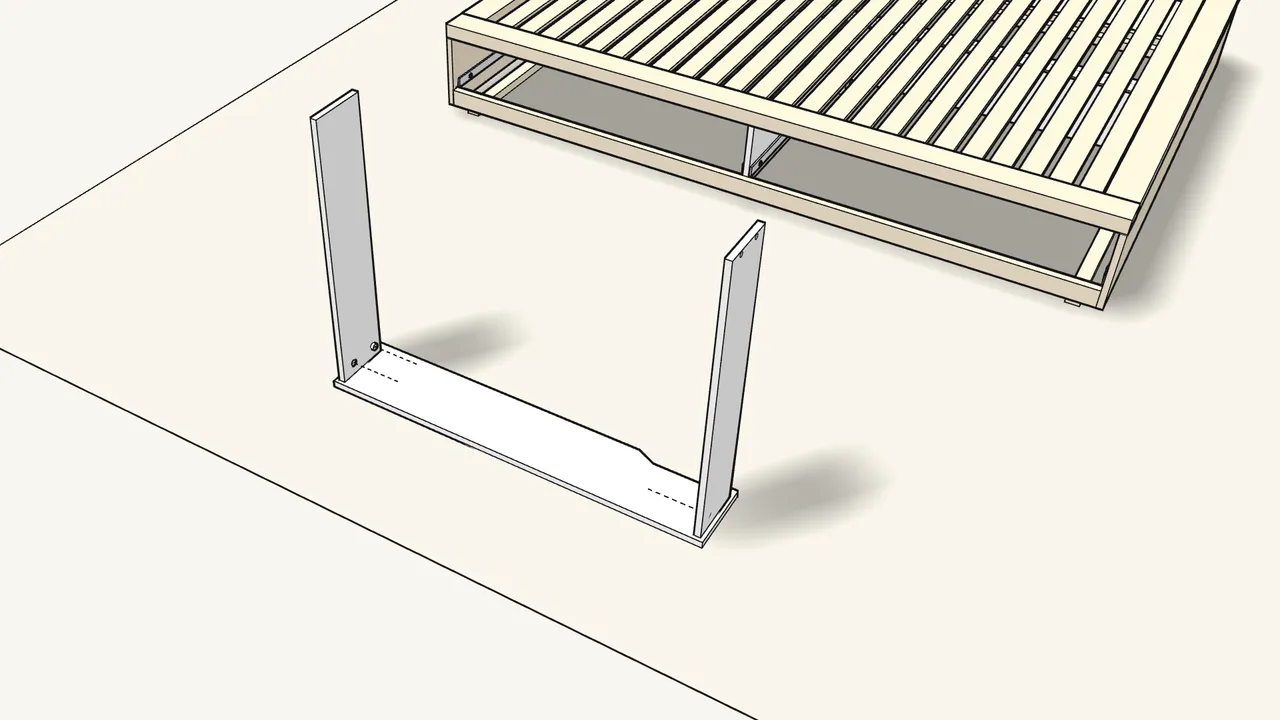
Step 19 · manual step 30–32
Drawer: 4 cam bolts (118331), stand the sides on, lock 4 cam locks.
Lay the drawer front face-down on the rug. Cam locks 110630.
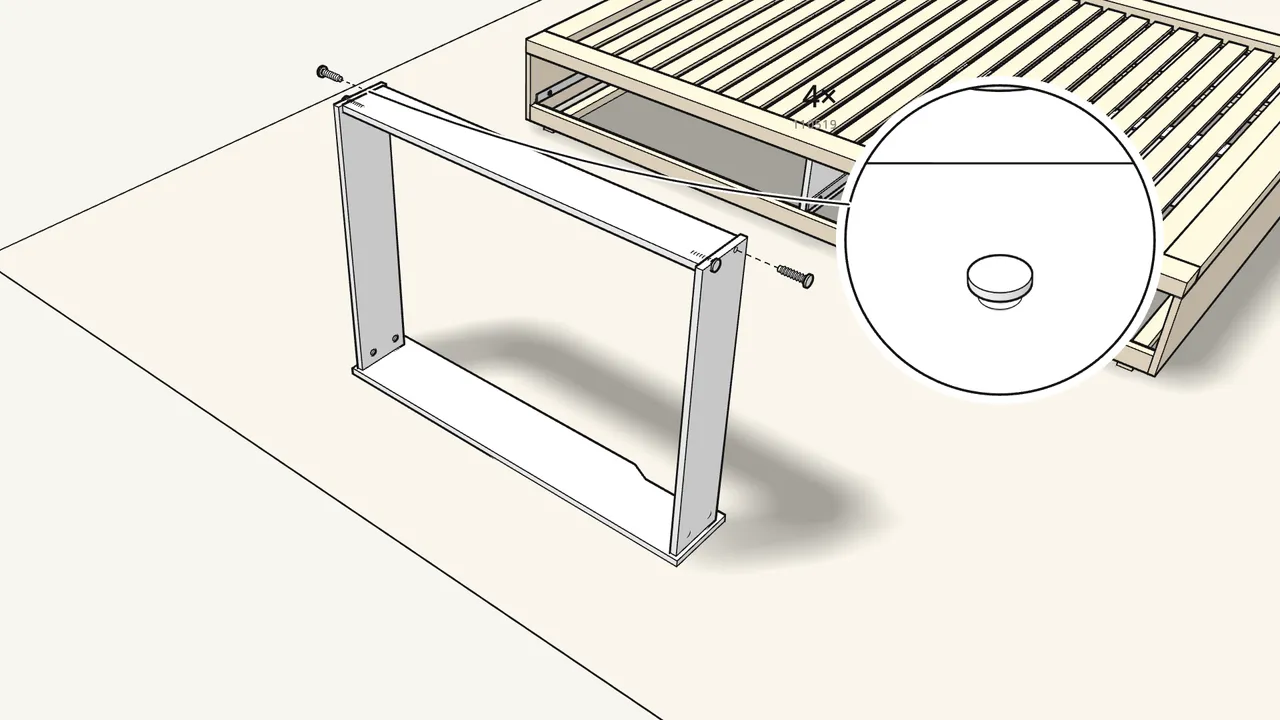
Step 20 · manual step 33–34
Put the back on and tap in 4 screw-dowels (110519).
Use the hammer.
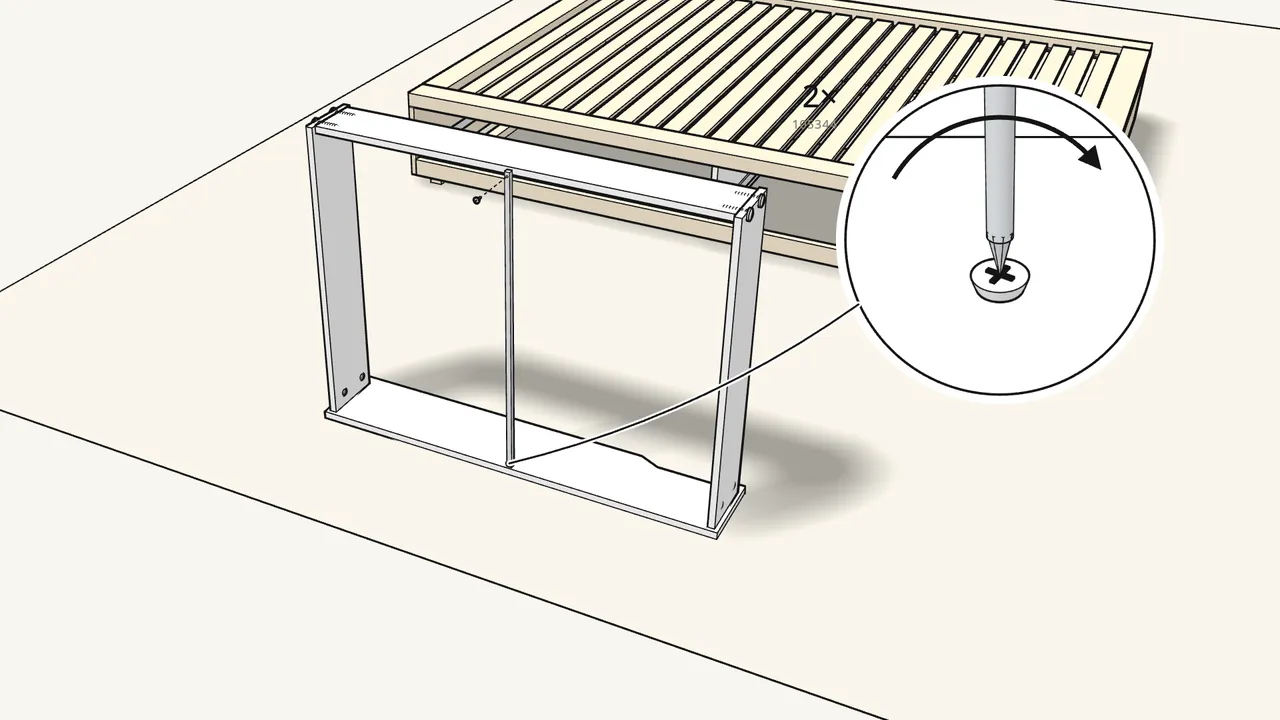
Step 21 · manual step 35–37
Fit the metal support (121245) with 2 screws (105344).
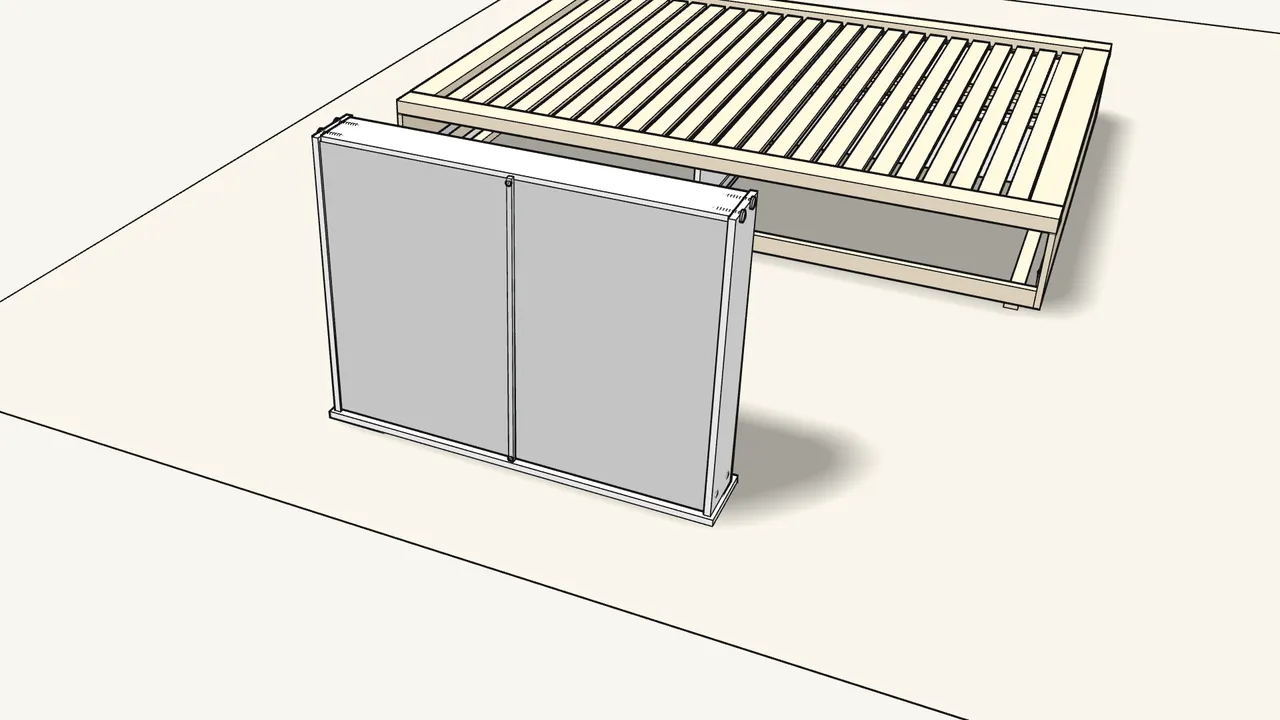
Step 22 · manual step 38
Slide the drawer bottom into the grooves.
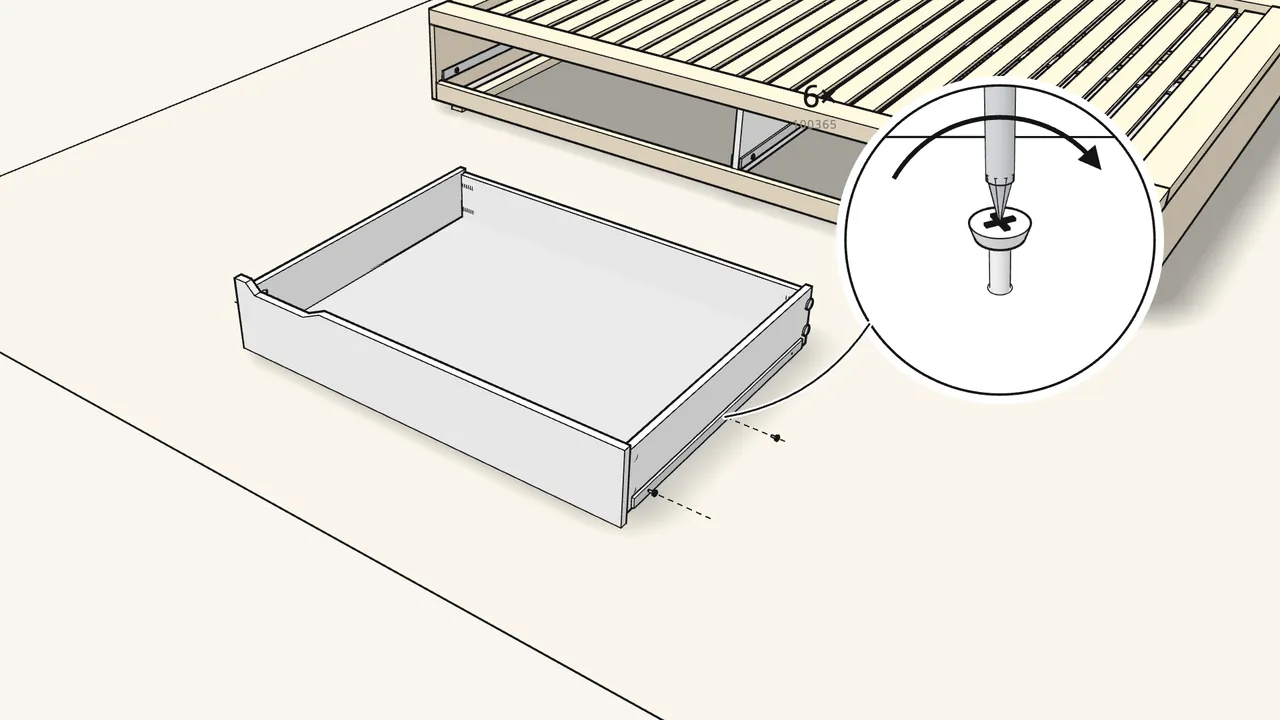
Step 23 · manual step 39
Turn the drawer upright and screw on its runners (118231).
6 screws (100365), 3 per runner.
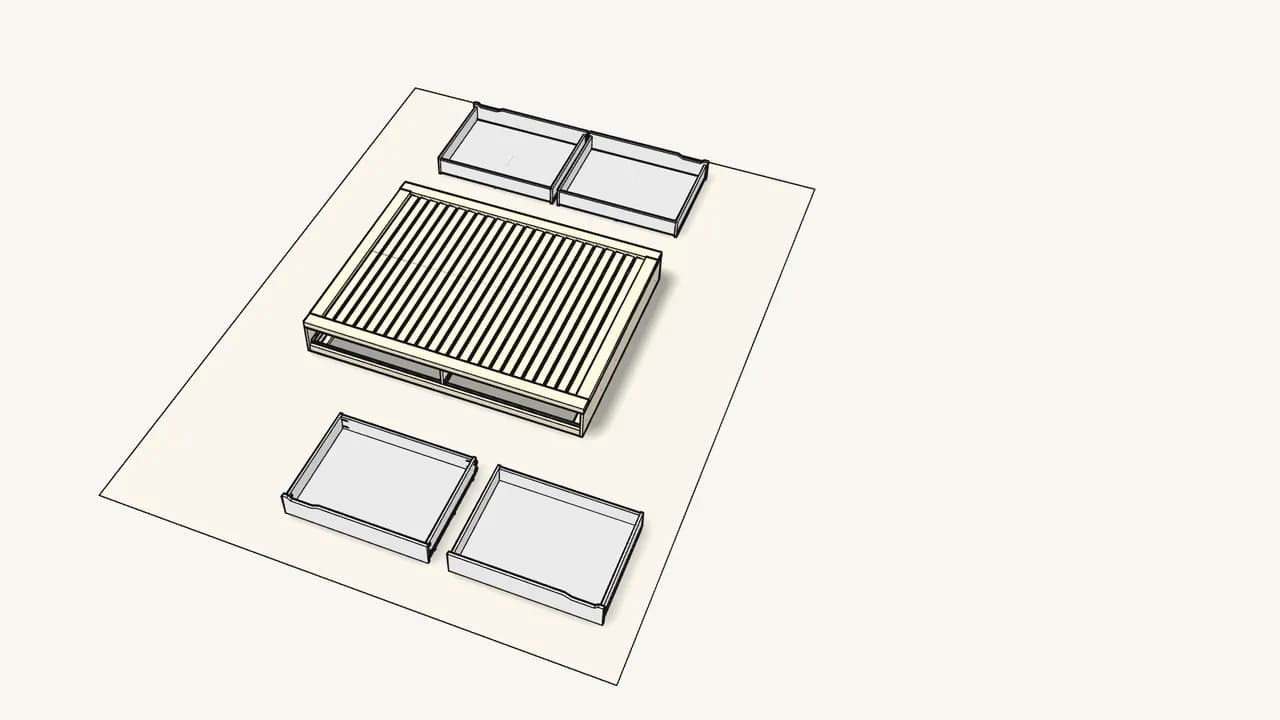
Step 24 · manual step 30–39
Build all 4 drawers the same way.
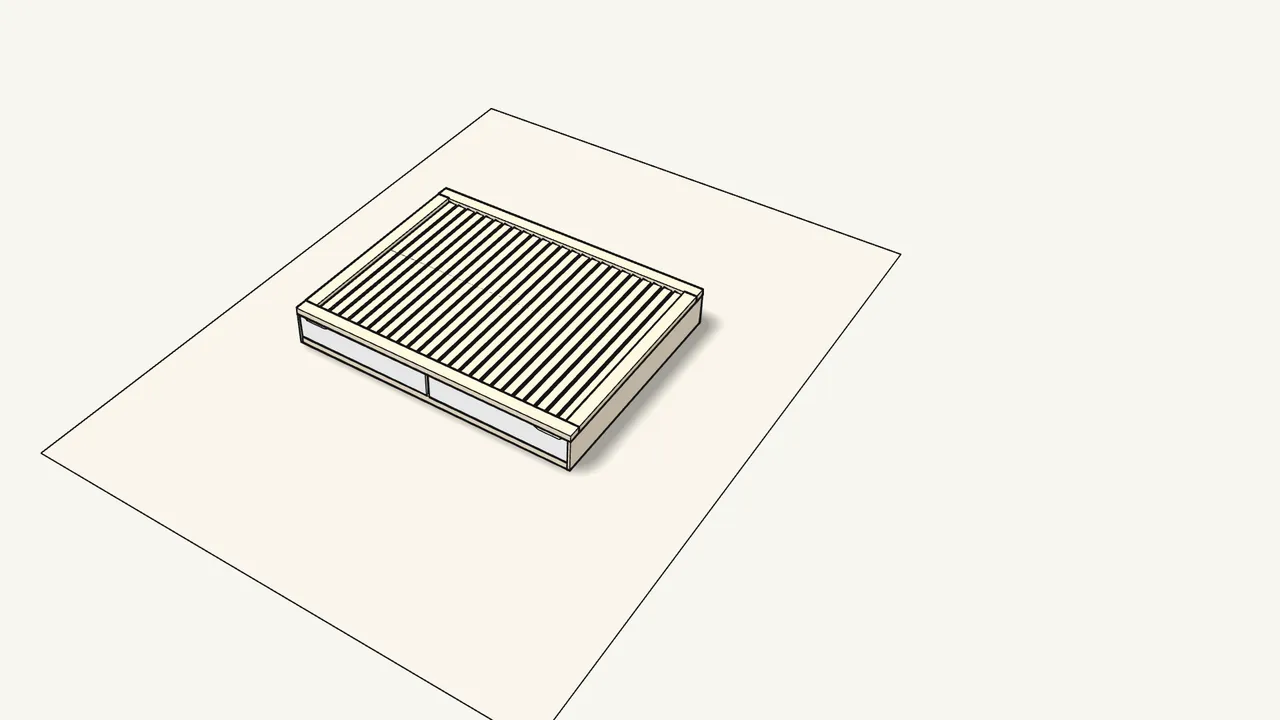
Step 25 · manual step 40
Slide the drawers in — two on each side.
Angle each drawer in at the front, as the arrow in the manual shows (step 40).
Tips & safety
- Build it with two people. The manual (p. 2) shows two people — especially for turning the bed over in step 26.
- Assemble on a rug or the box cardboard. Page 2 of the manual shows working on a soft surface so the panels don’t get scratched.
Official instructions
This guide follows IKEA’s official assembly instructions (AA-261173-11). Keep the printed manual to hand — if anything differs, the manual is right.