IKEA · Beds
How to assemble IKEA KLEPPSTAD Bed Frame
Step-by-step IKEA KLEPPSTAD Bed Frame assembly: 23 illustrated steps, an animated video, the hardware list and the tools you need — following the official instructions (AA-2614810-2).
- 23 illustrated steps
- 30 steps in the manual
- 3:18 video
- 160×211×100 cm cm
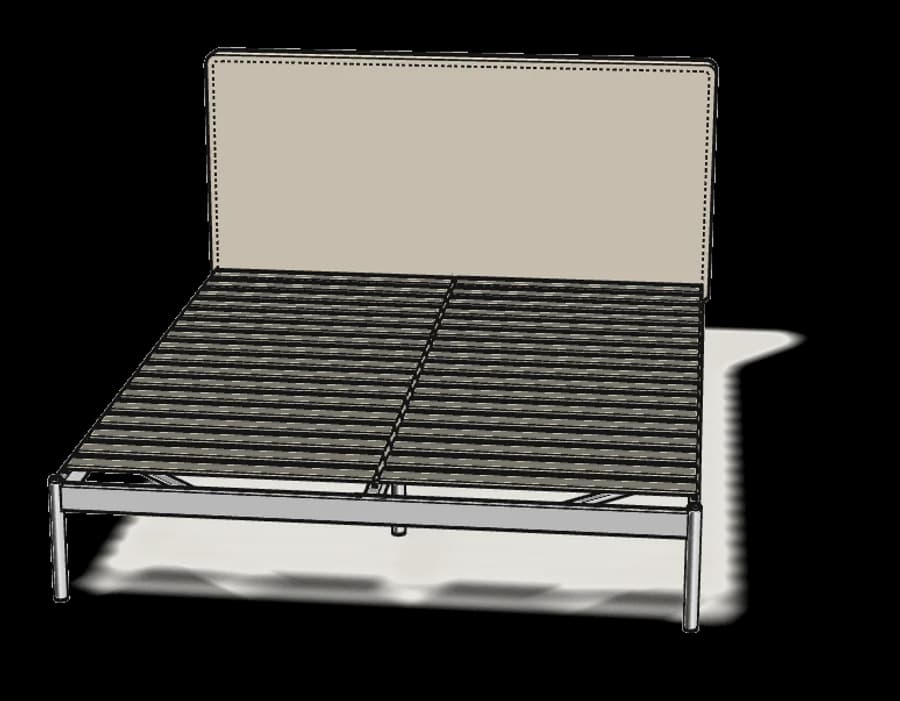
What you need
Tools
- Hammer
- Allen key (included)
You’ll need: scissors and a hammer.
Hardware in the box
| Part no. (as printed in the manual) | Qty |
|---|---|
| 10077870 | 14× |
| 10080998 | 2× |
| 105107 | 2× |
| 105100 | 4× |
| 112522 | 4× |
| 10081003 | 2× |
| 10080990 | 4× |
| 10080924 | 4× |
| 10079166 | 2× |
Step-by-step assembly
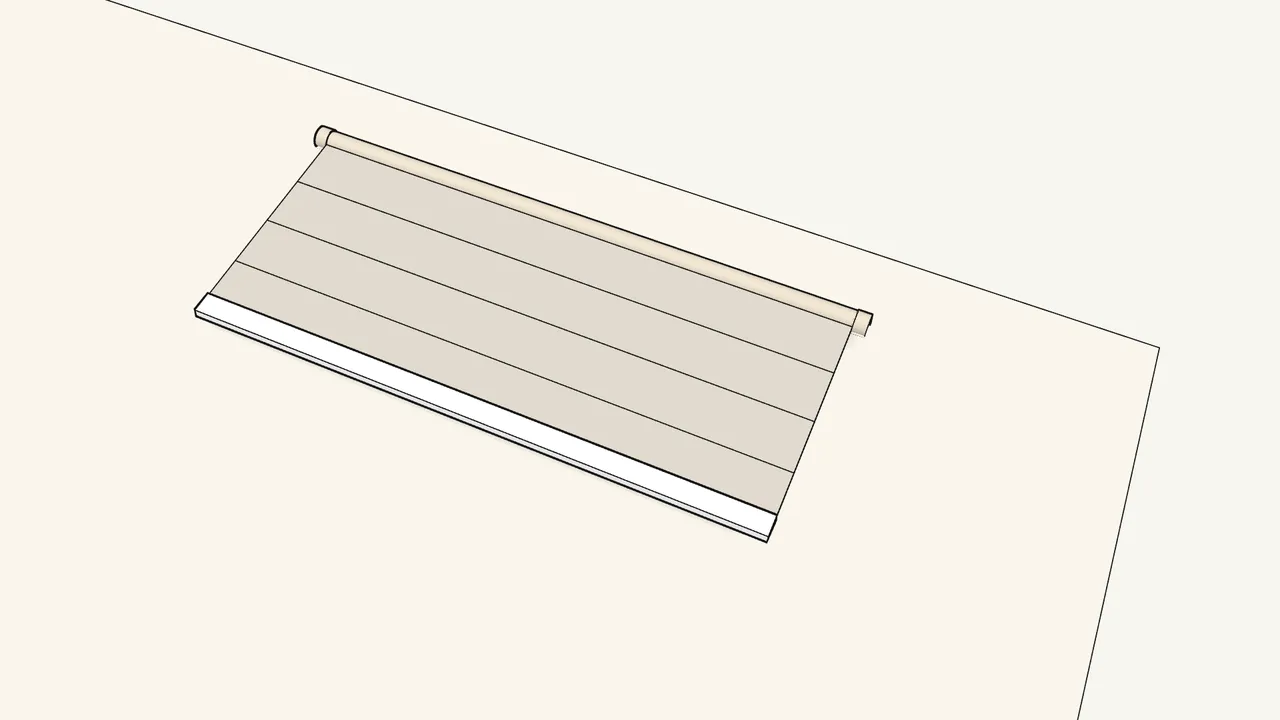
Step 1
Unroll the headboard fabric on the rug.
Take off the tape. Careful — the edges of the metal parts can be sharp.
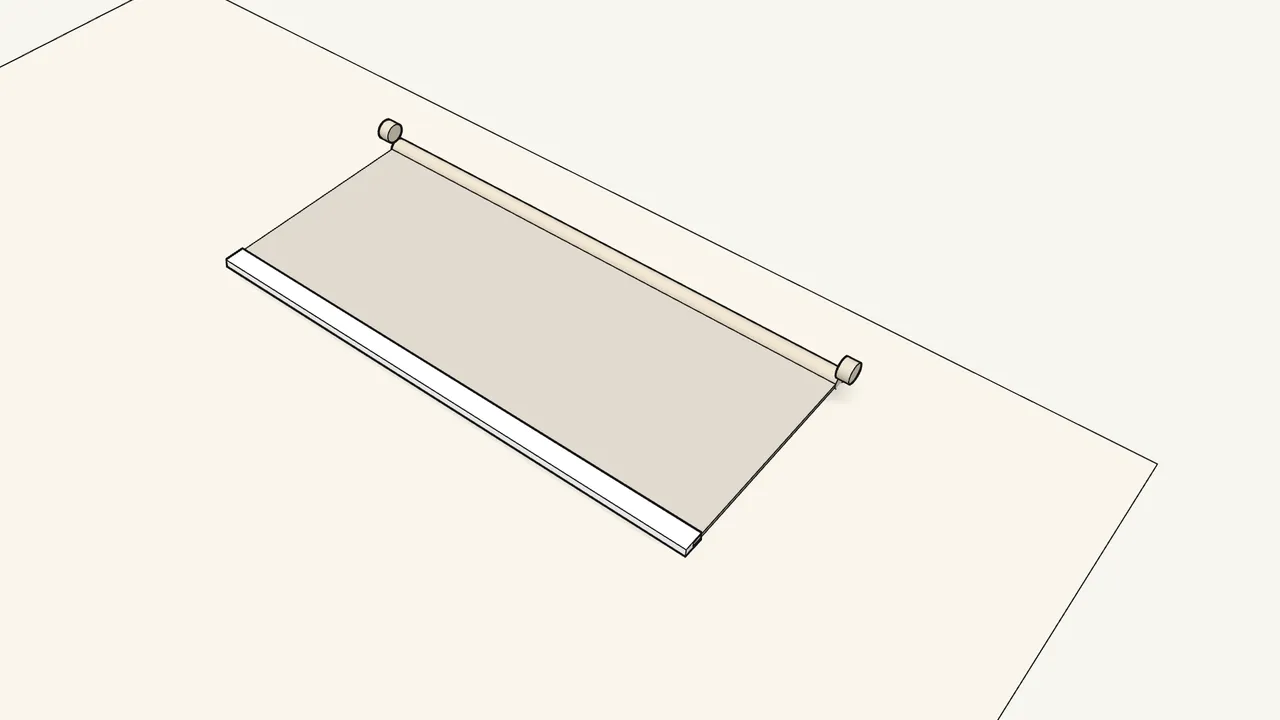
Step 2
Fold back the fabric flap at each end of the top tube.
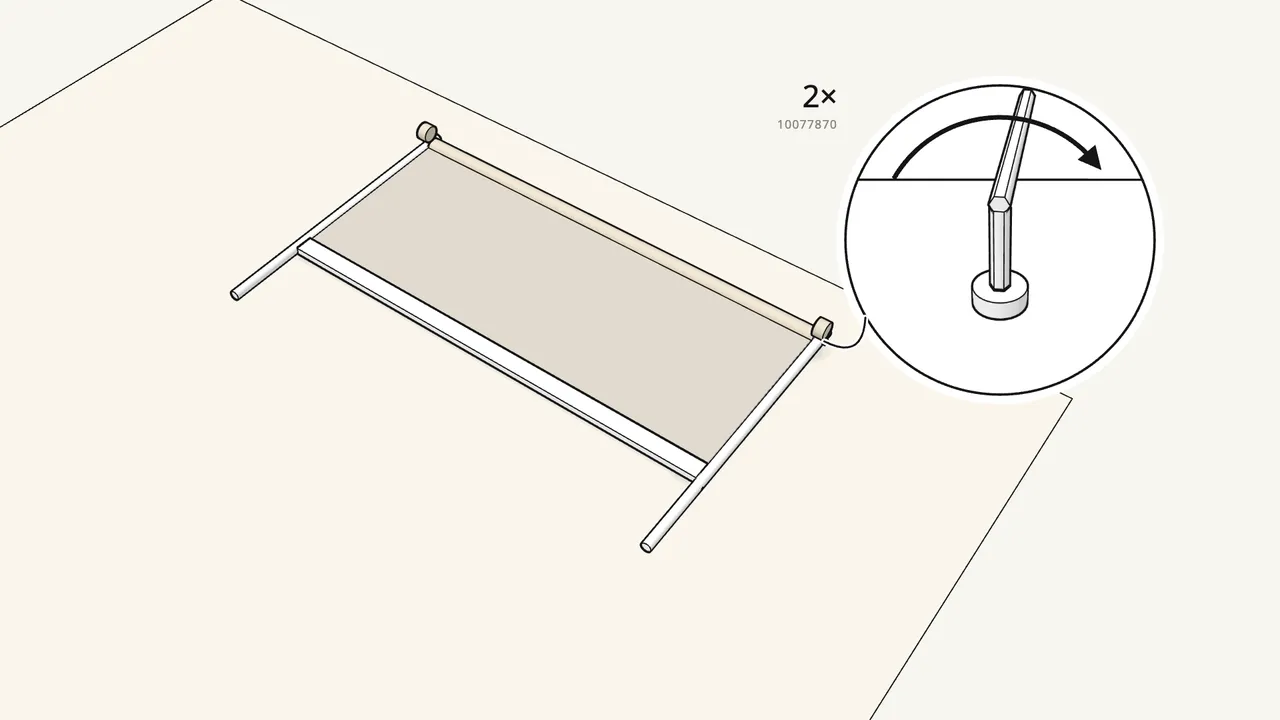
Step 3 · manual step 3–5
Bolt a leg to each end of the top tube: 2 bolts (10077870).
Use the long 10077870 bolts and Allen key 111631 — not the 10080998.
Step 4 · manual step 6–9
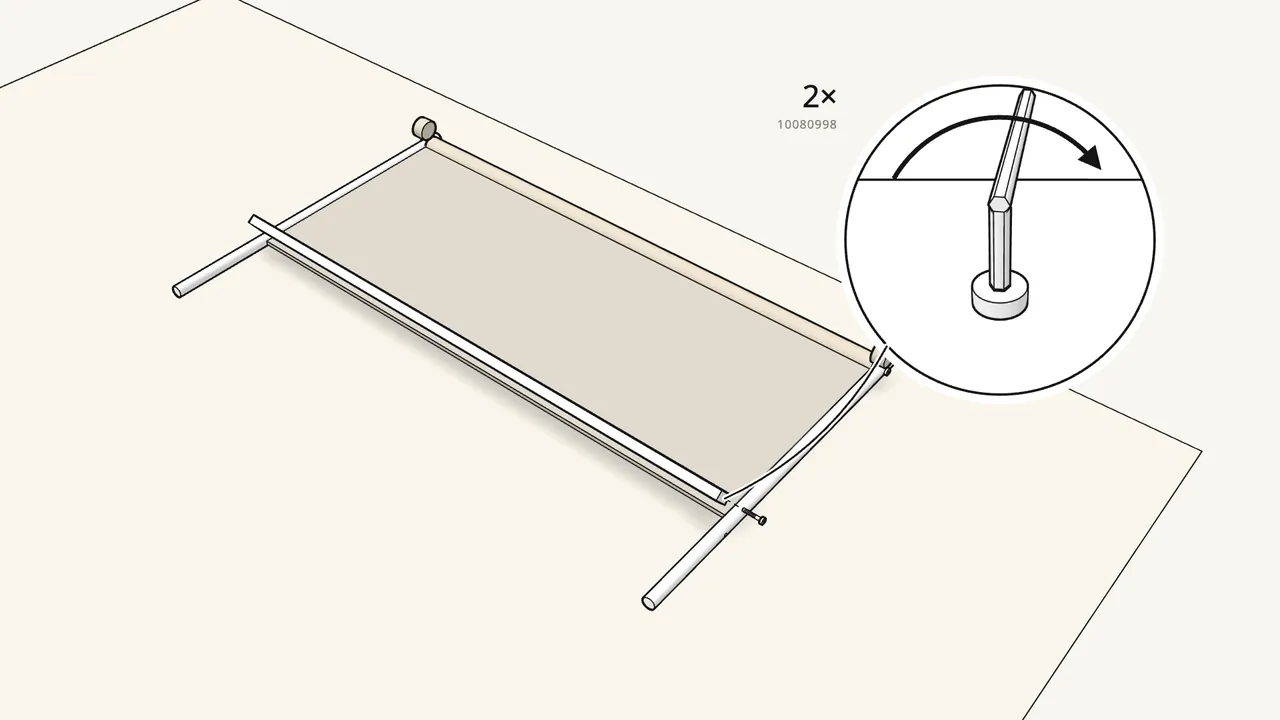
Lift the bottom bar and screw a bolt (10080998) into each end.
Turn the bar so its holes face down first (step 6). Allen key 130445.
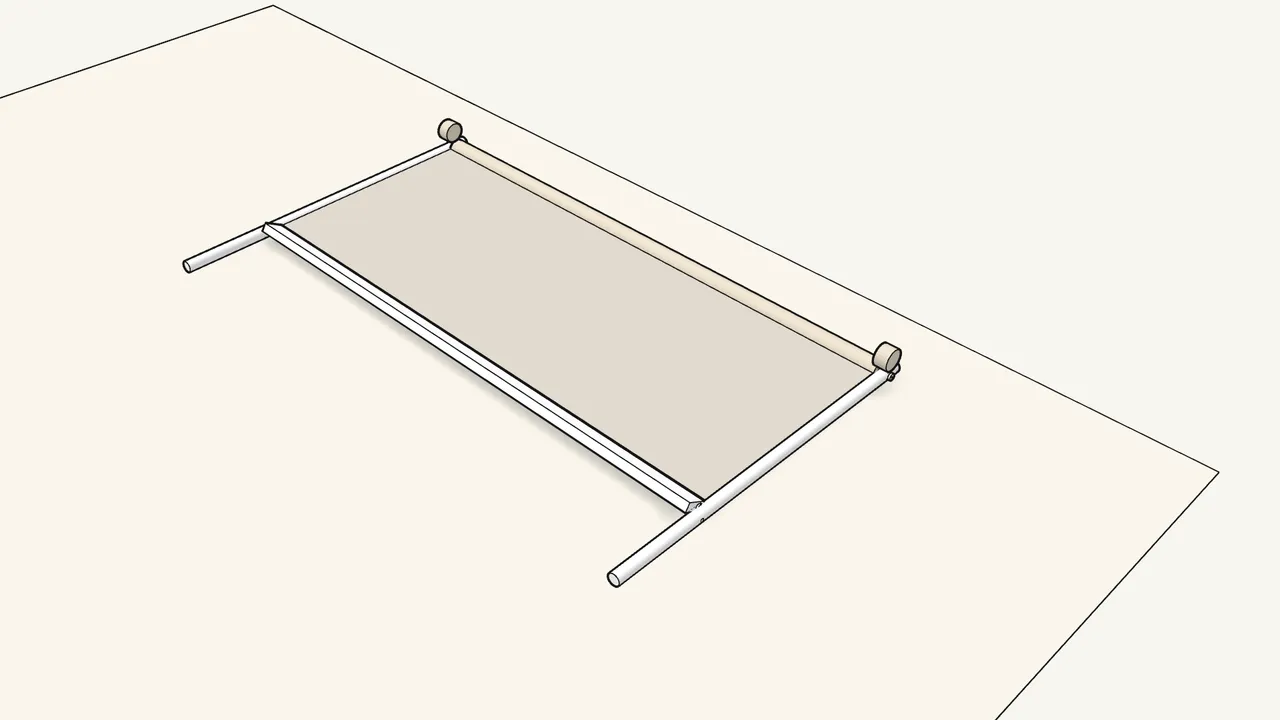
Step 5 · manual step 8–10
Hook both bolts into the slots in the legs.
Keep the bar tilted up while you hook it in.
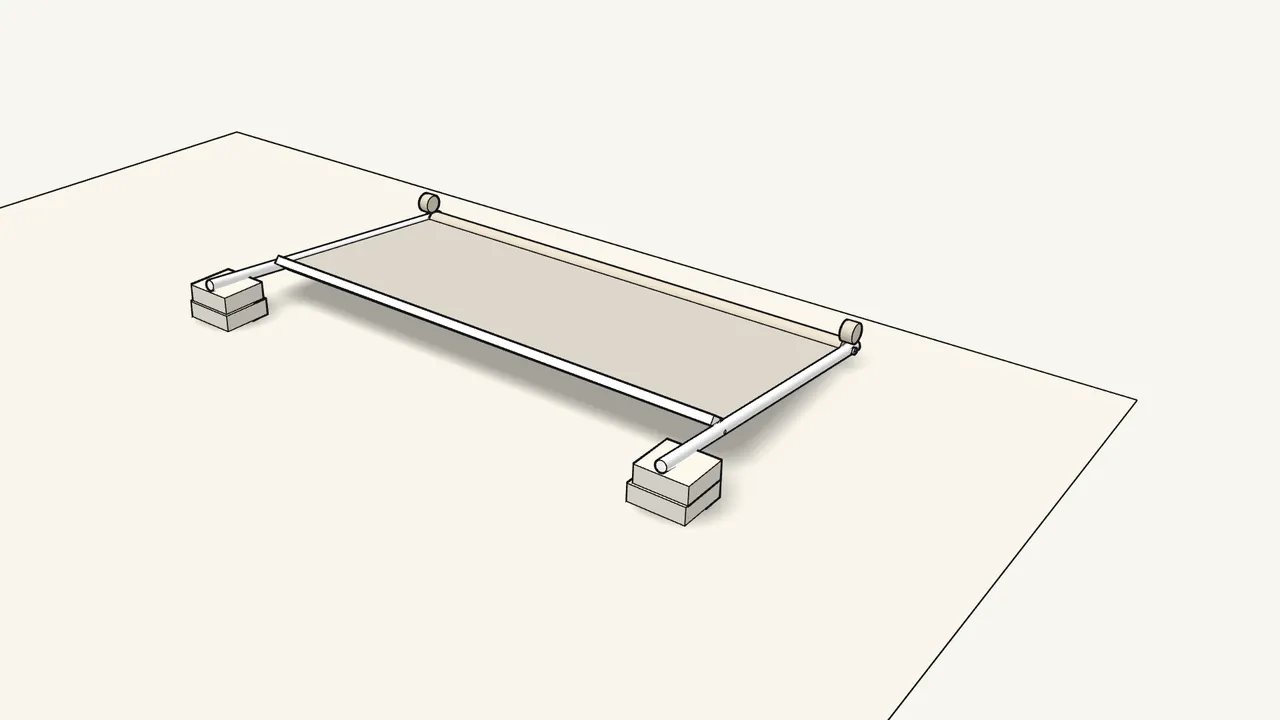
Step 6 · manual step 11
Raise the leg ends on a stack of books.
The top tube stays on the rug.
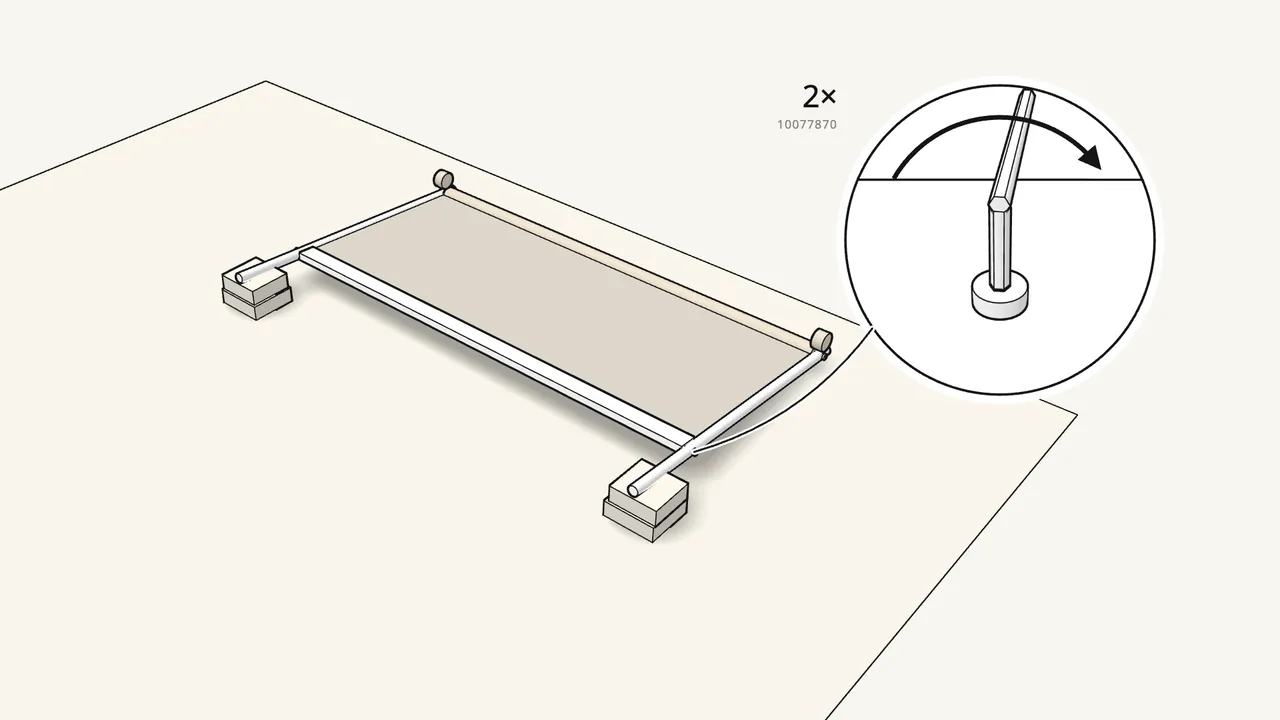
Step 7 · manual step 12
Press the bar down flat and lock it: 2 bolts (10077870).
One bolt through each leg into the bar ends.
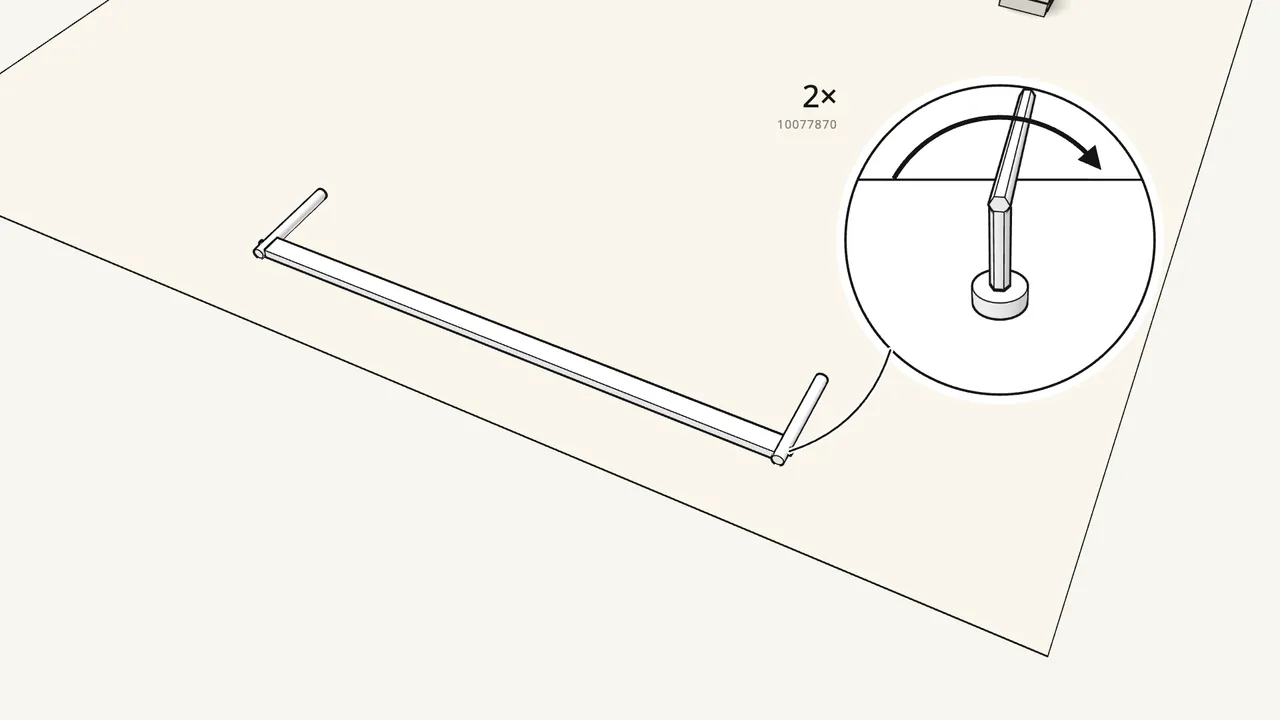
Step 8 · manual step 13–14
Bolt the two short legs to the foot rail: 2 bolts (10077870).
Lay the rail on the rug — mind the sharp edges.
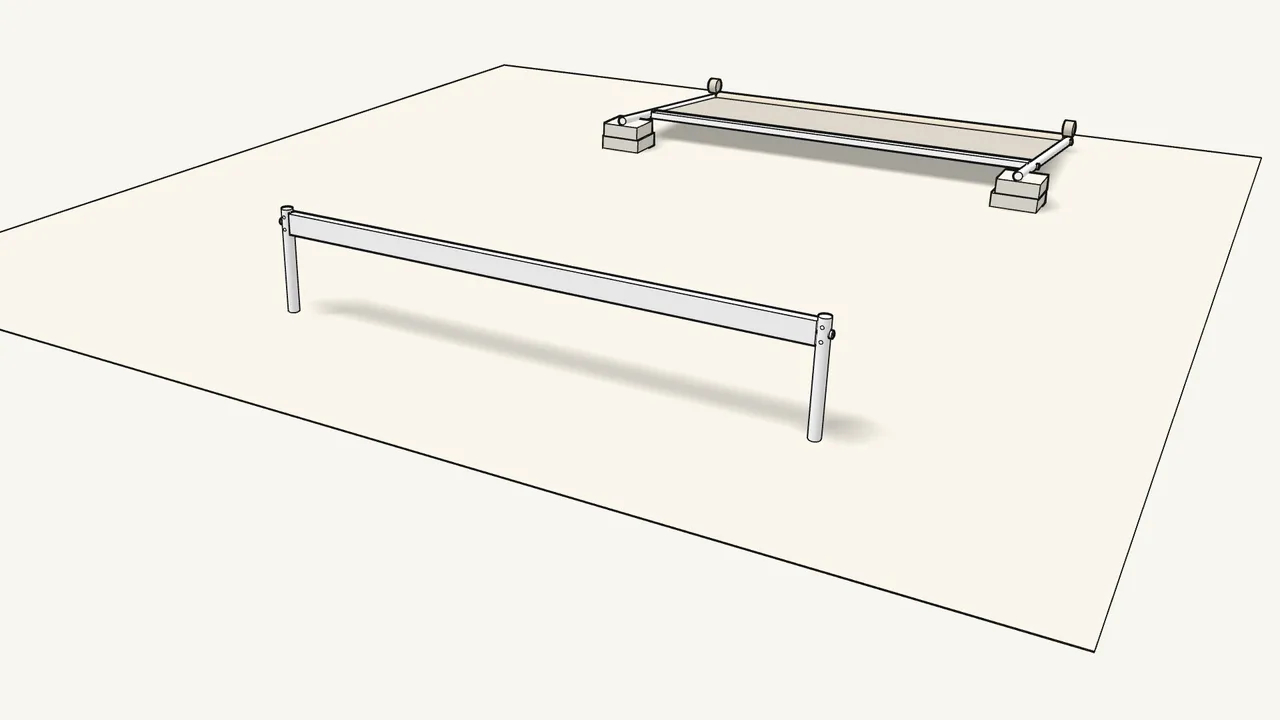
Step 9 · manual step 14
Stand the foot end up on its legs.
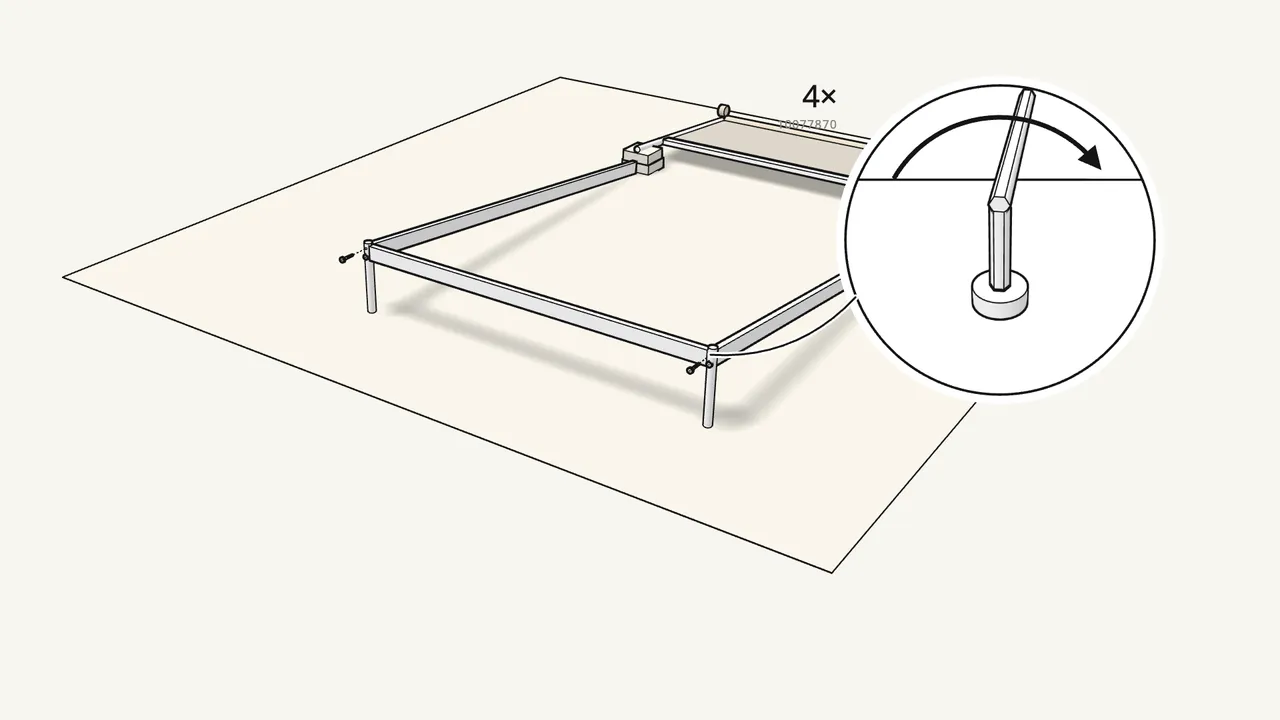
Step 10 · manual step 15–16
Bolt a side rail to each foot leg: 4 bolts (10077870).
Two bolts per leg. Let the other end of the rail rest on the rug.
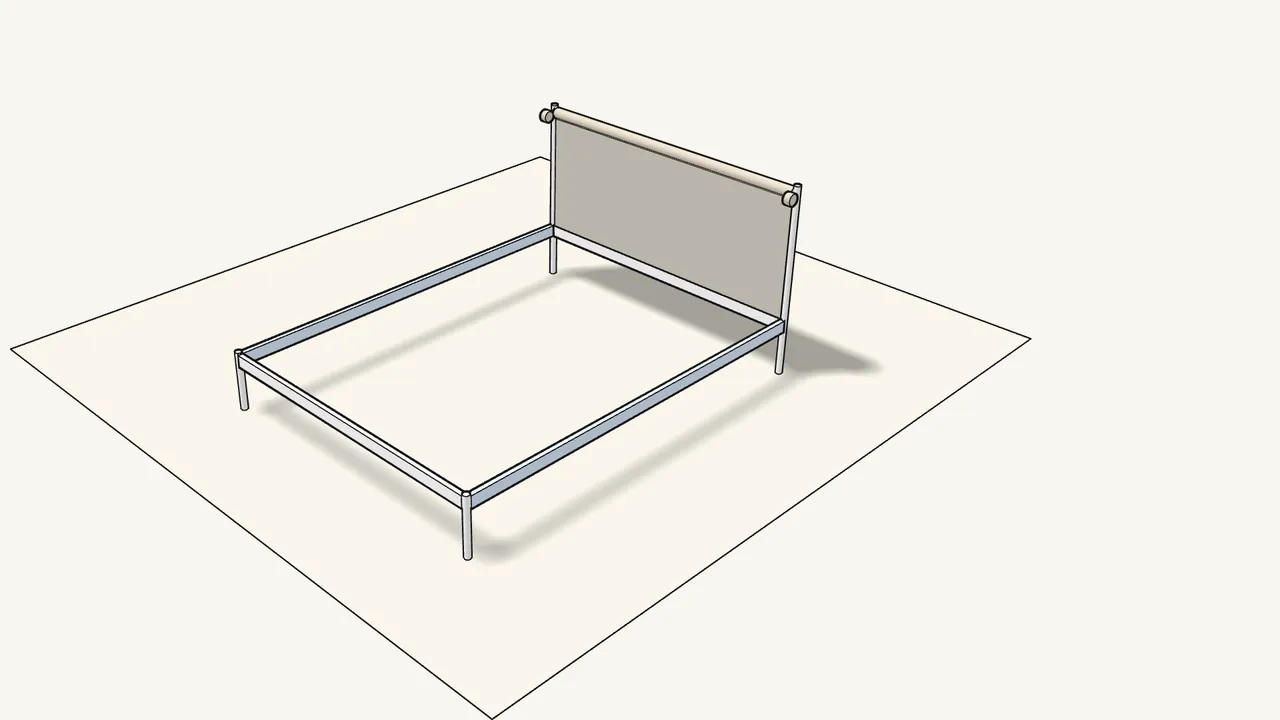
Step 11 · manual step 17
With two people, stand the headboard up behind the rails.
Lift the side rails into place against the headboard legs.
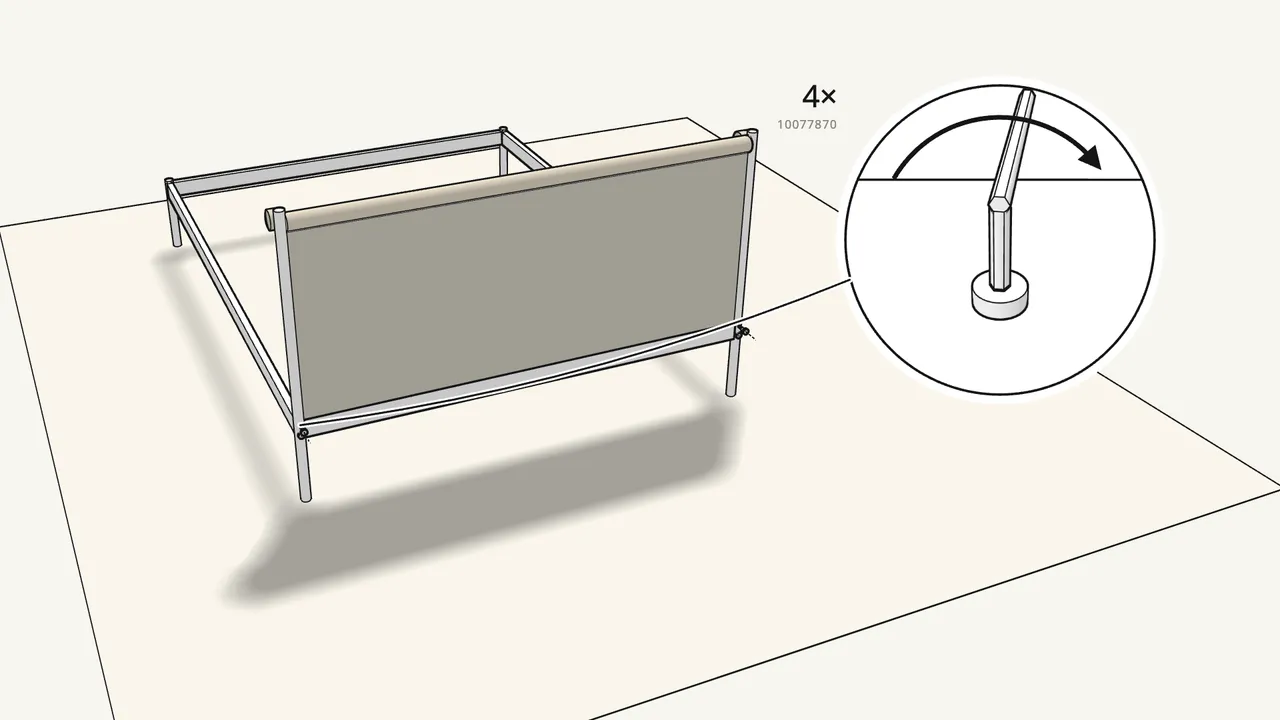
Step 12 · manual step 17
Bolt the side rails to the headboard legs: 4 bolts (10077870).
Two bolts per leg, from the back.
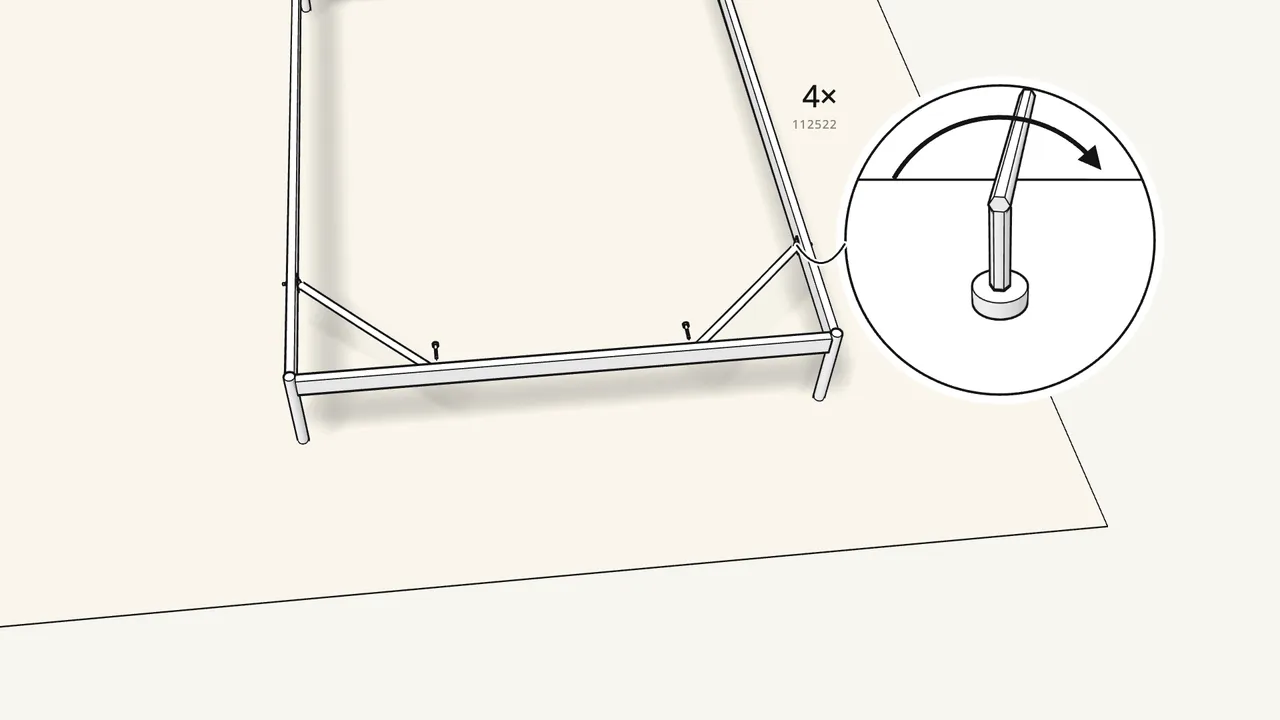
Step 13 · manual step 18–19
Fit the 2 corner braces (103160) at the foot end: 4 screws (112522).
Side rail first, then the foot rail. Use 112522 here, not 105100 — see the manual, steps 18–19.
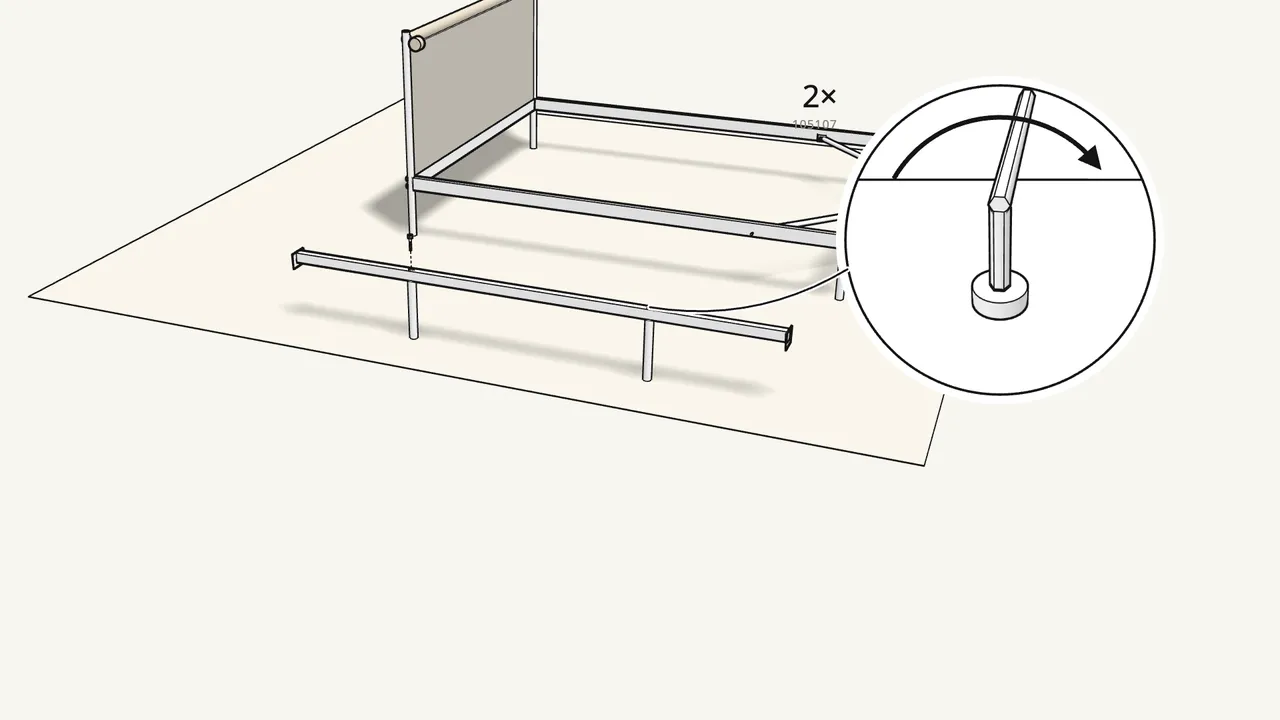
Step 14 · manual step 20
Bolt the 2 legs under the centre beam.
2 bolts (105107), each with a washer (10079166) on top.
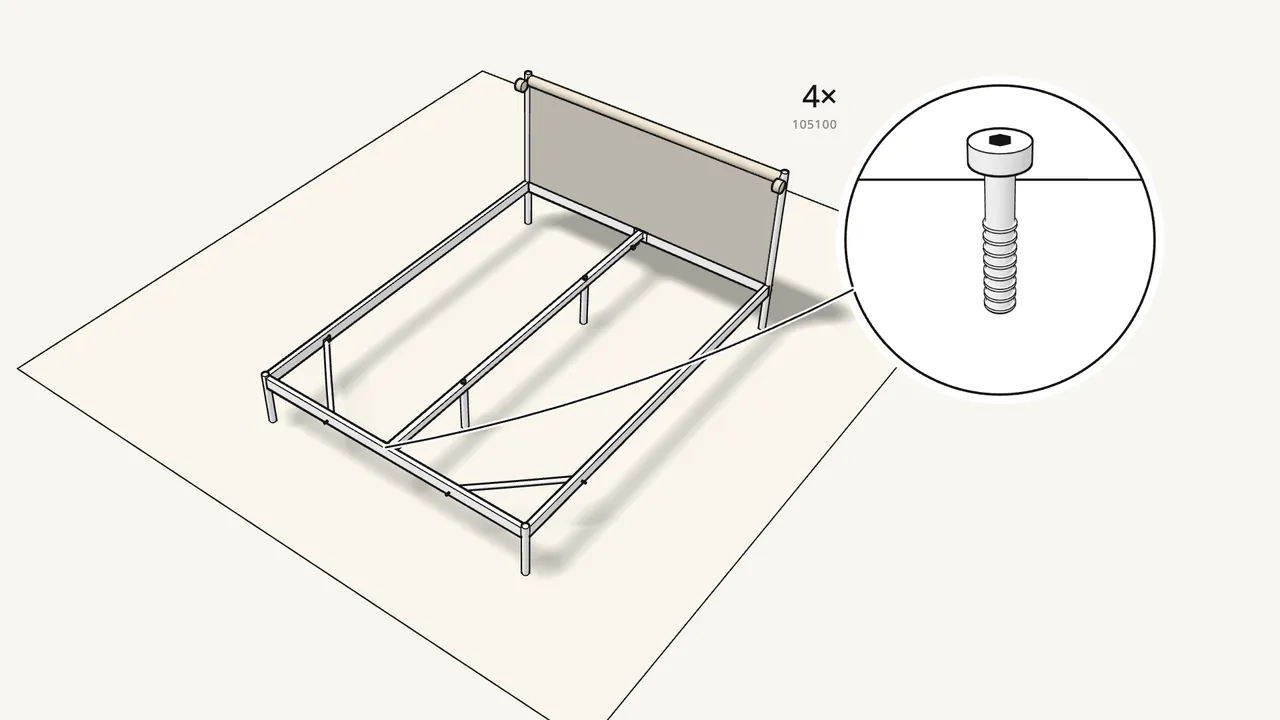
Step 15 · manual step 21
Set the centre beam in and fix both ends: 4 bolts (105100).
Two bolts through each end plate.
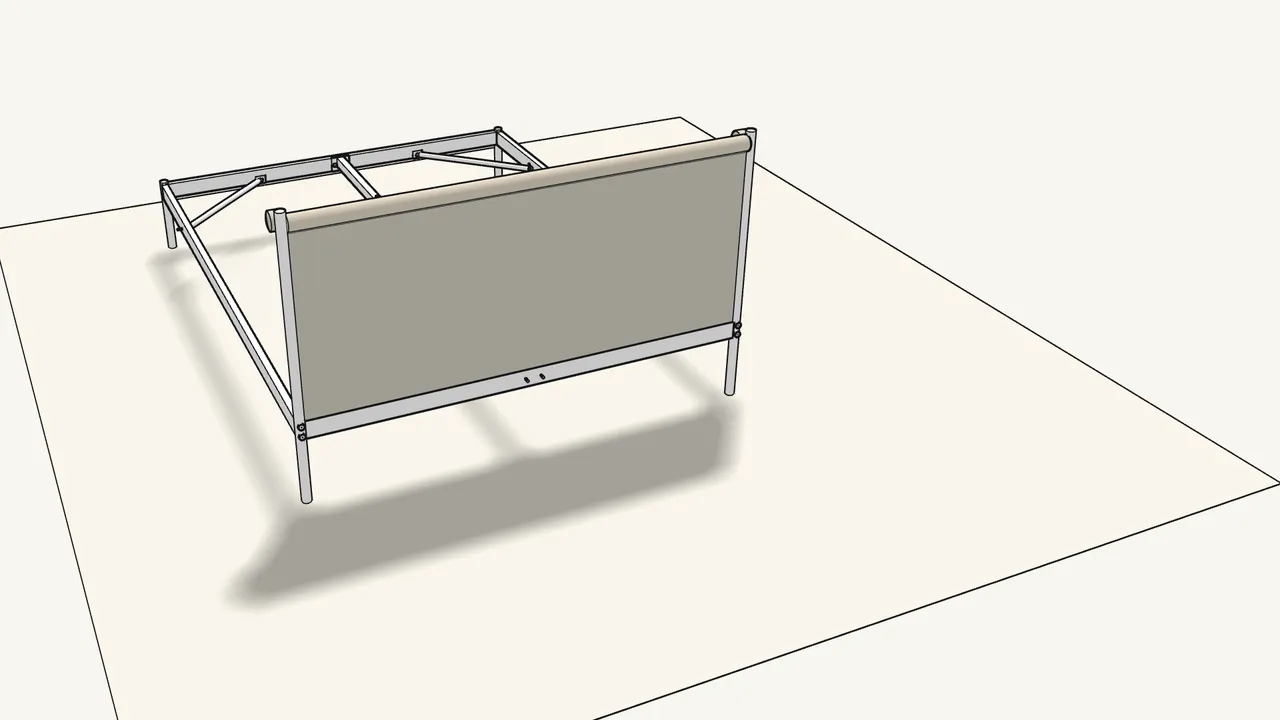
Step 16 · manual step 22
Re-tighten the 4 bolts at the headboard legs.
Allen key 111631.
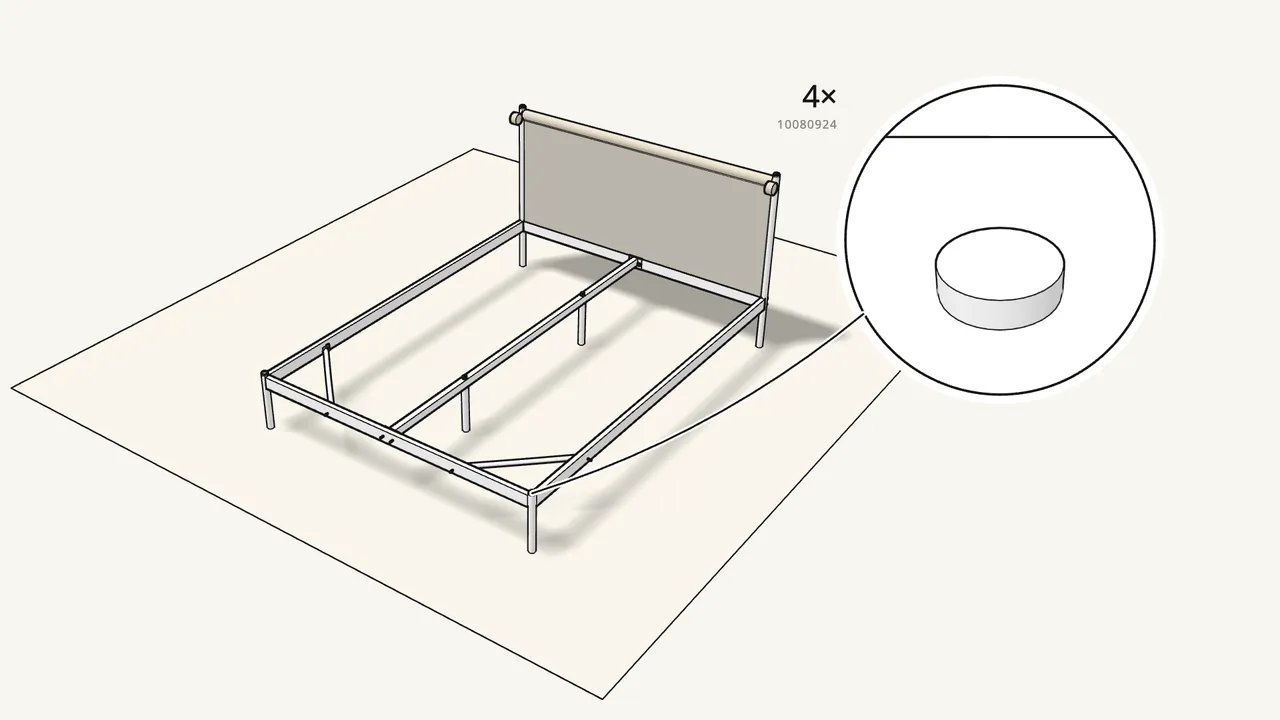
Step 17 · manual step 23
Tap a cap (10080924) into the top of each corner leg.
Use the hammer — 4 caps.
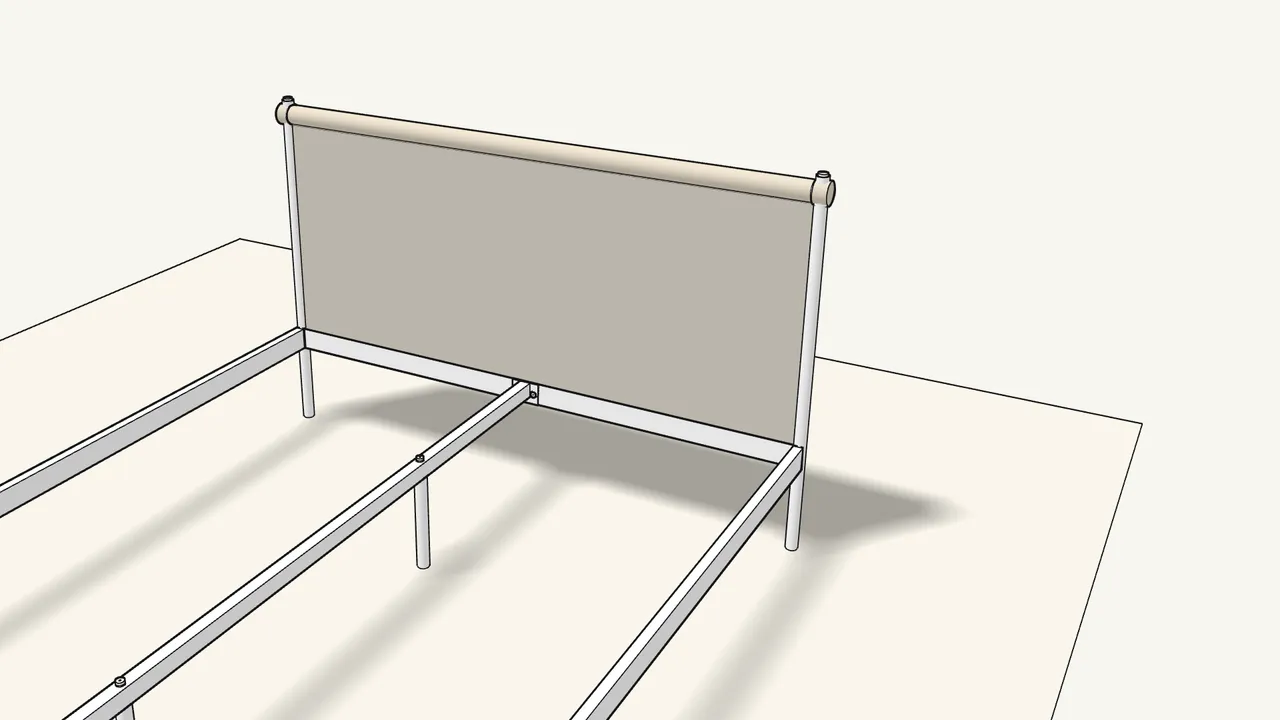
Step 18 · manual step 24
Fold the fabric flaps back over the ends of the top tube.
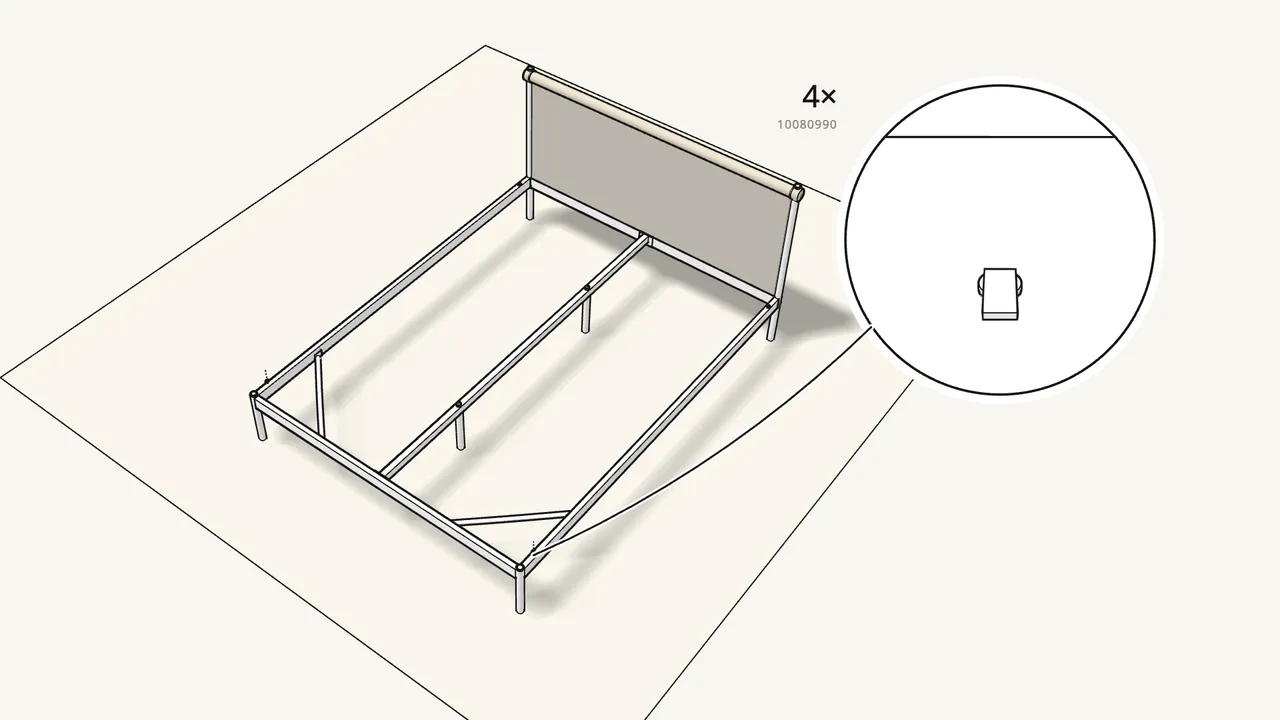
Step 19 · manual step 25
Fit 4 slat clips (10080990) on the side rails.
Push each one into its slot, then slide it — 2 per rail.
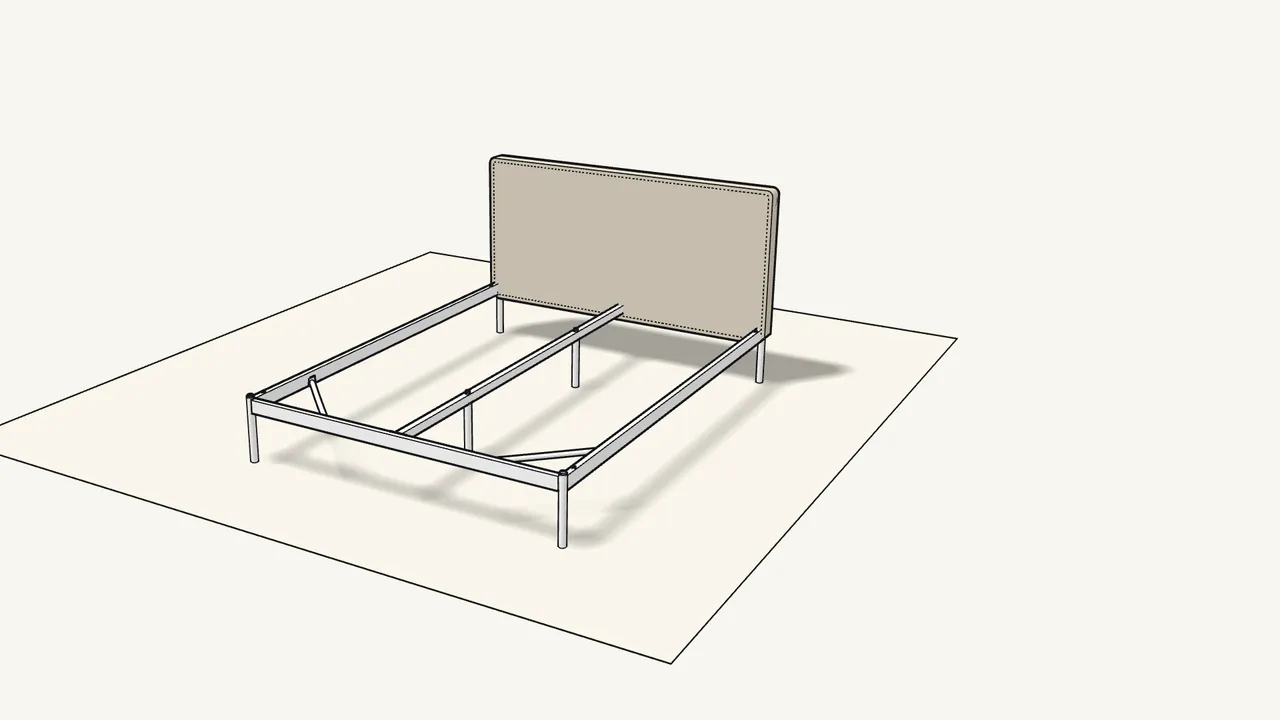
Step 20 · manual step 26–27
Pull the cover down over the headboard and zip it closed.
The zips run along the bottom edge — see the manual, step 27.
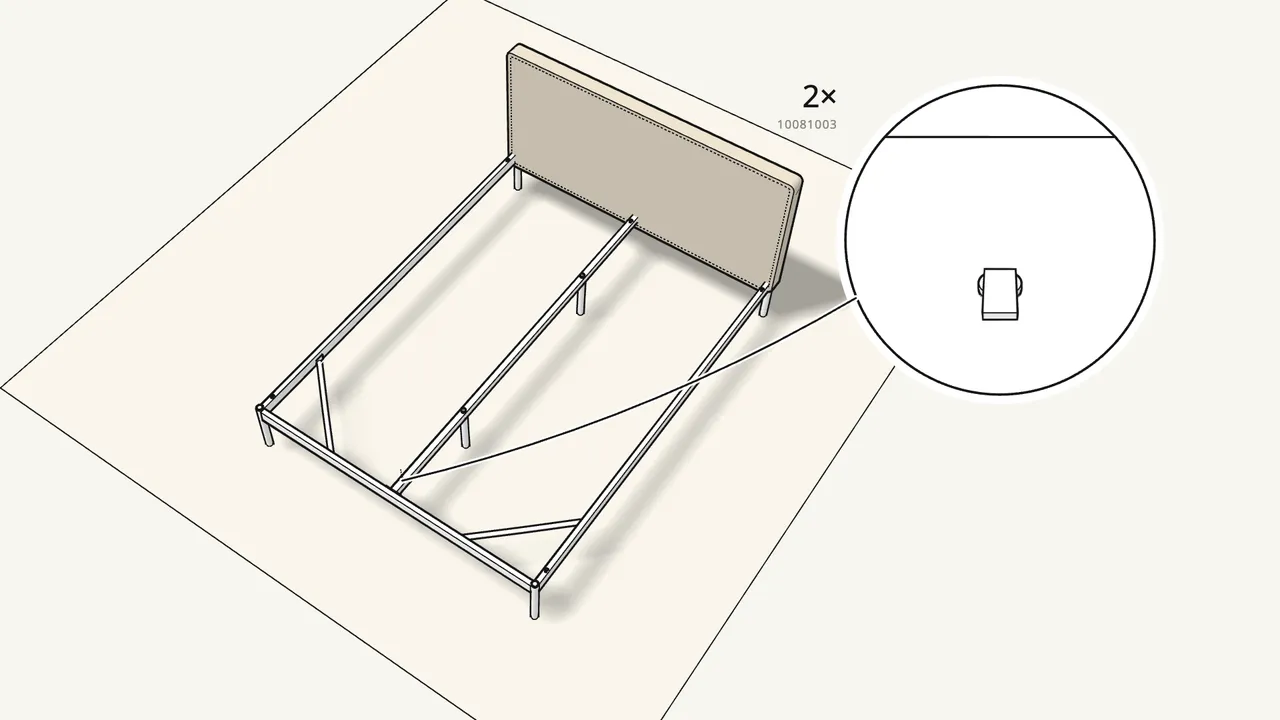
Step 21 · manual step 28
Fit 2 clips (10081003) at the ends of the centre beam.
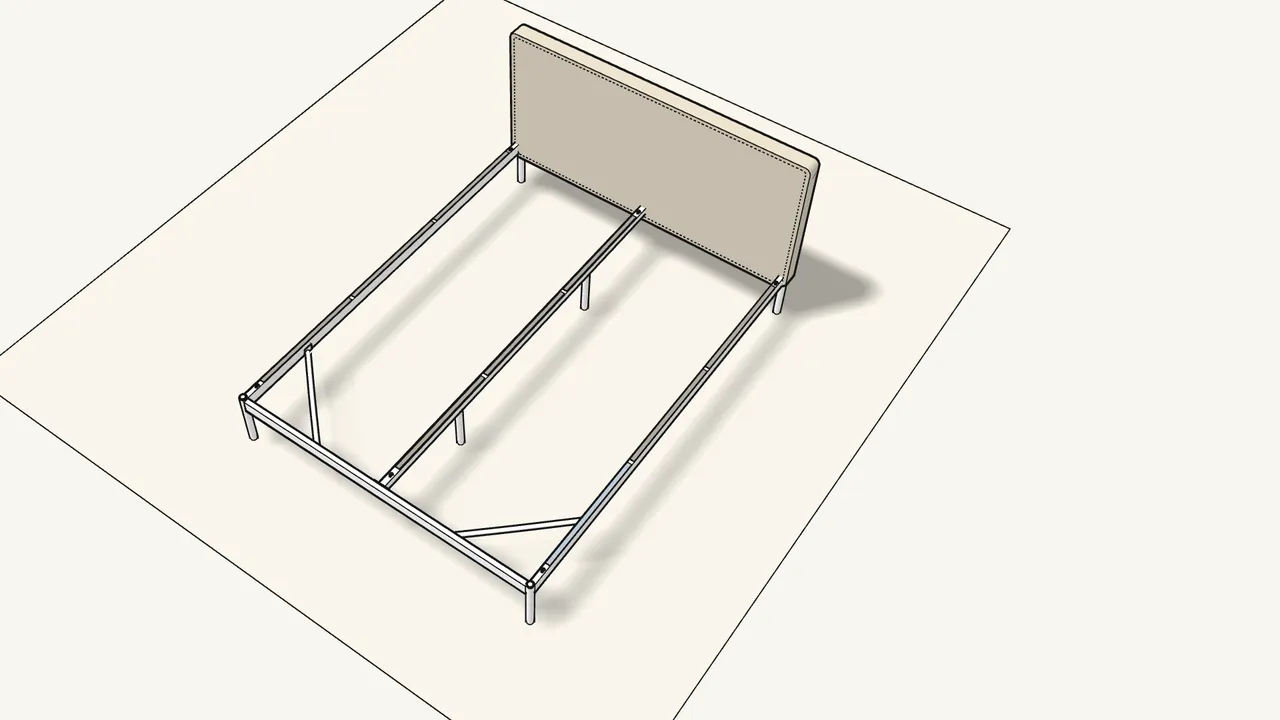
Step 22 · manual step 29
Lay the 9 strips (10075106) on the side rails and centre beam.
Three on each. Trim with scissors if needed — see the manual, step 29.
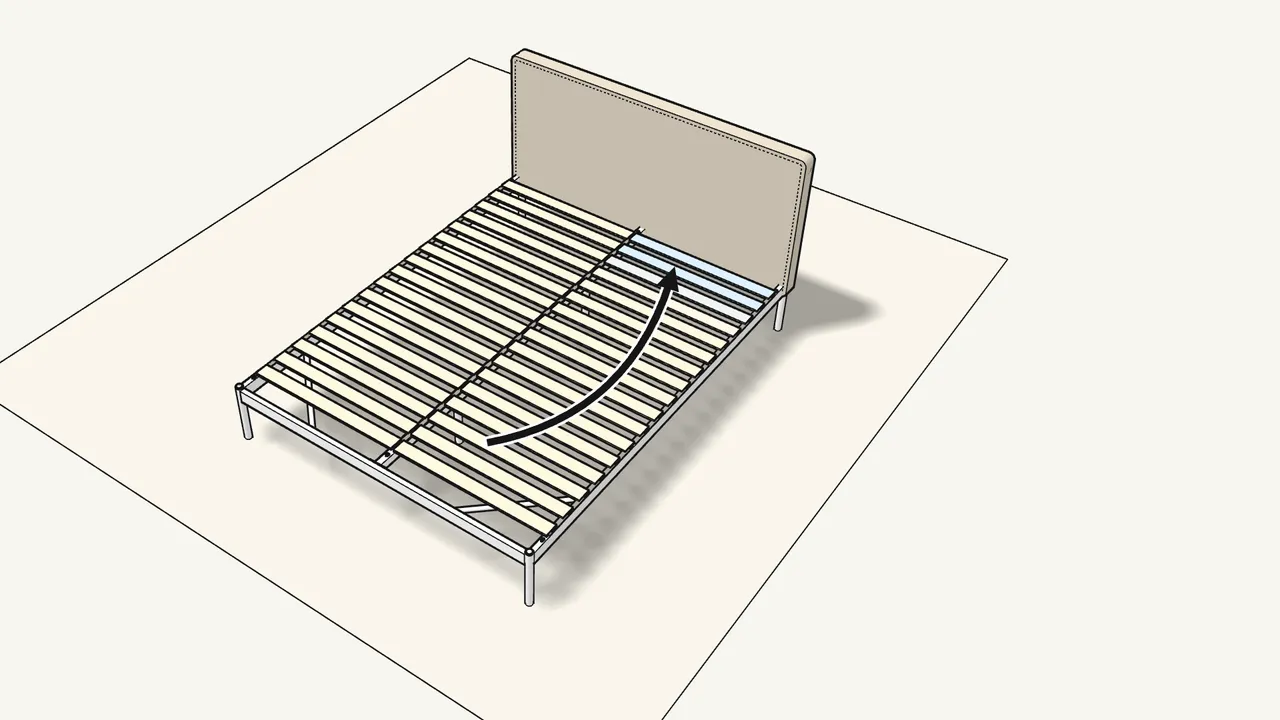
Step 23 · manual step 30
Roll out the slatted base on each side of the centre beam.
Tuck the ends under the clips at the head and foot.
Tips & safety
- Two people are needed. In step 17 one person holds the headboard while the other bolts it to the side rails.
- Mind the sharp metal edges. The manual warns about sharp edges in steps 1 and 13 — handle the rails carefully.
Official instructions
This guide follows IKEA’s official assembly instructions (AA-2614810-2). Keep the printed manual to hand — if anything differs, the manual is right.